TREK is a modern self-hosted, open-source travel planner that lets you and your group collaboratively build complete trips in real time. It combines drag-and-drop itineraries, interactive maps with place search and weather forecasts, budget tracking, packing lists, reservation management, and full PDF exports into one beautiful, installable Progressive Web App with offline support. Fully private and under your control, TREK runs on your own Synology NAS. It includes real-time chat, polls, and secure authentication. It’s perfect for solo adventurers, couples, families, or groups seeking a powerful alternative to scattered notes and commercial apps. In this step by step guide I will show you how to install TREK on your Synology NAS using Docker & Portainer.
This guide works perfectly with the latest TREK v3.4.1 release.
STEP 1
Please Support My work by Making a Donation.
STEP 2
Install Portainer using my step by step guide. If you already have Portainer installed on your Synology NAS, skip this STEP. Attention: Make sure you have installed the latest Portainer version.
STEP 3
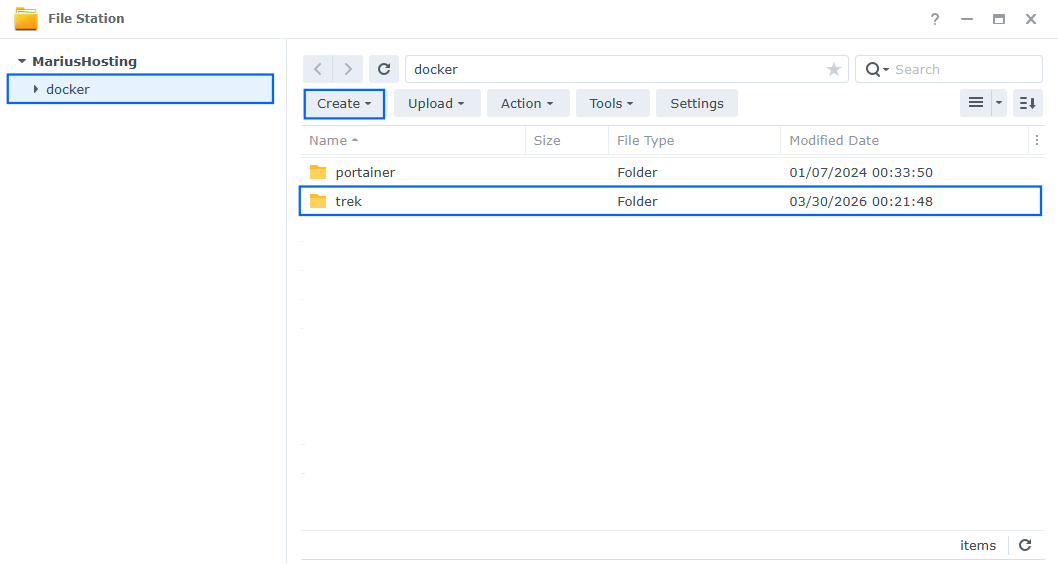
Go to File Station and open the docker folder. Inside the docker folder, create one new folder and name it trek. Follow the instructions in the image below.
Note: Be careful to enter only lowercase, not uppercase letters.
STEP 4
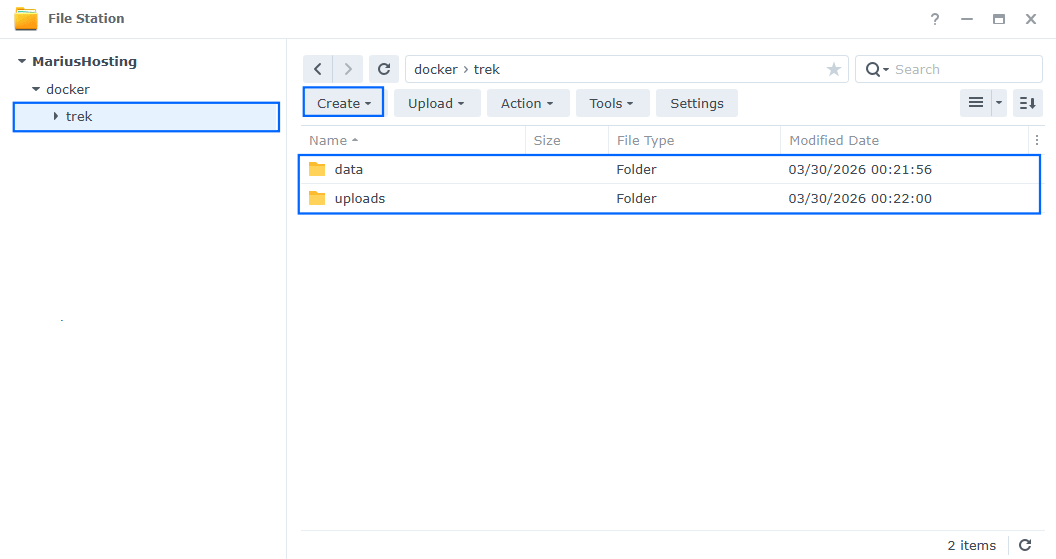
Now create two new folder inside the trek folder that you have previously created at STEP 3 and name them data and uploads. Follow the instructions in the image below.
Note: Be careful to enter only lowercase, not uppercase letters.
STEP 5
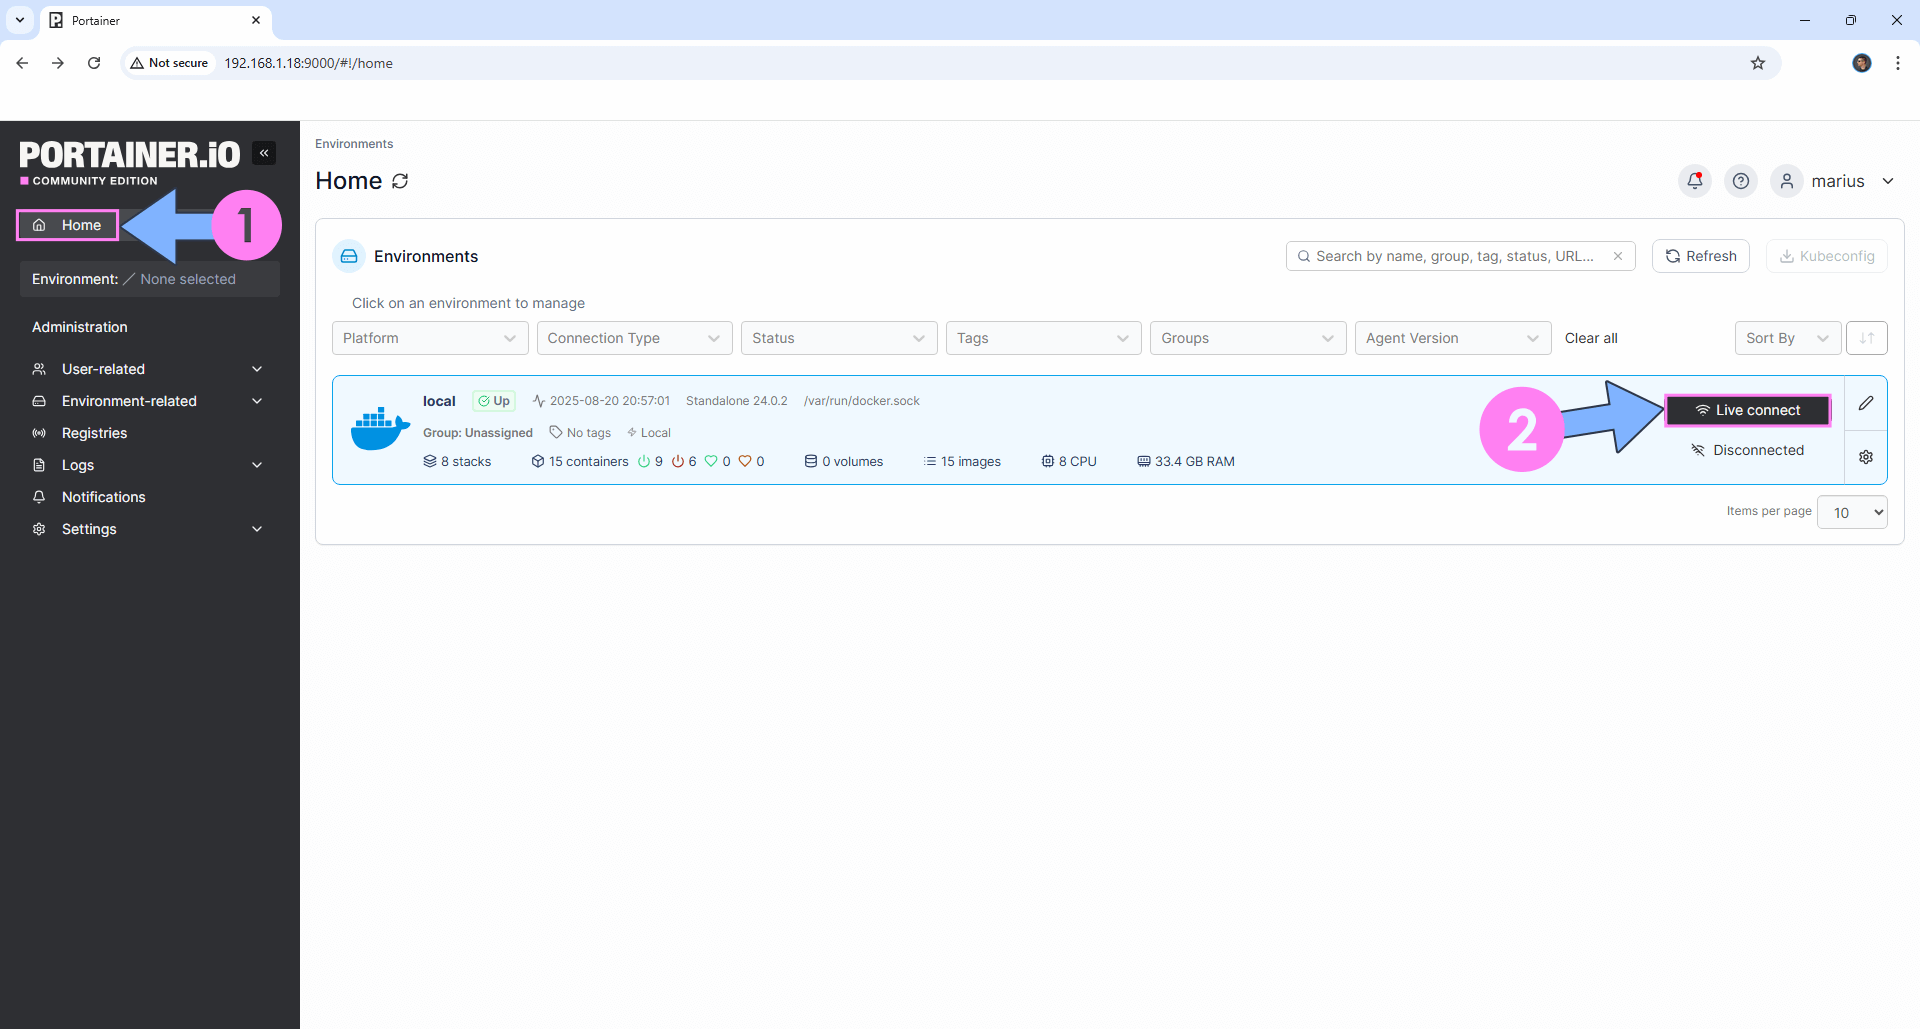
Log into Portainer using your username and password. On the left sidebar in Portainer, click on Home then Live connect. Follow the instructions in the image below.
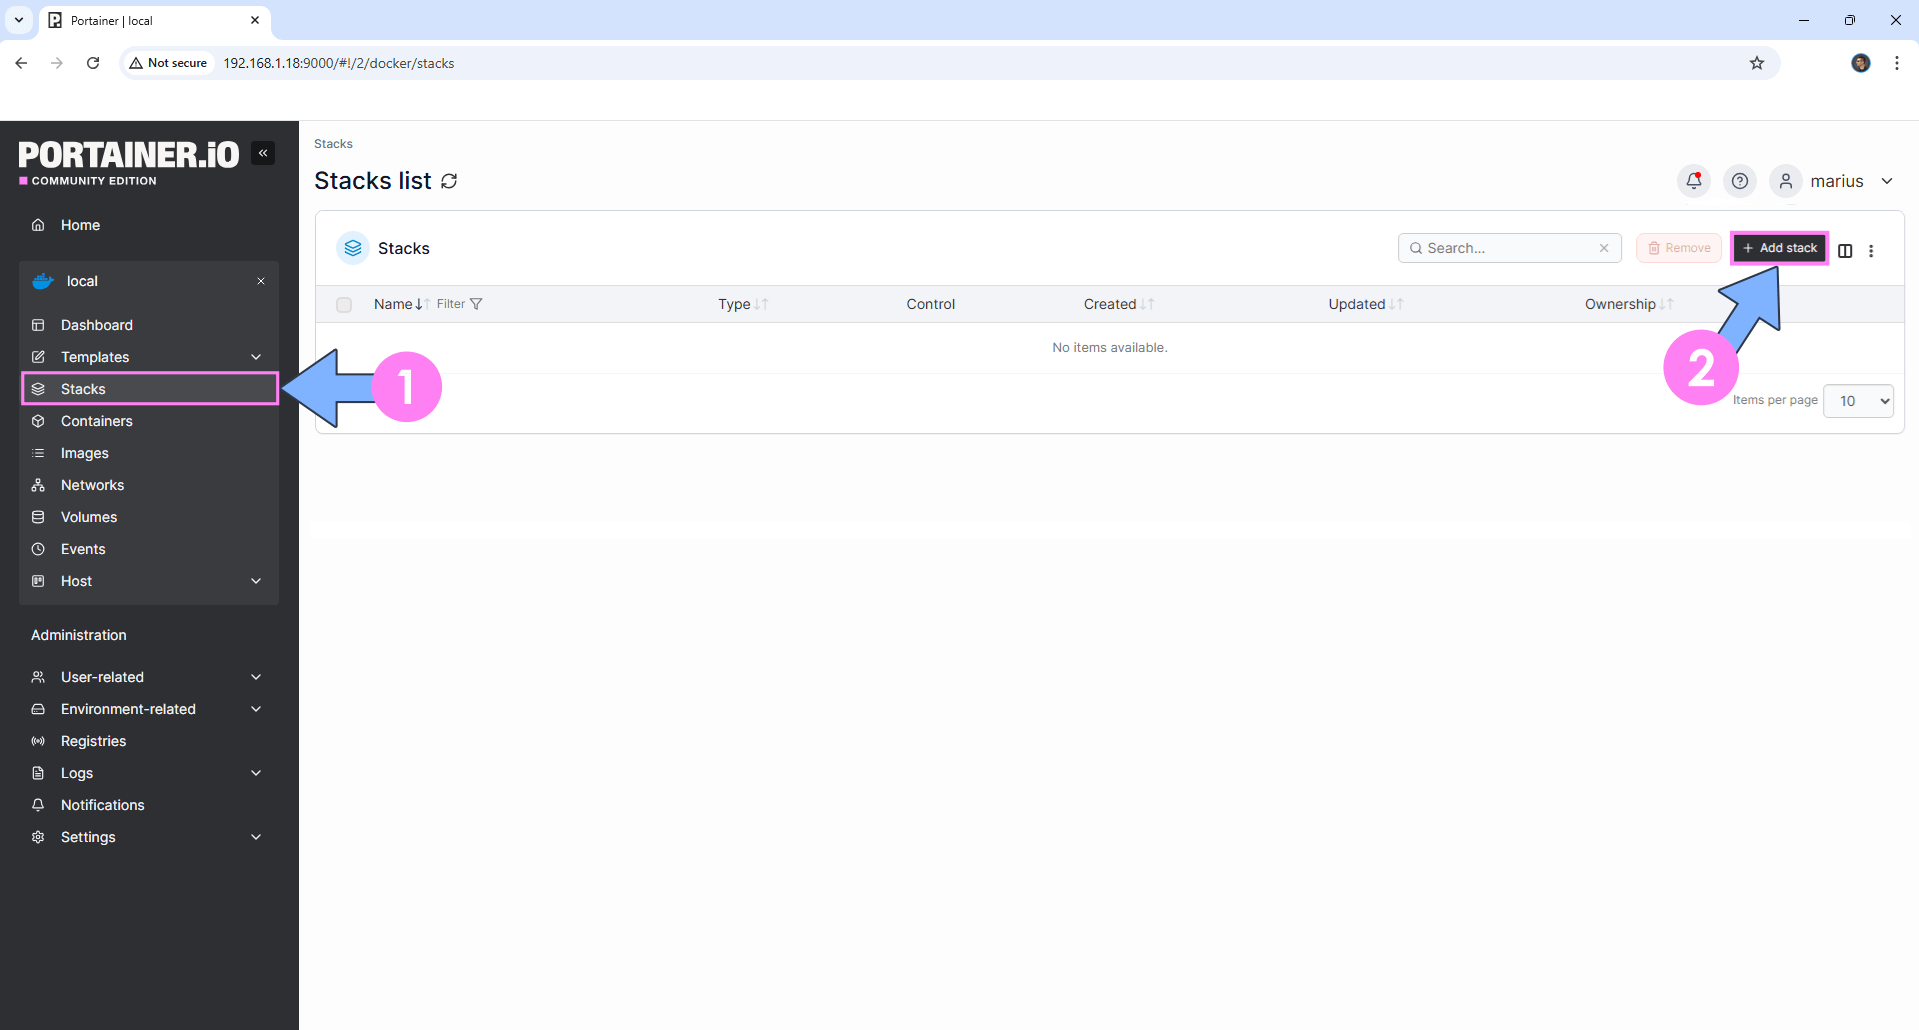
On the left sidebar in Portainer, click on Stacks then + Add stack. Follow the instructions in the image below.
STEP 6
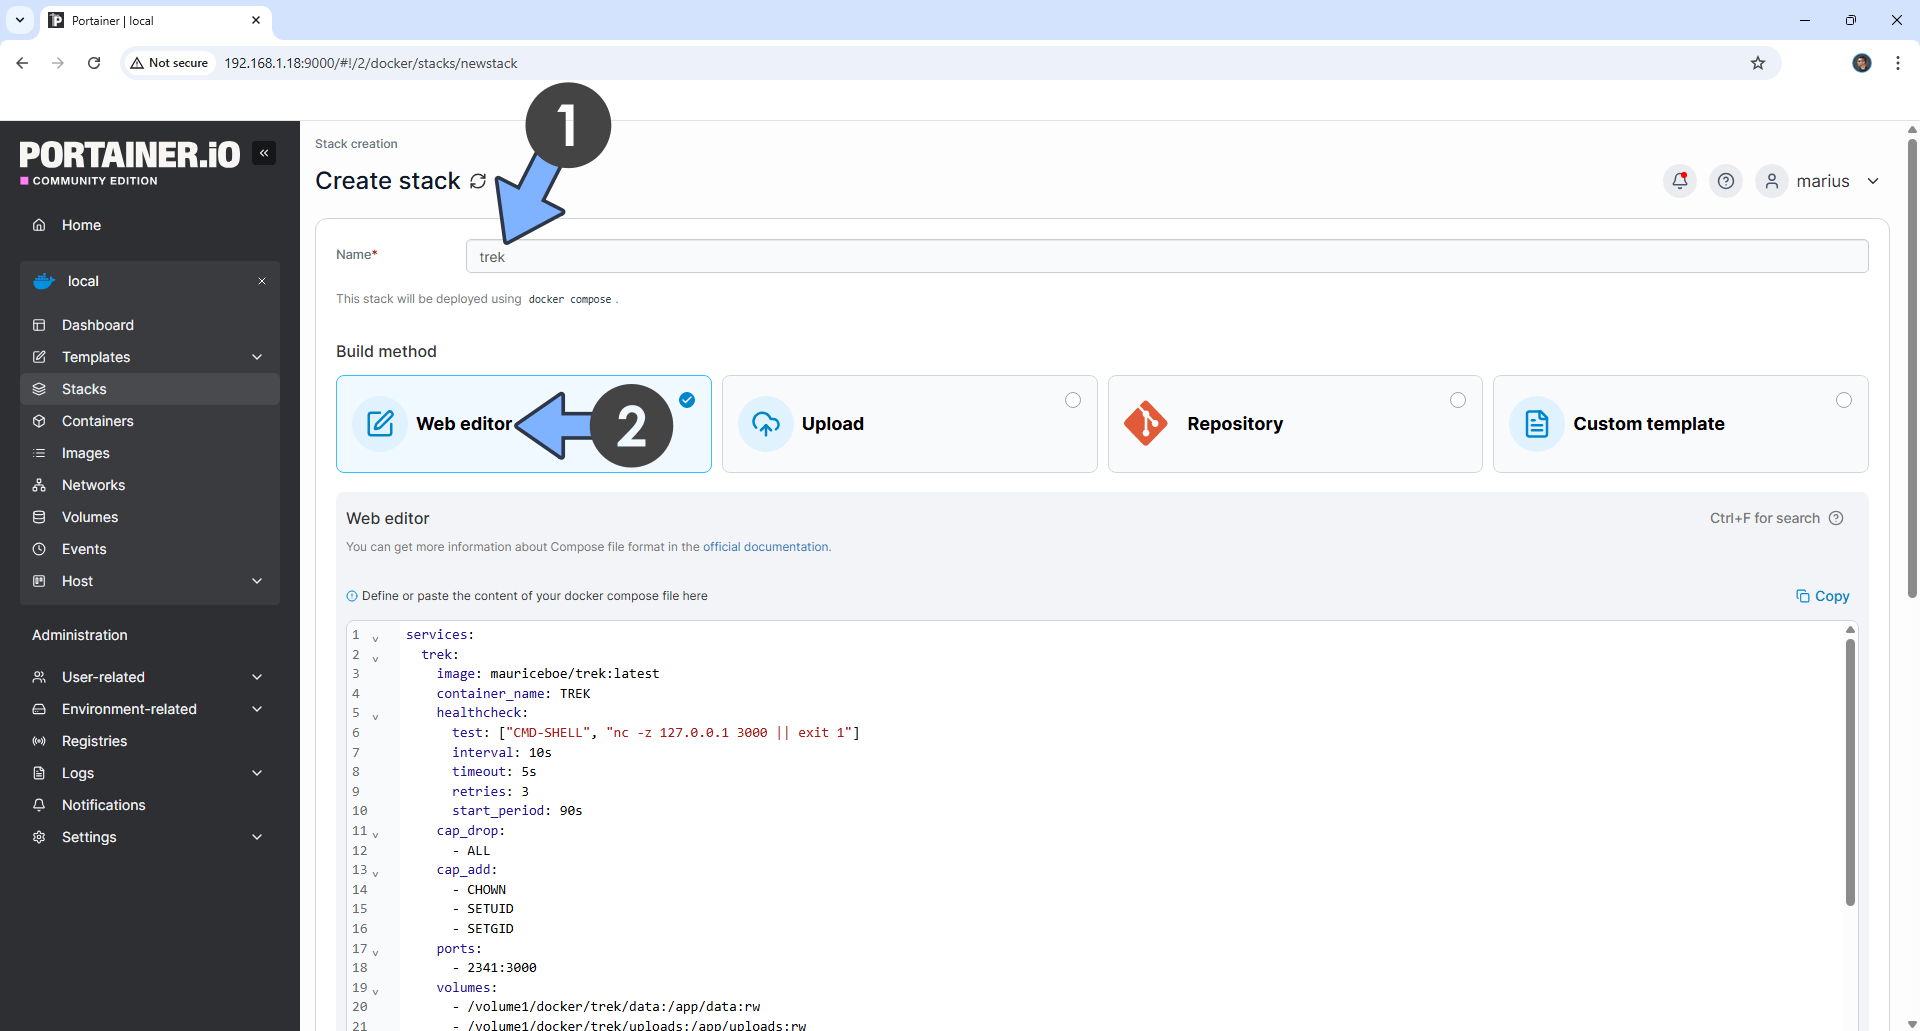
In the Name field type in trek. Follow the instructions in the image below.
services:
  trek:
    image: mauriceboe/trek:latest
    container_name: TREK
    healthcheck:
      test: ["CMD-SHELL", "nc -z 127.0.0.1 3000 || exit 1"]
      interval: 10s
      timeout: 5s
      retries: 3
      start_period: 90s
    cap_drop:
      - ALL
    cap_add:
      - CHOWN
      - SETUID
      - SETGID
    ports:
      - 2341:3000
    volumes:
      - /volume1/docker/trek/data:/app/data:rw
      - /volume1/docker/trek/uploads:/app/uploads:rw
    user: 0:0
    environment:
       NODE_ENV: production
       ENCRYPTION_KEY: b85d30ff0f96bf77d805e67903e1697a64132162c378d17c1da77205f42226a0
       TZ: Europe/Bucharest
       ADMIN_EMAIL: yourown@email
       ADMIN_PASSWORD: mariushosting
       PORT: 3000
       COOKIE_SECURE: false #true instead of false if you use your own domain name or DDNS
       #ALLOWED_ORIGINS: https://yourdomainname #or your synology.me DDNS. Remove the # in front of ALLOWED_ORIGINS if you use a domain name or DDNS.
       #TRUST_PROXY: 1 # Number of trusted proxies (for X-Forwarded-For / real client IP)
       #ALLOW_INTERNAL_NETWORK: false #set to true instead of false if Immich or other services are hosted on your local network.
       #APP_URL: https://yourowndomainname # Public base URL - required if OIDC is enabled.
       #OIDC_ISSUER: https://yourownauthdomainname # OpenID Connect provider URL
       #OIDC_CLIENT_ID: trek # OpenID Connect client ID
       #OIDC_CLIENT_SECRET: supersecret # OpenID Connect client secret
       #OIDC_DISPLAY_NAME: SSO # Label shown on the SSO login button
       #OIDC_ONLY: false # Set true to disable local password auth entirely (SSO only)
       #OIDC_ADMIN_CLAIM: groups # OIDC claim used to identify admin users
       #OIDC_ADMIN_VALUE: app-trek-admins # Value of the OIDC claim that grants admin role
       #OIDC_SCOPE: openid email profile # Fully overrides the default. Add extra scopes as needed (e.g. add groups if using OIDC_ADMIN_CLAIM)
       #OIDC_DISCOVERY_URL: # Override the OIDC discovery endpoint for providers with non-standard paths (e.g. Authentik)
       #MCP_RATE_LIMIT: 60 # Max MCP API requests per user per minute (default: 60)
    restart: on-failure:5
Note: Before you paste the code above in the Web editor area below, change the value for ENCRYPTION_KEY.
(🟢Click this Link to Generate Your Own Free ENCRYPTION KEY.) 🖼️Check Example Screenshot. (In the prompt, type in the following text: openssl rand -hex 32 then hit enter on your Keyboard). 🖼️Check Example Screenshot and copy your ENCRYPTION_KEY.
Note: Before you paste the code above in the Web editor area below, change the value for TZ. (Select your current Time Zone from this list.)
Note: Before you paste the code above in the Web editor area below, change the value for ADMIN_EMAIL. You will need this email later at STEP 10.
Note: Before you paste the code above in the Web editor area below, change the value for ADMIN_PASSWORD. You will need this password later at STEP 10.
STEP 7
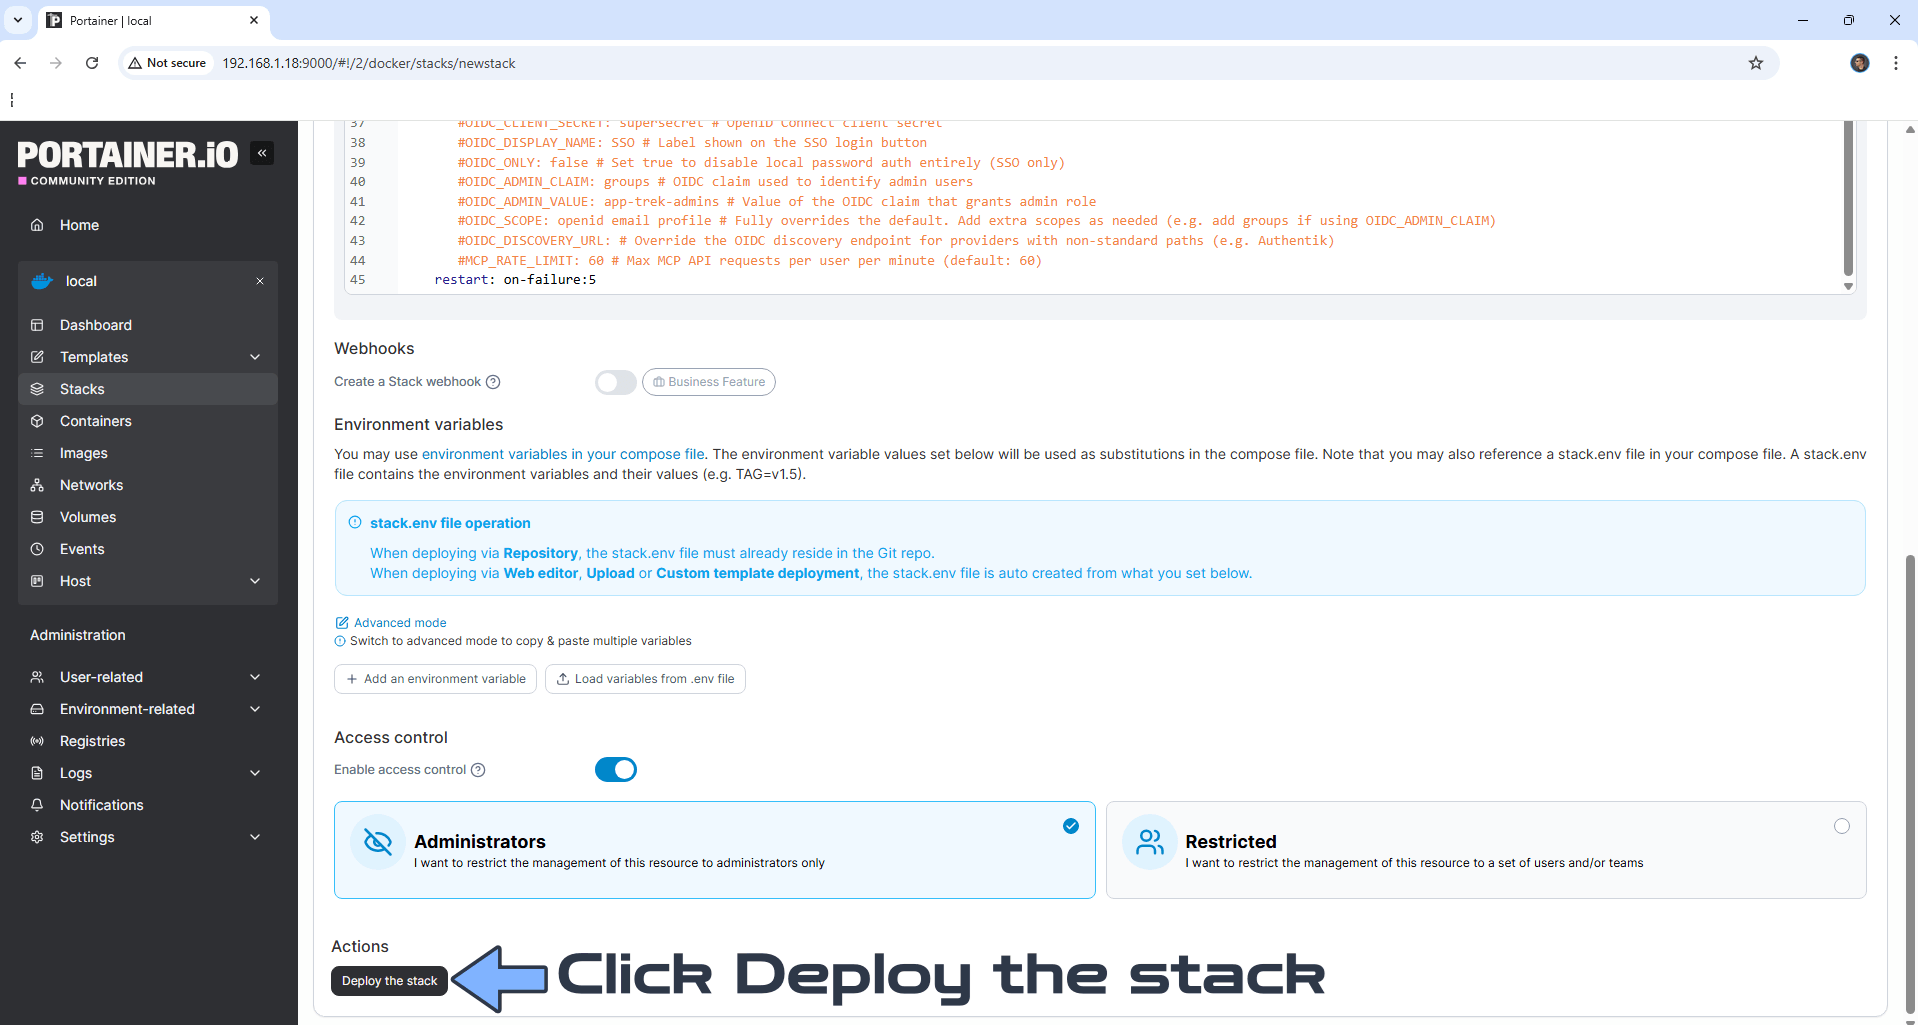
Scroll down on the page until you see a button named Deploy the stack. Click on it. Follow the instructions in the image below. The installation process can take up to a few minutes. It will depend on your Internet speed connection.
STEP 8
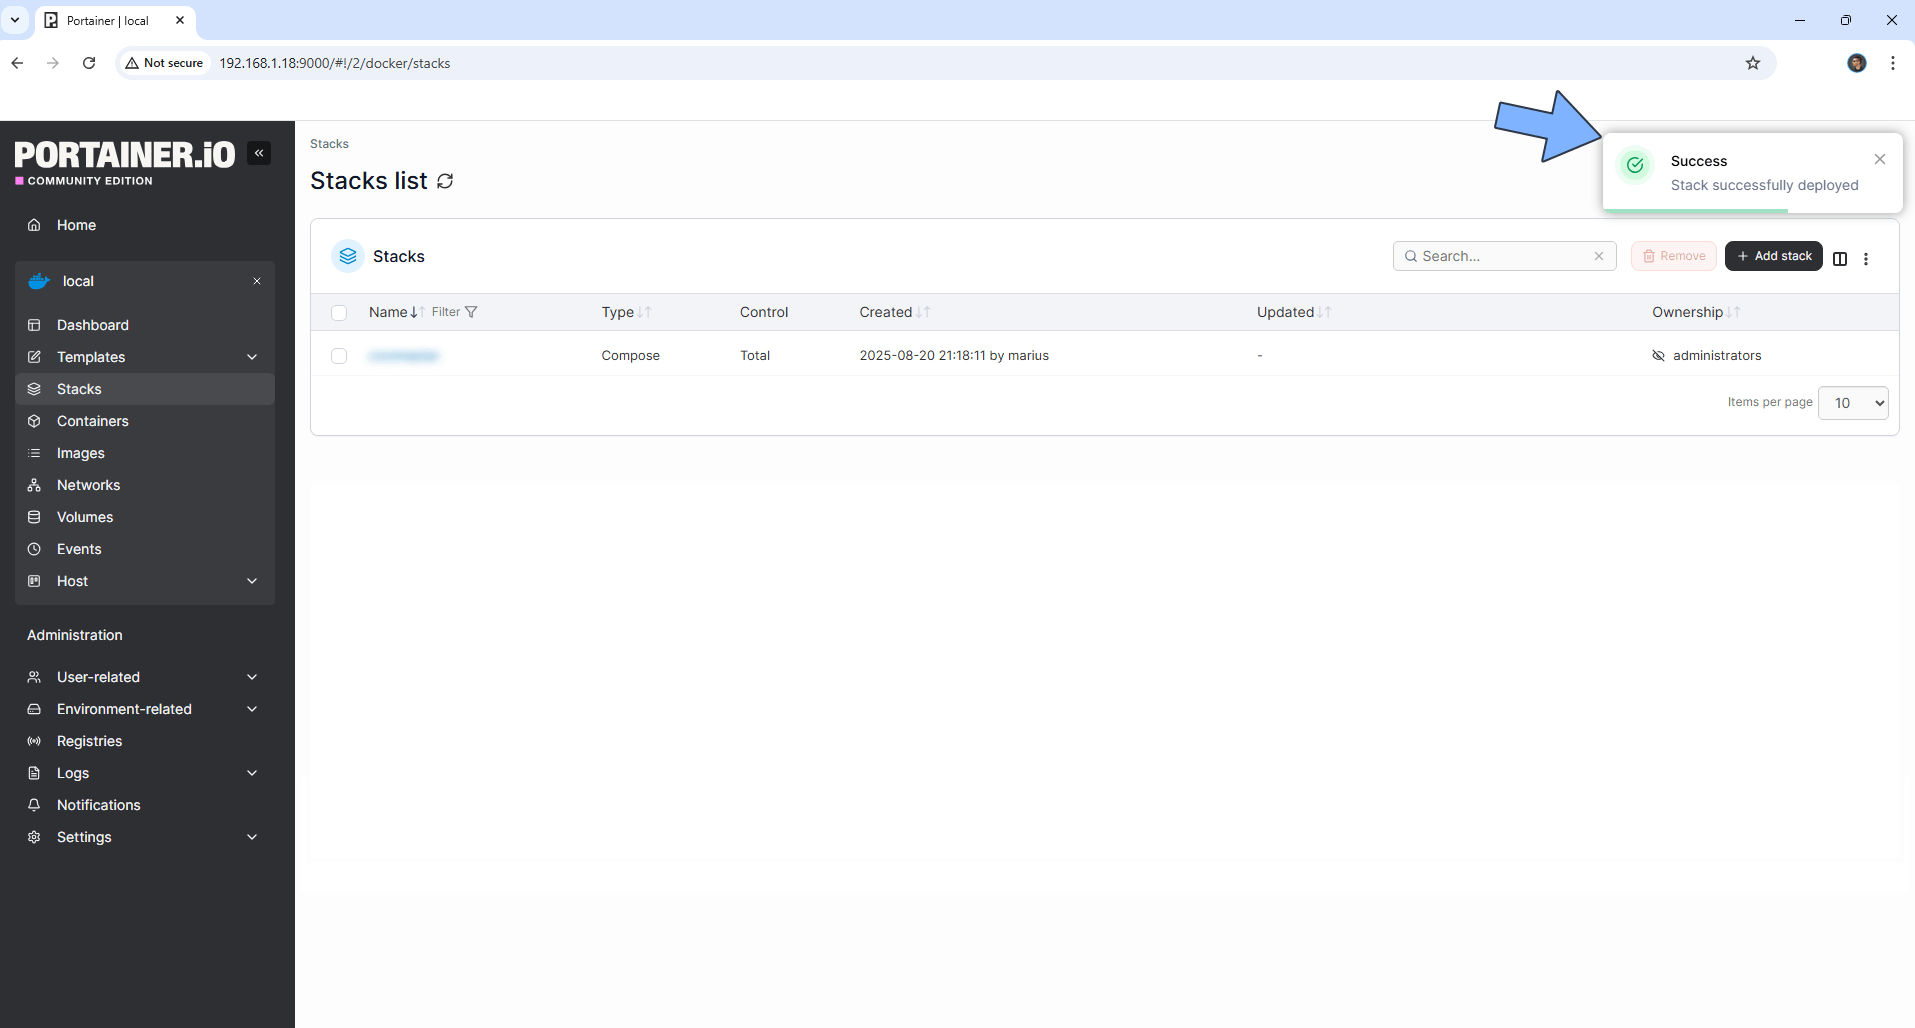
If everything goes right, you will see the following message at the top right of your screen: “Success Stack successfully deployed“.
STEP 9
🟢Please Support My work by Making a Donation. Almost 99,9% of the people that install something using my guides forget to support my work, or just ignore STEP 1. I’ve been very honest about this aspect of my work since the beginning: I don’t run any ADS, I don’t require subscriptions, paid or otherwise, I don’t collect IPs, emails, and I don’t have any referral links from Amazon or other merchants. I also don’t have any POP-UPs or COOKIES. I have repeatedly been told over the years how much I have contributed to the community. It’s something I love doing and have been honest about my passion since the beginning. But I also Need The Community to Support me Back to be able to continue doing this work.
STEP 10
The installation process can take up to a few minutes or less, seconds. It will depend on your Internet speed connection. Now open your browser and type in http://Synology-ip-address:2341 If everything goes right, you will see the TREK homepage. Type in your own Email (ADMIN_EMAIL) and Password (ADMIN_PASSWORD) that you have previously added at STEP 6. Click Sign In. Follow the instructions in the image below.

STEP 11
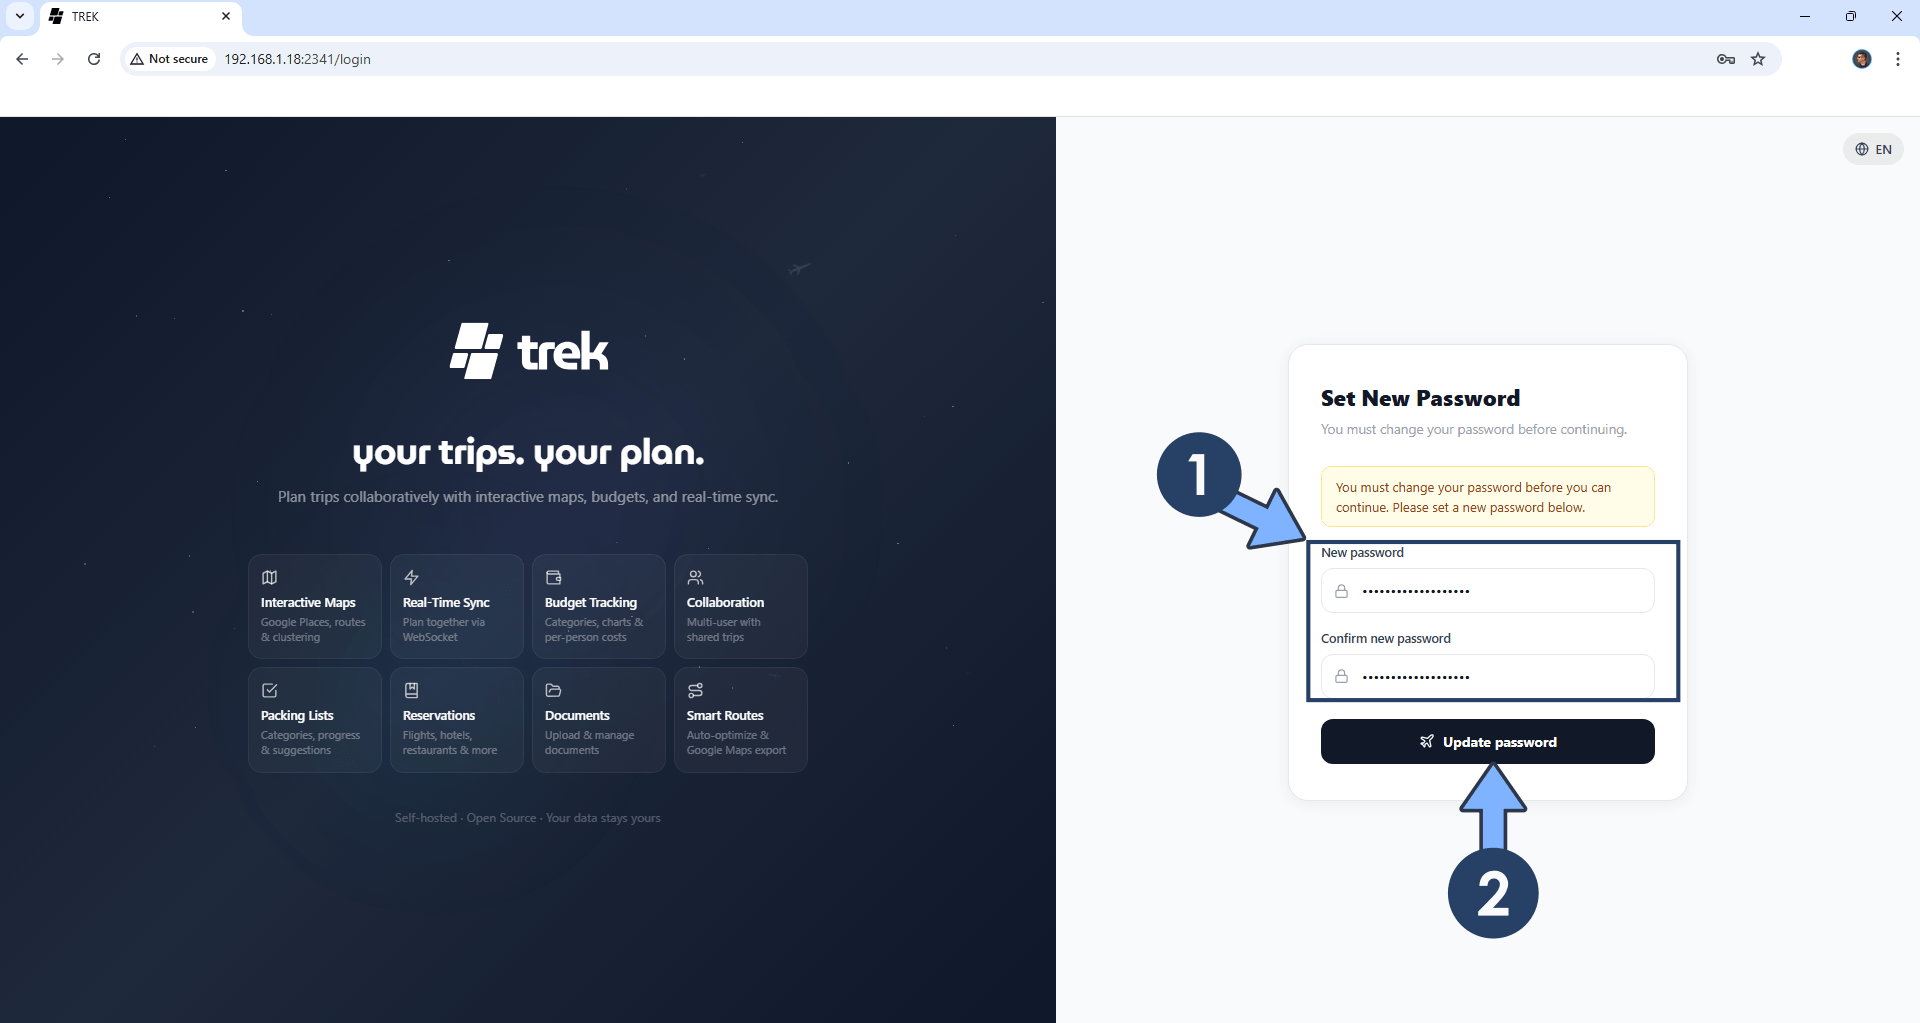
You will be prompted to add a new password. Add a new password. Click Update Password. Follow the instructions in the image below.
STEP 12
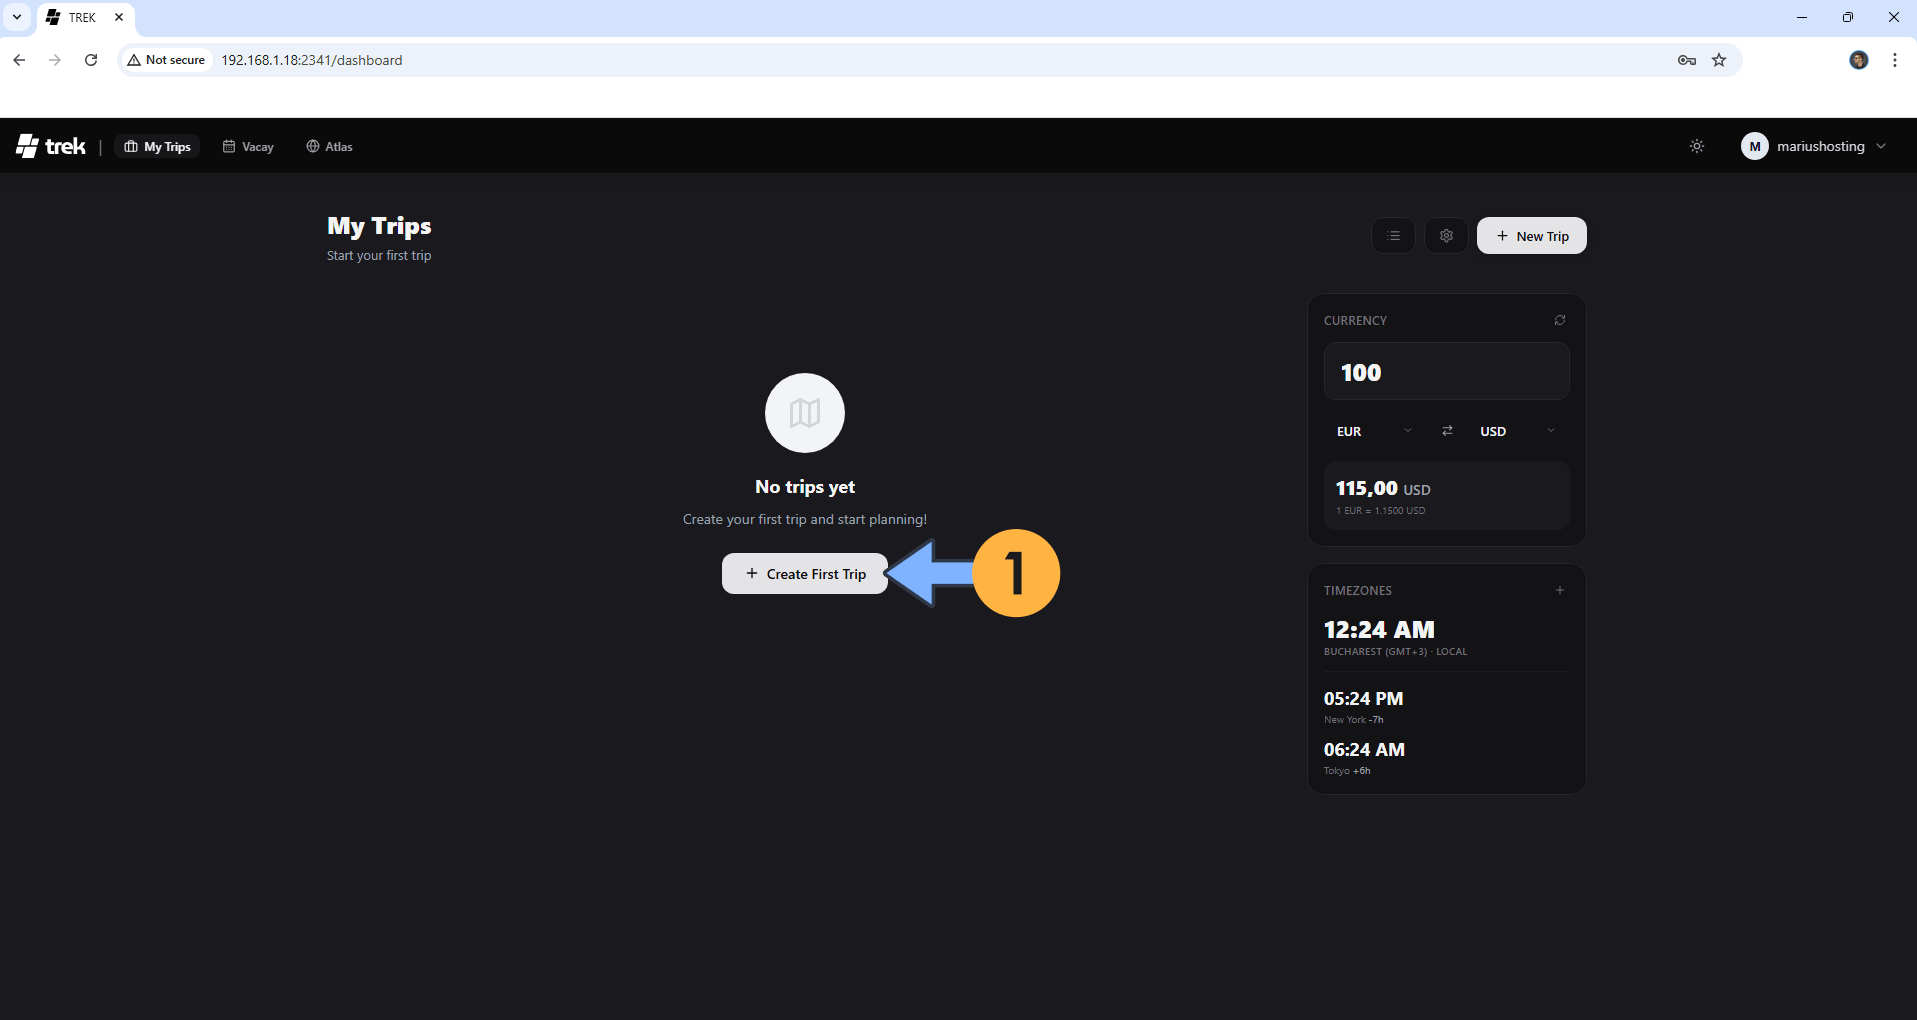
Click + Create First Trip. Follow the instructions in the image below.
STEP 13
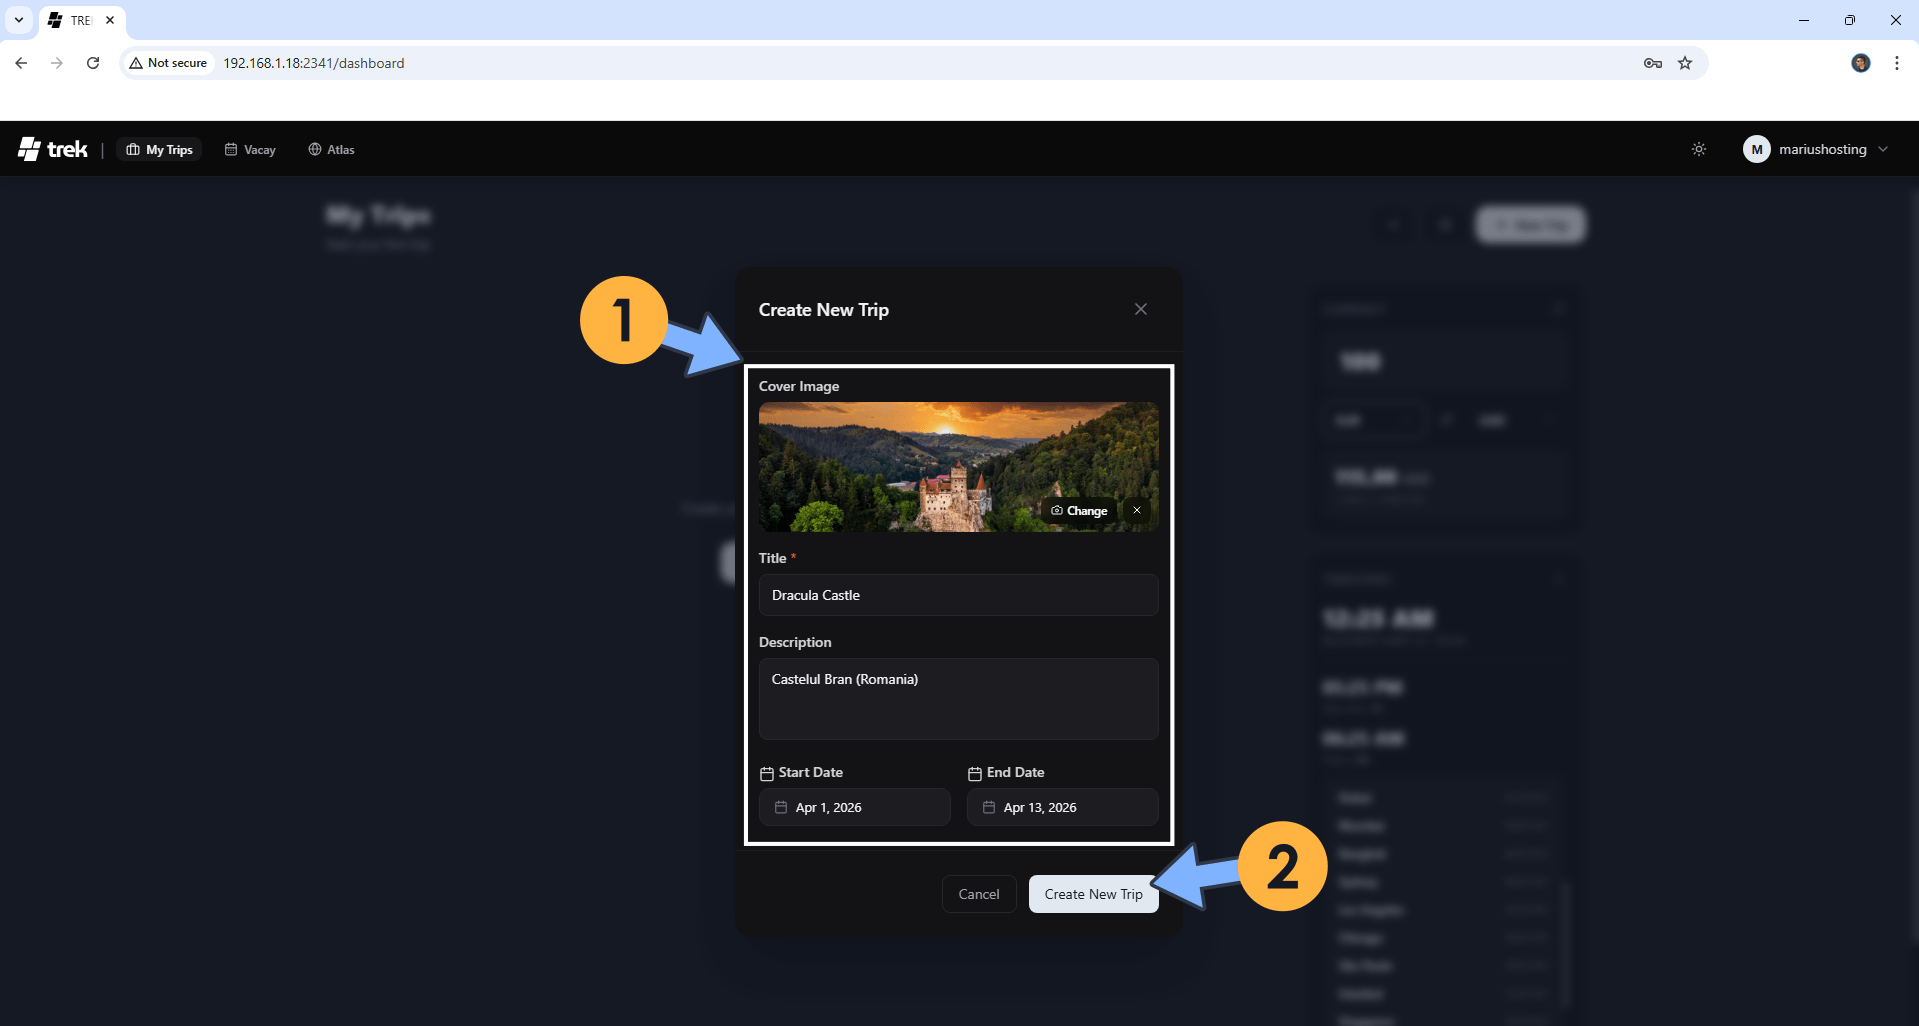
Add your first Trip detail then click Create New Trip. Follow the instructions in the image below.
STEP 14
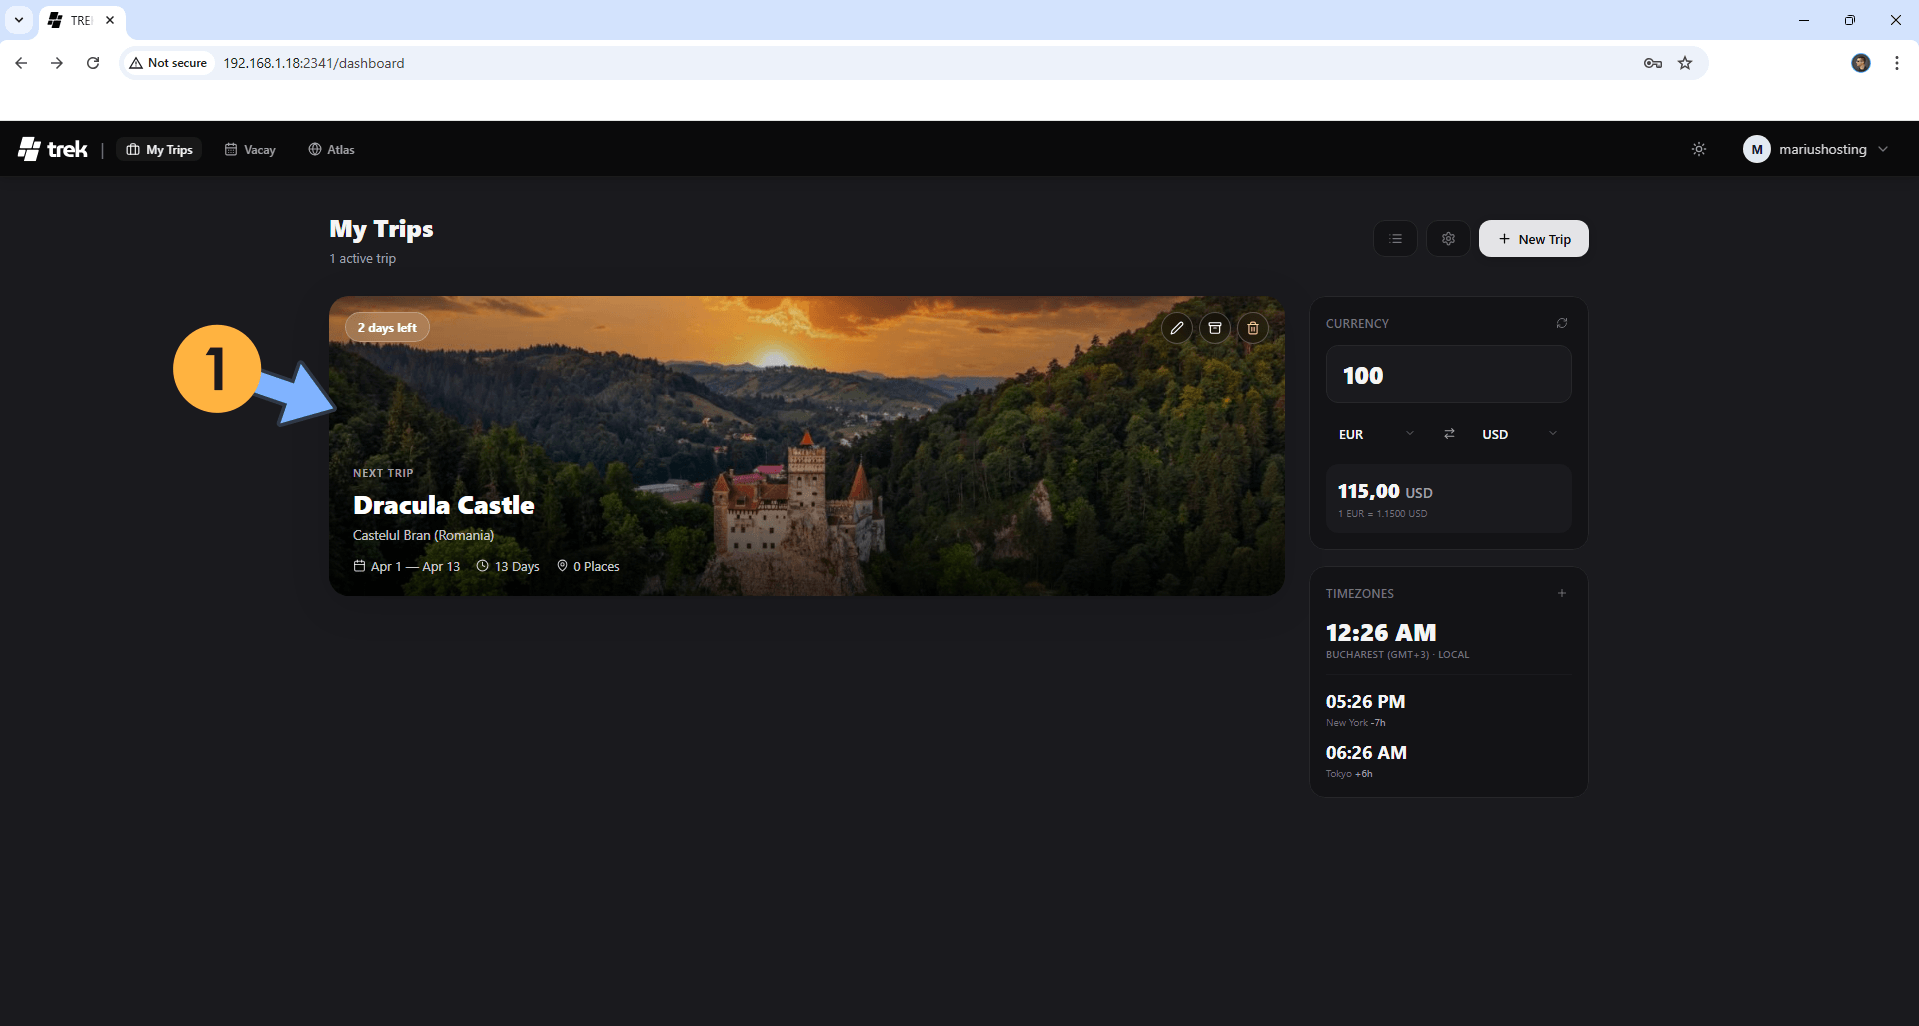
Click on your Trip. Follow the instructions in the image below.
STEP 15
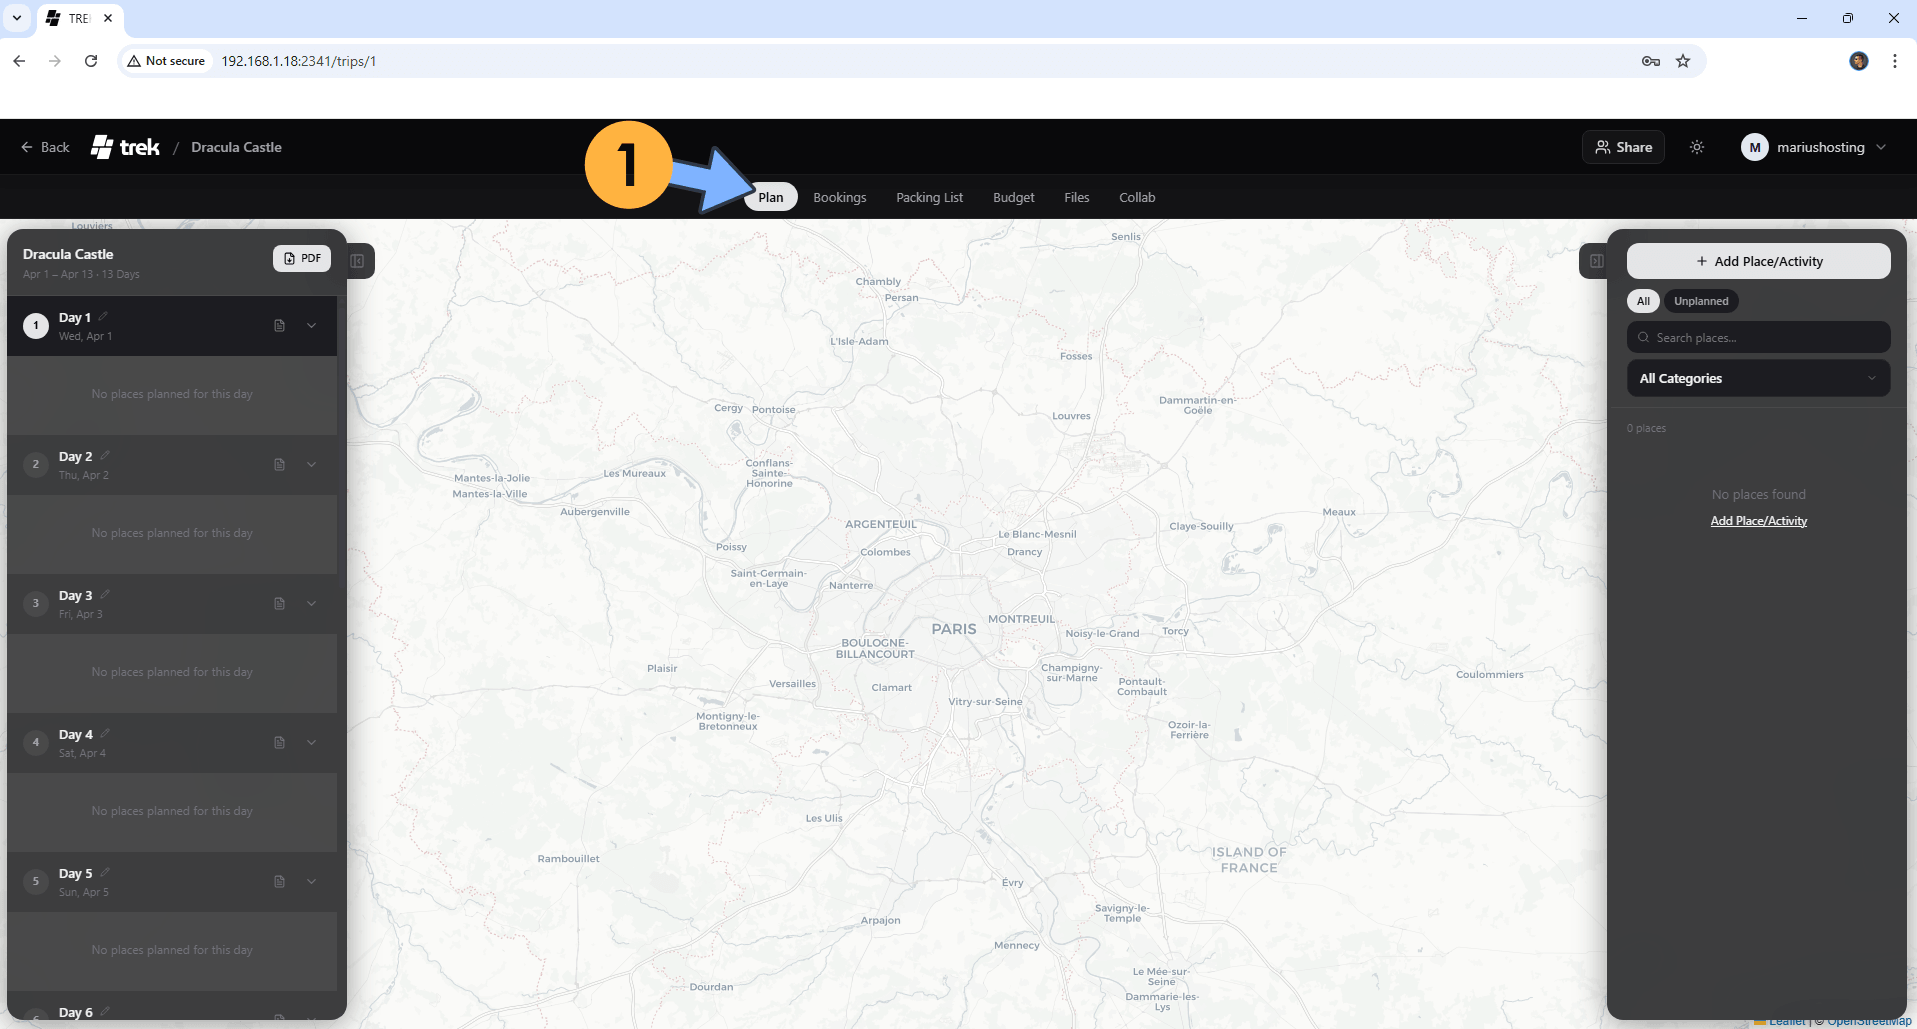
Click Plan, Bookings, Packing List, Budget, Files, Collab. You can add every single detail of your Trip. Follow the instructions in the image below. Go straight to the next STEP.
STEP 16
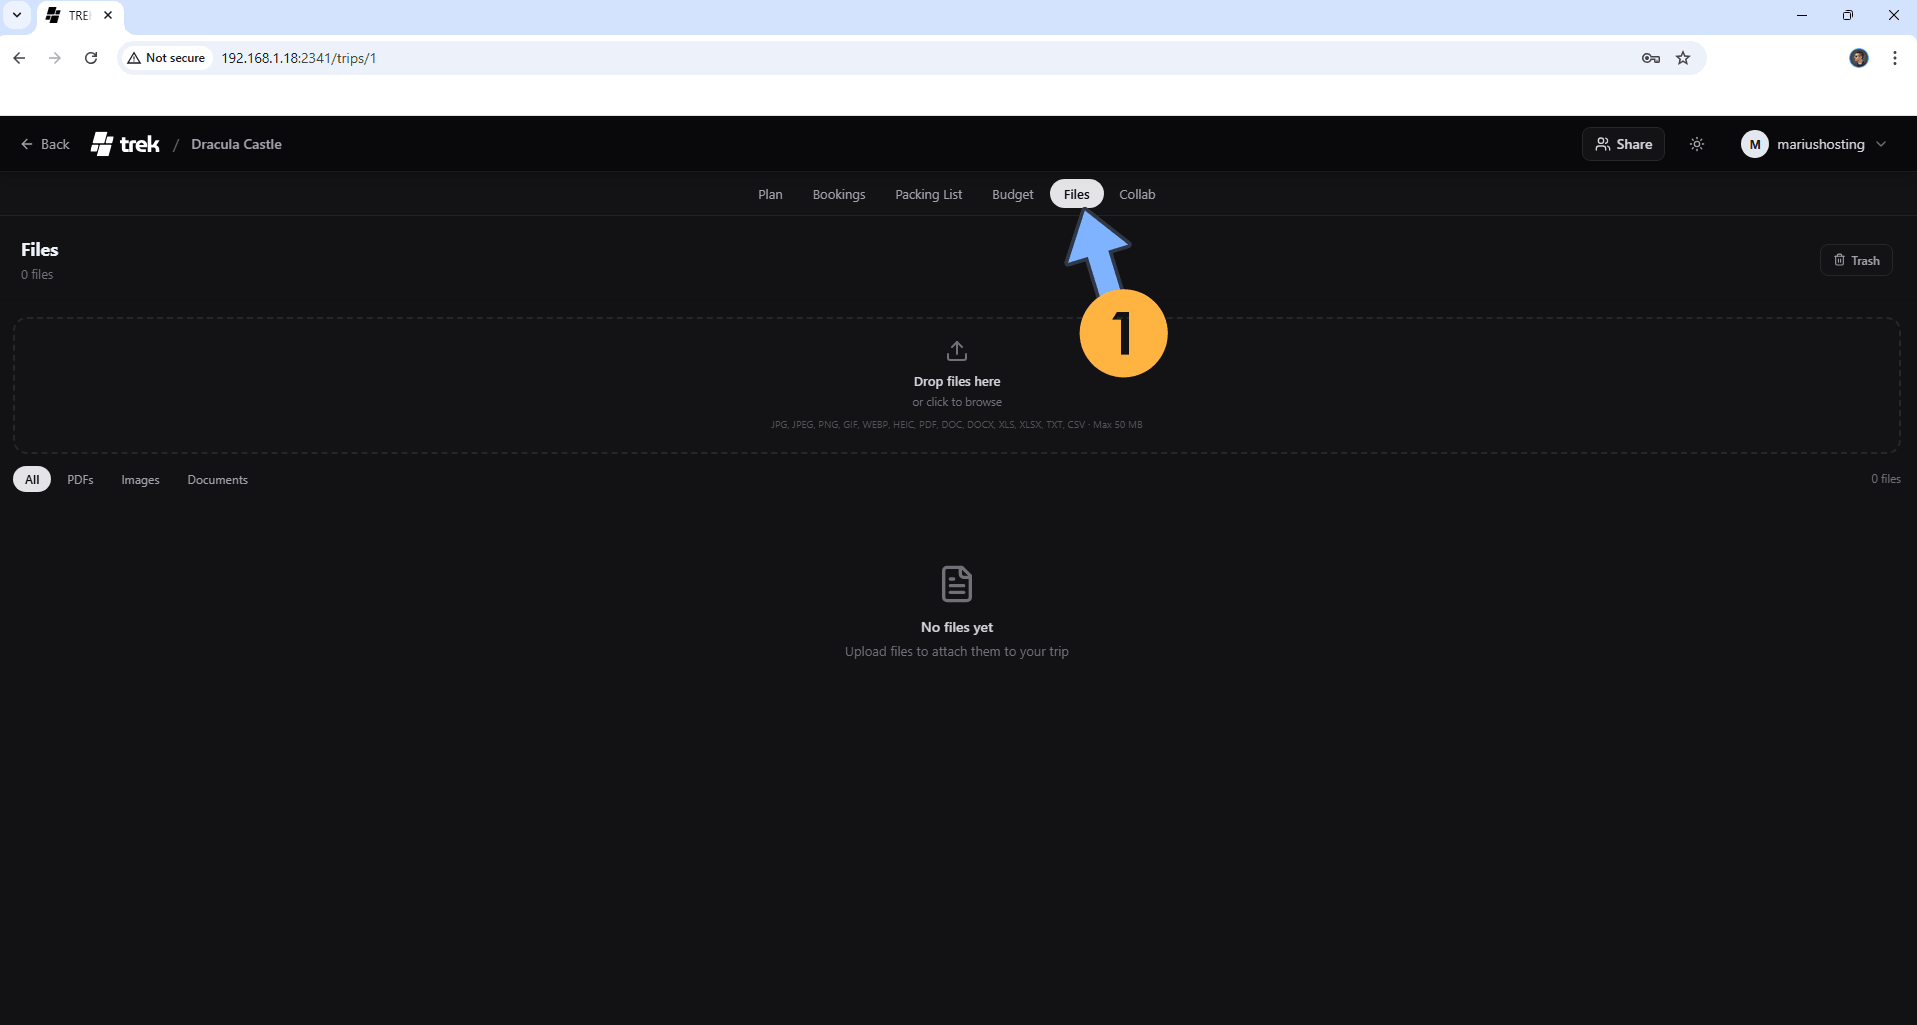
For example, if you click Files, you can add all your Trip images, PDFs and other documents. All in one place. Follow the instructions in the image below. Go straight to the next STEP.
STEP 17
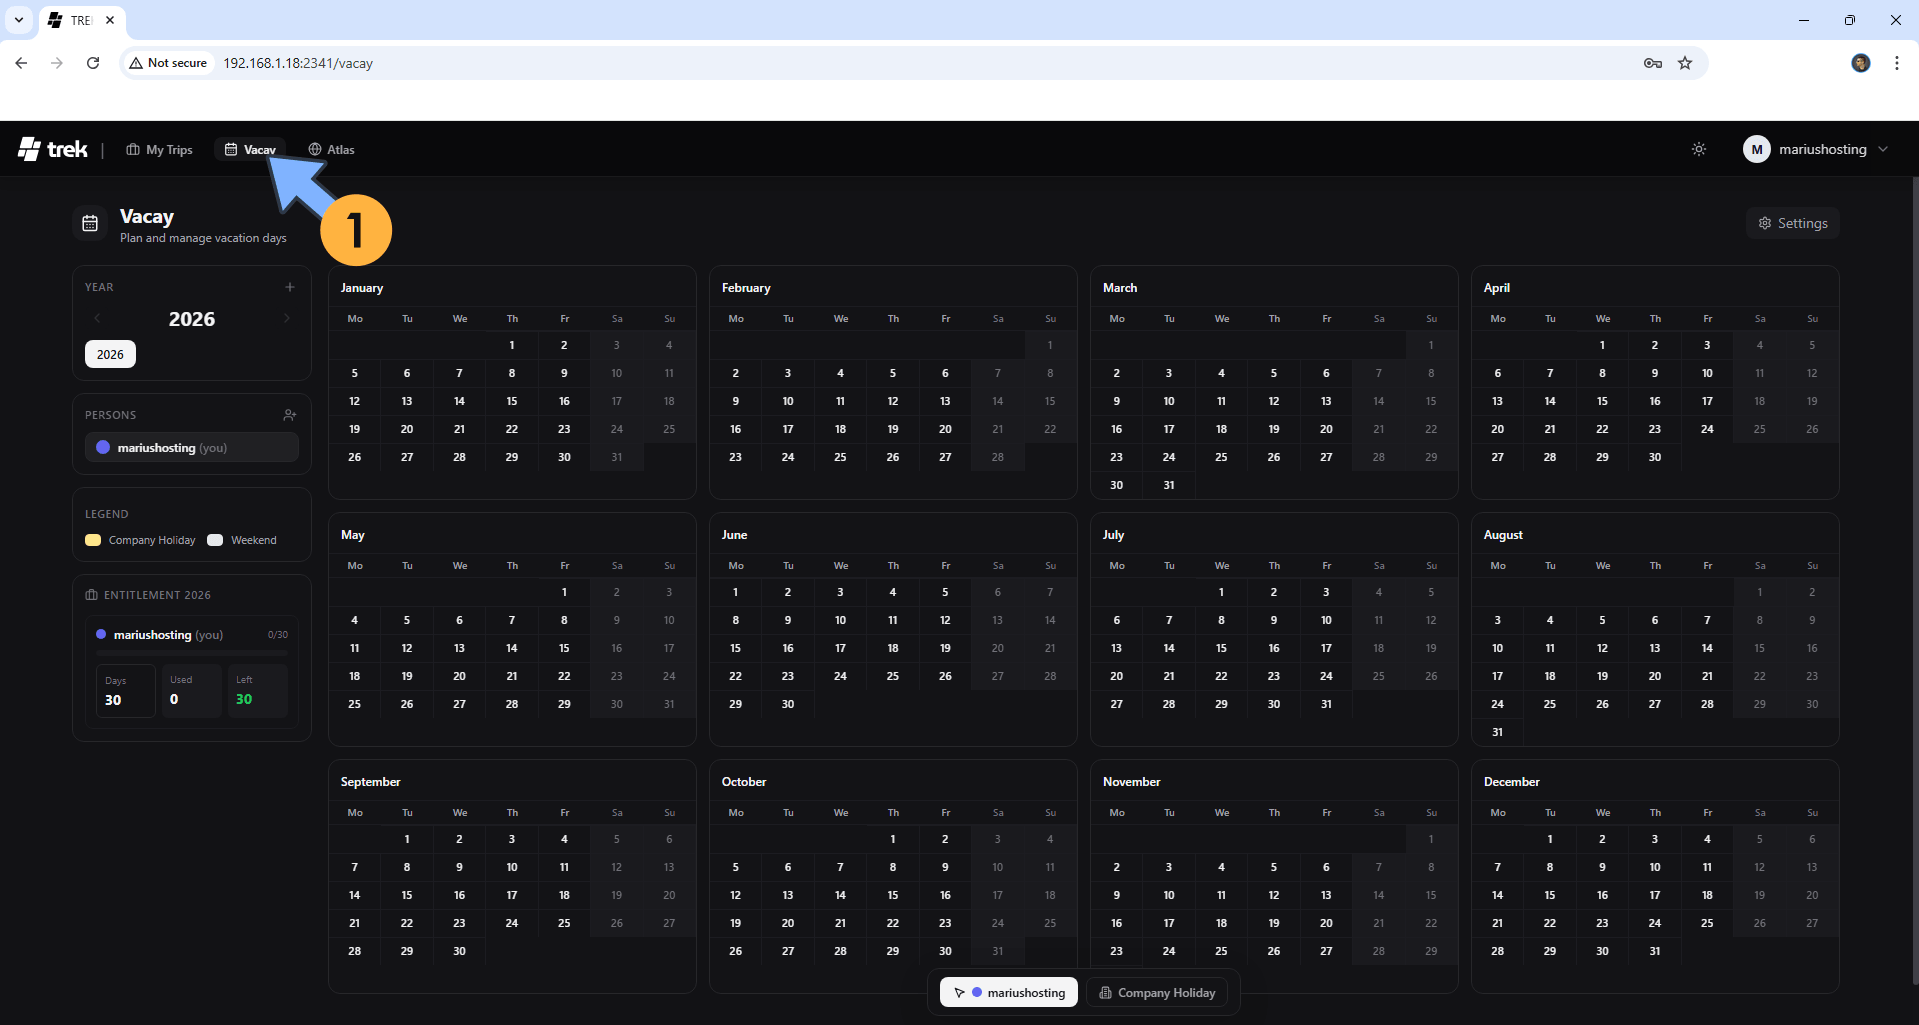
Click Vacay to see your entire Calendar. Follow the instructions in the image below. Go straight to the next STEP.
STEP 18
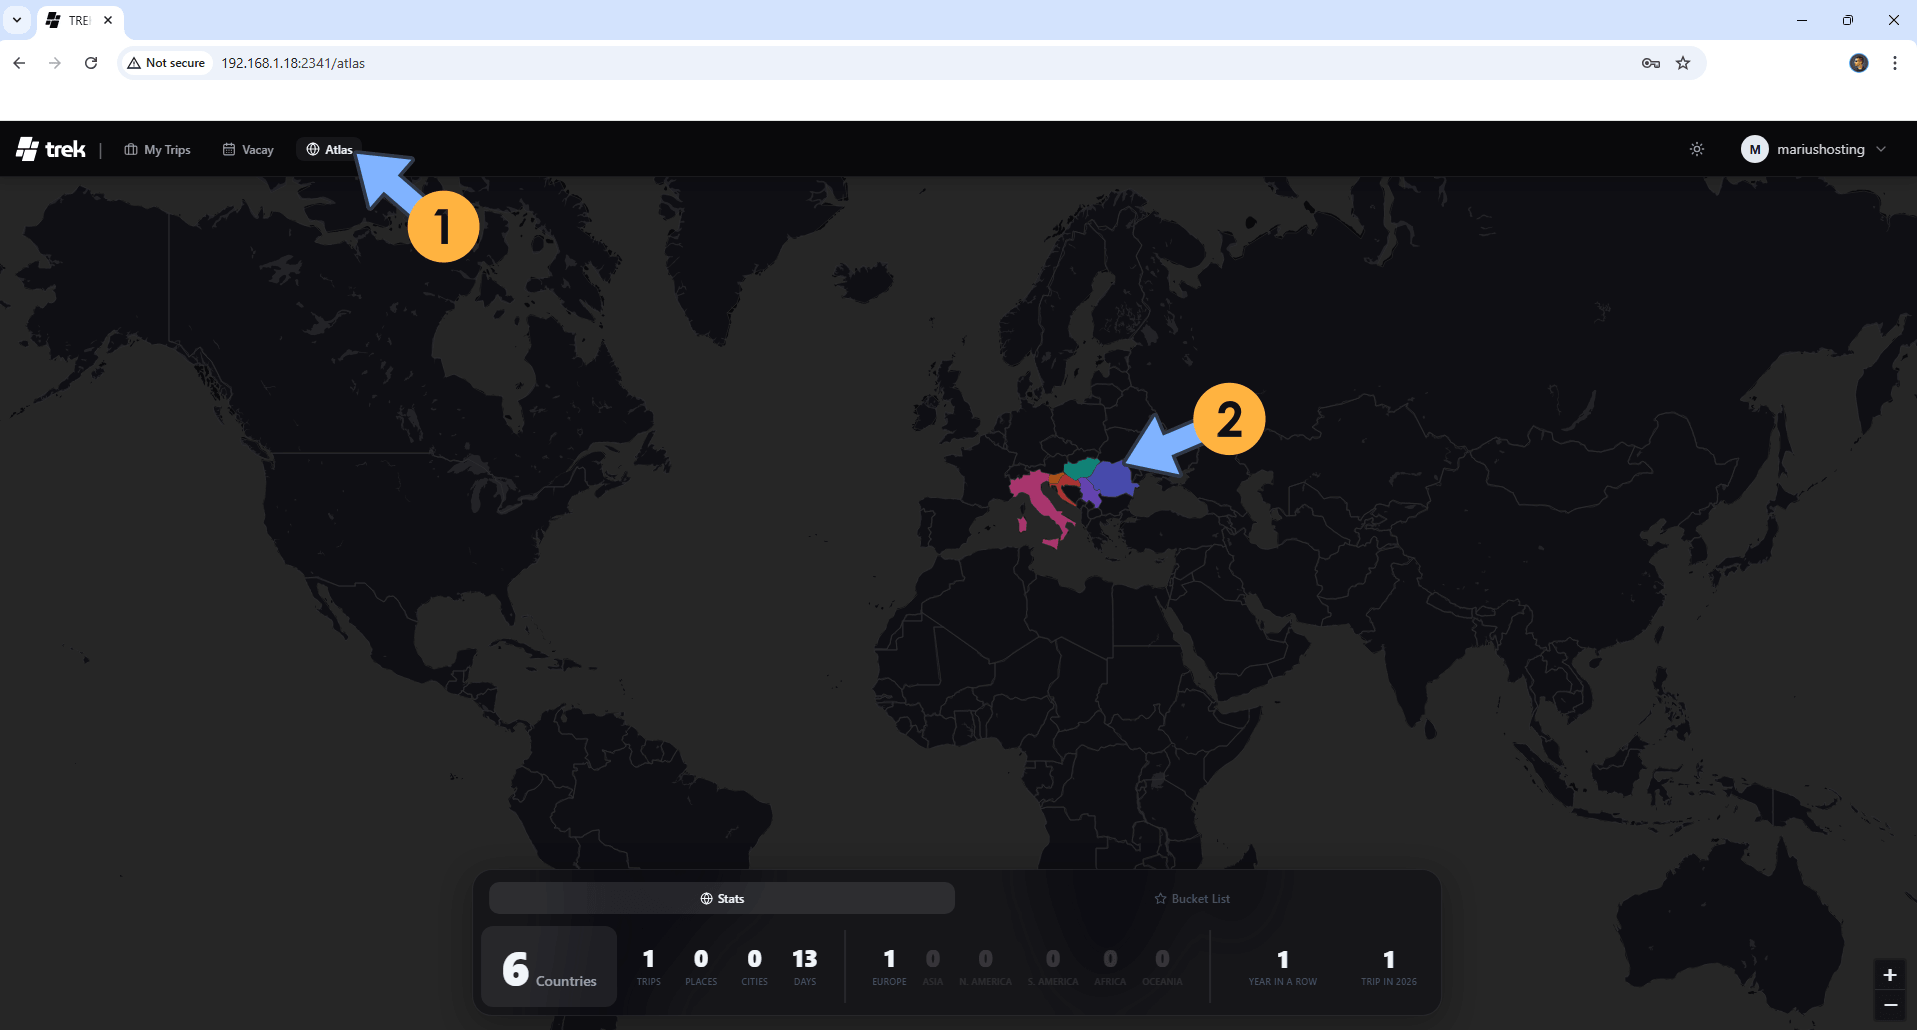
Click Atlas then click on a country on the MAP to mark it as visited. Follow the instructions in the image below.
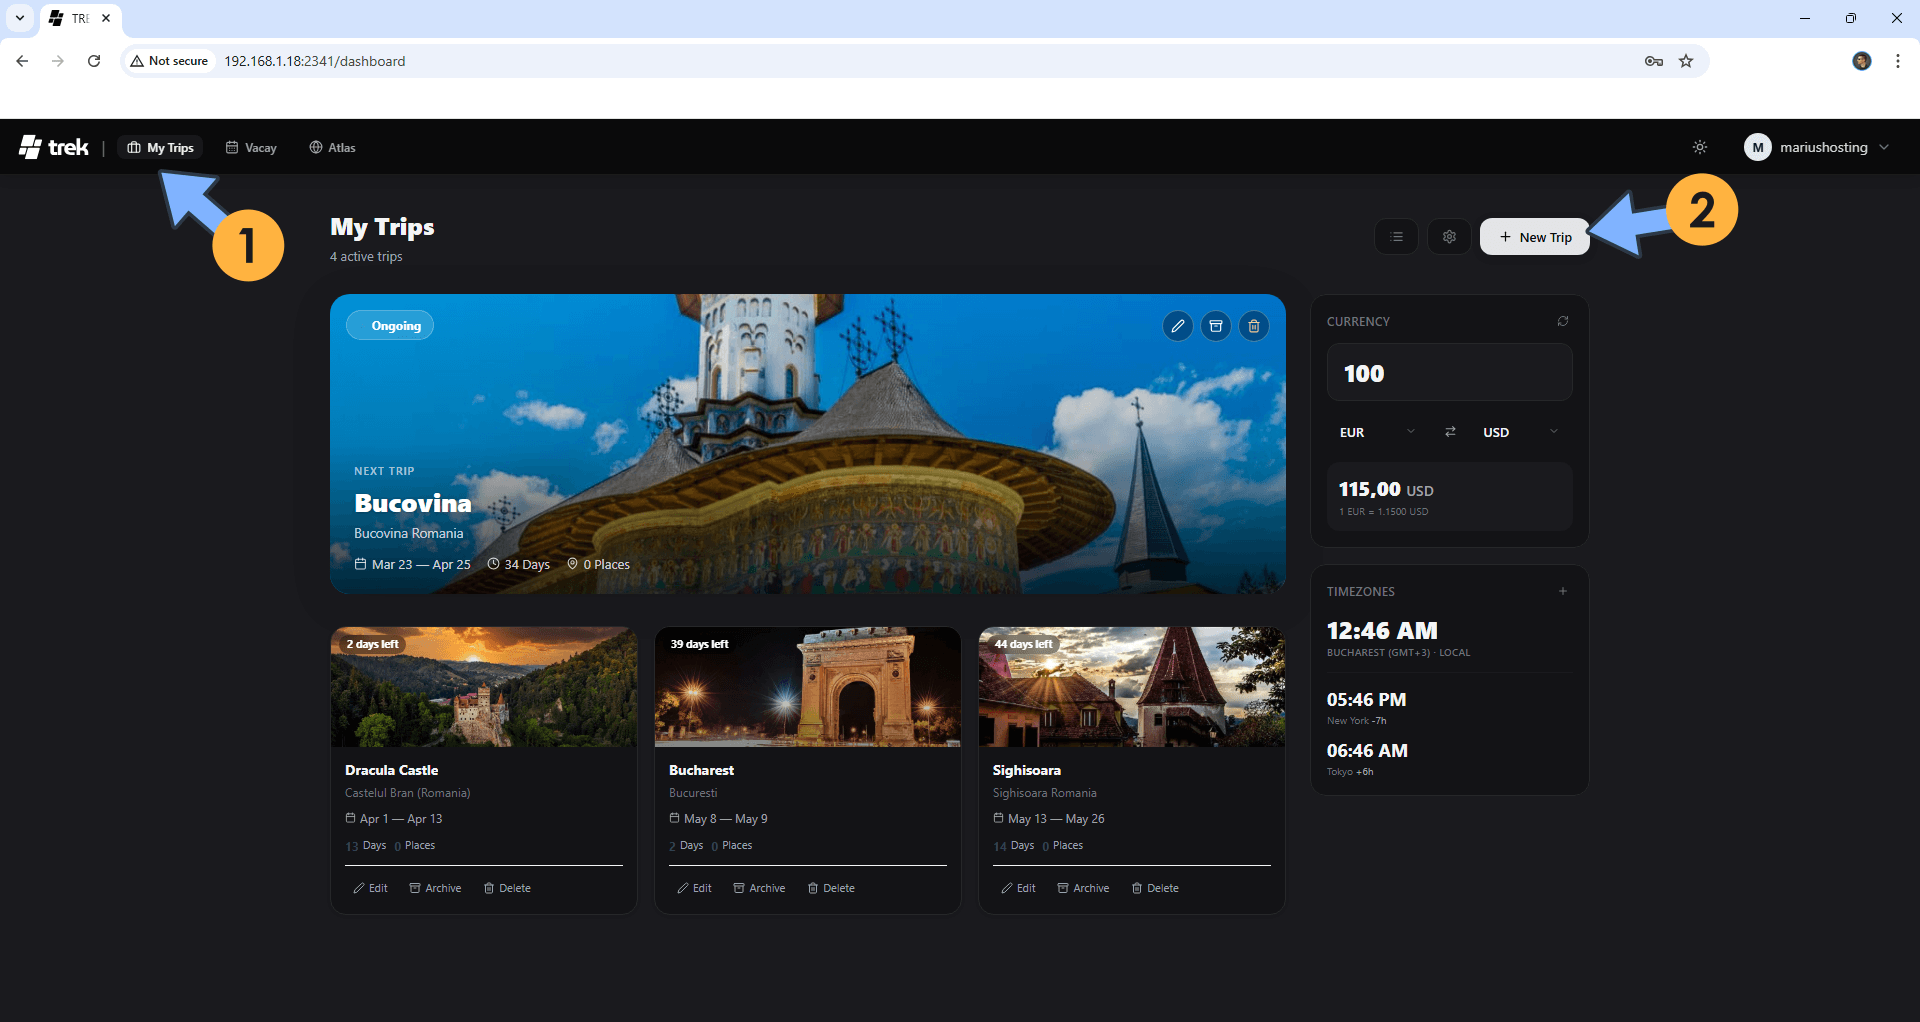
STEP 19
Click My Trips to go back to your Trips homepage. Click + New Trip to add multiple trips! From now on you can control every aspect of your trips in an easy and intuitive way!
Enjoy TREK
If you encounter issues by using this container, make sure to check out the Common Docker issues article.
Note: If you want to run the TREK container over HTTPS, check How to Run Docker Containers Over HTTPS. In order to make TREK work via HTTPS, it’s mandatory to activate WebSocket.
Note: Can I run Docker on my Synology NAS? See the supported models.
Note: How to Back Up Docker Containers on your Synology NAS.
Note: Find out how to update the TREK container with the latest image.
Note: How to Free Disk Space on Your NAS if You Run Docker.
Note: Instead of the synology.me DDNS you can also use your own domain name.
Note: How to Schedule Start & Stop For Docker Containers.
Note: How to Activate Email Notifications.
Note: How to Add Access Control Profile on Your NAS.
Note: How to Change Docker Containers Restart Policy.
Note: How to Use Docker Containers With VPN.
Note: Convert Docker Run Into Docker Compose.
Note: How to Clean Docker.
Note: How to Clean Docker Automatically.
Note: Best Practices When Using Docker and DDNS.
Note: Some Docker Containers Need WebSocket.
Note: Find out the Best NAS Models For Docker.
Note: Activate Gmail SMTP For Docker Containers.
This post was updated on Wednesday / July 22nd, 2026 at 12:32 AM