Did you know you can restrict an IP’s access to your website hosted on your Synology NAS? You can also restrict user access to every docker container that uses Reverse Proxy according to the user’s source IP. Synology has an option that allows you to create an Access Control Profile. Today I will teach you how to restrict/deny access to users by banning their IP so they can’t reach your website hosted on your Synology NAS anymore.
STEP 1
Please Support My work by Making a Donation.
STEP 2
Go to Control Panel / Login Portal / Advanced tab then click Access Control Profile. Follow the instructions in the image below.

STEP 3
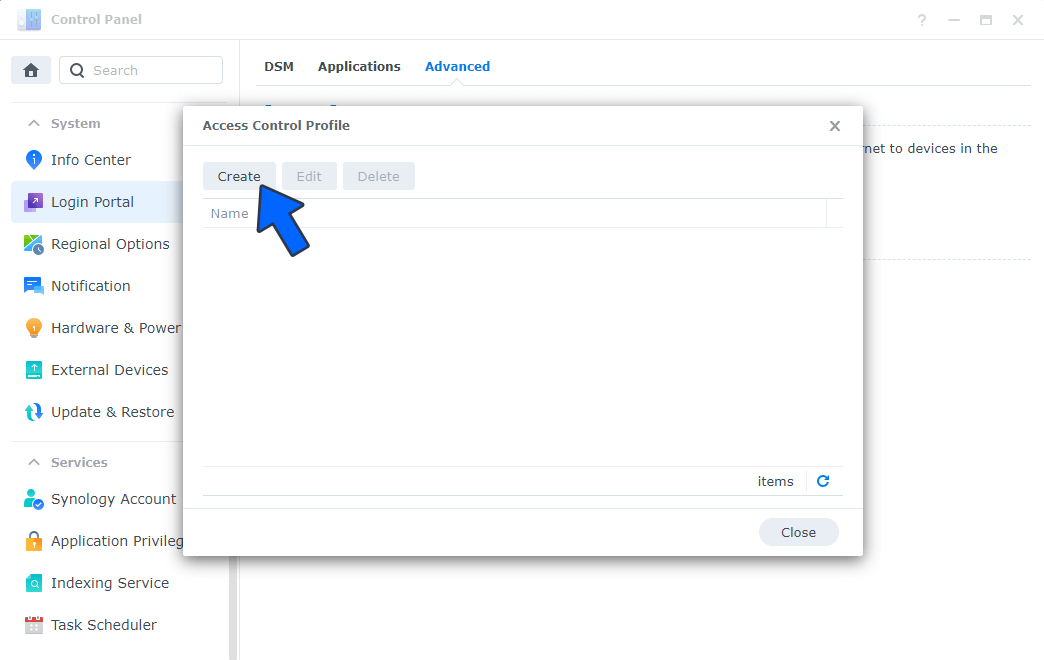
After you click Access Control Profile at STEP 2 a new window will open. Click Create. Follow the instructions in the image below.
STEP 4
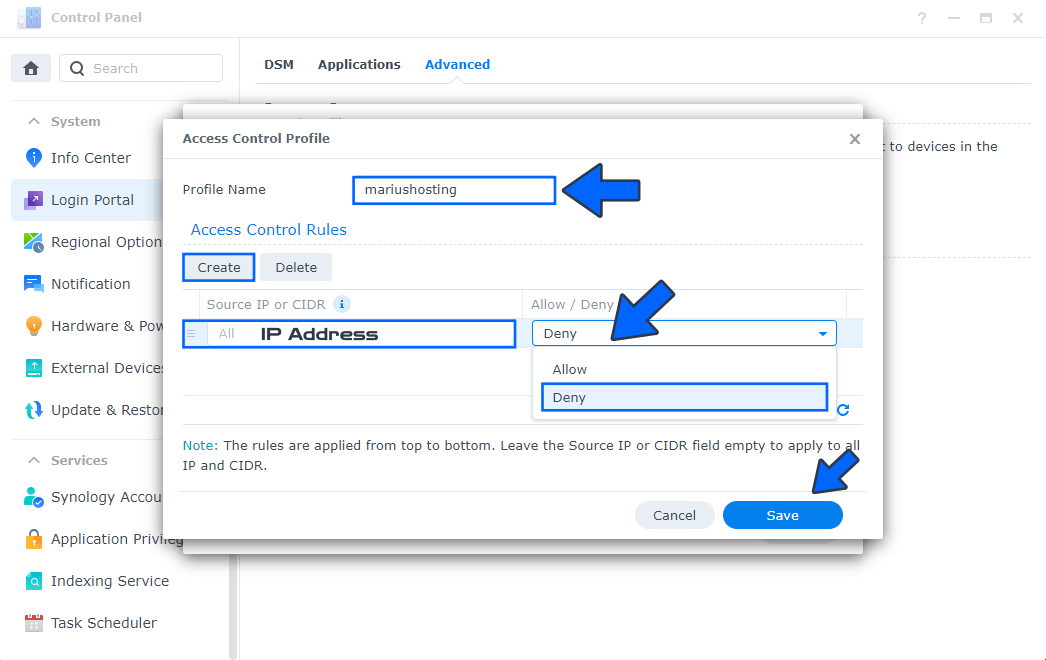
Type in a Profile Name. Click Create and add an IP or CIDR then select Deny to block it. Click Save to save the settings.
Note: You can add multiple IP addresses.
Note: Classless inter-domain routing CIDR is a set of IP standards that is used to create unique identifiers for networks and individual devices.
STEP 5
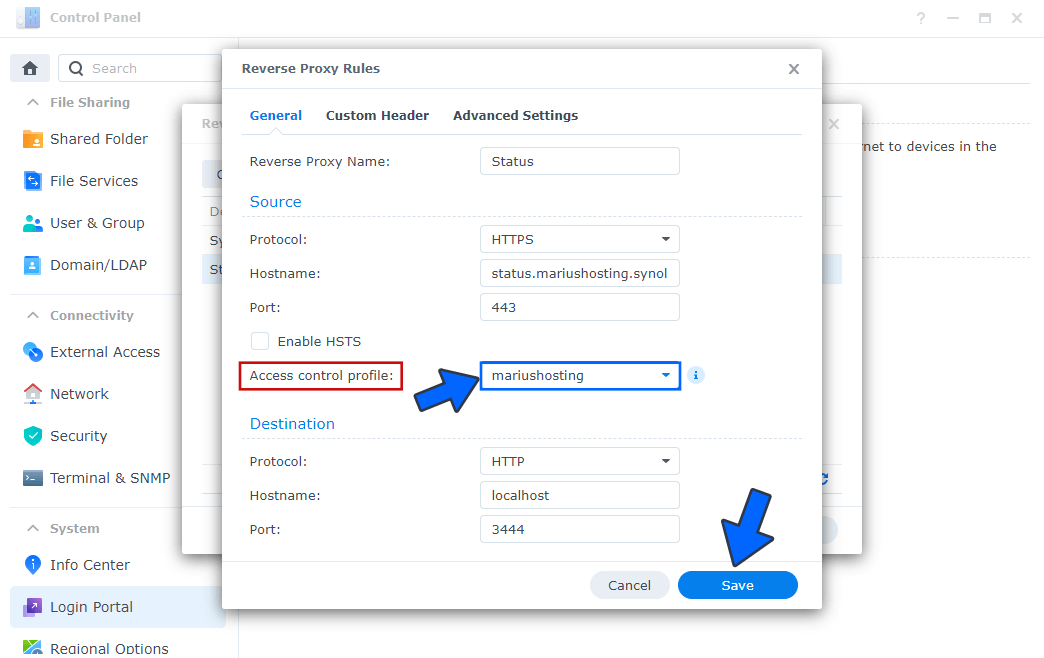
For example, if you host multiple Docker Containers and you use Reverse Proxy to access them online via the HTTPS protocol, you can add your Access Control Profile settings (Name) you have created at STEP 4 directly to the Reverse Proxy Rules. All banned IPs will no longer be able to access the online container page. They will receive a message that says they are not allowed in this server. Follow the instructions in the image below.
STEP 6
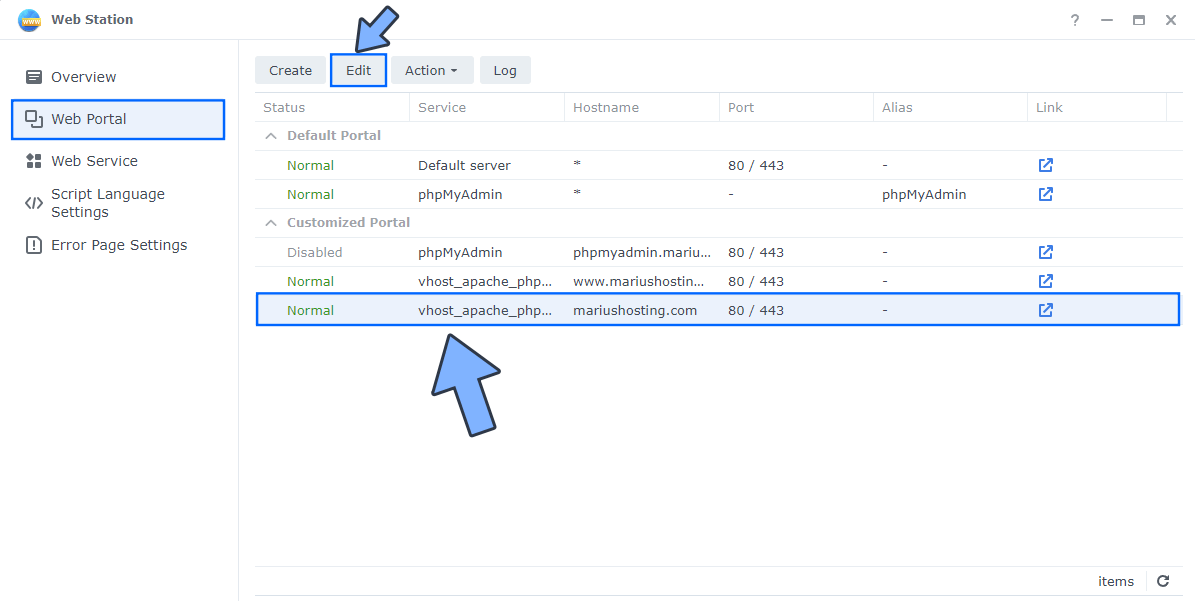
You can also apply the Access Control Profile directly in the Web Station package so the banned IPs can’t visit your website hosted on your Synology NAS anymore. Open Web Station. On the left sidebar click Web Portal. Select your hosted portal, then click Edit. Follow the instructions in the image below.
STEP 7
On the Access control profile area, select the profile that you have previously created at STEP 4 then click Apply. Follow the instructions in the image below.

STEP 8
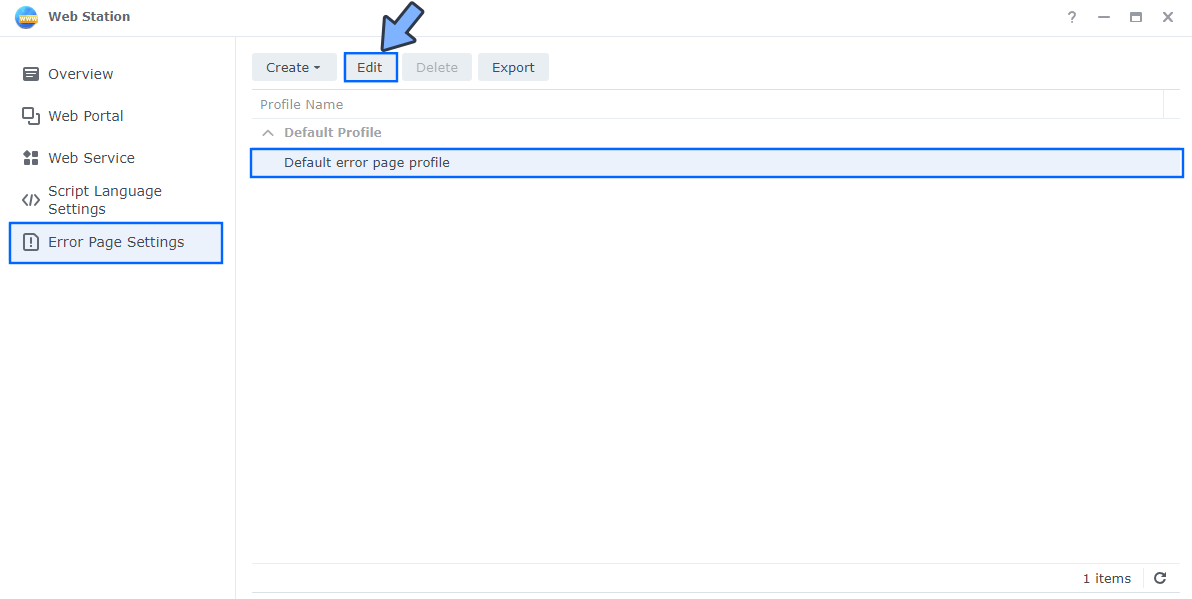
If you want, you can change the message the banned user sees by modifying the Error Page Settings via Web Station. On the left sidebar click on Error Page Settings. Either create a new one or Edit the default one, then click the Edit tab. Follow the instructions in the image below.
STEP 9
You have to modify the file that has the 401 Status Code to personalize a message for banned user IPs that attempt to access your website hosted on your NAS. Follow the instructions in the image below.
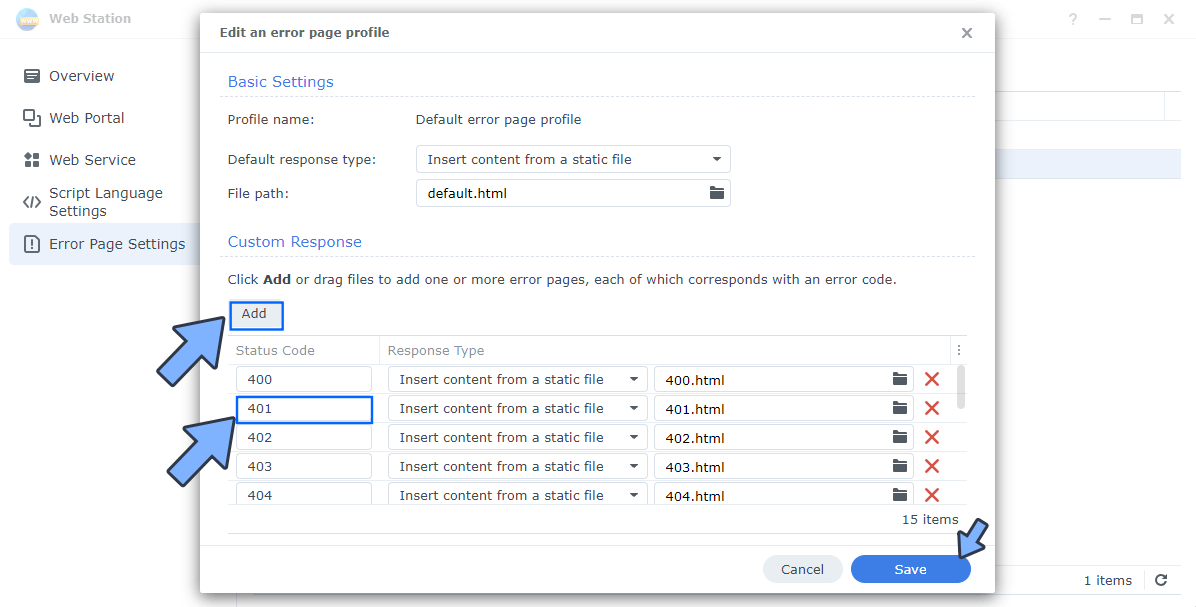
Note: The HyperText Transfer Protocol (HTTP) 401 Unauthorized response status code indicates that the client request has not been completed because it lacks valid authentication credentials for the requested resource.
This post was updated on Saturday / April 18th, 2026 at 8:58 PM