Libreddit hopes to provide an easier way to browse Reddit, without the ads, trackers, and bloat. Libreddit was inspired by other alternative front-ends to popular services such as Invidious for YouTube, Nitter for Twitter, and Bibliogram for Instagram. In this step by step guide I will show you how to install Libreddit on your Synology NAS using Docker.
STEP 1
Please Support My work by Making a Donation.
STEP 2
Install Portainer using my step by step guide. If you already have Portainer installed on your Synology NAS, skip this STEP. Attention: Make sure you have installed the latest Portainer version.
STEP 3
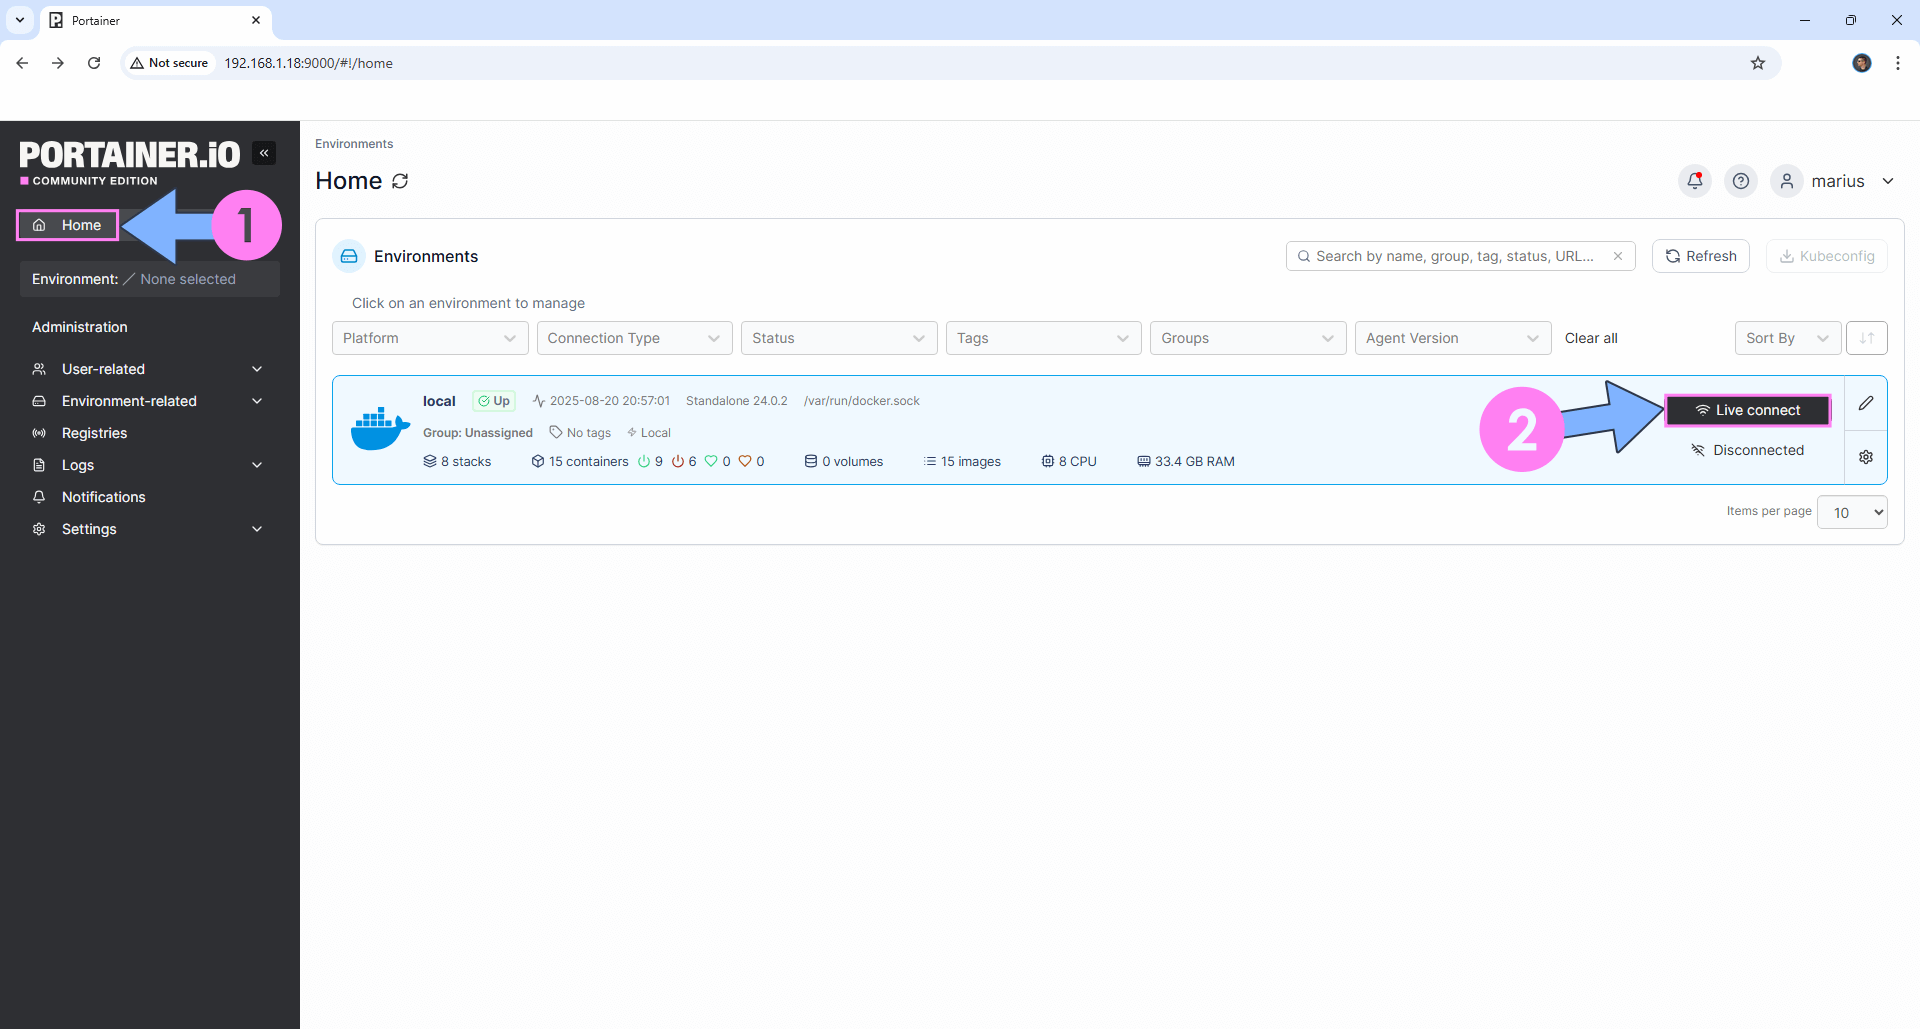
Log into Portainer using your username and password. On the left sidebar in Portainer, click on Home then Live connect. Follow the instructions in the image below.
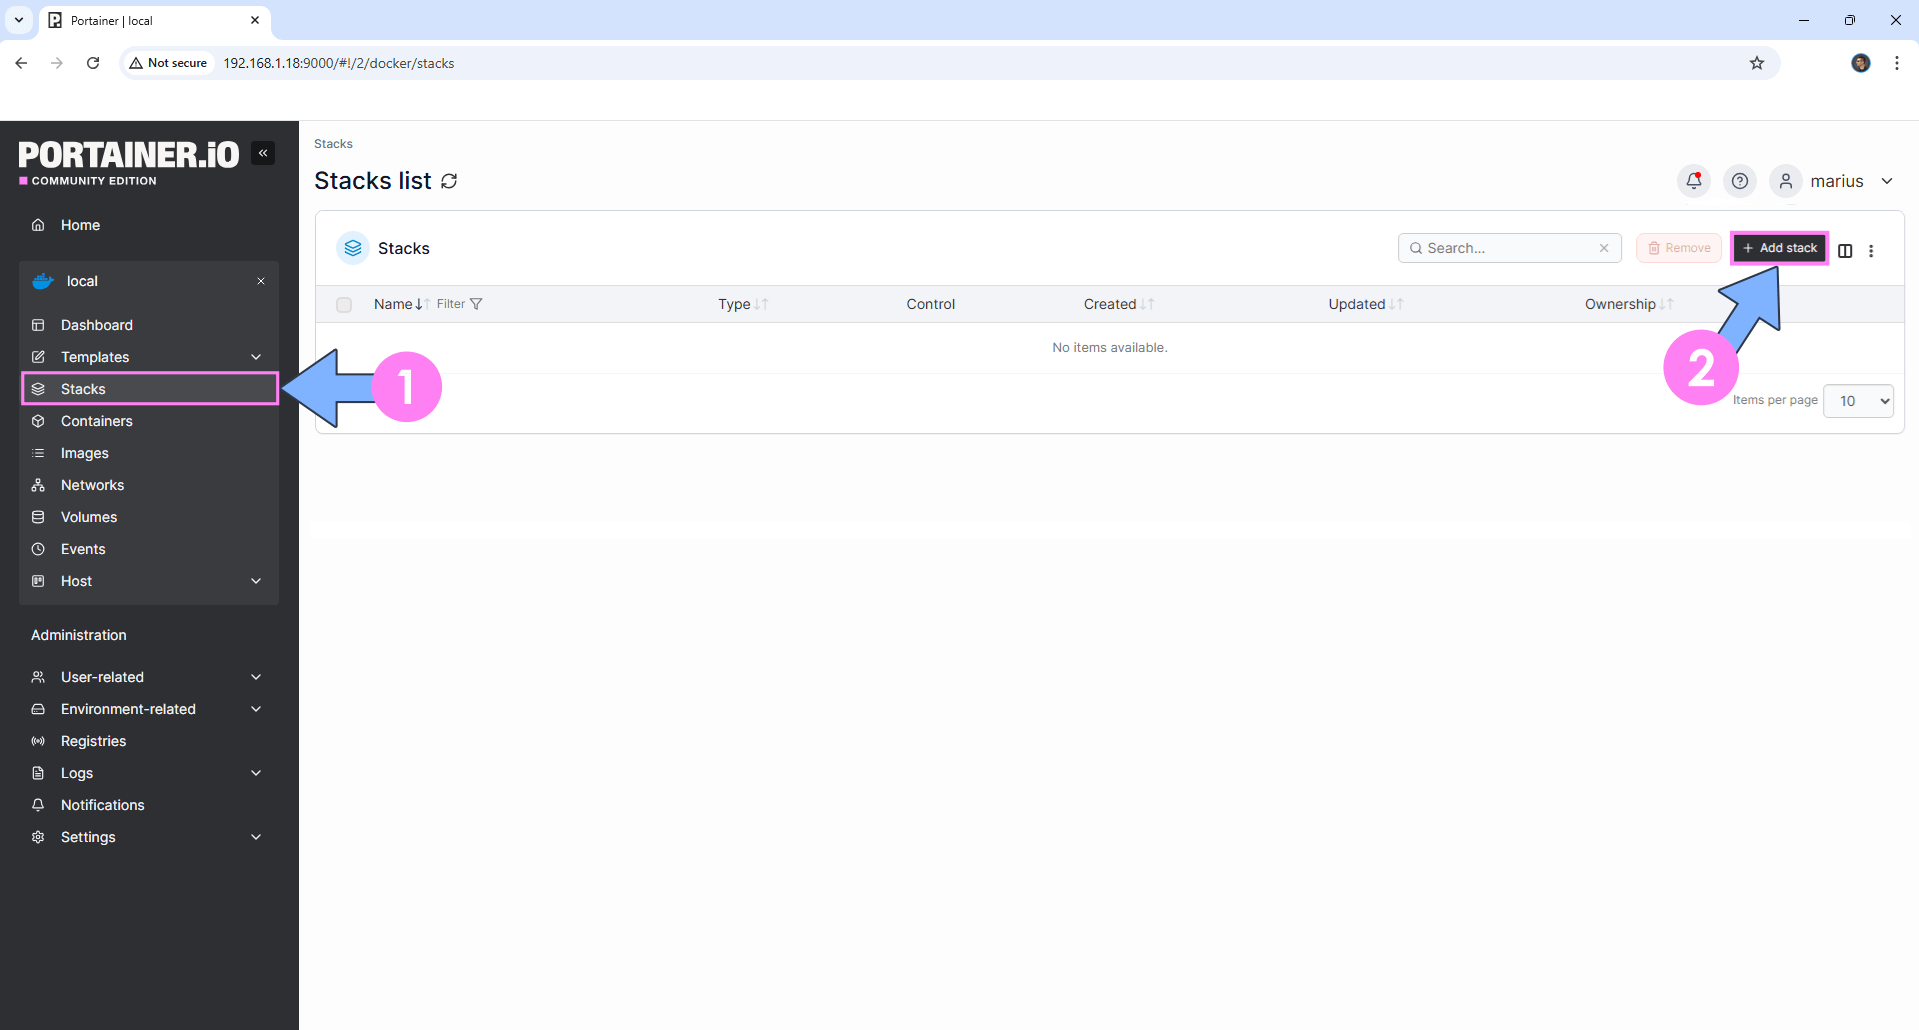
On the left sidebar in Portainer, click on Stacks then + Add stack. Follow the instructions in the image below.
STEP 4
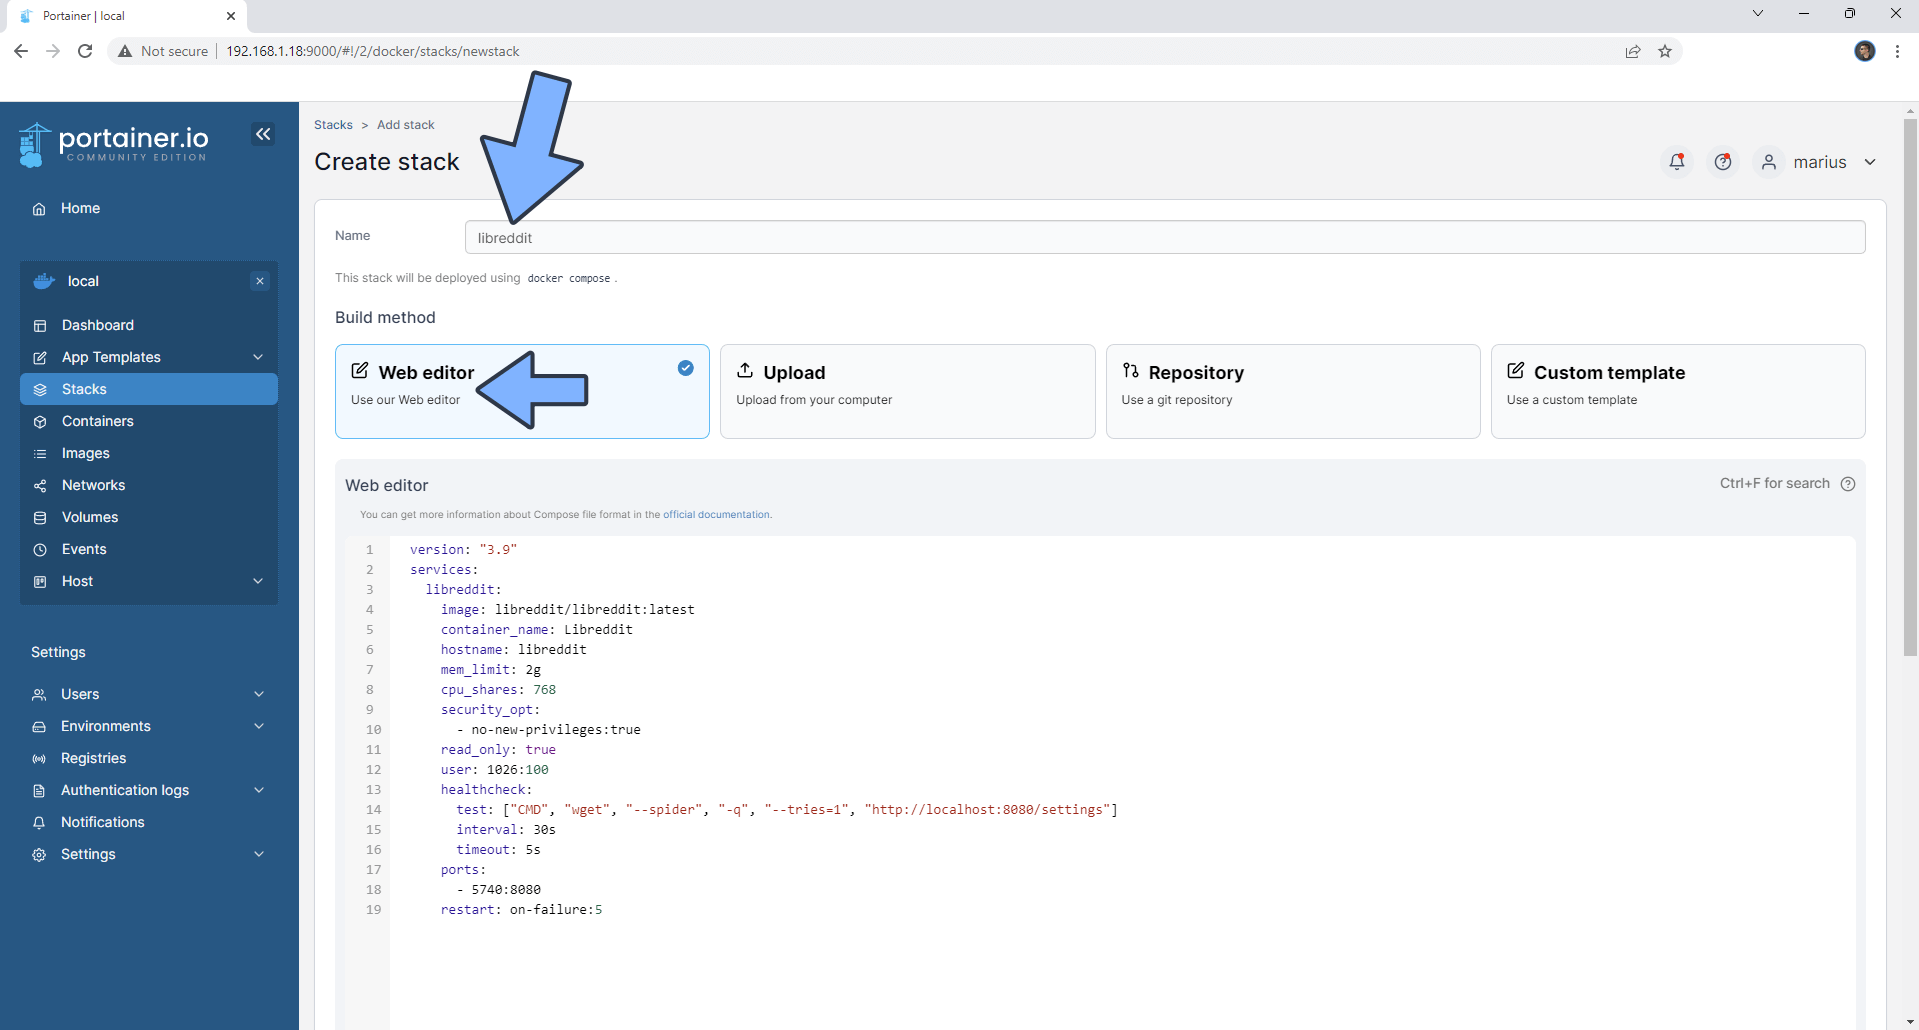
In the Name field type in libreddit. Follow the instructions in the image below.
version: "3.9"
services:
  libreddit:
    image: libreddit/libreddit:latest
    container_name: Libreddit
    hostname: libreddit
    mem_limit: 2g
    cpu_shares: 768
    security_opt:
      - no-new-privileges:true
    read_only: true
    user: 1026:100
    healthcheck:
      test: ["CMD", "wget", "--spider", "-q", "--tries=1", "http://localhost:8080/settings"]
      interval: 30s
      timeout: 5s
    ports:
      - 5740:8080
    restart: on-failure:5
Note: Before you paste the code above in the Web editor area below, change the value numbers for user with your own UID and GID values. (Follow my step by step guide on how to do this.) 1026 is my personal UID value and 100 is my personal GID value. You have to type in your own values.
STEP 5
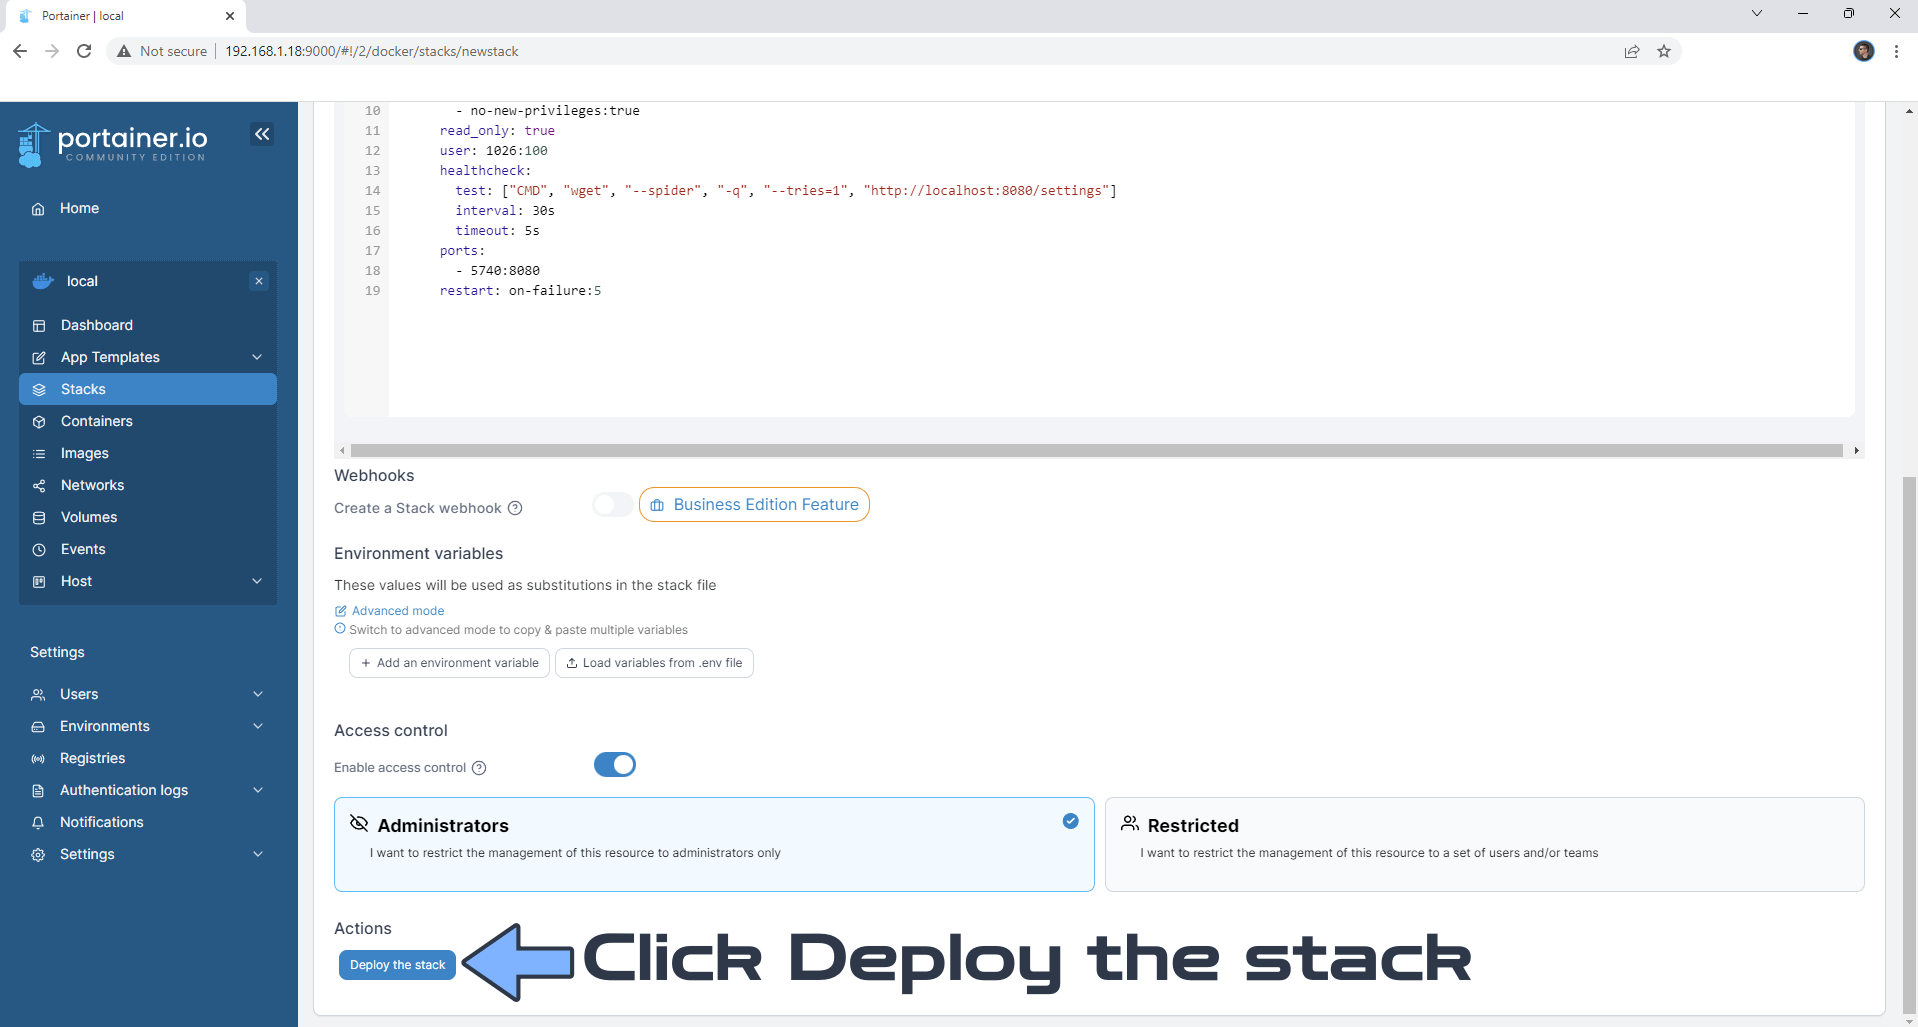
Scroll down on the page until you see a button named Deploy the stack. Click on it. Follow the instructions in the image below. The installation process can take up to a few minutes. It will depend on your Internet speed connection.
STEP 6
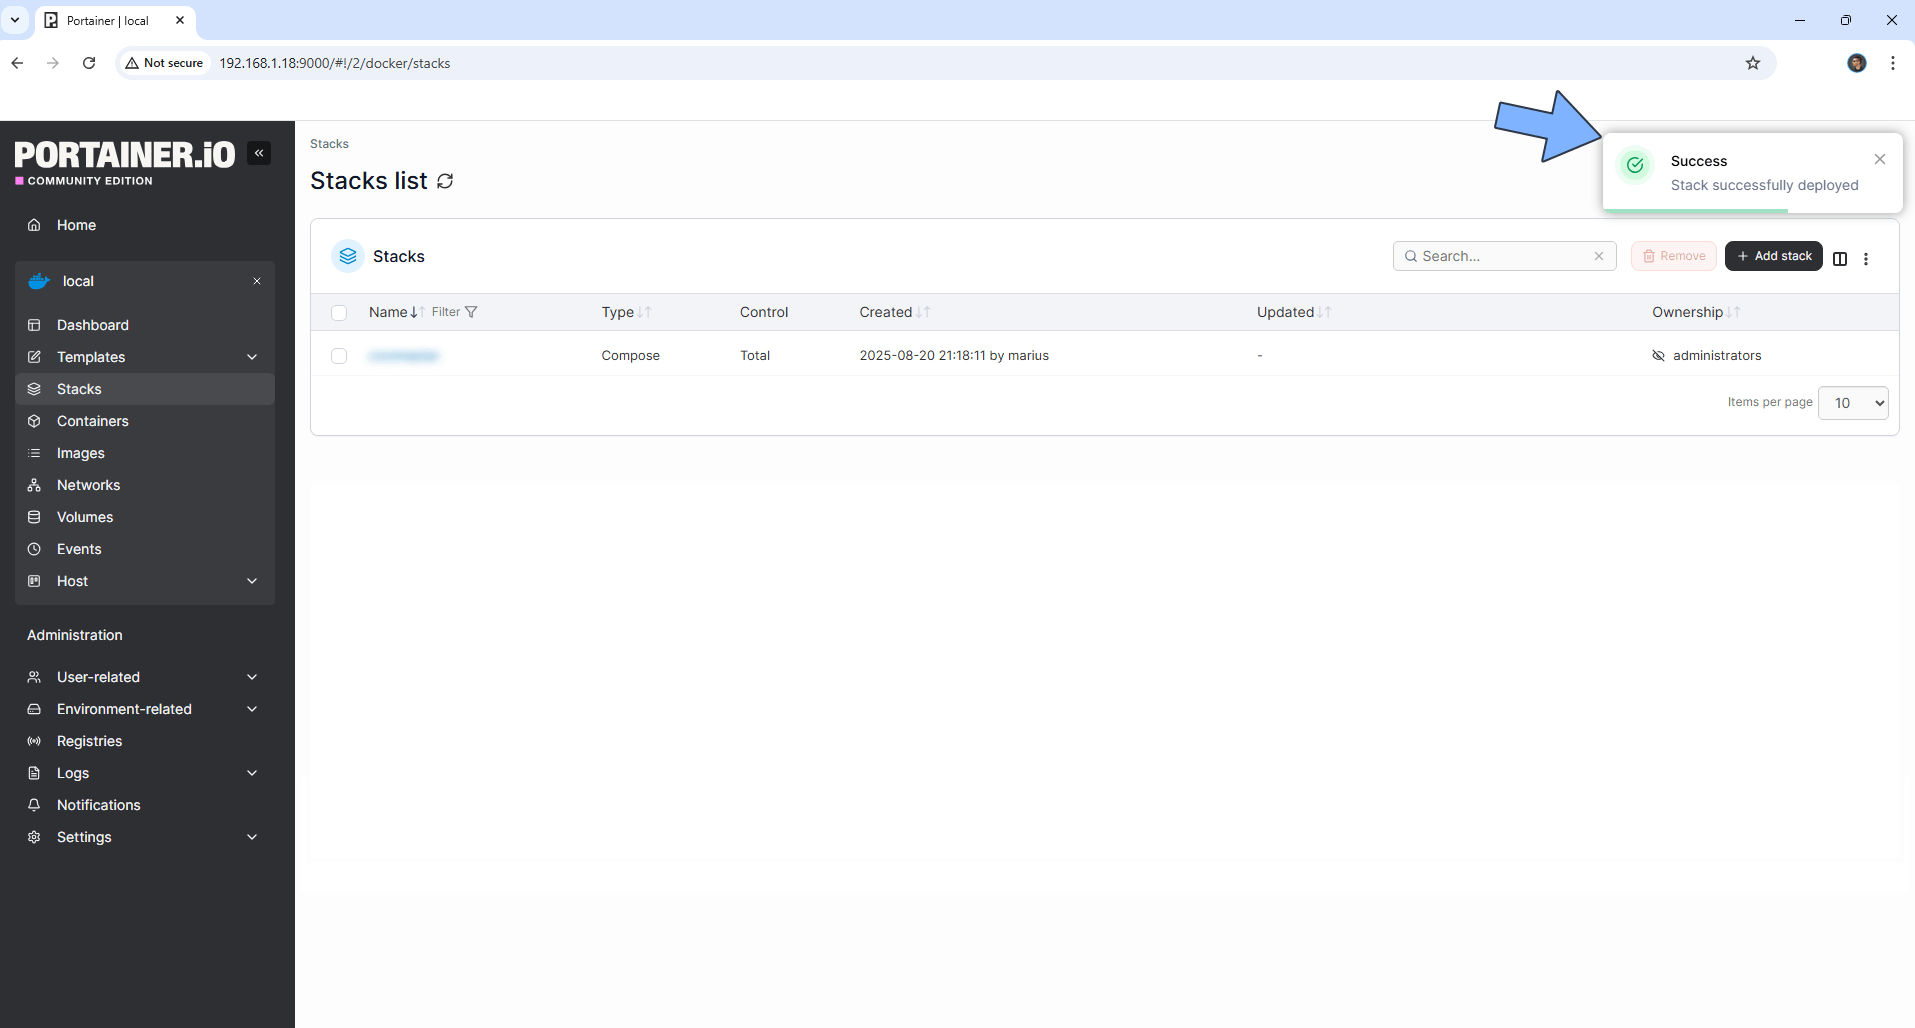
If everything goes right, you will see the following message at the top right of your screen: “Success Stack successfully deployed“.
STEP 7
🟢Please Support My work by Making a Donation. Almost 99,9% of the people that install something using my guides forget to support my work, or just ignore STEP 1. I’ve been very honest about this aspect of my work since the beginning: I don’t run any ADS, I don’t require subscriptions, paid or otherwise, I don’t collect IPs, emails, and I don’t have any referral links from Amazon or other merchants. I also don’t have any POP-UPs or COOKIES. I have repeatedly been told over the years how much I have contributed to the community. It’s something I love doing and have been honest about my passion since the beginning. But I also Need The Community to Support me Back to be able to continue doing this work.
STEP 8
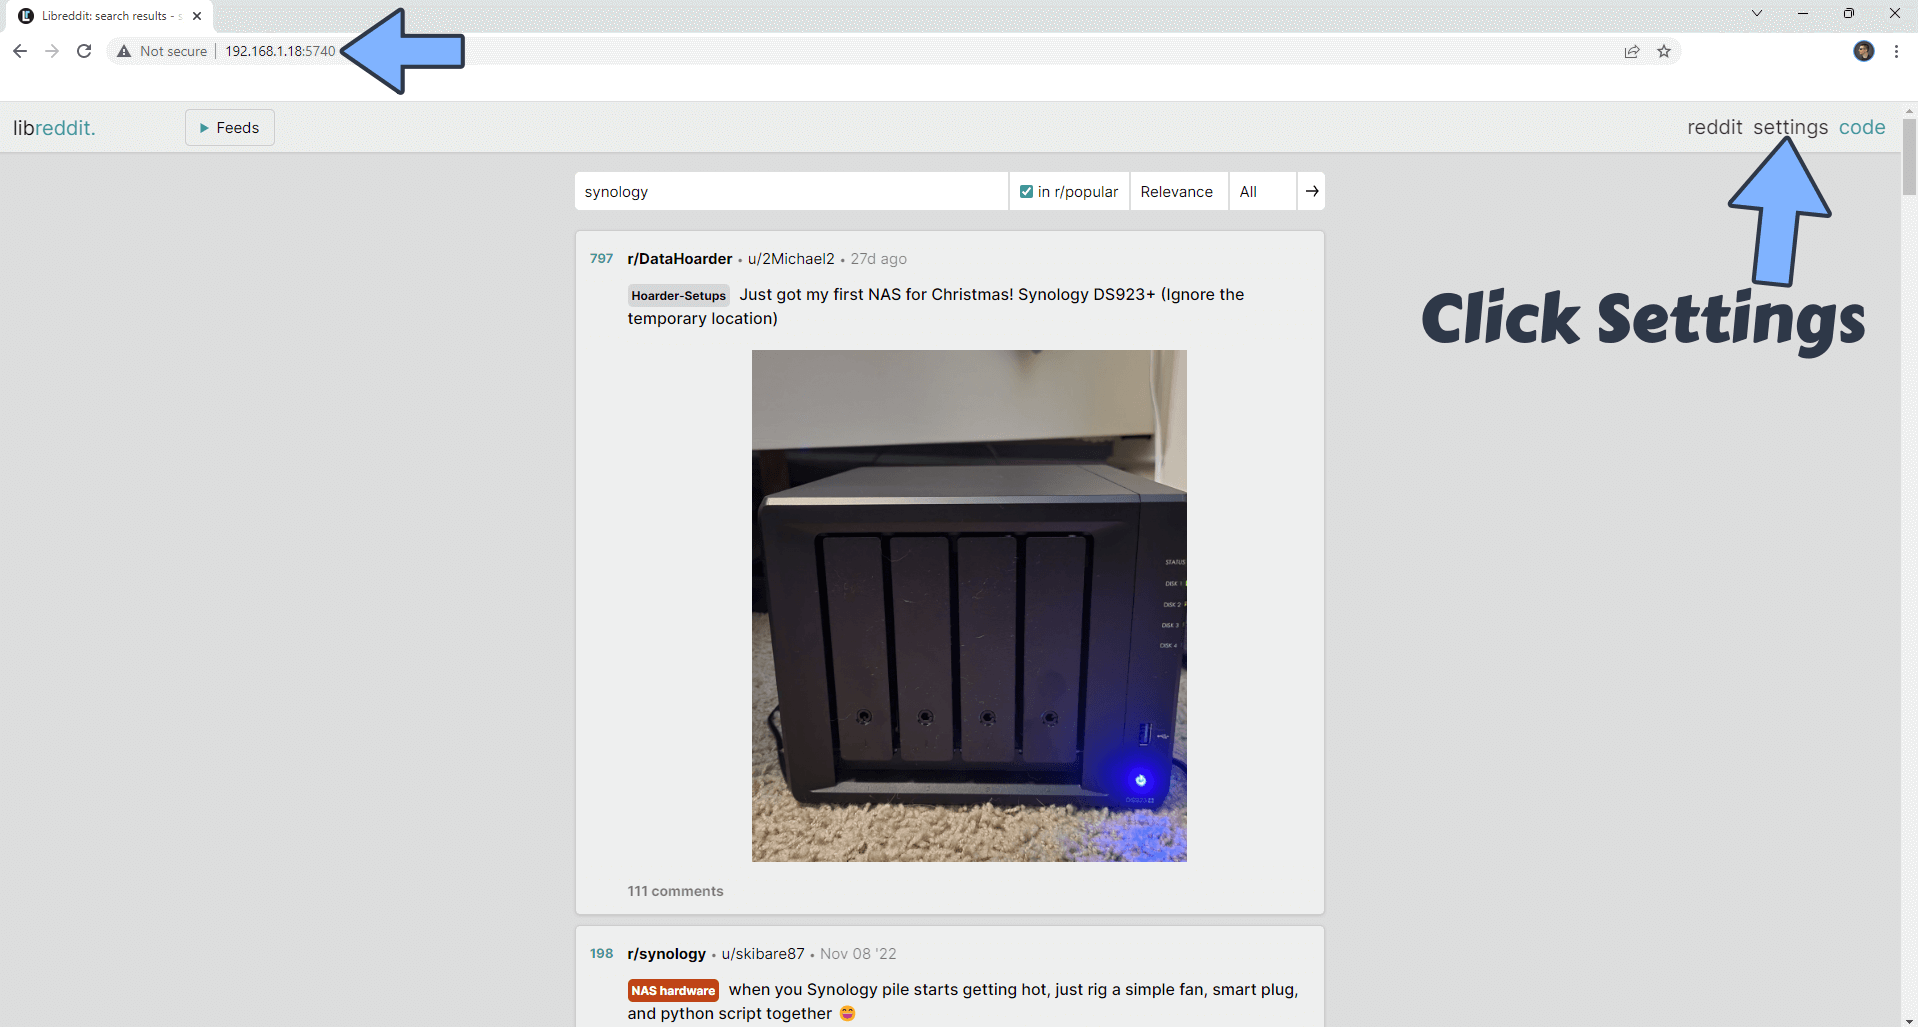
The installation process can take up to a few seconds/minutes. It will depend on your Internet speed connection. Now open your browser and type in http://Synology-ip-address:5740 Click Settings. Follow the instructions in the image below.
STEP 9
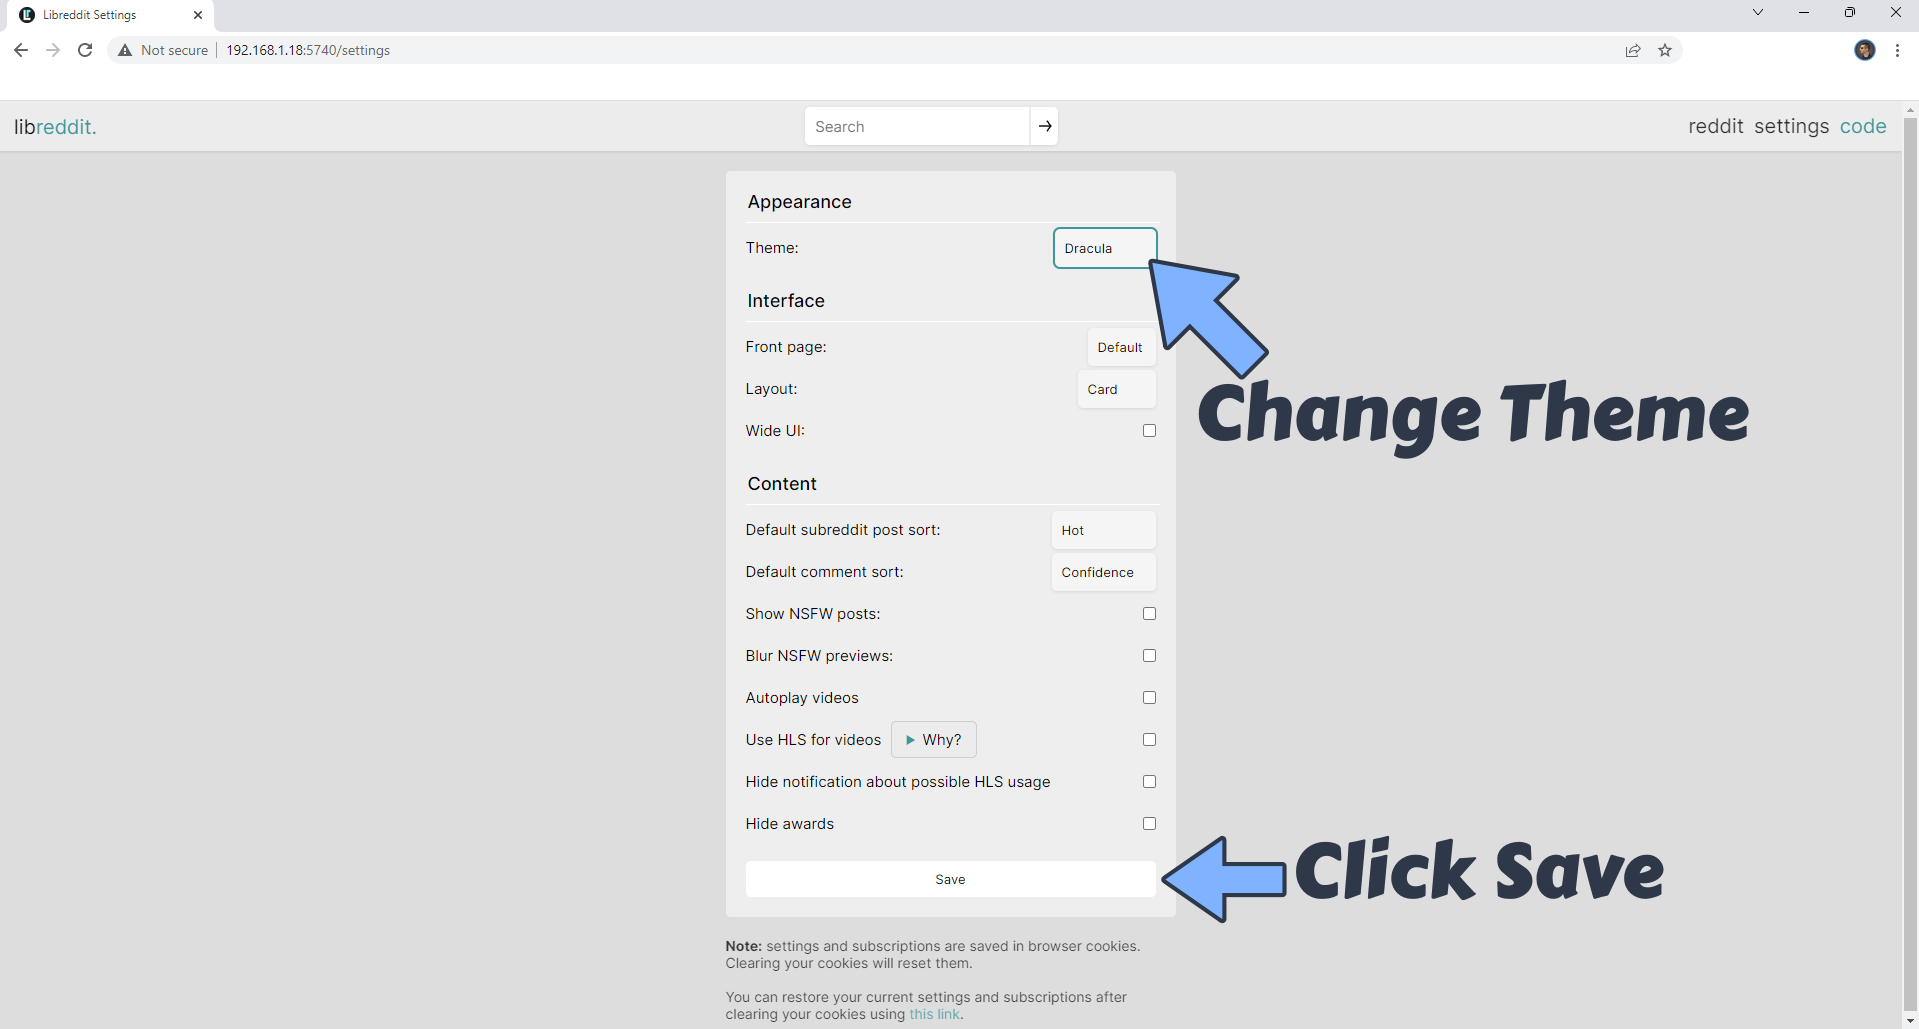
You can change the current default Theme. Click Save. Follow the instructions in the image below.
Your new Libreddit theme at a glance!
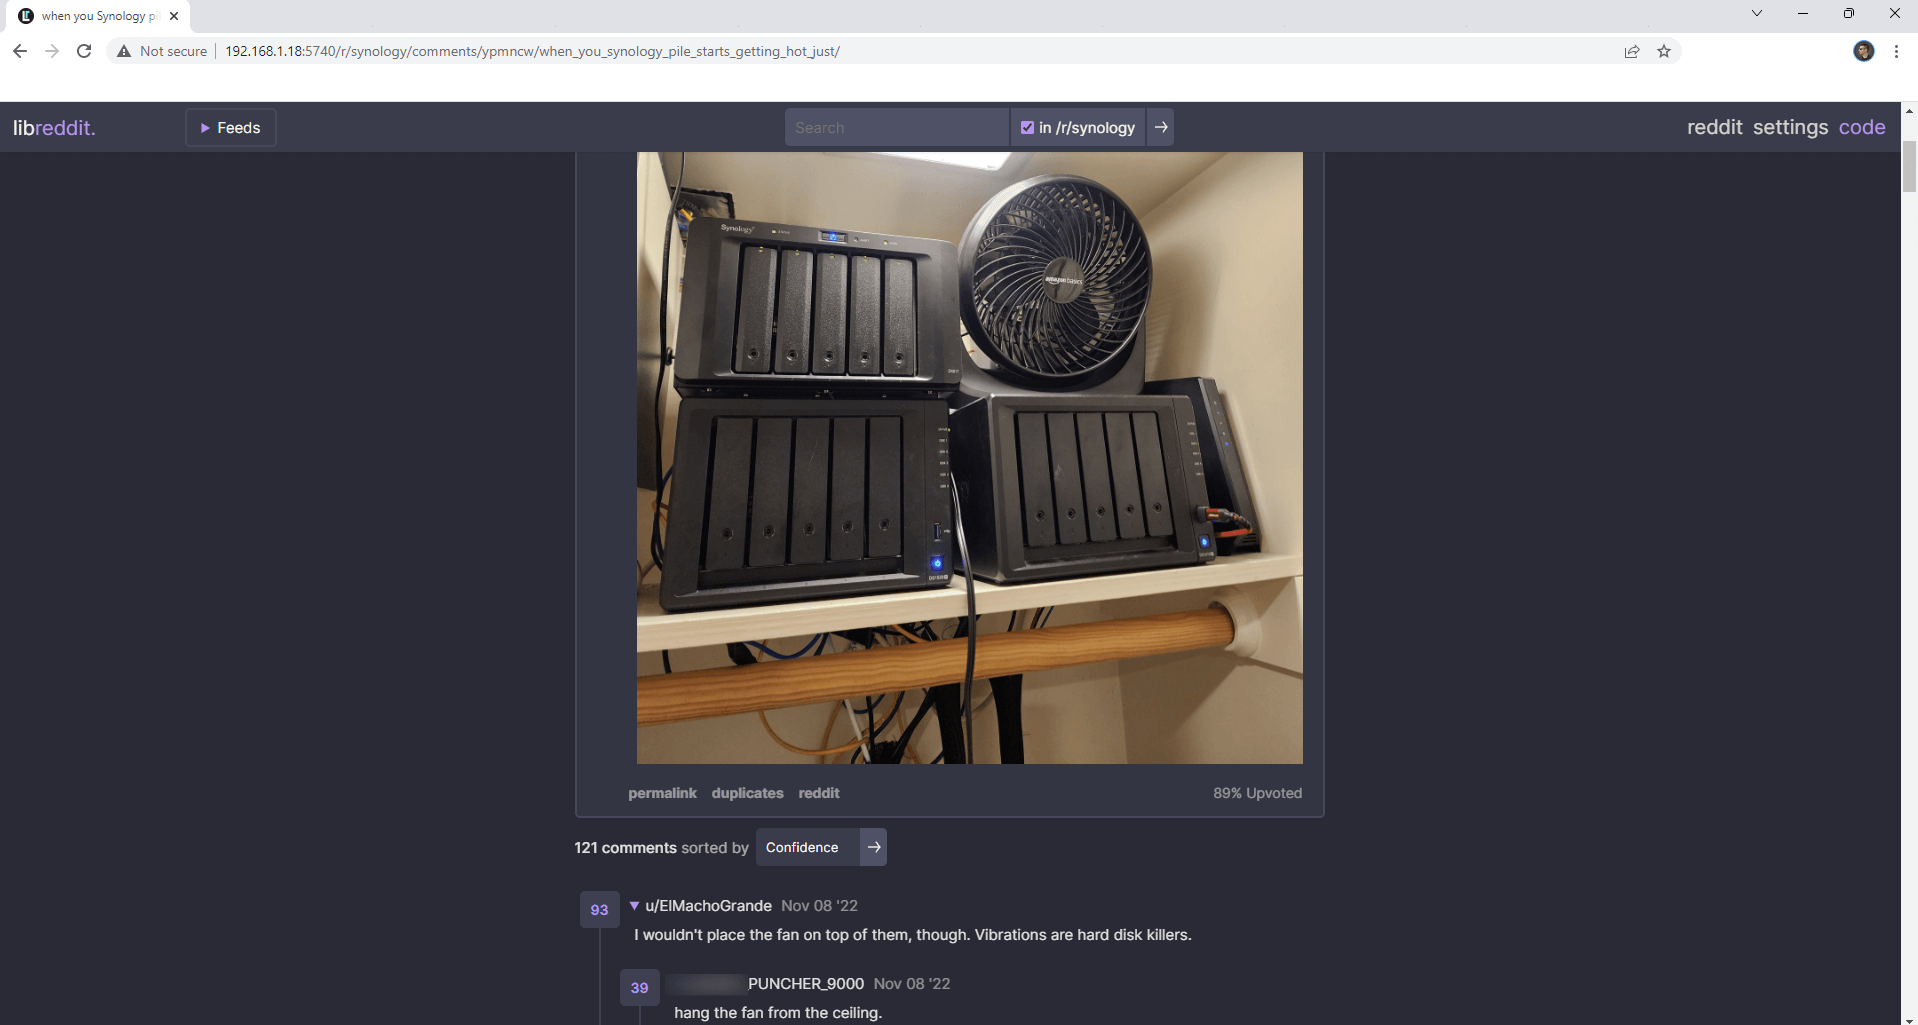
Enjoy Libreddit! You can now surf Reddit without ADS, trackers and bloats!
Note: If you want to run Libreddit container over HTTPS check How to Run Docker Containers Over HTTPS.
Note: Can I run Docker on my Synology NAS? See the supported models.
Note: How to Back Up Docker Containers on your Synology NAS.
Note: Find out how to update Libreddit container with the latest image.
Note: How to Free Disk Space on Your NAS if You Run Docker.
Note: How to Schedule Start & Stop For Docker Containers.
Note: How to Activate Email Notifications.
Note: How to Add Access Control Profile on Your NAS.
Note: How to Change Docker Containers Restart Policy.
Note: How to Use Docker Containers With VPN.
Note: Convert Docker Run Into Docker Compose.
Note: How to Clean Docker.
Note: How to Clean Docker Automatically.
Note: Best Practices When Using Docker and DDNS.
Note: Some Docker Containers Need WebSocket.
Note: Find out the Best NAS Models For Docker.
Note: Activate Gmail SMTP For Docker Containers.
This post was updated on Friday / August 29th, 2025 at 4:04 PM
