Your video surveillance system needs some basic maintenance overview at least once every two to three months for everything to work within normal parameters. In this article I wanted to summarize some good practices that you should adopt to make sure your video surveillance system stays in peak shape. If you’re using a Synology NVR or NAS together with any model of Reolink video Surveillance cameras, then this guide is for you.
STEP 1
Please Support My work by Making a Donation.
STEP 2 Protect From Dust
Protect your Synology NAS or NVR from dust using a pantyhose. It doesn’t get simpler than this.
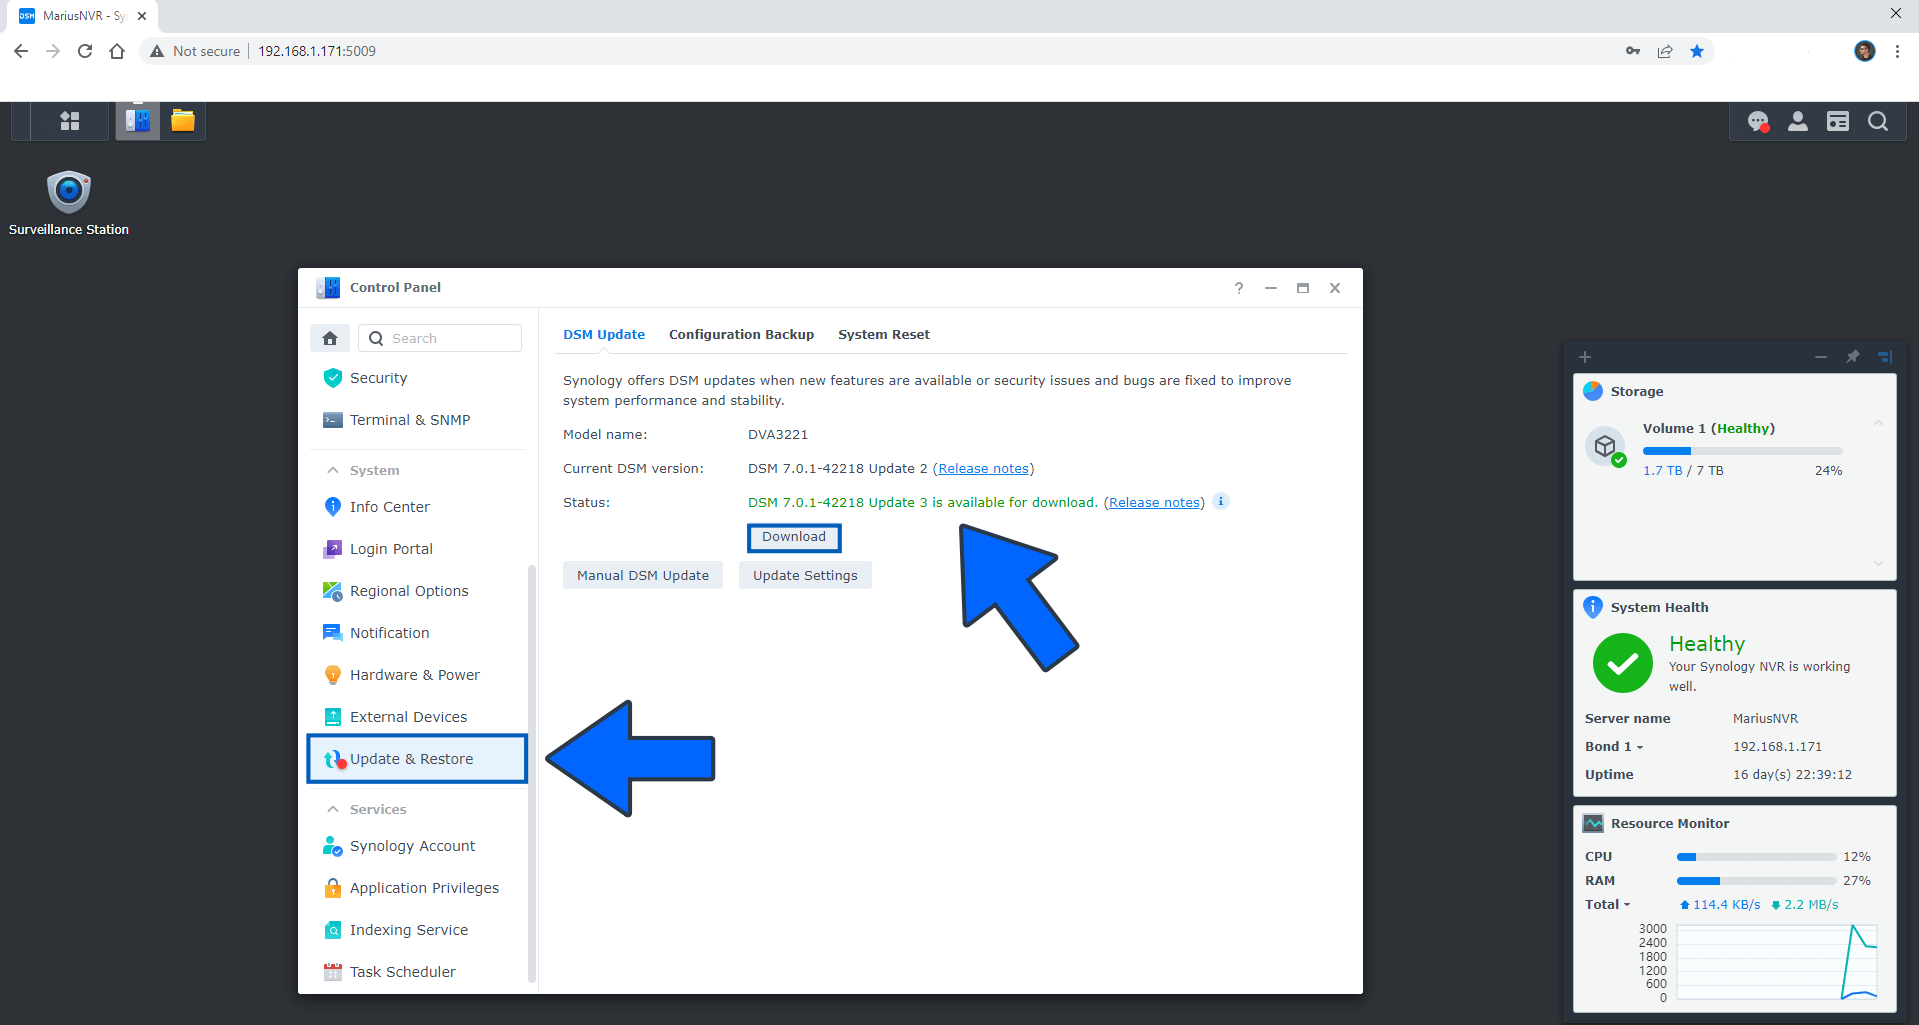
STEP 3 Latest DSM Operating System
Make sure you always have the latest DSM operating system installed on your device. Log into your DSM and go to Control Panel / Update & Restore to check if there is any update available. If there is, update the operating system to make sure you are protected from any new potential security issues. Ignore those who boast that they haven’t updated their NAS or NVR OS in years – this is nothing to boast about. Follow the instructions in the image below.
STEP 4 Firewall Setup
Don’t forget to correctly set up the firewall on DSM 7.
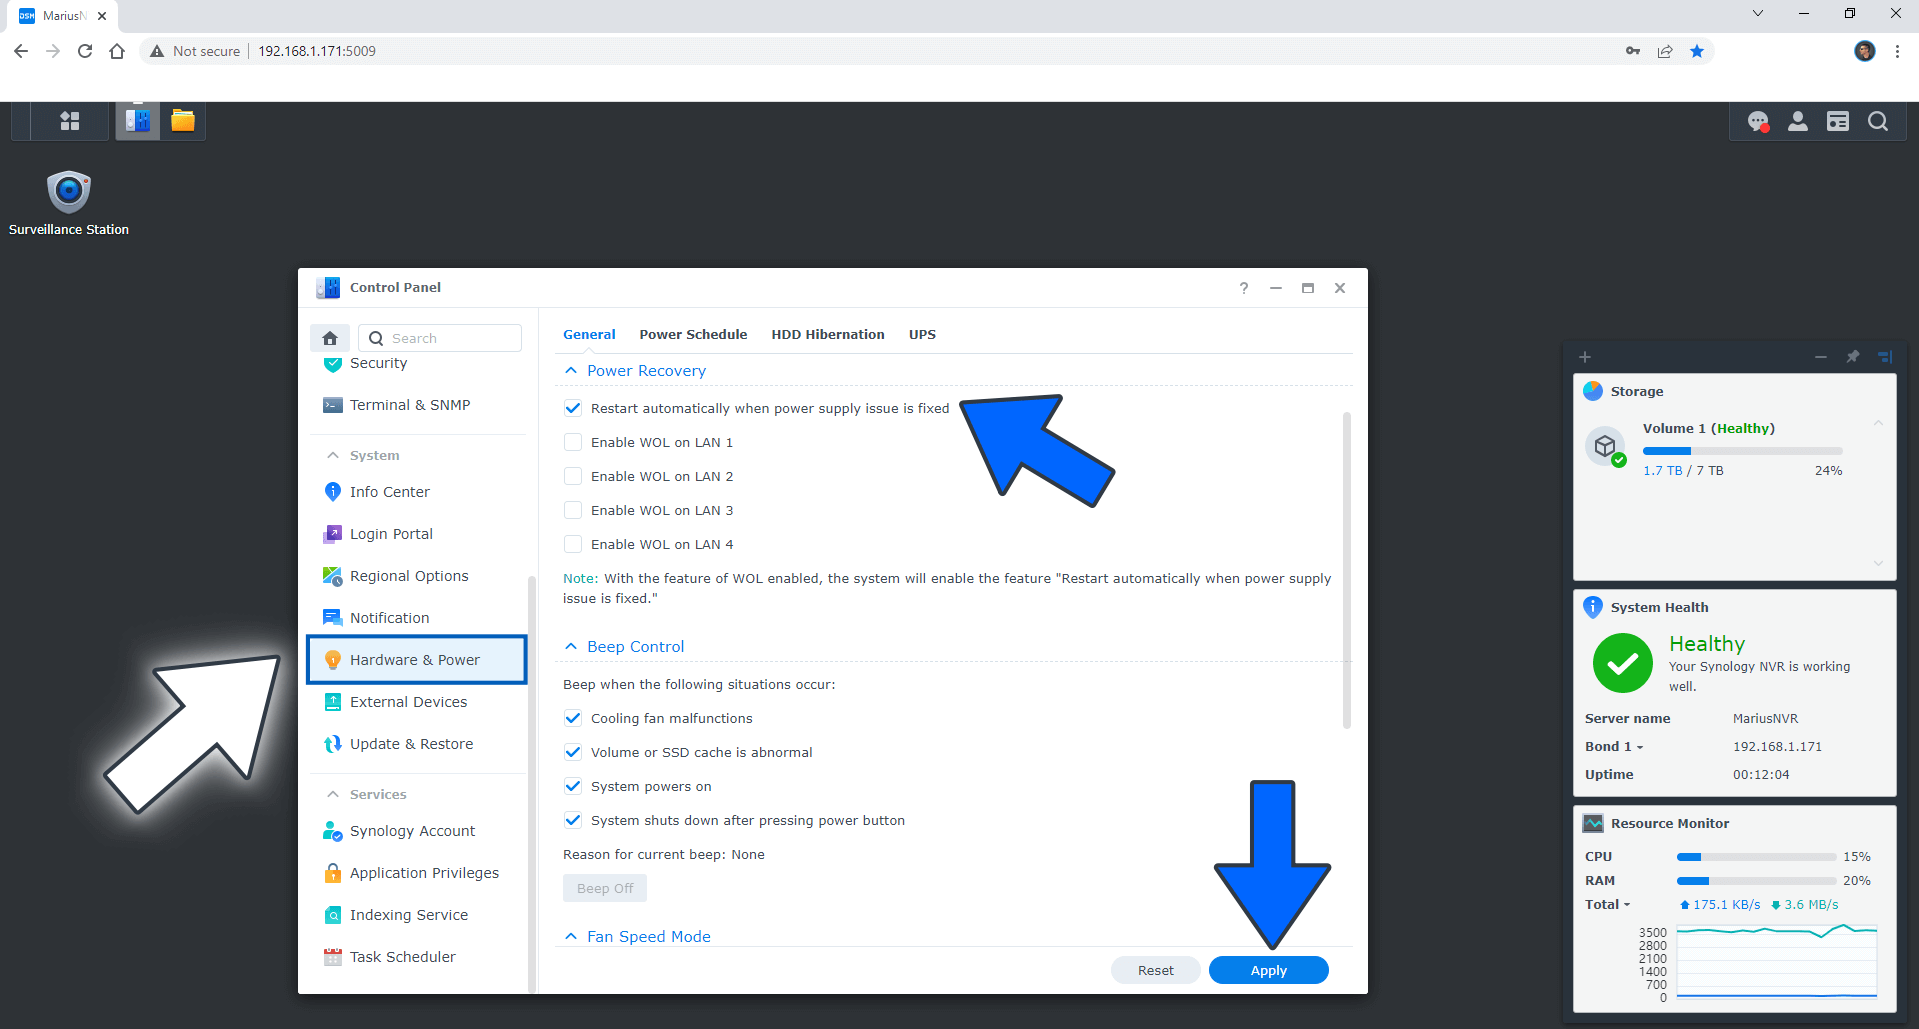
STEP 5 Restart Automatically When Power Supply Issue is Fixed
If you have an UPS to keep your device operational 24/7, make sure you check the option “Restart automatically when power supply issue is fixed“. This way, in case of a power outage, your NAS or NVR will turn on automatically when the power is back on. Go to Control Panel / Hardware & Power. If this option is deactivated by default, activate it then click Apply. Follow the instructions in the image below.
STEP 6 Turn OFF HDD Hibernation
Turn off HDD Hibernation if you use your Synology NAS or NVR for Surveillance monitoring to better preserve your disks health.
STEP 7 Disable Memory Compression
STEP 8 Latest Reolink Camera Firmware
Install the latest Reolink Firmware on your Reolink Camera.
STEP 9 Remove Dust From Reolink Camera
Use a compressed air spray to remove dust from your outdoor and indoor Reolink camera lens. Don’t use a microfiber cloth as it can scratch the lens if there is some dust on it. If the lens is simply dirty, you can use a compressed air spray and then a microfiber cloth.
STEP 10 Gently Remove Cobwebs or Prevent their Appearance
Check for cobwebs regularly and remove them. For outdoor Reolink cameras I use a stick insecticide for spiders that can be attached nearby the camera.
STEP 11 Check Reolink Camera Connectors
Check the Reolink cameras connectors for corrosion. Make sure there is no water issue and no corrosion happening. Remember to change connectors you suspect have been affected by corrosion. Corroded camera connectors can cause short circuits which is something you don’t want. Also don’t forget to check your Reolink power supply.
Note: Difference Between NAS and NVR.
Note: Reolink Cameras for the Synology DVA3221 NVR.
Note: How to Add Reolink Cameras to Surveillance Station.
Note: Night Vision With Reolink Cameras.
Note: How to Update Reolink Camera Firmware.
Note: How to Set Up Reolink Camera Spotlight Schedule.
Note: How to Remove Reolink Camera Logo.
Note: How to Change Reolink Camera Password.
This post was updated on Wednesday / August 10th, 2022 at 10:33 PM