

I recently decided to try Immich with GPU Acceleration on my UGREEN NAS after growing tired of relying on cloud photo services that felt slow and limited my control over my data. What drew me in was the promise of GPU acceleration for faster processing of large libraries, and after some trial and error, I got it running smoothly on my compatible NAS models. This guide walks you through the installation process for Immich with GPU support on UGREEN NAS systems, focusing on the models that handle it well such as the iDX6011 and iDX6011 Pro, the DXP6800 Pro and DXP8800 Plus, the DXP4800 Pro and the DXP480T Plus. On the DXP4800 Plus, it works, but it’s not faster than on the previous models mentioned. The slowest models for Immich with GPU acceleration (OpenVINO on the integrated Intel graphics) are the DXP2800 and DXP4800. Immich with GPU acceleration does not work on the DXP2800 GT, DXP4800 GT, DH2300 or DH4300 Plus, so checking your model first will save time. On these unsupported models, you can Install Immich without GPU Acceleration. The steps that follow are based on my own straightforward experience getting everything up and running without unnecessary complications.
💡The benefits of using GPU acceleration for Immich: faster machine learning tasks, face detection, facial recognition, smart search (CLIP embeddings), and object detection run significantly quicker when offloaded to the Intel iGPU via OpenVINO (Open Visual Inference and Neural network Optimization). Large libraries that would take many hours (or days) on CPU alone finish much sooner. Lower CPU usage and better system responsiveness. The heavy ML work moves to the GPU, so the CPU stays available for file serving, other Docker containers, and the web interface. This prevents the NAS from becoming sluggish or unresponsive during bulk photo/video imports or re-indexing. More practical experience with advanced features. Features like search by description, automatic face grouping, and similar photo detection become usable for everyday use instead of feeling too slow to bother with.
In this step by step guide I will show you how to install Immich with GPU Acceleration on your UGREEN NAS using Docker and Dockhand.
This guide works perfectly with the latest Immich v3.2.4 release.
STEP 1
Please Support My work by Making a Donation.
STEP 2
Install Dockhand using my step by step guide. If you already have Dockhand installed on your UGREEN NAS, skip this STEP. ⚠️Attention: Make sure you have installed the latest Dockhand version.
STEP 3
⚠️Warning: Add Read & Write Permissions to the Docker Folder. If you have already added the Read and Write Permissions to the Docker Folder, skip this STEP.
STEP 4
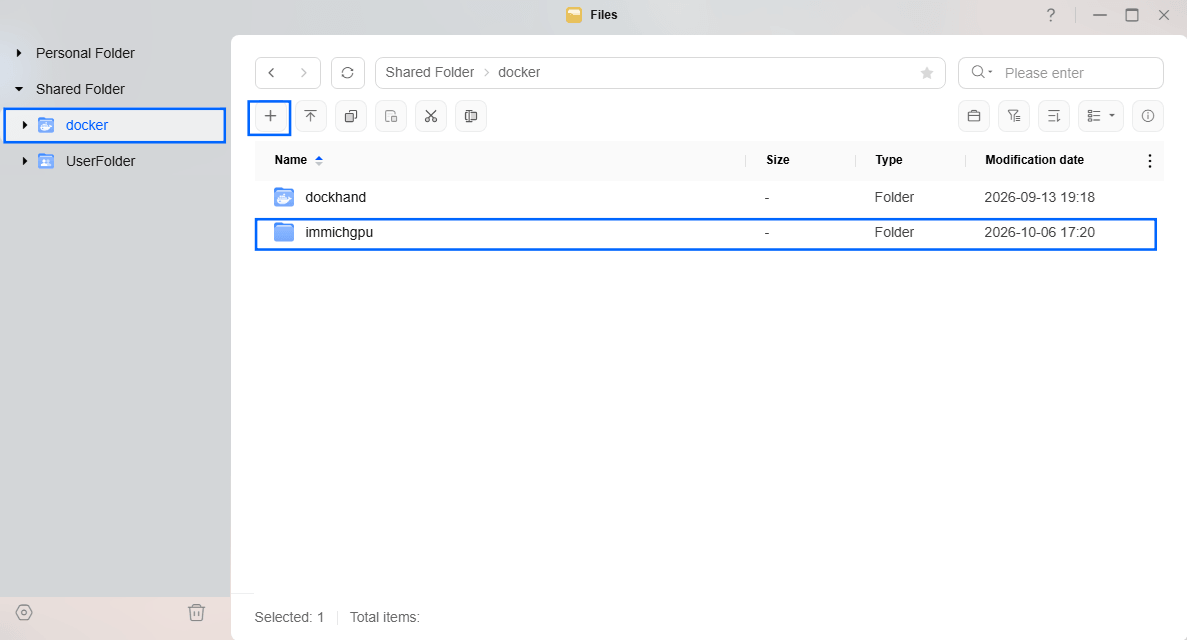
Go to Files and open the docker folder. Inside the docker folder, create one new folder and name it immichgpu. Follow the instructions in the image below.
Note: Be careful to enter only lowercase, not uppercase letters.
STEP 5
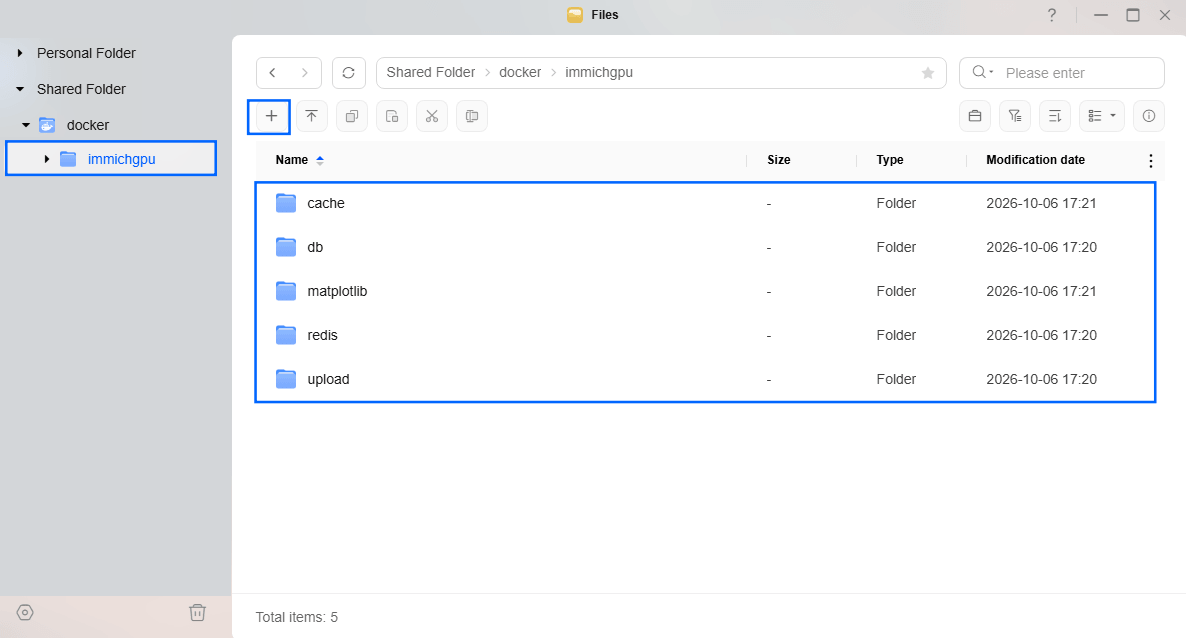
Now create five new folders inside the immich folder that you created at STEP 4 name them cache, db, matplotlib, redis, upload. Follow the instructions in the image below.
Note: Be careful to enter only lowercase, not uppercase letters.
STEP 6
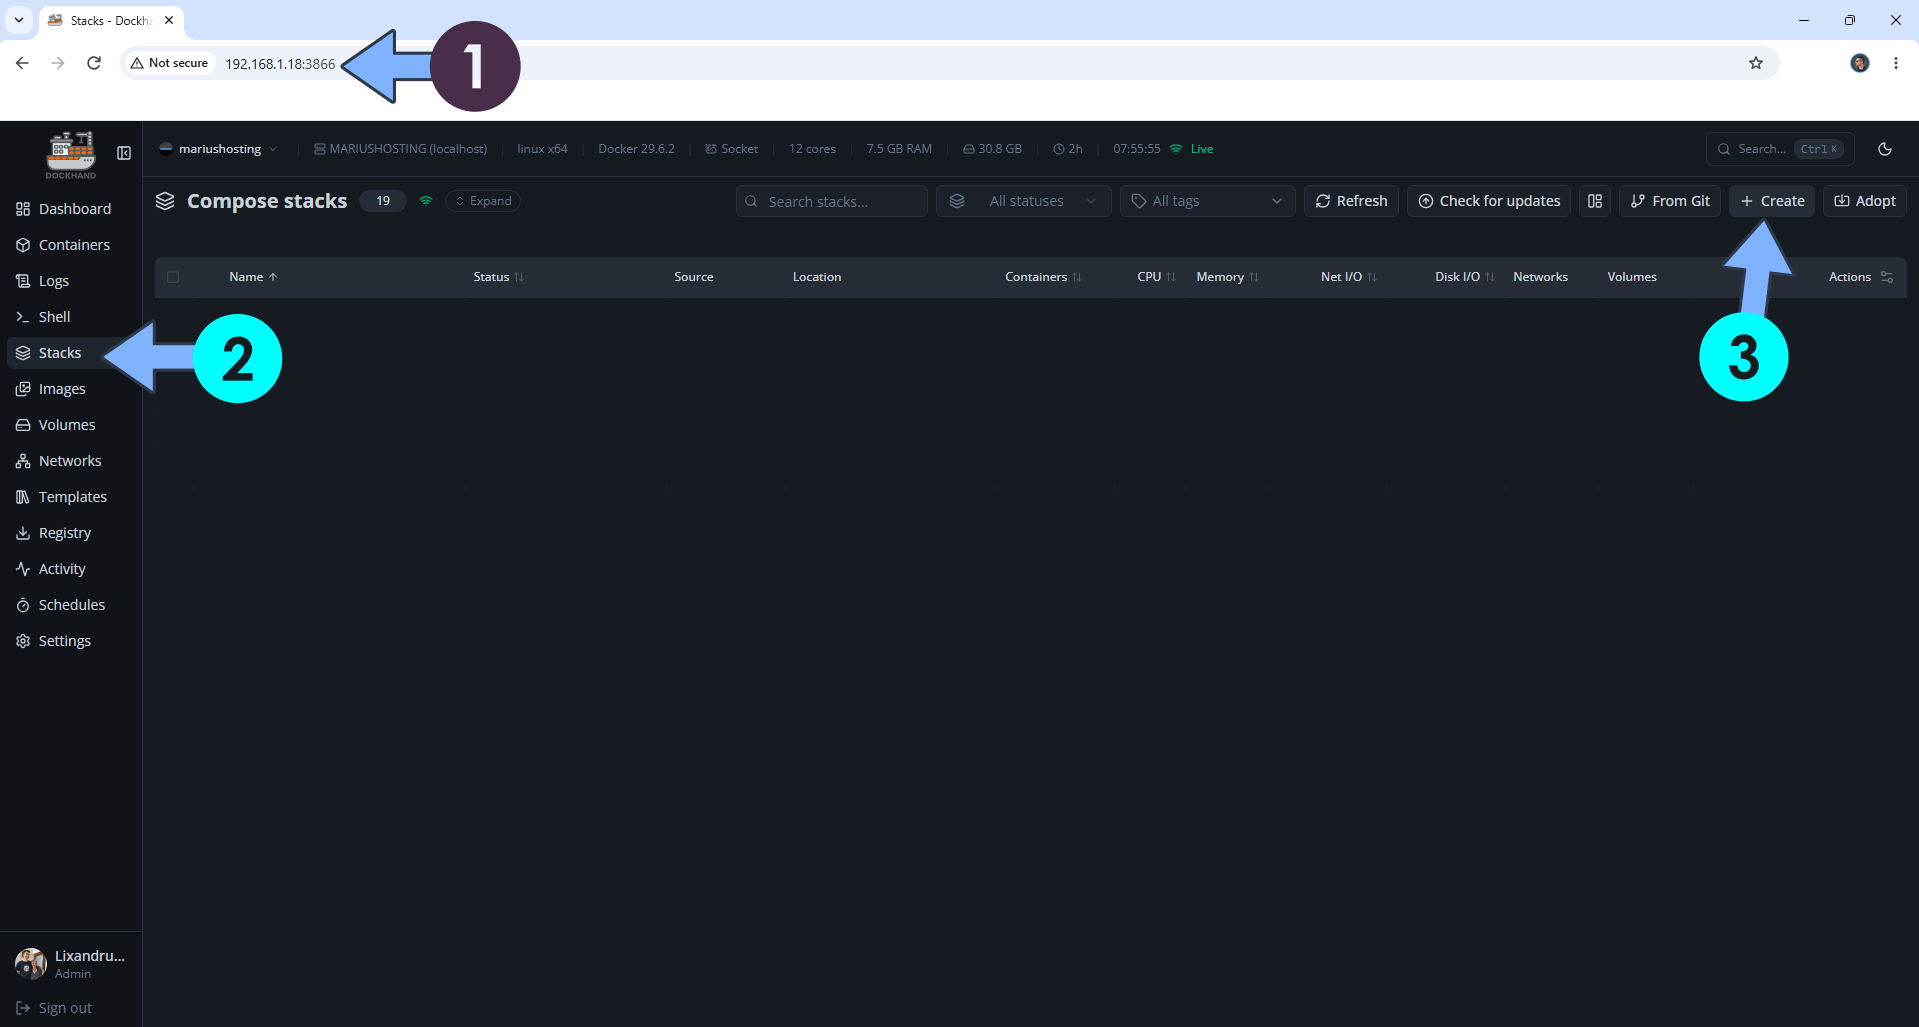
Open your browser and type in http://ugreen-ip-address:3866 to connect to your Dockhand container. On the left sidebar, click Stacks then + Create. Follow the instructions in the image below.
STEP 7
In the Stack name field, type in immichgpu. ⚠️Warning: Type in the name in lowercase letters. The installation process can take up to a few seconds/minutes. It will depend on your Internet speed connection. Follow the instructions in the image below.
services:
  immich-redis:
    image: redis:alpine
    container_name: Immich-REDIS-GPU
    hostname: immich-redis
    security_opt:
      - no-new-privileges:true
    healthcheck:
      test: ["CMD-SHELL", "redis-cli ping || exit 1"]
    user: 999:10
    environment:
       TZ: Europe/Bucharest
    volumes:
      - /volume1/docker/immich/redis:/data:rw
    restart: on-failure:5

  immich-db:
    image: ghcr.io/immich-app/postgres:18-vectorchord0.5.3-pgvector0.8.1
    container_name: Immich-DB-GPU
    hostname: immich-db
    user: 999:10
    security_opt:
      - no-new-privileges:true
    healthcheck:
      test: ["CMD", "pg_isready", "-q", "-d", "immich", "-U", "immichuser"]
      interval: 10s
      timeout: 5s
      retries: 5
    shm_size: 256mb
    volumes:
      - /volume1/docker/immichgpu/db:/var/lib/postgresql:rw
    environment:
       TZ: Europe/Bucharest
       POSTGRES_DB: immich
       POSTGRES_USER: immichuser
       POSTGRES_PASSWORD: immichpw
      #- DB_STORAGE_TYPE: HDD #Remove the red # in front of the – DB_STORAGE_TYPE: HDD only if your database isn’t stored on SSDs.
    restart: on-failure:5

  immich-server:
    image: ghcr.io/immich-app/immich-server:release
    container_name: Immich-SERVER-GPU
    hostname: immich-server
    user: 999:10
    security_opt:
      - no-new-privileges:true
    env_file:
      - .env
    ports:
      - 8212:2283
    volumes:
      - /volume1/docker/immichgpu/upload:/data:rw
      - /etc/localtime:/etc/localtime:ro
    devices:
      - /dev/dri:/dev/dri #Quick Sync (Transcoding)
    group_add:
      - 44
      - 105
    depends_on:
      immich-redis:
        condition: service_healthy
      immich-db:
        condition: service_started
    restart: on-failure:5

  immich-machine-learning:
    image: ghcr.io/immich-app/immich-machine-learning:release-openvino
    container_name: Immich-LEARNING-GPU
    hostname: immich-machine-learning
    user: 999:10
    security_opt:
      - no-new-privileges:true
    env_file:
      - .env
    volumes:
      - /volume1/docker/immichgpu/upload:/data:rw
      - /volume1/docker/immichgpu/cache:/cache:rw
      - /volume1/docker/immichgpu/cache:/.cache:rw
      - /volume1/docker/immichgpu/cache:/.config:rw
      - /volume1/docker/immichgpu/matplotlib:/matplotlib:rw
    environment:
       MPLCONFIGDIR: /matplotlib
       MACHINE_LEARNING_WORKERS: 2
       MACHINE_LEARNING_OPENVINO_PRECISION: FP16
       OMP_NUM_THREADS: 4
       MKL_NUM_THREADS: 4
    devices:
      - /dev/dri:/dev/dri
      #- /dev/accel:/dev/accel  #Remove the red # in front of - /dev/accel:/dev/accel only if you own an iDX6011 or iDX6011 PRO NAS with NPU.
    group_add:
      - 44
      - 105
    depends_on:
      immich-db:
        condition: service_started
    restart: on-failure:5
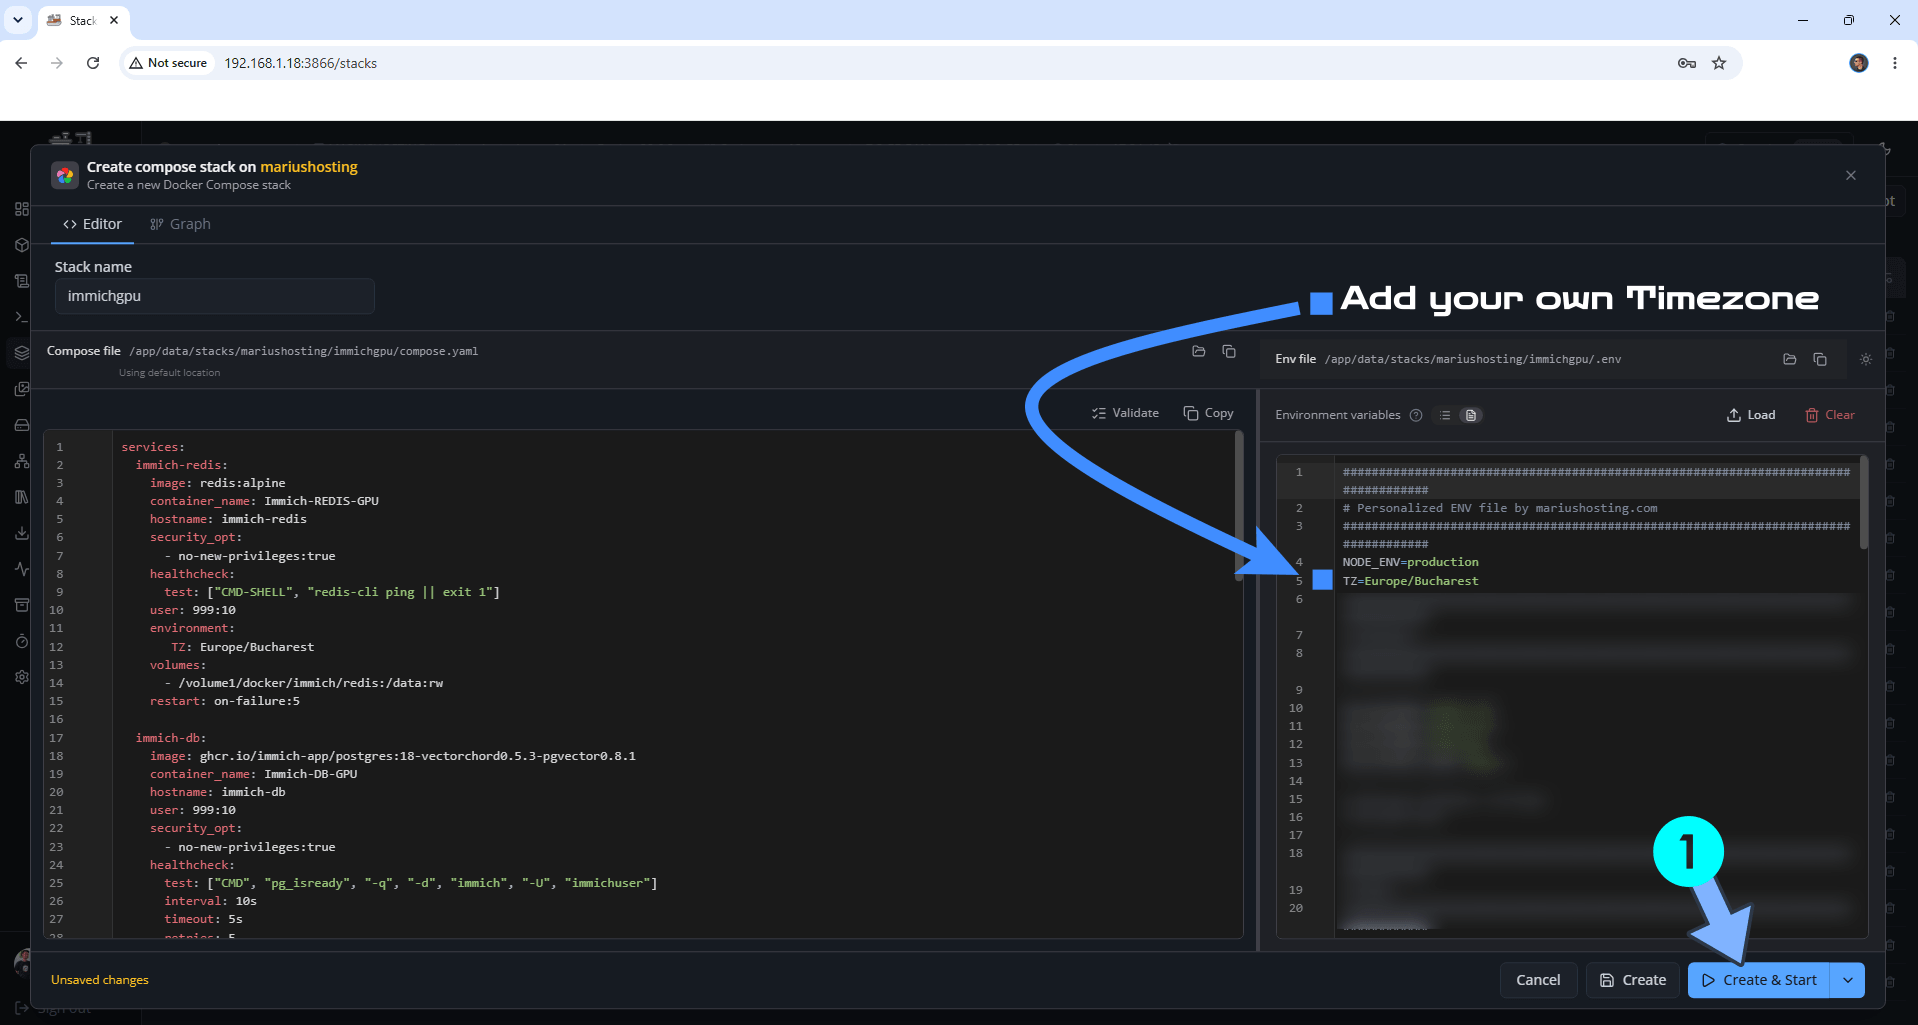
Note: Before you paste the code above in the Stack editor area below, change the value numbers for user with your own UID and GID values. (Follow my step by step guide on how to do this.) 999 is my personal UID value and 10 is my personal GID value. You have to type in your own values.
Note: Before you paste the code above in the Stack editor area below, change the value for TZ. (Select your current Time Zone from this list.)
Note: Remove the red # in front of the – DB_STORAGE_TYPE: HDD if your database isn’t stored on SSDs.
Note: Remove the red # in front of the – /dev/accel:/dev/accel only if you own an iDX6011 or iDX6011 PRO NAS with NPU.
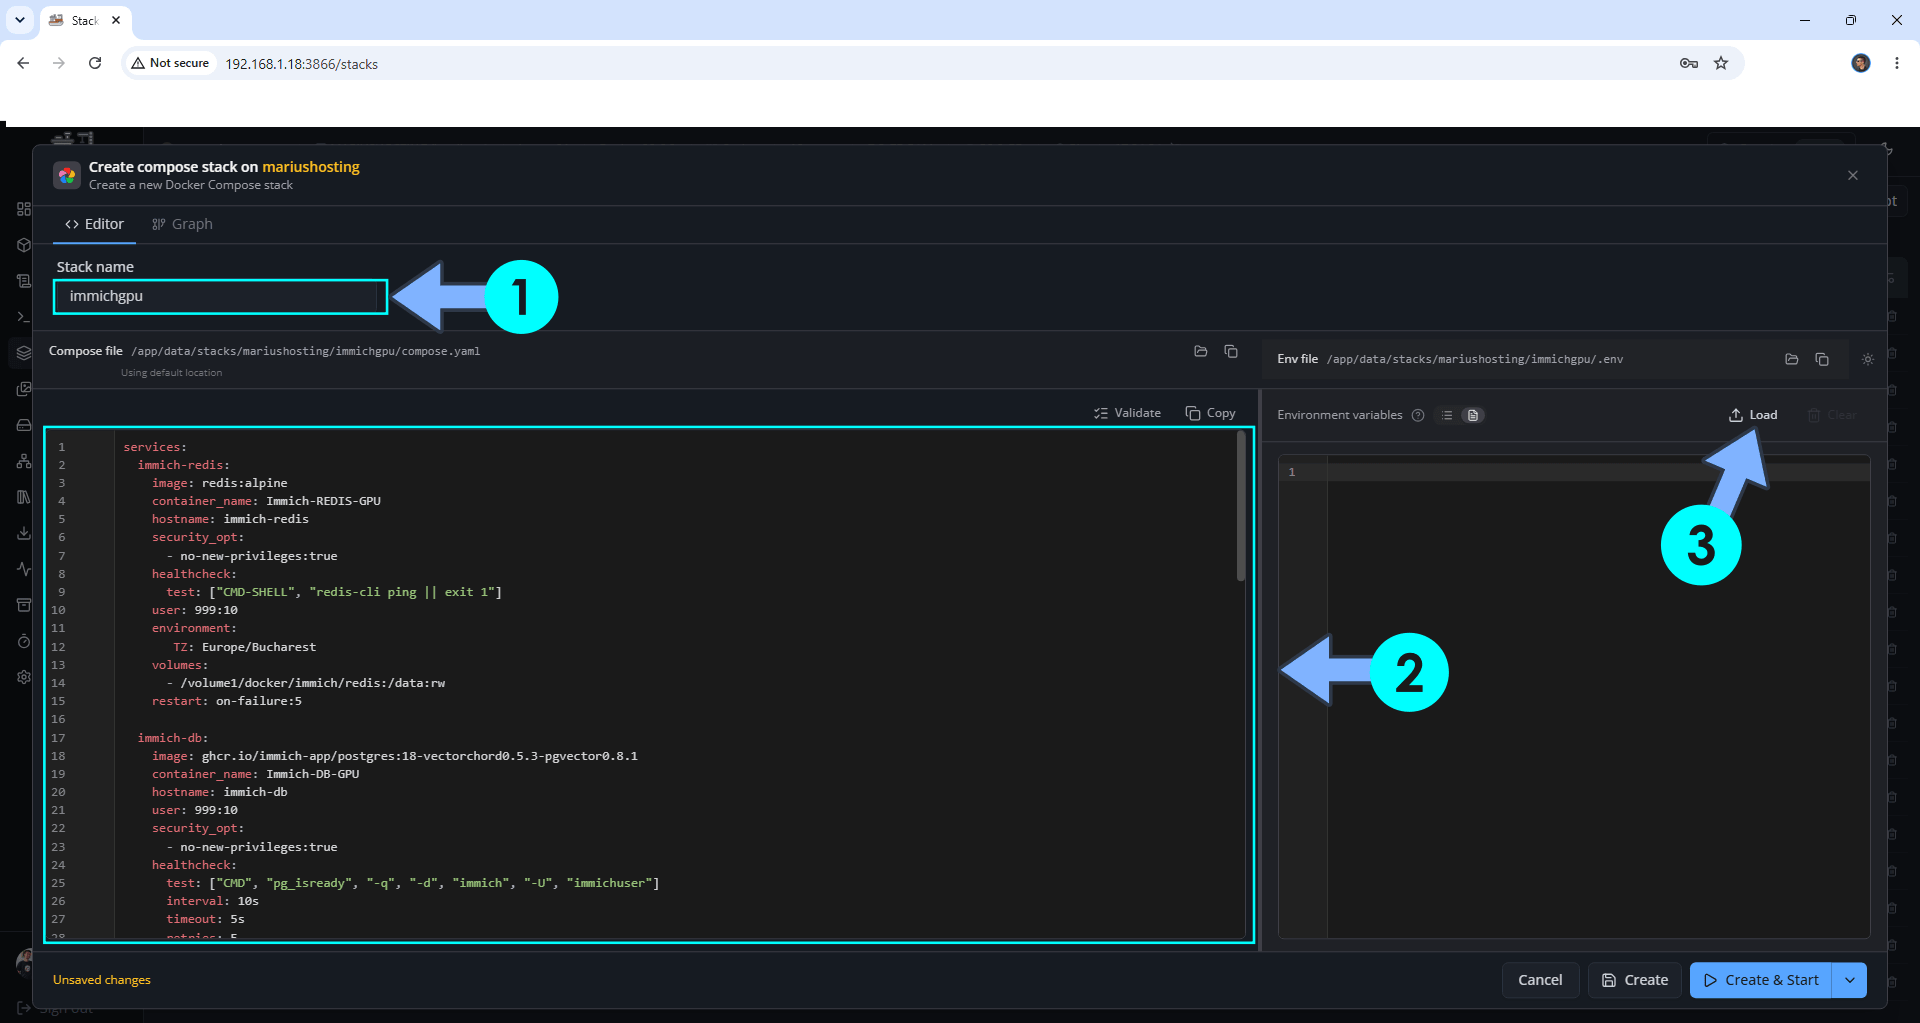
Click the Load button. Download the .env file by clicking the blue link below and then upload it from your computer. Follow the instructions in the image below. 🔒Note: Support my work to unlock the password. You can use this password to download any file on mariushosting forever!
Note: On the Environment variables, change the value for TZ. (Select your current Time Zone from this list.)
Click Create & Start. Follow the instructions in the image below.
STEP 8
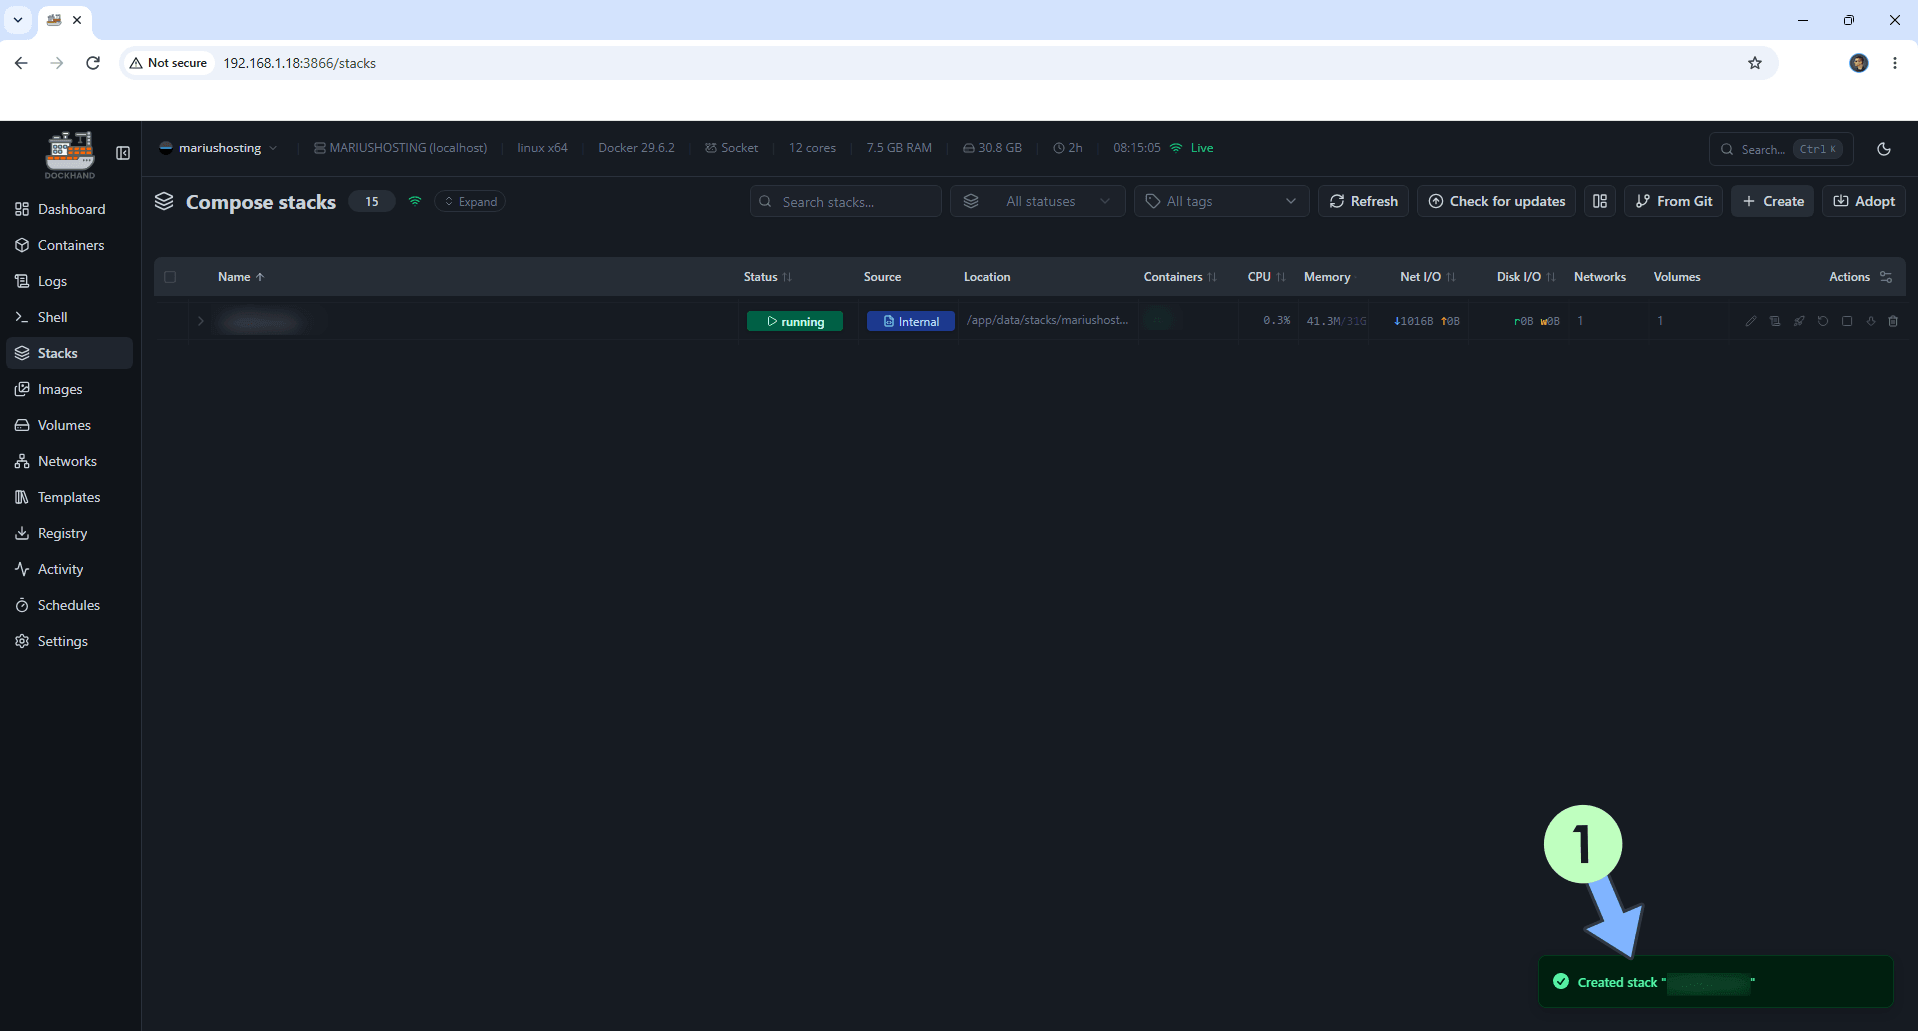
If everything goes right, you will see the following message at the bottom right of your screen: “Created stack “immichgpu”“.
STEP 9
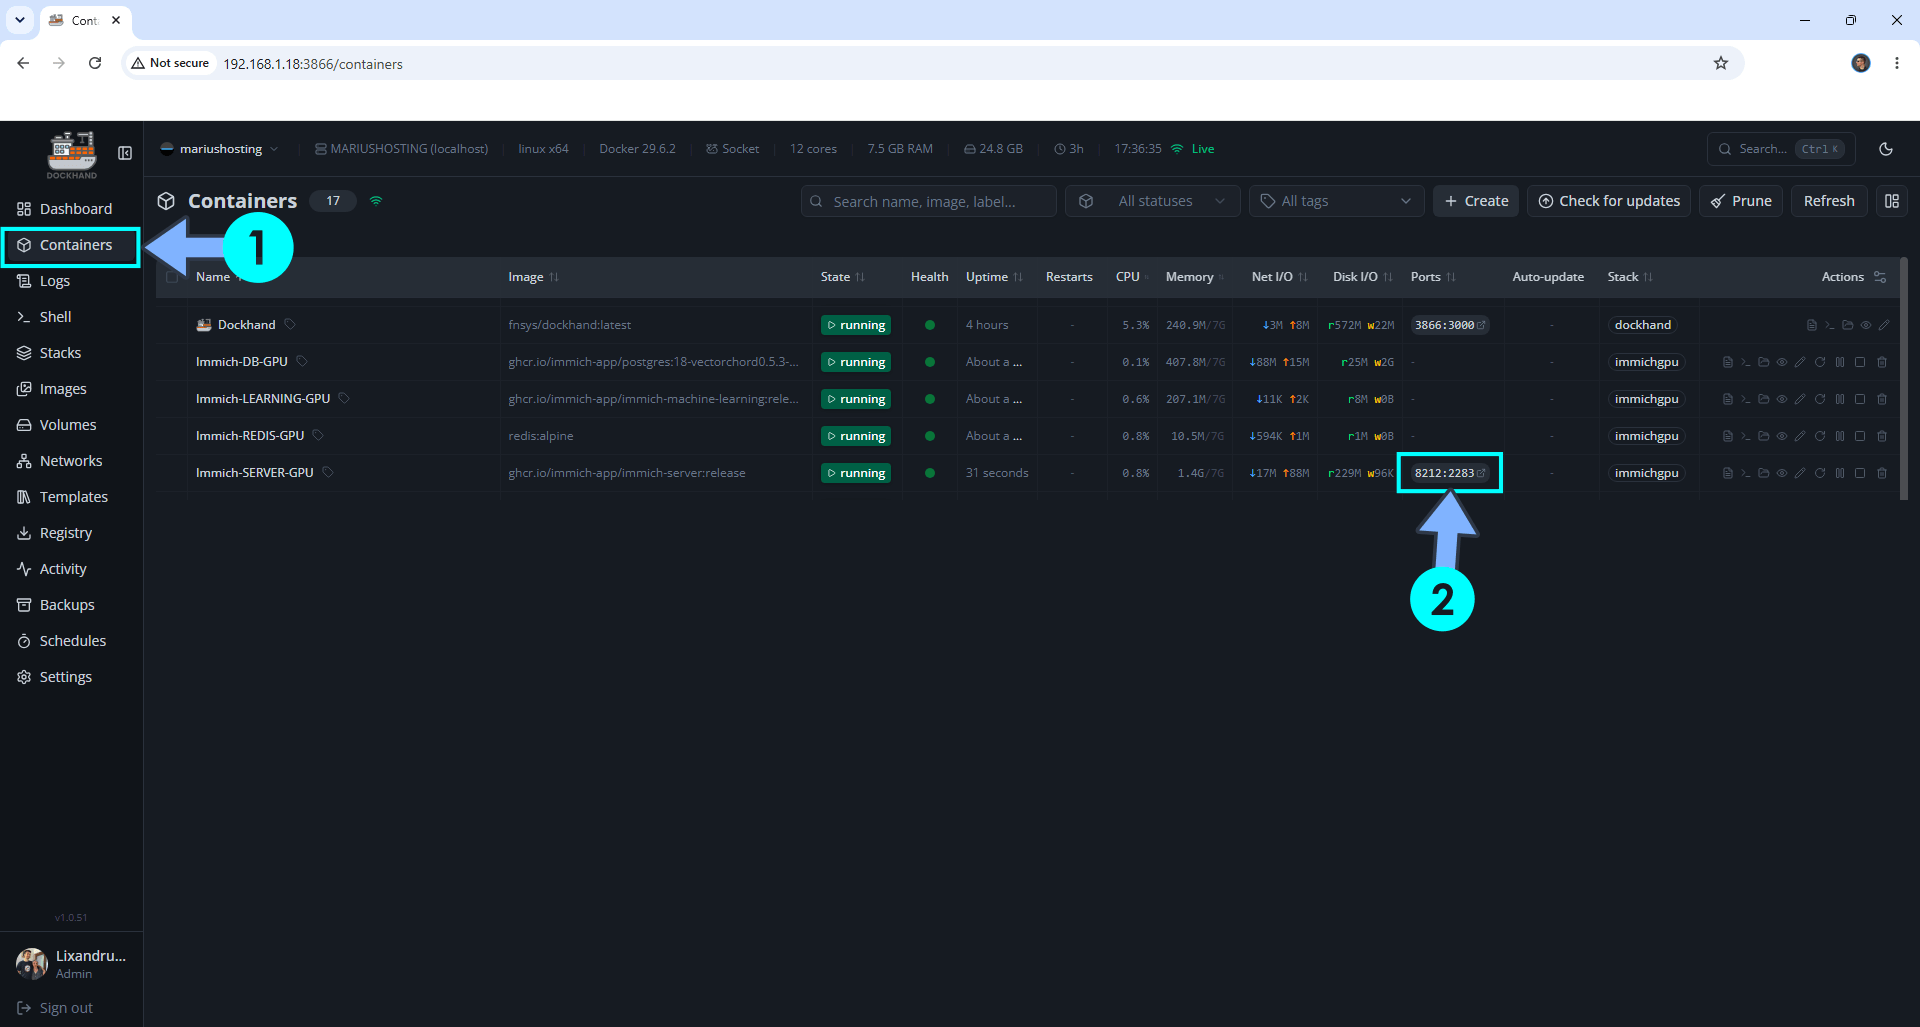
On the left sidebar, click Containers. Identify your Immich-Server-GPU container then click on ports 8212:2283. Follow the instructions in the image below.
STEP 10
🟢Please Support My work by Making a Donation. Almost 99,9% of the people that install something using my guides forget to support my work, or just ignore STEP 1. I’ve been very honest about this aspect of my work since the beginning: I don’t run any ADS, I don’t require subscriptions, paid or otherwise, I don’t collect IPs, emails, and I don’t have any referral links from Amazon or other merchants. I also don’t have any POP-UPs or COOKIES. I have repeatedly been told over the years how much I have contributed to the community. It’s something I love doing and have been honest about my passion since the beginning. But I also Need The Community to Support me Back to be able to continue doing this work.
STEP 11
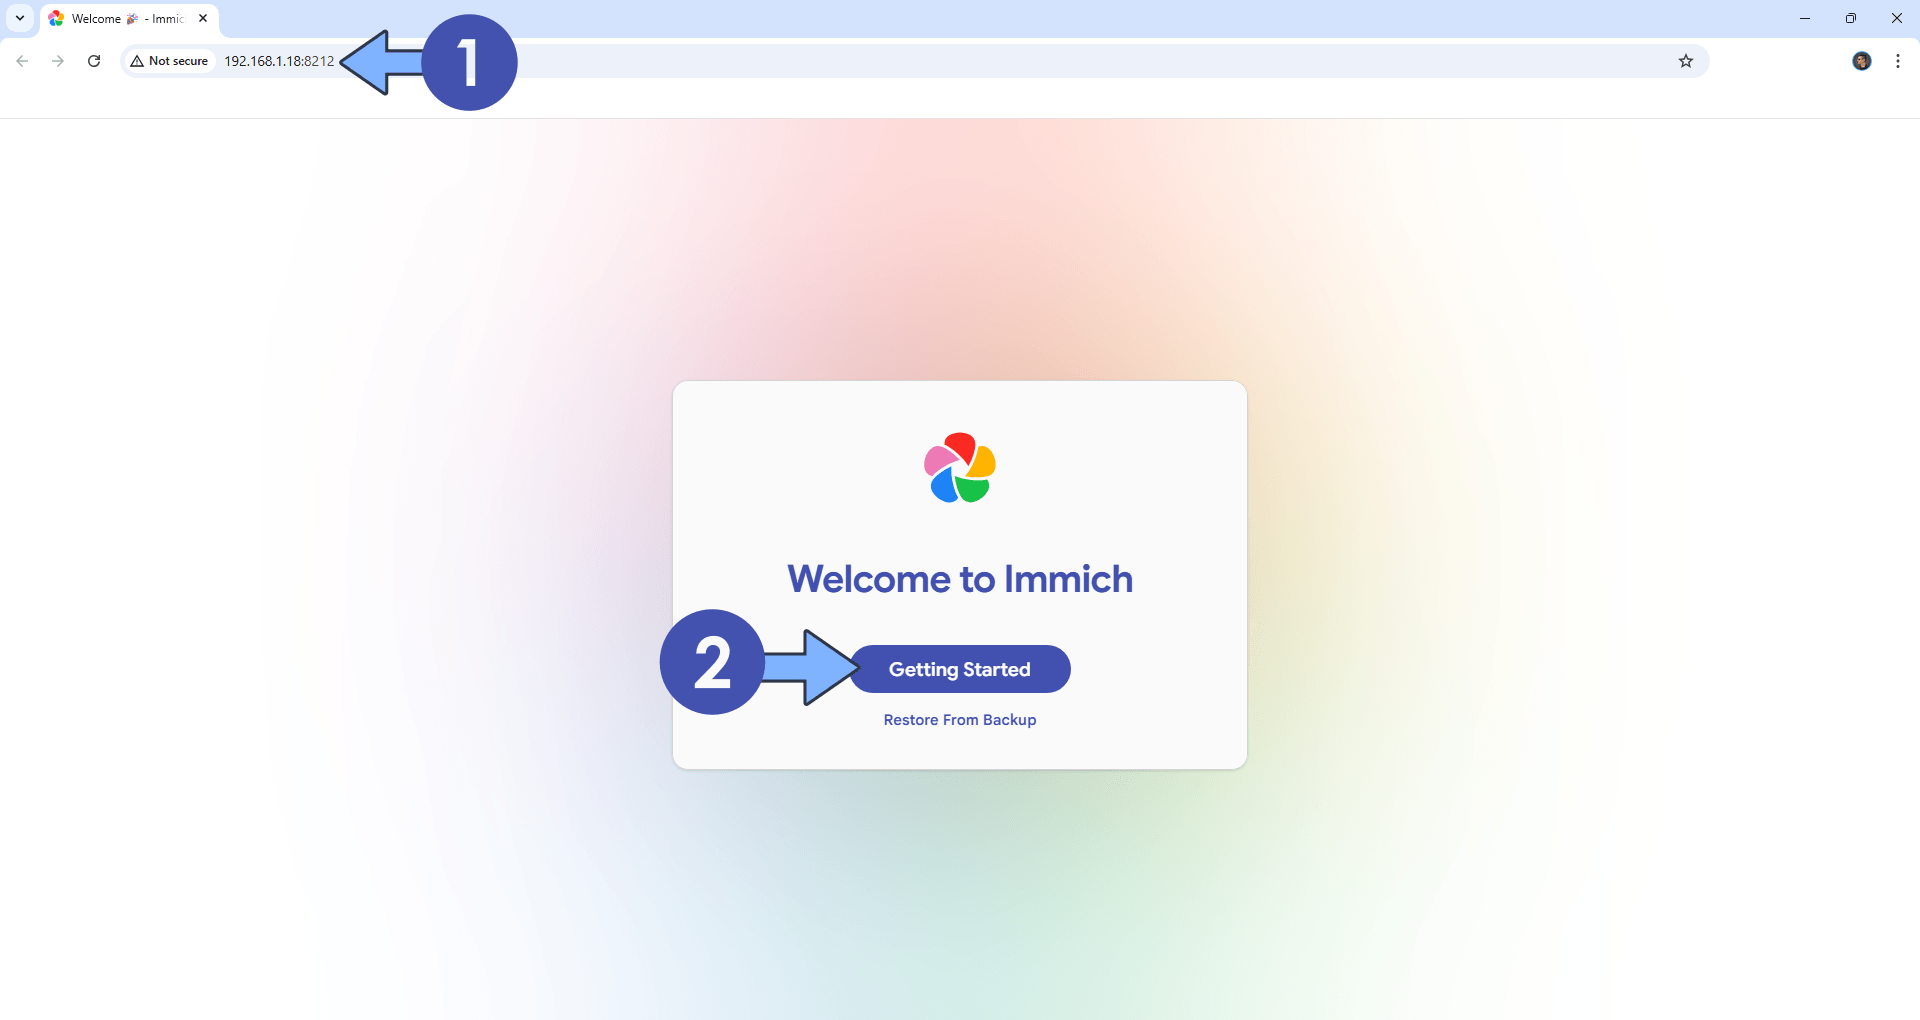
Now open your browser and type in http://ugreennas-ip-address:8212 Click Getting Started. Follow the instructions in the image below.
STEP 12
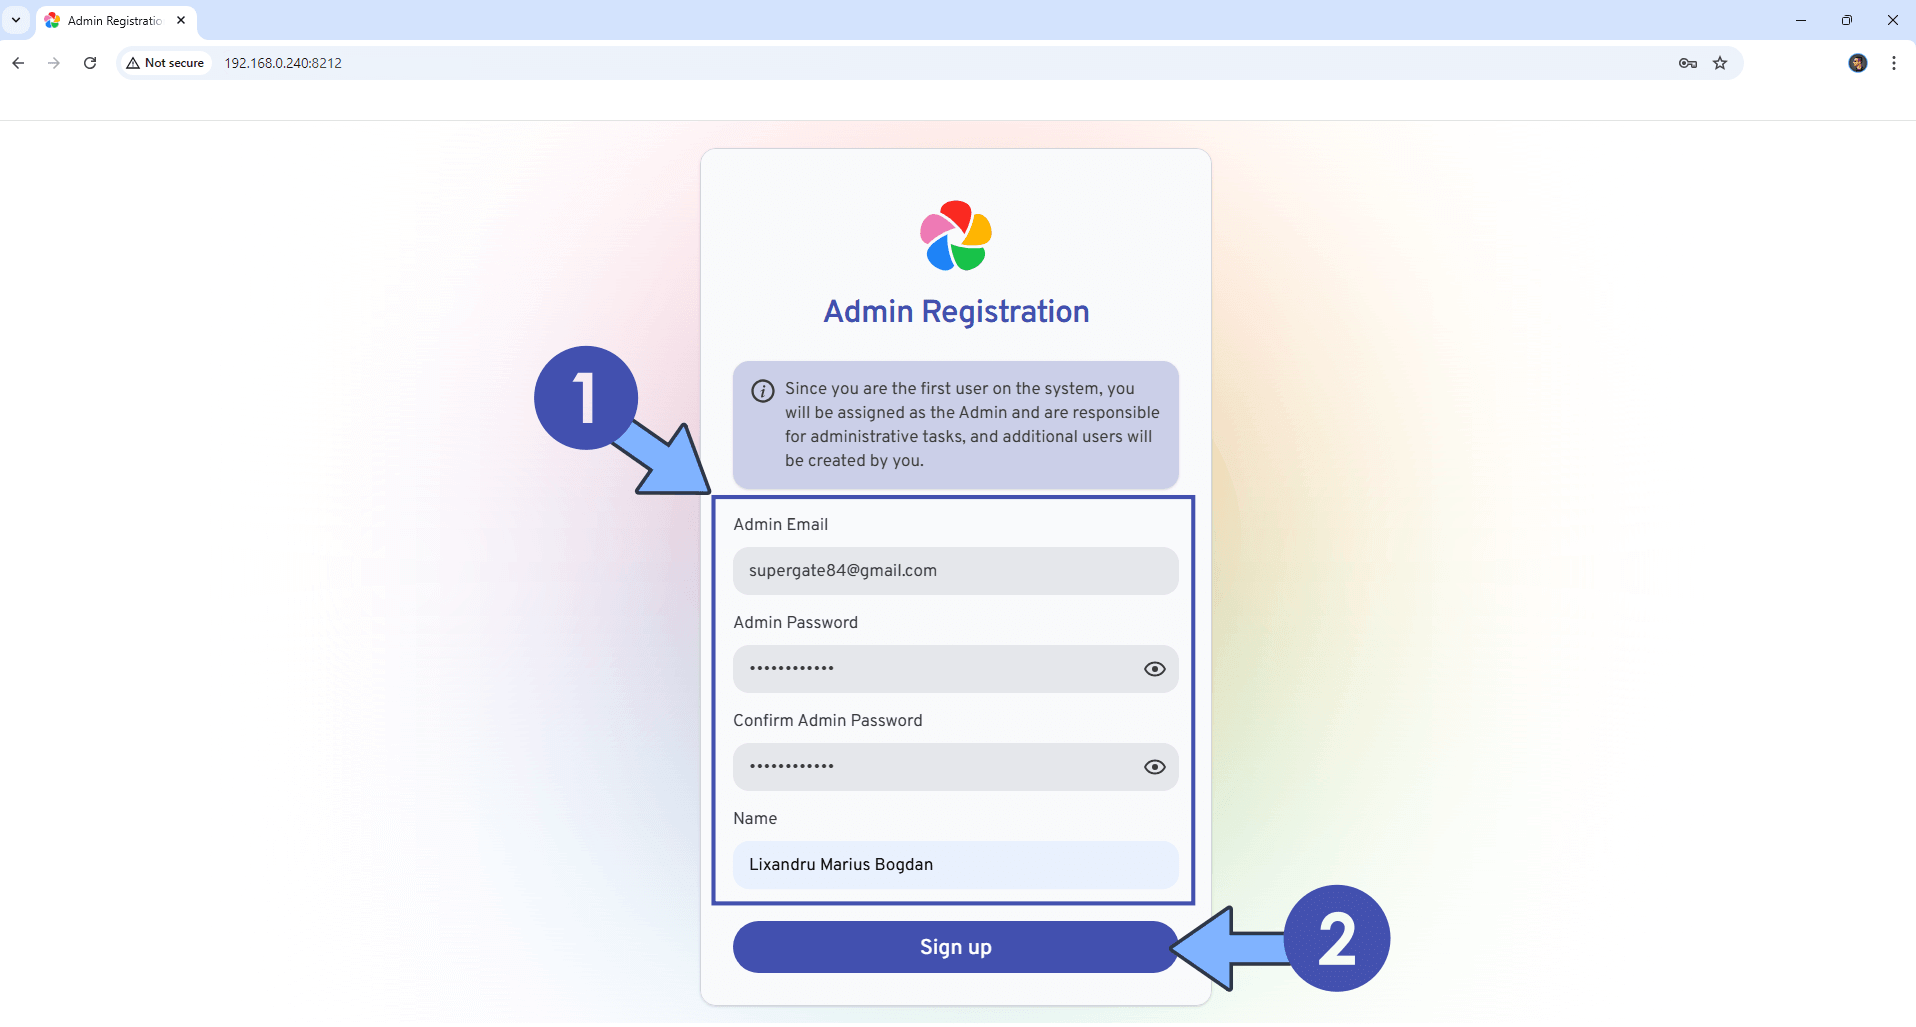
Add your own credentials then click Sign Up. Follow the instructions in the image below.
STEP 13
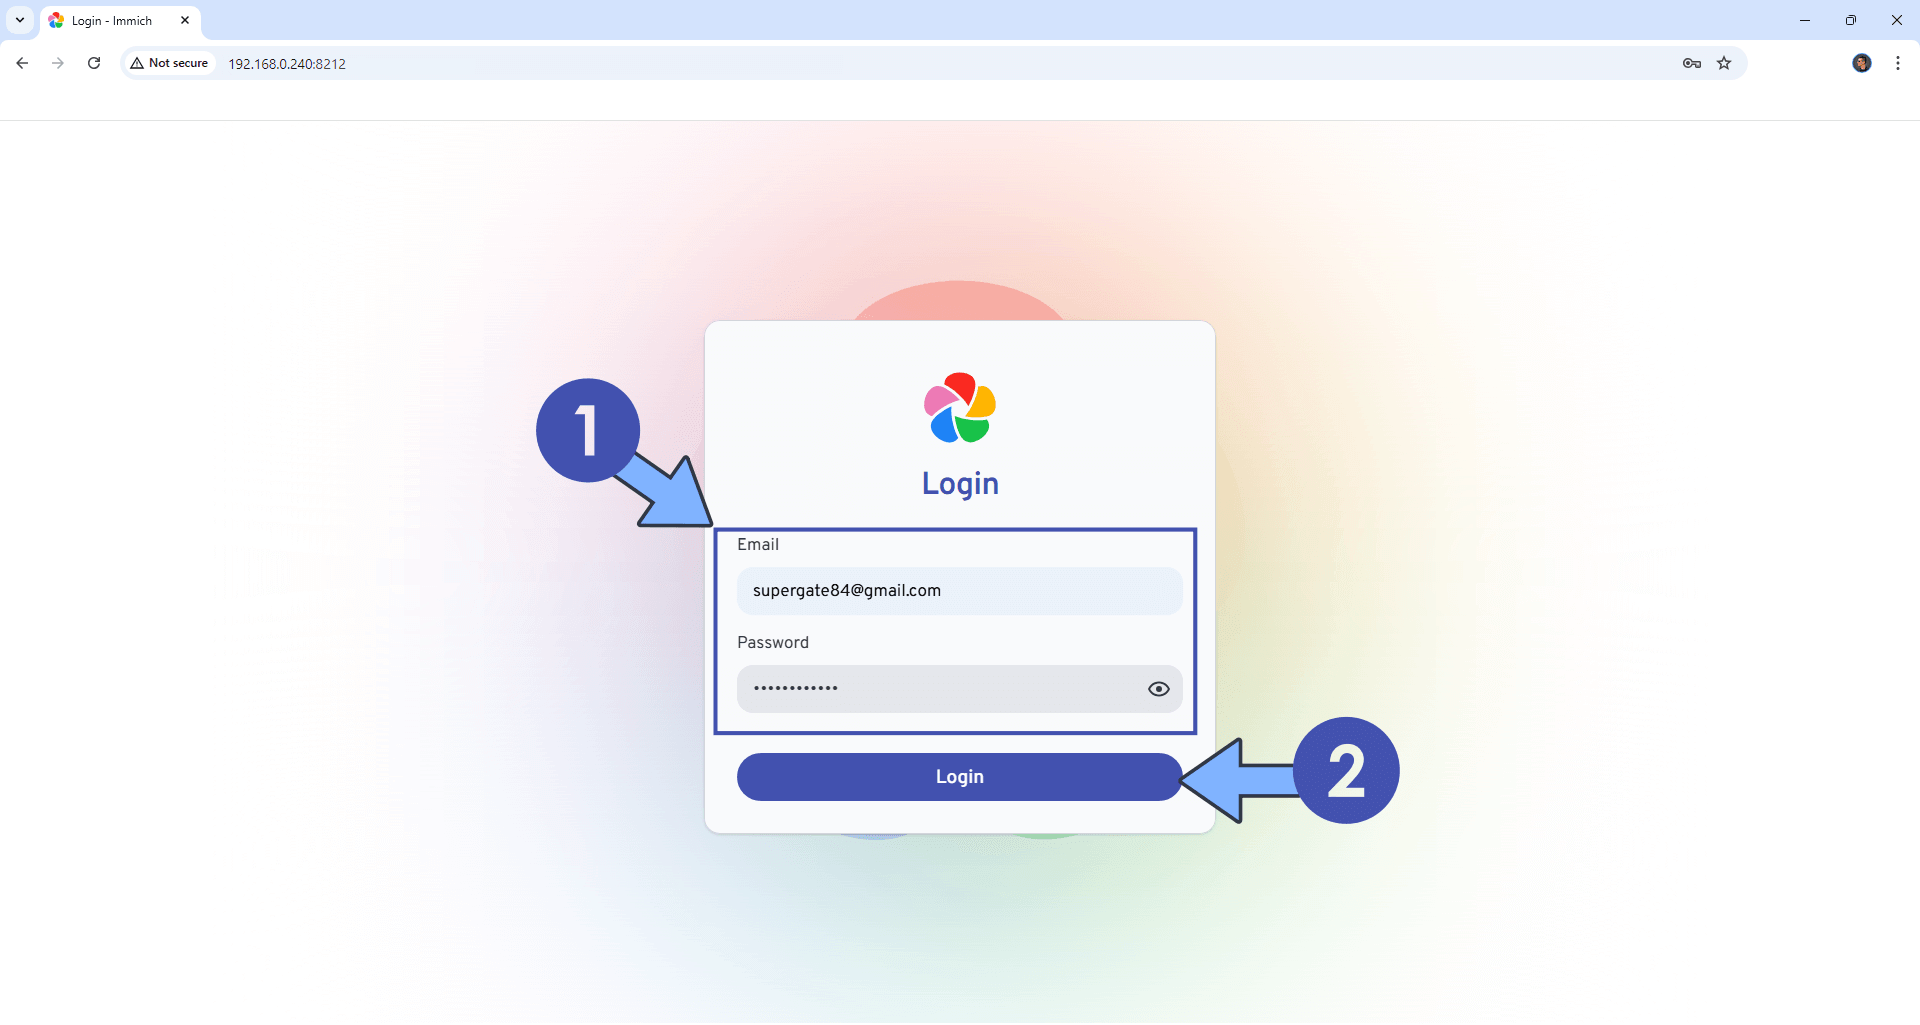
Add your own Email and Password that you have previously created at STEP 12. Click Login. Follow the instructions in the image below.
STEP 14
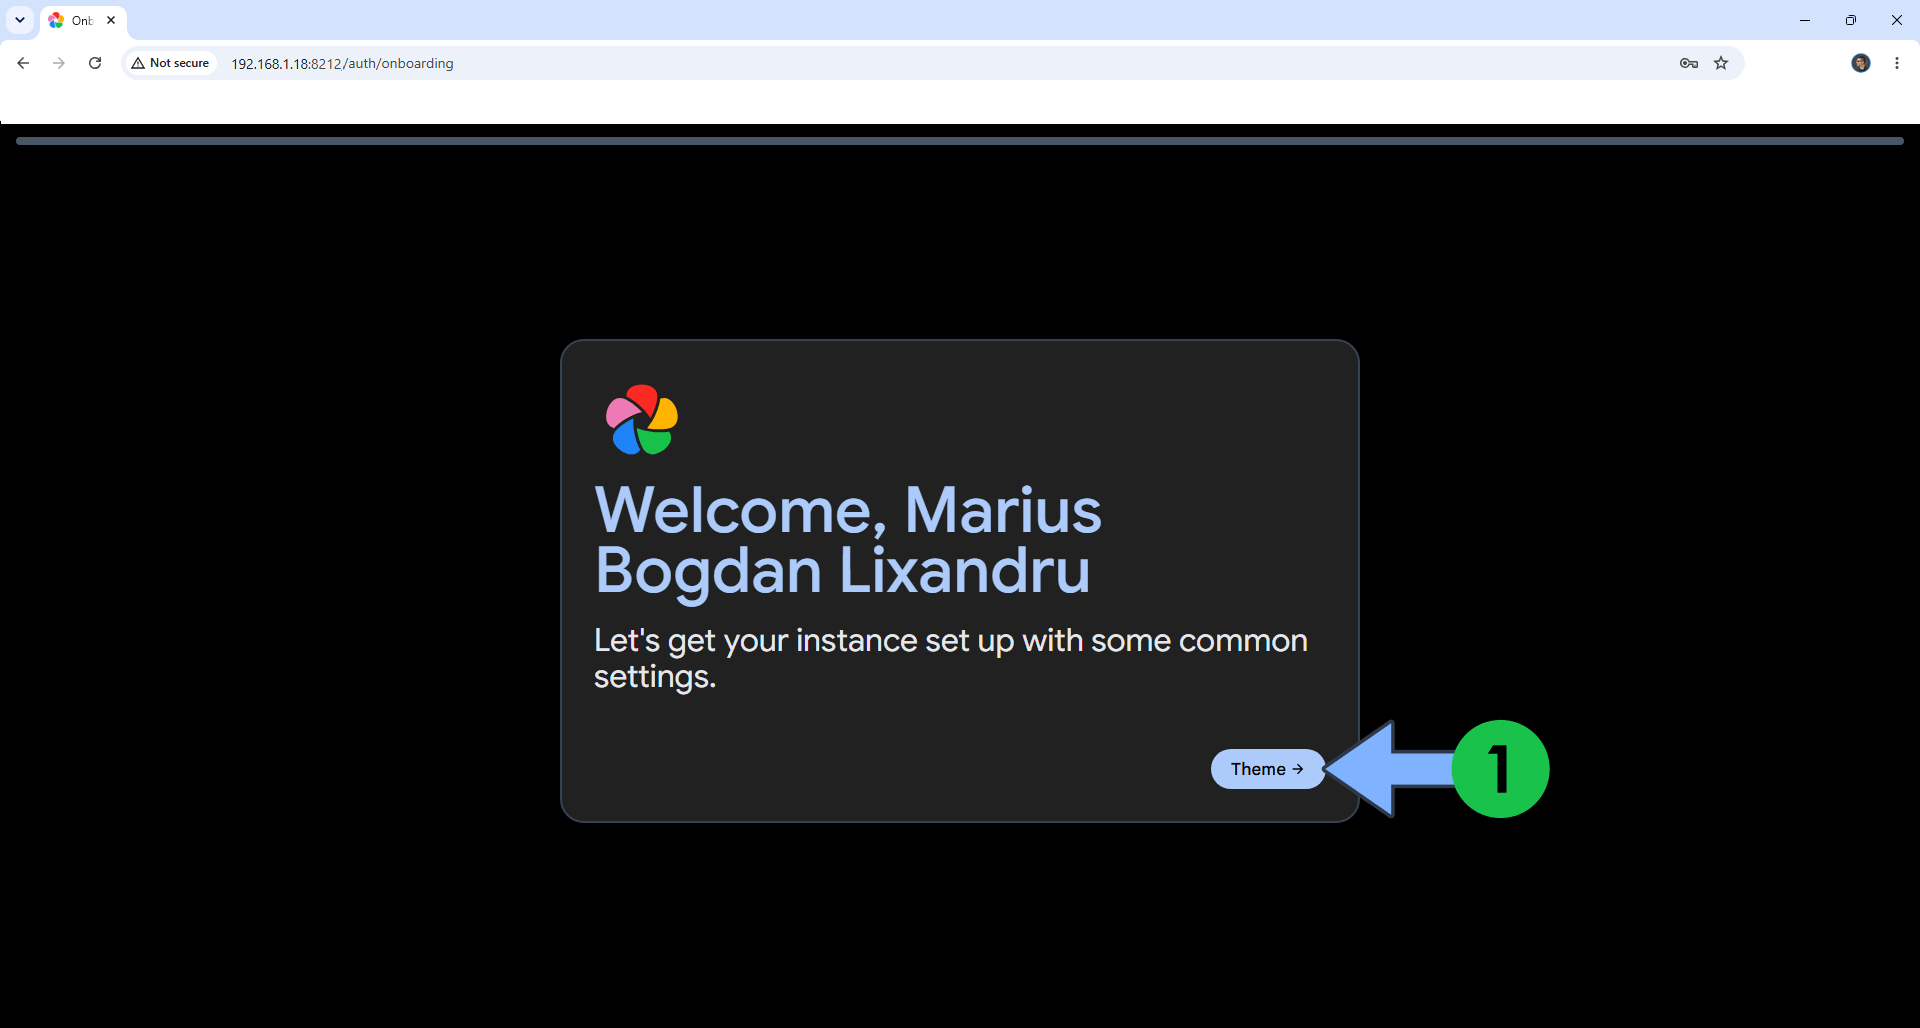
Click Theme. Follow the instructions in the image below.
STEP 15
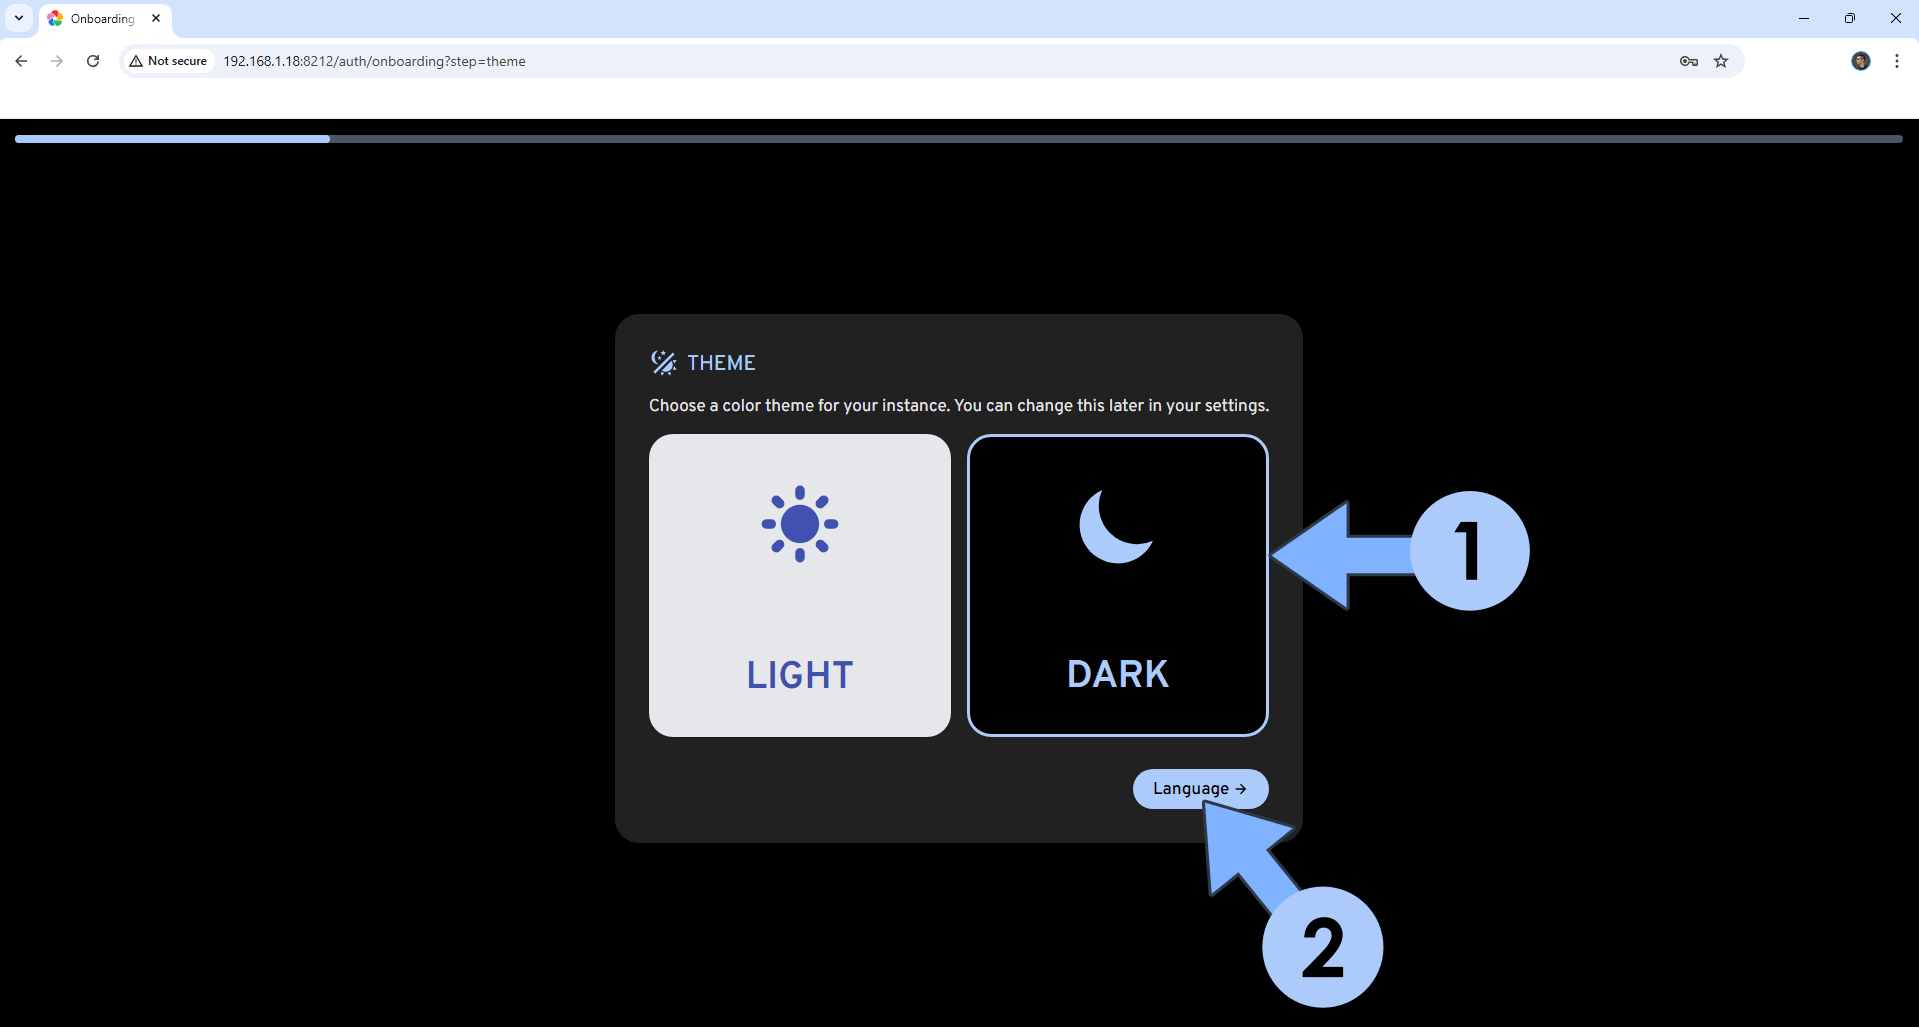
Choose a color theme for your instance, then click Language. Follow the instructions in the image below.
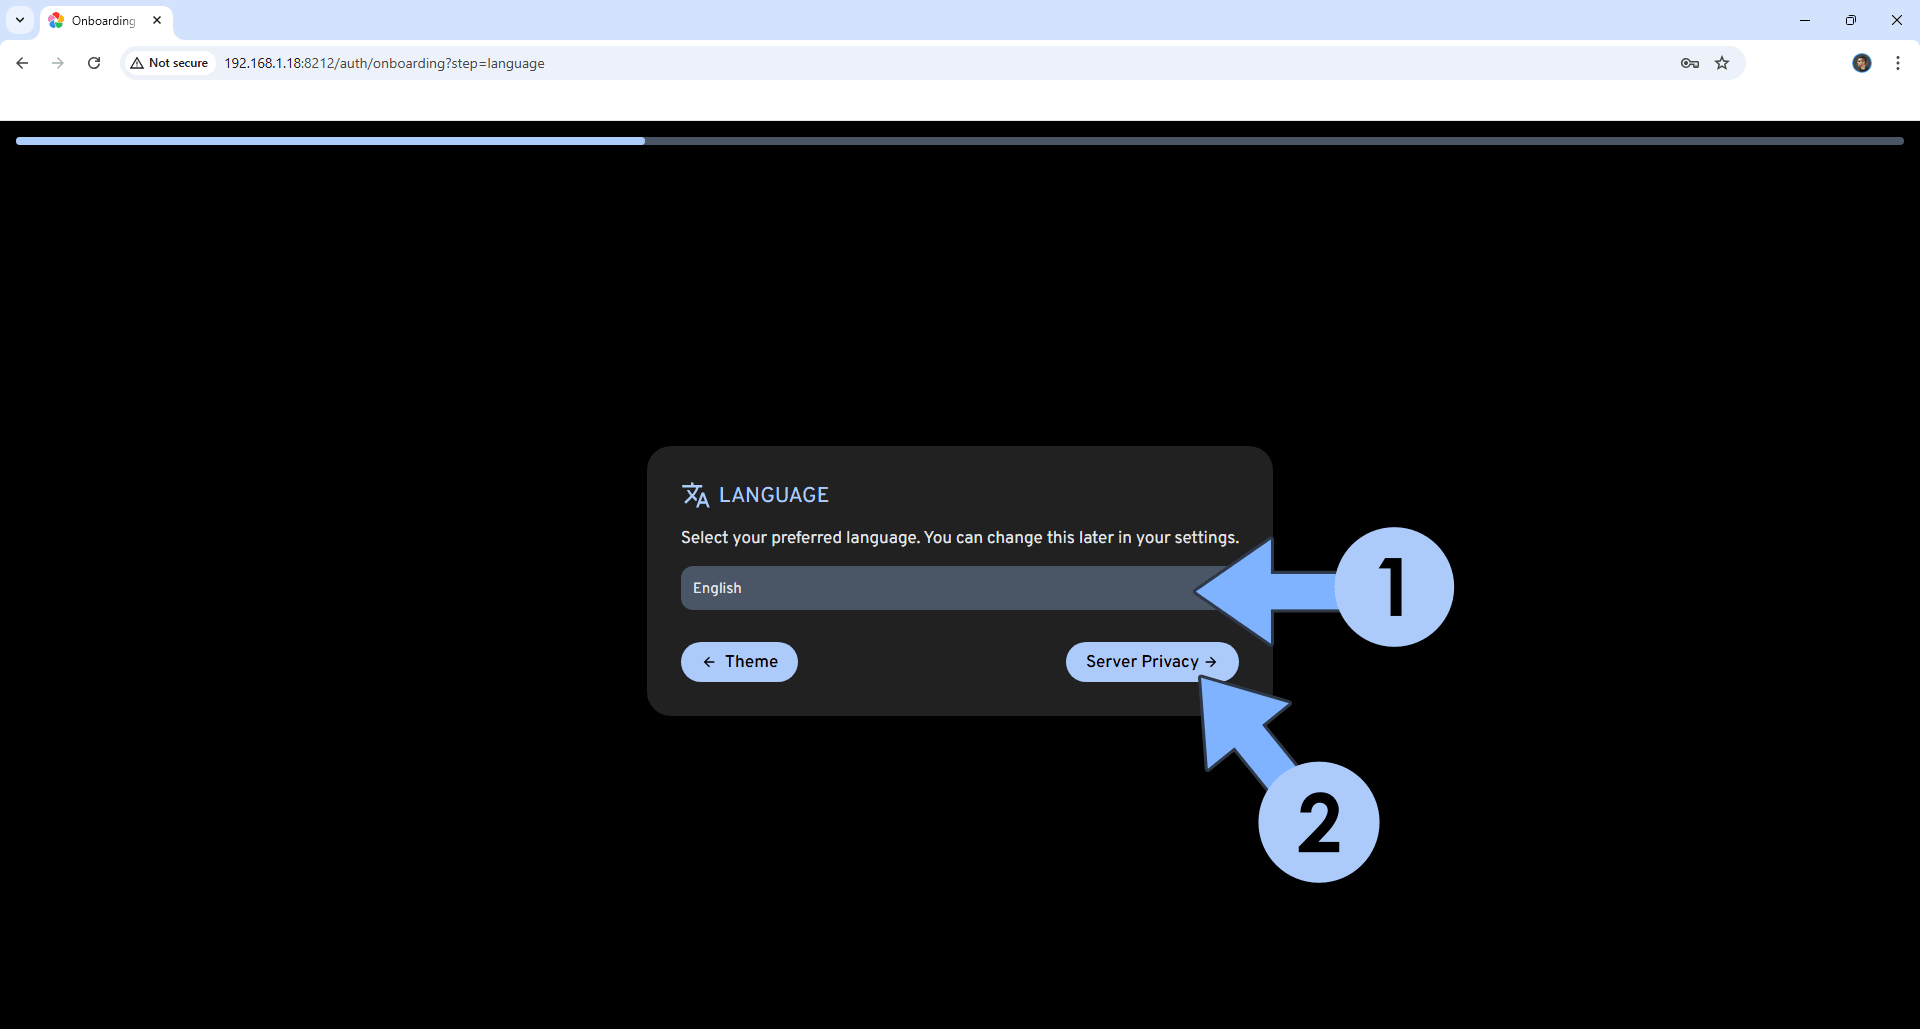
STEP 16
Select your own Language, then click Server Privacy. Follow the instructions in the image below.
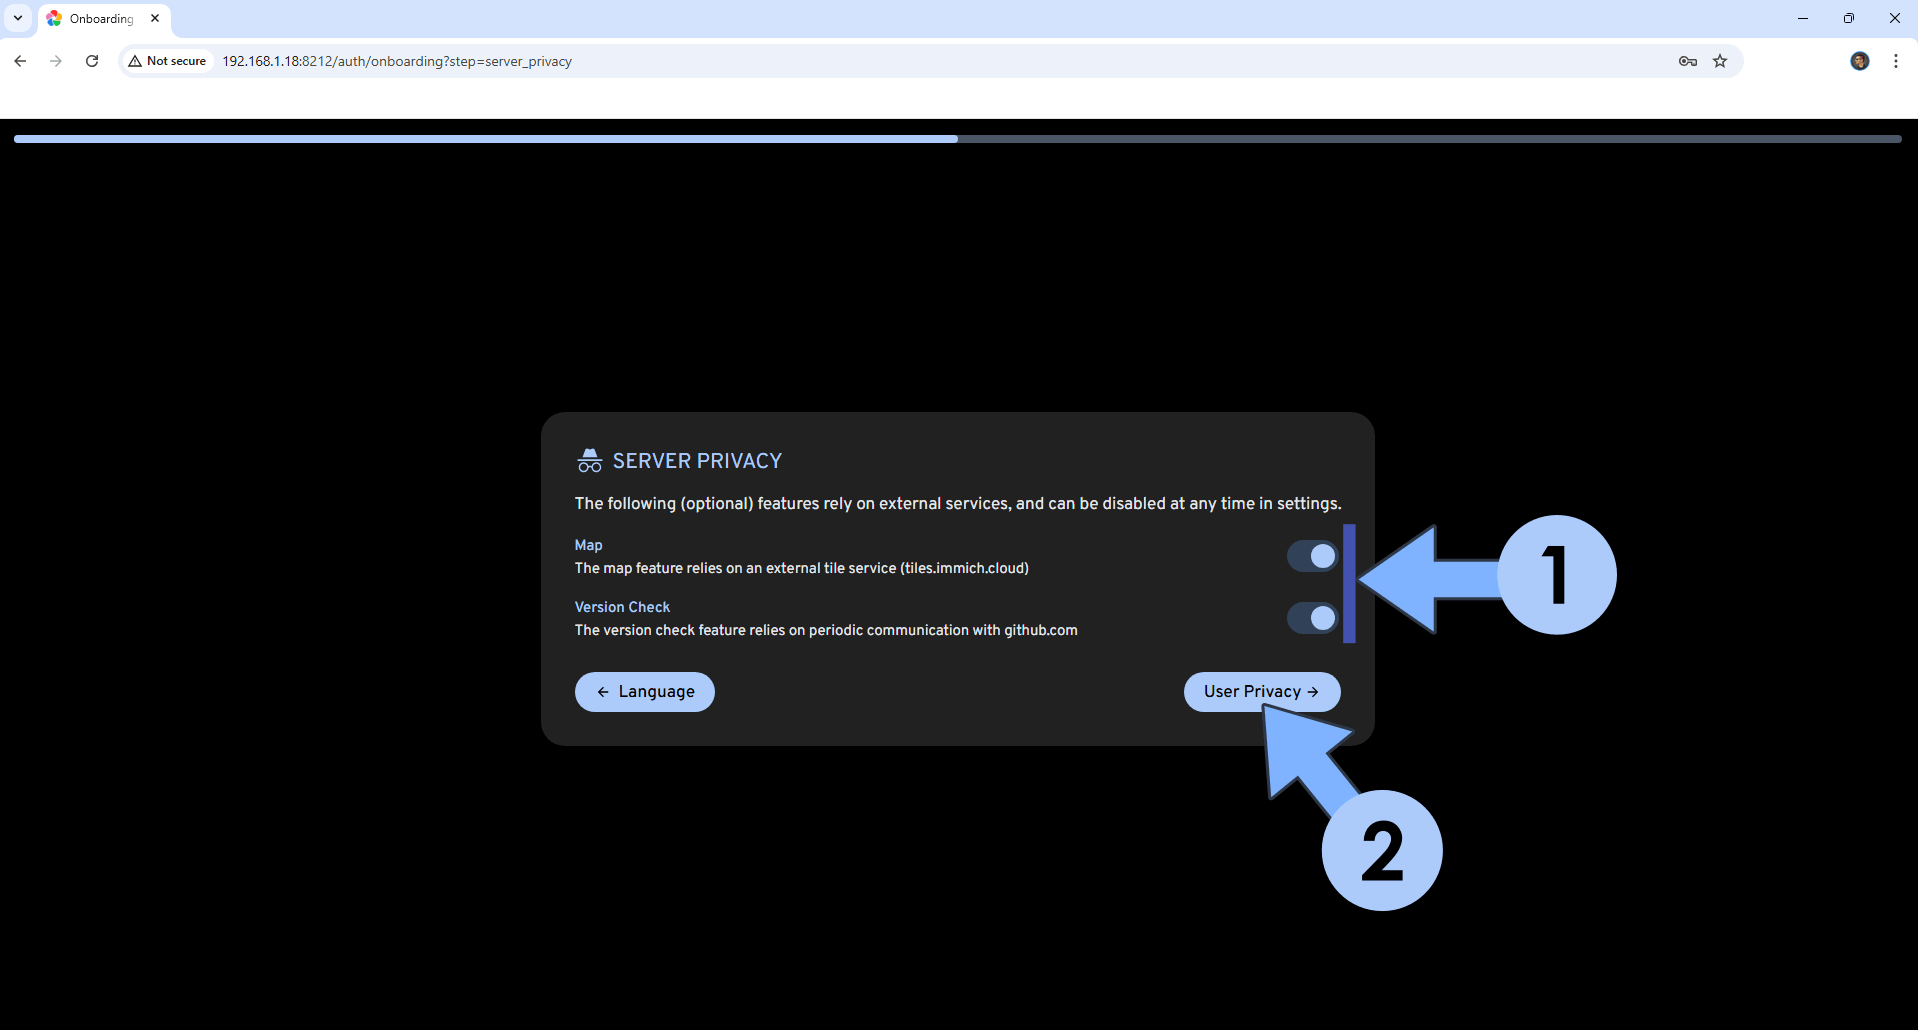
STEP 17
Turn on the Map and the Version Check, then click User Privacy. Follow the instructions in the image below.
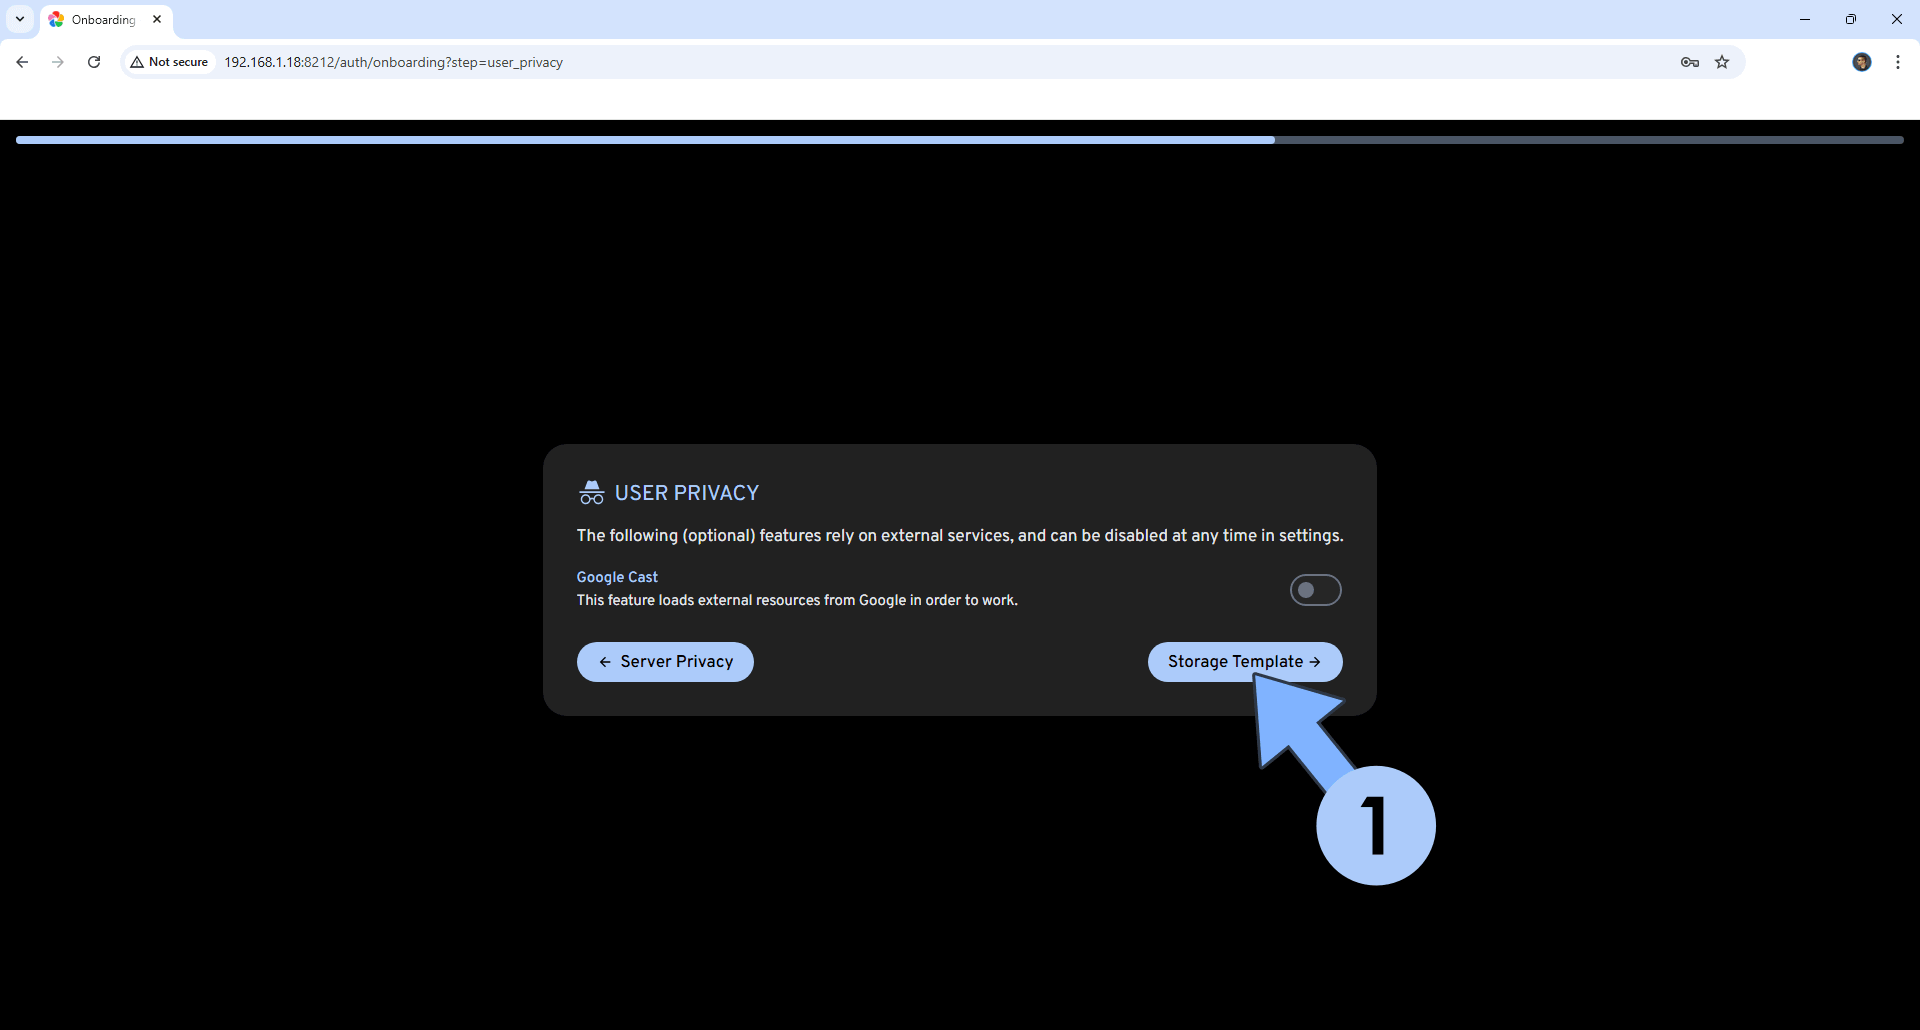
STEP 18
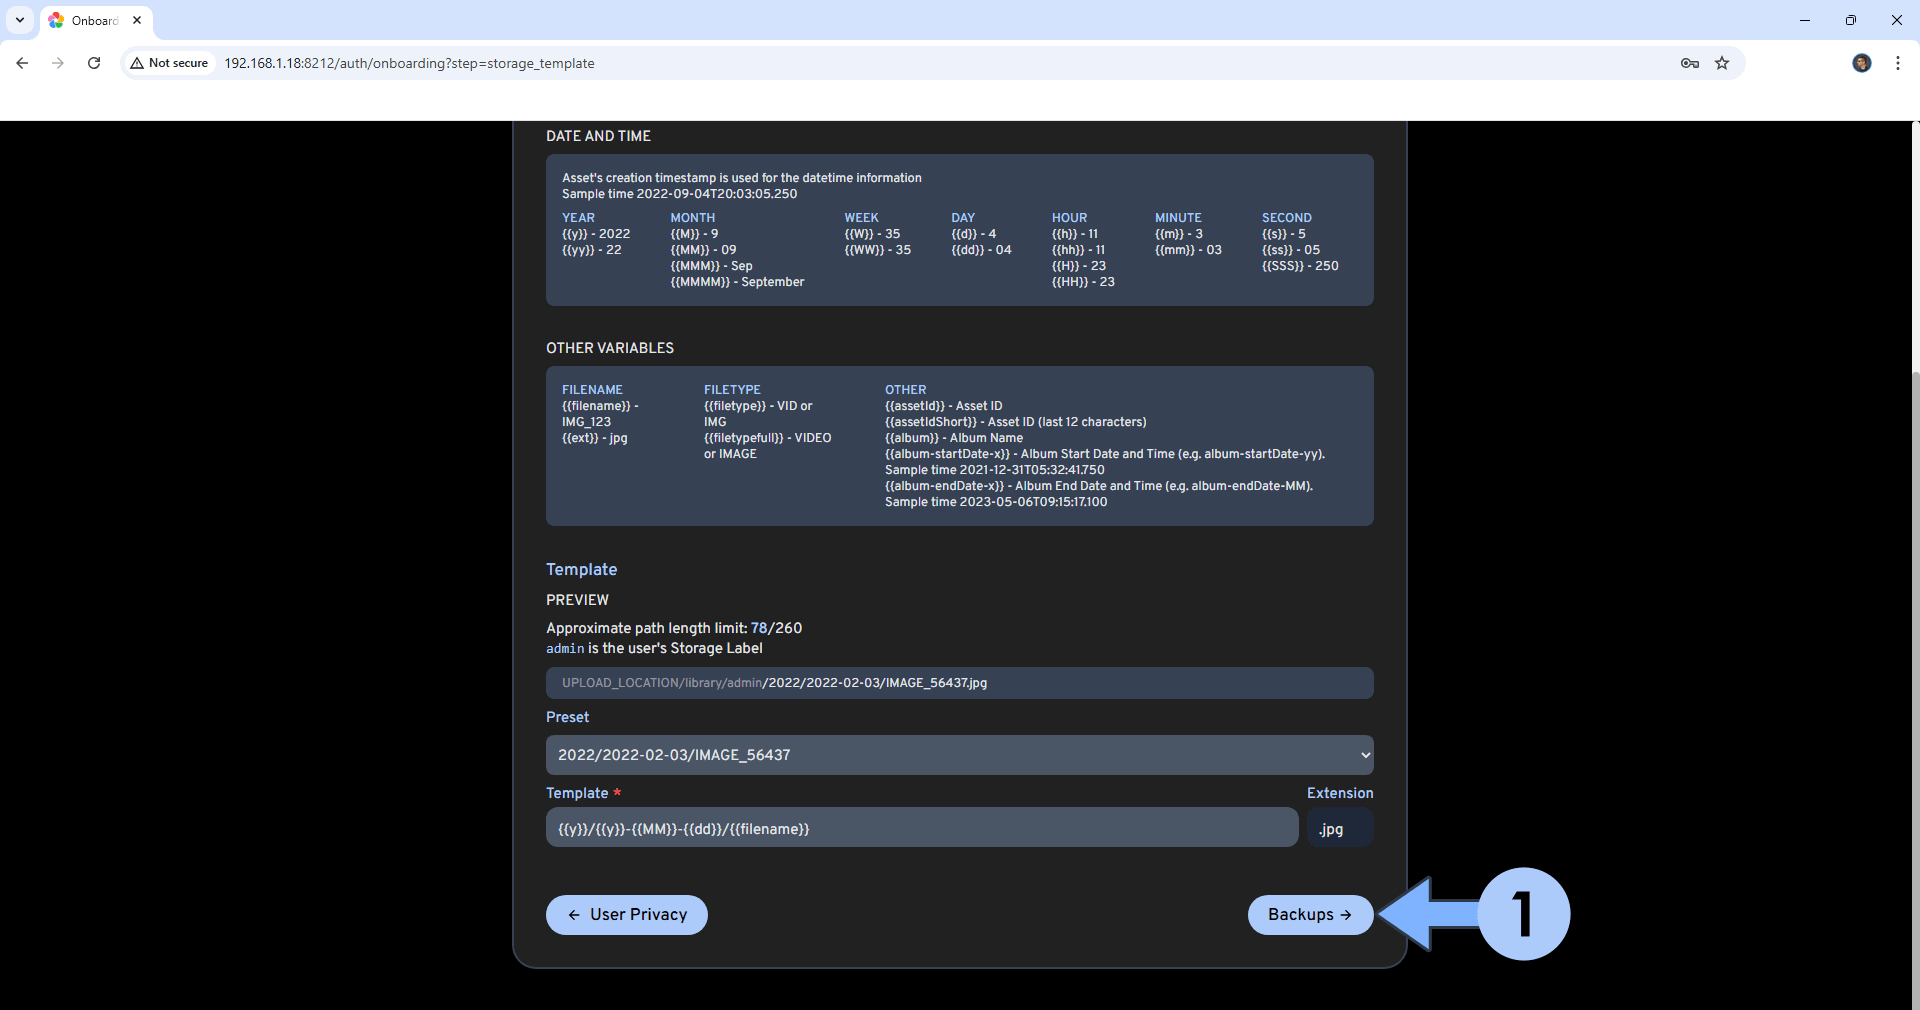
Click Storage Template. Follow the instructions in the image below.
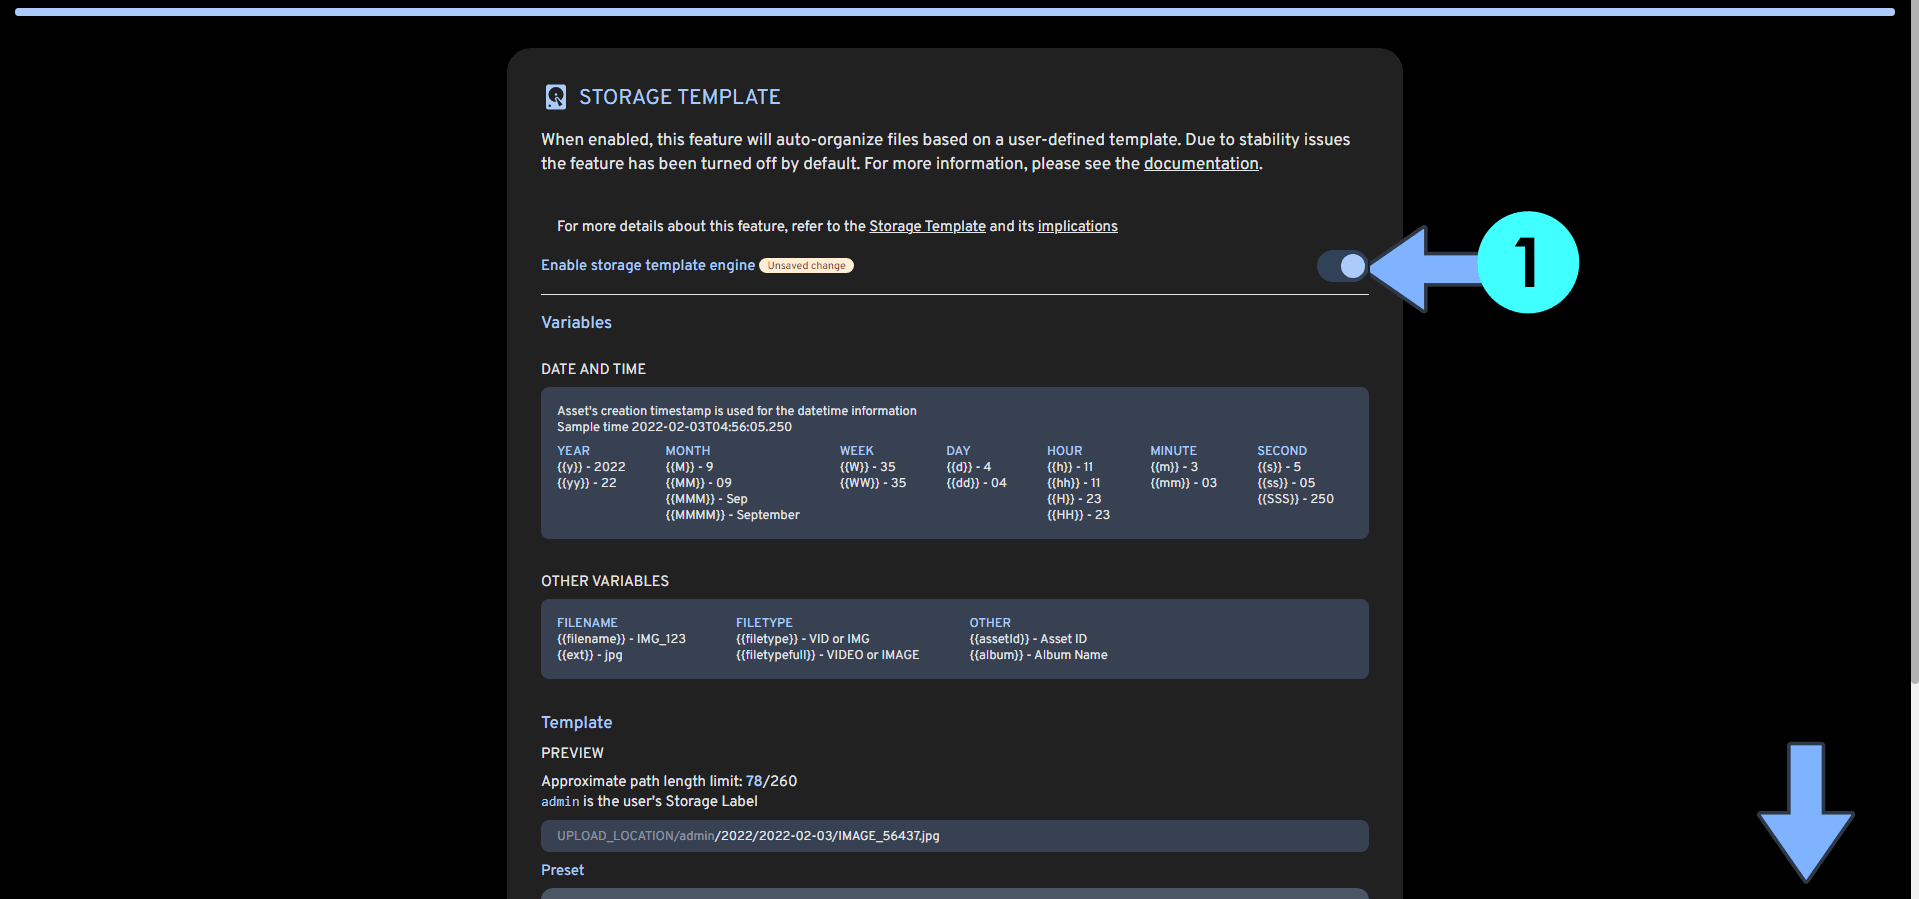
STEP 19
Enable or Disable the storage template engine, then scroll down the page. Follow the instructions in the image below.
STEP 20
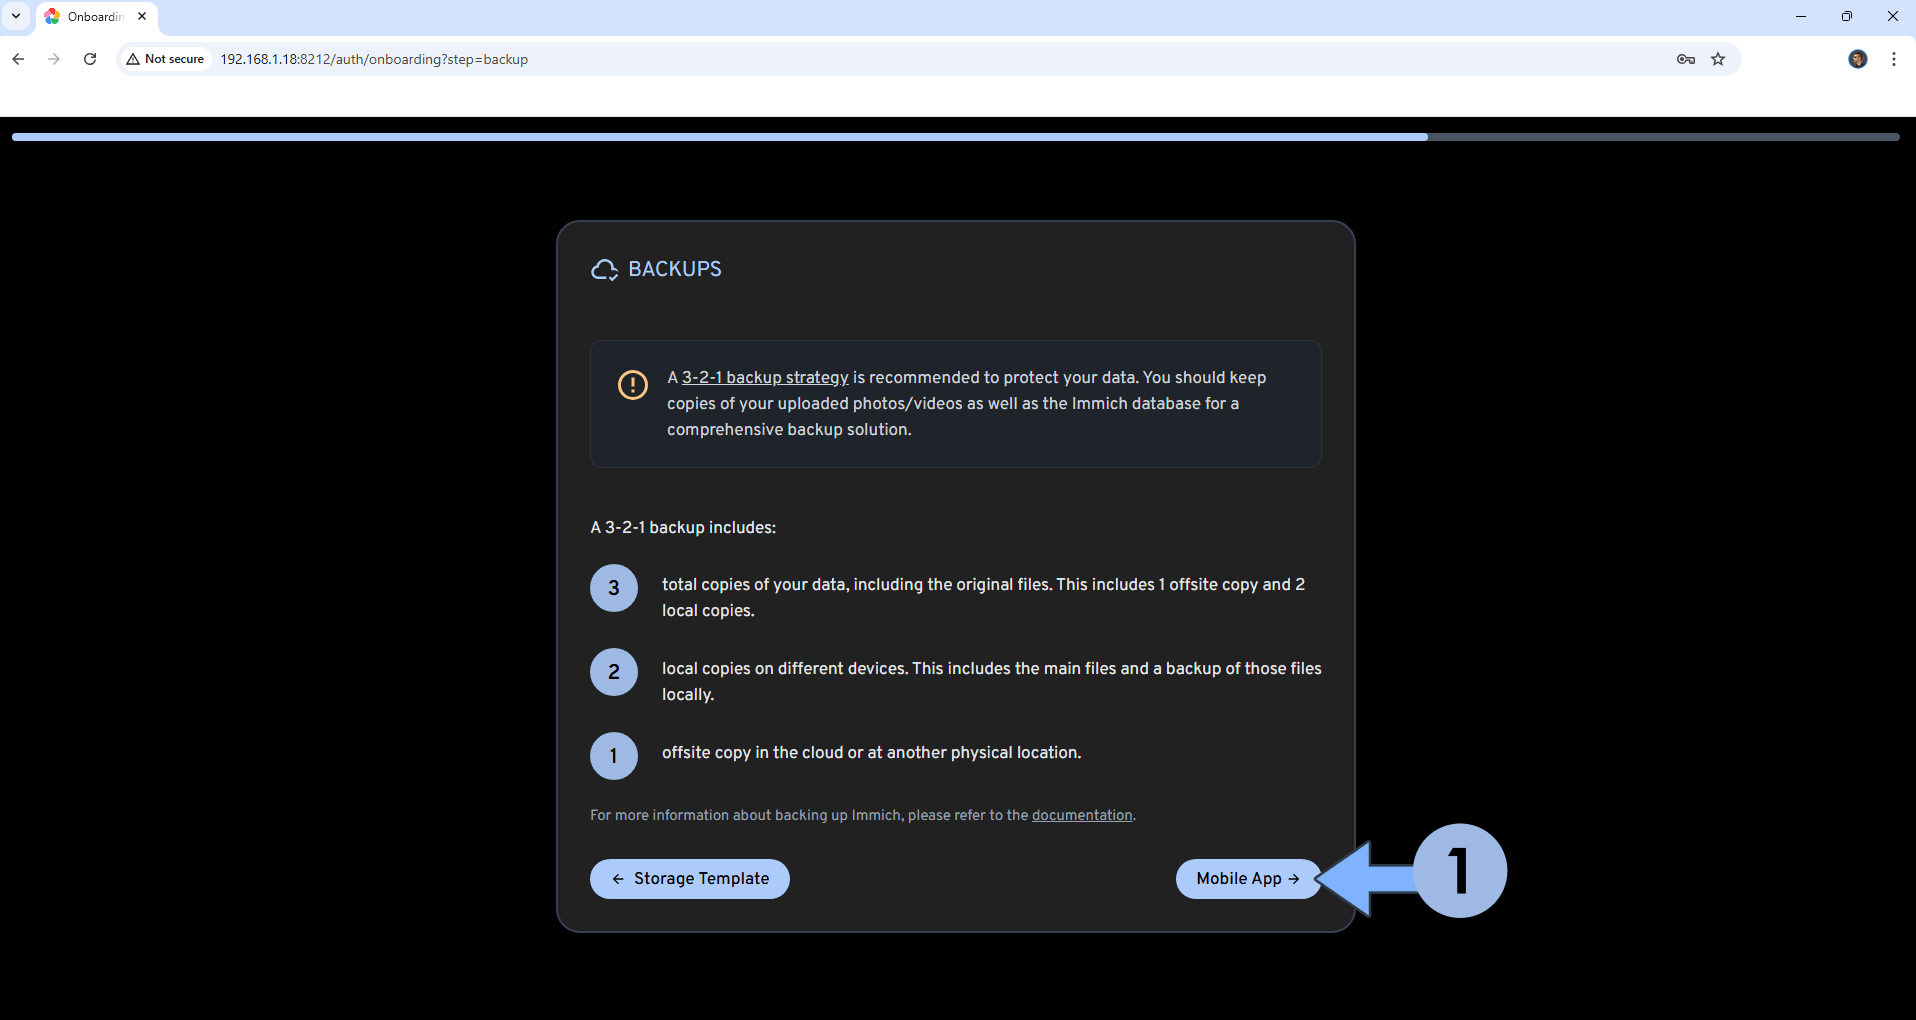
Click Backups. Follow the instructions in the image below.
STEP 21
Click Mobile App. Follow the instructions in the image below.
STEP 22
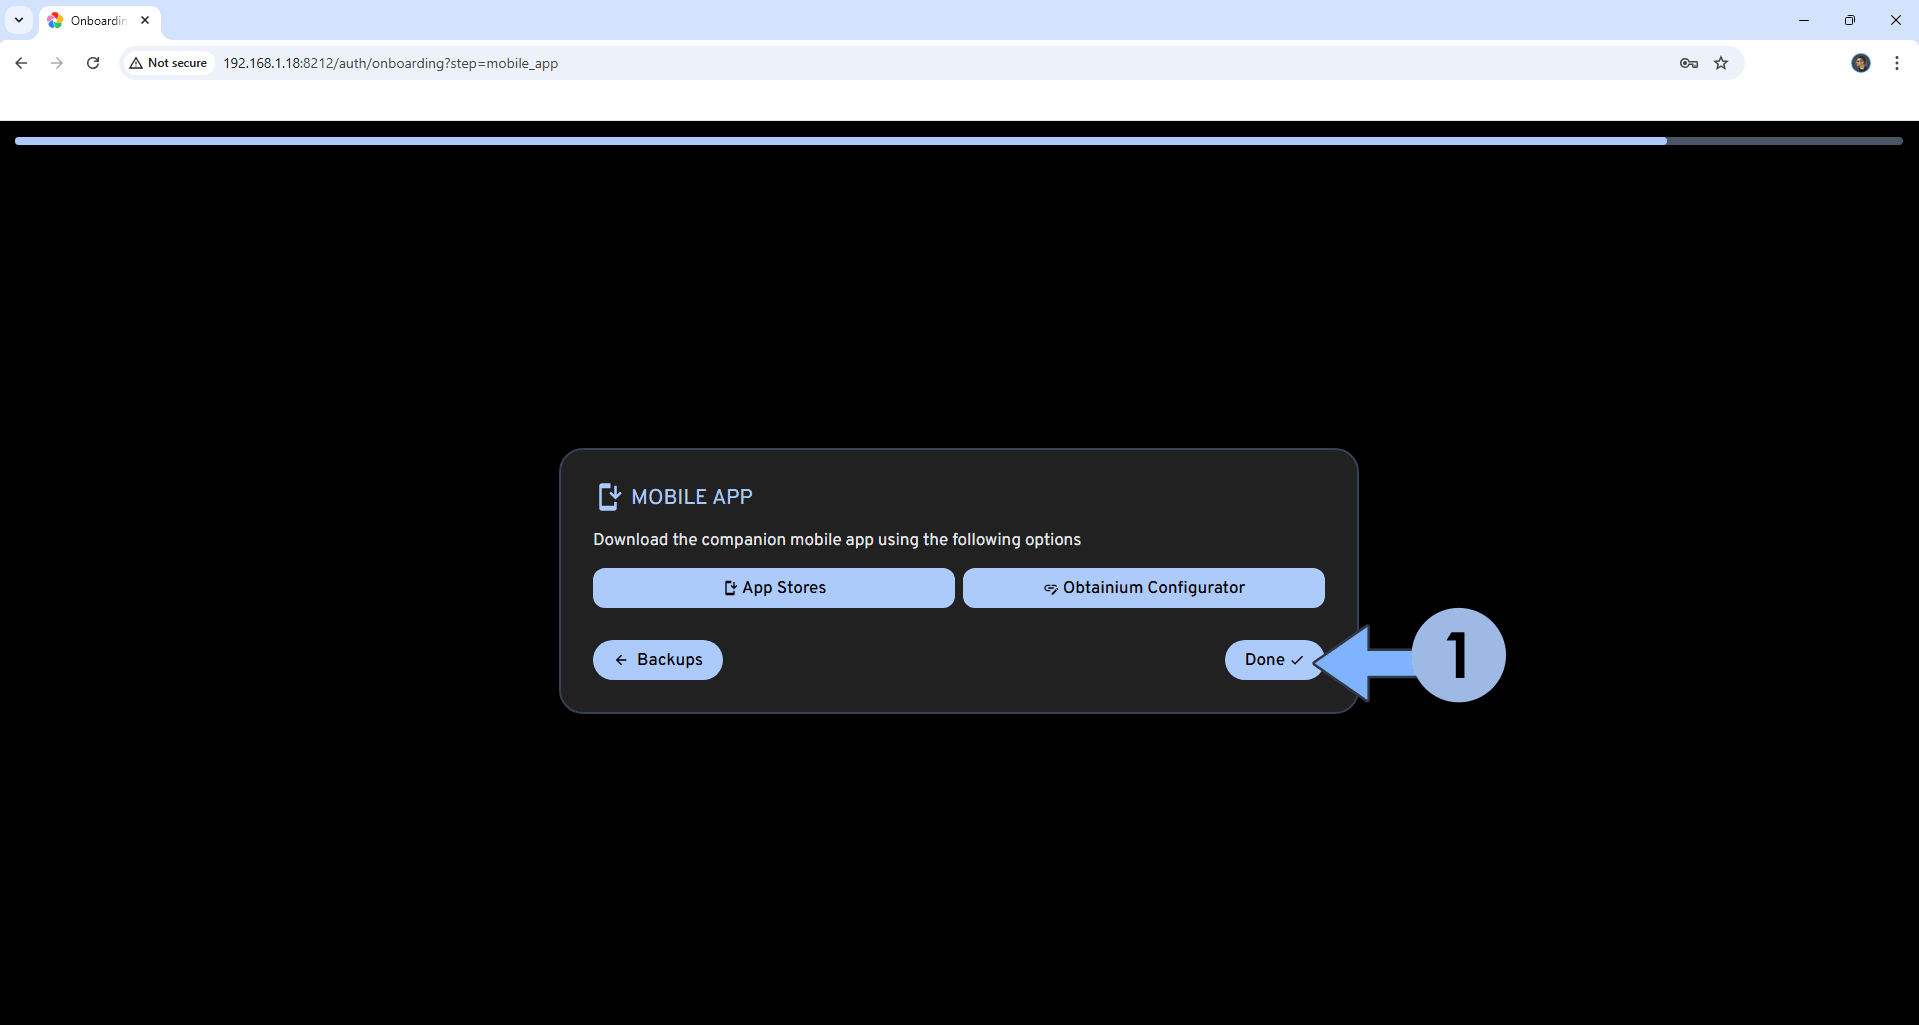
Click Done. Follow the instructions in the image below.
STEP 23
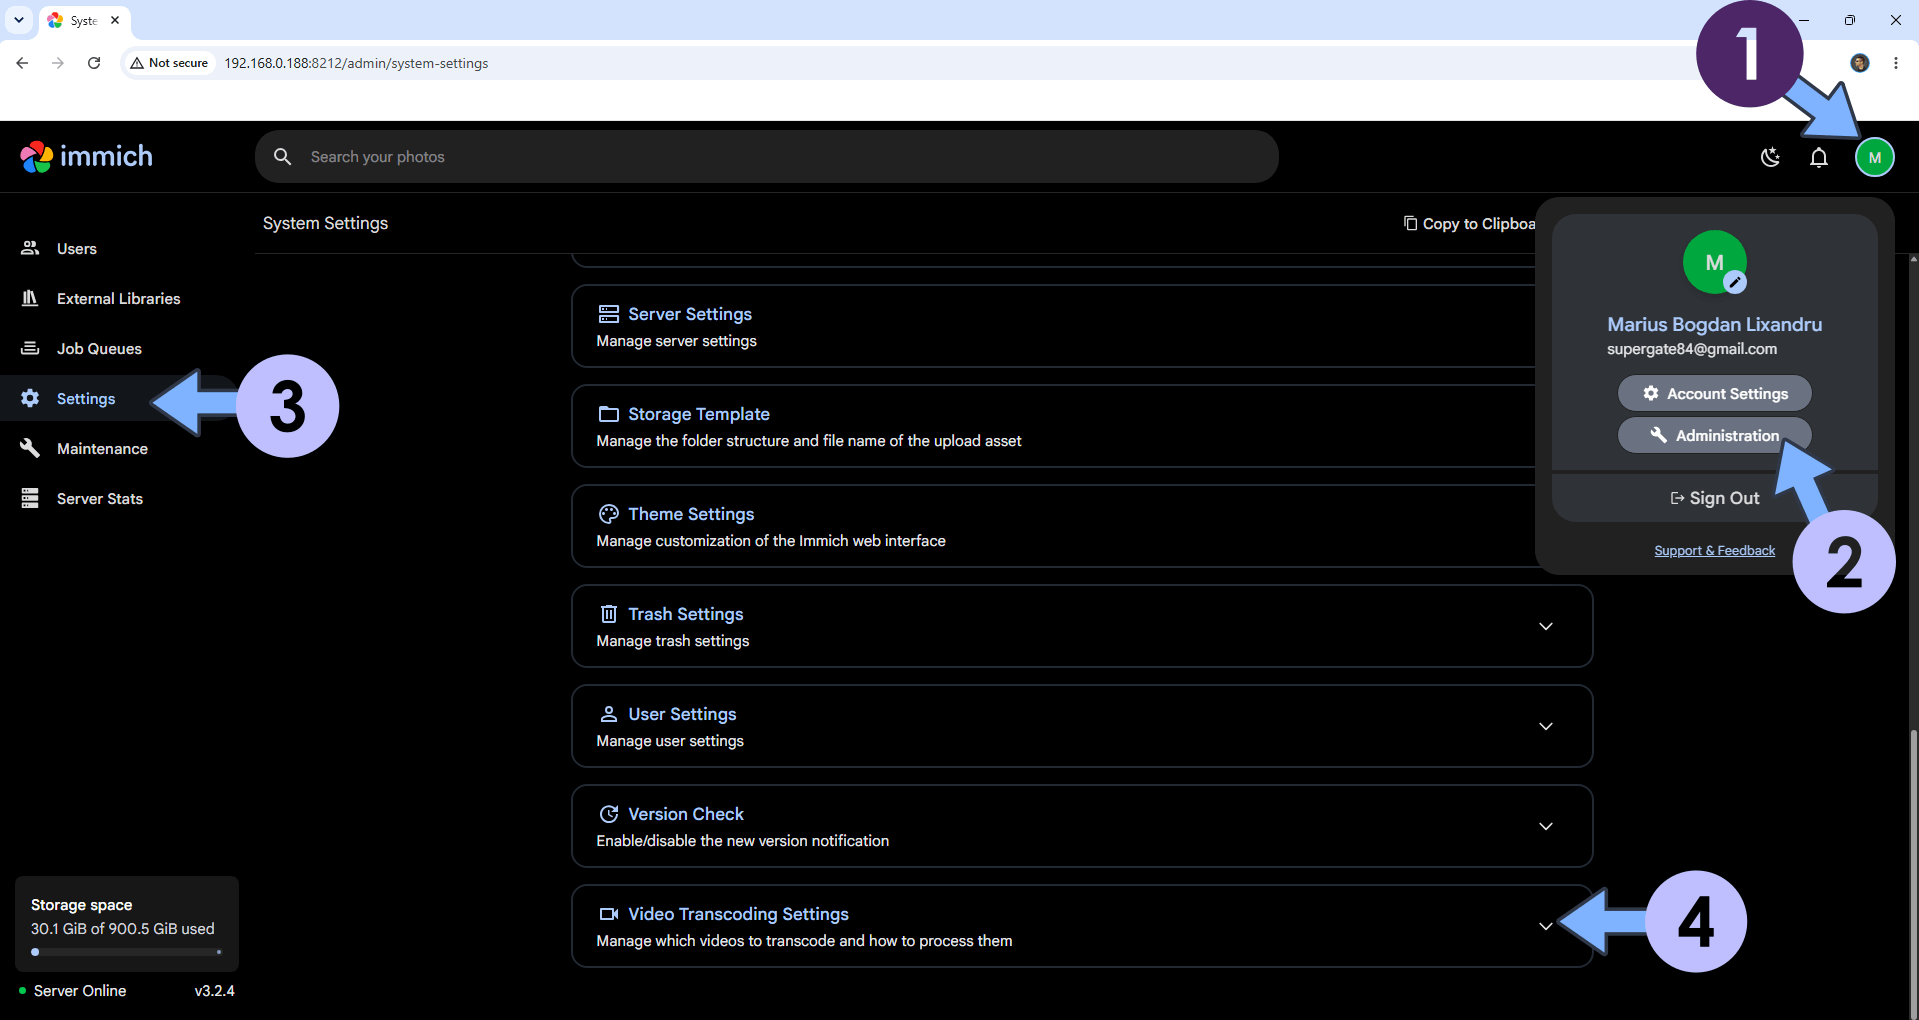
At the top right of the page, click the user icon then Administration. On the left sidebar, click Settings. Scroll down the page until you find the Video Transcoding Settings option. Click on it. Follow the instructions in the image below.
STEP 24
In the Acceleration API area, select the Quick Sync (requires 7th gen Intel CPU or later). Switch the Hardware decoding to ON. Follow the instructions in the image below.
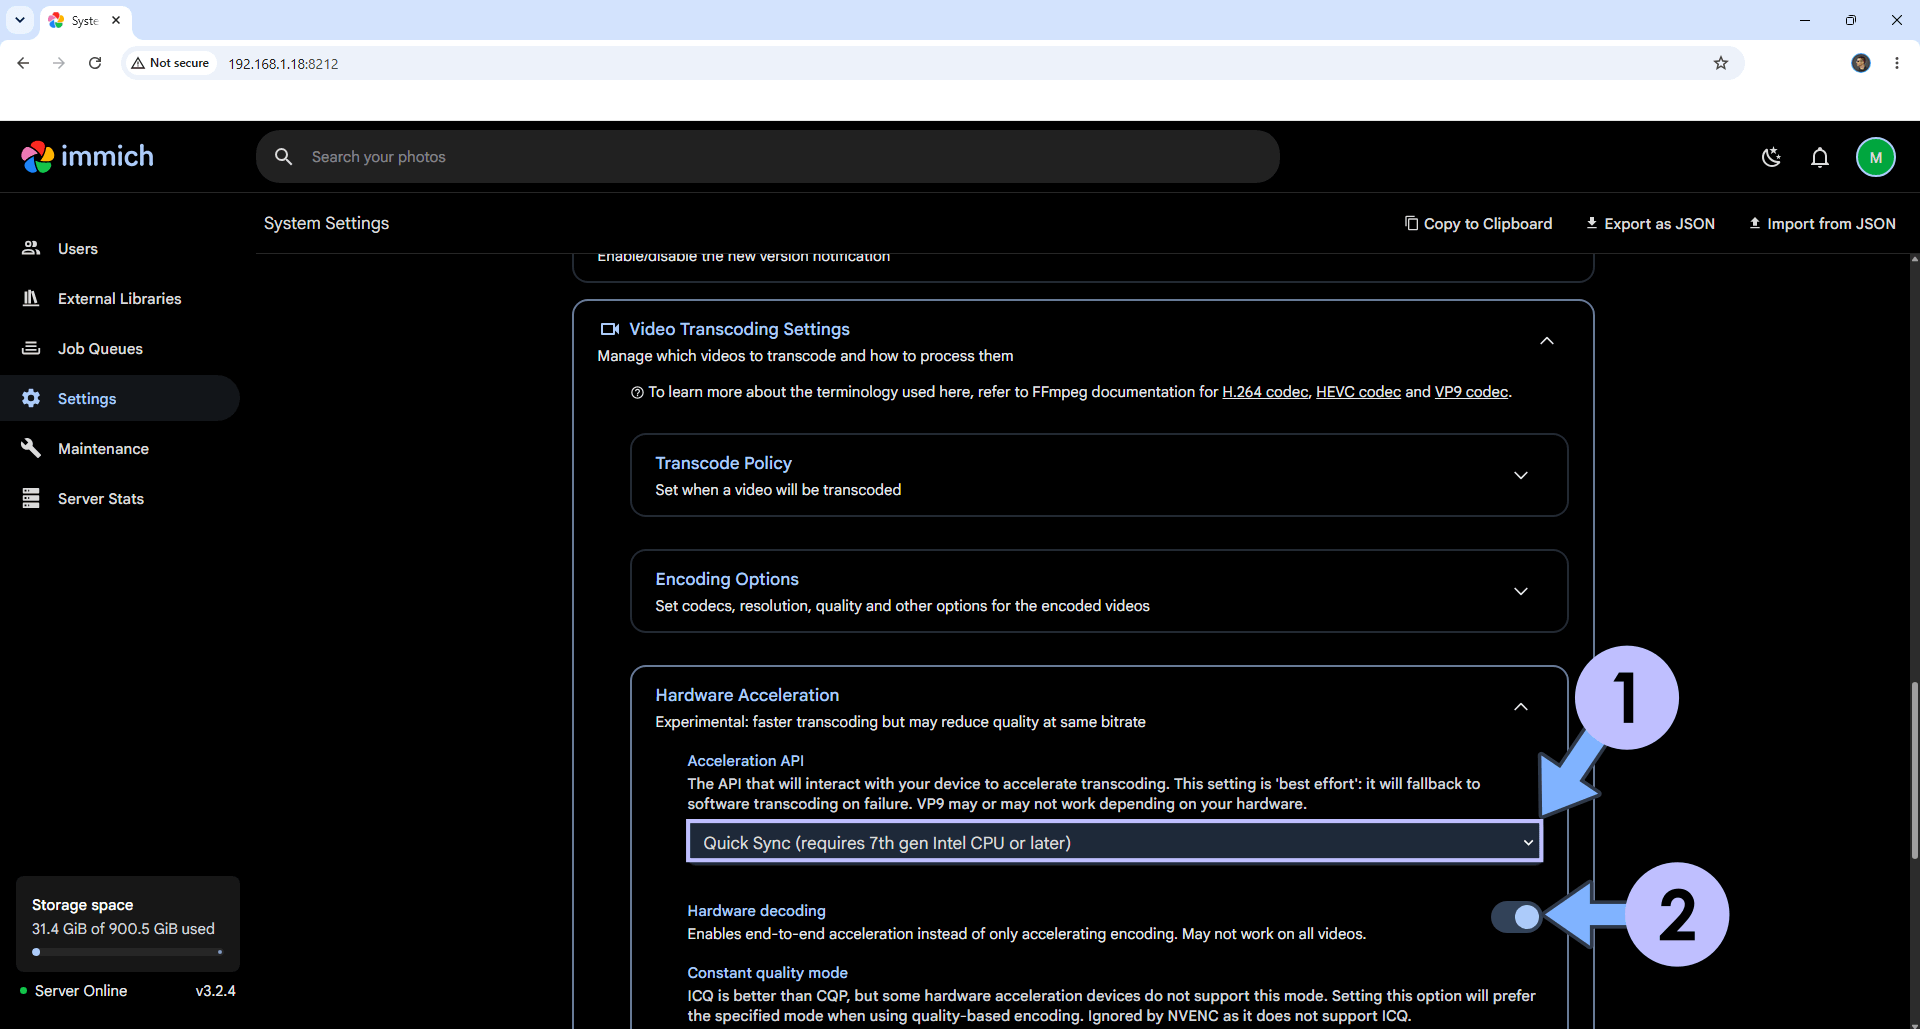
STEP 25
Click Save. Follow the instructions in the image below.
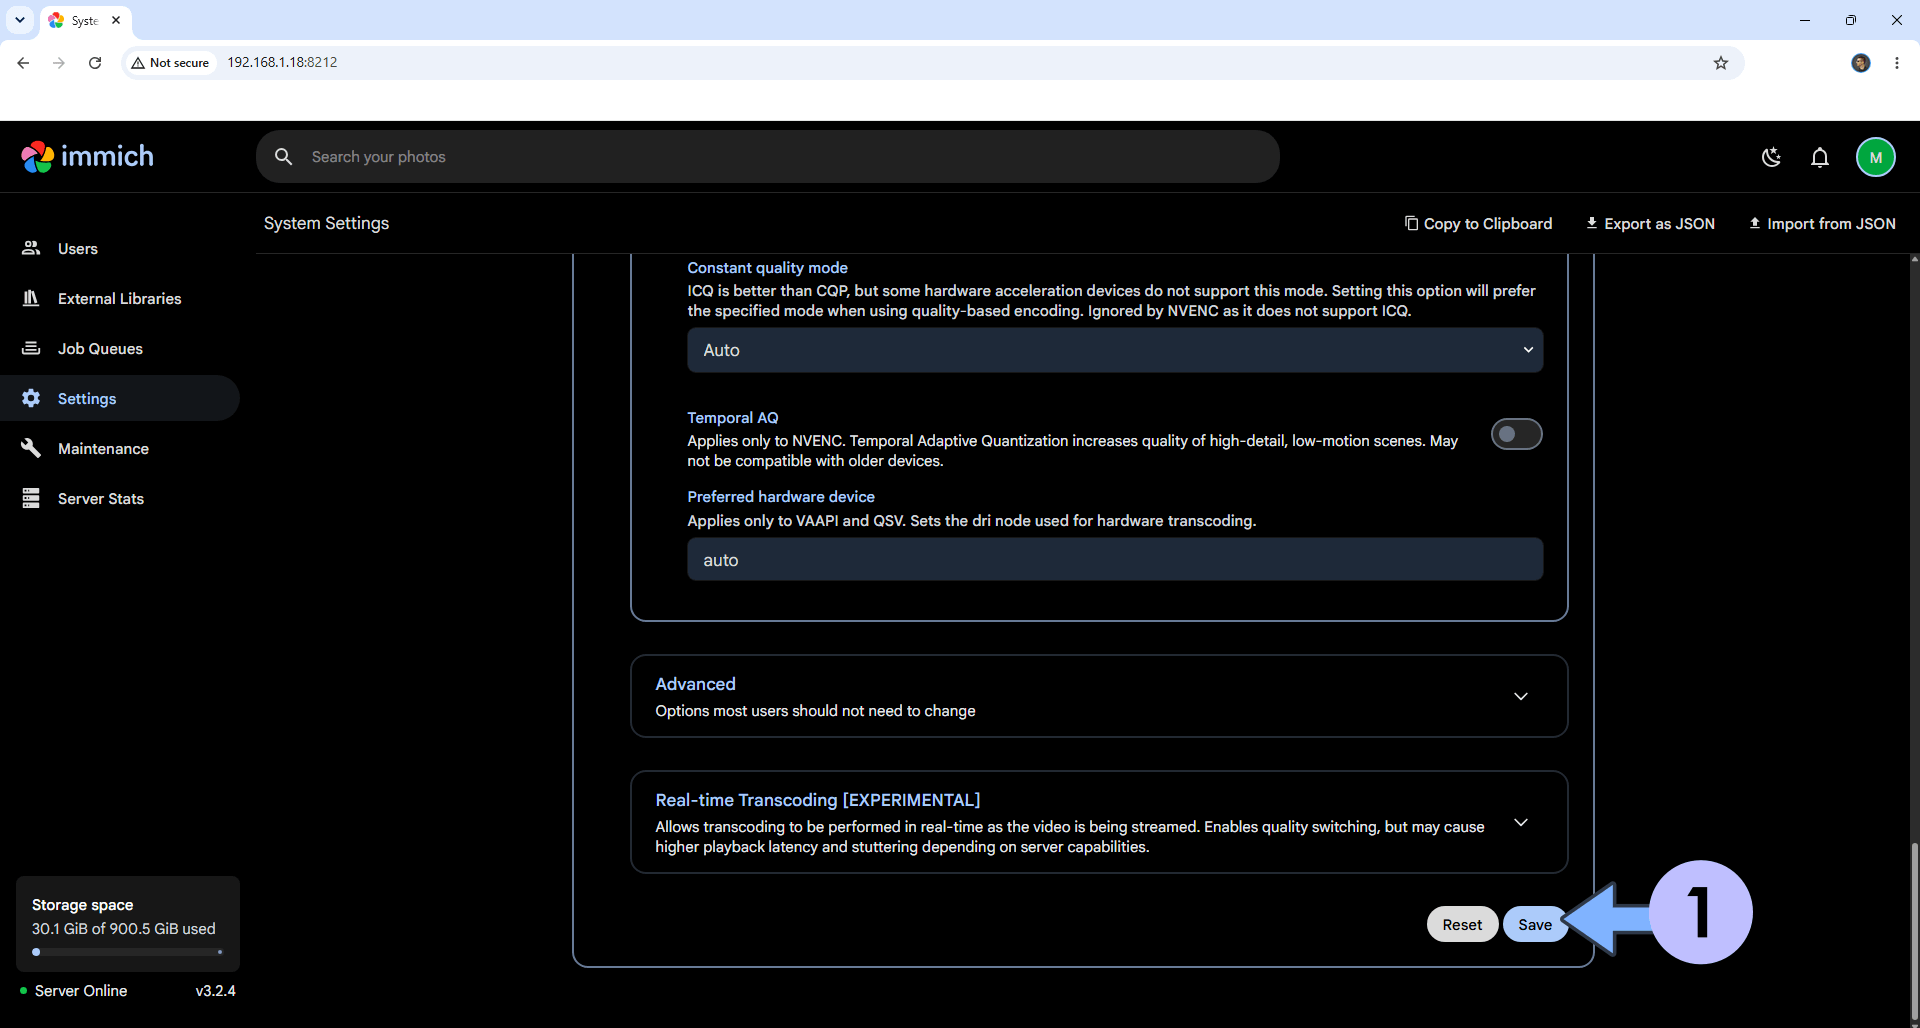
STEP 26
Click Upload to start uploading your own photos and videos. Your Immich with GPU acceleration dashboard at a glance! Follow the instructions in the image below.
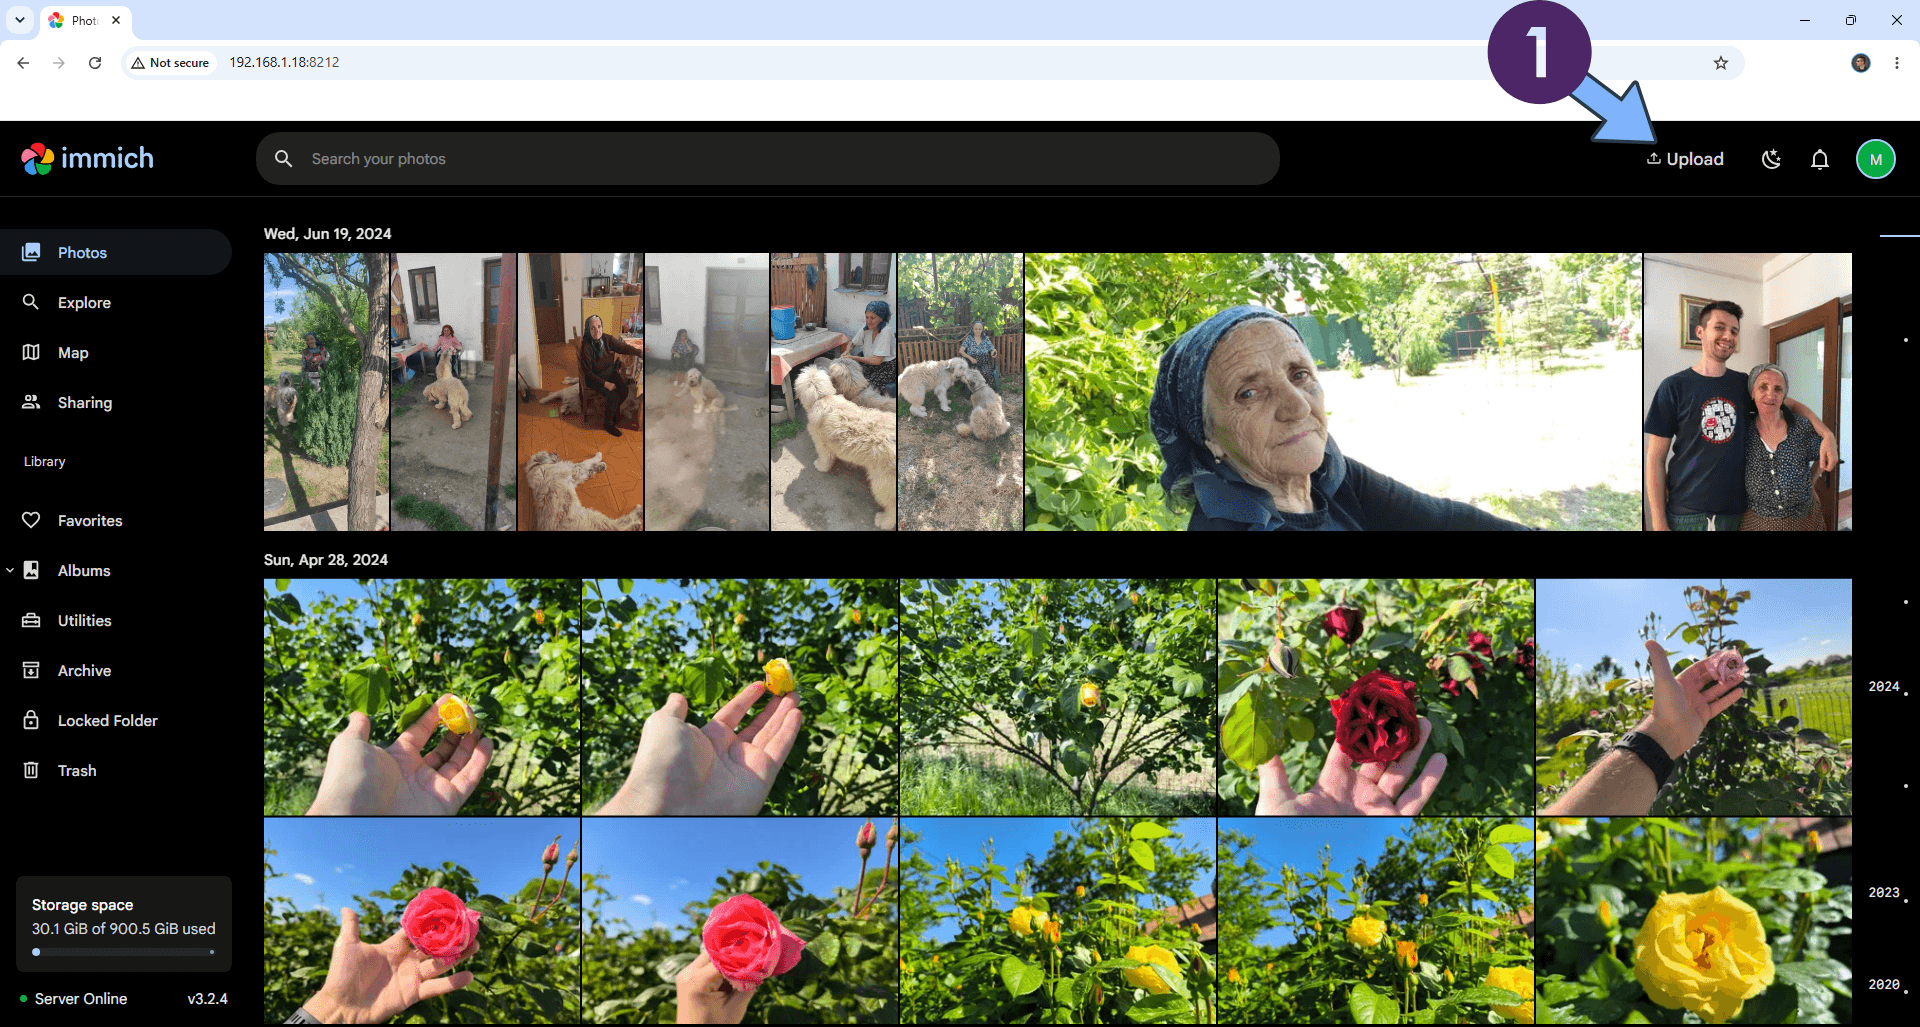
STEP 27
You can also use the upload button to upload videos.
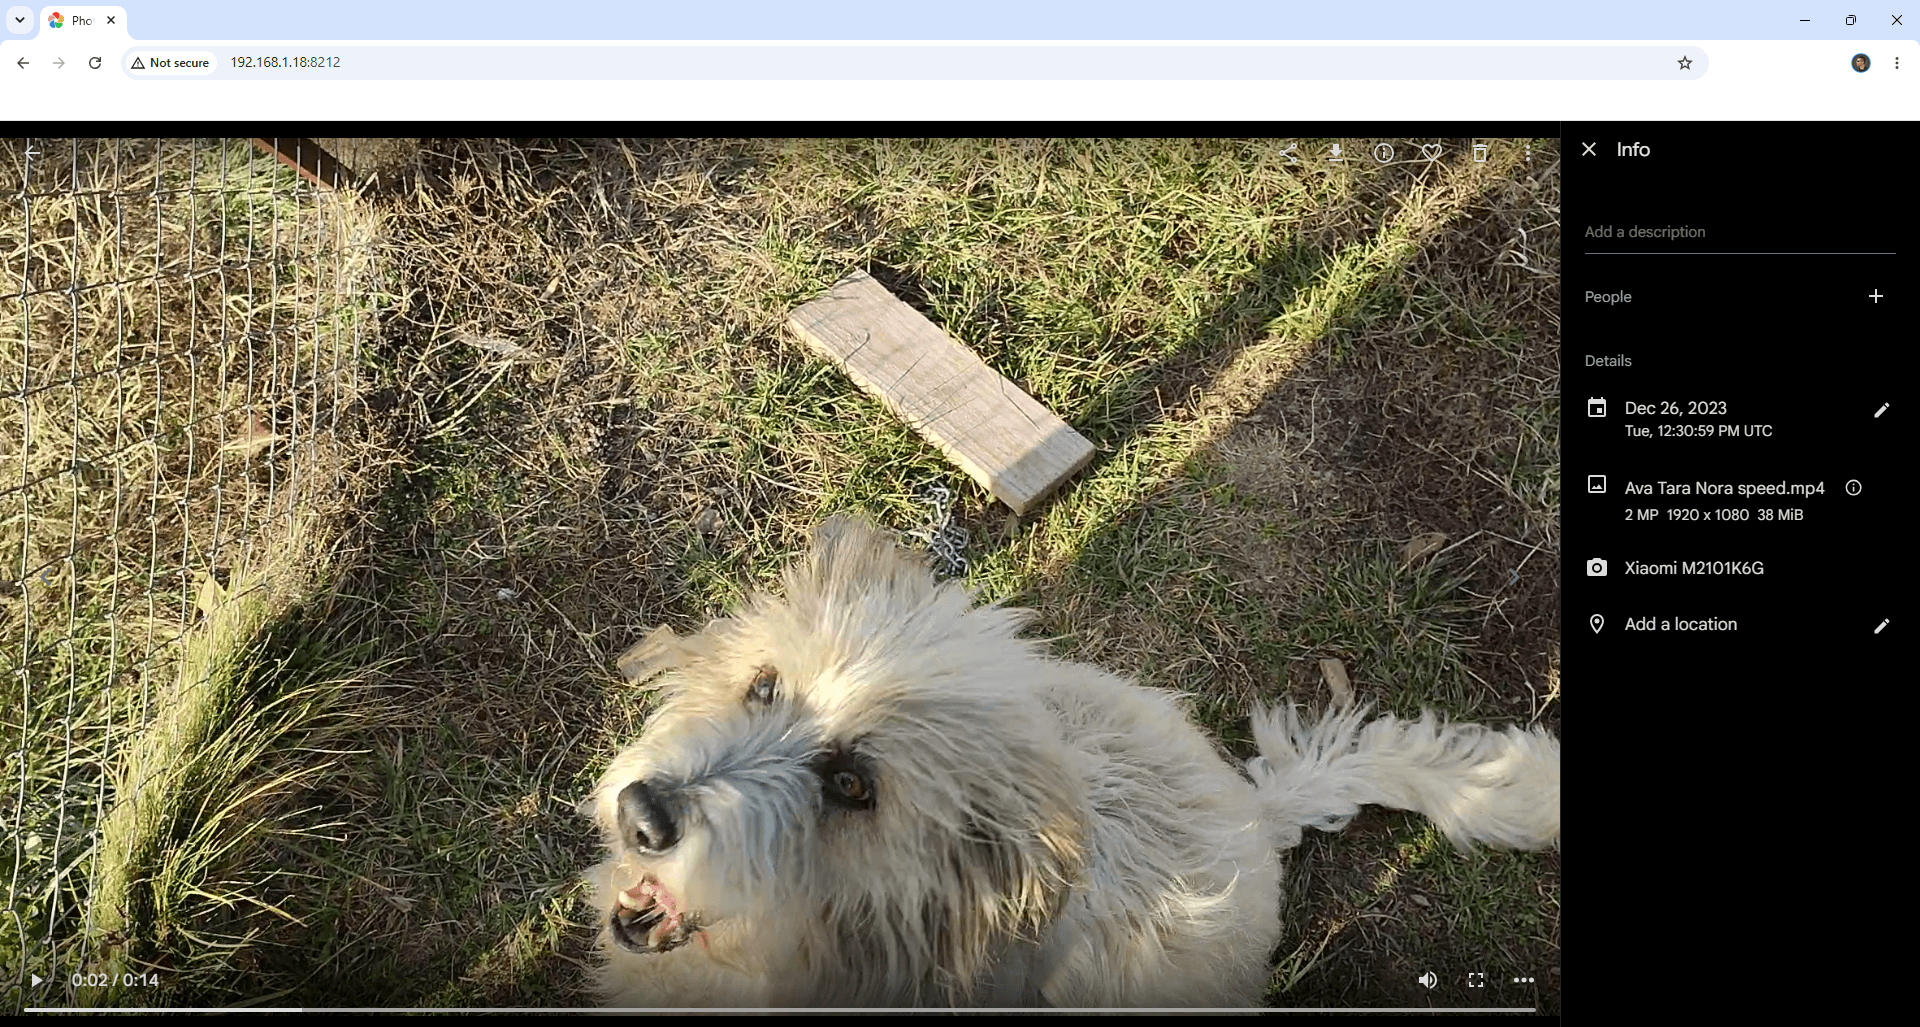
STEP 28
Set Up Email Notifications on Immich.
STEP 29
How to Easily Set Up Immich External Library on Your UGREEN NAS.
Enjoy Immich with GPU Acceleration on your UGREEN NAS!
Note: If you want to run the Immich with GPU Acceleration container over HTTPS, check out How to Run Docker Containers Over HTTPS on Your UGREEN NAS.
🆙Note/Update/Container: How to Update Your Docker Containers on UGREEN NAS Using Dockhand.
🐳Note: How to Create Docker Shortcuts on Desktop.
🆕Note: How to Update Dockhand to the latest version.
🆕Note: How to Clean Docker with Dockhand.
This post was updated on Wednesday / October 7th, 2026 at 12:46 AM