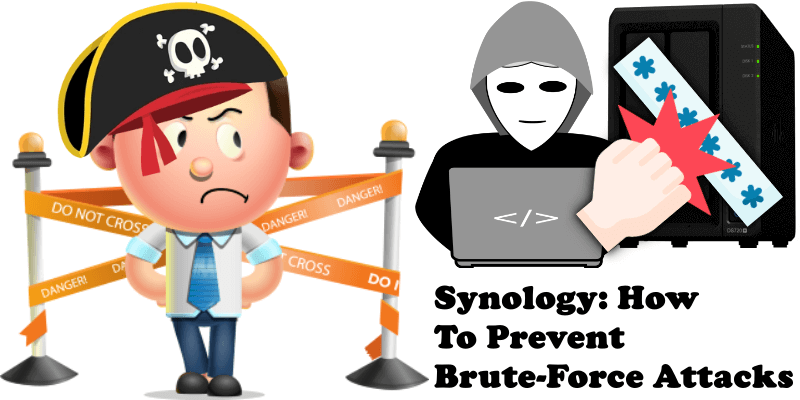
Synology NAS users have been the target of ongoing brute-force attack attempts, with IPs from all over the world trying to connect to people’s Synology devices. These IPs are a part of a botnet, a network of bots that is specifically targeting the NAS devices via hacked devices such as computers with security vulnerabilities. A brute-force attack consists of an attacker submitting many passwords or passphrases with the hope of eventually guessing correctly. The attacker systematically checks all possible passwords and passphrases until the correct one is found. Fortunately, on mariushosting, IPs like these are blocked daily. In the last 10 days alone, over 25.000 new IPs part of the current botnet have been blocked in my deny IP list.
Botnets are not something new. They’ve been with us for a long time and, every now and then, they resurface. It happened in the summer of 2021 and it happened again this October 2022, April 2023, June 2023, May 2024, July 2024. I’ve been closely monitoring these NAS-predating bots since 2019, and it wasn’t just me. So many people from around the world have contributed to this deny IP list. I would like to mention Daron Brewood, Umut Çelebi, Zoltan Zsedenyi, James Krause, John P. Burns, Yhulmer Izquierdo, Maurice Tai, Jose Ignacio Usoz, Henk Puik, Christof, Mark Preston, Georg from Sydney, Frans van who are contributors to the list. What is a Botnet? A Botnet is a network of private computers infected with malicious software and controlled as a group without the owners’ knowledge. Do you need to worry? Not if you carefully follow the tips below that your Internet friend Marius summarizes for you.
This counts as a very good practice in terms of security and it’s recommended by Synology themselves. Create another user account with full administrator credentials (admin privileges) to use instead to access your system, and disable your current admin account. This is a fairly simple, but effective measure you can take towards the security of your NAS that is accessible to all levels of technical expertise.
Many people have not yet installed the latest version of DSM 7.3.2-86009 Update 3. It’s really a mandatory security practice to always install the latest DSM operating system as it becomes available. Keep following mariushosting because every time a new DSM version is out, I will make a post to remind you!
It may come as a surprise to most that a strong password is usually all you really need to keep your data behind a wall that nobody can reach. Your password is the first and greatest line of defense standing between your private data and the outside world. This is why it may come as an even greater surprise, to some at least, that a weak password is the main reason for most security breaches. The point of a password is to secure the data in your NAS, so a good practice is to not use a common word, but rather a non-word. What this means is that you must include capital letters, numbers, and symbols in the composition of your password, and make sure it’s long enough – at least 12 characters. A password like this is virtually impossible to guess, meaning just a strong password is all you may really need to secure your NAS beautifully. If you need help with this, see my article on how to choose a strong password.
One of the best tips to improve your overall security is to change the default ports 5000 and 5001 on your NAS. It’s super easy to do, irrespective of your level of technical expertise, and costs nothing. Follow my guide on how to change your NAS default ports.
A great practice that helps you keep your NAS more secure is enabling 2-Factor Authentication for your DSM account. If you don’t mind the few extra steps you’d have to take when accessing your box, then this might just be a very useful solution for you. Go to Personal / Account / click 2-Factor Authentication to launch the setup wizard. Enter your password to continue the process. You can use either a mobile device for Approve sign-in or OTP (one-time verification code) or a hardware security key. You can download Synology’s app, Secure SignIn, which is available on both Android and iOS devices when setting up 2-factor authentication. I personally use the Secure SignIn app on my phone.
HTTPS, meaning Hypertext Transfer Protocol Secure, has essentially become the standard when it comes to accessing anything over the Internet. The protocol encrypts your connection and ensures the data being exchanged is not subject to any form of a privacy breach. As a Synology NAS user, you are blessed to have the option to get a FREE SSL Certificate for your system such as the one from Let’s Encrypt. An SSL certificate will allow you to connect to your NAS from anywhere outside your Local Network, be it a coffee shop in Paris, a beach in Greece, or a restaurant in Manhattan, and do so securely over HTTPS. If you are not quite sure how to do this, follow my simple step-by-step guide on how to enable HTTPS on DSM 7.
One of the best and most crucial protections for your NAS is the Firewall. I have written a very simple guide on how to configure the Firewall on your Synology NAS and be protected by increasing your online security. My IP Block List is also one of the best and simplest security measures you can take to upgrade your security game, and plays a vital preventative role. Its role is to prevent security breaches and cyberattacks on your system by intentionally denying access to known malicious IPs. It’s 100% compatible with all Synology NAS models and Synology routers like the RT1900ac, RT2600ac, MR2200ac, and the new RT6600ax. It’s updated daily, and the IPs are tested individually as well as reviewed regularly. Download my IP Block List to block malicious IP’s before they try to attempt to connect to your NAS.
This post was updated on Thursday / March 19th, 2026 at 10:20 AM