DSM 7.1 and DSM 7.2 has undergone several changes. To change ports 5000 and 5001 you no longer have to go to Control Panel / Network / DSM Settings like in DSM 6.2. Starting with DSM 7 you will find a new icon called Login Portal in Control Panel. Below is the complete guide on how to change ports 5000 and 5001 on your Synology NAS device that is running DSM 7.2
STEP 1
Please Support My work by Making a Donation.
STEP 2
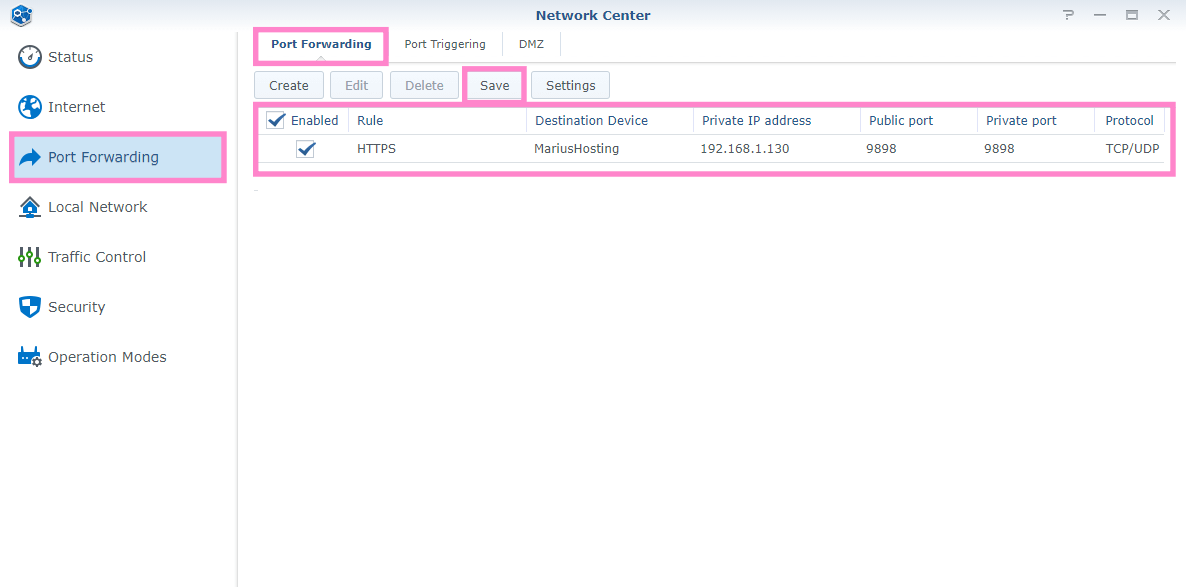
On your router, you need to port forward a port for the HTTPS connection, both TCP and UDP. The port number must be between 1024 and 65535. For example, I have opened TCP port 9898 and UDP port 9898 for HTTPS connections pointing to my NAS. At the moment I am using an RT6600ax Synology router. Remember that every router has its own interface design. Follow the instructions in the image below.
STEP 3
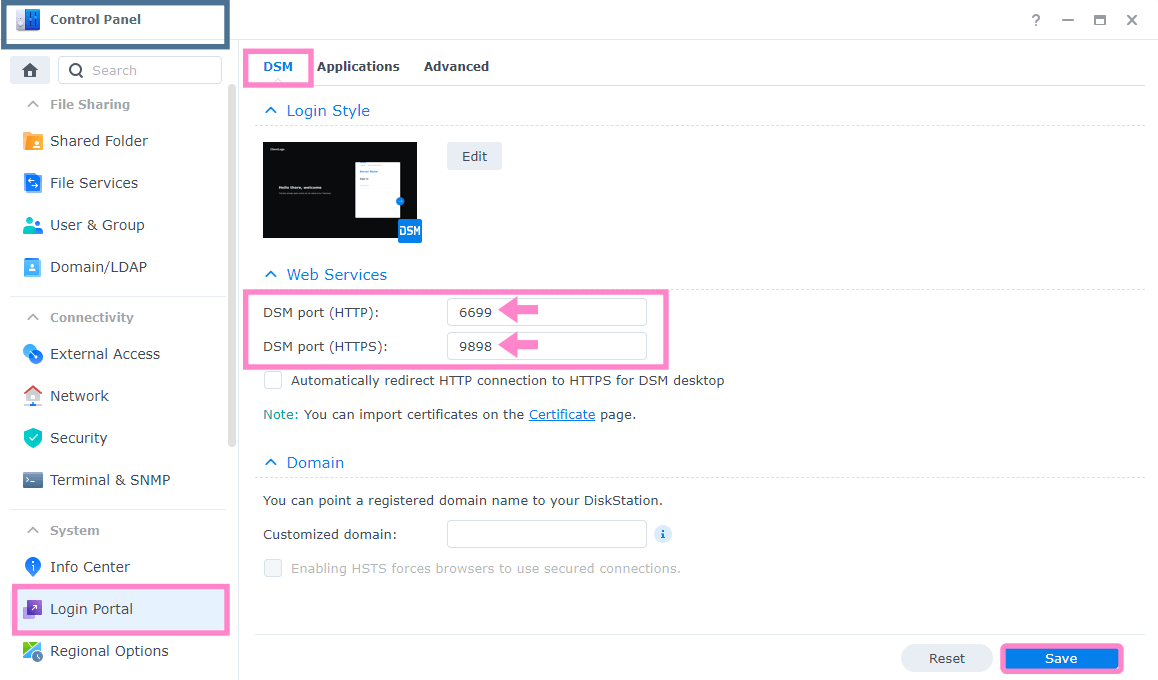
Go to Control Panel / Login Portal / DSM and, under Web Services, add ports 6699 for HTTP and 9898 for HTTPS. After that click Save. A friendly reminder, you don’t need to choose these exact ports – they are just an example. You can choose any ports you want so long as they’re between 1024 and 65535. Follow the instructions in the image below.
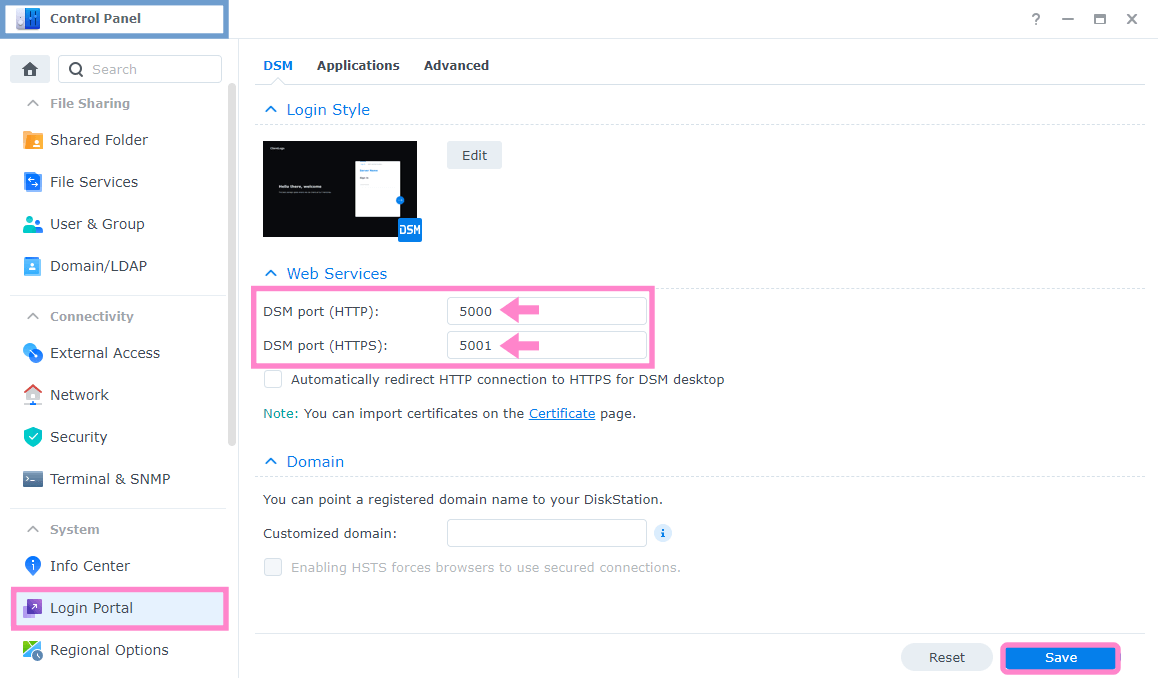
If you encounter any problems, just switch back to your official Synology ports 5000 and 5001, then click Save.
Note: You don’t need to port forward the HTTP port on your router, only the HTTPS one. If you are using your synology.me DDNS address to connect to your NAS from outside your local network, you will need to port forward the HTTPS port on your router.
This post was updated on Wednesday / May 31st, 2023 at 11:35 AM