DSM 7 has undergone some changes and these changes are also reflected on the way you use FTP on your Synology NAS. Your Synology NAS unit can become a real FTP Server and you can even create different accounts for each individual user you want. FTP was very popular 10-15 years ago, and even today it’s still very much in demand. To use FTP on your Synology NAS, you must first create an “FTP” user and activate the SFTP File service. Once the FTP user has been created, read my article where I explain the difference between FTP, SFTP and FTPS. These steps are mandatory if you want to become a real expert in using FTP on a Synology NAS. So, how to activate the SFTP service and create an FTP user on your Synology NAS with DSM 7?
STEP 1
Please Support My work by Making a Donation.
STEP 2
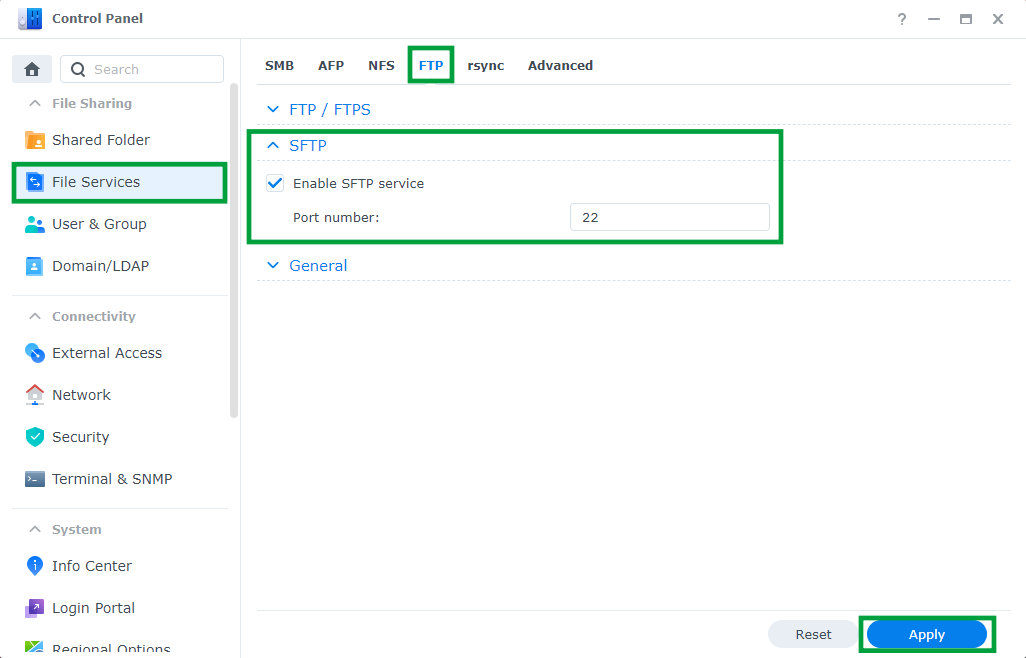
Go to Control Panel / File Services / FTP / Check Enable SFTP service then click Apply.
Note: You can also change the port number.
Note: Enable only SFTP for top security.
STEP 3
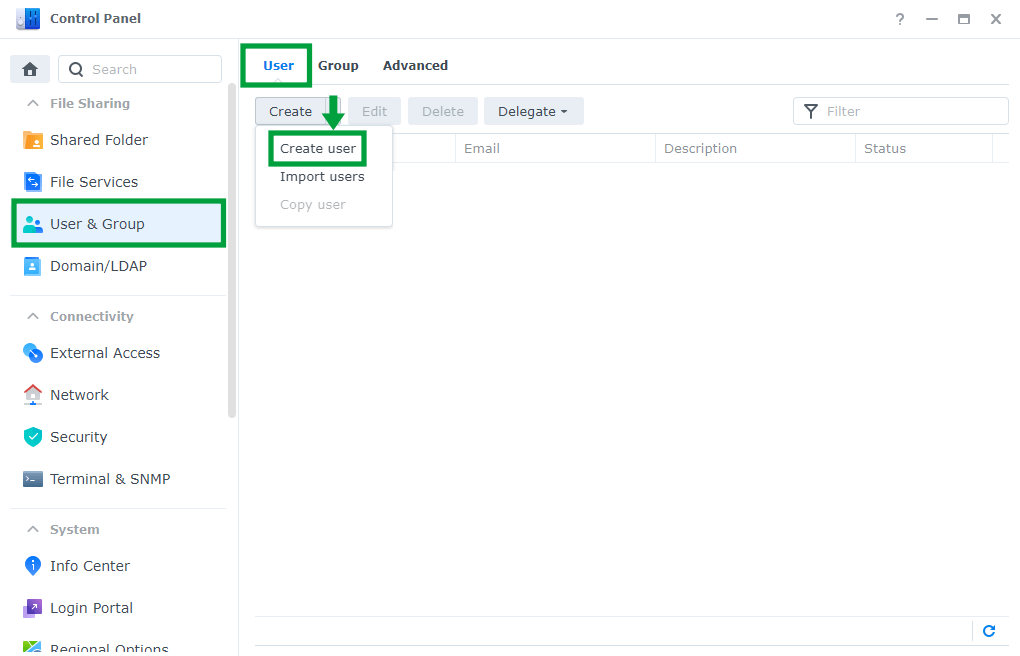
Go to Control Panel / User & Group and click Create user. Follow the instructions in the image below.
STEP 4
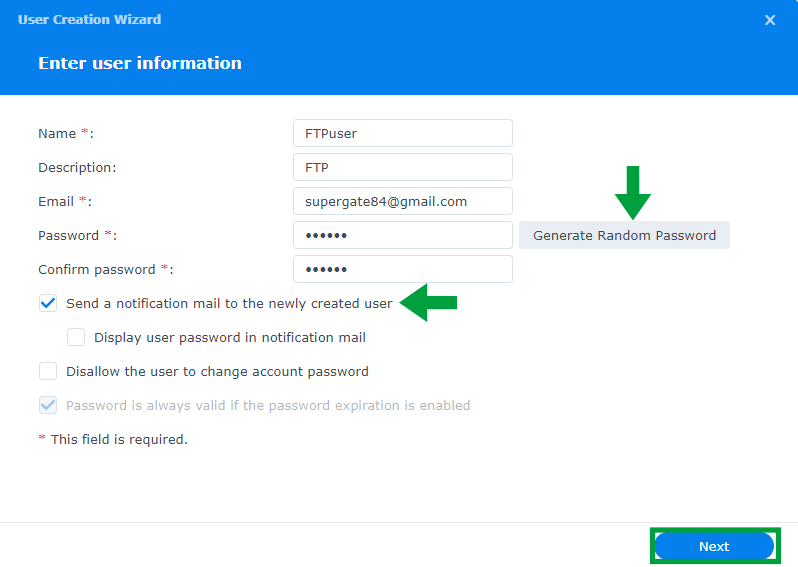
Once you click Create user on STEP 3, a new window will open. Choose the FTP username, Description, Email and Password for the FTP user you are creating. Check Send a notification mail to the newly create user, then click Next. Follow the instructions in the image below.
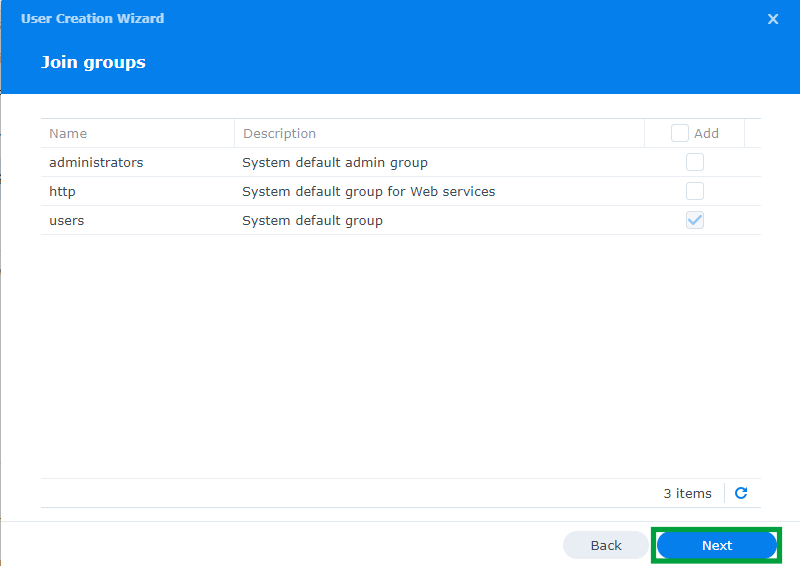
STEP 5
After clicking Next on STEP 4, click Next once more. Follow the instructions in the image below.
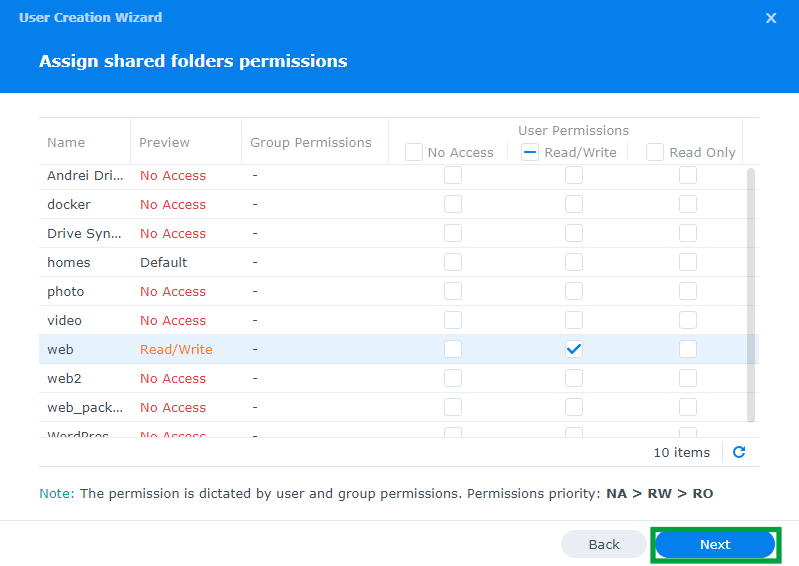
STEP 6
After clicking Next on STEP 5, check web folder permission to Read/Write. Click Next. Follow the instructions in the image below.
Note: The web folder is just an example. You can choose another shared folder you want, but remember to first create a new shared folder.
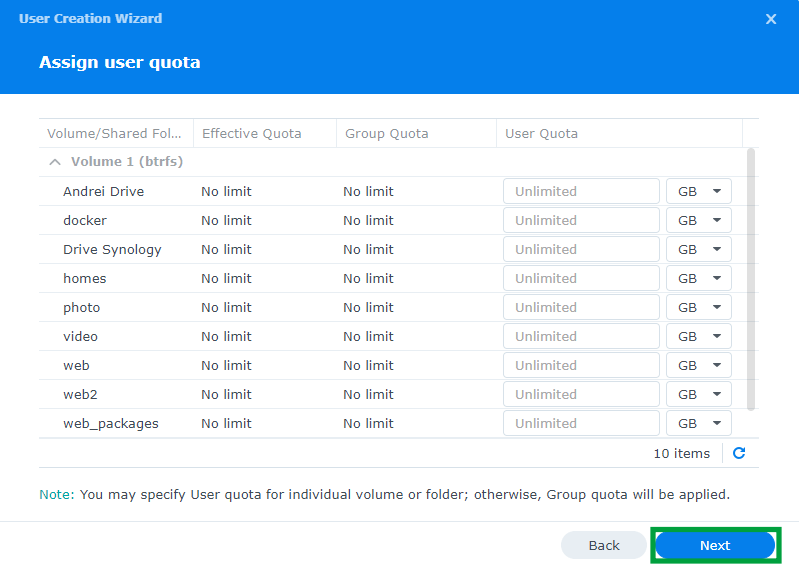
STEP 7
If you don’t want to assign user quota, leave everything like it is and click Next. Follow the instructions in the image below.
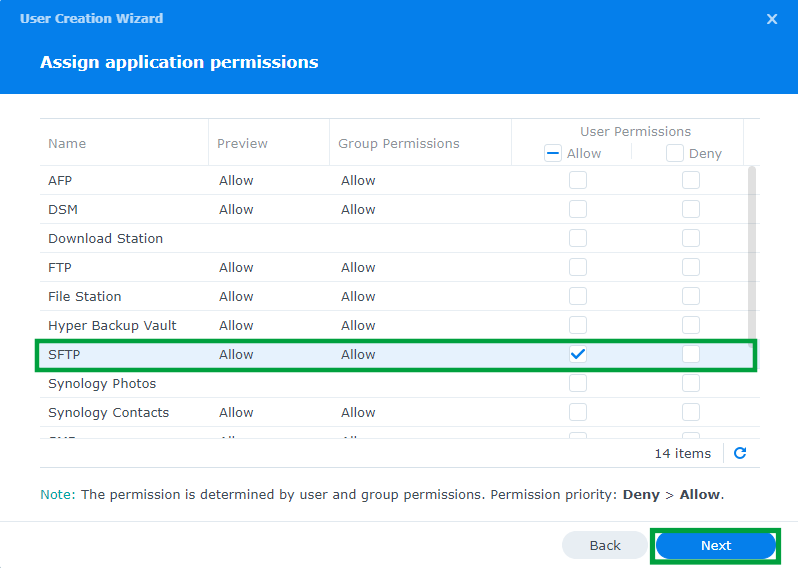
STEP 8
Check SFTP, then click Next. Follow the instructions in the image below.
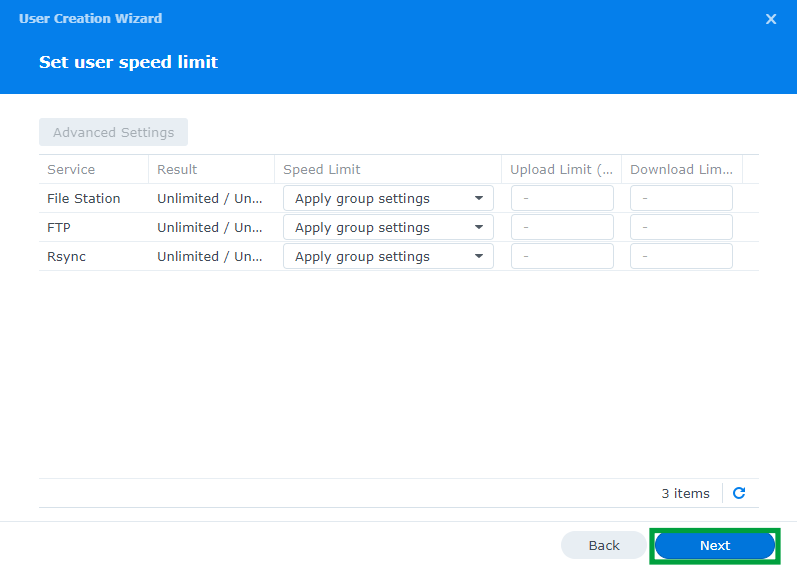
STEP 9
If you don’t want to assign user speed limit, leave everything like it is and click Next. Follow the instructions in the image below.
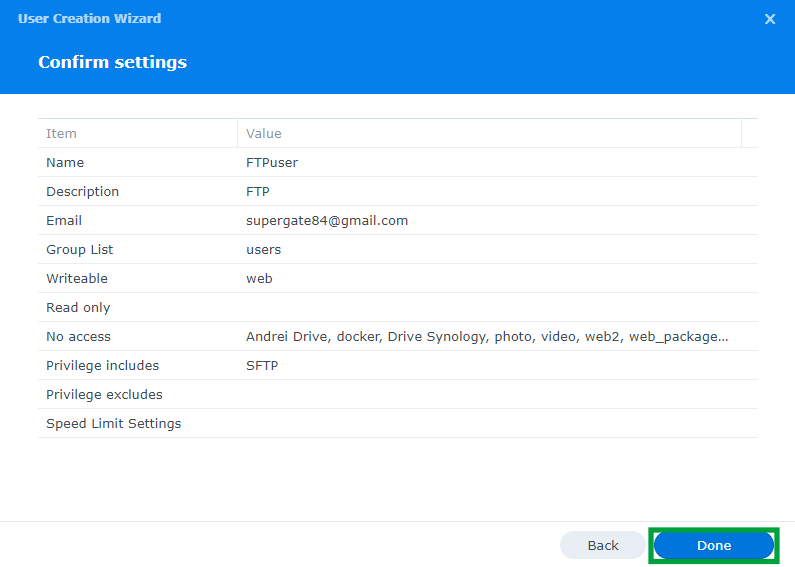
STEP 10
Click Done. Follow the instructions in the image below.
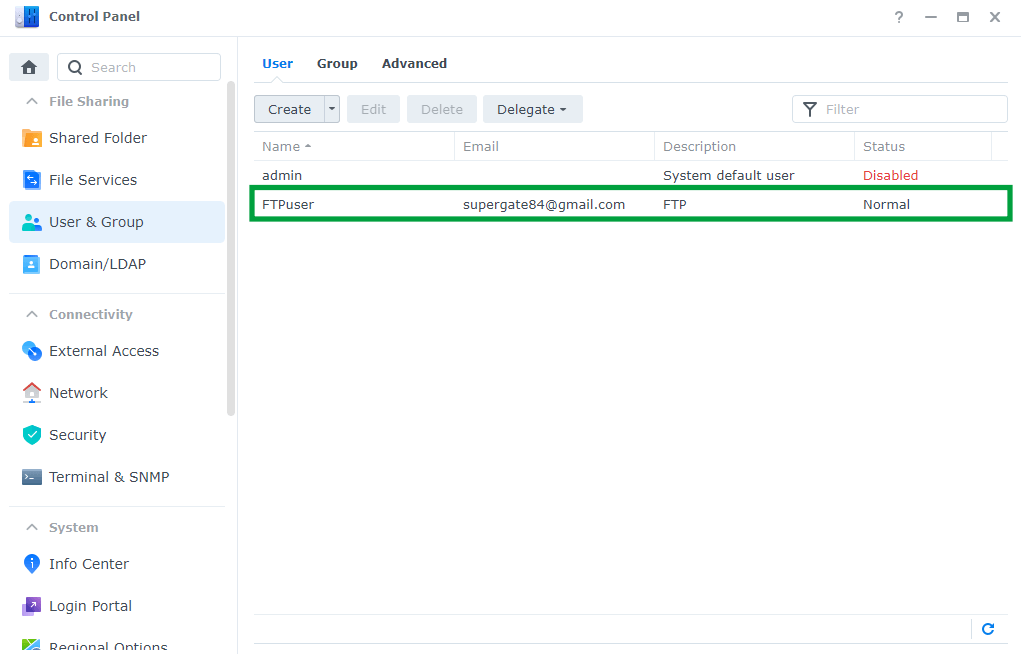
STEP 11
The FTP user has been correctly created.
STEP 12
Log into your router and go to the Port Forwarding area. Select your NAS Local IP Address and port forward port 22 both TCP/UDP. Remember that every router has its own interface design. At the moment I am using an RT2600ac router. Follow the instructions in the image below.
Note: If you have chosen a different port number at STEP 2, you have to remember to port forward it (correctly) in your router.

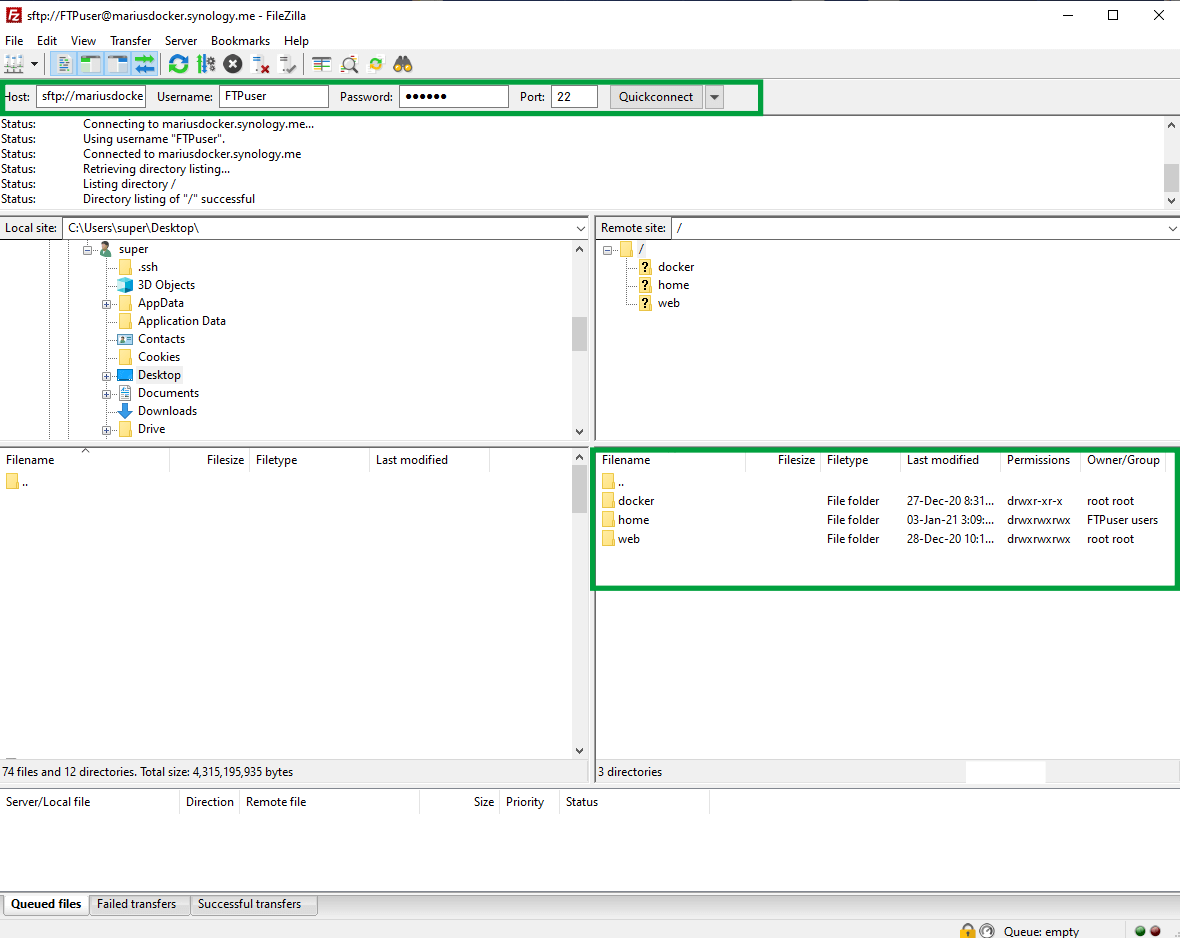
STEP 13
Once you have correctly created your FTP user, you can try to connect to your Synology NAS using an FTP client like FileZilla. Enter the Host (Your Local NAS IP), Username and Password of the FTP user you have previously created using this guide and port 22 for the SFTP protocol. After that, connect. I am using my synology.me DDNS in the Host area to connect to my FTP server from a different location. If you want to do the same, just follow my step by step guide on How To Enable HTTPS on DSM 7.
Note: Remember that you can create multiple FTP users with different permissions. For example, you can create an FTP user without the user having the ability to delete other files on your NAS. Or you can create an FTP user who only has access to one folder. You can set up different rules for different needs.
Note: How to Set Up FTP on Your Synology NAS with DSM 6.2.4
This post was updated on Thursday / April 23rd, 2026 at 11:41 AM