One of the first things you need to do after creating Volume1 on your Synology NAS is to create a Shared Folder. Shared Folders are the basic directories where you can store and manage files and folders on your Synology NAS device. Before storing any data, you’ll need to create at least one Shared Folder on your DSM operating system. In this article I will teach you how to create a simple Shared Folder.
STEP 1
Please Support My work by Making a Donation.
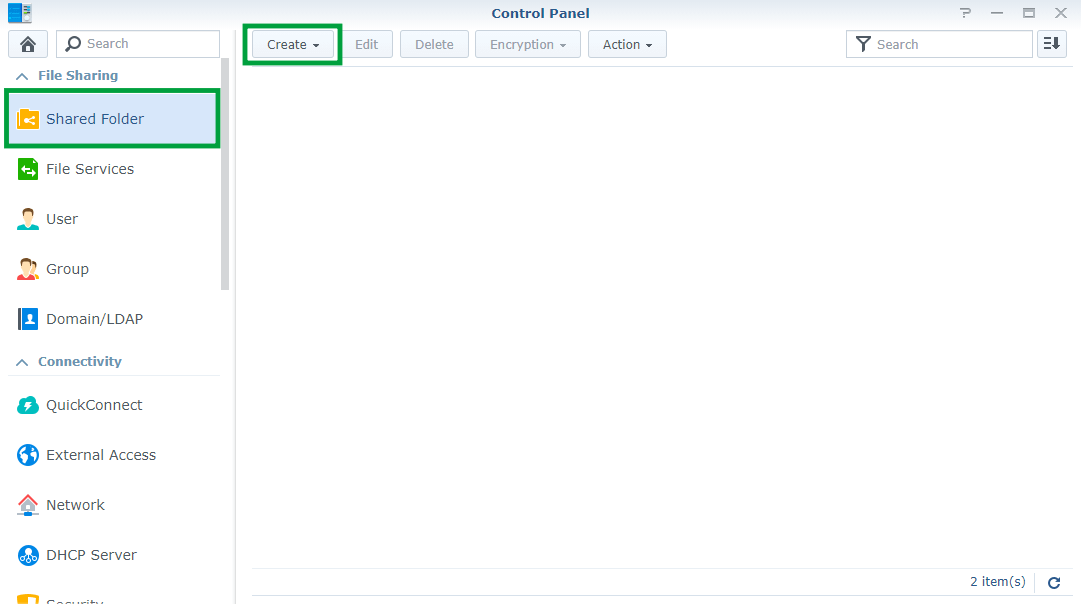
STEP 2
Go to Control Panel / Shared Folder / Create. Follow the instructions in the image below.
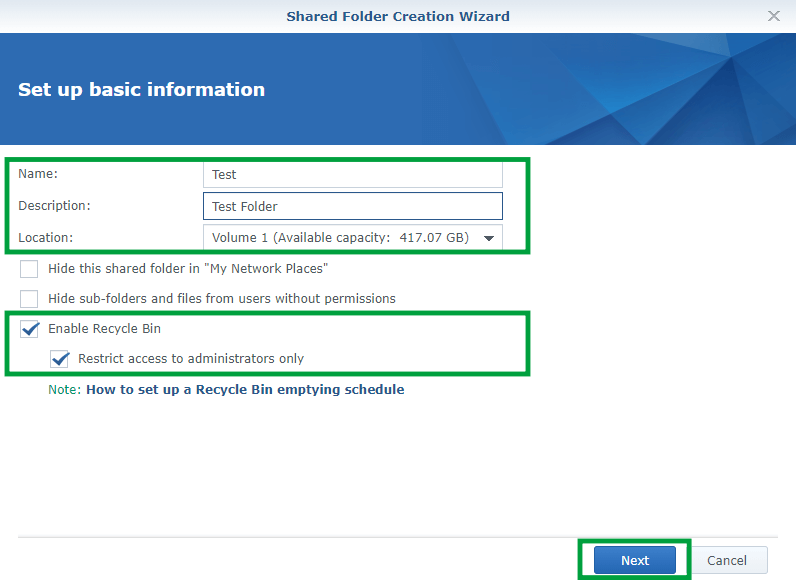
STEP 3
After you click Create, a new screen will open. Select your Shared Folder name, a description and Volume1 as location. If you have multiple volumes, select the one you want. Remember to enable Recycle Bin inside the Shared Folder. Enabling the Recycle Bin is useful if, for example, you delete a file by mistake and want to recover it – you will find it in the Recycle Bin. Click Next. Follow the instructions in the image below.
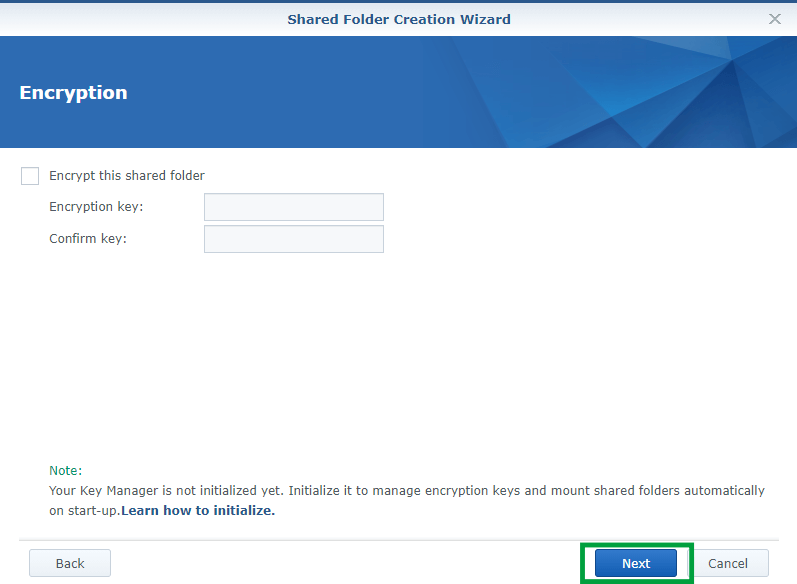
STEP 4
If you want to, you can enter a key to encrypt your Shared Folder. I advise against this for many reasons; for example, if you lose your key, you will lose access to your data. Click Next. Follow the instructions in the image below.
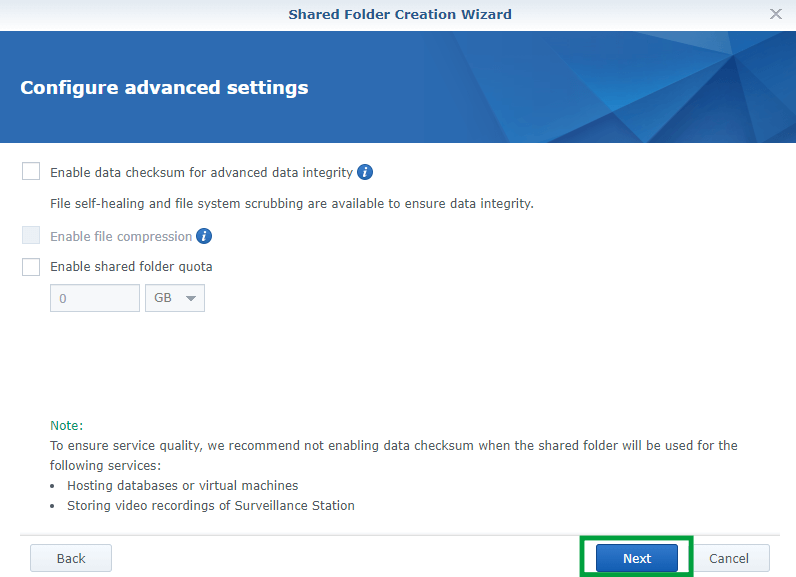
STEP 5
You can also enable data checksum for data integrity. I never checked this option because it can make your folders and the files inside the Shared Folder less responsive. You can also enable Shared Folder quota for this specific Shared Folder if you have different users on your NAS and need to portion space. I don’t like to create quotas either, but some of you may need it. Click Next. Follow the instructions in the image below.
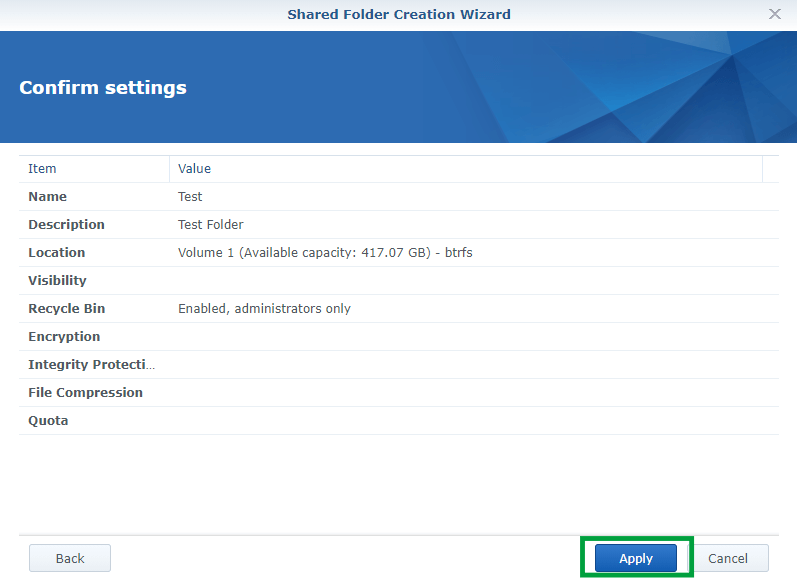
STEP 6
After you click Next on STEP 5, click Apply on this step. Follow the instructions in the image below.
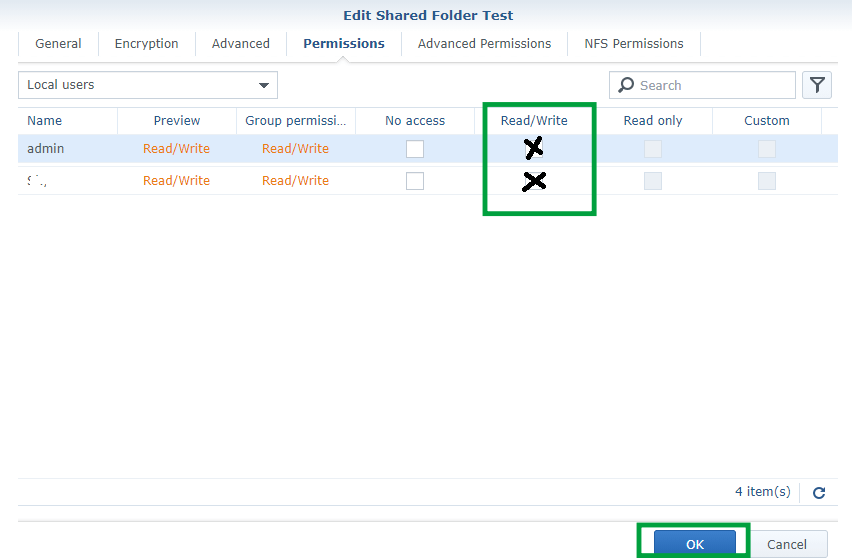
STEP 7
After you click Apply on STEP 6, a new screen will open. Select the user who will have access to the Shared Folder. Give Read/Write permission to the Shared folder, then click OK. Follow the instructions in the image below.
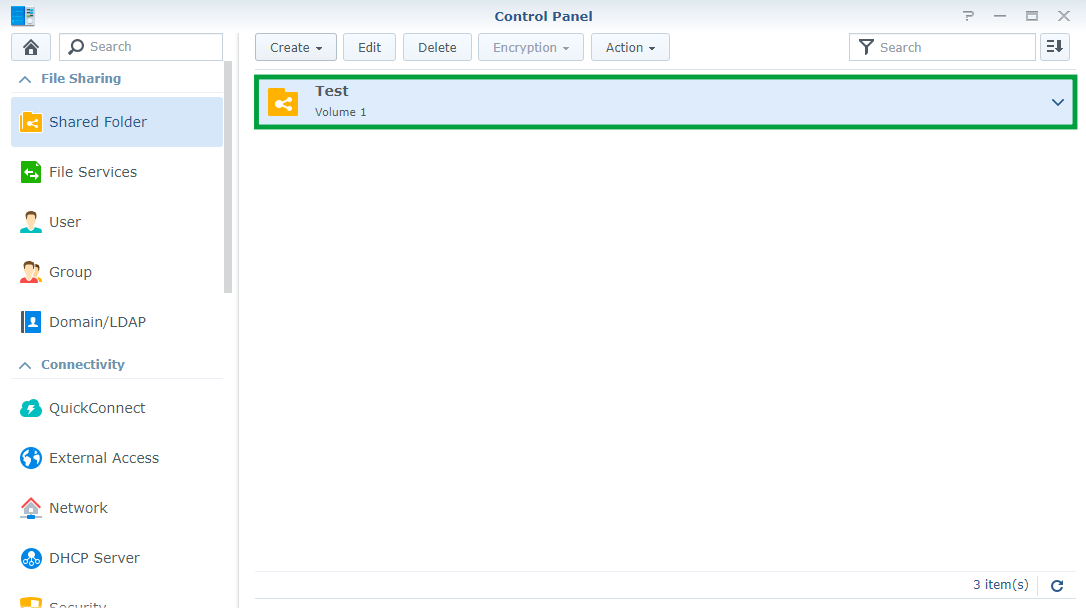
STEP 8
Your Shared Folder is created!
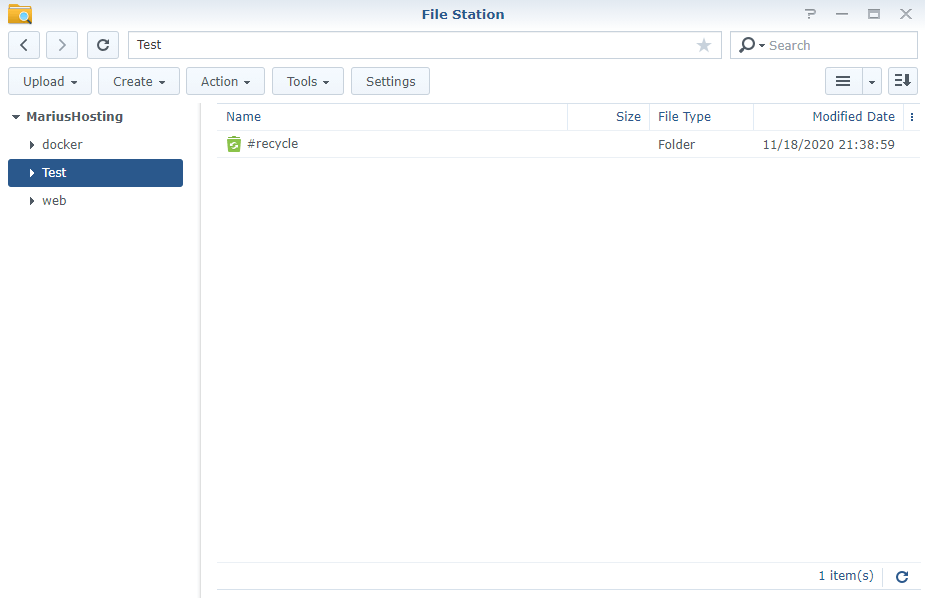
STEP 9
Go to File Station and select the Shared Folder you have previously created. As you can see in the screenshot below, you also have a Recycle Bin inside it. Happy Storage!
Note: On STEP 5, if you enable data checksum when creating a shared folder, the Btrfs file system will calculate a checksum (data checksum) for every written file, and further protect that data checksum with another checksum (metadata checksum). This option will slow your folder responsiveness.
Note: If you run a WordPress website on your Synology NAS, remember to never activate data checksum on STEP 5. This will make your WordPress website slow. As you can see in the screenshot below my web Shared Folder where my WordPress website is located has data checksum deactivated. To see if you have data checksum enabled or not in the web folder, select your web Shared Folder then click the Edit tab.
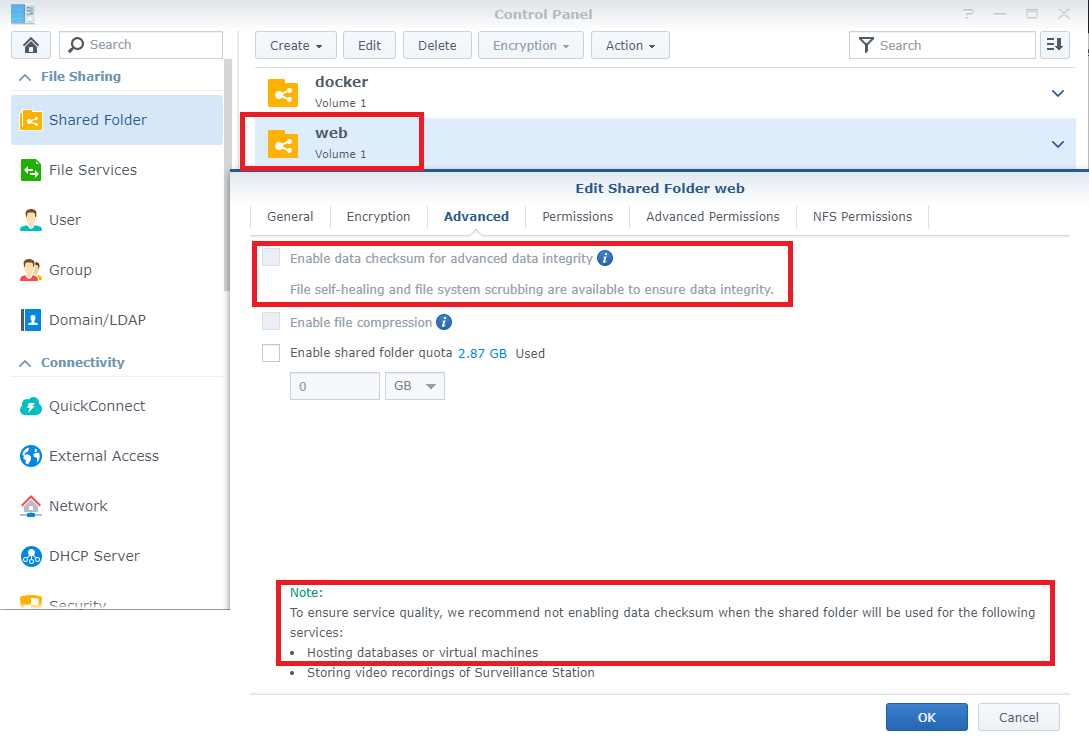
Note: Know that when you install Synology Web Station, the Web Station app creates your web folder automatically, and data checksum is enabled by default. Contact me if you need my help to solve this issue.
This post was updated on Monday / October 4th, 2021 at 10:36 PM