Have you already installed Pi-Hole on your Synology NAS using my simple guide? Wondering how to update the Pi-Hole container on your Synology NAS when a new version comes out? Today I will show you how to update your Pi-Hole container with the latest image if you have a Synology NAS.
STEP 1
Please Support My work by Making a Donation.
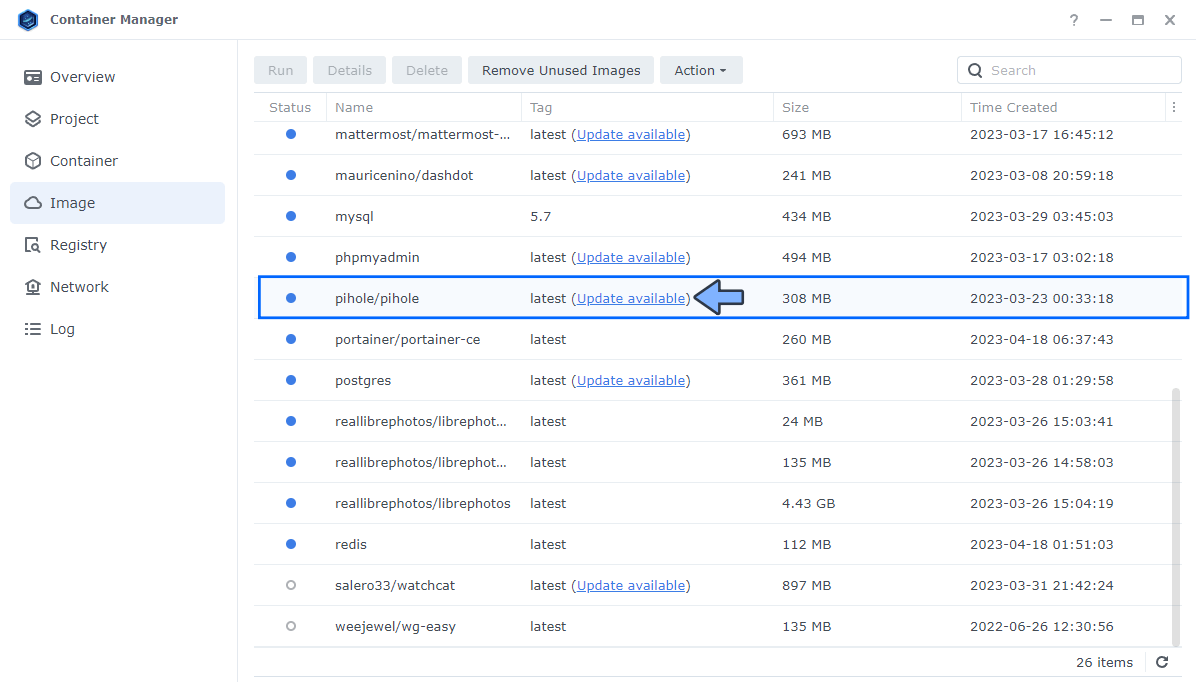
STEP 2
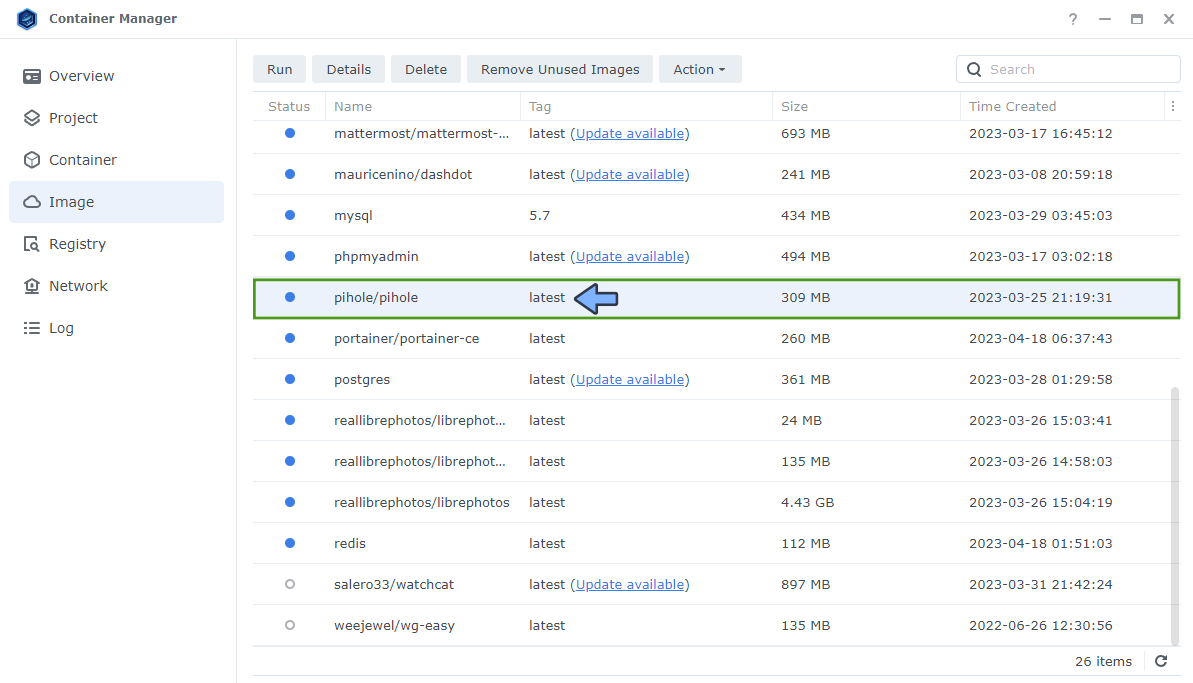
Open Container Manager. On the left sidebar click Image. Click on the Update available text next to pihole/pihole latest. Follow the instructions in the image below.
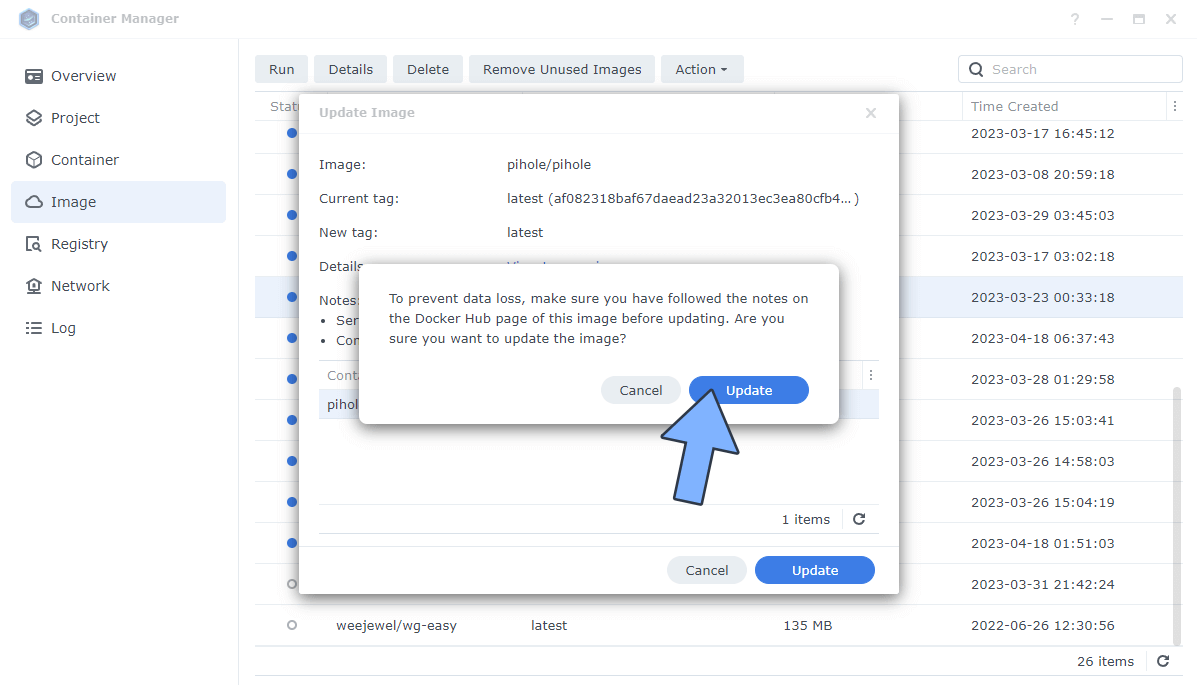
STEP 3
Click the Update button. Follow the instructions in the image below.

STEP 4
After you click Update at STEP 3, a new pop up warning message will show up. Click on the Update button to start the update process. Follow the instructions in the image below.
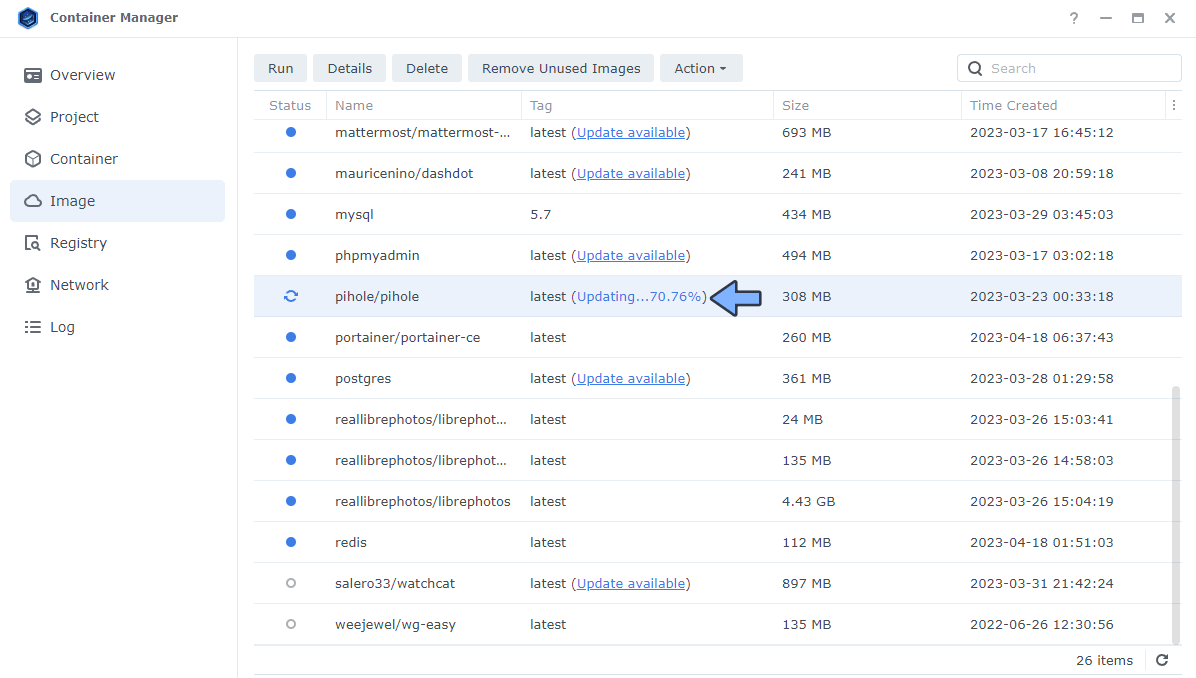
STEP 5
The update process will start. Wait until it is finished. Follow the instructions in the image below.
STEP 6
Once the update is finished, the Update available text next to the image will disappear.
STEP 7
Open your browser and type in http://Synology-ip-address:8080/admin/login Log in using your own Pi-Hole password. Enjoy your updated Pi-Hole Container!
Note: This guide will work perfectly if you have previously installed Pi-hole using my How to Install Pi-Hole on Your Synology NAS guide.
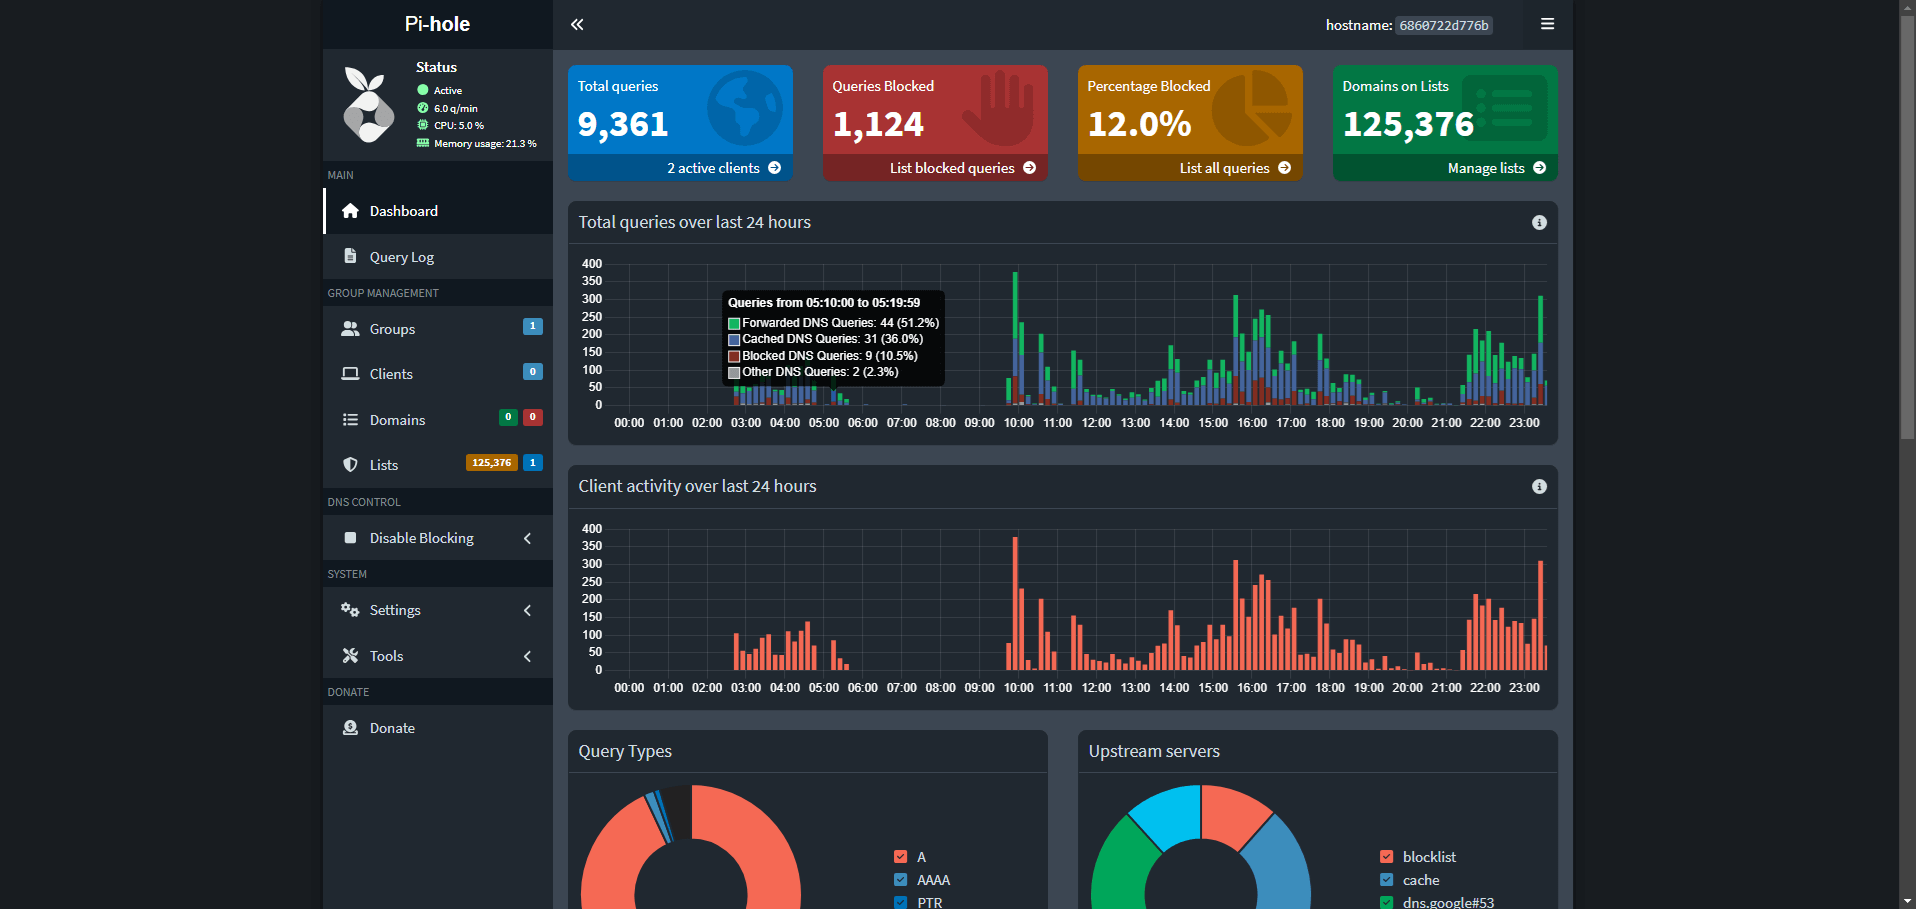
Note: If you like the dark theme in the screenshot above, read my guide on How to Activate Dark Mode in Pi-hole.
What is Pi-Hole? Pi-hole is a Linux network-level advertisement and Internet tracker blocking application which acts as a DNS sinkhole and optionally a DHCP server, intended for use on a private network.
This post was updated on Sunday / June 8th, 2025 at 10:12 AM