With the arrival of the new DSM 7.2 and DSM 7.3 operating system, Synology has revamped Docker by renaming it Container Manager. One of the more prominent new features of this update is the ease with which containers that you have previously installed, and that use the :latest or :nightly tag, can be updated with a single click. Container Manager not only comes with the option to update images, but also has an automatic notification system that informs you in real time whether an update is available or not. In the guide below I will explain how to automatically update your Docker images in a few simple steps.
STEP 1
Please Support My work by Making a Donation.
STEP 2
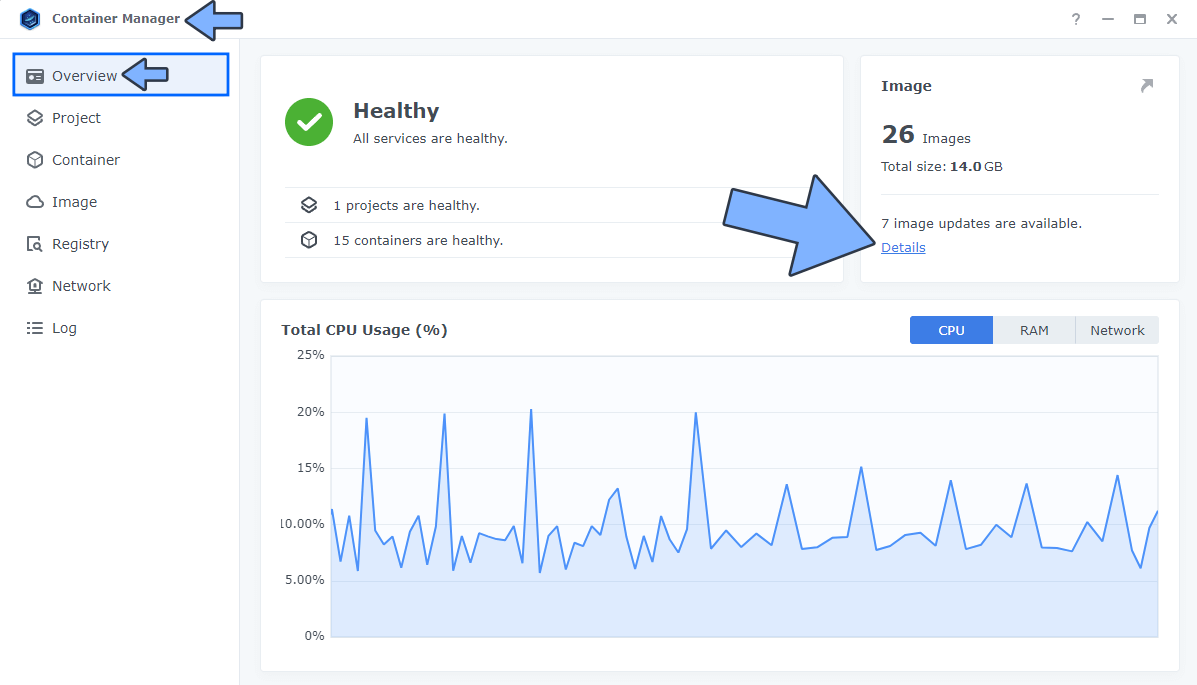
Open Container Manager. When you click on Overview in the left sidebar area, you will see, in Real Time, if you have any image updates available for your Docker containers. Click Details. Follow the instructions in the image below.
STEP 3
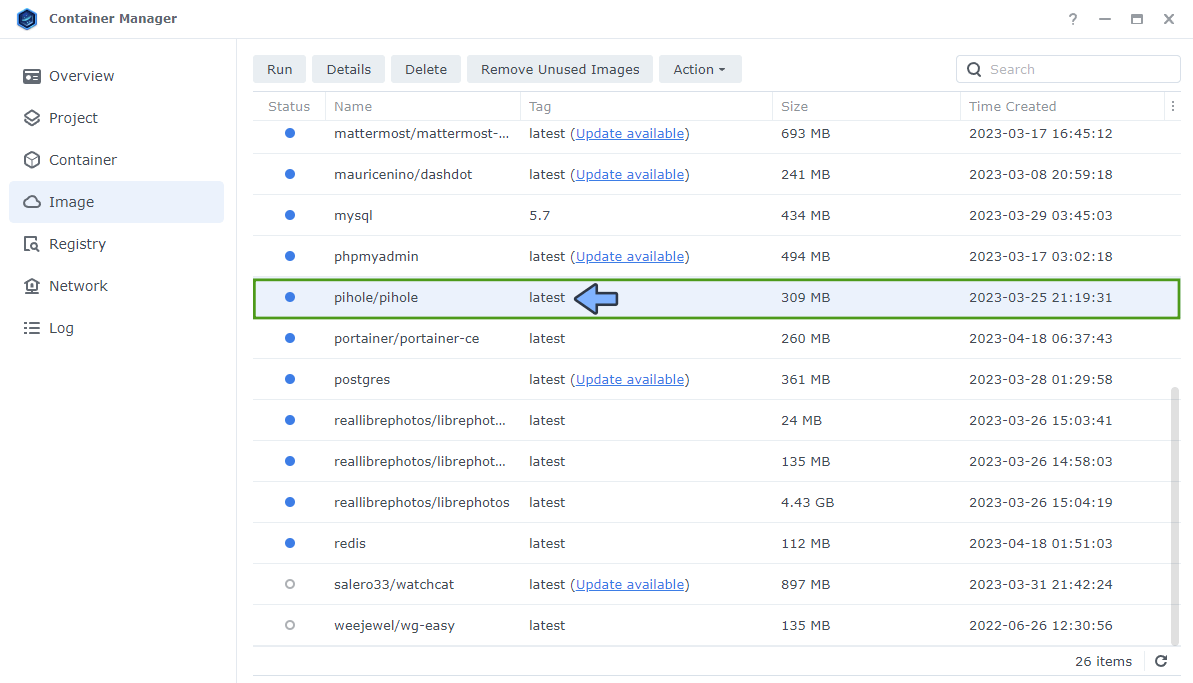
After you click Details, you will see all the images that have an update available with the Update available text alongside them. In the example below, I decided to update the Pi-Hole image. Click on the Update available text. Follow the instructions in the image below.
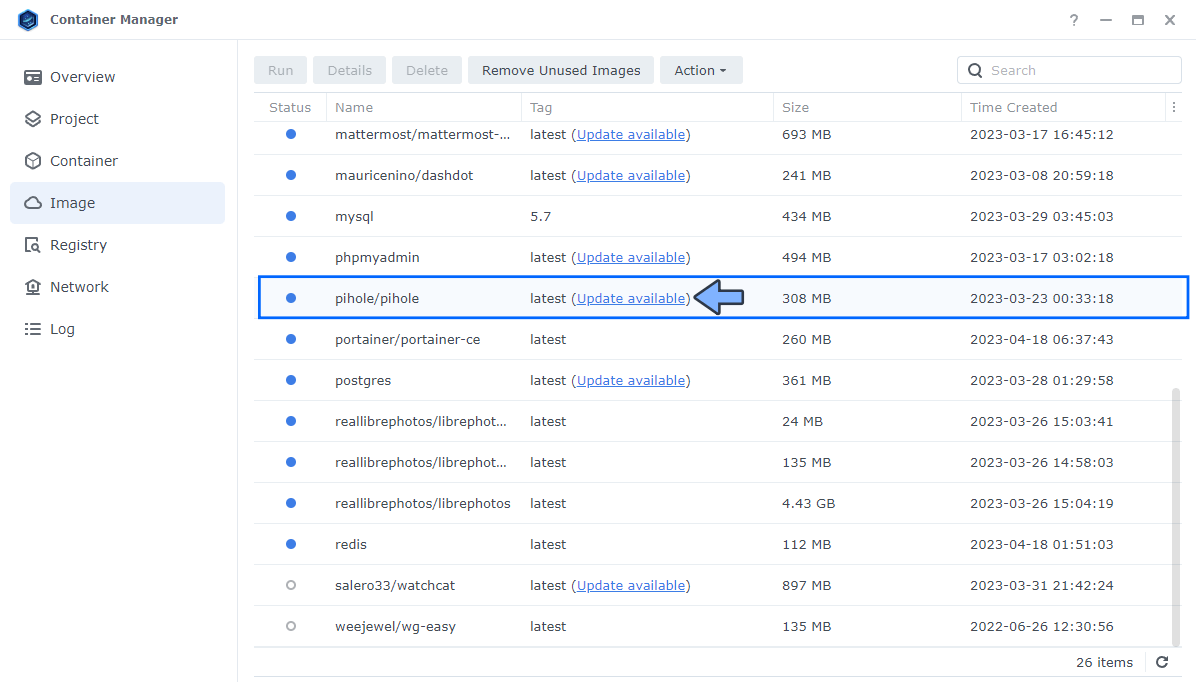
🔥Troubleshooting: If you don’t see the Update available button, this means that you have accessed the NAS only recently. You have to wait almost 12 hours before you can see the Update available button. Container Manager, once launched, needs at least 12 hours to see whether or not there are new images to update.
STEP 5
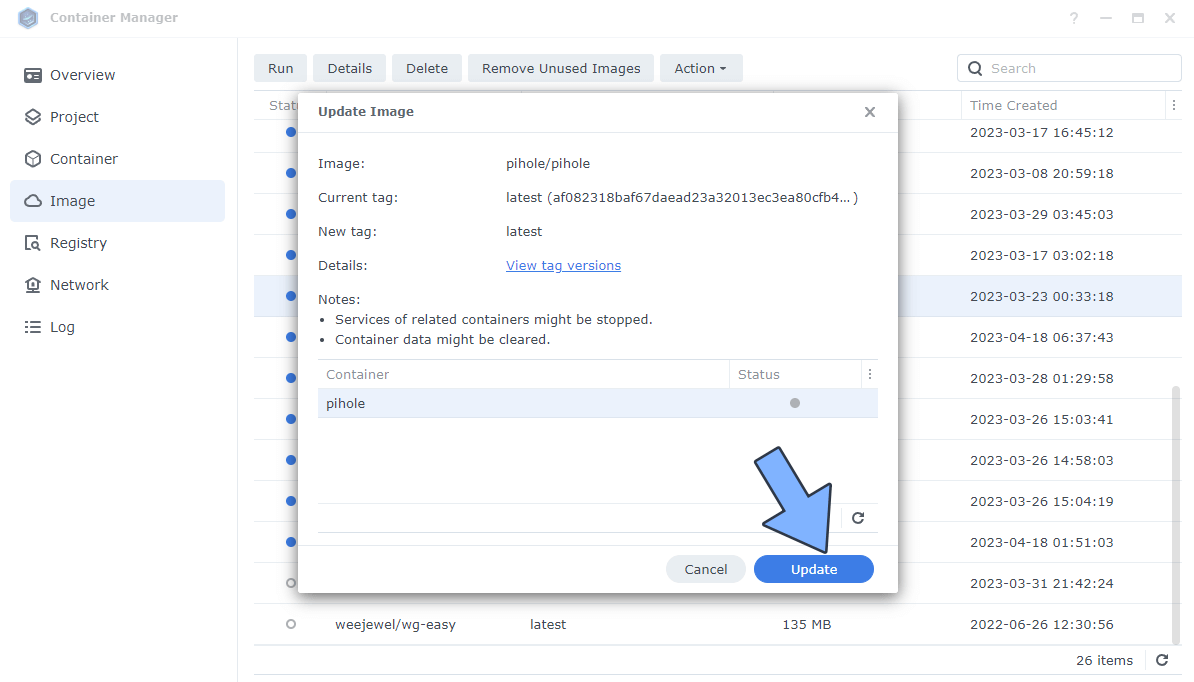
Click the Update button. Follow the instructions in the image below.
STEP 6
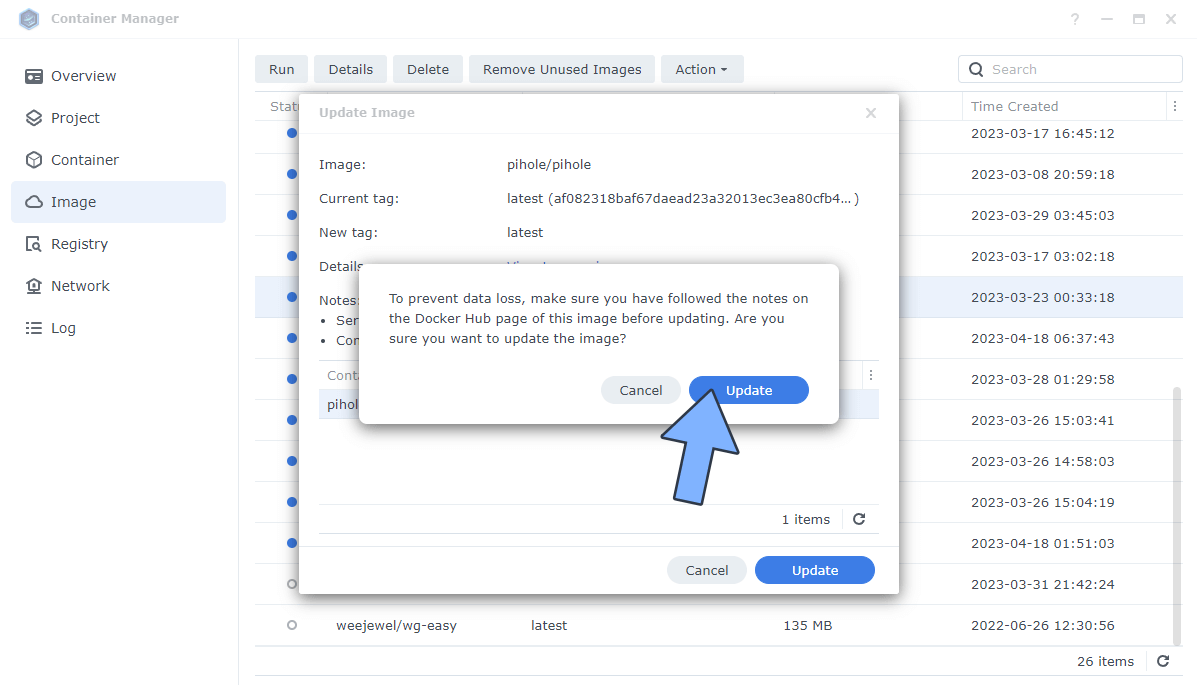
After you click Update at STEP 5, a new pop up warning message will show up. Click on the Update button to start the update process. Follow the instructions in the image below.
STEP 7
The update process will start. Wait until it is finished. Follow the instructions in the image below.

STEP 8
Once the update is finished, the Update available text next to the image will disappear.
Note: If you have other images to update, follow the exact same procedure described above.
In case you have created a Project using the built-in Docker Compose in Container Manager, you can easily update it (every image attached to the compose) using the following instructions.
STEP 1
Please Support My work by Making a Donation.
STEP 2
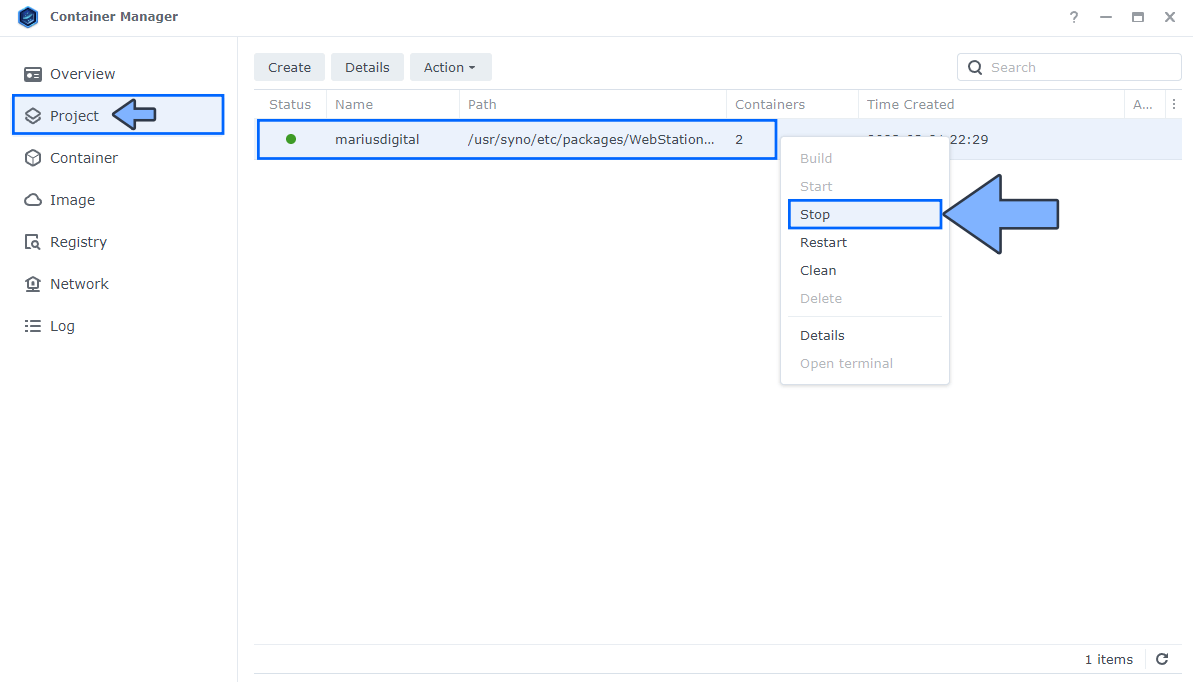
Open Container Manager. On the left sidebar click Project. Right mouse click on the Project (Docker compose) you want to update, then click Stop. Follow the instructions in the image below.
STEP 3
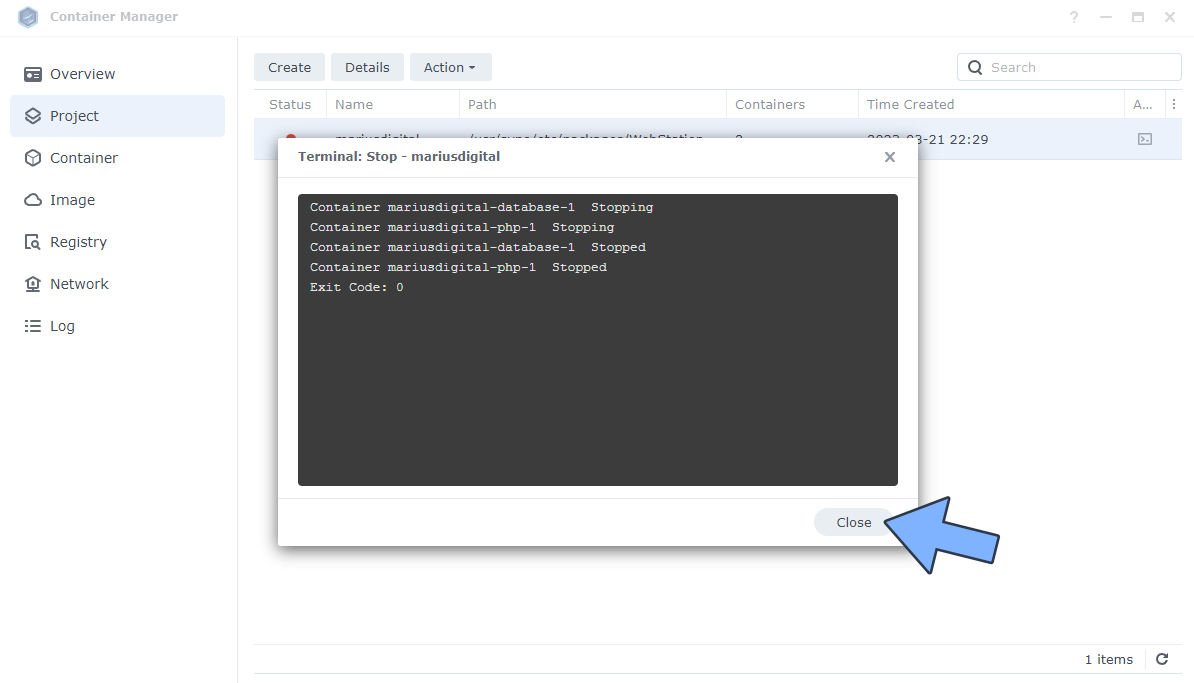
Click Close to close the terminal once the Project is stopped. A red bullet will appear in front of the Project name. Follow the instructions in the image below.
STEP 4
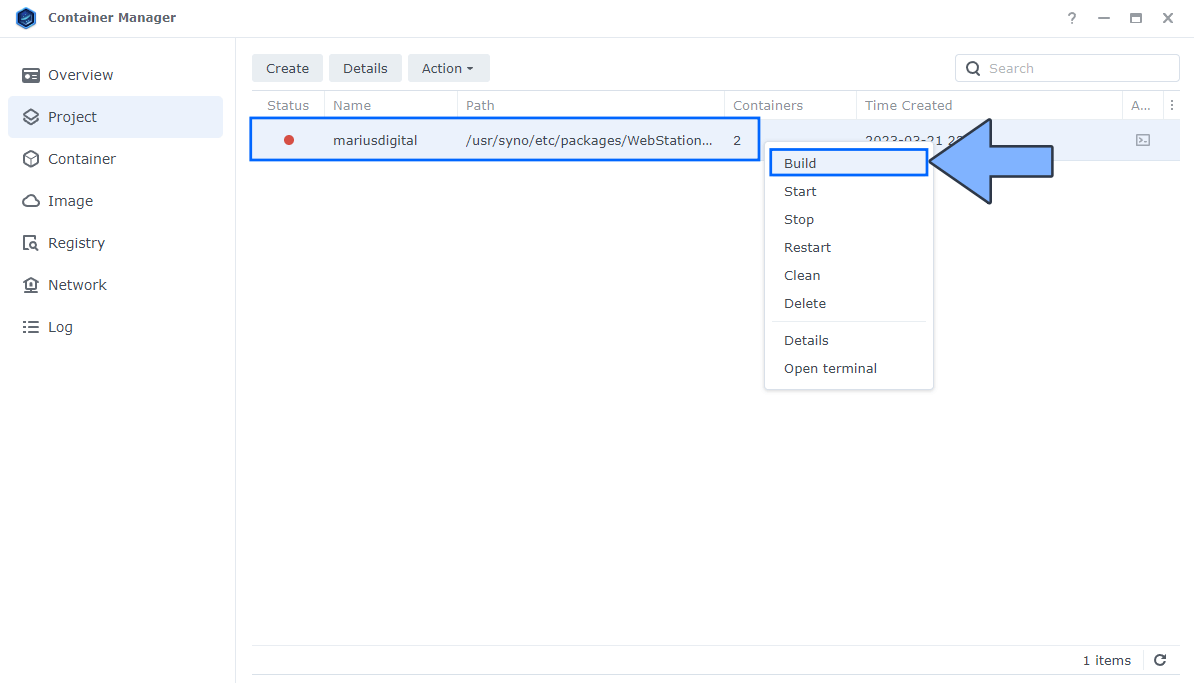
Right mouse click on your stopped Project, then click Build. Follow the instructions in the image below.
STEP 5
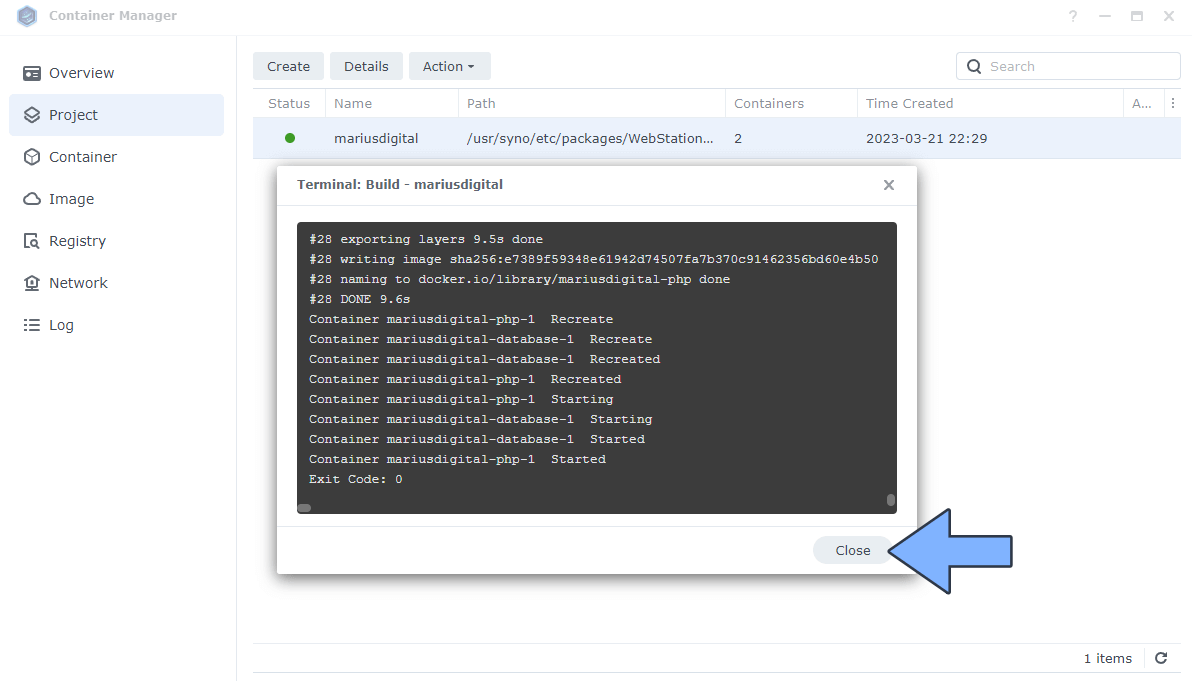
Wait a few minutes for the update. The duration of the update will depend on your Internet speed connection. Click Close to close the terminal. As you can see, the Project is now marked with a green bullet in front. It means it’s started and all the images attached to this Project are now updated.
Note: How to Update Docker Images on a Synology NAS.
⚠️Warning: Do NOT update any database DB image/container.
This post was updated on Monday / February 16th, 2026 at 12:01 AM