Secure erase procedures are designed to delete everything beyond recovery. Secure erase is a safe way to reset disks used in a Synology NAS to their factory default performance; none of the data on the disks can be recovered, even when using data recovery services. Secure erase works by overwriting the data with new random data. Once this overwriting has been accomplished, software-based data recovery methods like file or partition recovery programs from various vendors will no longer be able to recover the data from your disks. In this step by step guide I will show you how to secure erase your disks on a Synology NAS device.
Warning: Before you perform a Secure Erase procedure on your disks, make sure your Synology NAS device is connected to an UPS (Uninterruptible Power Supply). If you have a blackout and your NAS shuts down during the Secure Erase procedure, your disk/s could potentially become unusable.
Patience: Know that the Secure Erase procedure takes quite some time. It is not a quick operation. Patience is needed.
Note: If you start the Secure Erase procedure, make sure you Secure Erase disks one by one. Don’t remove disks after you finish the Secure Erase procedure on the first disk. Remove disks from your NAS only after the Secure Erase procedure has been performed on all disks.
STEP 1
Please Support My work by Making a Donation.
STEP 2
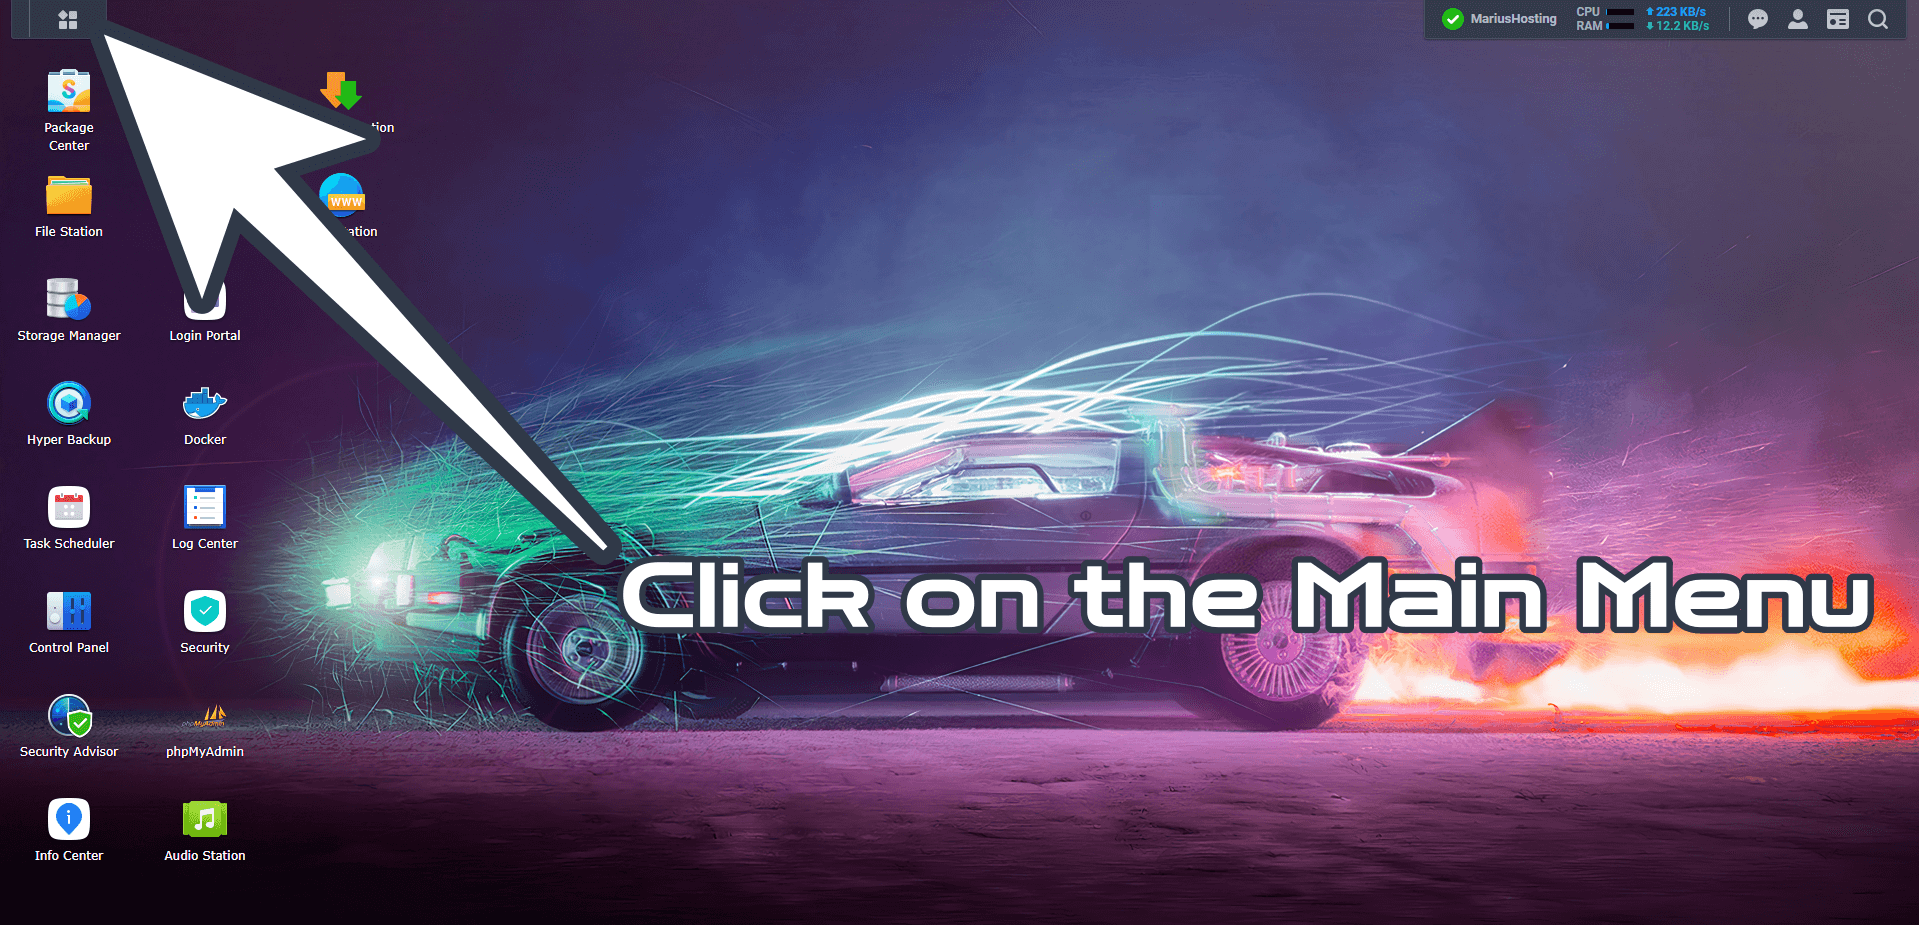
Click on the Main menu. Follow the instructions in the image below.
STEP 3
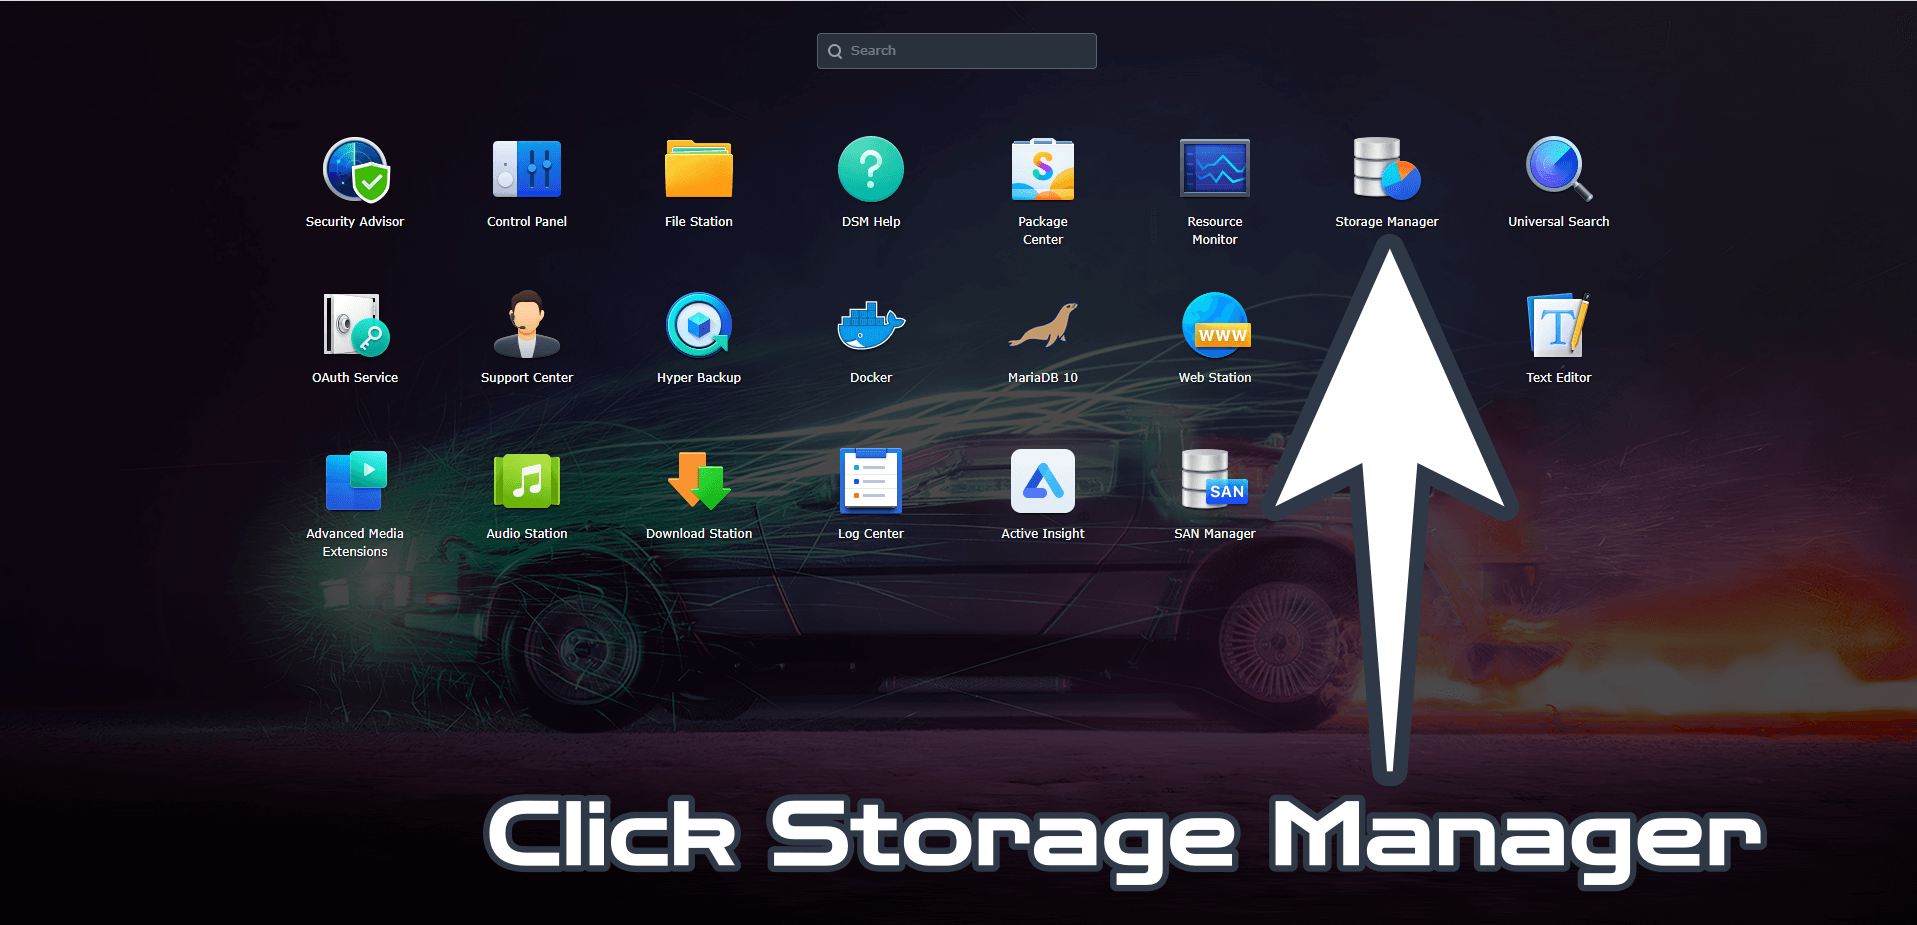
Click on the Storage Manager icon. Follow the instructions in the image below.
STEP 4
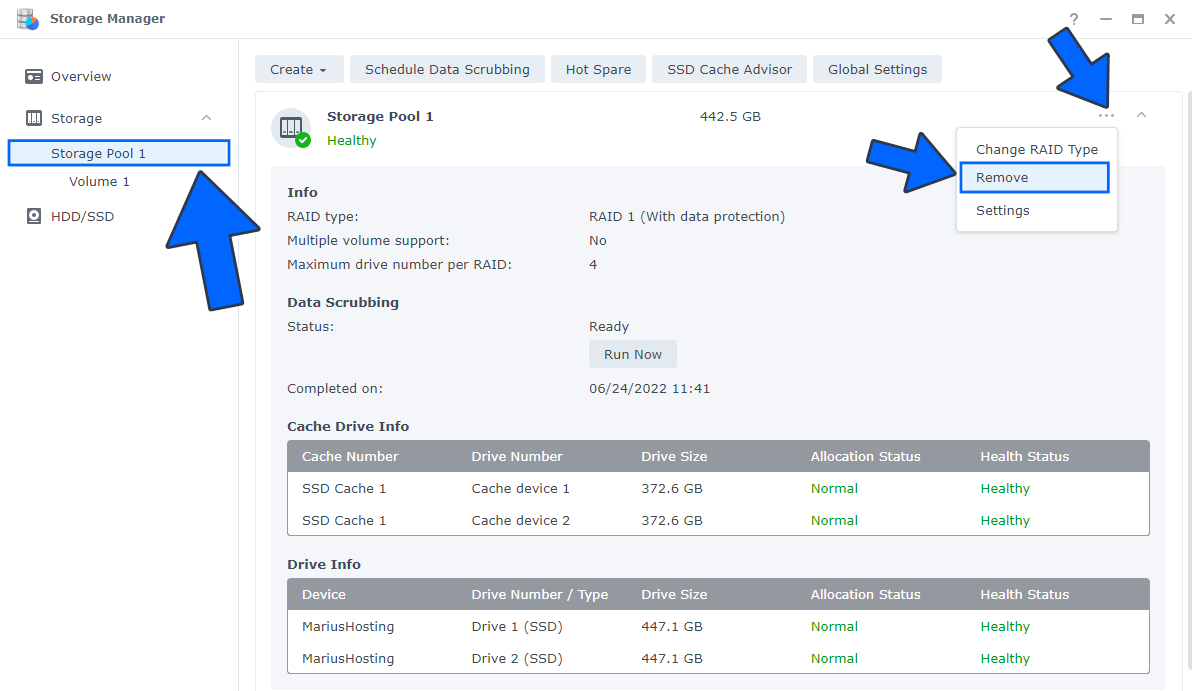
If you want to secure erase disks, remember that you first need to remove the Storage Pool. On the left menu in Storage Manager click Storage then Storage Pool 1. Click the 3 dots at the top right. After that, select the “Remove“ option. Follow the instructions in the image below.
STEP 5
After you correctly remove the Storage Pool on STEP 4, on the left menu in Storage Manager click HDD/SSD. Select your disk from the list then click the Action tab and then “Secure Erase“. Follow the instructions in the image below.
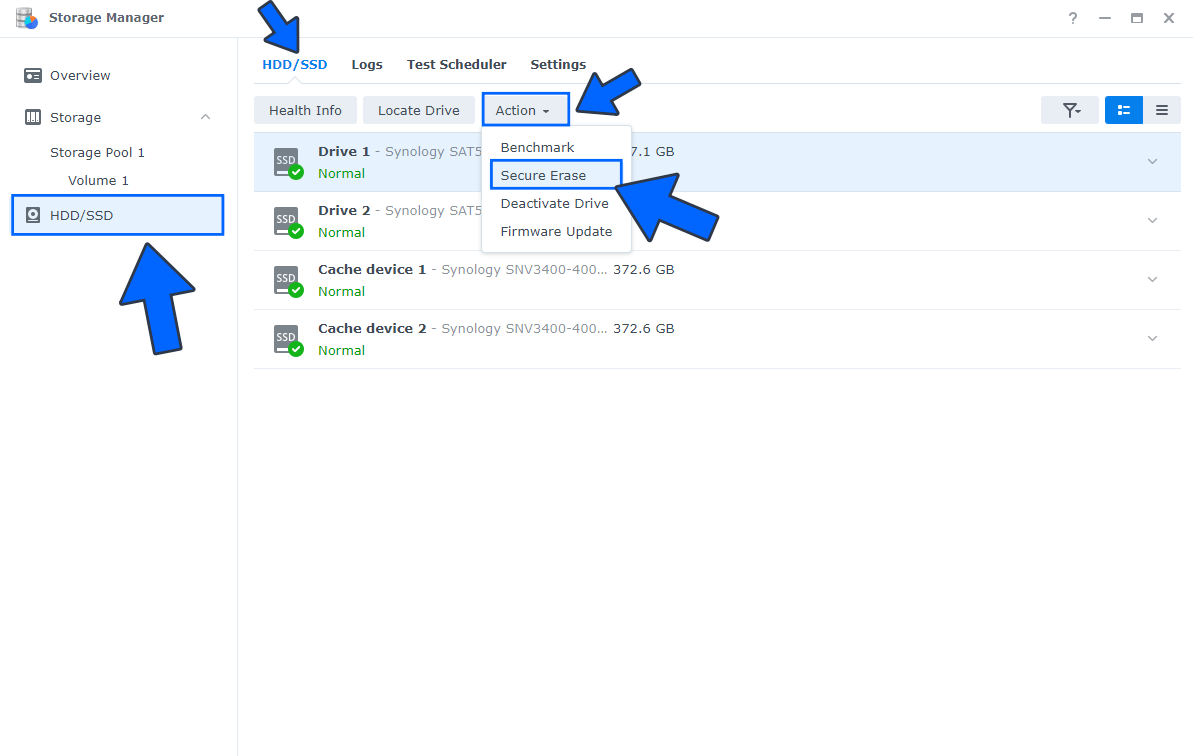
Once you click the Secure Erase button, your disk will be overwriting the data with new random data so software-based data recovery methods like file or partition recovery programs from different vendors won’t be able to recover the data from your disks.
Note: How to Benchmark Your Disks.
Note: Full Synology Erase Disks Documentation.
This post was updated on Wednesday / August 24th, 2022 at 12:53 AM