Defragmentation, also known as “defrag” or “defragging”, is the process of reorganizing the data stored on your Synology NAS hard drives so that related pieces of data are put back together, all lined up in a continuous fashion. You could say that defragmentation is like cleaning house for your NAS – it picks up all of the pieces of data that are spread across your hard drive and puts them back together again. If your data is being modified constantly, the number of fragmented files in the file system will increase, resulting in slow access performance of files on the drives. Performing file system defragmentation can improve your overall system performance.
Many users blame their NAS performance issues on the operating system (DSM), or simply think their NAS is “old”, when disk fragmentation is most often the real culprit. The weakest link in NAS performance are the disks. File fragmentation directly affects access to and the write speed of the NAS disks, steadily corrupting NAS performance to nonviable levels.
Why is defragmentation important for my Synology NAS? Every NAS suffers from a constant growth of fragmentation. If you don’t clean up, your NAS performance is ultimately impacted. Defragging helps speed up your Synology NAS hard disks.
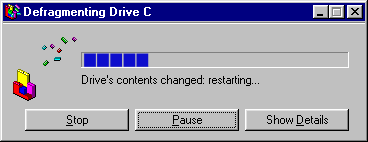
Do you remember the golden years when you would perform a C drive defragmentation on your Windows computer? Well, Synology provides the exact same option as back then to speed up your drives. Surely many of you remember this image:
With the advent of DSM 7 there have been some changes to the defrag process and I thought that a new article on the subject is certainly welcome. Below I will explain how to perform File System Defragmentation on your Synology NAS by following the steps below.
STEP 1
Please Support My work by Making a Donation.
STEP 2
STEP 3
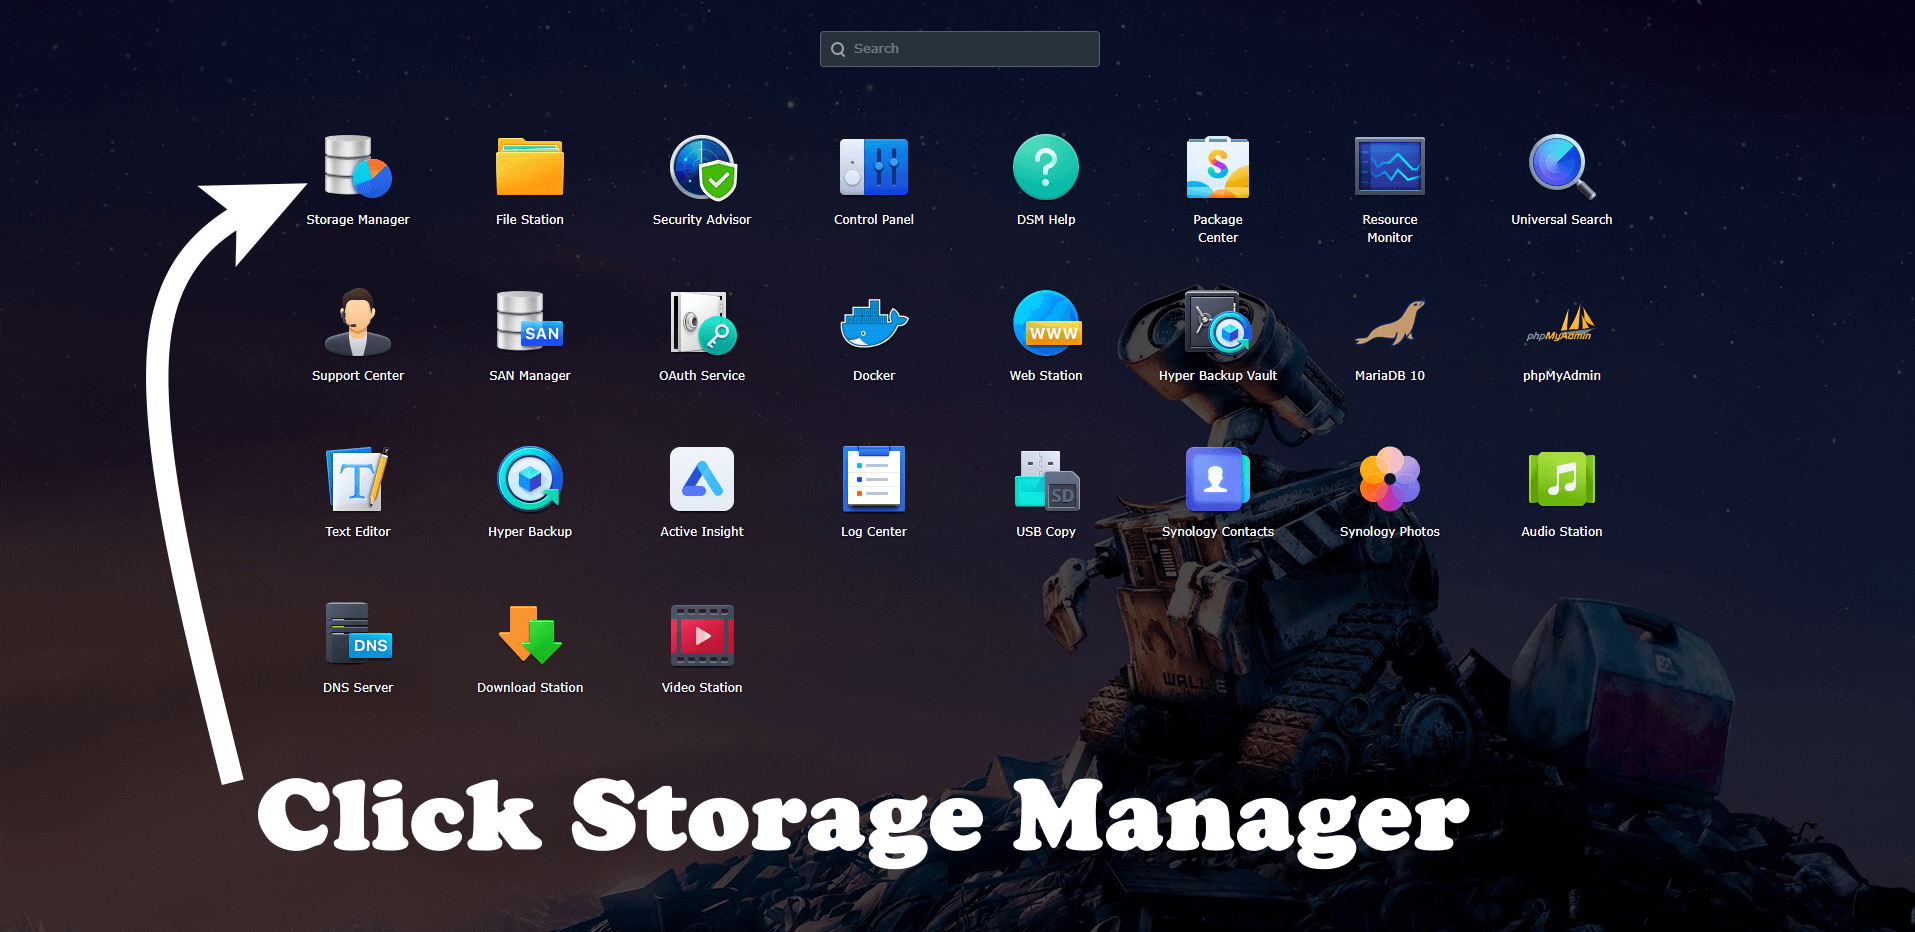
Go to the Main Menu. Follow the instructions in the image below.

STEP 4
Click on Storage Manager. Follow the instructions in the image below.
STEP 5
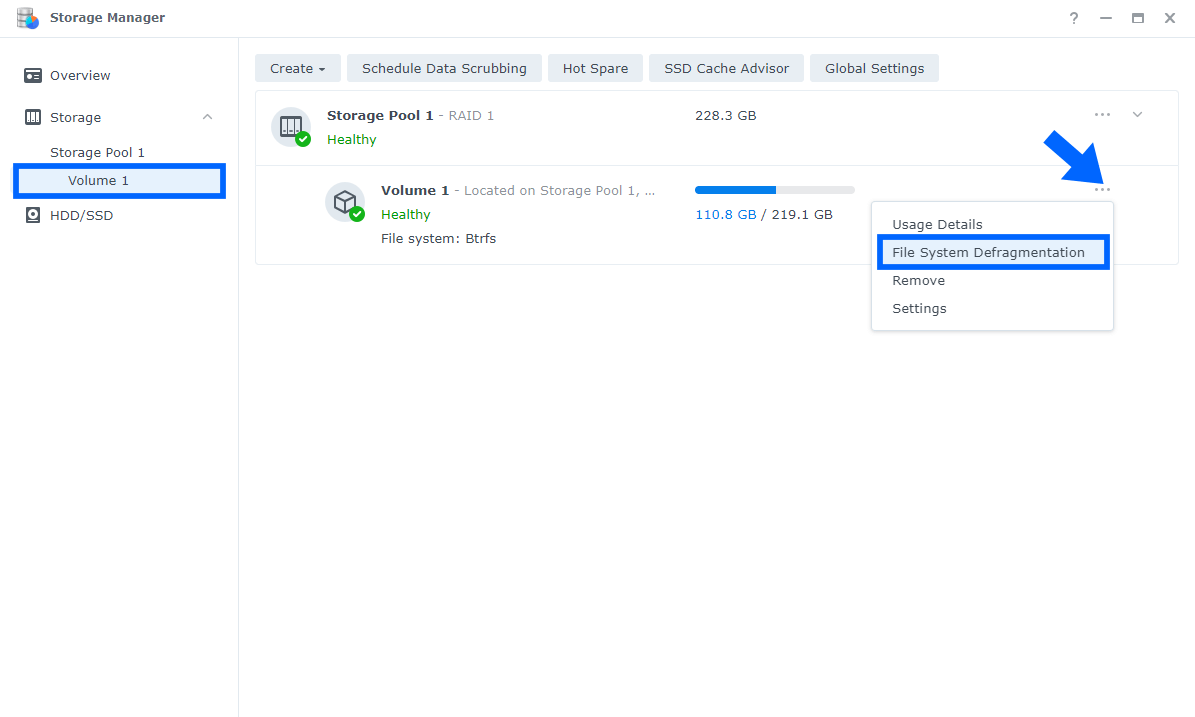
In the left panel search for Storage / Volume, select the volume you want to defrag (in my case, Volume 1). Then, at the top of the Volume, click on the 3 dots and then on “File System Defragmentation”. Follow the instructions in the image below. Note: Synology file system defragmentation can only be performed on volumes in the Btrfs file system, not Ext4. If you have volumes in Ext4, you will not see the “File System Defragmentation” option.
STEP 6
After you click on File System Defragmentation, a new pop-up window will appear with the following message:
Are you sure you want to perform file system defragmentation? File system defragmentation lowers the degree of file system fragmentation and improves the system performance. The required process time varies depending on the volume size and the degree of file system fragmentation. Services on DSM are available during this process but at a slower performance rate. Therefore, we recommend performing the test at a time when the system is less busy. Do not shut down the system before file system defragmentation completes; otherwise, this process must be restarted. Note: Volume usage may increase if the volume contains snapshots of shared folders.

STEP 7
After you click Yes, the file system defragmentation process will start, and it will last a few minutes (depends on volume size). After the defragmentation process is complete, the system will return to normal and you should see your HDD brought to new life as well as notice increments in performance.

STEP 8
What are the benefits you will notice after the file system defragmentation of the volume?
- Better .spk Package application performance.
- Reduced timeouts and fewer crashes of the disks.
- Shorter backup time when using Hyper Backup.
- Faster data transfer rates.
- Reduced system latency.
- Faster boot-up/restart times.
- Extended hardware lifecycle.
- Faster Antivirus Essential and Antivirus by McAfee scans.
- Faster read & write times.
- Increased overall DSM system stability.
- Reduced unnecessary I/O activity.
- Reduced file corruption and data loss.
Note: If you’re running off an SSD or some flash storage, you should really forget about defragmentation. SSD disks don’t have any mechanical parts. But if you do perform file system defragmentation on SSDs, you will be notified that the process is completed without any issues.
Note: File system defragmentation is available on specific Synology NAS models only.
Note: It is necessary to run system defragmentation to rearrange data to speed up/accelerate file read speed.
Note: Synology file system defragmentation can only be performed on volumes in the Btrfs file system, not Ext4.
Note: File system defragmentation can only be performed when the status of the volume is Healthy.
Note: Very important! Do not shut down the system before file system defragmentation is completed. If the system is shut down before completion, file system defragmentation must restart from the beginning. When you perform such operations, it’s mandatory to have an UPS.
Note: Volume usage might increase if the volume contains snapshots of different shared folders.
Note: File system defragmentation can give new life to an old HDD that has become less responsive over the years.
Note: How to perform File System Defragmentation on DSM 6.2.4
This post was updated on Tuesday / May 9th, 2023 at 10:09 PM