

DayGLANCE is a privacy-first day planner app that delivers a beautiful at-a-glance visual overview of your daily schedule through intuitive drag-and-drop time-blocking on a responsive 24-hour timeline. It features a smart inbox for quick task capture, Pomodoro-style focus mode, habit and routine tracking, recurring tasks, and a hierarchy of goals and projects, all while running completely offline with no account required. Fully self-hostable via Docker and available as an installable progressive web app (or native Android/desktop versions), it offers optional end-to-end encrypted sync through WebDAV/Nextcloud or CalDAV, plus seamless integrations with tools like Obsidian. In this step by step guide I will show you how to install DayGLANCE on your UGREEN NAS using Docker & Portainer.
💡Note: This guide works perfectly with the latest DayGLANCE v5.9.0 release.
💡Note: Check out my guide on how to Install DayGLANCE on Your Synology NAS.
💡Note: Check out my guide on how to Install DayGLANCE on Your Asustor NAS.
STEP 1
Please Support My work by Making a Donation.
STEP 2
Install Portainer using my step by step guide. If you already have Portainer installed on your UGREEN NAS, skip this STEP. Attention: Make sure you have installed the latest Portainer version.
STEP 3
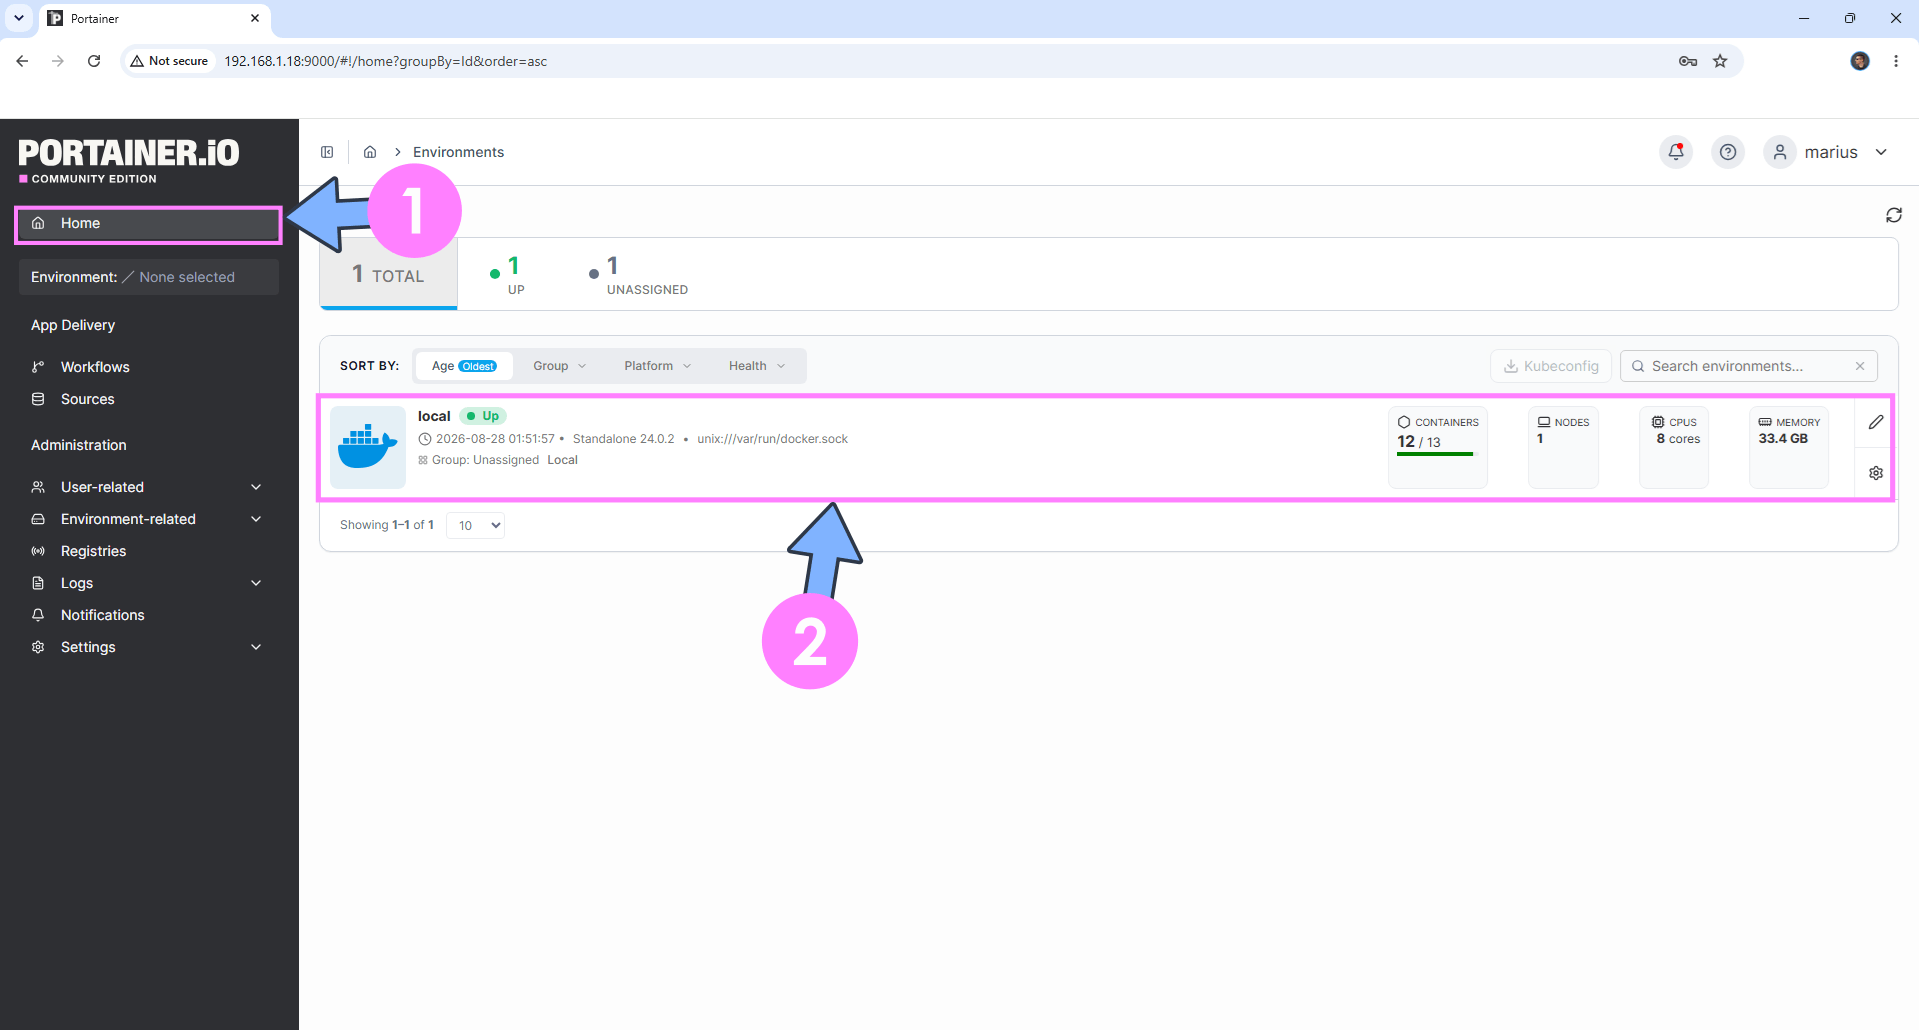
Log into Portainer using your username and password. On the left sidebar in Portainer, click on Home then click inside the local rectangle. Follow the instructions in the image below.
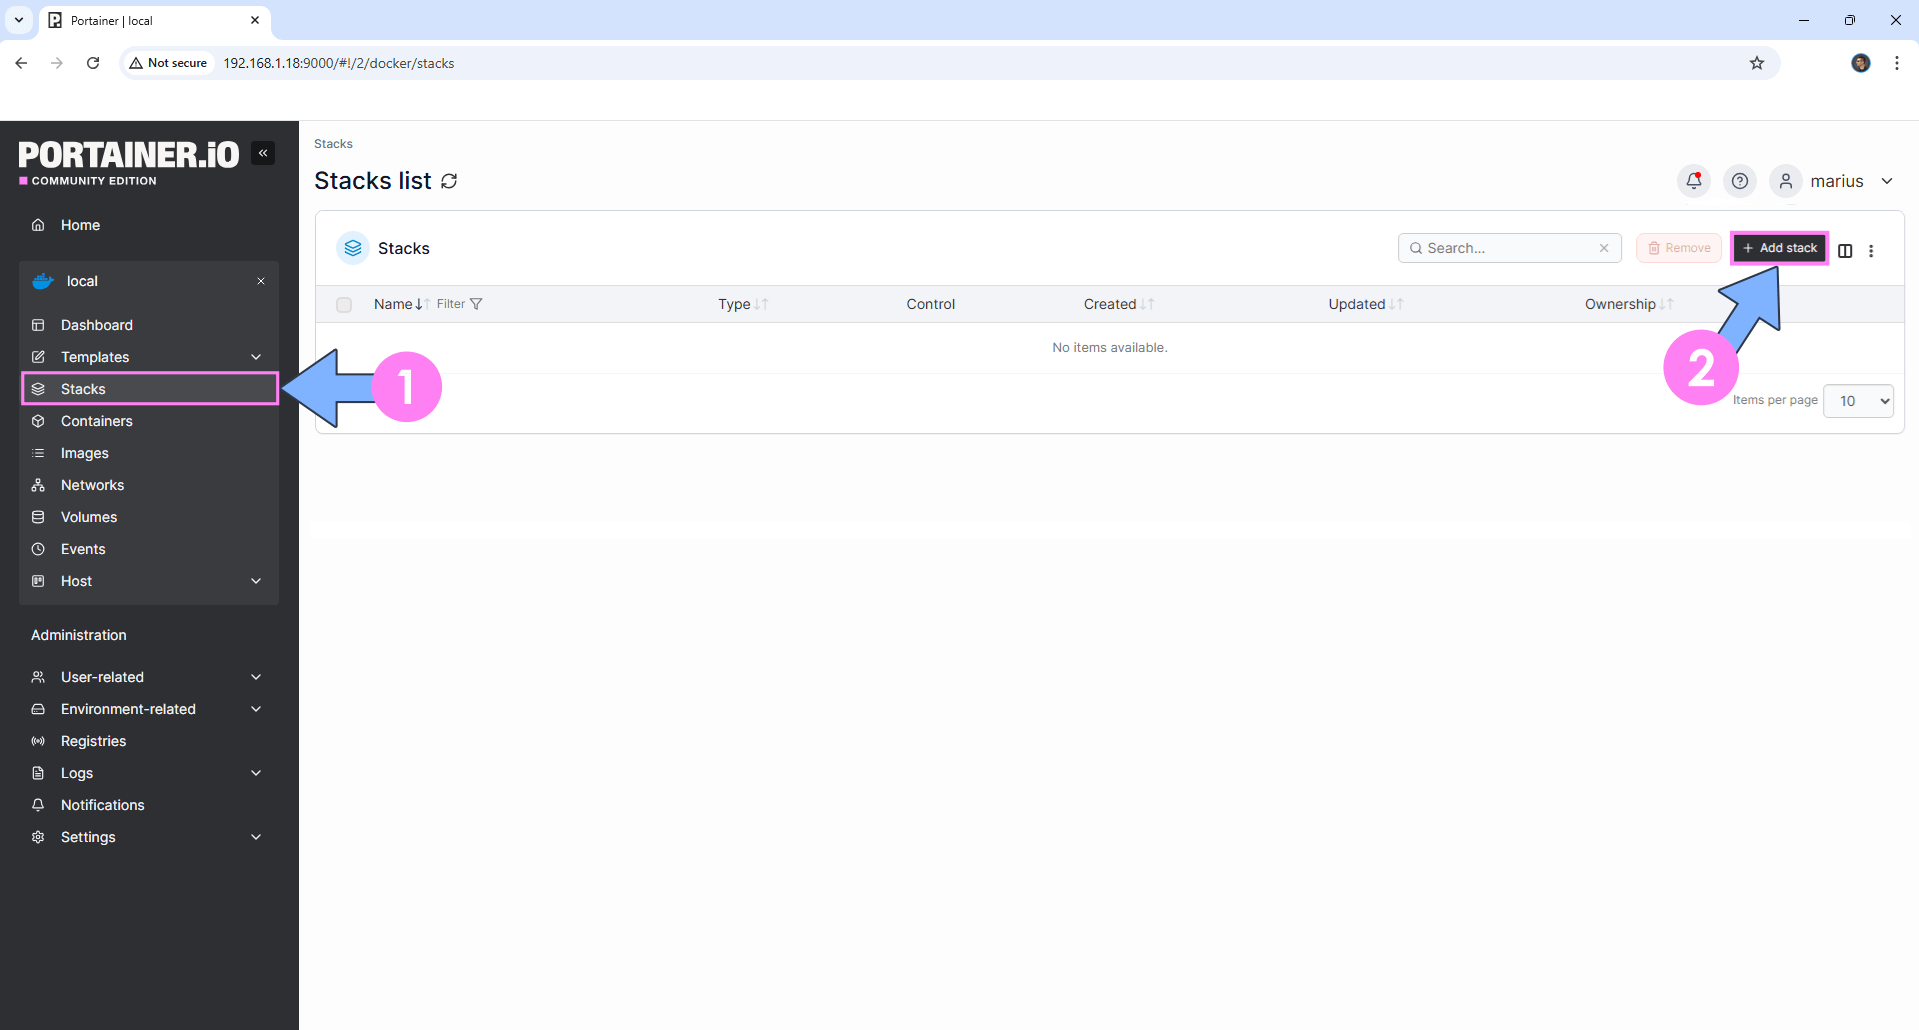
On the left sidebar in Portainer, click on Stacks then + Add stack. Follow the instructions in the image below.
STEP 4
In the Name field type in dayglance. Follow the instructions in the image below.
Note: Copy Paste the code below in the Portainer Stacks Web editor.
services:
  dayglance:
    image: ghcr.io/krelltunez/dayglance:latest
    container_name: DayGLANCE
    healthcheck:
      test: ["CMD-SHELL", "nc -z 127.0.0.1 80 || exit 1"]
      interval: 10s
      timeout: 5s
      retries: 3
      start_period: 90s
    ports:
      - 7191:80
    restart: on-failure:5
STEP 5
Scroll down on the page until you see a button called Deploy the stack. Click on it. Follow the instructions in the image below. The installation process can take up to a few minutes. It will depend on your Internet speed connection.

STEP 6
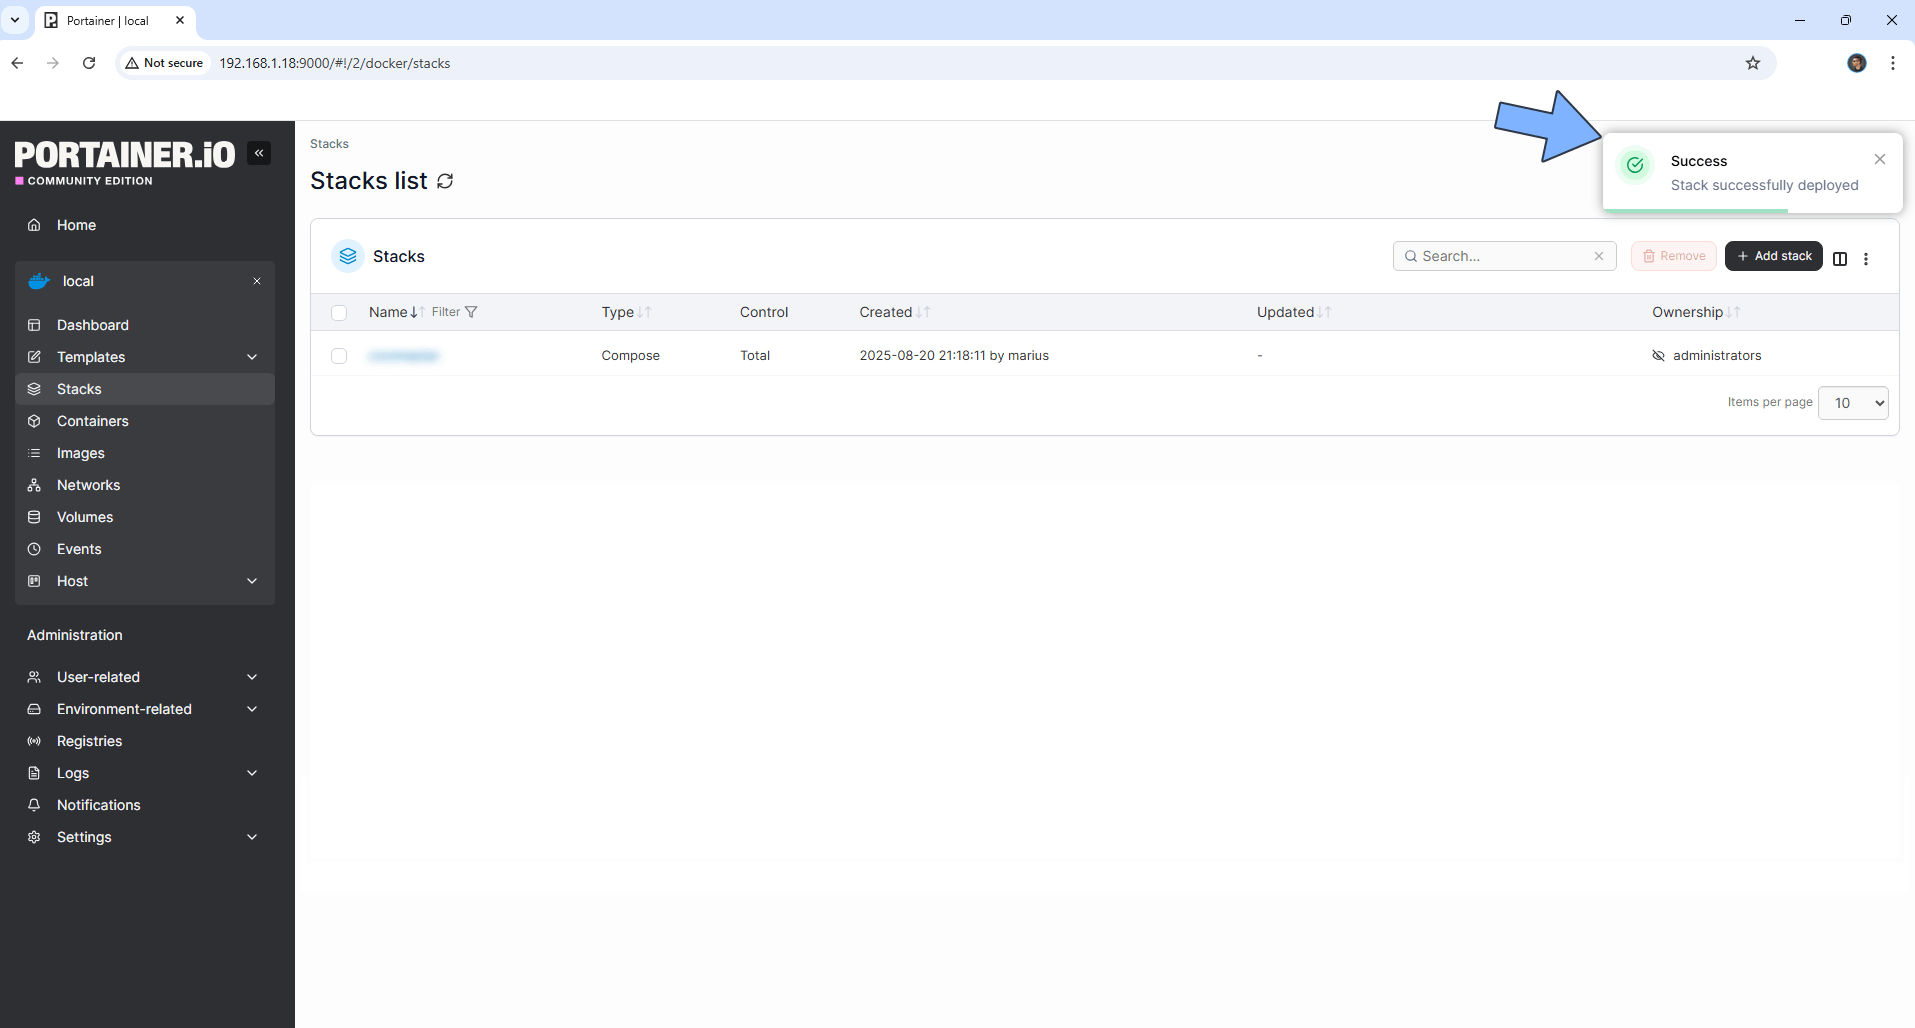
If everything goes right, you will see this message at the top right of your screen: “Success Stack successfully deployed“.
STEP 7
🟢Please Support My work by Making a Donation. Almost 99,9% of the people that install something using my guides forget to support my work, or just ignore STEP 1. I’ve been very honest about this aspect of my work since the beginning: I don’t run any ADS, I don’t require subscriptions, paid or otherwise, I don’t collect IPs, emails, and I don’t have any referral links from Amazon or other merchants. I also don’t have any POP-UPs or COOKIES. I have repeatedly been told over the years how much I have contributed to the community. It’s something I love doing and have been honest about my passion since the beginning. But I also Need The Community to Support me Back to be able to continue doing this work.
STEP 8
The installation process can take up to a few seconds/minutes. It will depend on your Internet speed connection. Now open your browser and type in http://ugreen-ip-address:7191 Click Skip. Follow the instructions in the image below.

STEP 9
Switch the theme to Dark. Click the + button to add your first schedule. Click Add to Schedule. Follow the instructions in the image below.

STEP 10
At the top right of the page, click the Backup & Restore icon. You can easily back up your tasks and restore them with one click. Follow the instructions in the image below.

Enjoy DayGLANCE on your UGREEN NAS!
🆘TROUBLESHOOTING
Note: If you want to run the DayGLANCE container over HTTPS, check out How to Run Docker Containers Over HTTPS on Your UGREEN NAS.
🆙Note/Update/Container: How to Update Your Docker Containers on UGREEN NAS Using Portainer.
🐳Note: How to Create Docker Shortcuts on Desktop.
🆕Note: How to Update Portainer to the latest version.
🆕Note: How to Clean Docker.
This post was updated on Monday / October 19th, 2026 at 12:18 AM