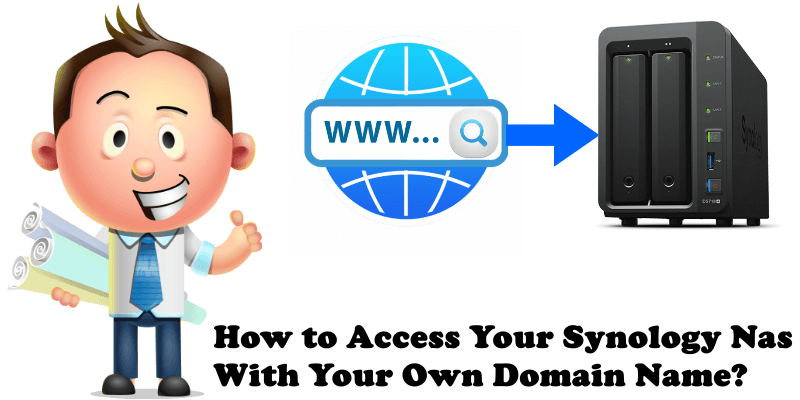
Do you know that you can use your custom domain name to access your Synology NAS from all over the world? Even easier and faster if you already have a working WordPress site running on the NAS. First of all, register your domain name with Godaddy or with any other domain provider. If you have already set up a Virtual Host on your NAS using WebStation and have opened ports 443 and 80 on your router, and already added the SSL certificate to your own domain name, you can make it “Default Certificate” and access your NAS without using QuickConnect or External DDNS services by following the step by step guide below.
STEP 1
Please Support My work by Making a Donation.
STEP 2
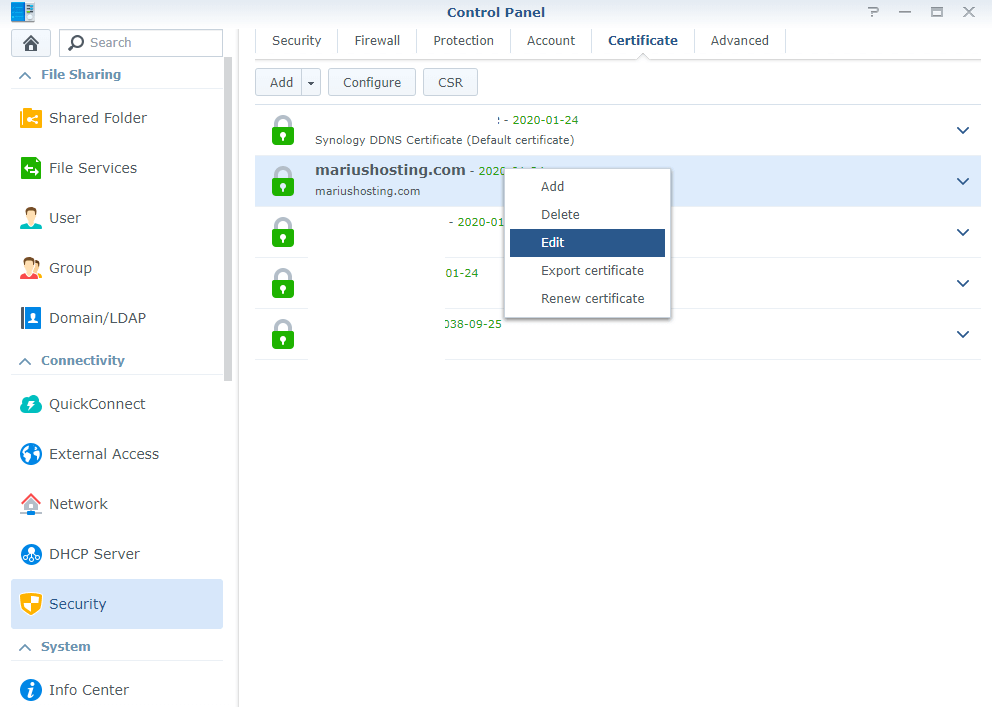
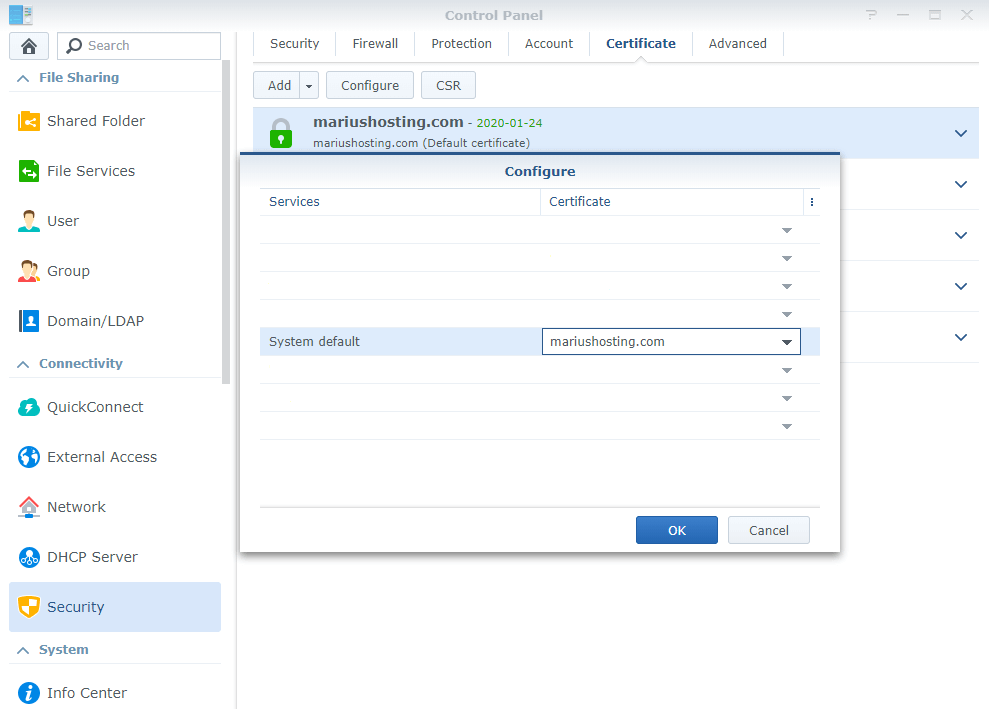
Go to Control Panel/Security/Certificate/Edit. Follow the instructions in the image below:
STEP 3
Follow all instructions in the link below:
Step by step guide on how to change Default Certificate on Synology NAS.

STEP 4
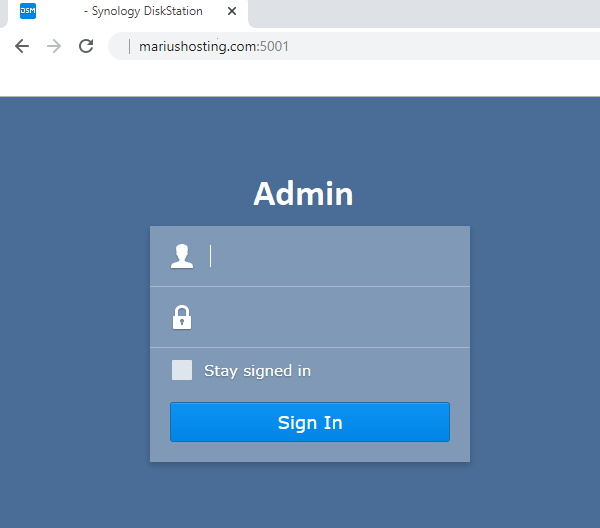
Now you can type https://yourdomainname:5001 in the browser bar and you will see the NAS login page. (5001 is the port for SSL https NAS). You have to open this port on your router before you start to use your domain name.
This post was updated on Friday / December 27th, 2019 at 8:09 AM