When you install the DSM operating system for the first time on Synology NAS, it already came with a Default Synology certificate. The Synology Default certificate will be created during the first boot up. It’s unsigned so the browser doesn’t trust it through the communications between NAS and browser.
First of all, register the new Certificate with your own domain name or DDNS External Access. After that, you can edit the certificate description or set another certificate as the default certificate (read note* at the end of article). Follow the instructions below:
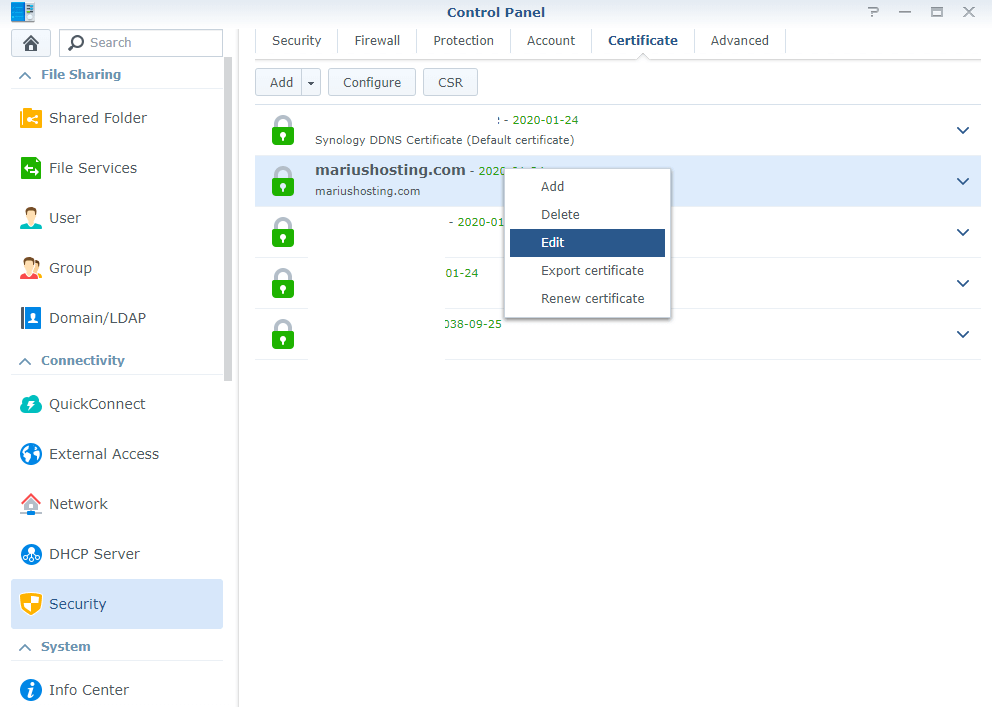
- Select the desired certificate.
- Click Edit and you can do either actions below (follow the instructions in the images below):
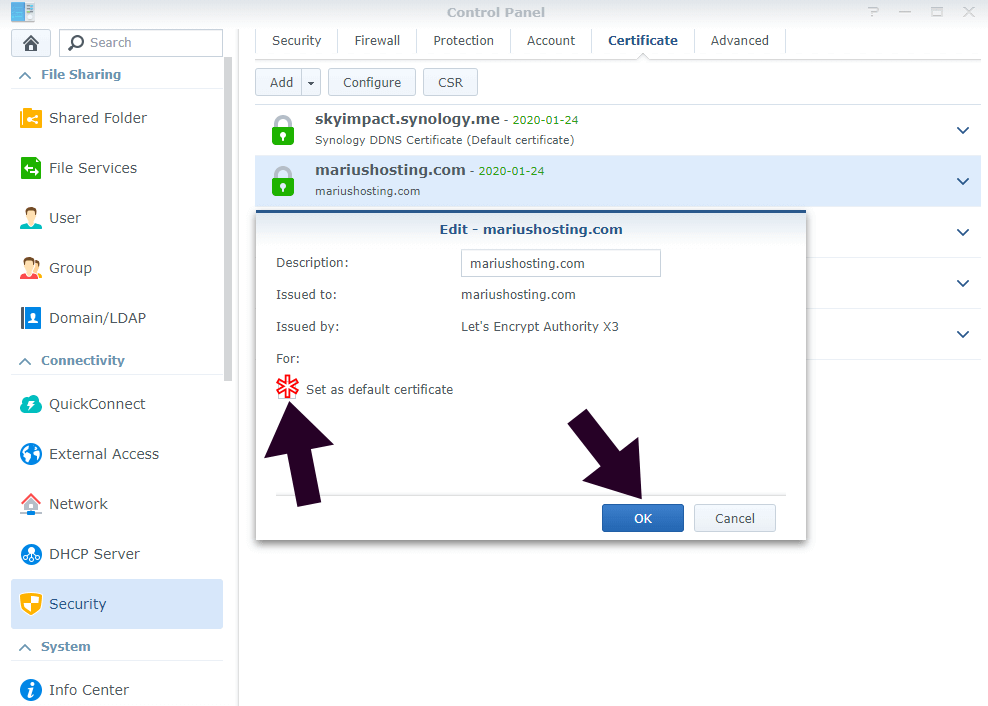
- Change the certificate description and click OK.
- Select Set as default certificate to assign it with the default status, and click OK.
If you click Set as default certificate, the certificate being processed will be used as the default certificate. The original default certificate will lose its default status.

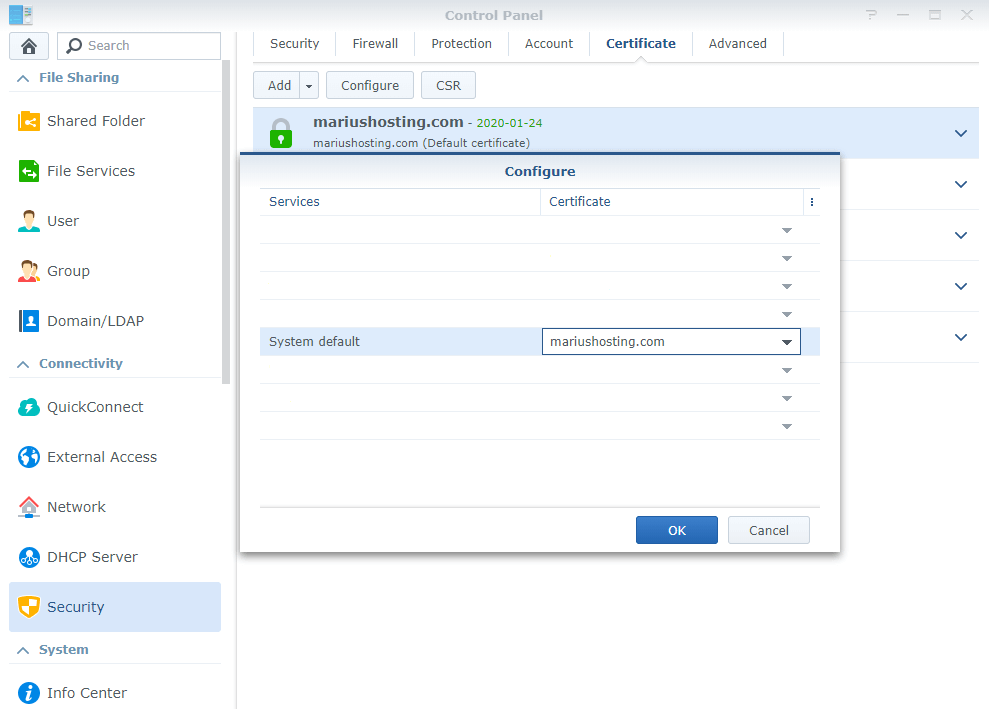
Now select your domain name and click “Configure”. After that set your new domain certificate as “System Default” then click OK.
Note*: To add new certificate, it’s mandatory to open ports 80 and 443 on your router.
This post was updated on Saturday / November 2nd, 2019 at 11:31 PM