Have you already installed VoceChat on your Synology NAS? Today, after many, many people asking me how to set up email on VoceChat to be able to reset your own VoceChat password, invite new members as a part of your team, etc., I have finally come about to writing an article on how to set up Gmail notifications on VoceChat so you can now enjoy it to its full potential. See the details below.
STEP 1
Please Support My work by Making a Donation.
STEP 2
Install VoceChat using my Docker Guide. If you already have VoceChat installed on your Synology NAS, skip this STEP.
STEP 3
Follow my step by step guide on how to activate SMTP for your Gmail account.
STEP 4
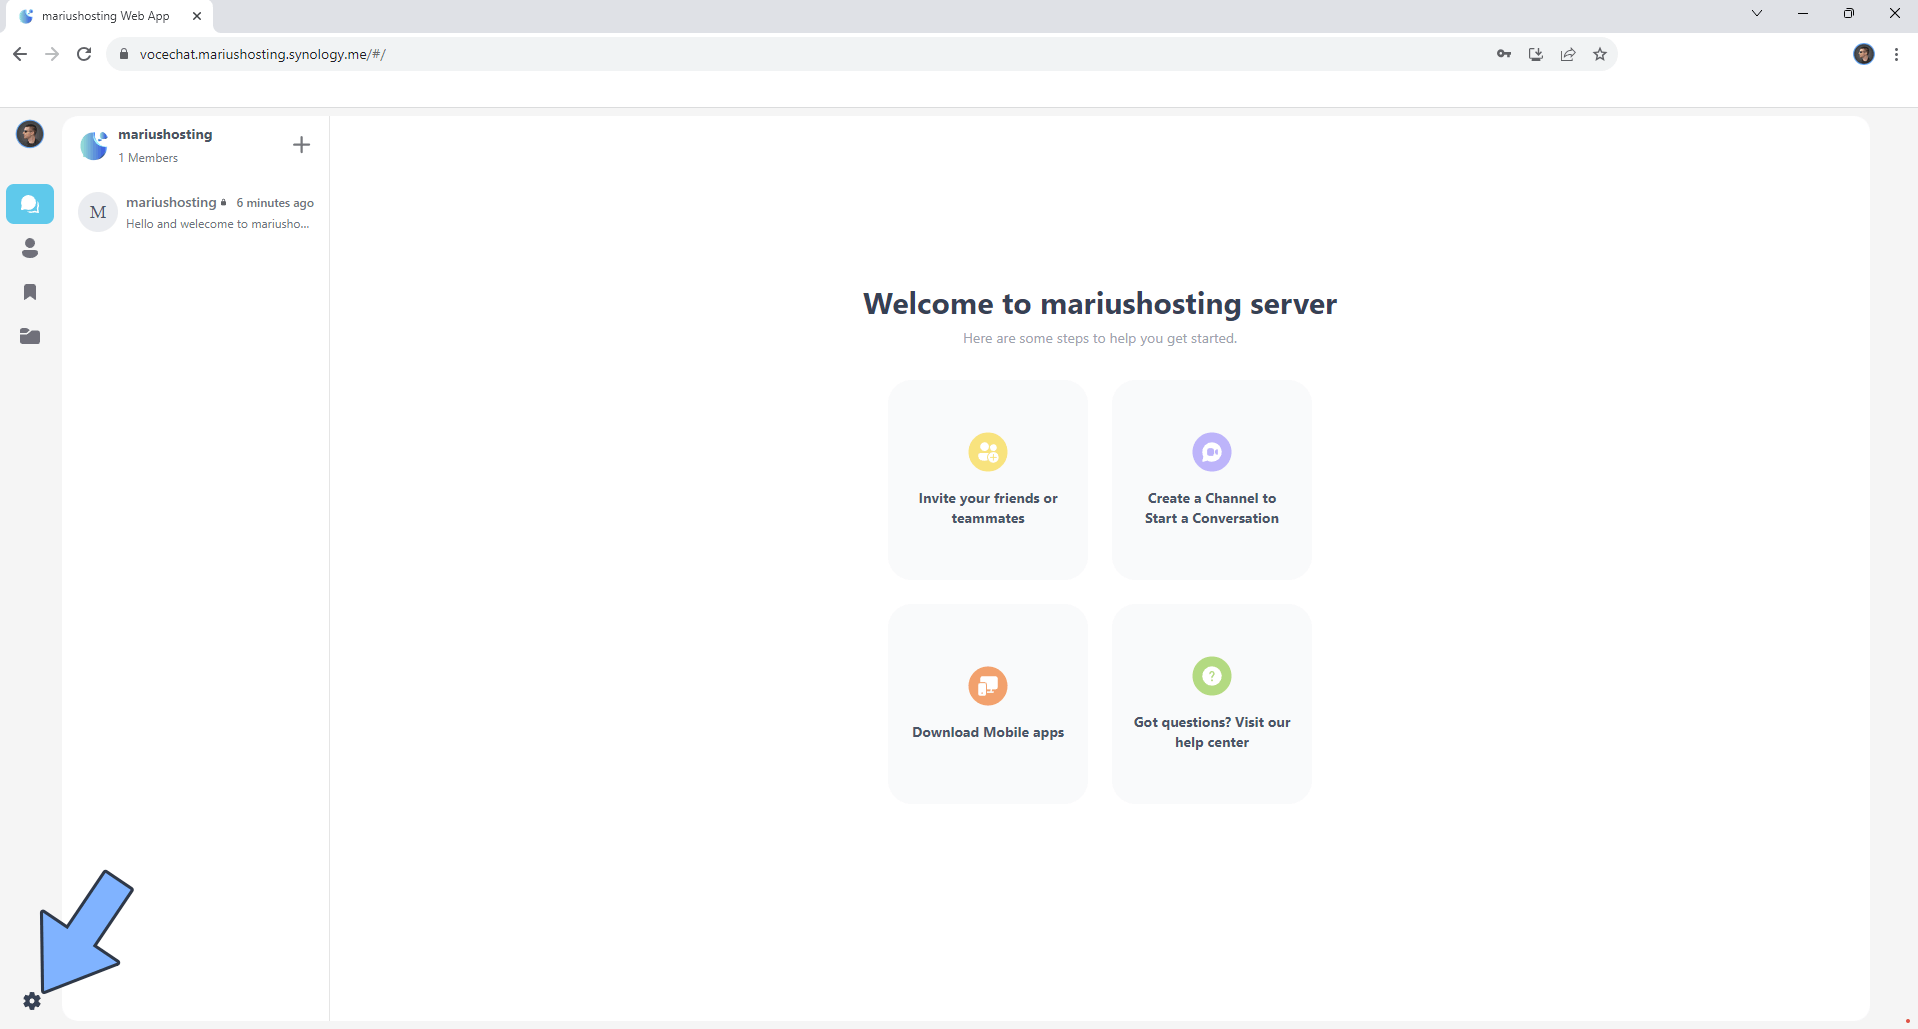
On the left, at the bottom of the page, click the gear icon to access the settings. Follow the instructions in the image below.
STEP 5
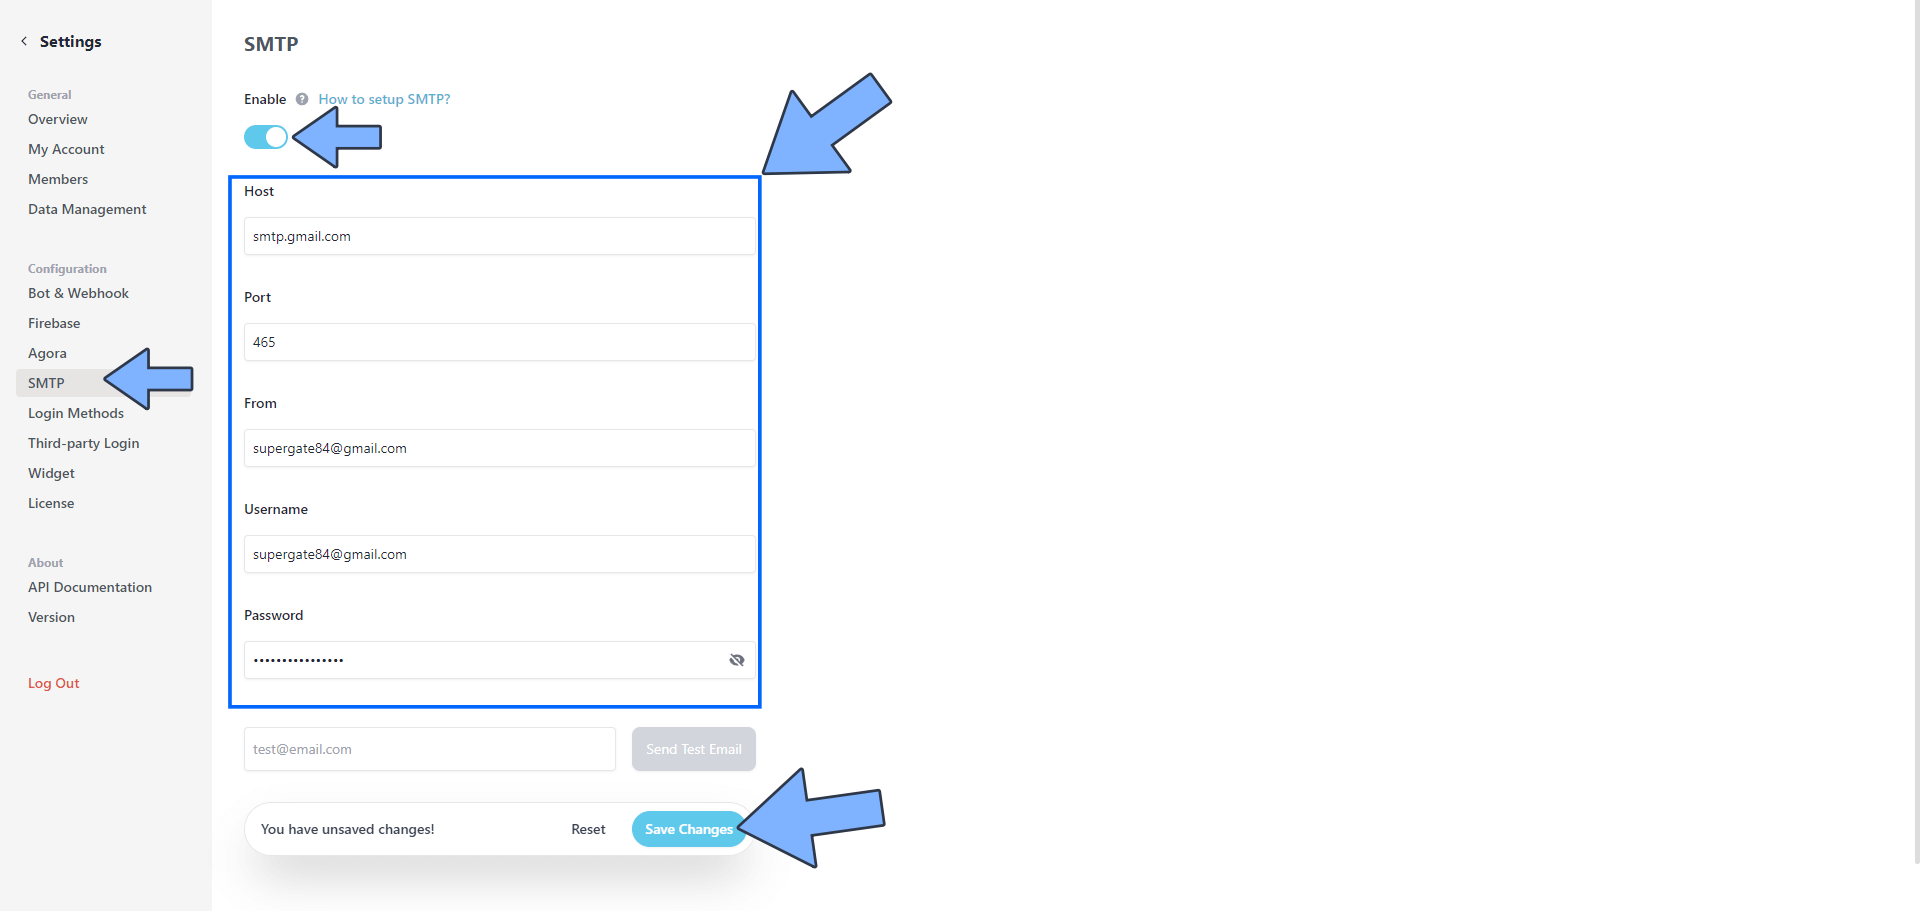
Click SMTP on the left sidebar. Check Enable SMTP. Add the details below. Follow the instructions in the images below.
Host: smtp.gmail.com
Port: 465
From: Type in your own Gmail address.
Username: Type in your own Gmail address.
Password: Type in your own Gmail App Password / STEP 3
Click Save changes.
STEP 6
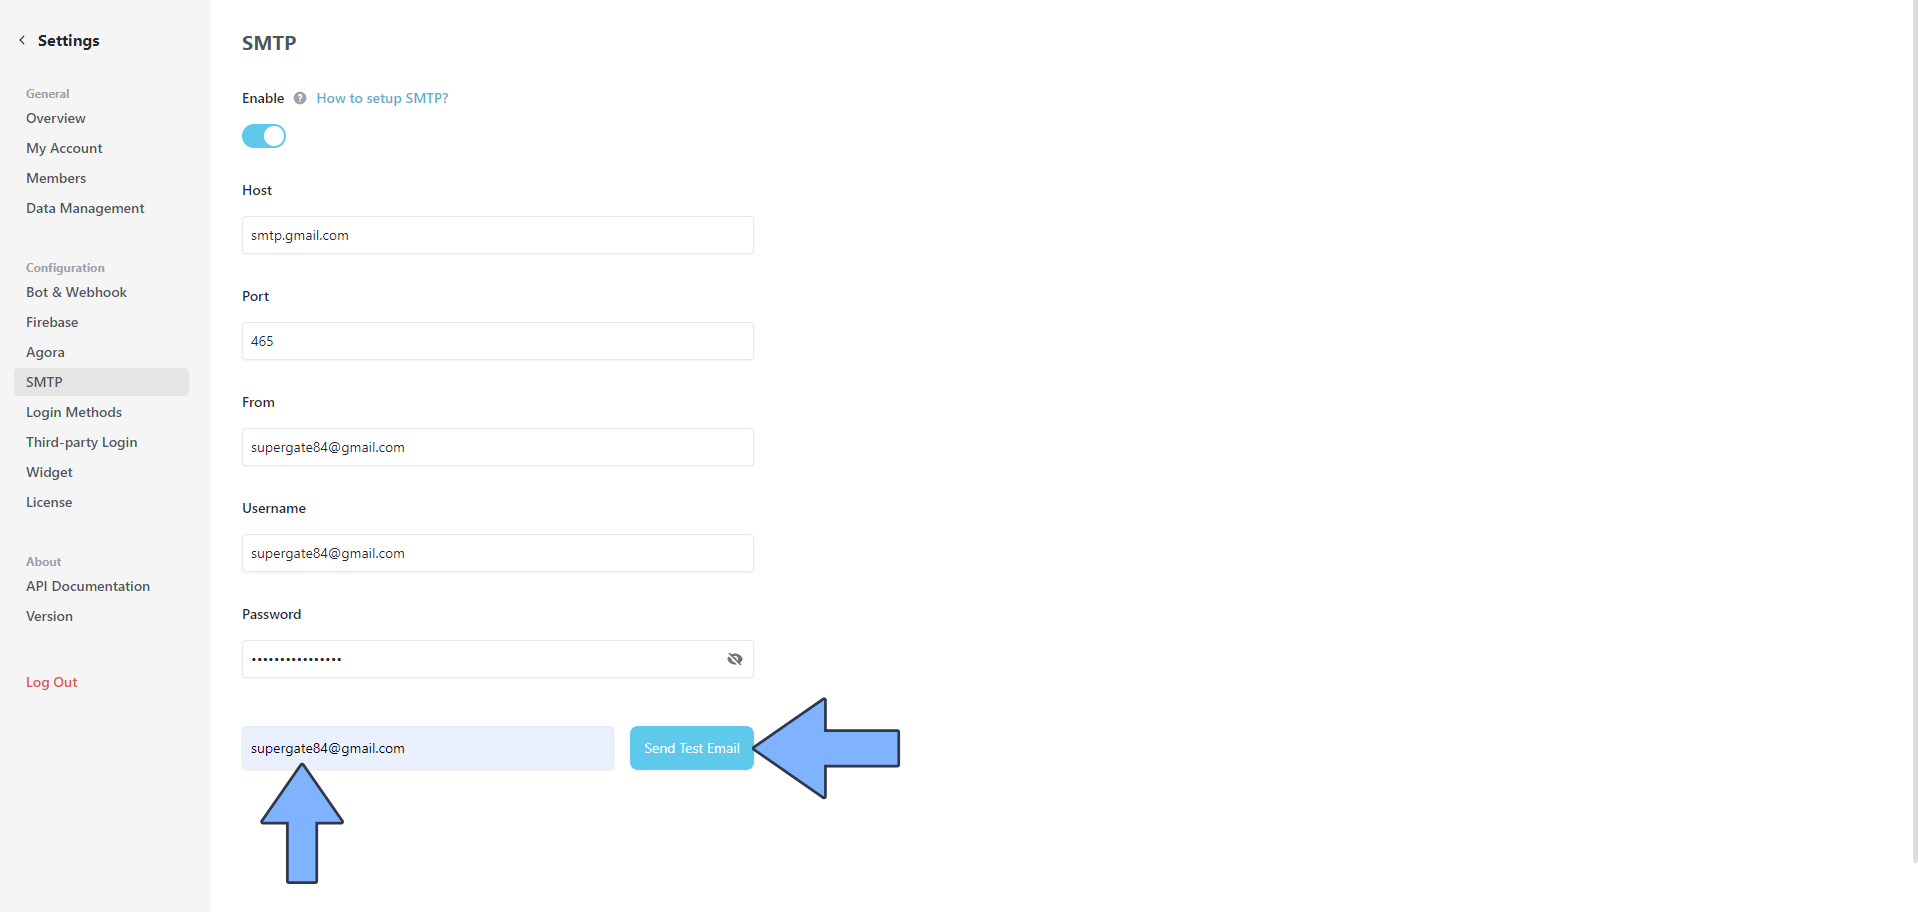
Type in your own email address in the test email area, then click Send Test Email. Follow the instructions in the image below.
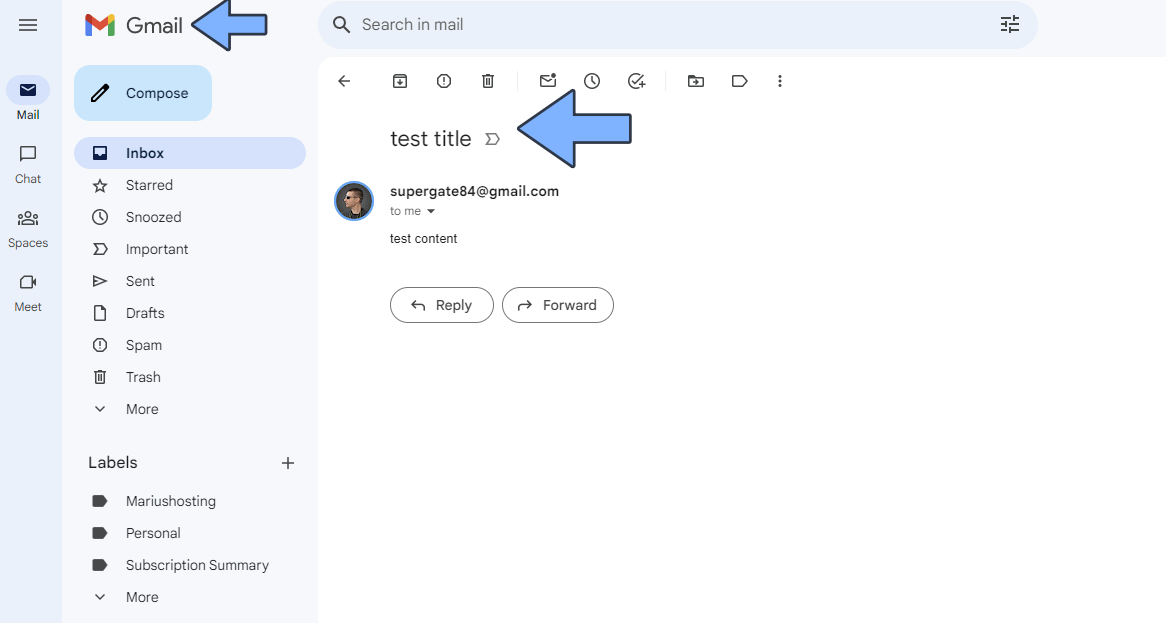
STEP 7
Enjoy VoceChat with Email Notifications!
This post was updated on Sunday / September 24th, 2023 at 12:02 AM