Do you want to customize your Portainer installed on your amazing Synology NAS? Did you know that you can change the logo at the top left of the Portainer page with a logo of your own? Today I will teach you how to customize the Portainer logo by giving you the option to use your own. Portainer is a lightweight management UI which allows you to easily manage your Docker containers.
STEP 1
Please Support My work by Making a Donation.
STEP 2
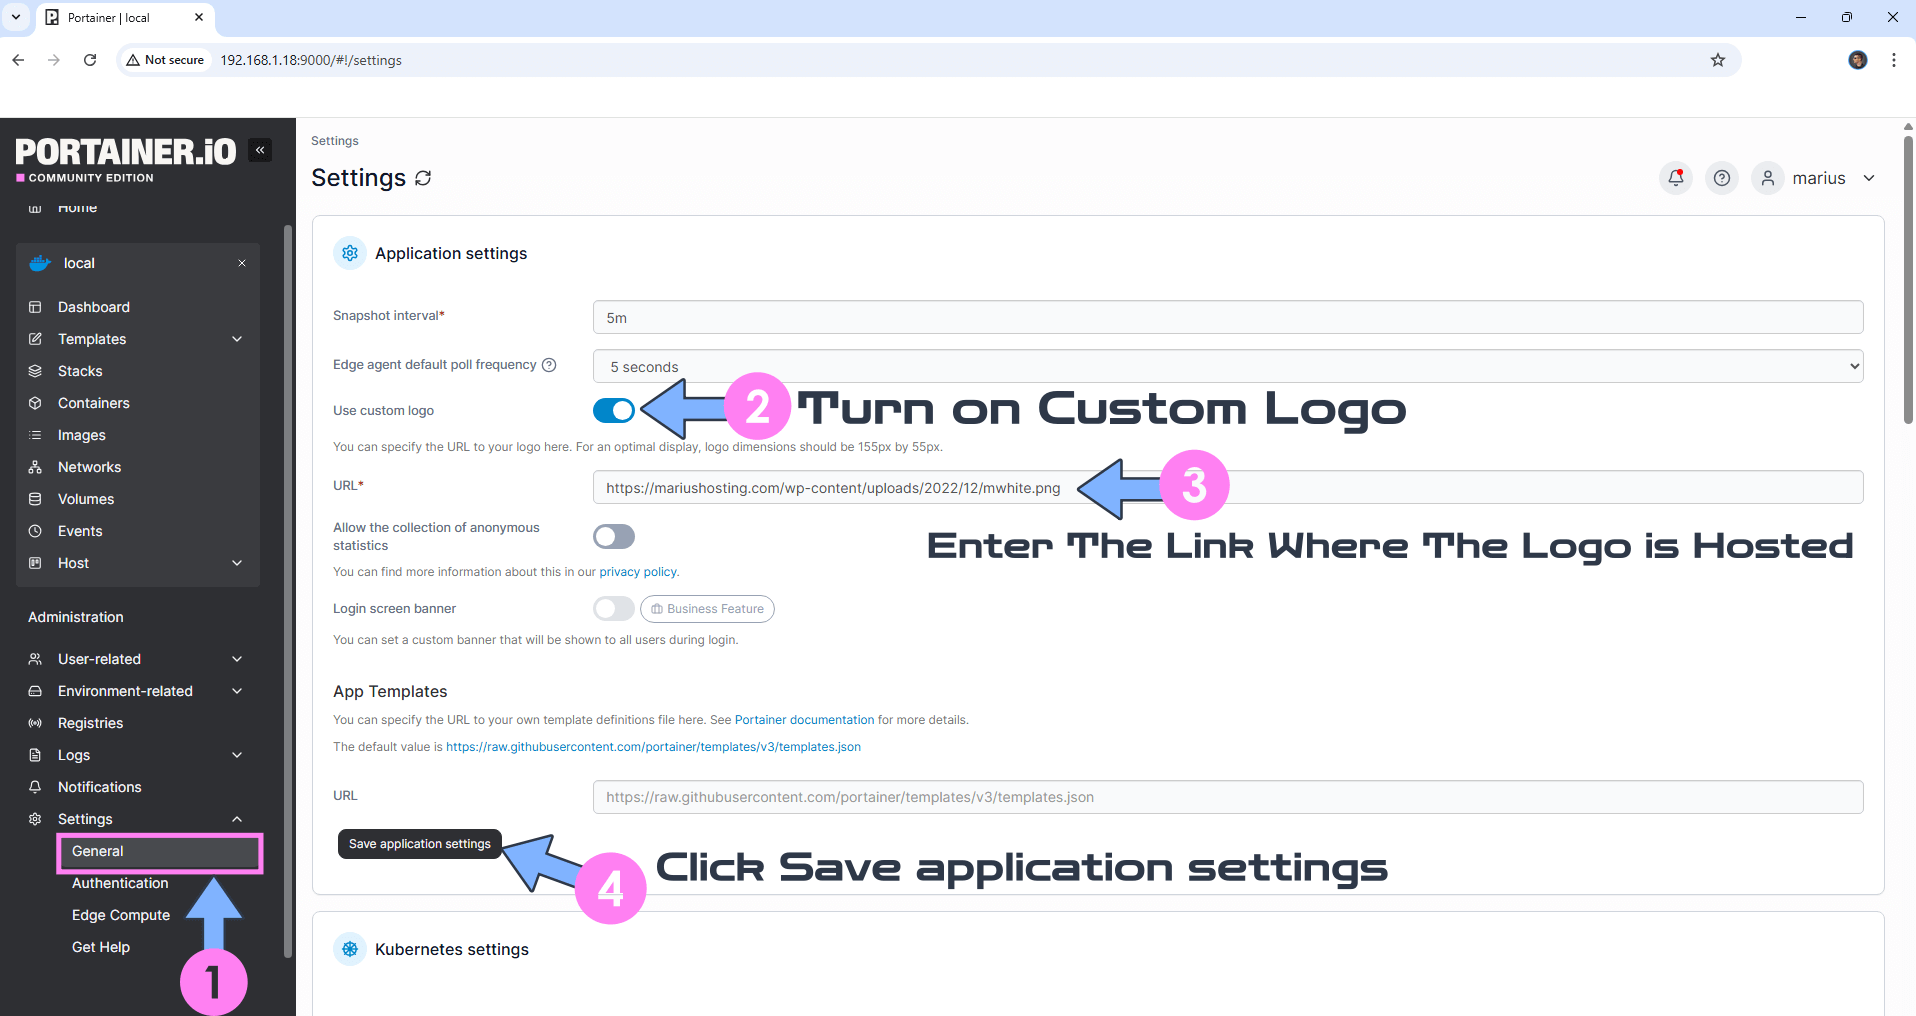
Log in to Portainer. From the left menu, click Settings. Turn ON Use custom logo then enter the link where your logo is hosted. You need to type in a full link. To do that, upload your own logo somewhere (Cloud, own website etc.), then simply paste your logo image address in the URL field. Click Save application settings. Follow the instructions in the image below.

STEP 3
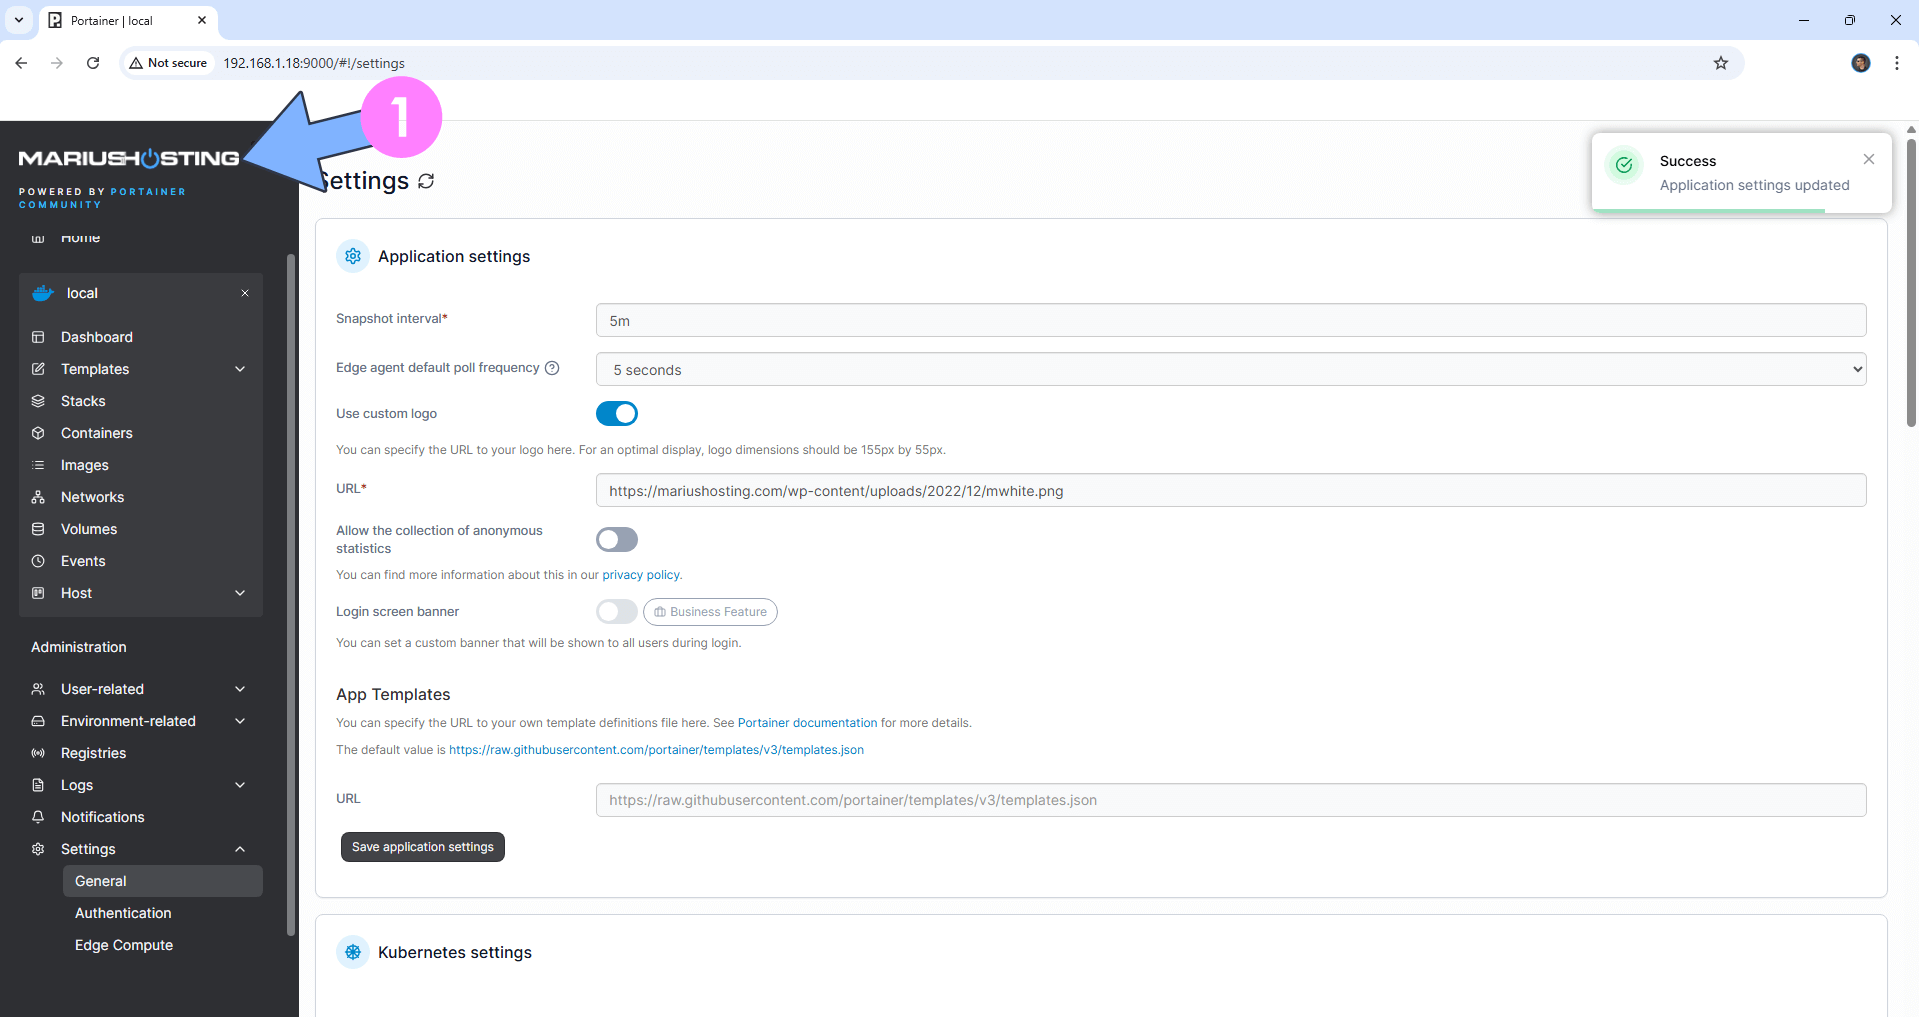
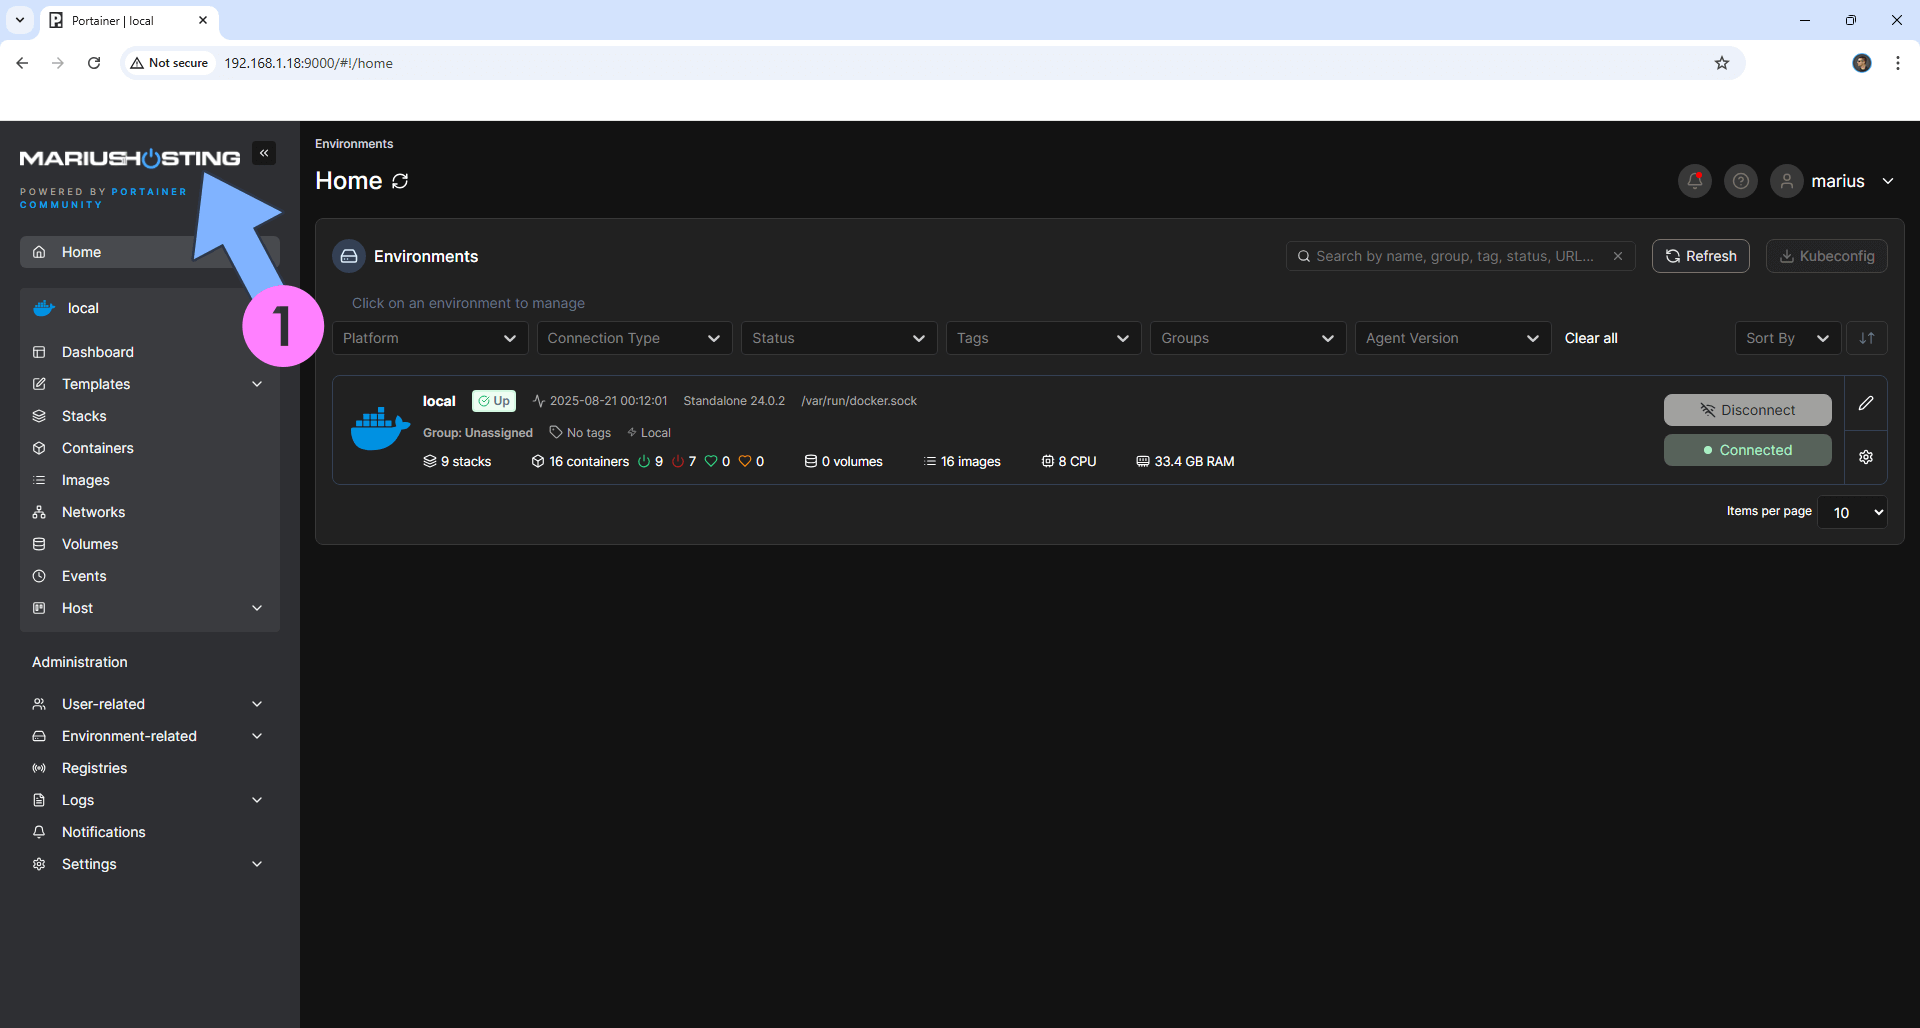
If everything goes right, you will see the following message at the top right of your screen: “Success Application Settings updated“. Your new logo will be visible at the top left of the page, above the menu.

STEP 4
In addition to the logo, you can also add a touch of class thanks to Dark Mode. Follow my step by step guide on How to Activate Dark Mode in Portainer.

This post was updated on Thursday / August 21st, 2025 at 12:32 AM
