It may come as a surprise to some users, but the Dark Mode feature has been available in Portainer starting with version 2.9.0. Dark Mode has been one of the most requested functions by Portainer users. However, many users are still not aware of it and for this reason, today, I wanted to get back to this topic and explain to those who have Portainer installed on their Synology NAS and are not yet up to date with the new features available how to activate the Dark Mode option.
What is Portainer? Portainer is a really awesome web UI for Docker. Portainer is a lightweight management UI which allows you to easily manage your different Docker environments (Docker hosts or Swarm clusters). Portainer is meant to be as simple to deploy as it is to use thanks to its user-friendly interface. Those who have had the pleasure of trying Portainer have left Synology’s web UI behind and focused on the new user friendly interface offered by Portainer.
STEP 1
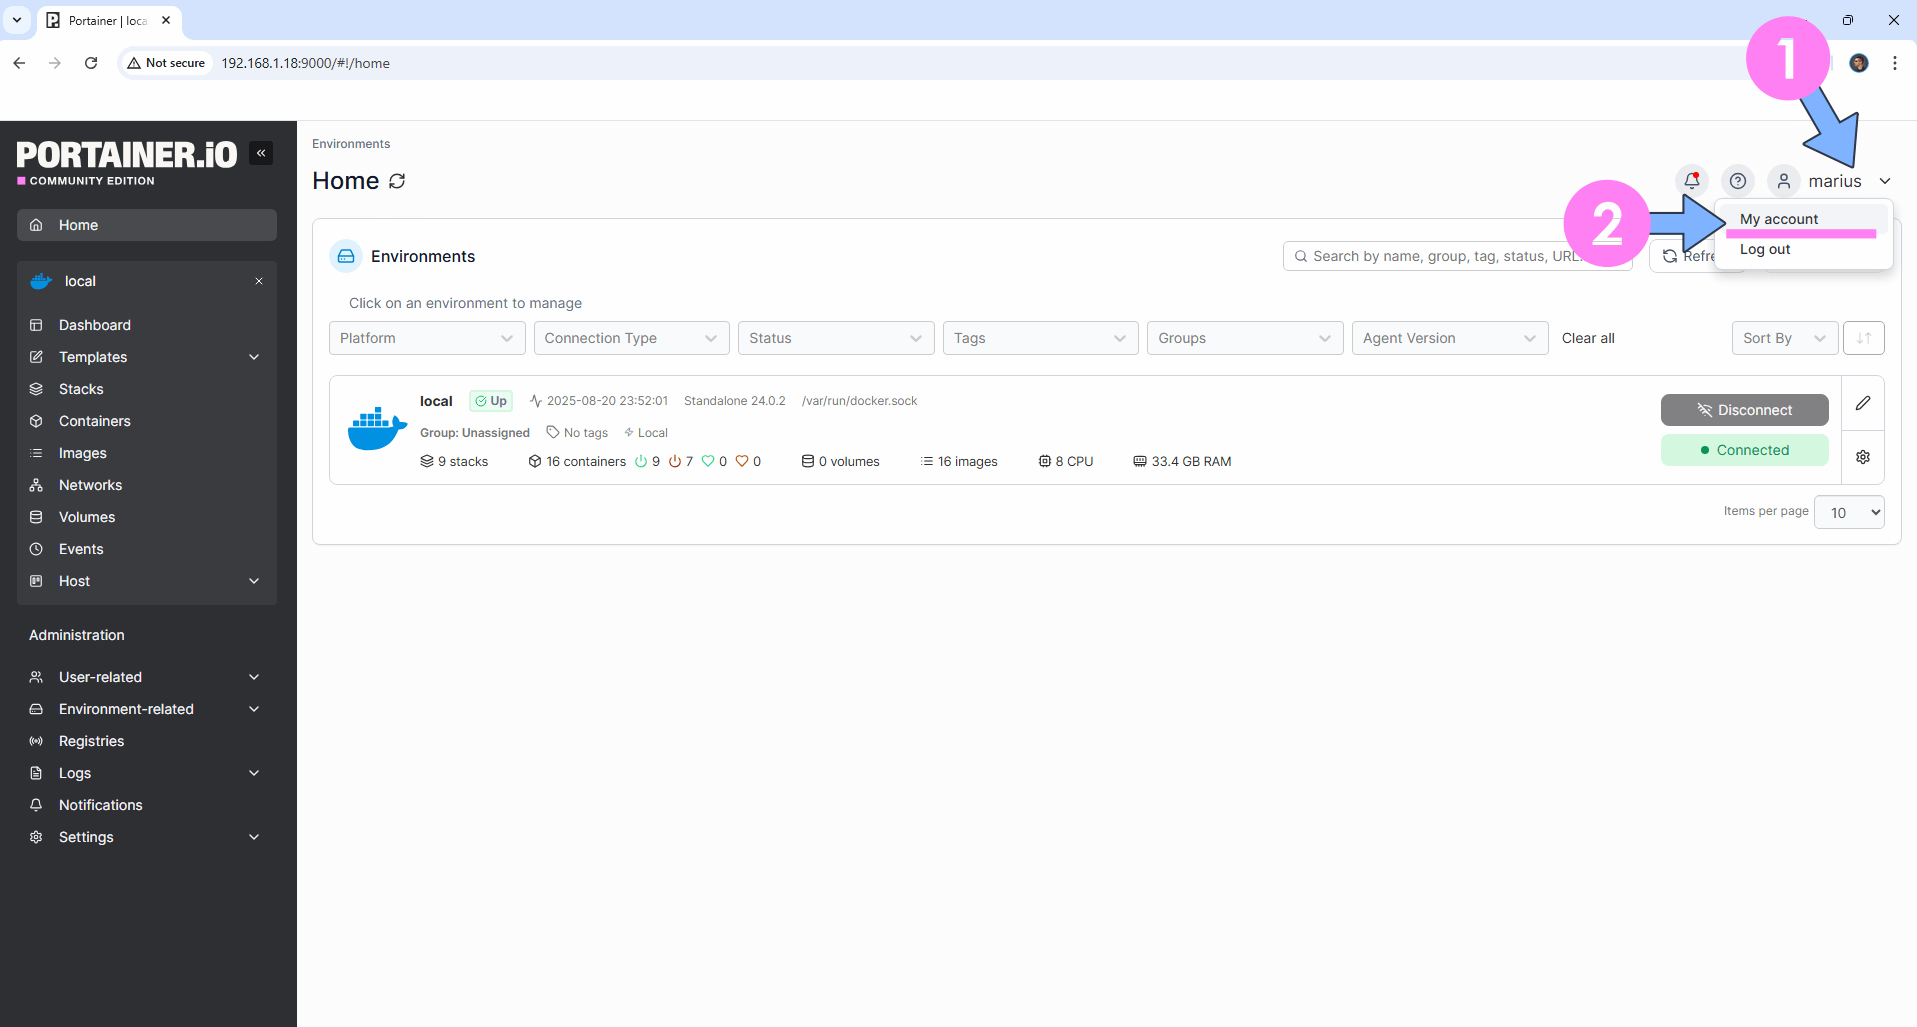
Log into your Portainer account. At the top right of the page, click on your name then My account. Follow the instructions in the image below.
STEP 2
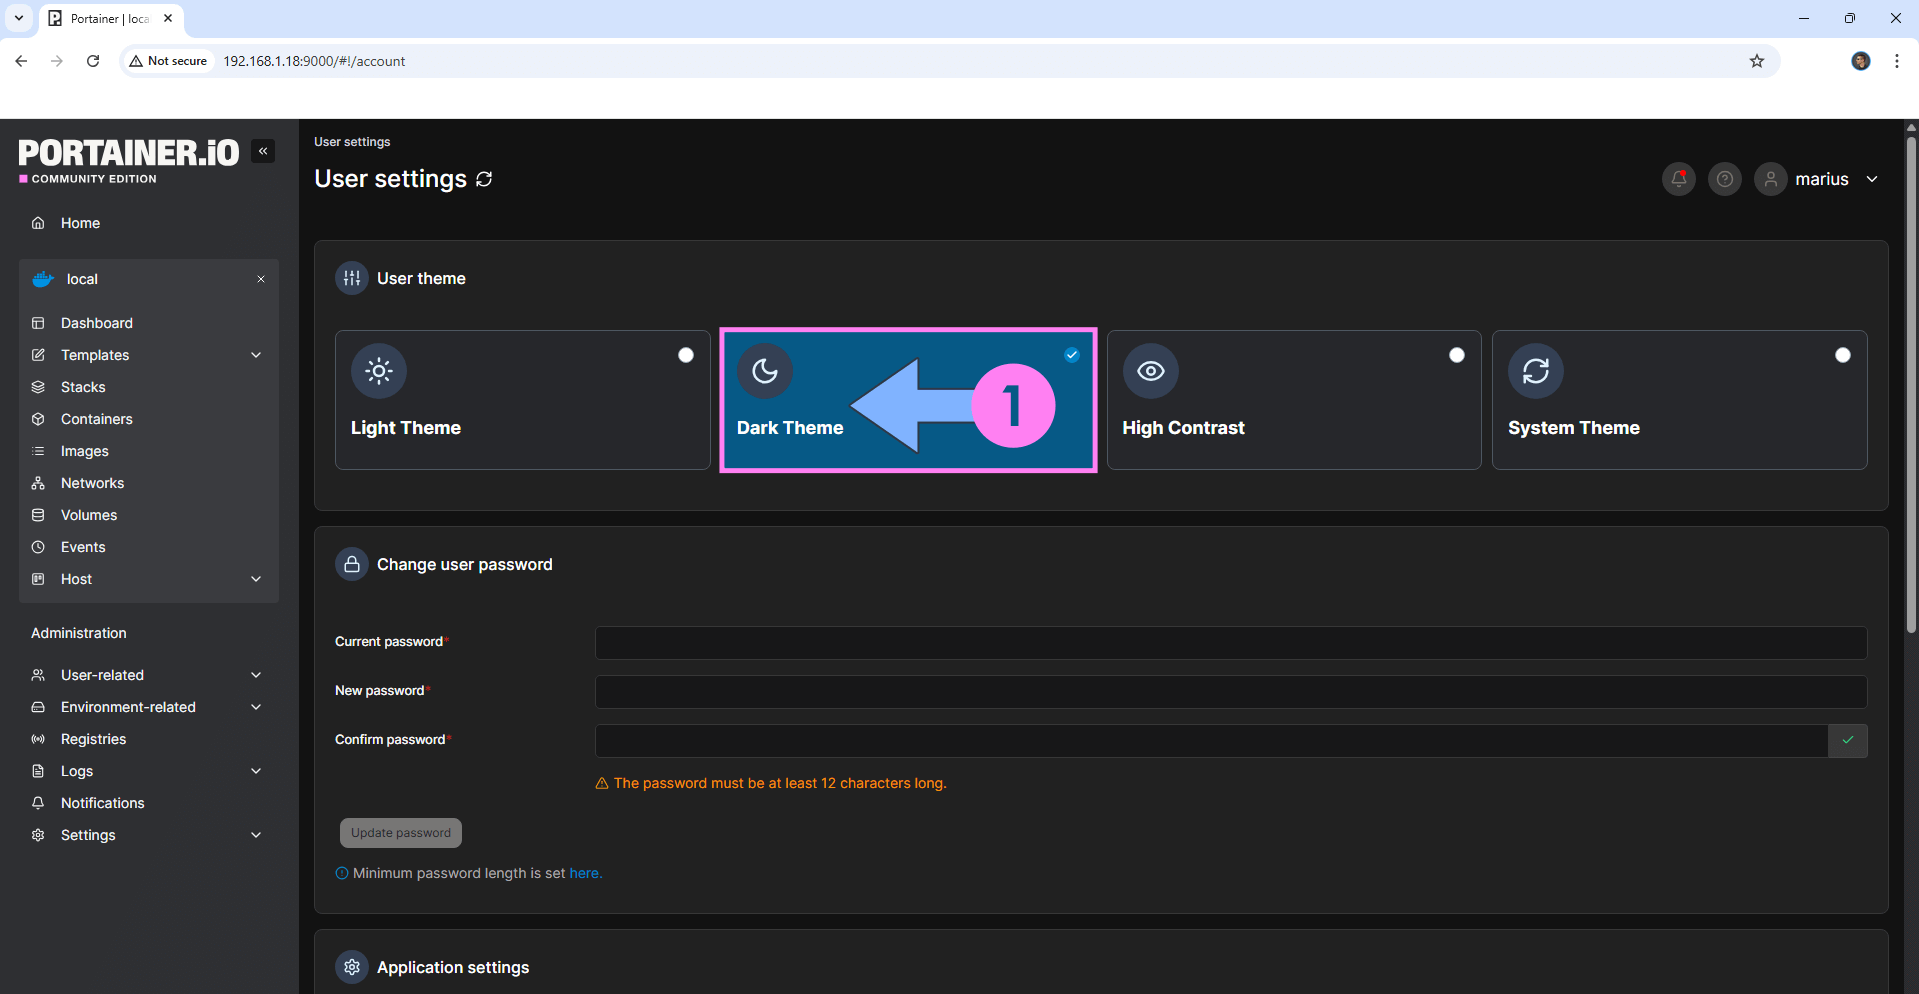
From the User theme area click on the Dark Theme. If everything goes right, you will see this message at the top right of your screen: “Success User theme successfully updated“. Follow the instructions in the image below.
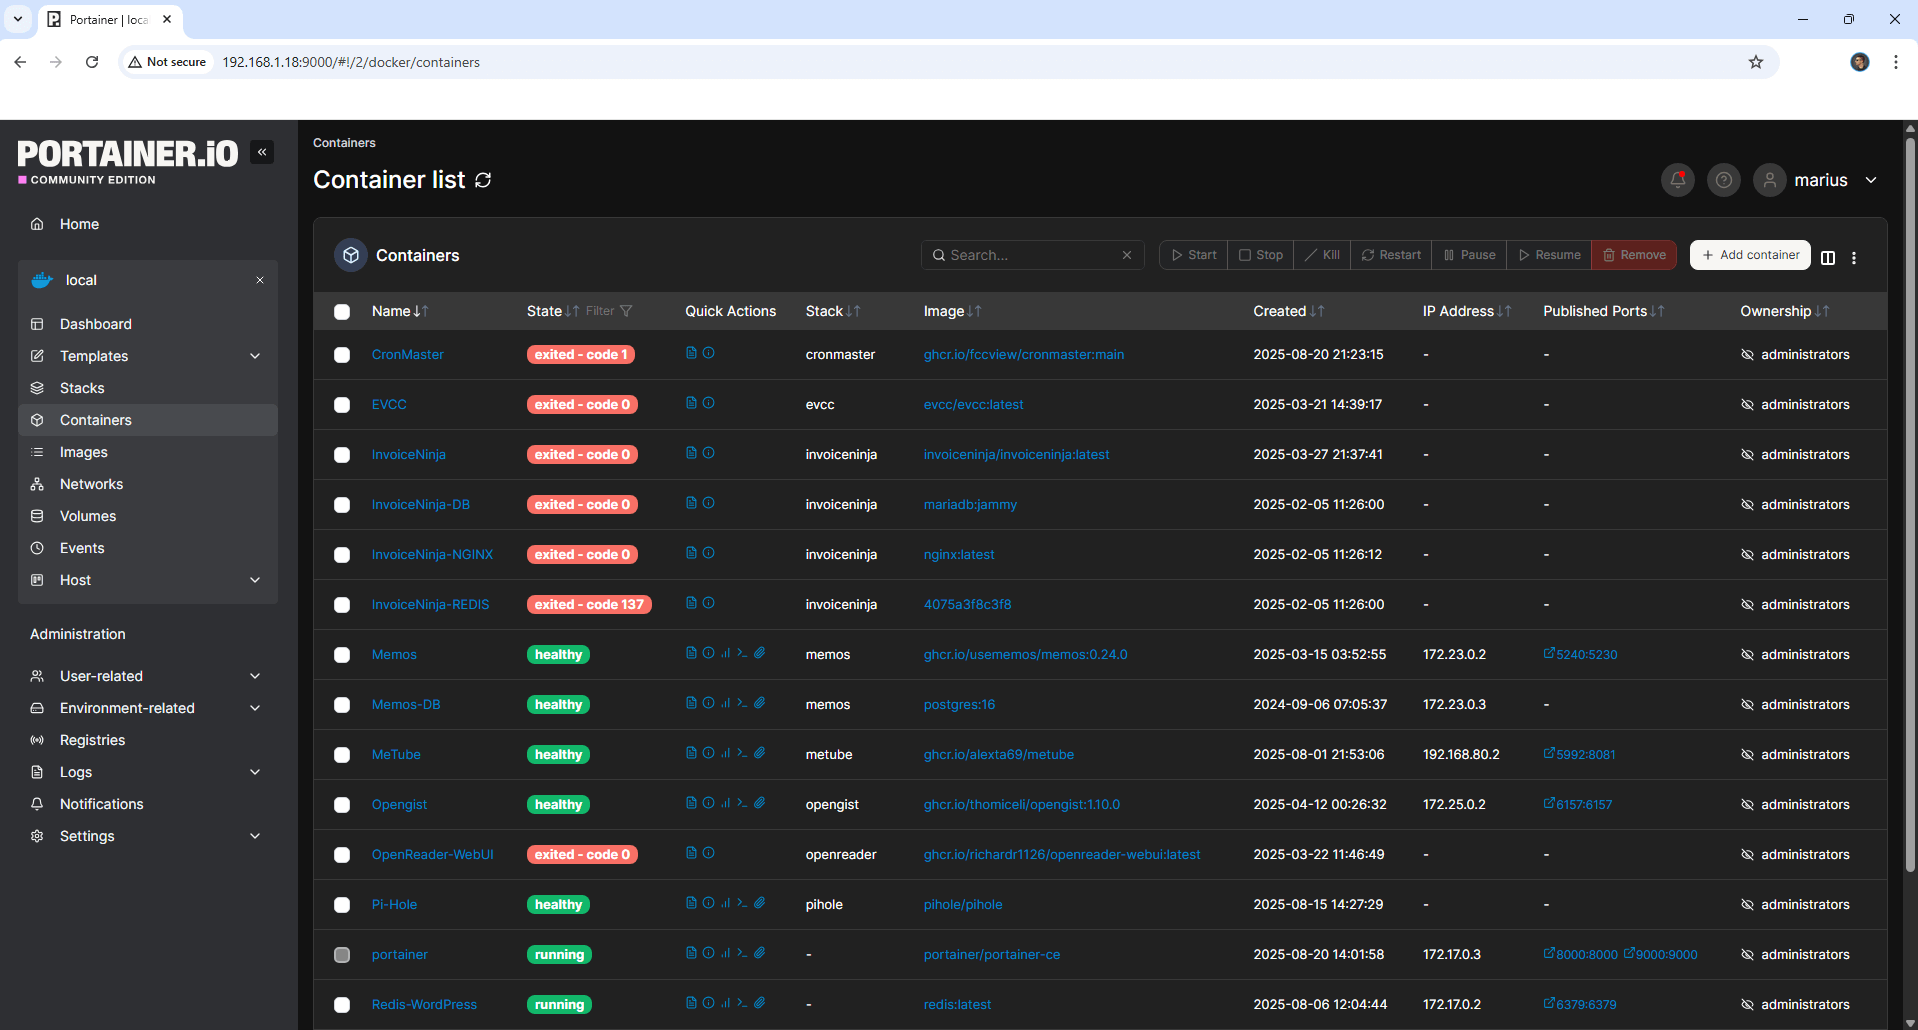
Welcome to Portainer in Dark Theme mode!
STEP 3
In addition to the Dark Mode, you can also add a touch of class thanks to the option to change Portainer logo with your own logo. Follow my step by step guide on How to Change Portainer Logo With Your Own Logo.
This post was updated on Thursday / August 21st, 2025 at 12:10 AM