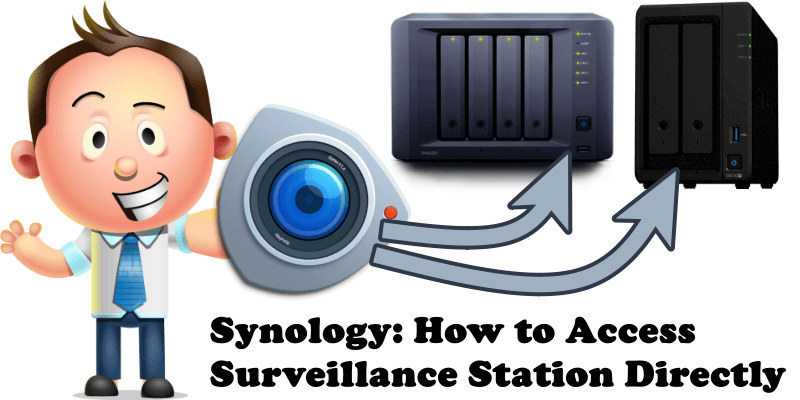
If you are also using your Synology branded NAS or NVR for video surveillance, you are surely wondering if you can access the Surveillance Station administration page directly without going through the standard DSM 7 interface. Synology has an option in Control Panel called “Login Portal” that allows you to “traverse a portal” by transporting you directly into one of your Synology applications that you love when you log in, such as Synology Surveillance Station. Below you can follow my guide on how to access Surveillance Station directly.
STEP 1
Please Support My work by Making a Donation.
STEP 2
Enable HTTPS on DSM 7. You can also access your Surveillance Station locally without the need for a DDNS. So skip this STEP if you need to access your Surveillance Station only on your Local Area Network (LAN) and don’t want to access it from the Internet (online).
STEP 3
The overall best method to access your Surveillance Station directly is to download the Desktop client of Surveillance Station from the link below. You can access the application directly by entering your DSM credentials. Personally, I use this much more frequently as it’s more comfortable without the browser access. The desktop client is much faster and the video quality actually looks better.
Note: To make sure you download the latest desktop client of Surveillance Station, remember to download the first file in the list at the top.
Note: The desktop version of Surveillance Station is available for both Windows and Mac-operating systems.
Note: You can also access your Surveillance Station locally without any need of a DDNS.
STEP 4
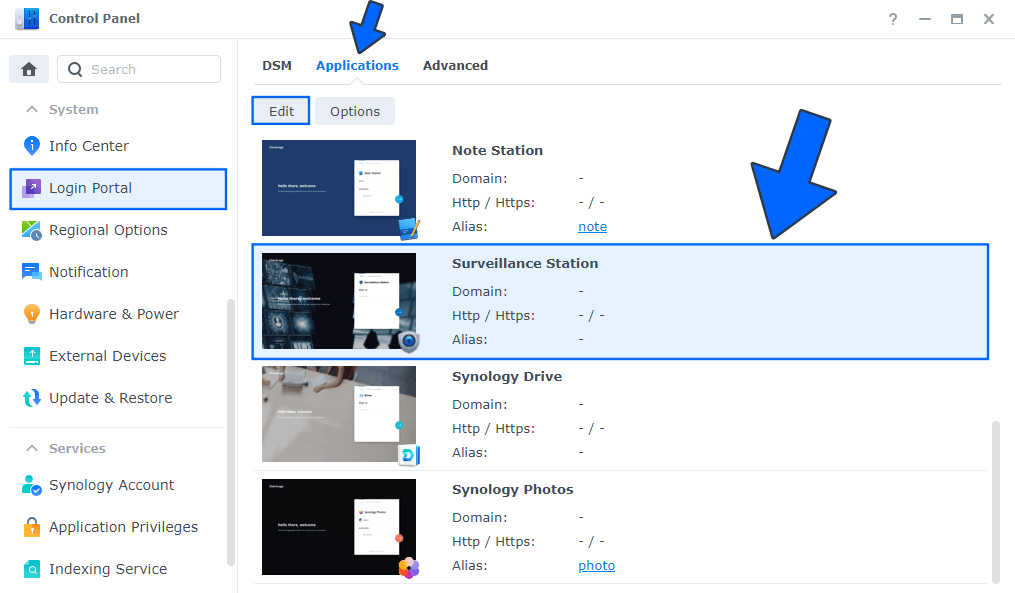
Go to Control Panel / Login Portal / Applications. Select your Synology Surveillance Station application. Click Edit. Follow the instructions in the image below.
STEP 5
Select an alias for your Surveillance Station application. The alias that you chose will appear at the end of your DDNS name. Follow the instructions in the image below.
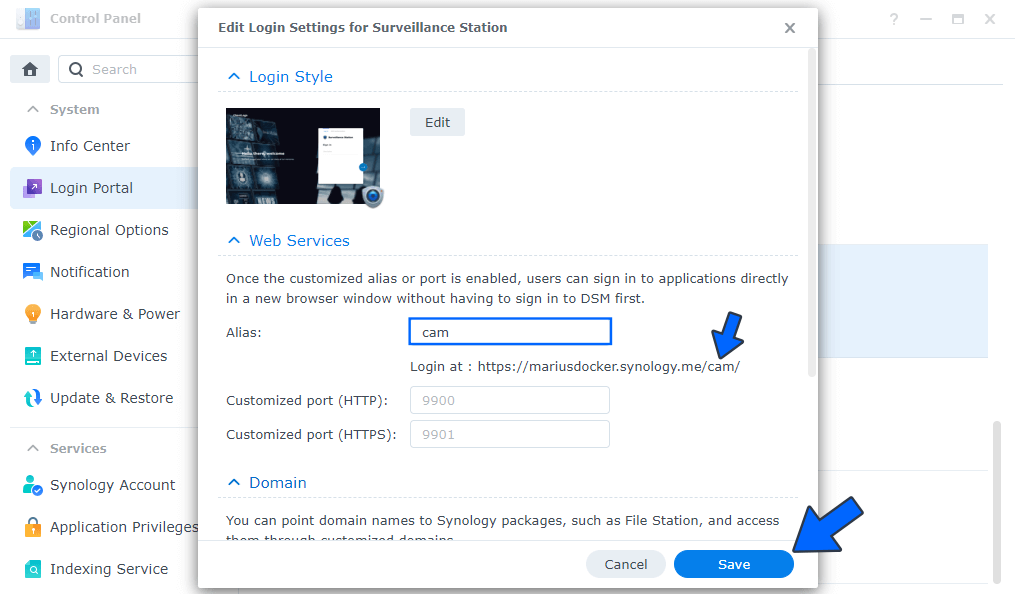
Note: Before you apply the change, you can also change the background and add your own company logo by clicking Edit in Login Style. Follow the instructions in the image above.
STEP 6
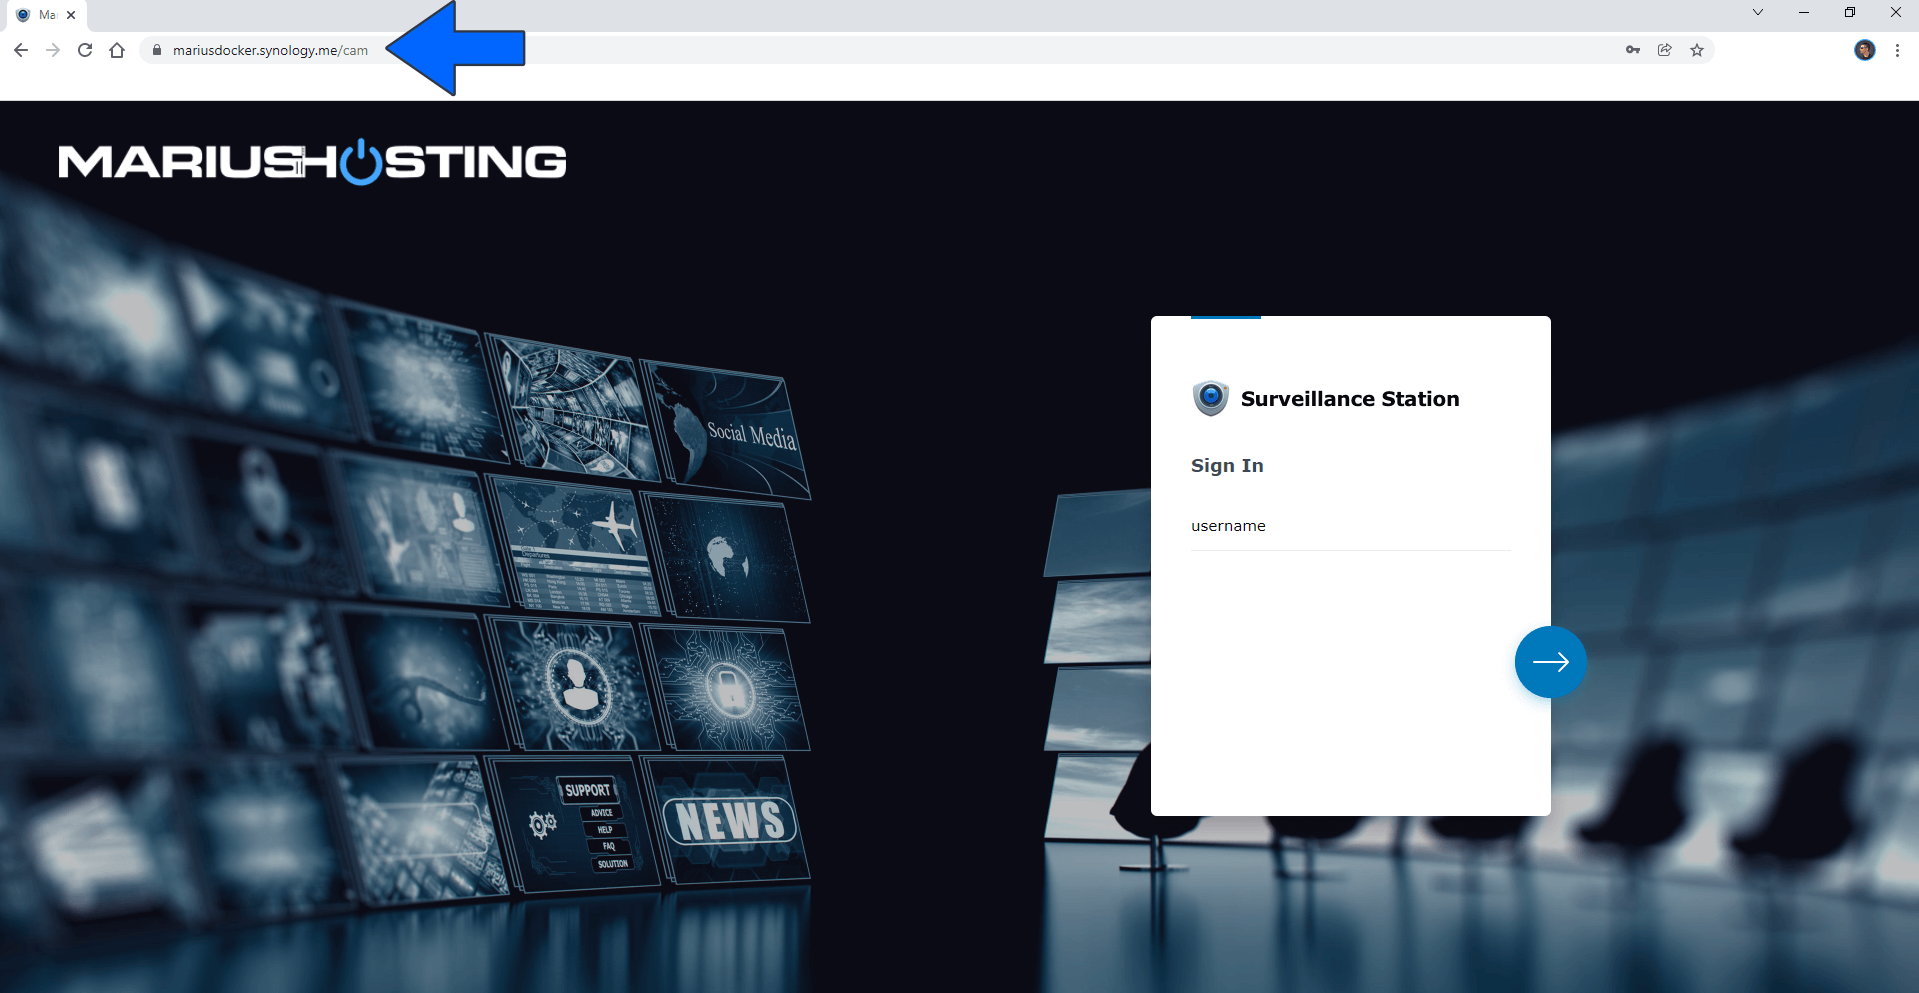
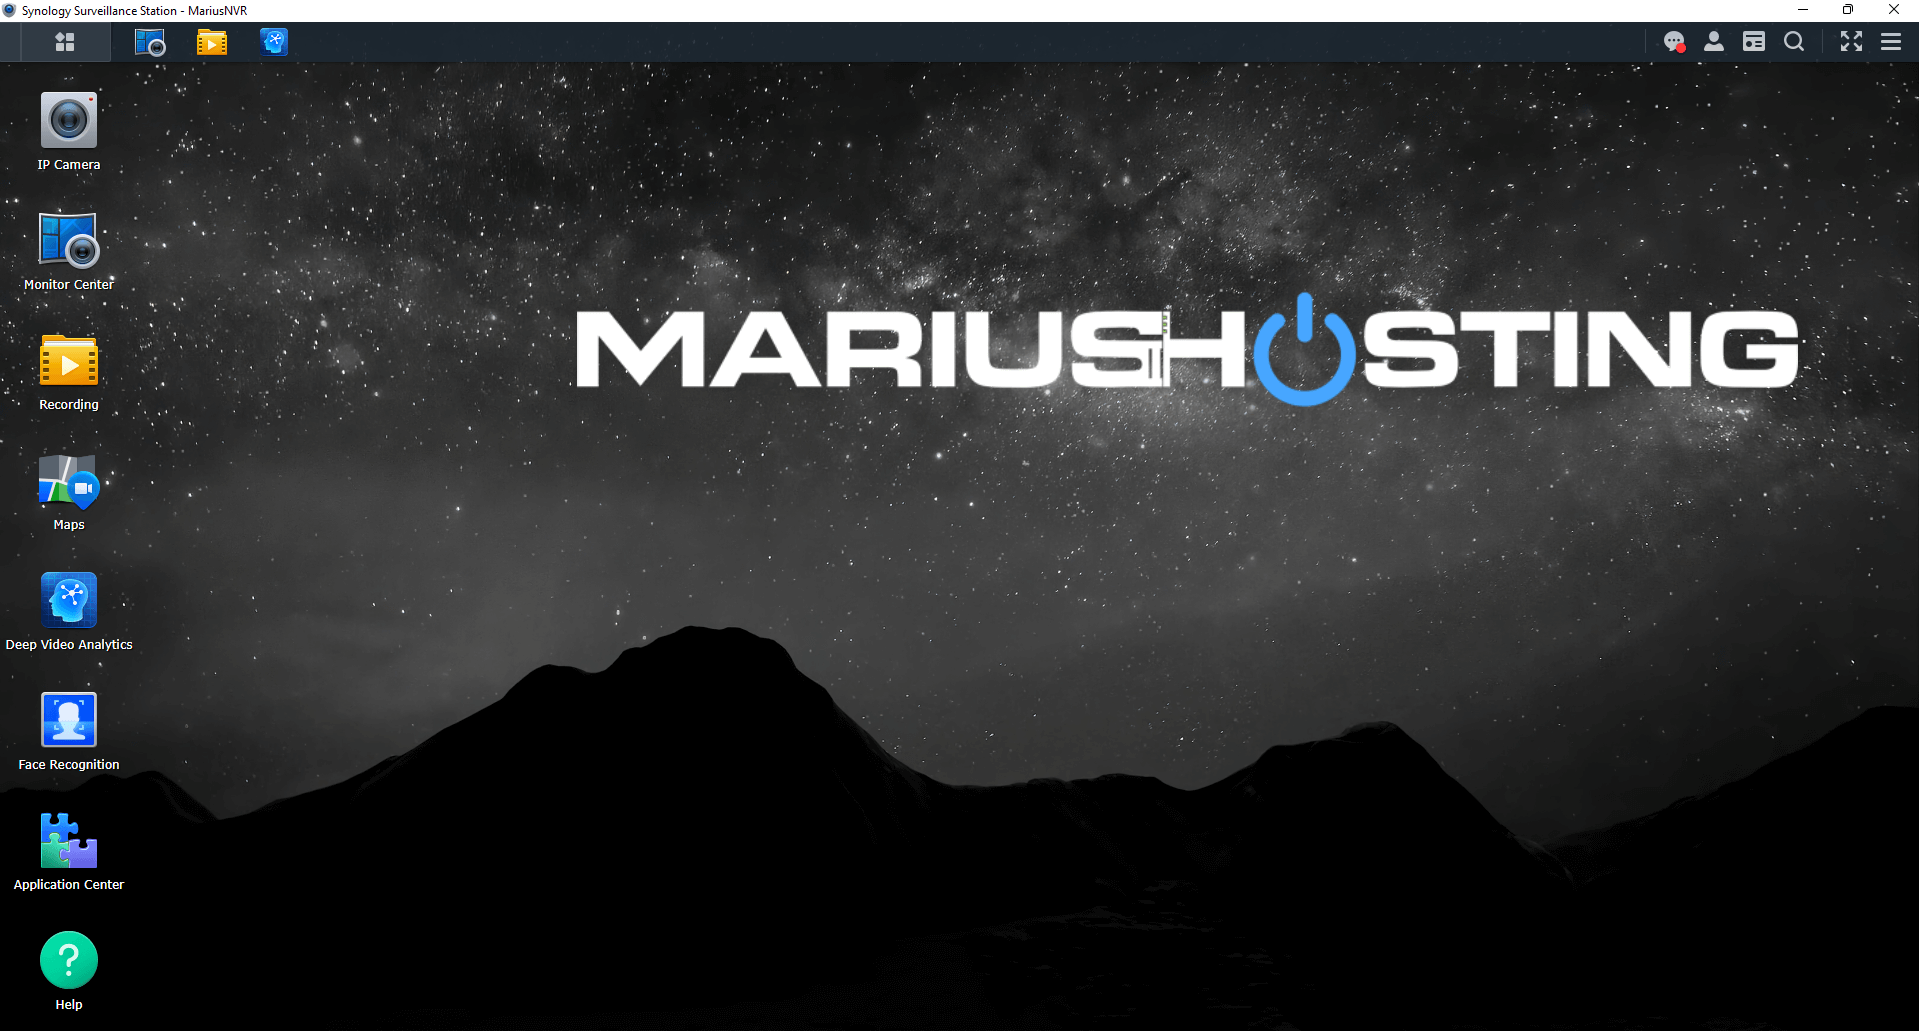
Now if you access your Synology DDNS with the alias you have chosen at STEP 5, you can go directly into your application without having to log into DSM. Follow the instructions in the image below.
Enjoy your Surveillance Station!
This post was updated on Wednesday / August 10th, 2022 at 10:32 PM