If you are a novice NAS user just getting started with your device, know there is already an automatic solution for you to move files from your Windows or Mac PC onto your NAS: it’s the Drag and Drop option – just open one of your Shared Folders on your NAS, then drag and drop a file from your PC to your NAS. This method works via browser so it requires you to keep a browser open. But there is another method that doesn’t. My method is also based on the Drag and Drop function, but it doesn’t require you to keep your browser open. Even non-techies will love it.
STEP 1
Please Support My work by Making a Donation.
STEP 2
Follow my 5 seconds guide on How to Display The Network Icon in Windows 10.
STEP 3
Go to Control Panel / File Services / SMB tab / WS-Discovery then Check “Enable Windows network discovery to allow file access via SMB”. Click Apply. Follow the instructions in the image below.
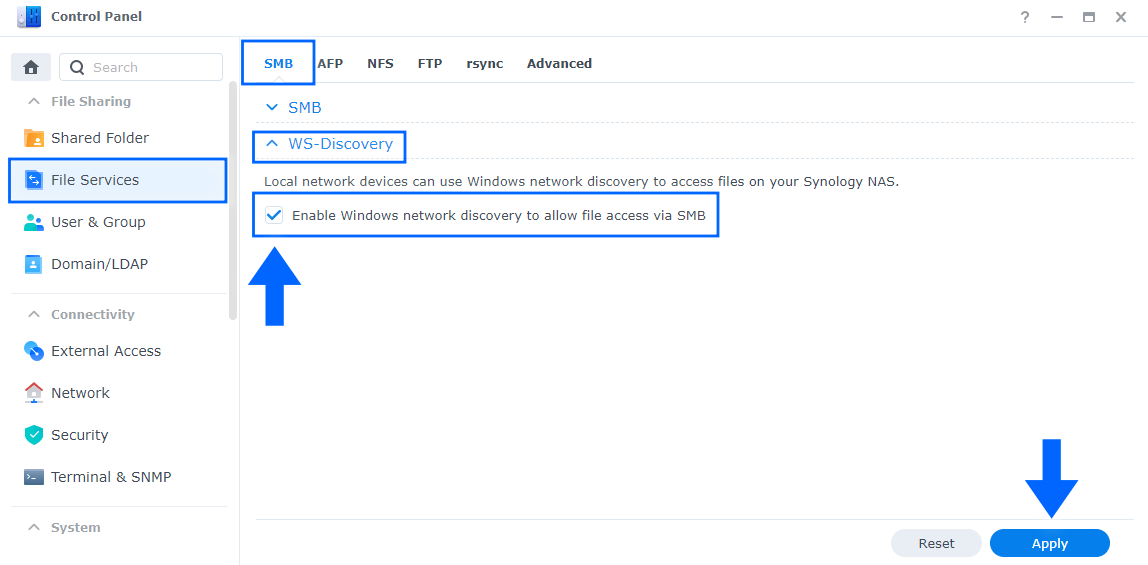
Note: If you have DSM 6.2.4 go to Control Panel / File Services / Advanced tab / WS-Discovery then Check “Enable Windows network discovery to allow file access via SMB”. Click Apply.
STEP 4
Go back to your Windows PC and find the Network icon on your desktop (which you have activated on STEP 2). Open it. Follow the instructions in the image below.

STEP 5
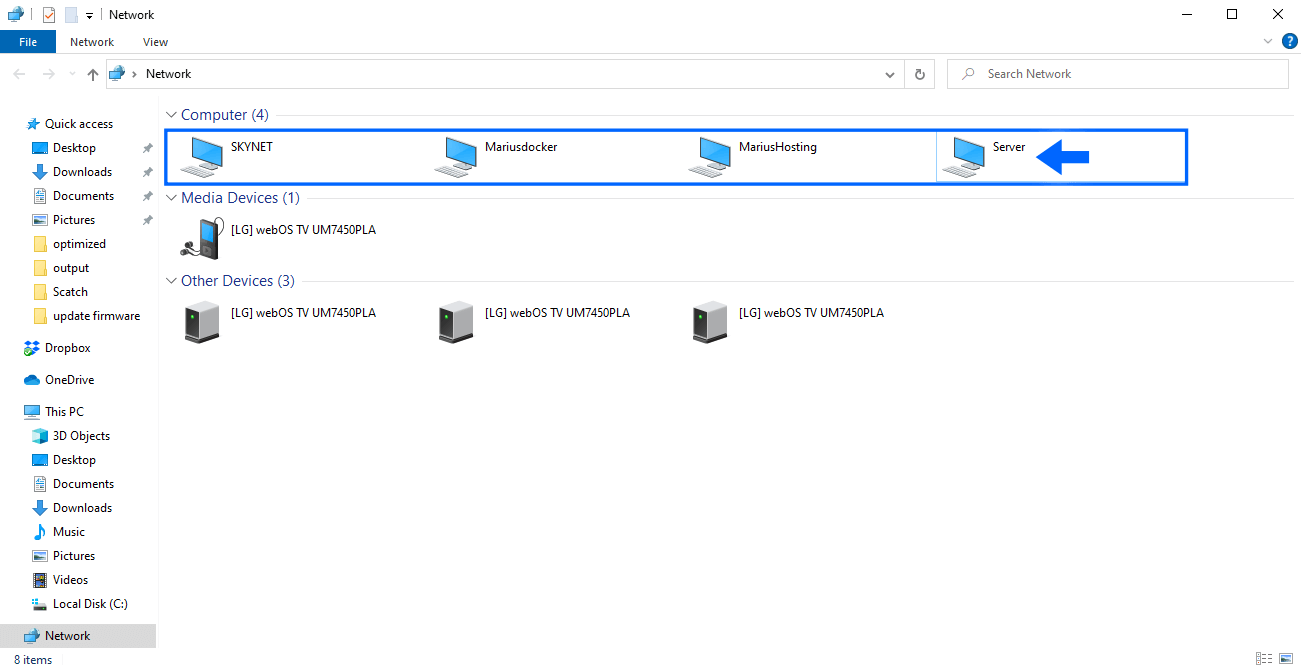
After you click the Network icon, you should see all your computer and NAS devices that are connected using the WS-Discovery option. Click on the name of the NAS for which you have previously activated the WS-Discovery function on STEP 3. Follow the instructions in the image below.
STEP 6
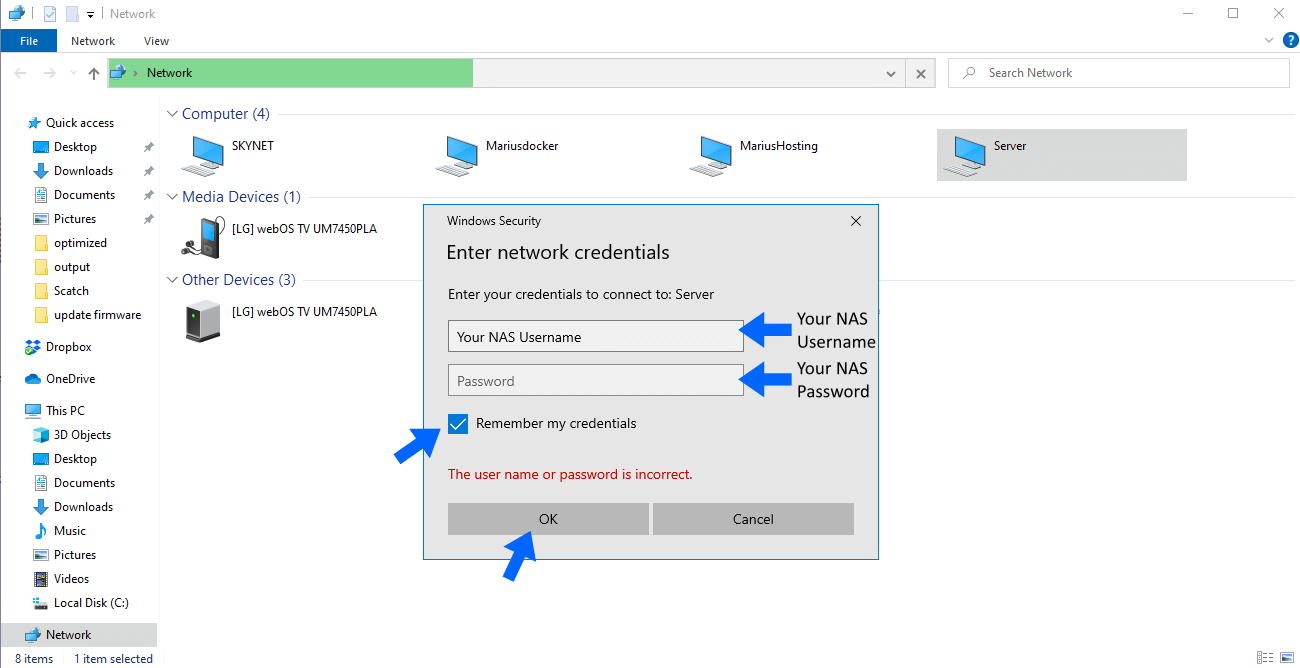
When you click on your NAS name you will be prompted to introduce your NAS credentials immediately. Type in your NAS username, your NAS password, then check “Remember my credentials” and hit the OK button. Follow the instructions in the image below.
STEP 7
You will finally be able to see all your Shared Folders on your NAS. Select the one you want to move files to, or create a new one by following my guide on how to create new Shared Folder. Right click on the Shared Folder of your choice, then create a shortcut for it on your Windows desktop. Follow the instructions in the image below.

STEP 8
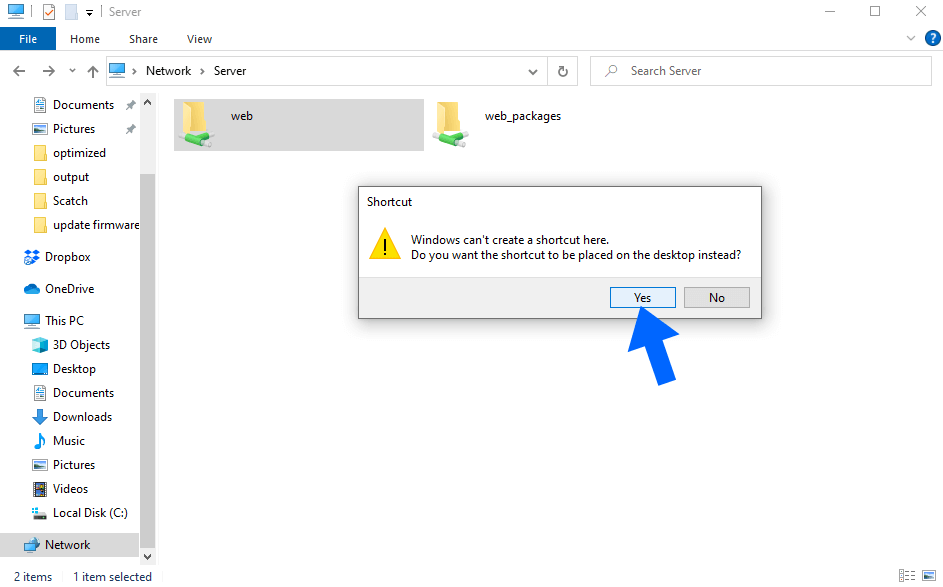
You will be asked to create a shortcut on your Windows 10 desktop. Click Yes.
STEP 9
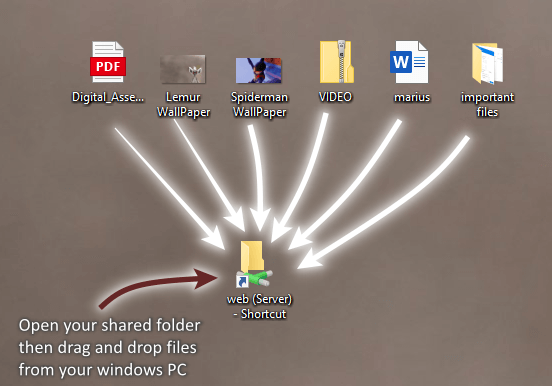
Open your Shared Folder on your Windows desktop and drag and drop as many files as you want at maximum speed – huge folders with photos, folders full of music or videos in complete autonomy. Note: Remember that you first have to open your Shared Folder and then drag and drop files in it.
STEP 10
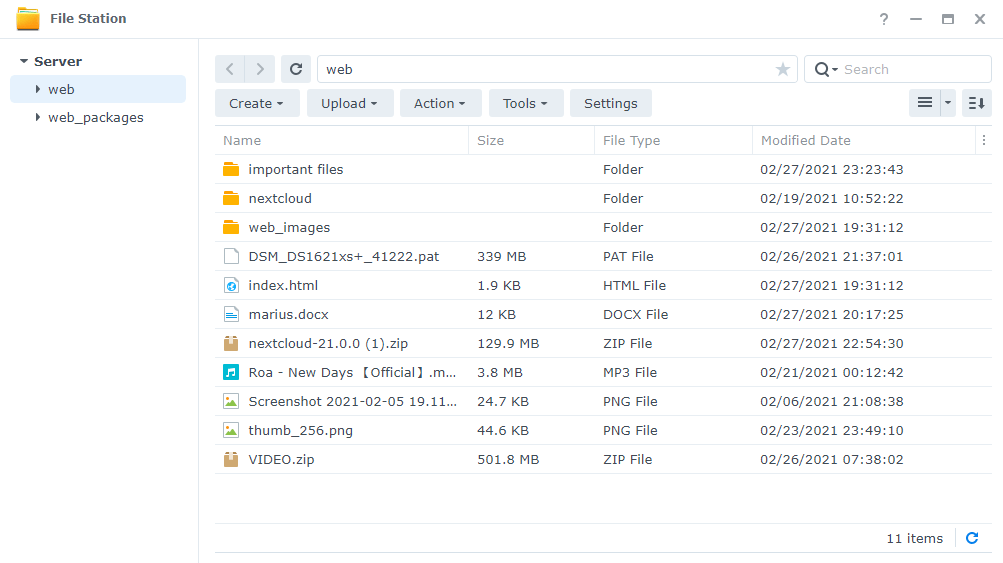
All your precious files will be visible in the Shared Folder you have chosen on your NAS. An easy and immediate backup solution without any headaches! Moving files from your PC to your NAS gives you both complete privacy and control over your data, and allows you to share any file you want with anyone, should you want it, with or without a password.
Note: This guide is helpful for both Synology NAS users that are just getting started with their NAS, and for those who already have a little bit of experience with it, but want to approach the world of Synology NAS in a simple and easy way.
This post was updated on Tuesday / December 21st, 2021 at 3:03 PM