This guide on the .htaccess file is intended only for those who have installed the official WordPress version, downloadable from wordpress.org and not the WordPress package released by Synology through Package Center. If you follow this guide and change the .htaccess file of your WordPress installed through Package Center, your site will no longer be accessible. In any case, it is important to always have a backup copy of your current .htaccess file in case something goes wrong.
The .htaccess file (Hypertext Access) is a configuration file through which it is possible to modify the settings of a specific directory. By specific directory, in this context, I mean that all the settings chosen for that specific directory also apply to all sub-directories. An .htaccess file can only be used with NCSA compatible servers, such as Apache servers that support mod_write modules. This type of file is an integral part of the server configurations and any change is automatically reflected on the site.
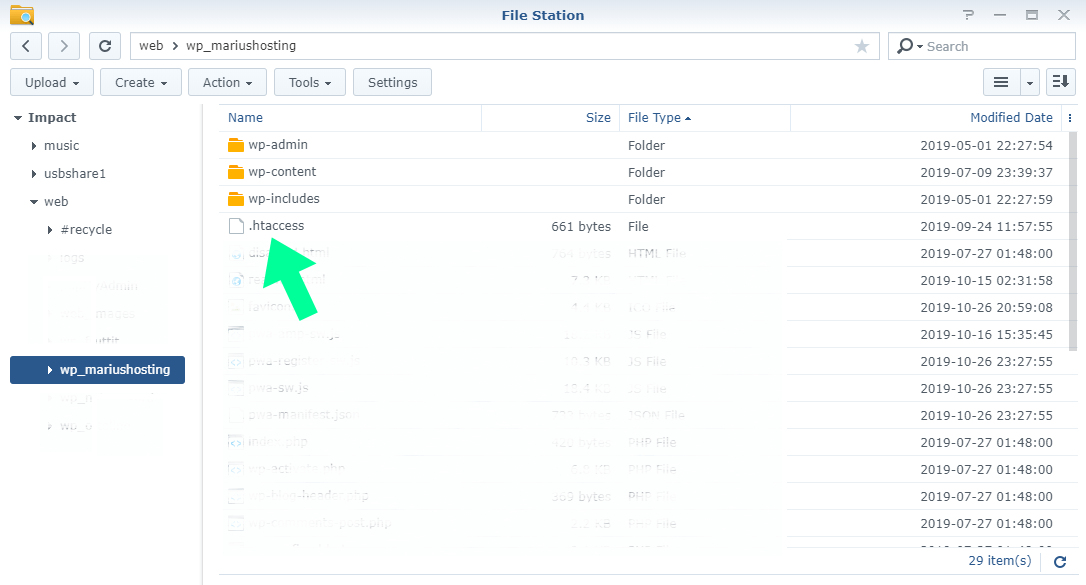
To use .htaccess you should introduce a .htaccess file in the main level / folder of your WordPress website (to keep it in the same folder where the index.php file is located). You can create an .htaccess file using a simple text editor. Just make sure that there is no other file with the same name and that the exact wording is .htaccess
See explanation below:
- The first part will automatically redirect http to https, so when someone writes http://yoursite.com, they will be redirected to the https version automatically.
- The second part is a common WordPress file request command.
- The third part, Header set Expires, is letting your browser cache your website content and request them only after the time specified in that rule expires.
- The fourth part, ETag headers, negatively impacts performance, as explained by the wizards at Google and Yahoo. So I have disabled it in .htaccess
- The fifth part, Cache-Control, is a HTTP header that defines the amount of time and manner a file is to be cached. When a file is accessed by a browser, the HTTP headers are also retrieved. When the Cache-Control header is included, the browser will respect the values found there. If a browser sees that a file should be cached for five minutes, it will stay in the browser cache for five minutes and that file will not have to be retrieved if it is called again.
RewriteEngine On
RewriteCond %{HTTPS} !=on
RewriteRule ^(.*)$ https://%{HTTP_HOST}%{REQUEST_URI} [L,R=301]

# BEGIN WordPress

RewriteEngine On
RewriteBase /
RewriteRule ^index\.php$ - [L]
RewriteCond %{REQUEST_FILENAME} !-f
RewriteCond %{REQUEST_FILENAME} !-d
RewriteRule . /index.php [L]


# END WordPress

<FilesMatch "\.(ico|pdf|flv|jpg|jpeg|png|gif|js|css|swf|webp)(\.gz)?$">
Header set Expires "Thu, 15 DEC 2020 20:00:00 GMT"
Header unset ETag
FileETag None


# One month for most static assets
<FilesMatch ".(css|jpg|jpeg|png|gif|js|ico)$">
Header set Cache-Control "max-age=31557600, public"
In the end, your .htaccess will look like this.

This .htaccess file will make it possible for you to get a 100% score on Google Lighthouse, if it’s implemented correctly.
Note: Remember to backup/make a copy of your current .htaccess file before changing the instructions in it.
This post was updated on Friday / December 13th, 2019 at 10:49 PM