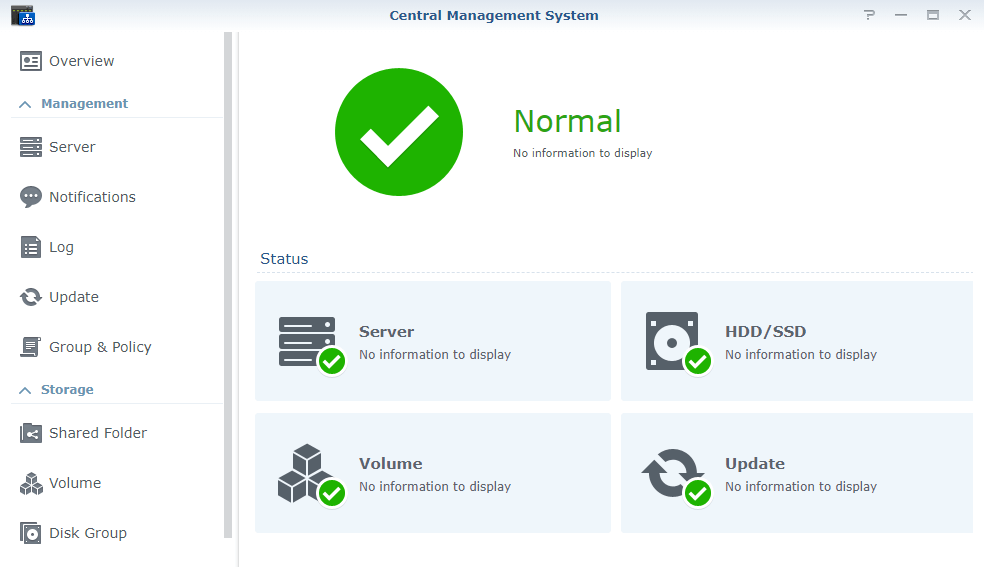
Synology CMS (Central Management System) allows you to easily and quickly manage multiple Synology NAS servers via remote interface. Once the Central Management System package is installed through Package Center, you can designate your Synology NAS server as the CMS Host and designate other NAS servers as managed servers. The CMS Host provides a single interface to monitor and maintain all managed servers, allowing you to accomplish different things as described below:
- Monitor the status of all the managed servers.
- Create server groups and define policies in order to apply settings to entire server groups.
- Keep each server in your fleet up-to-date and running smoothly by installing packages or performing different software updates.
- Delegate administrator permissions to specific users or groups, allowing each administrator to manage pre-defined settings of specific servers or server groups.
You can manage multiple Synology NAS servers via Local Area Network or QuickConnect ID. Today I will teach you how to connect and manage a remote NAS server via synology.me DDNS.
STEP 1
Please Support My work by Making a Donation.
STEP 2
I assume that the synology.me DDNS service has been activated on the NAS where the CMS package will be installed.
STEP 3
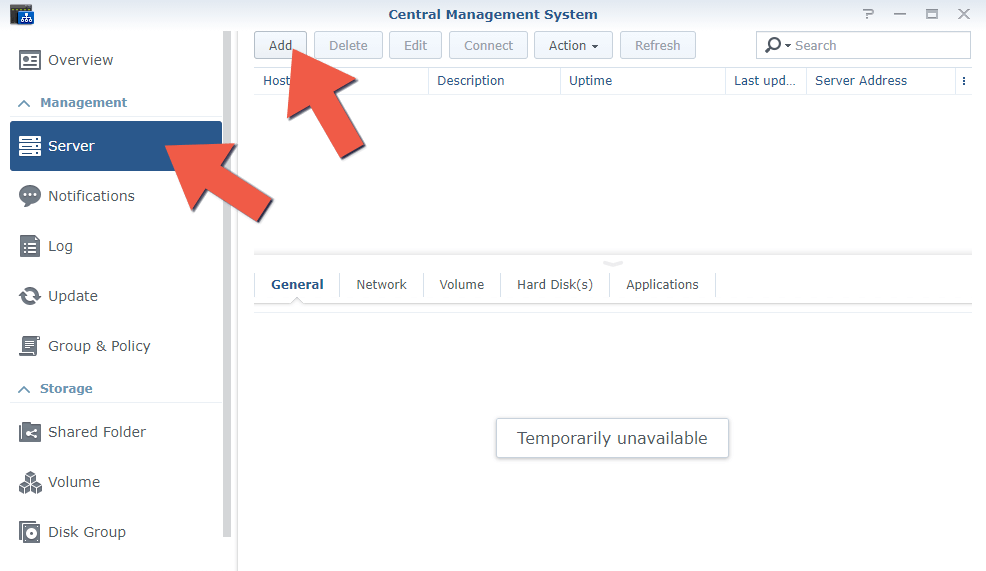
Open the Central Management System app. On the left sidebar click on Server then Add. Follow the instructions in the image below.
STEP 4
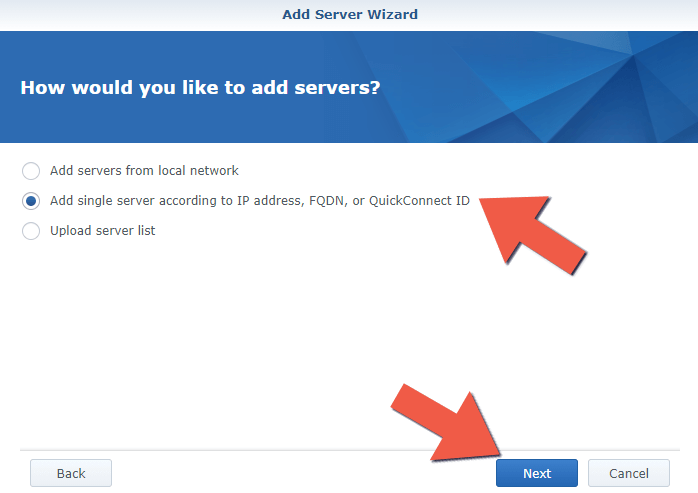
Once you click on Add, a new screen will open. Select “Add single server according to IP address, FQDN, or QuickConnect ID“. A fully qualified domain name (FQDN) is the complete domain name for a specific computer, or host, on the Internet. For example, for www.yourname.synology.me www is the name of the host in the synology.me domain.
STEP 5
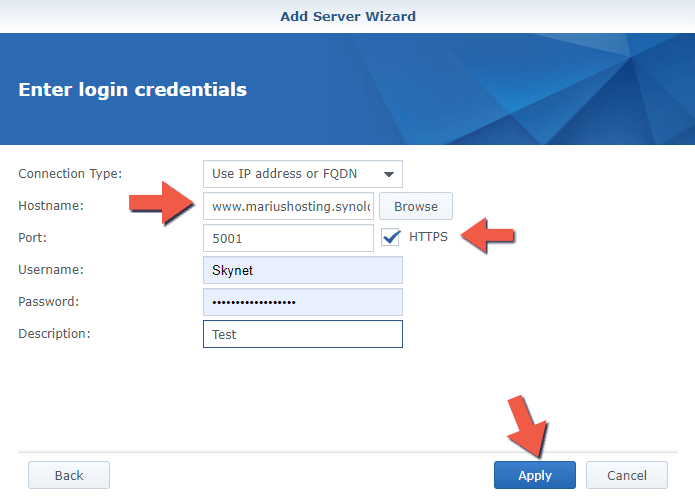
Select “Use IP address or FQDN” as Connection Type, then add your synology.me address with the www at the beginning. For the NAS port, select the HTTPS protocol and the username and password. After that, give a Description to the server, then click Apply. If you forget to add the www before the yourname.synology.me DDNS, your connection will be refused.
STEP 6
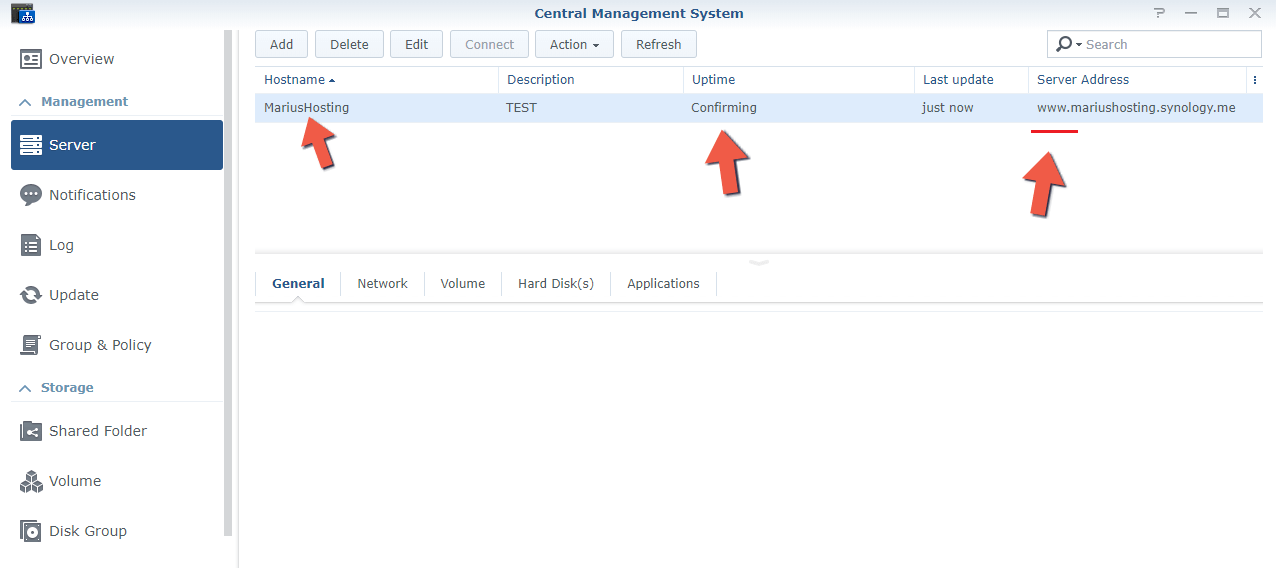
As you can see below, you will be able to see the name of the NAS you connected to.
STEP 7
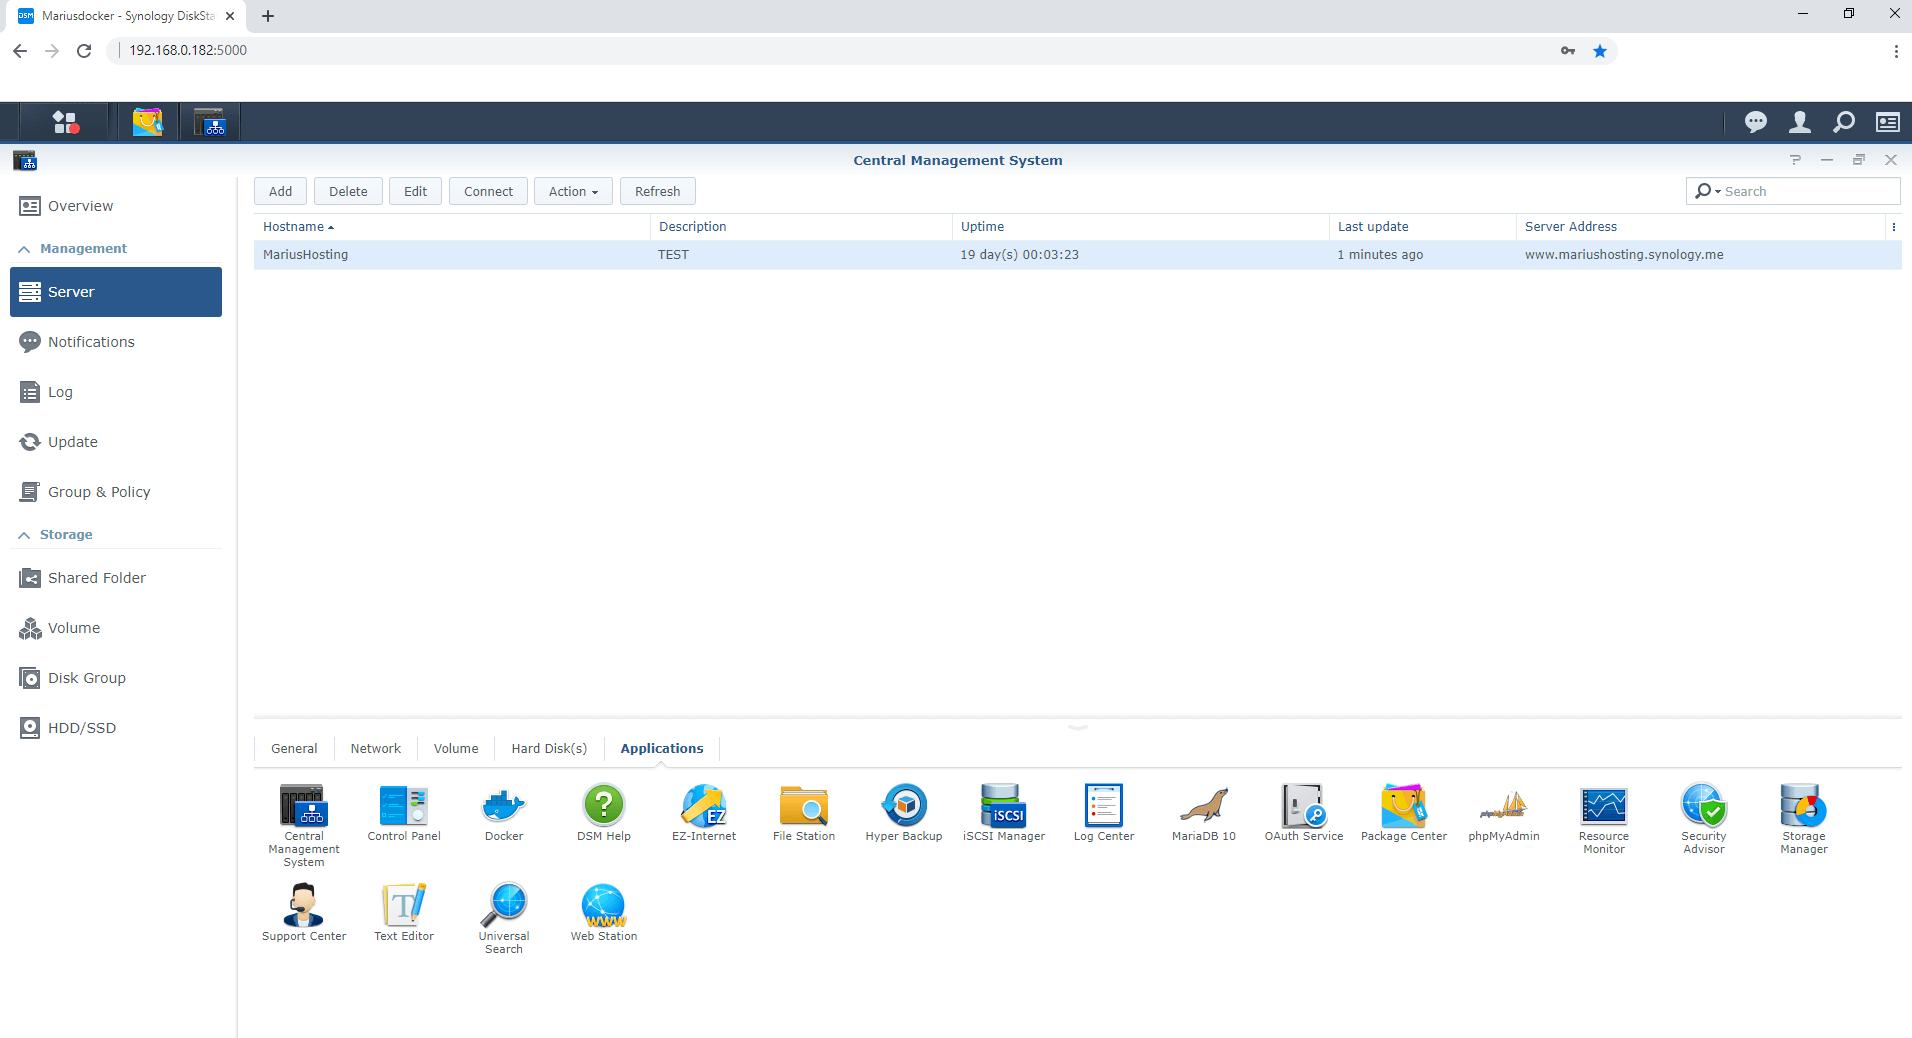
Now you can install and update apps in the remote NAS, control and manage the HDD storage, temperature, uptime and different parameters just from one location.
This post was updated on Sunday / September 6th, 2020 at 8:31 PM