Tracktor is an open-source web application for comprehensive vehicle management, enabling users to track and manage vehicles, fuel consumption, maintenance history, insurance, pollution certificates (PUCC), and other regulatory documents in one place. Tracktor is an alternative to May. The app features a user-friendly dashboard for visualizing key metrics and upcoming renewals, along with secure user authentication. It includes interfaces like a login page, charts for data visualization, fuel log, maintenance log, and sections for insurance and PUCC details. Tracktor offers a robust foundation for vehicle management with intuitive tracking and visualization capabilities. In this step by step guide I will show you how to install Tracktor on your UGREEN NAS using Docker & Portainer.
This guide works perfectly with the latest Tracktor v1.4.1 release.
STEP 1
Please Support My work by Making a Donation.
STEP 2
Install Portainer using my step by step guide. If you already have Portainer installed on your UGREEN NAS, skip this STEP. Attention: Make sure you have installed the latest Portainer version.
STEP 3
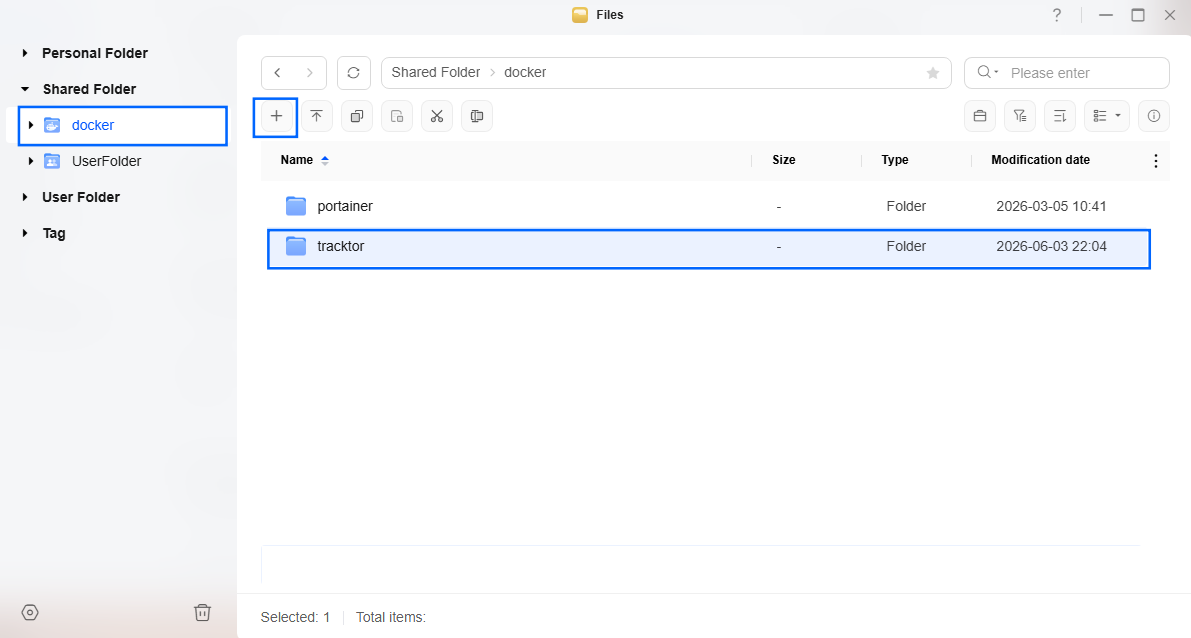
Go to Files and open the docker folder. Inside the docker folder, create one new folder and name it tracktor. Follow the instructions in the image below.
Note: Be careful to enter only lowercase, not uppercase letters.
STEP 4
⚠️Mandatory: Add Read & Write Permissions to the Docker Folder.
STEP 5
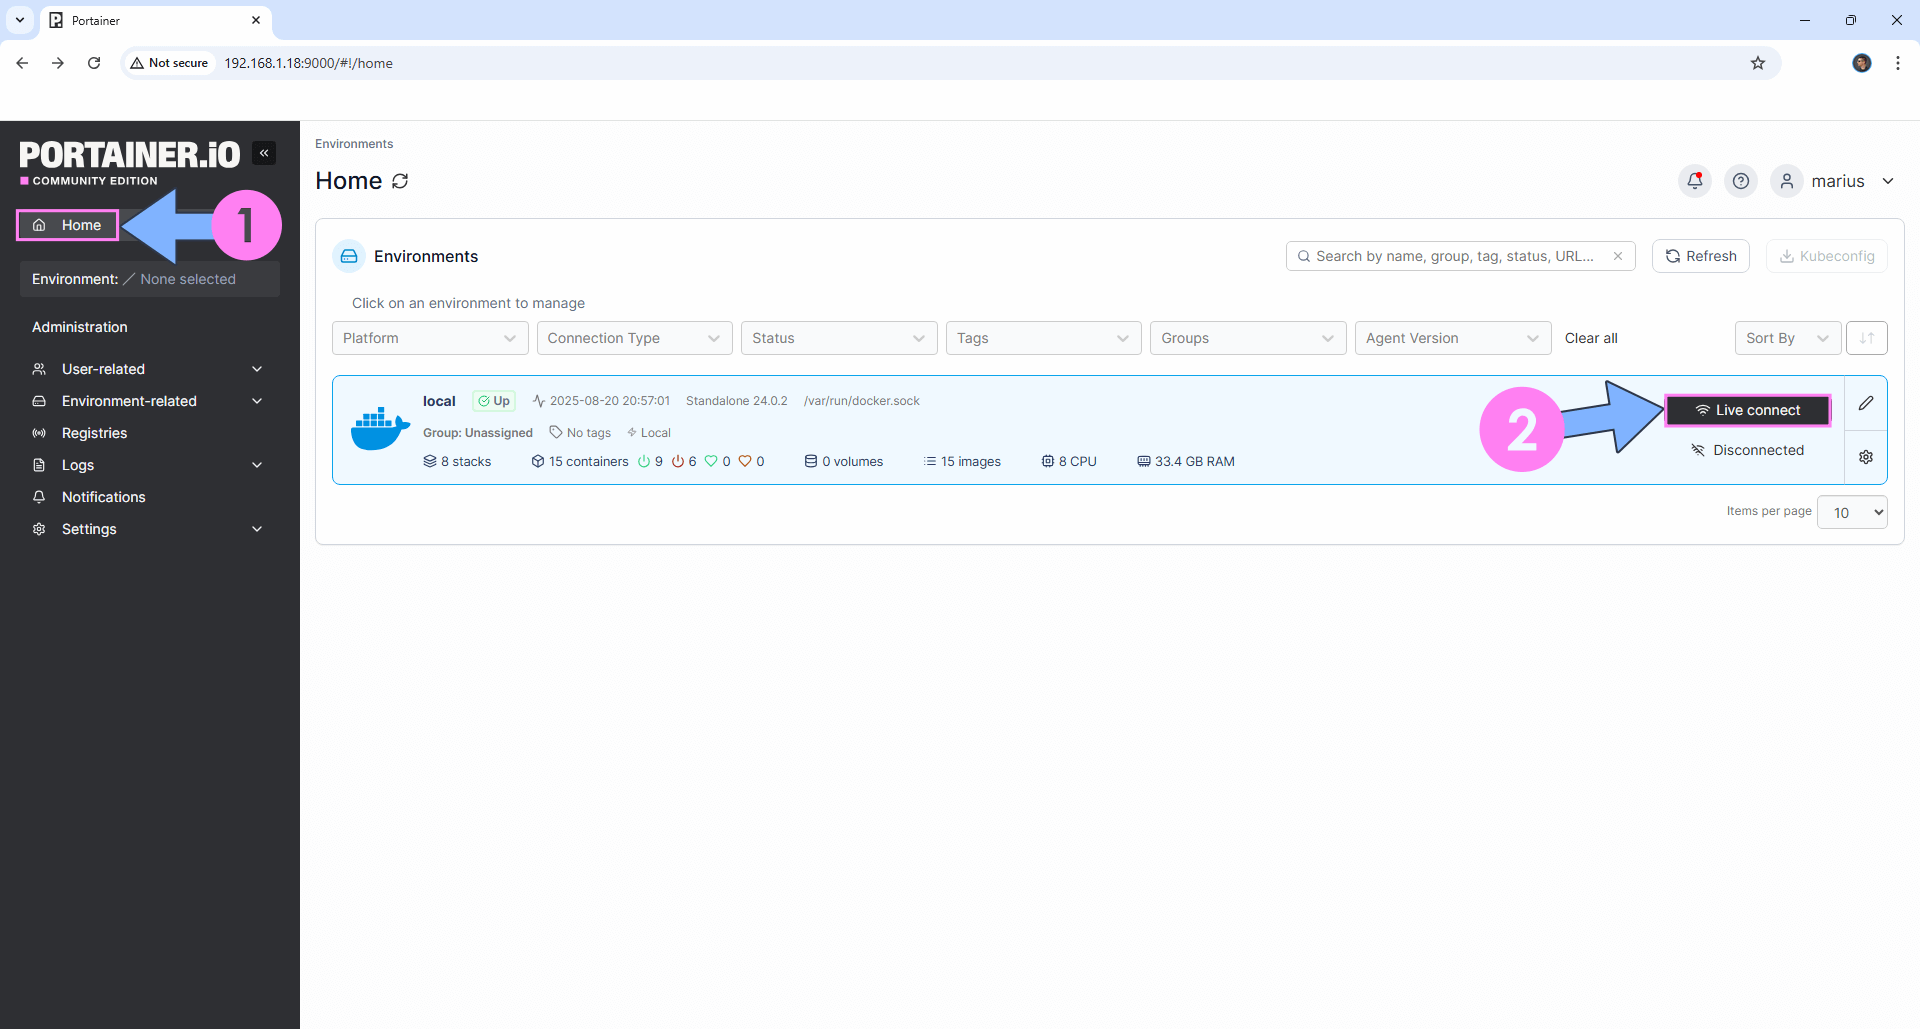
Log into Portainer using your username and password. On the left sidebar in Portainer, click on Home then Live connect. Follow the instructions in the image below.
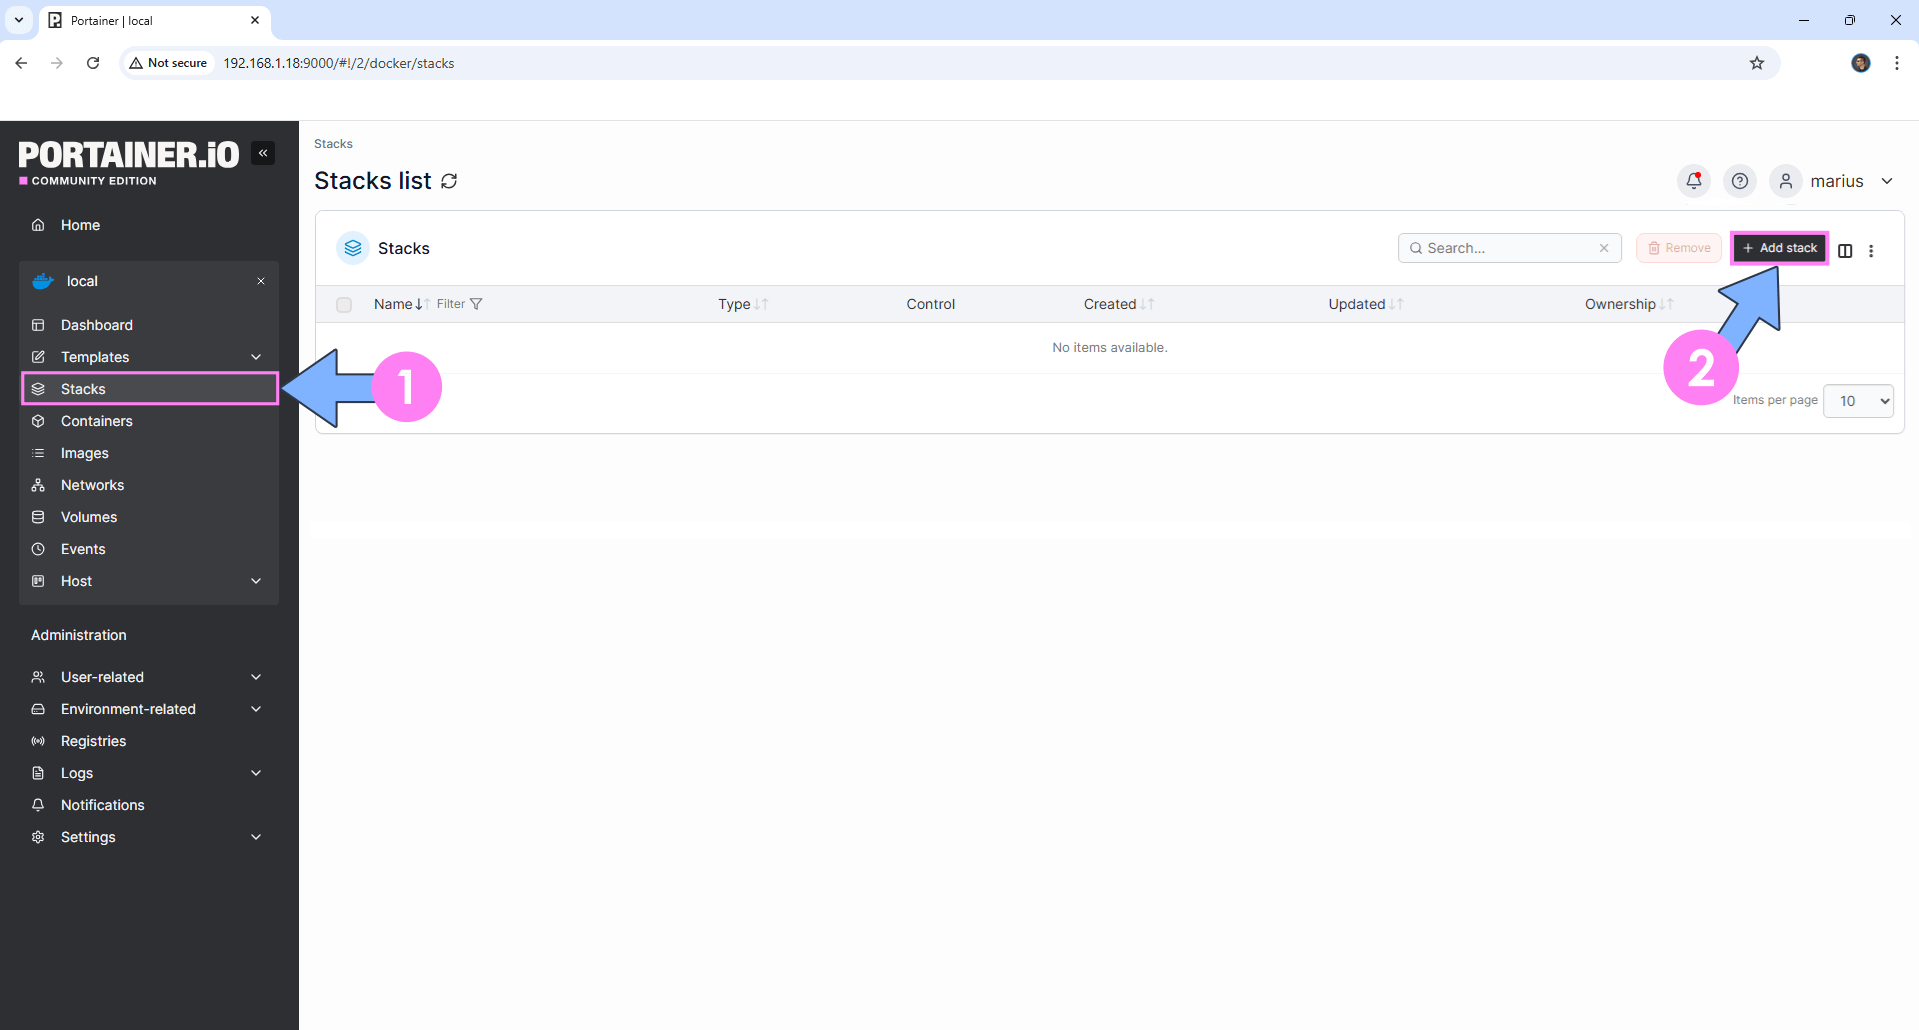
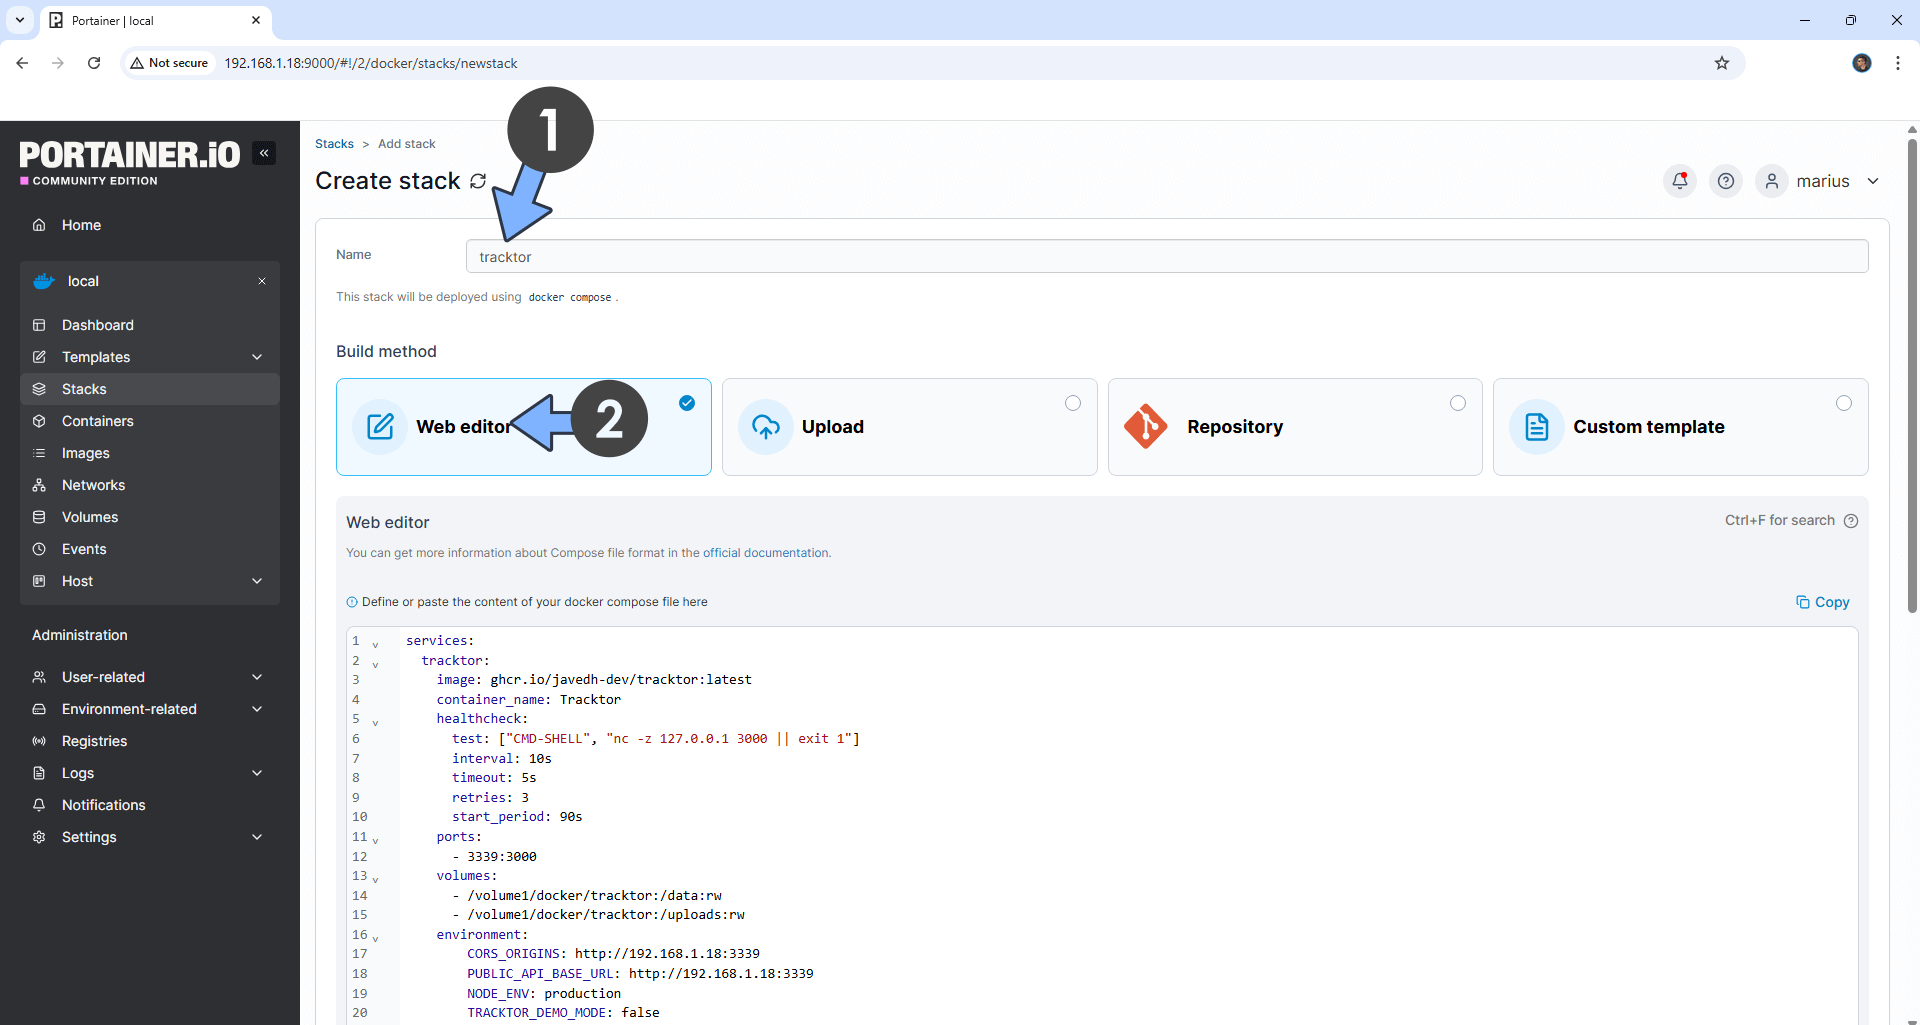
On the left sidebar in Portainer, click on Stacks then + Add stack. Follow the instructions in the image below.
STEP 6
In the Name field type in tracktor. Follow the instructions in the image below.
services:
  tracktor:
    image: ghcr.io/javedh-dev/tracktor:latest
    container_name: Tracktor
    healthcheck:
      test: ["CMD-SHELL", "nc -z 127.0.0.1 3000 || exit 1"]
      interval: 10s
      timeout: 5s
      retries: 3
      start_period: 90s
    ports:
      - 3339:3000
    volumes:
      - /volume1/docker/tracktor:/data:rw
      - /volume1/docker/tracktor:/uploads:rw
    environment:
        CORS_ORIGINS: http://192.168.1.18:3339
        PUBLIC_API_BASE_URL: http://192.168.1.18:3339
        NODE_ENV: production
        TRACKTOR_DEMO_MODE: false
        FORCE_DATA_SEED: false
        UPLOADS_DIR: /uploads
    restart: on-failure:5
Note: Before you paste the code above in the Web editor area below, change the value for CORS_ORIGINS and type in your own NAS LOCAL IP with http:// at the beginning followed by :3339
Note: Before you paste the code above in the Web editor area below, change the value for PUBLIC_API_BASE_URL and type in your own NAS LOCAL IP with http:// at the beginning followed by :3339
STEP 7
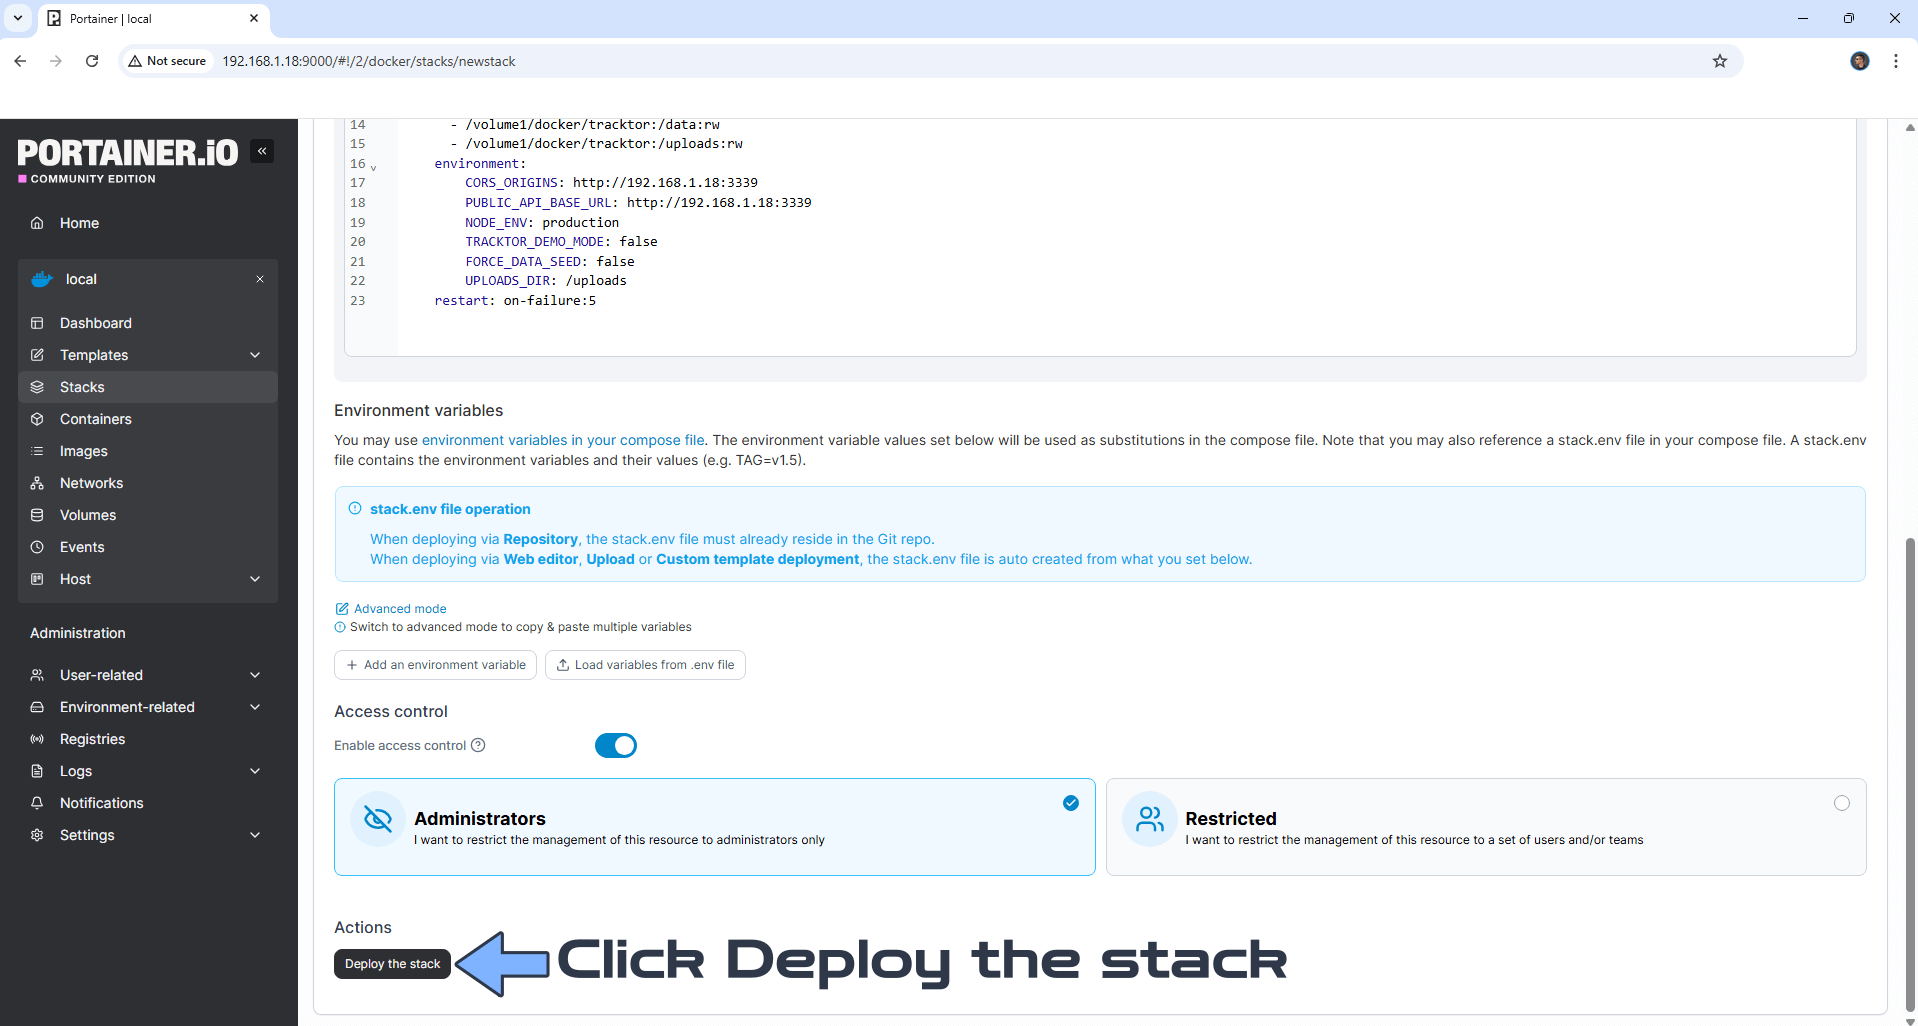
Scroll down on the page until you see a button named Deploy the stack. Click on it. Follow the instructions in the image below. The installation process can take up to a few minutes. It will depend on your Internet speed connection.
STEP 8
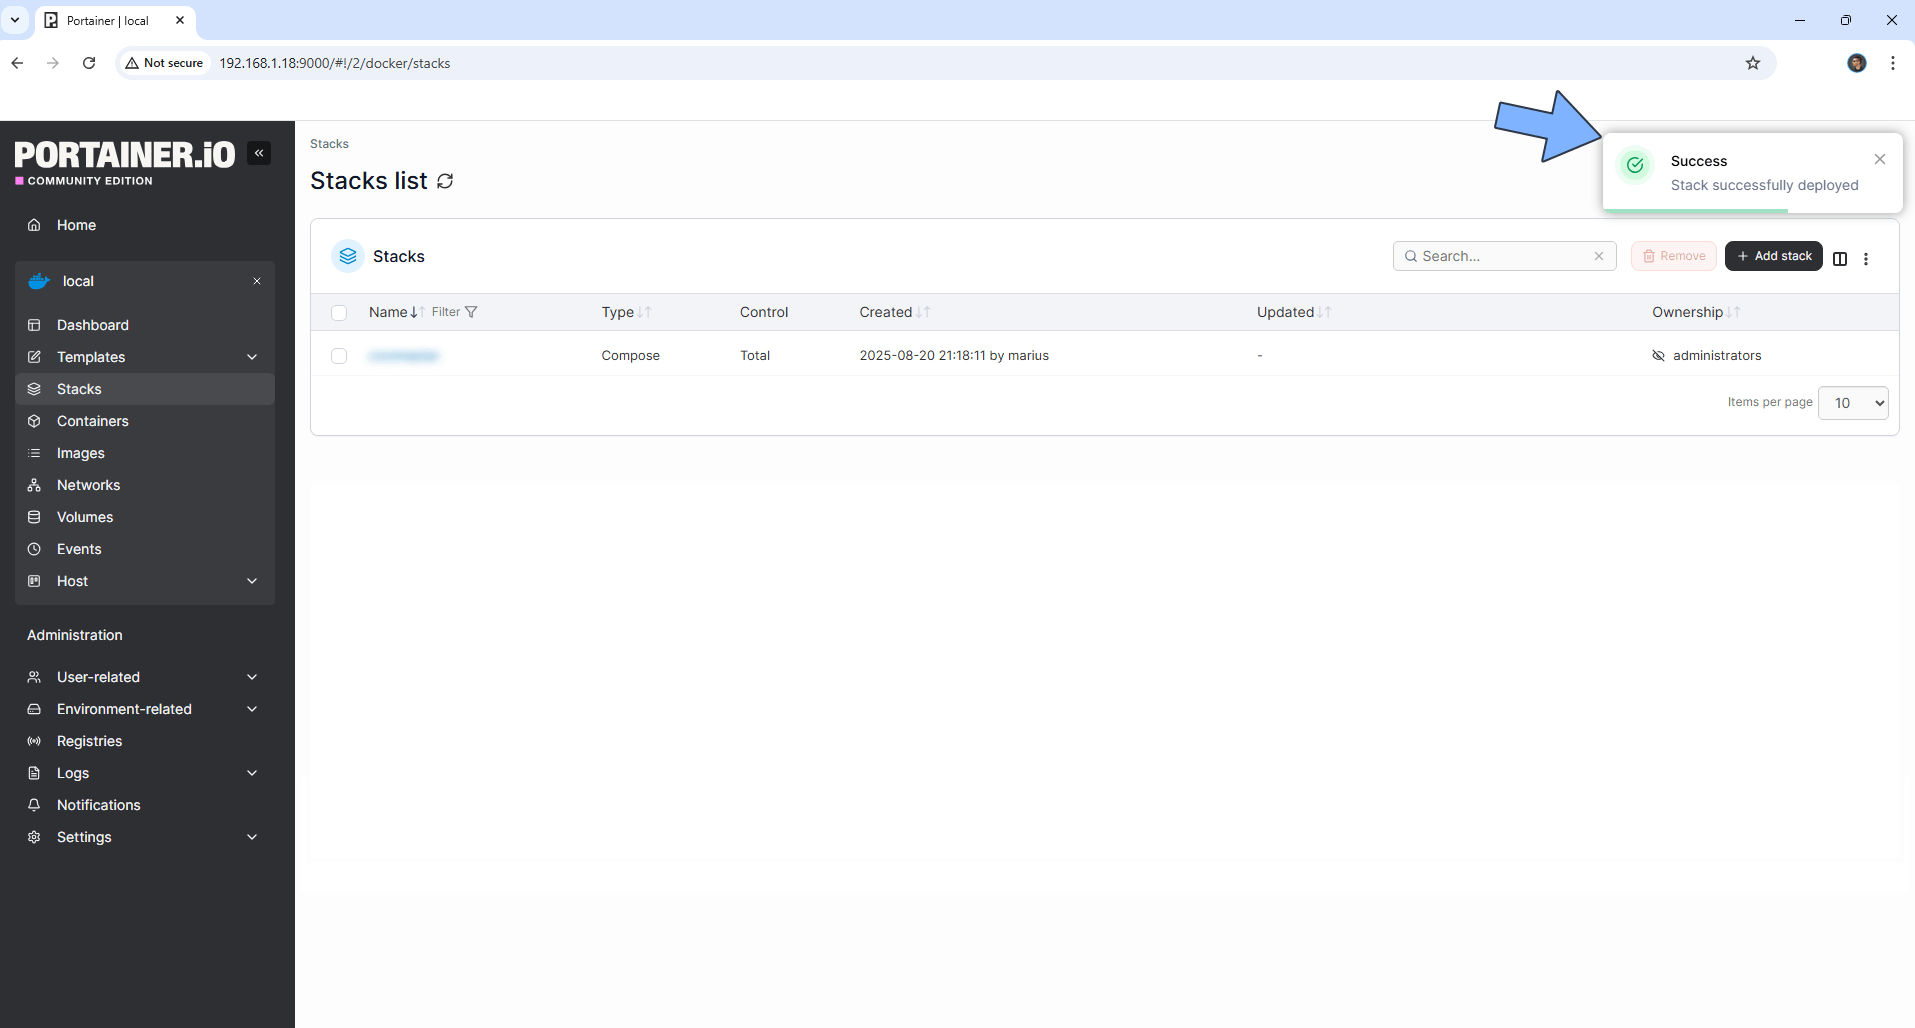
If everything goes right, you will see the following message at the top right of your screen: “Success Stack successfully deployed“.
STEP 9
Please Support My work by Making a Donation. Almost 99,9% of the people that install something using my guides forget to support my work, or just ignore STEP 1. I’ve been very honest about this aspect of my work since the beginning: I don’t run any ADS, I don’t require subscriptions, paid or otherwise, I don’t collect IPs, emails, and I don’t have any referral links from Amazon or other merchants. I also don’t have any POP-UPs or COOKIES. I have repeatedly been told over the years how much I have contributed to the community. It’s something I love doing and have been honest about my passion since the beginning. But I also Need The Community to Support me Back to be able to continue doing this work.
STEP 10
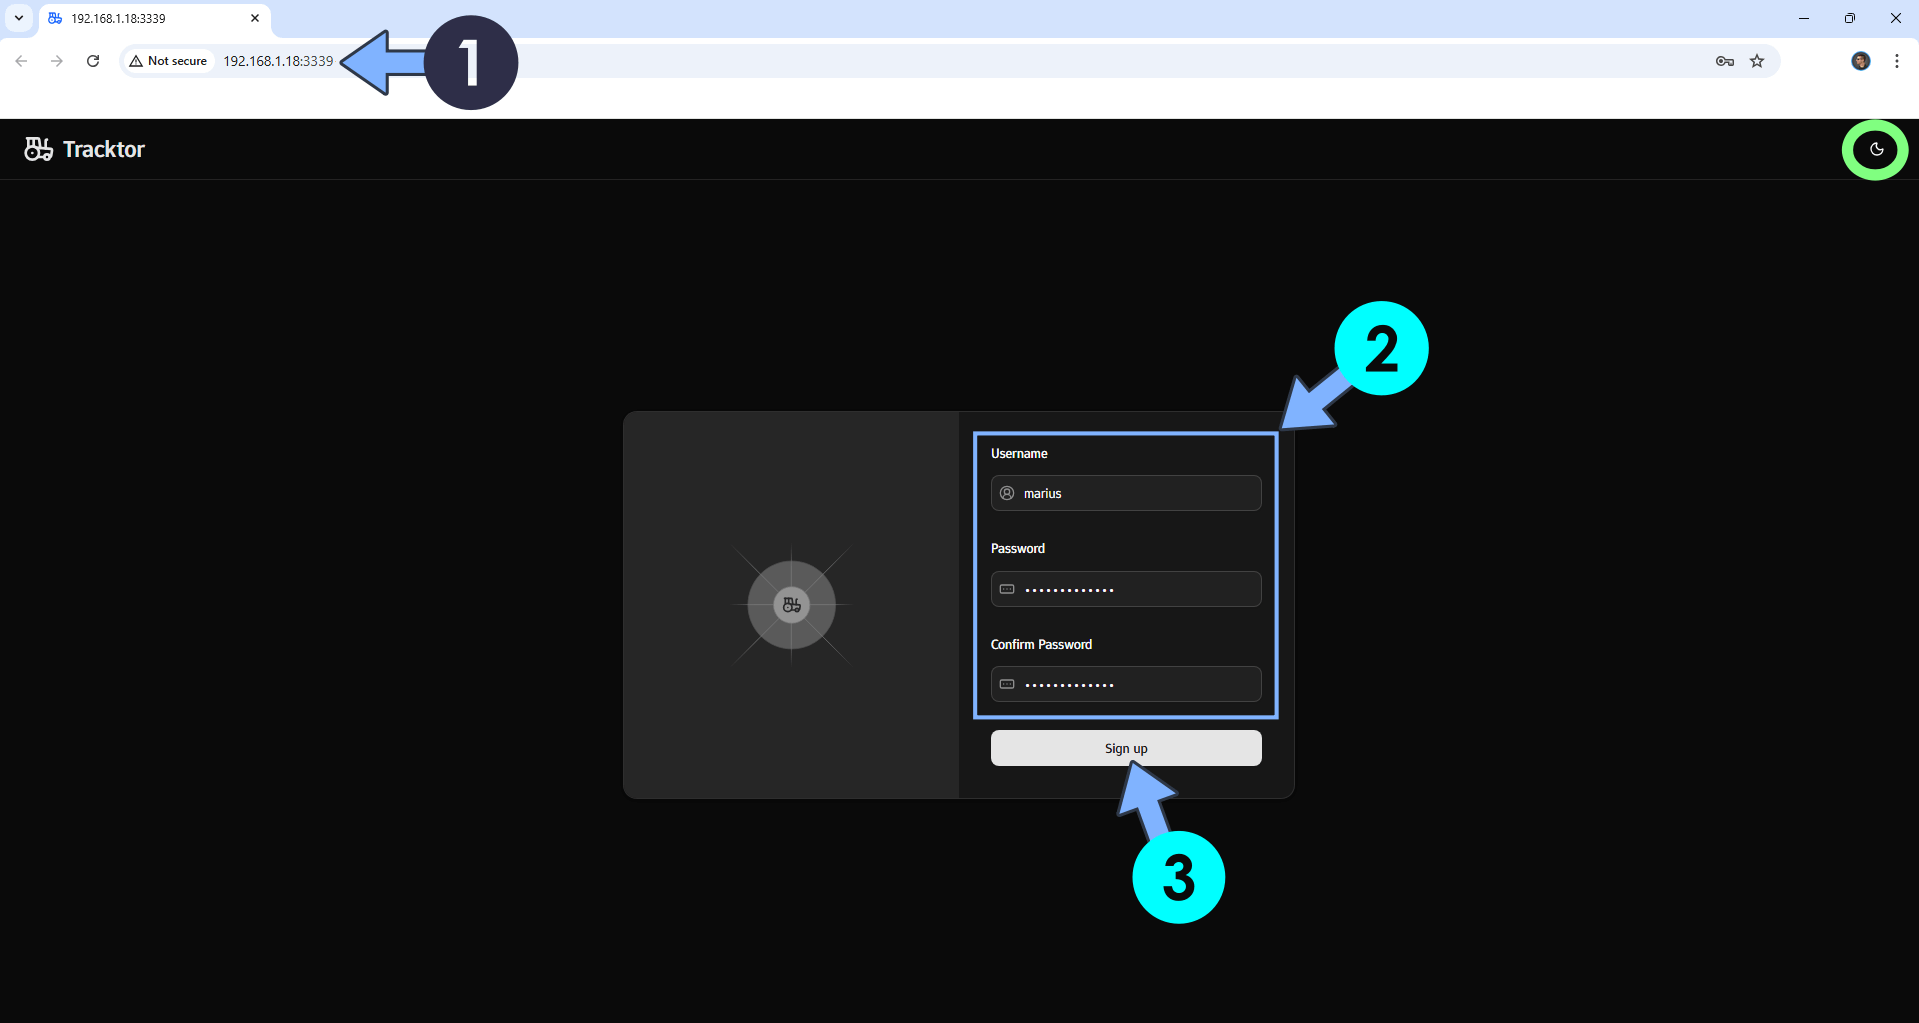
The installation process can take up to a few seconds/minutes. It will depend on your Internet speed connection. Now open your browser and type in http://ugreen-ip-address:3339 At the top right of the page, switch the theme to Dark. Register your administrator account. Type in your own Username and Password. Click Sign up. ⚠️Note: the password should be a minimum of 6 characters. Follow the instructions in the image below.
STEP 11
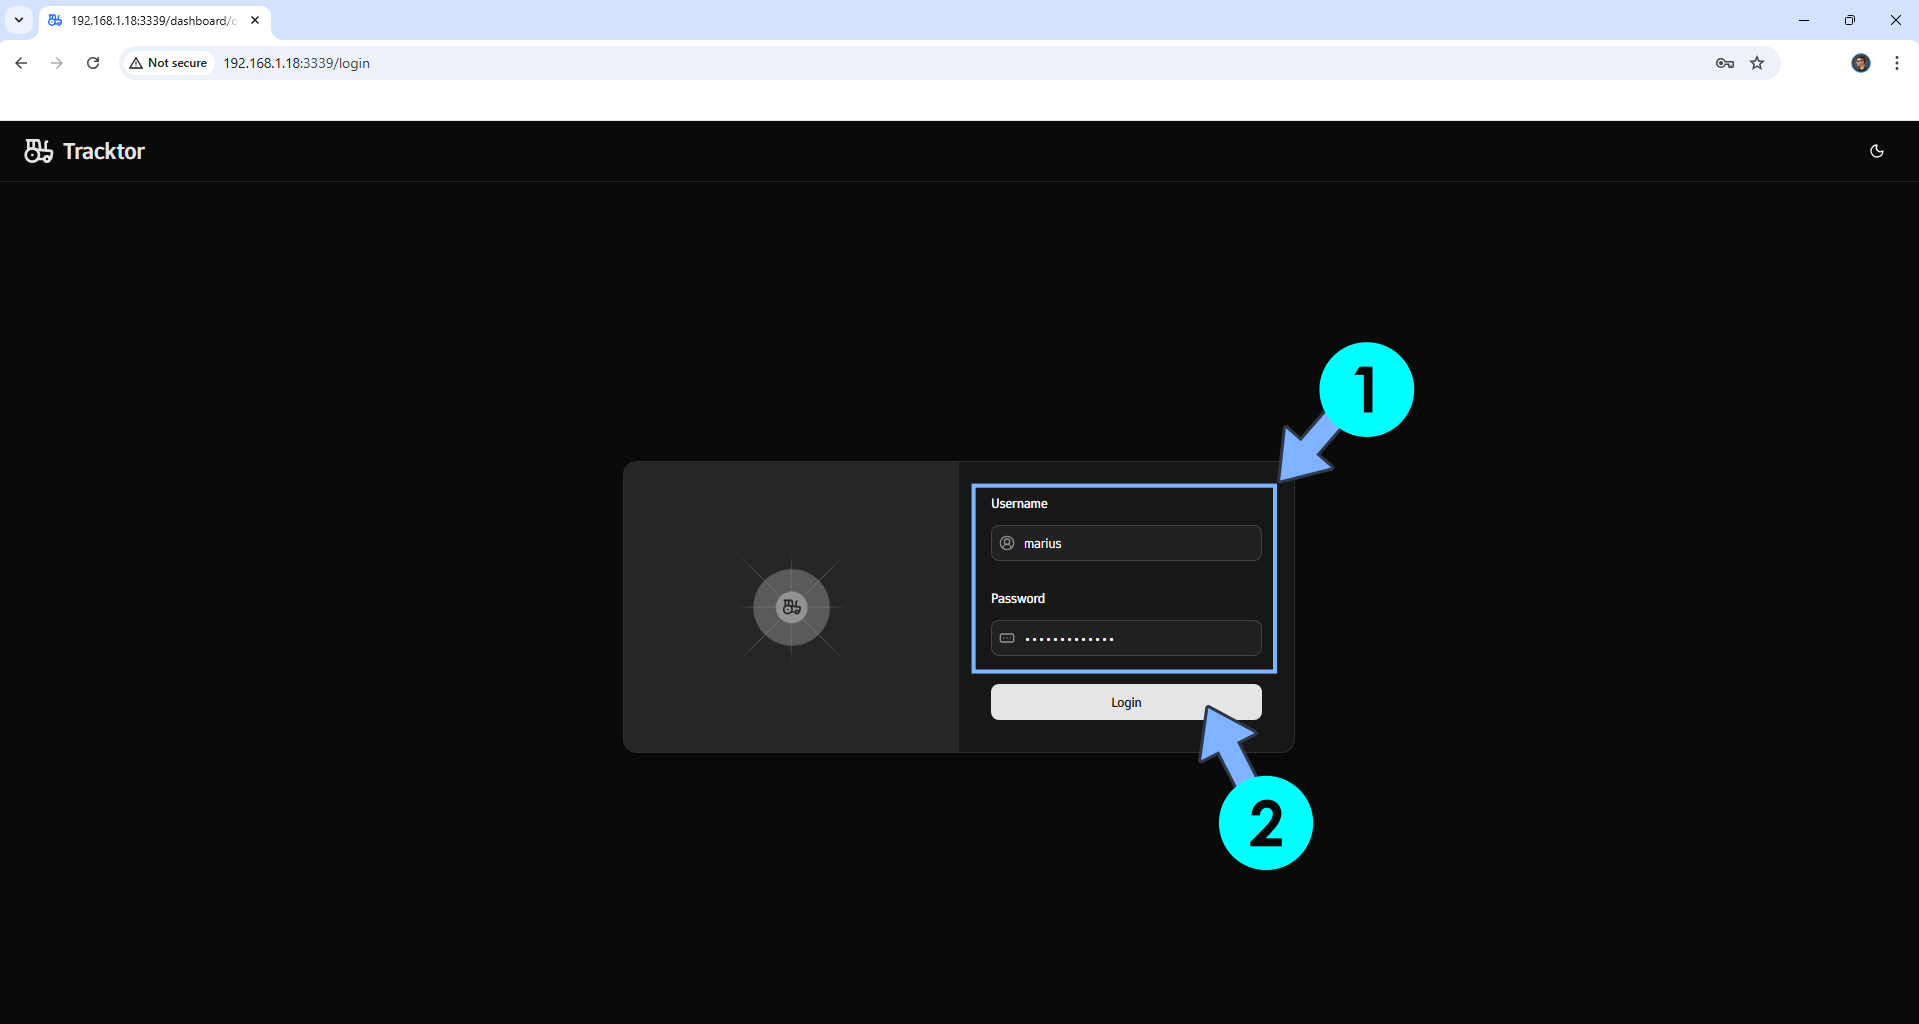
Type in your own Username and Password. Click Login. Follow the instructions in the image below.
STEP 12
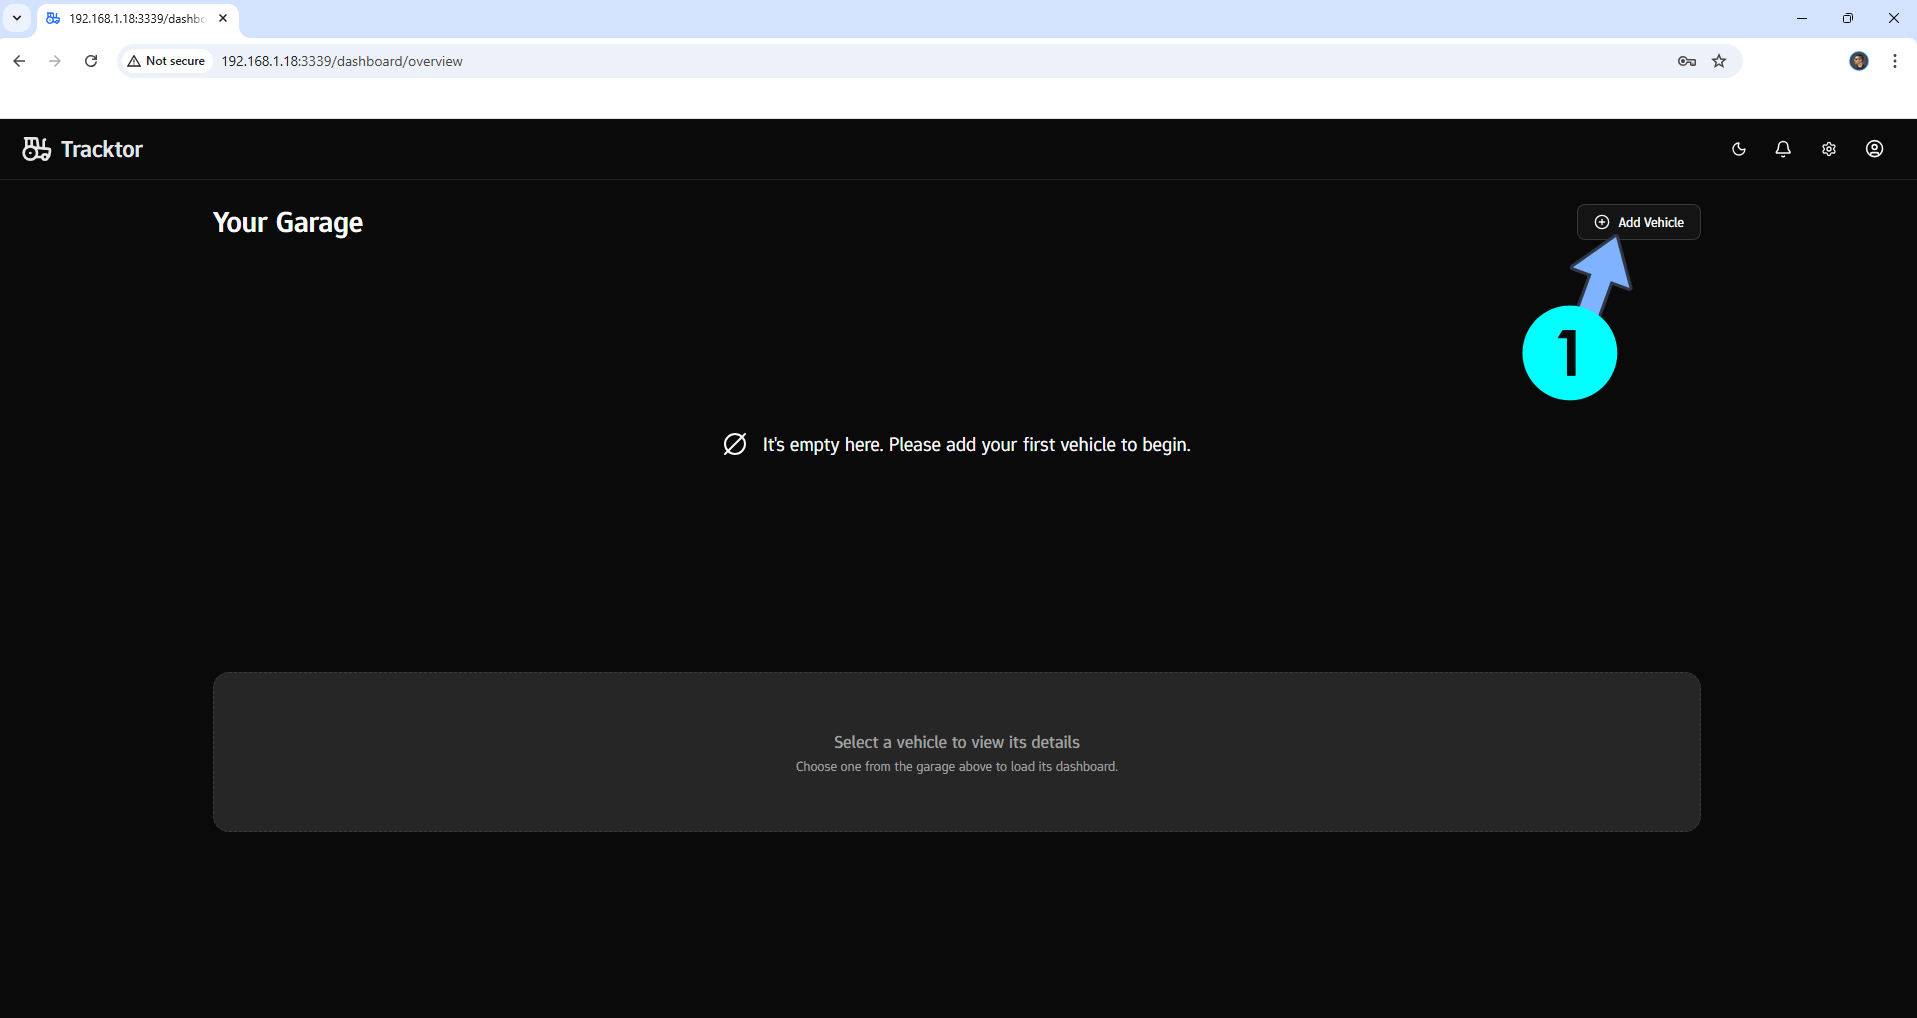
Click +Add Vehicle to add your first vehicle. Follow the instructions in the image below.
STEP 13
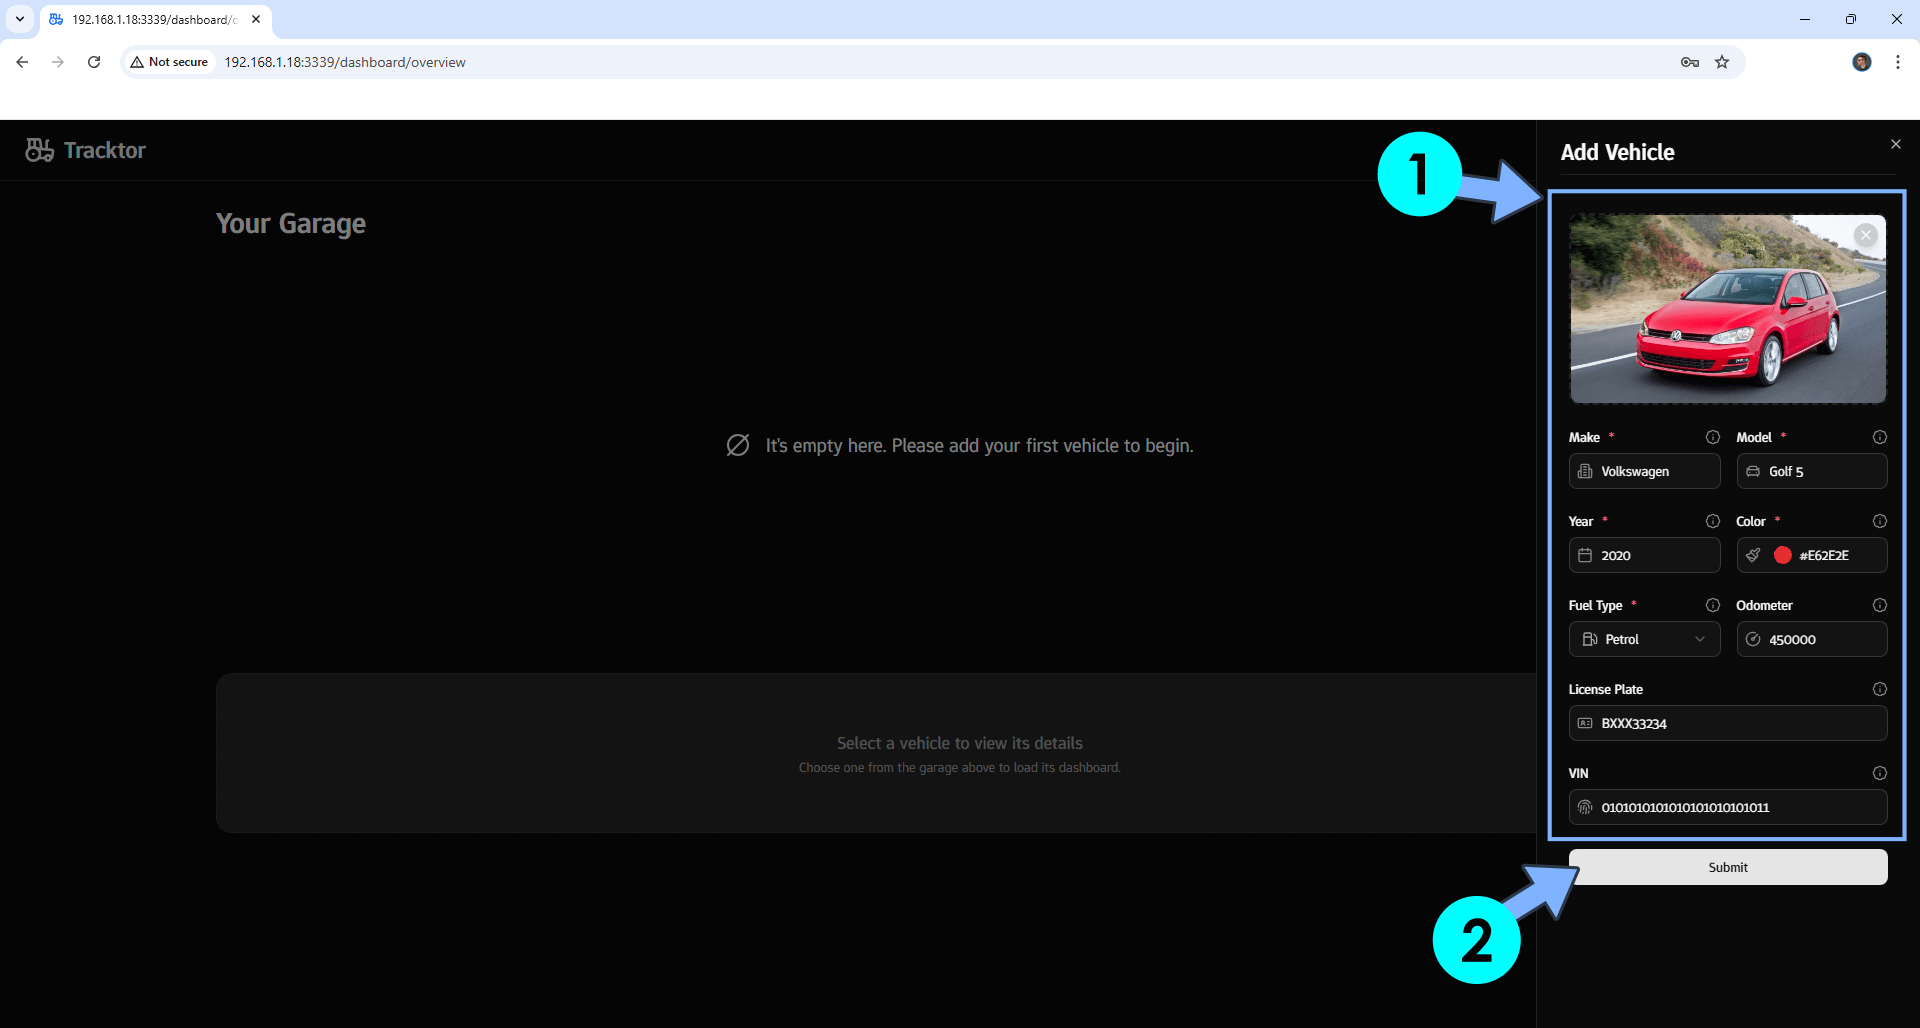
Add your vehicle information, then click Submit. Follow the instructions in the image below.
STEP 14
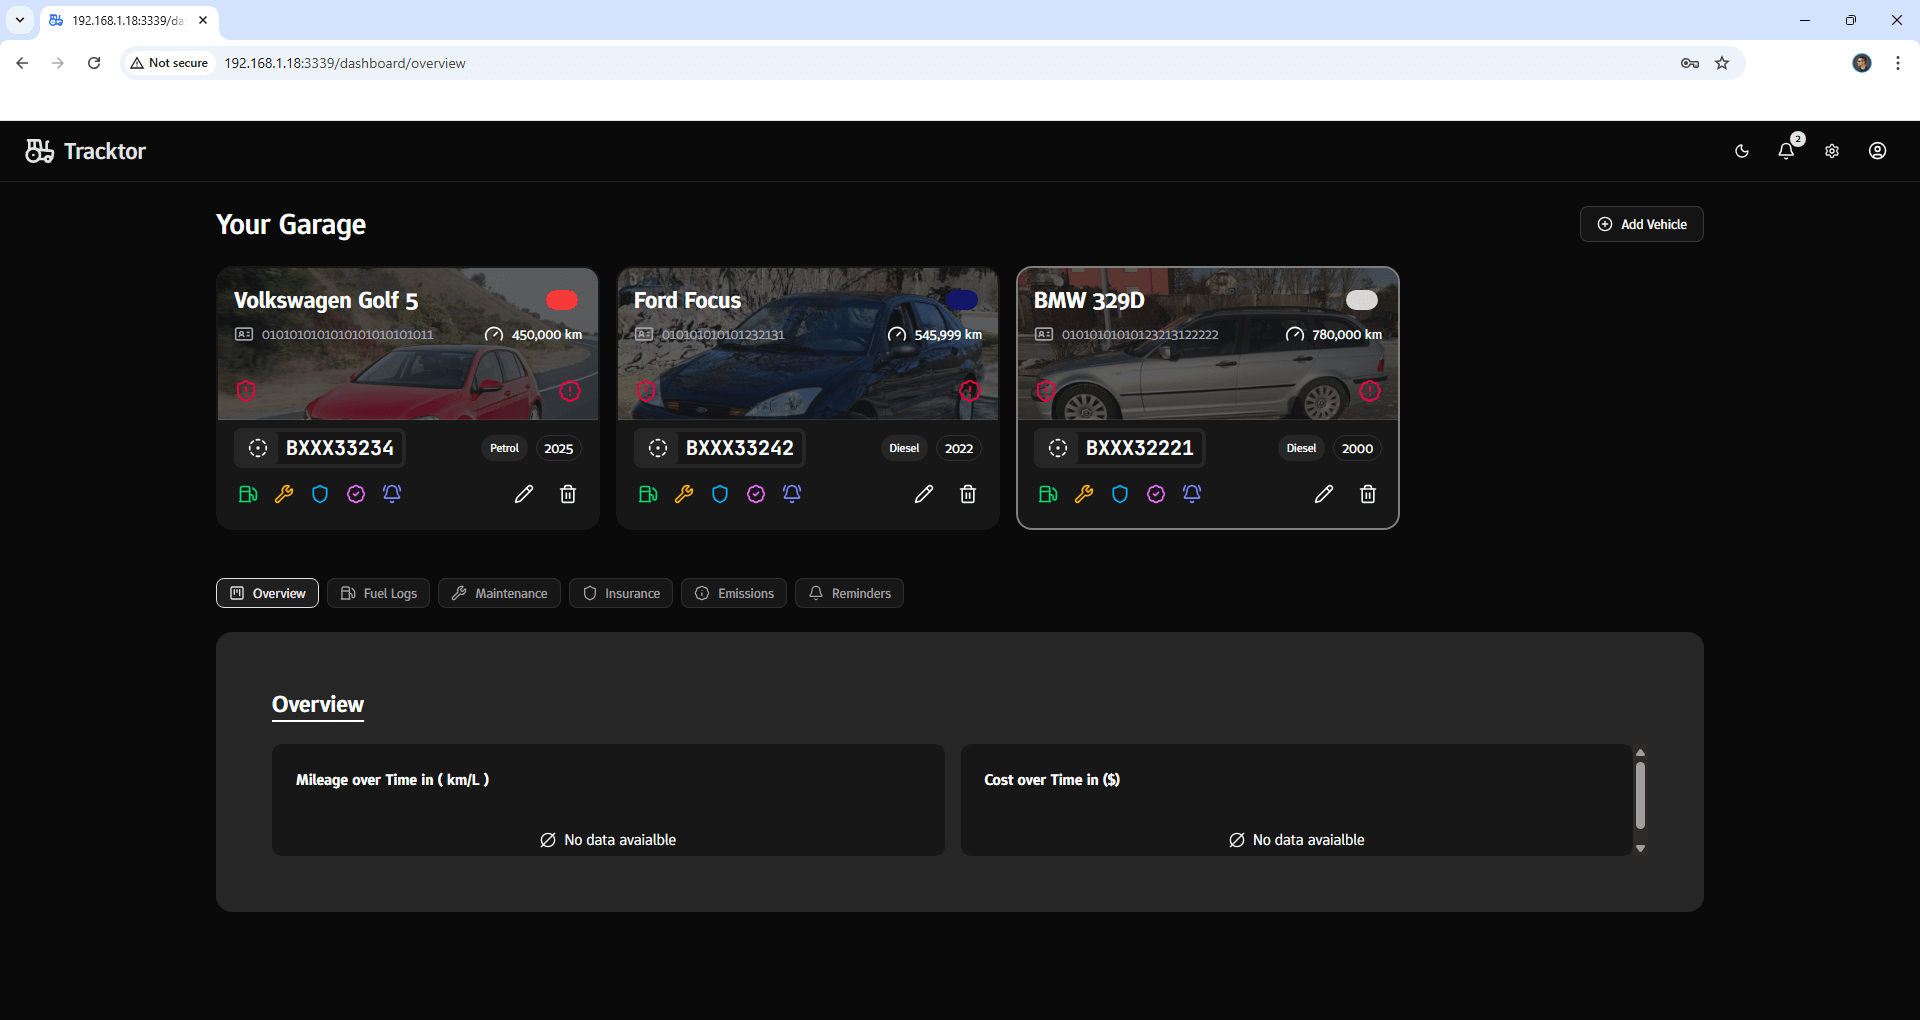
Your vehicles at a glance!
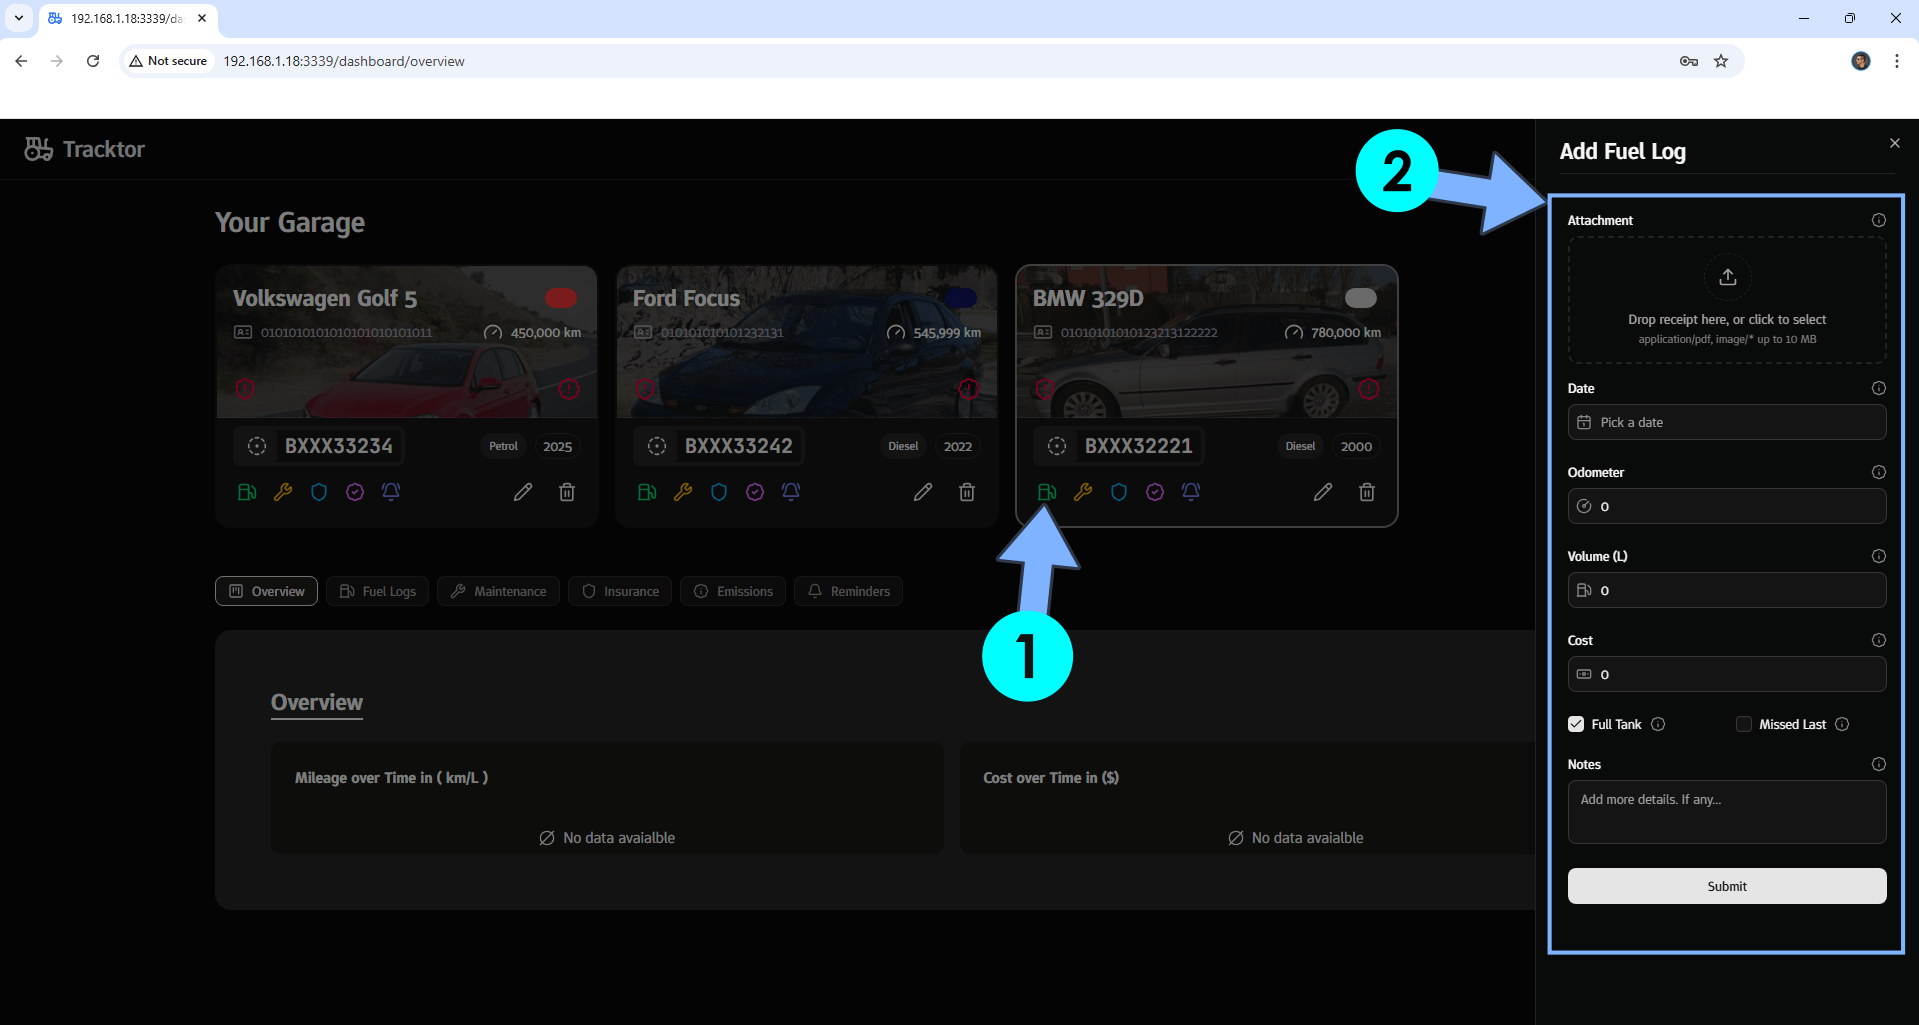
STEP 15
You can also add Receipts and other useful information to your vehicle. Follow the instructions in the image below.
Enjoy Tracktor on Your UGREEN NAS!
Note: If you want to run the Tracktor container over HTTPS, check out How to Run Docker Containers Over HTTPS on Your UGREEN NAS.
🆙Note/Update/Container: How to Update Your Docker Containers on UGREEN NAS Using Portainer.
🐳Note: How to Create Docker Shortcuts on Desktop.
🆕Note: How to Update Portainer to the latest version.
🆕Note: How to Clean Docker.
This post was updated on Wednesday / June 3rd, 2026 at 10:45 PM