RomM is a self-hosted application for organizing and playing retro game collections through a clean, responsive web interface, ideal for emulator enthusiasts. It scans and enriches your game library with metadata from IGDB, Screenscraper, and MobyGames, supporting over 400 platforms, and fetches custom artwork from SteamGridDB. You can play games directly in the browser using EmulatorJS and RuffleRS, share your library with customizable permissions, and manage games (view, upload, update, delete) from any modern browser. RomM supports multi-disk games, DLCs, mods, patches, manuals, and custom tags for filtering. It integrates with Playnite and muOS, and displays RetroAchievements. RomM is an alternative to RetroAssembly. In this step by step guide I will show you how to install RomM on your UGREEN NAS using Docker & Portainer.
This guide works perfectly with the latest RomM v4.6.1 release.
STEP 1
Please Support My work by Making a Donation.
STEP 2
Install Portainer using my step by step guide. If you already have Portainer installed on your UGREEN NAS, skip this STEP. Attention: Make sure you have installed the latest Portainer version.
STEP 3
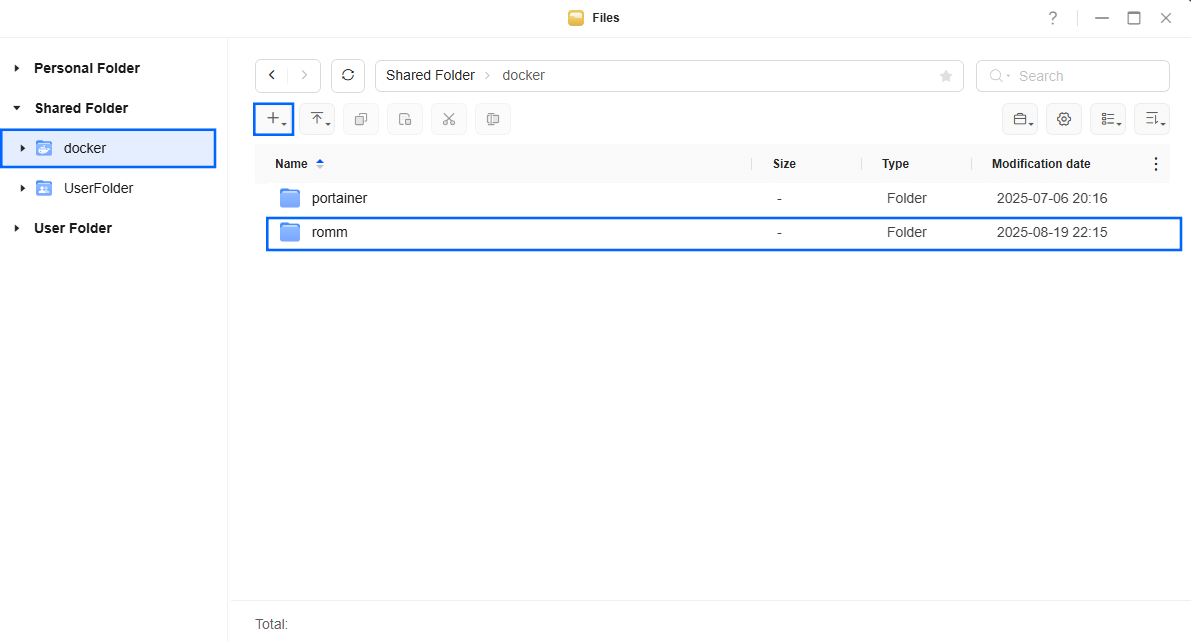
Go to Files and open the docker folder. Inside the docker folder, create one new folder and name it romm. Follow the instructions in the image below.
Note: Be careful to enter only lowercase, not uppercase letters.
STEP 4
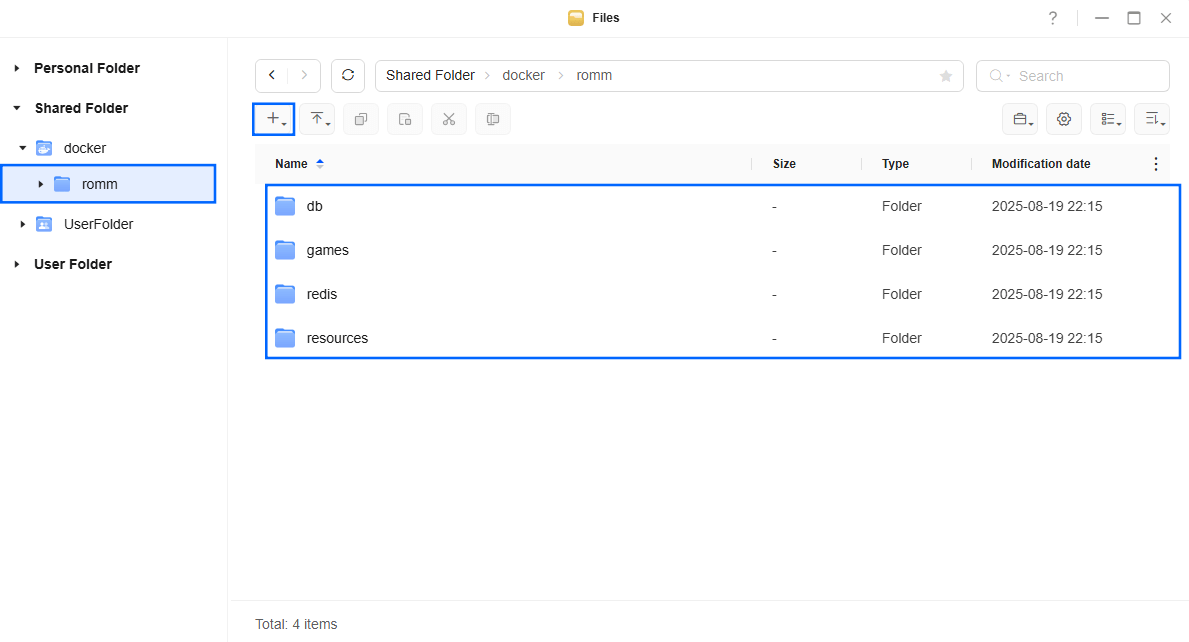
Now create four new folders inside the romm folder that you have previously created at STEP 3 and name them db, games, redis, resources. Follow the instructions in the image below.
Note: Be careful to enter only lowercase, not uppercase letters.
STEP 5
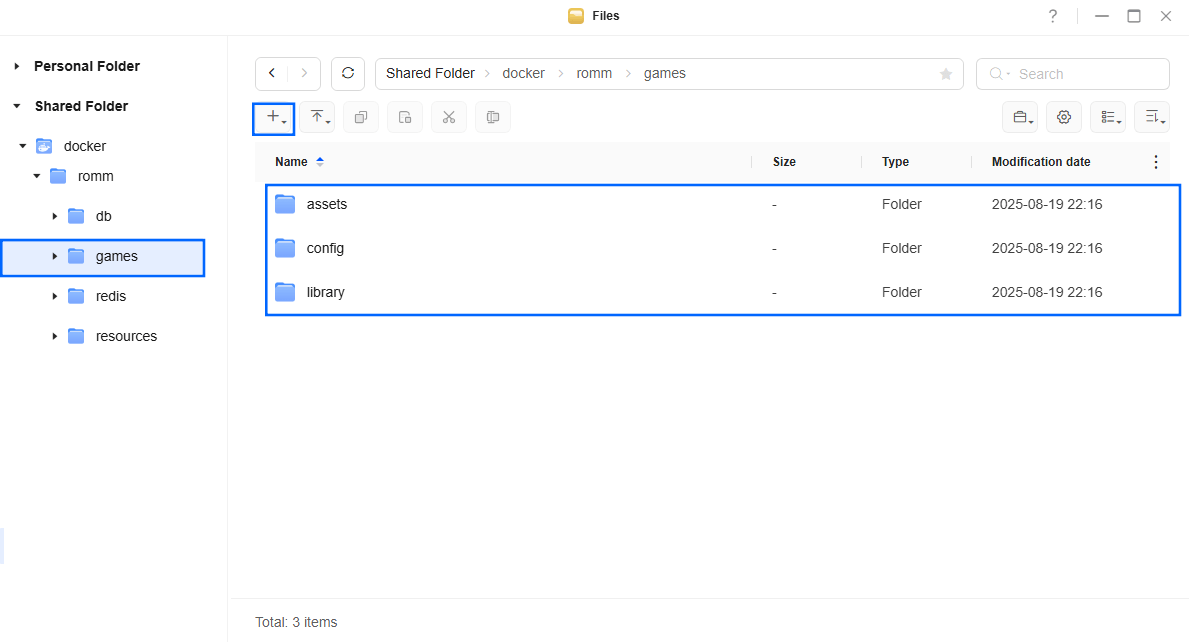
Now create three new folders inside the games folder that you have previously created at STEP 4 and name them assets, config, library. Follow the instructions in the image below.
Note: Be careful to enter only lowercase, not uppercase letters.
STEP 6
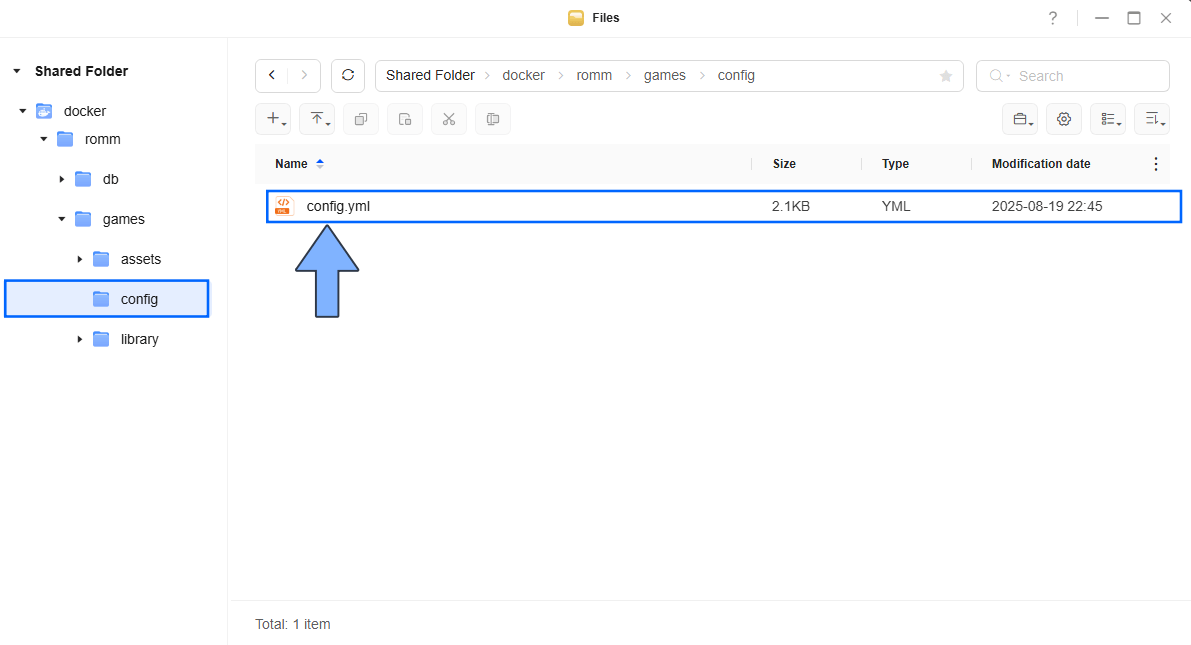
Download (click on the blue link below) and upload the config.yml file below in the config folder that you have previously created at STEP 5. Follow the instructions in the image below. 🔒Note: Support my work to unlock the password. You can use this password to download any file on mariushosting forever!
STEP 7
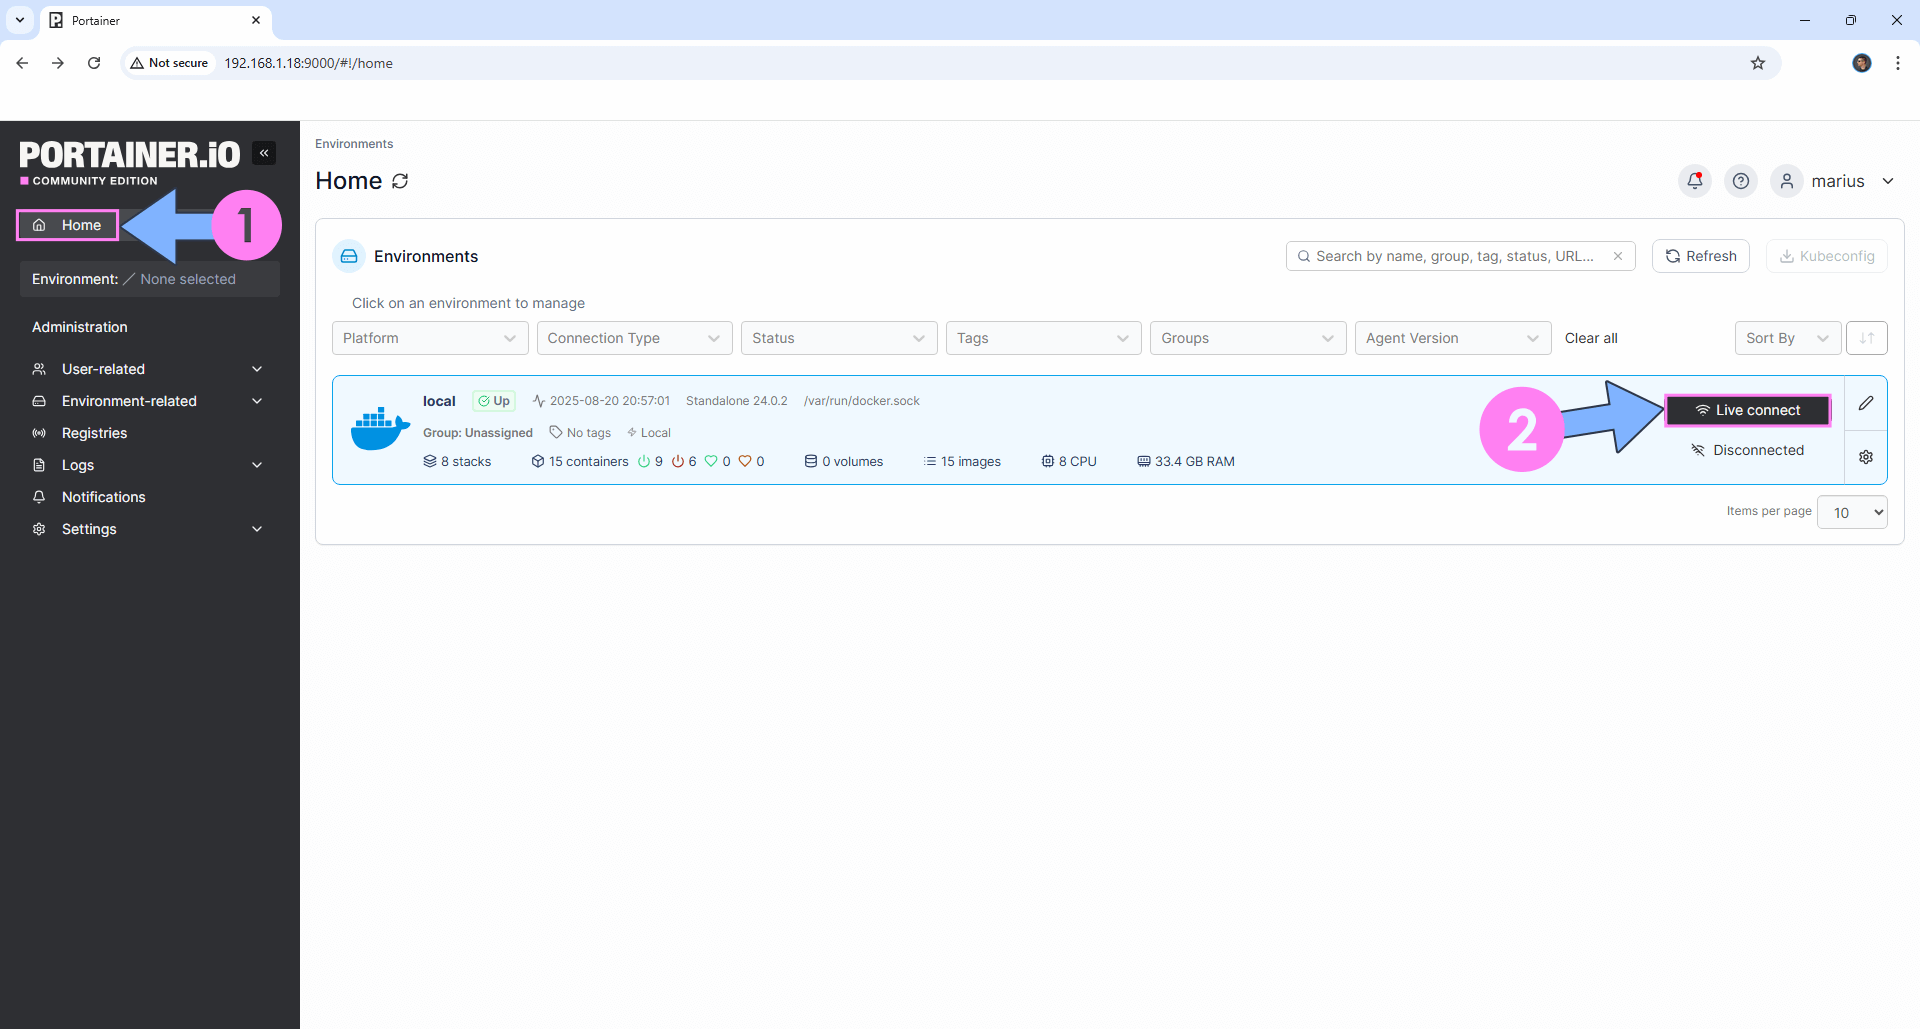
Log into Portainer using your username and password. On the left sidebar in Portainer, click on Home then Live connect. Follow the instructions in the image below.
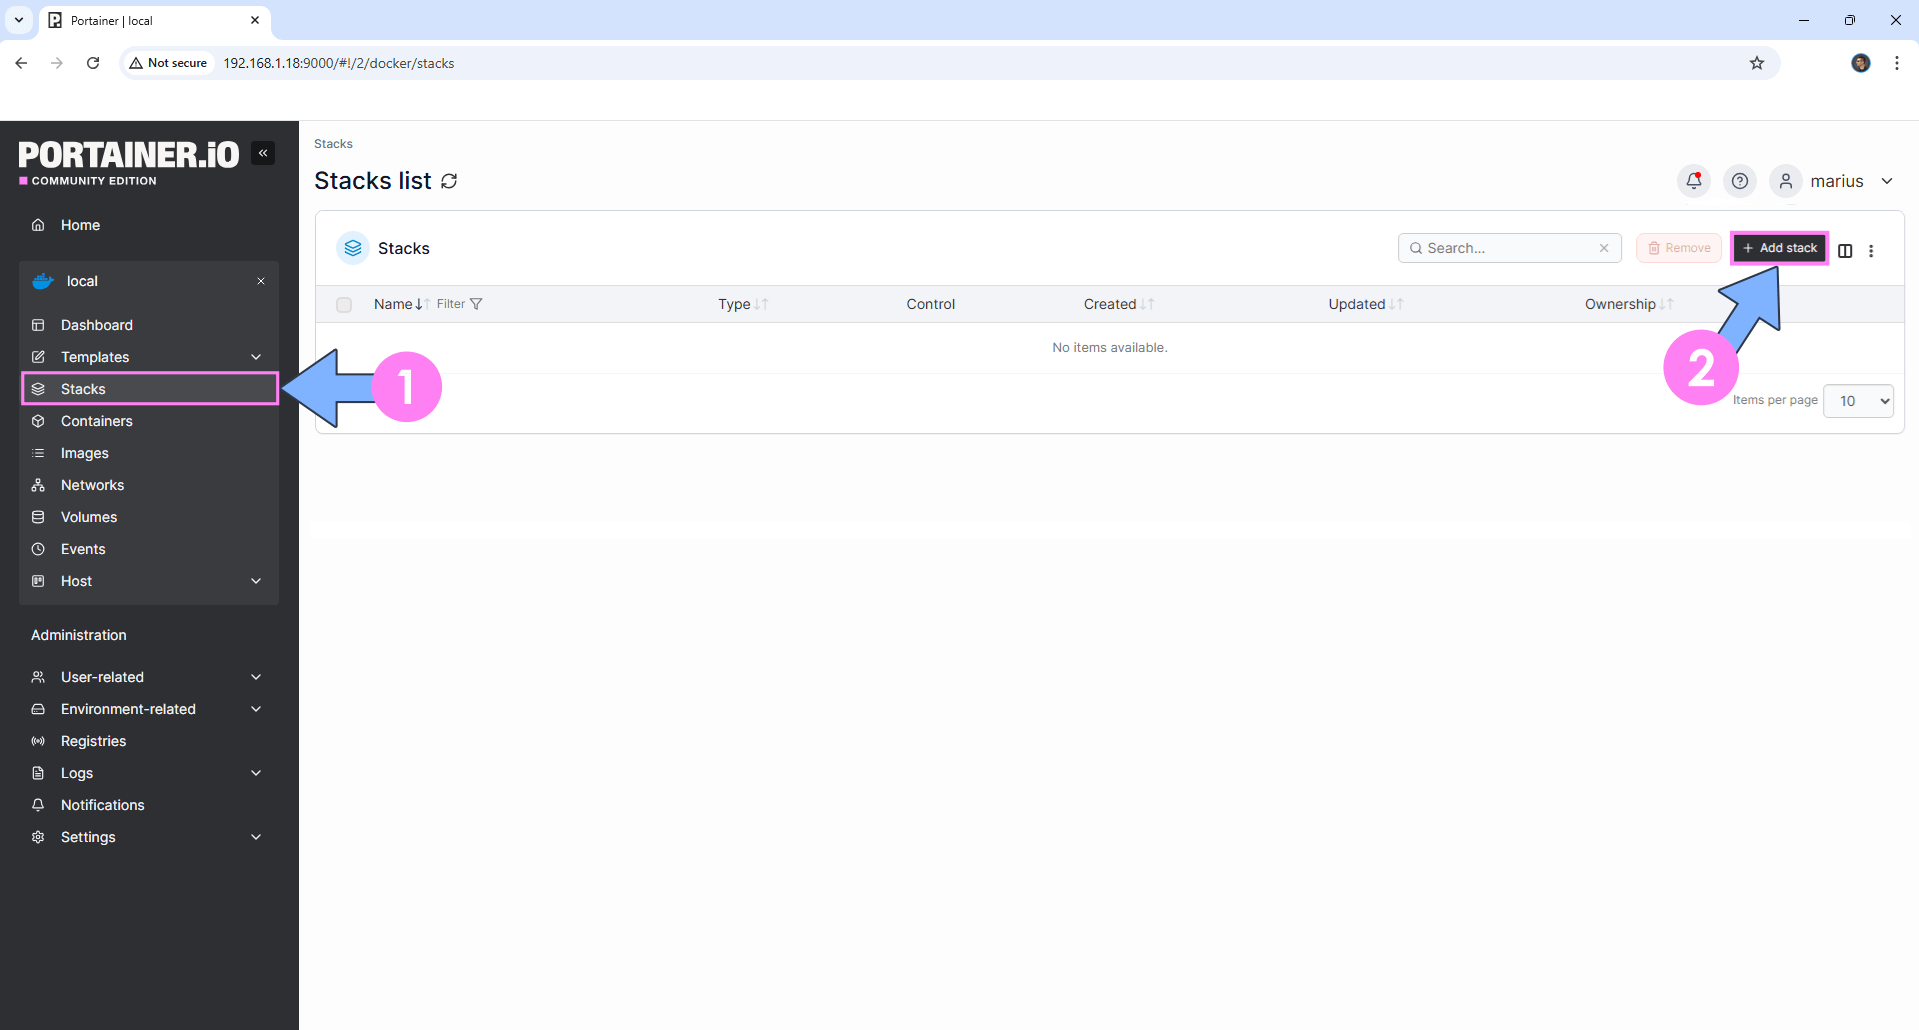
On the left sidebar in Portainer, click on Stacks then + Add stack. Follow the instructions in the image below.
STEP 8
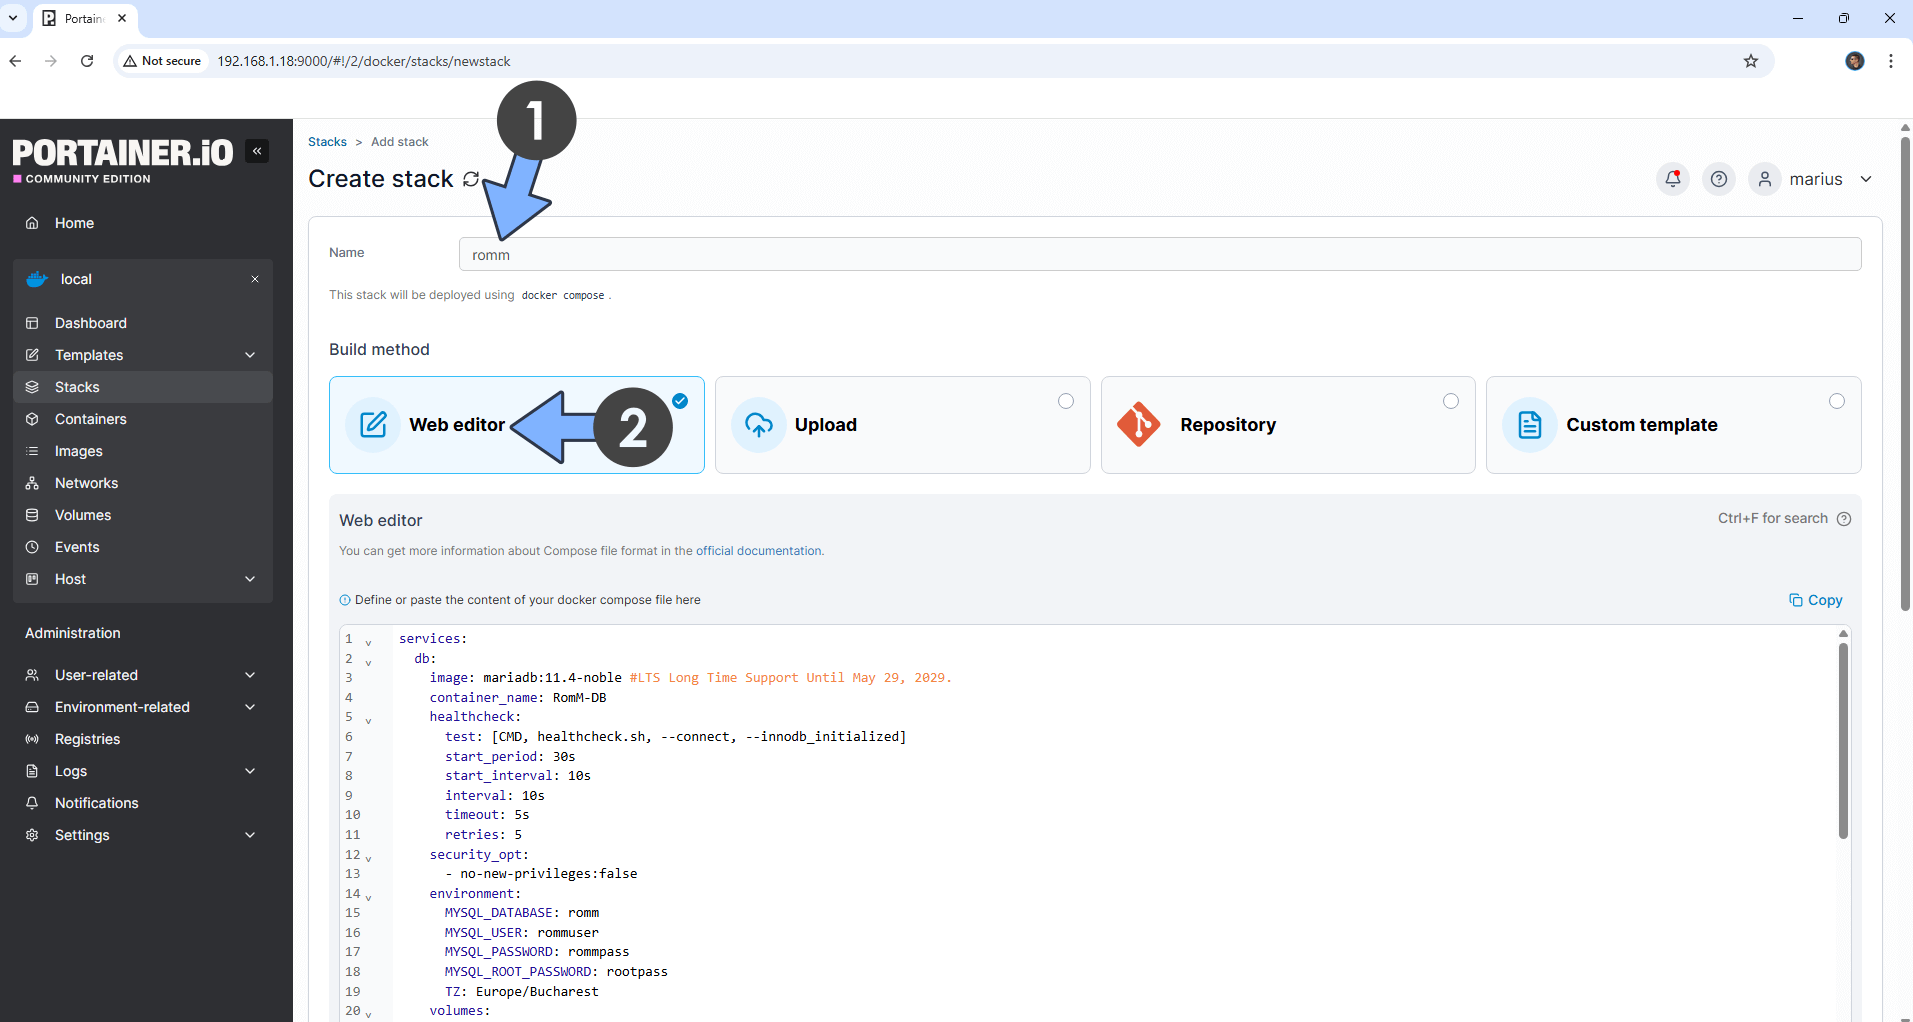
In the Name field type in romm. Follow the instructions in the image below.
services:
  db:
    image: mariadb:11.8-noble #LTS Long Time Support Until October 15, 2033.
    container_name: RomM-DB
    healthcheck:
      test: [CMD, healthcheck.sh, --connect, --innodb_initialized]
      start_period: 30s
      start_interval: 10s
      interval: 10s
      timeout: 5s
      retries: 5
    security_opt:
      - no-new-privileges:false
    environment:
      MYSQL_DATABASE: romm
      MYSQL_USER: rommuser
      MYSQL_PASSWORD: rommpass
      MYSQL_ROOT_PASSWORD: rootpass
      TZ: Europe/Bucharest
    volumes:
      - /volume1/docker/romm/db:/var/lib/mysql:rw
    restart: on-failure:5

  romm:
    image: rommapp/romm:latest
    container_name: RomM
    healthcheck:
      test: timeout 10s bash -c ':> /dev/tcp/127.0.0.1/8080' || exit 1
      interval: 10s
      timeout: 5s
      retries: 3
      start_period: 90s
    environment:
      ROMM_DB_DRIVER: mariadb
      DB_HOST: db
      DB_NAME: romm
      DB_USER: rommuser
      DB_PASSWD: rommpass
      DB_PORT: 3306
      ROMM_AUTH_SECRET_KEY: c244ac32bb2c9f408ba3351c6ab9808195485e7be94695941b2b65a895183390
      #SCREENSCRAPER_USER: These are the recommended metadata providers
      #SCREENSCRAPER_PASSWORD: https://docs.romm.app/latest/Getting-Started/Metadata-Providers/#screenscraper
      #IGDB_CLIENT_ID: Generate an ID and SECRET in IGDB
      #IGDB_CLIENT_SECRET: https://api-docs.igdb.com/#account-creation
      #MOBYGAMES_API_KEY: https://www.mobygames.com/info/api/
      #STEAMGRIDDB_API_KEY: https://docs.romm.app/latest/Getting-Started/Metadata-Providers/#steamgriddb
      #RETROACHIEVEMENTS_API_KEY: https://api-docs.retroachievements.org/
      #HASHEOUS_API_ENABLED: true # https://docs.romm.app/latest/Getting-Started/Metadata-Providers/#hasheous
      #FLASHPOINT_API_ENABLED: true #Automated search of the Flashpoint Project database for over 180,000+ flash and browser-based games
      #HLTB_API_ENABLED: true #howlongtobeat.com is a website that provides game completion times for over 84,000+ games
    volumes:
      - /volume1/docker/romm/resources:/romm/resources:rw
      - /volume1/docker/romm/redis:/redis-data:rw
      - /volume1/docker/romm/games/library:/romm/library:rw
      - /volume1/docker/romm/games/assets:/romm/assets:rw
      - /volume1/docker/romm/games/config:/romm/config:rw
    ports:
      - 7676:8080
    depends_on:
      db:
        condition: service_healthy
    restart: on-failure:10
Note: Before you paste the code above in the Web editor area below, change the value for TZ. (Select your current Time Zone from this list.)
Note: Before you paste the code above in the Web editor area below, change the value for ROMM_AUTH_SECRET_KEY.
(🟢Click this Link to Generate Your Own Free SECRET KEY.) 🖼️Check Example Screenshot. (In the prompt, type in the following text: openssl rand -hex 32 then hit enter on your Keyboard). 🖼️Check Example Screenshot and copy your key.
Note: Before you paste the code above in the Web editor area below, remove the # in front of the SCREENSCRAPER_USER, SCREENSCRAPER_PASSWORD, IGDB_CLIENT_ID, IGDB_CLIENT_SECRET, MOBYGAMES_API_KEY, STEAMGRIDDB_API_KEY, RETROACHIEVEMENTS_API_KEY, HASHEOUS_API_ENABLED or leave it as it is if you don’t have the keys right away. You can add them later and update the Portainer stack when you have your keys. Check out the Meta Providers explanation.
STEP 9
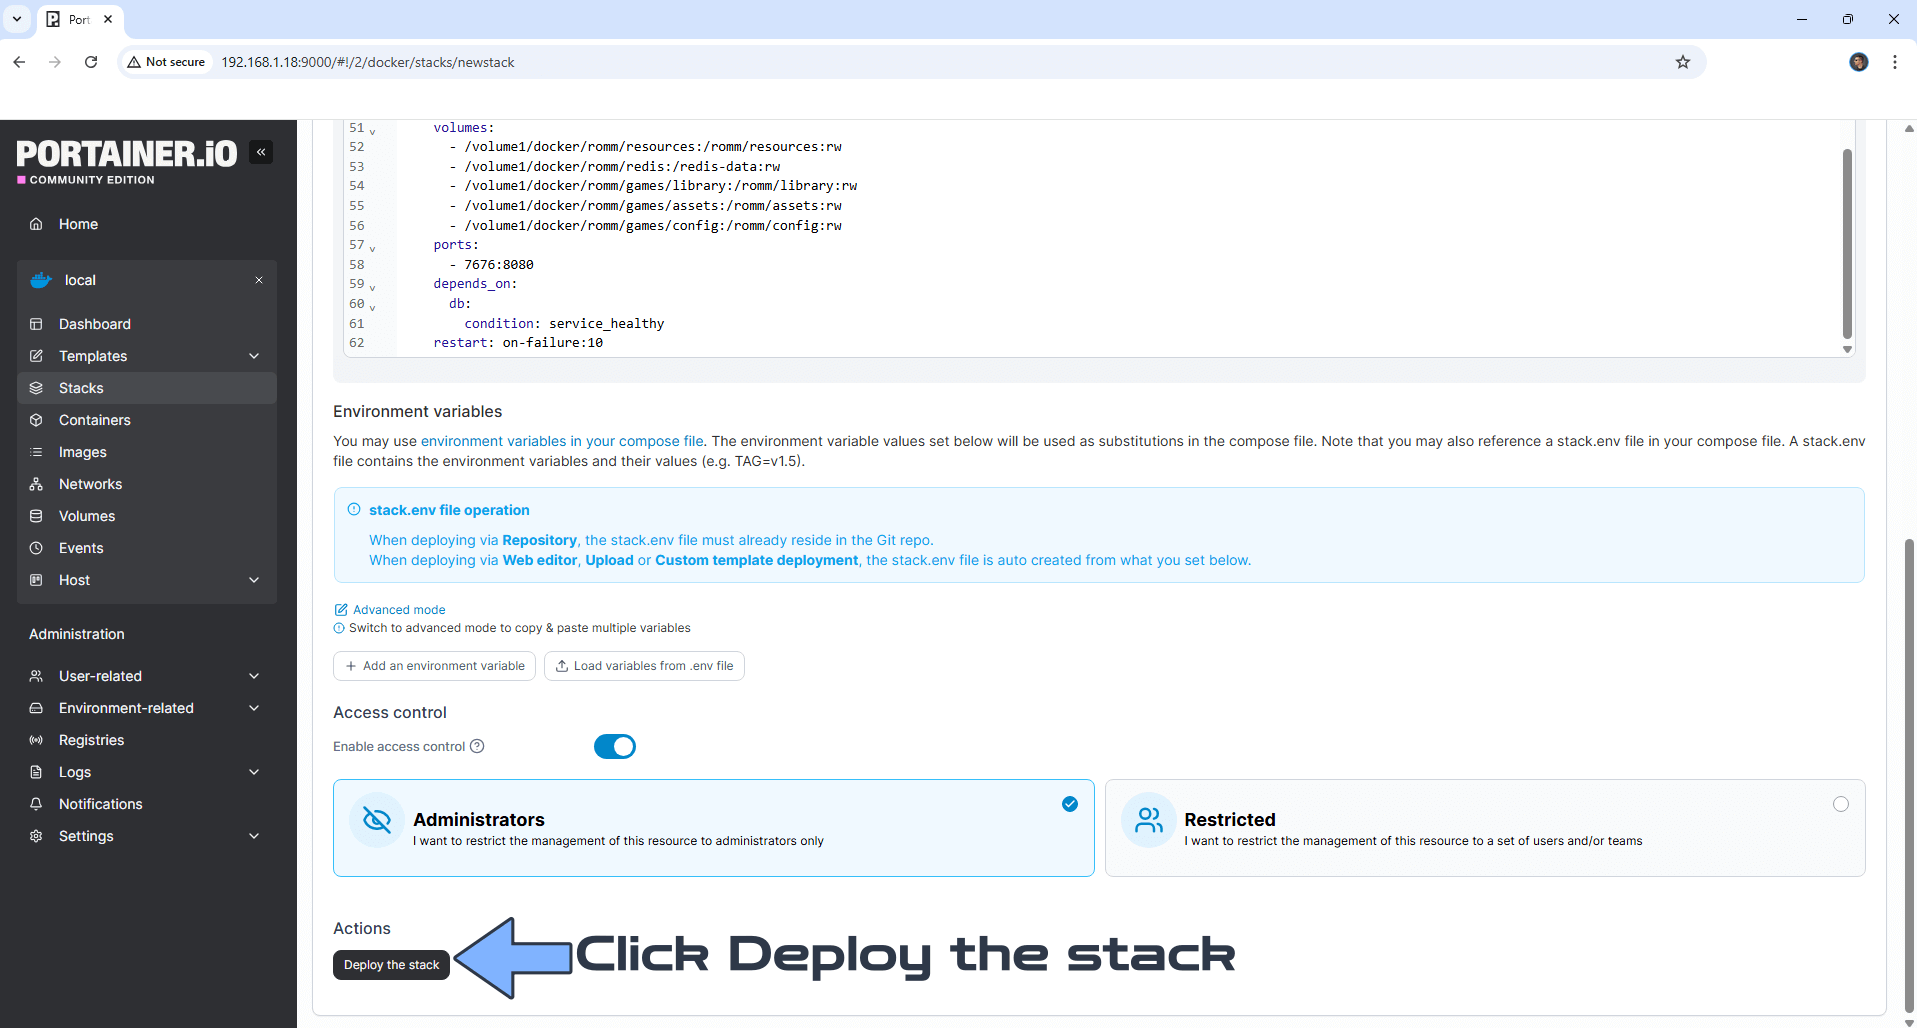
Scroll down on the page until you see a button named Deploy the stack. Click on it. Follow the instructions in the image below. The installation process can take up to a few minutes. It will depend on your Internet speed connection.
STEP 10
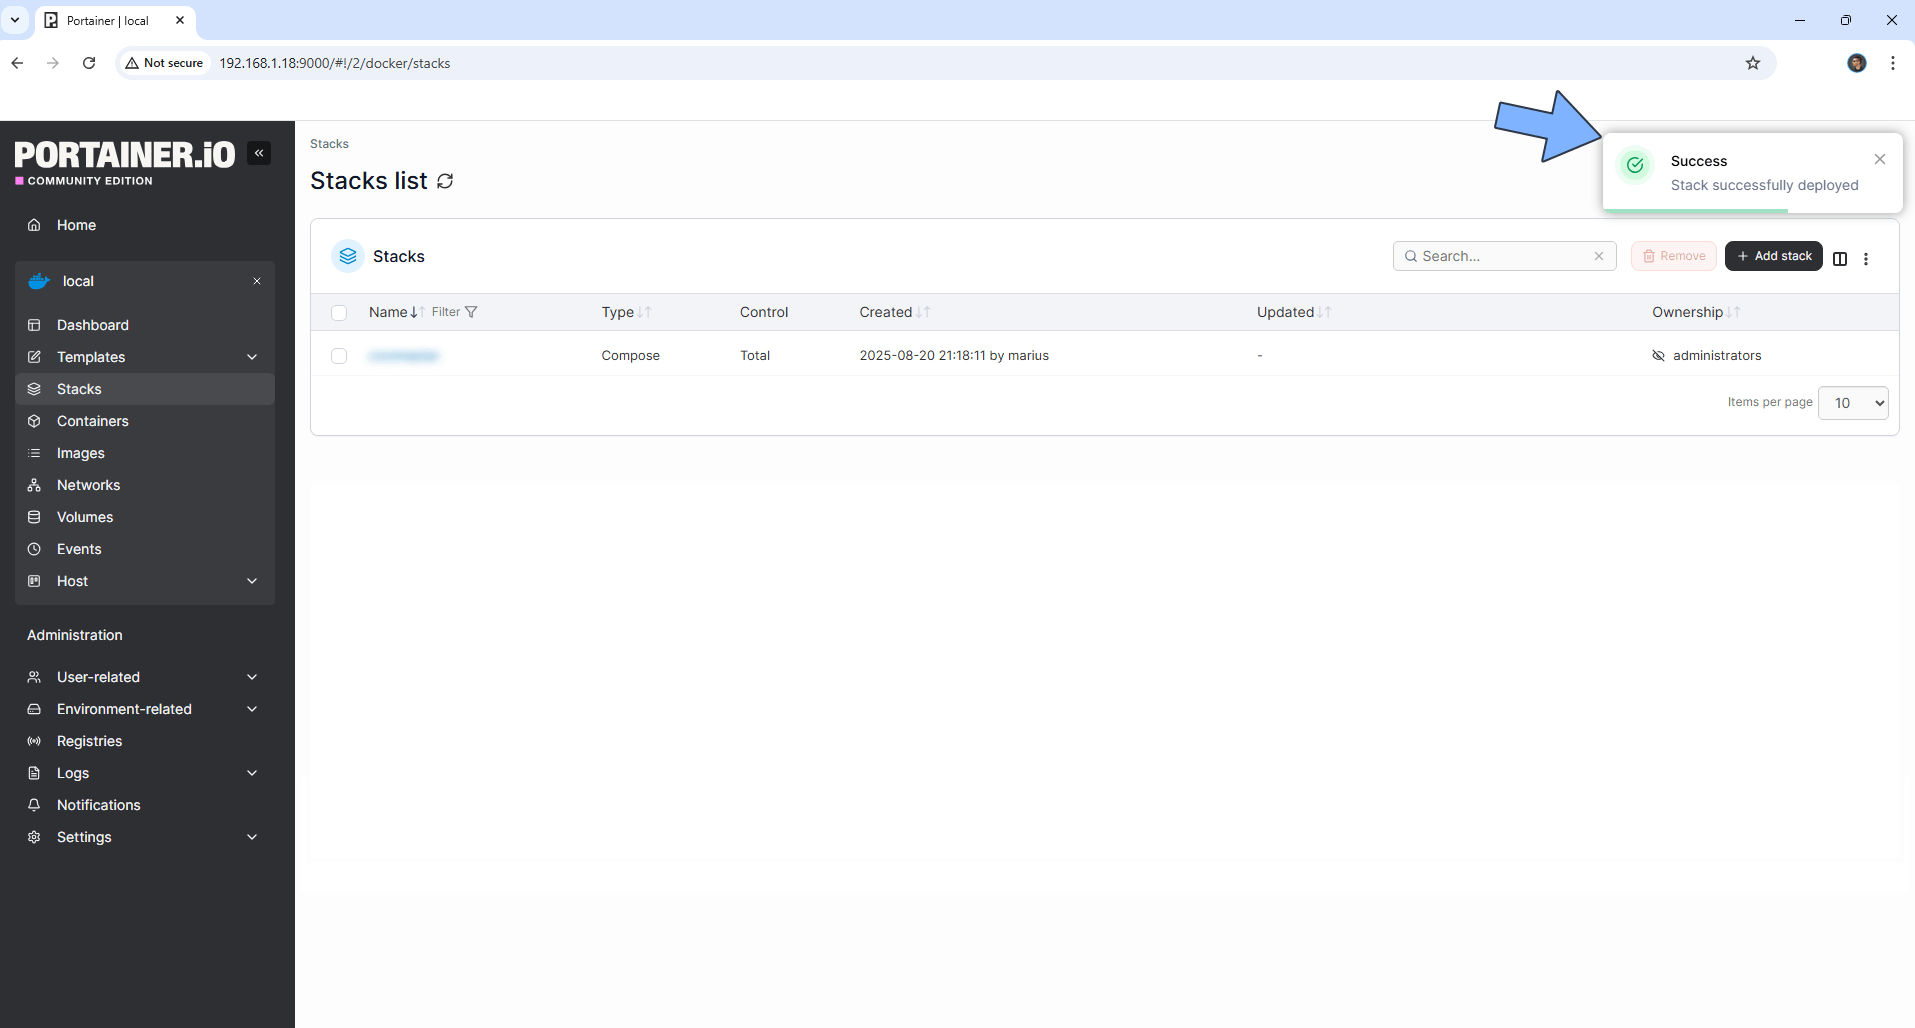
If everything goes right, you will see the following message at the top right of your screen: “Success Stack successfully deployed“.
STEP 11
🟢Please Support My work by Making a Donation. Almost 99,9% of the people that install something using my guides forget to support my work, or just ignore STEP 1. I’ve been very honest about this aspect of my work since the beginning: I don’t run any ADS, I don’t require subscriptions, paid or otherwise, I don’t collect IPs, emails, and I don’t have any referral links from Amazon or other merchants. I also don’t have any POP-UPs or COOKIES. I have repeatedly been told over the years how much I have contributed to the community. It’s something I love doing and have been honest about my passion since the beginning. But I also Need The Community to Support me Back to be able to continue doing this work.
STEP 12
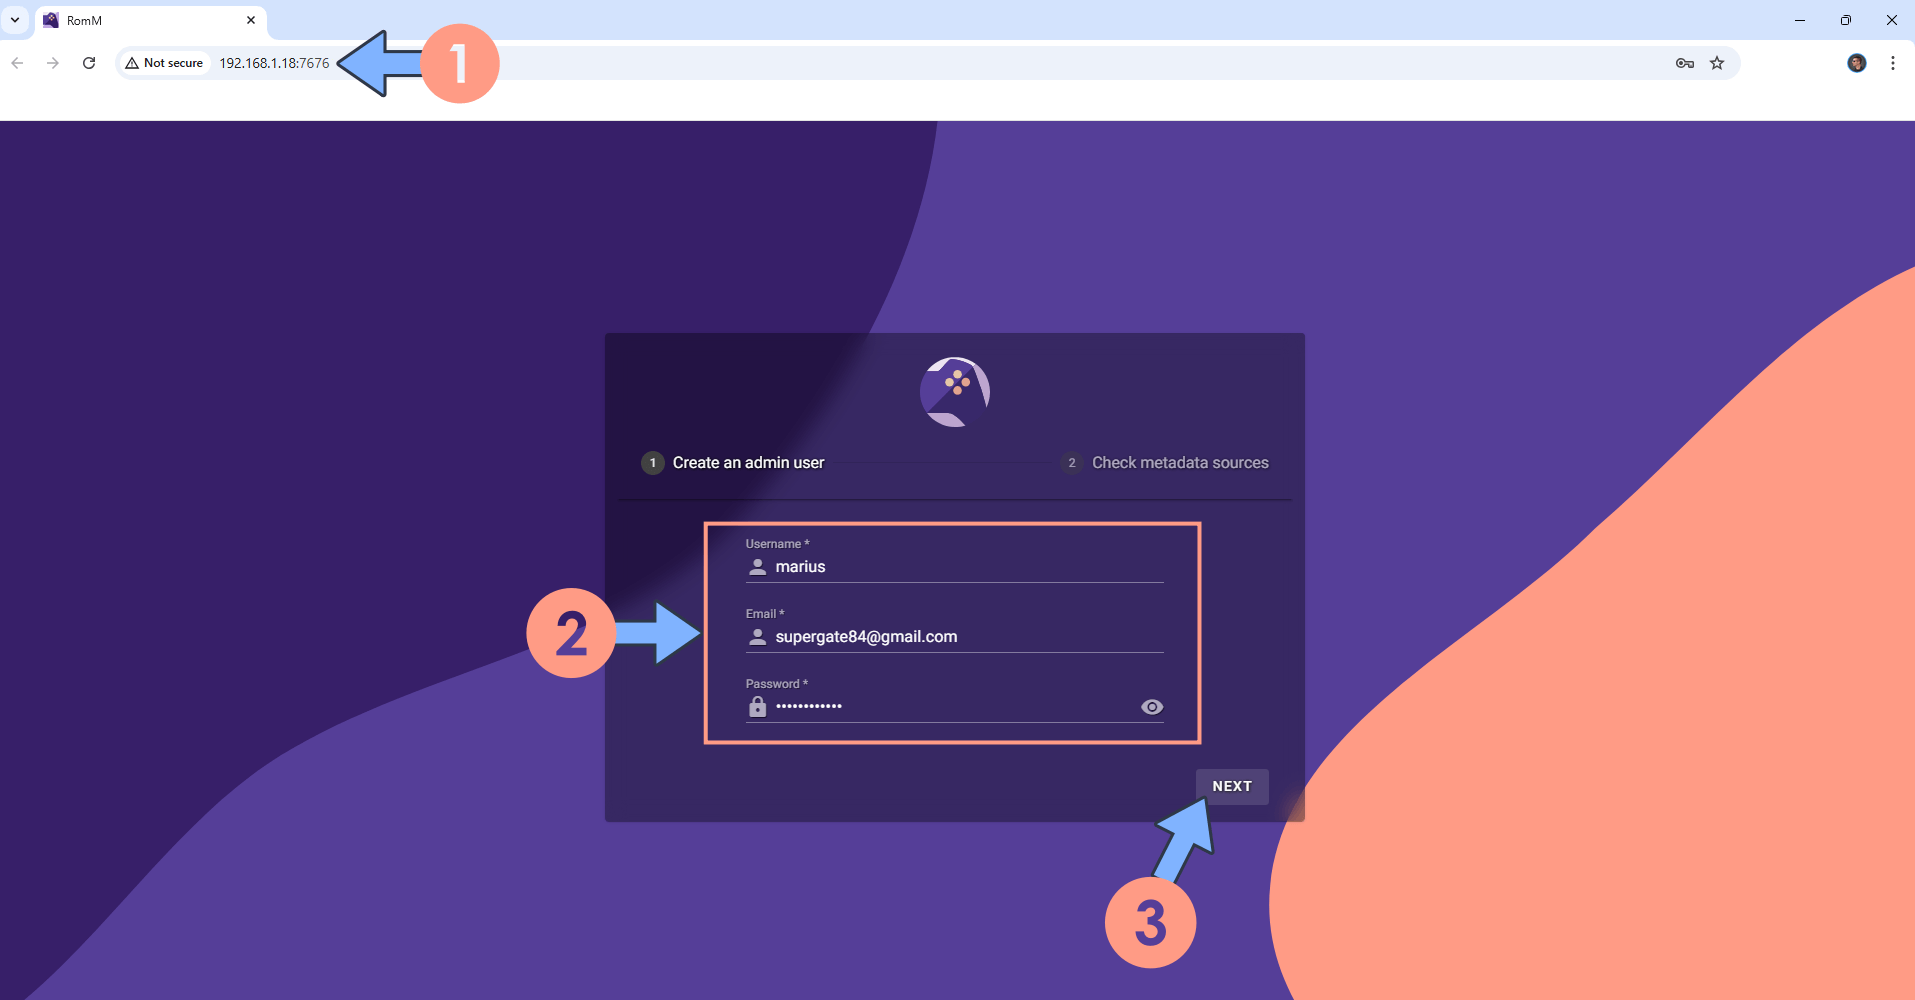
The installation process can take up to a few seconds/minutes. It will depend on your Internet speed connection. Now open your browser and type in http://ugreen-ip-address:7676 Type in your own Username and Password. Click NEXT. Follow the instructions in the image below.
STEP 13
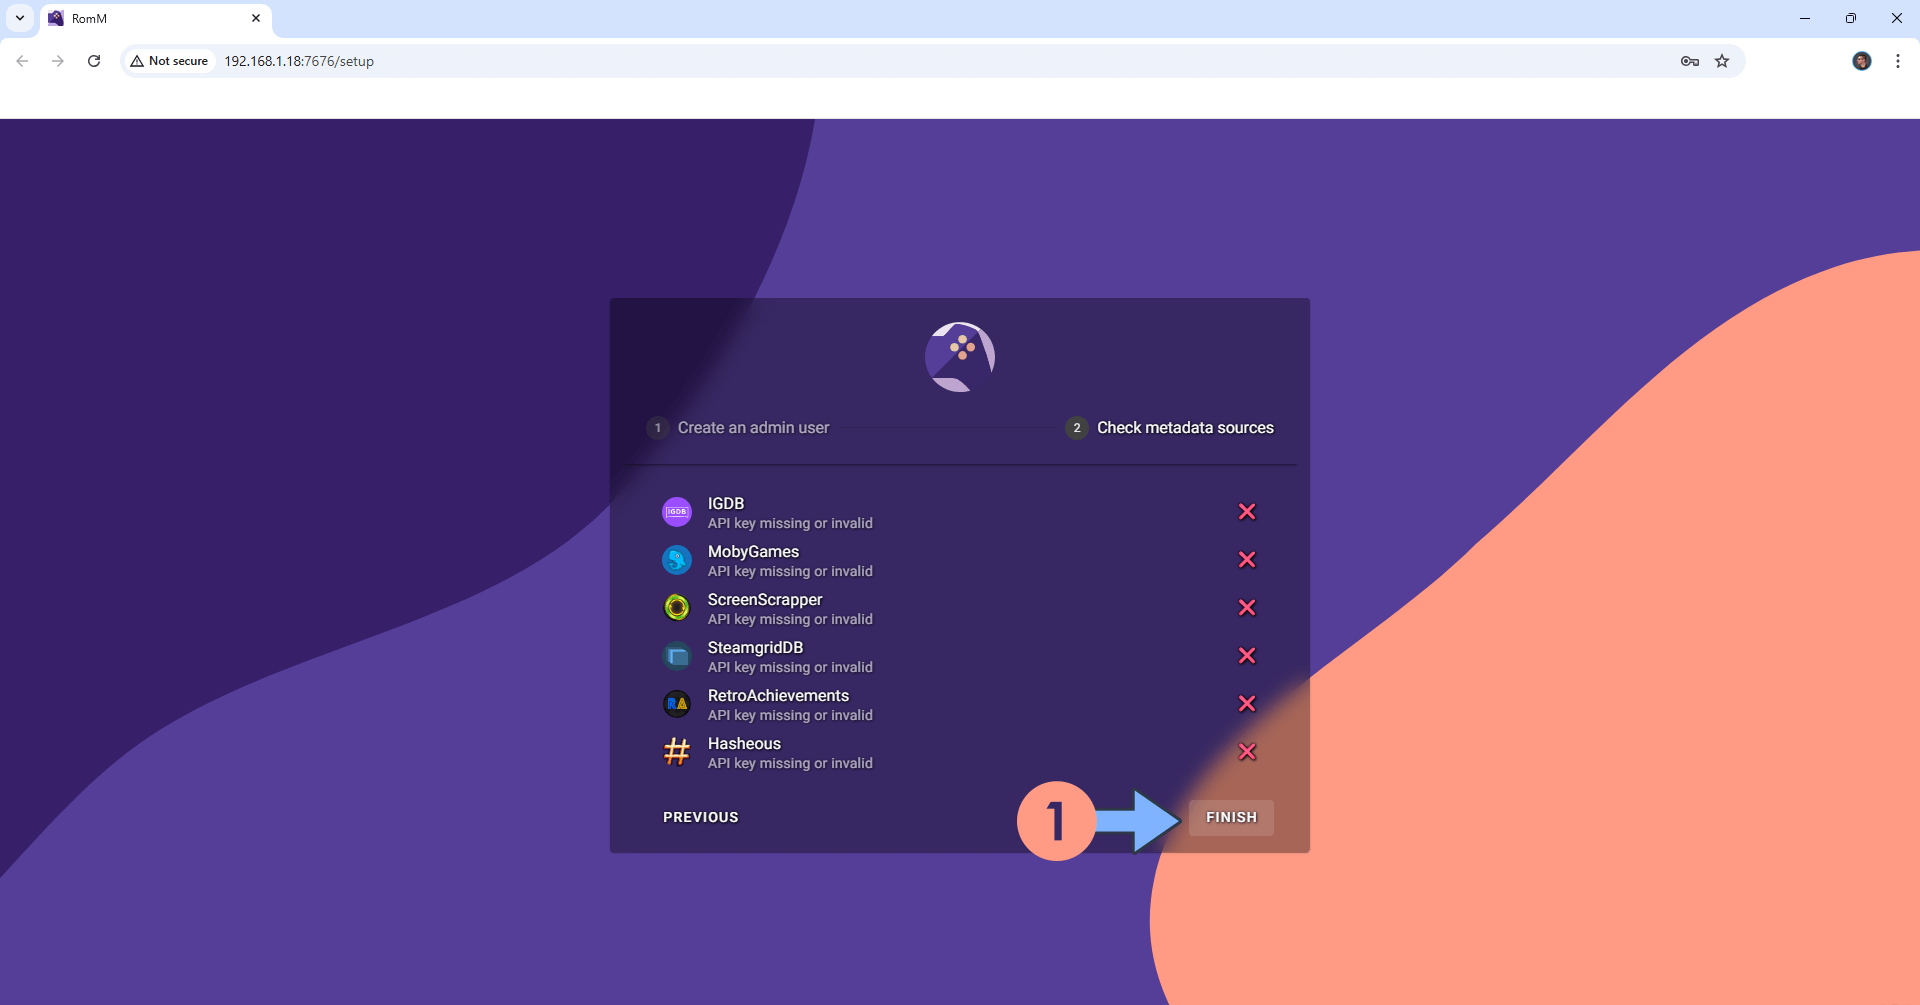
Click FINISH. Follow the instructions in the image below.
STEP 14
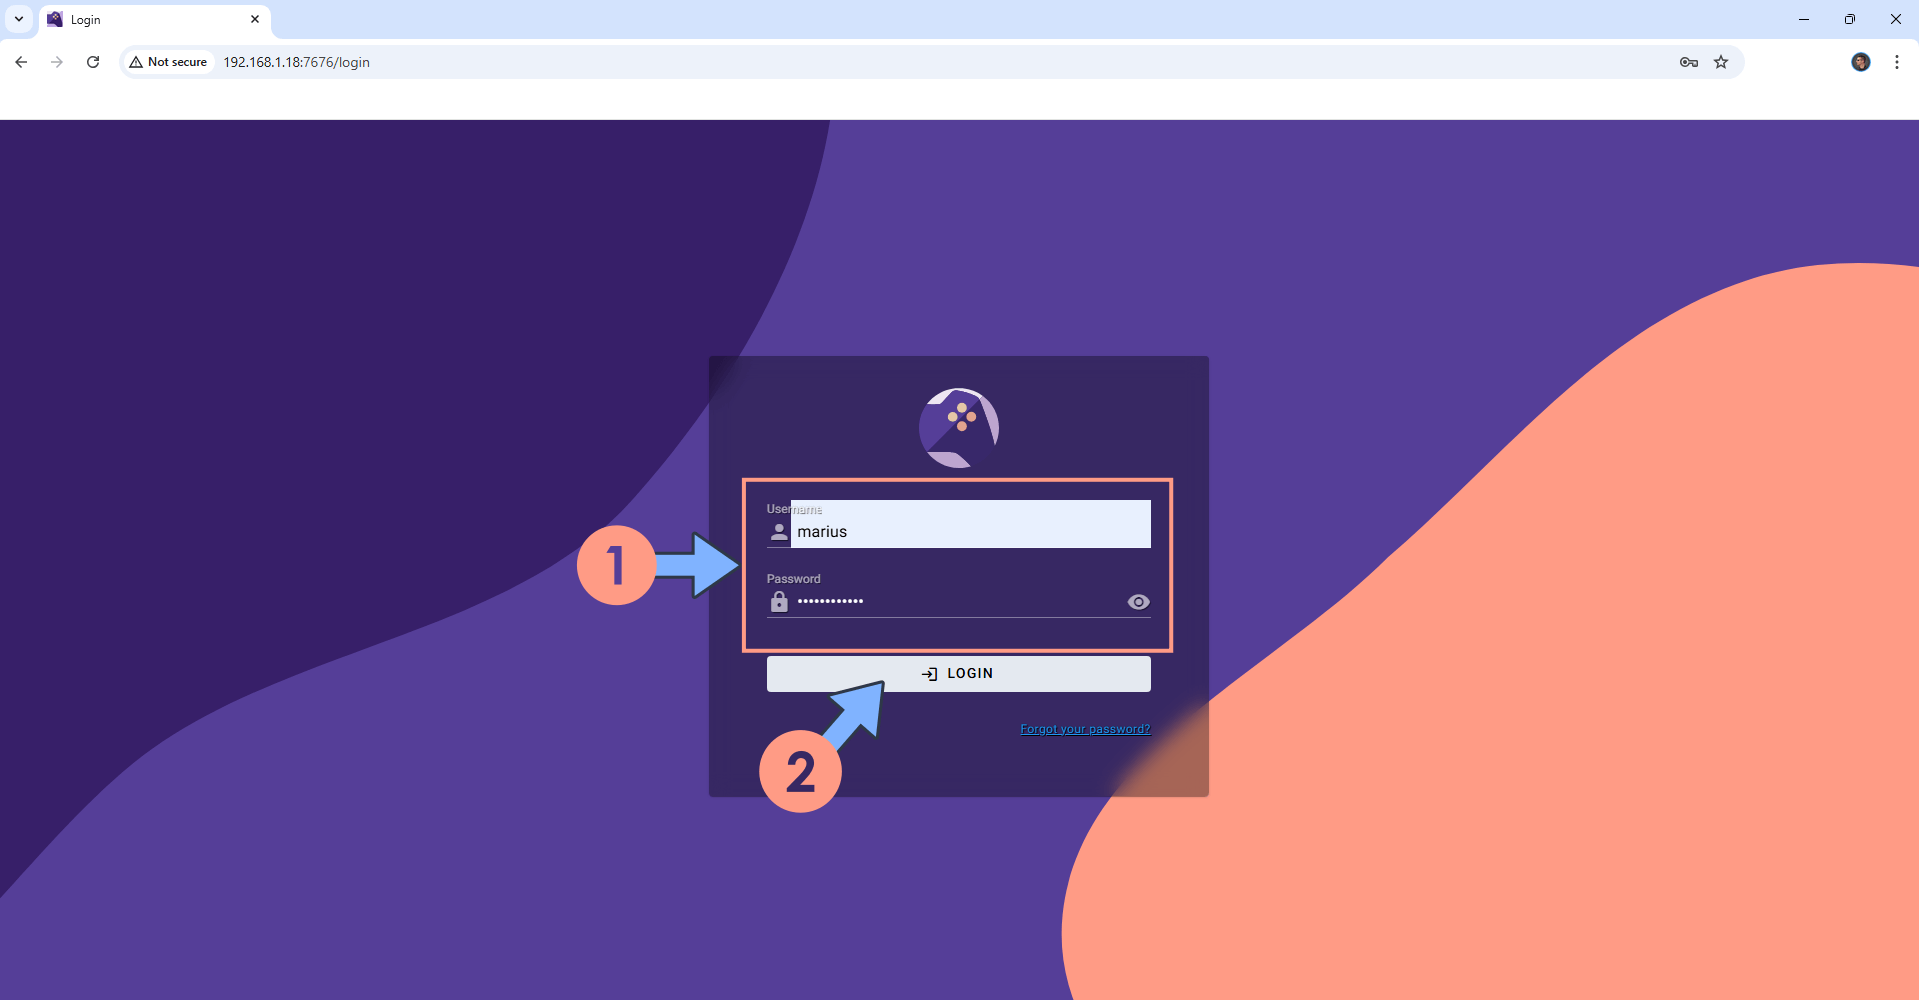
Type in your own Username and Password that you have previously added at STEP 12. Click LOGIN. Follow the instructions in the image below.
STEP 15
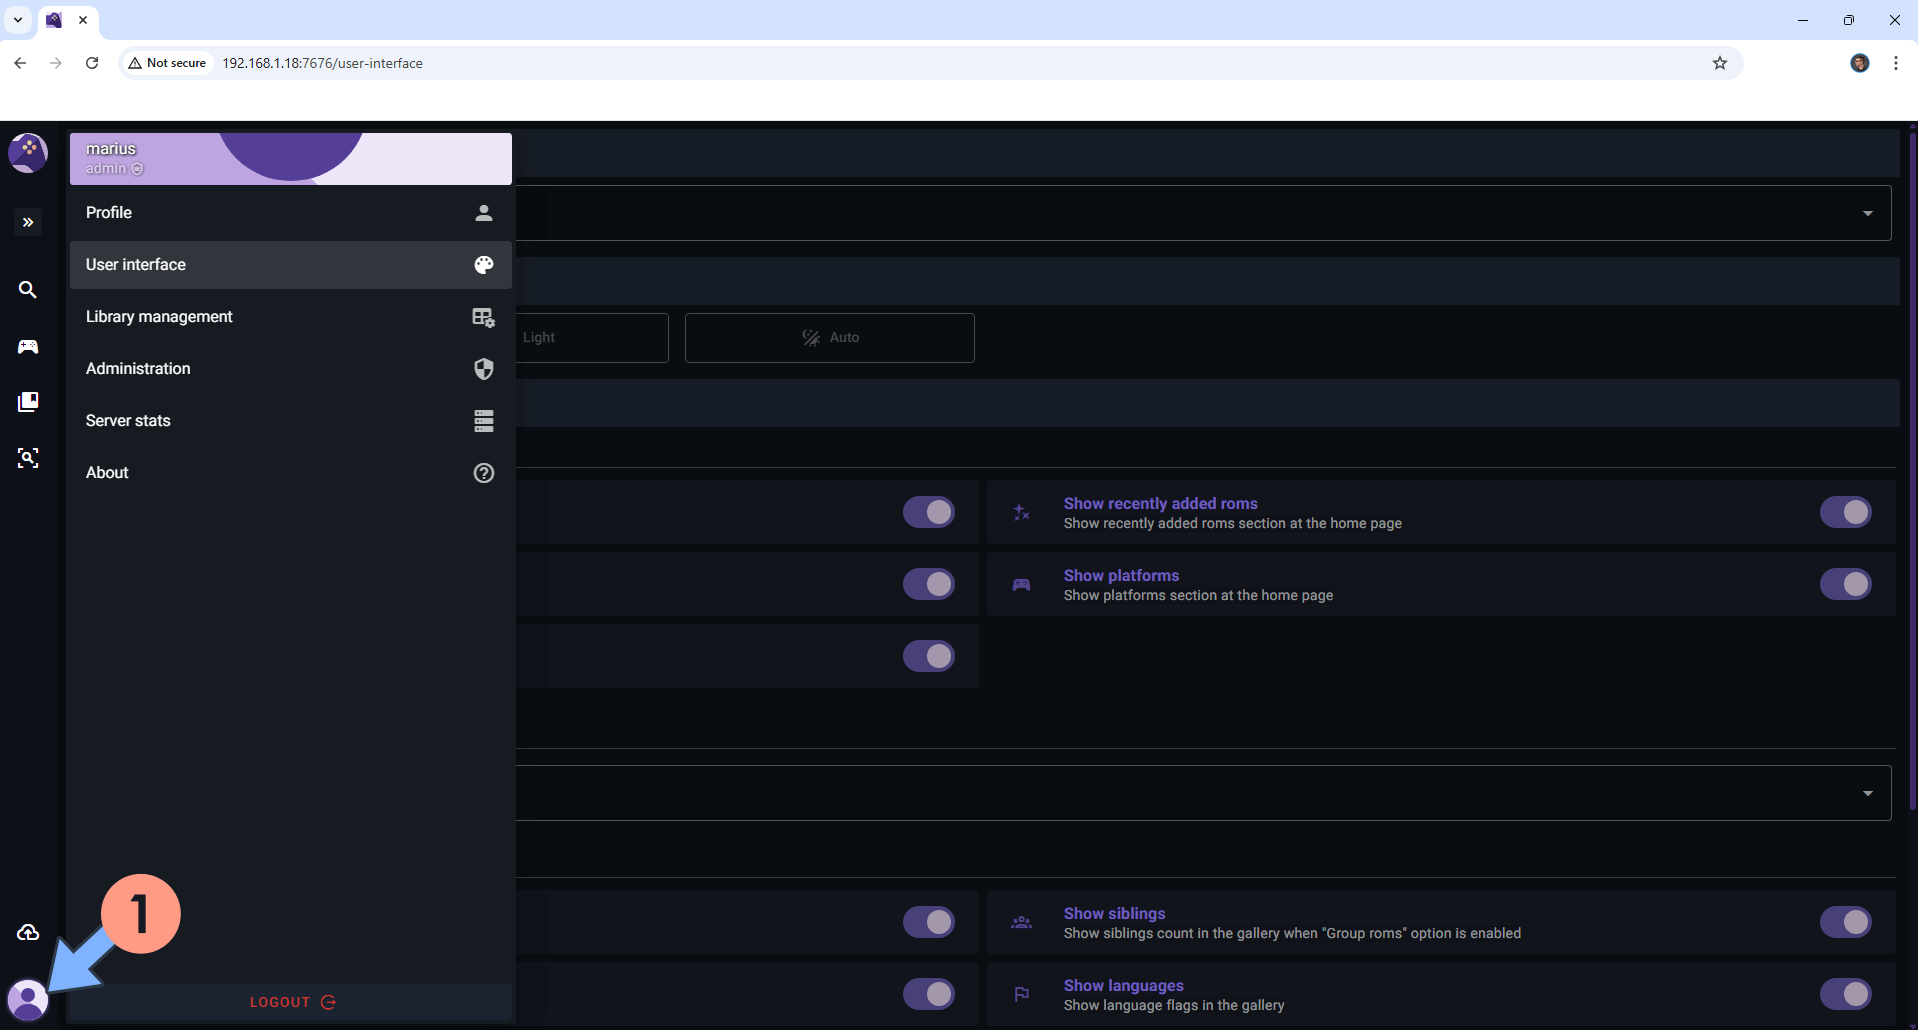
At the bottom left, click on the user icon to access the Settings. Follow the instructions in the image below.
STEP 16
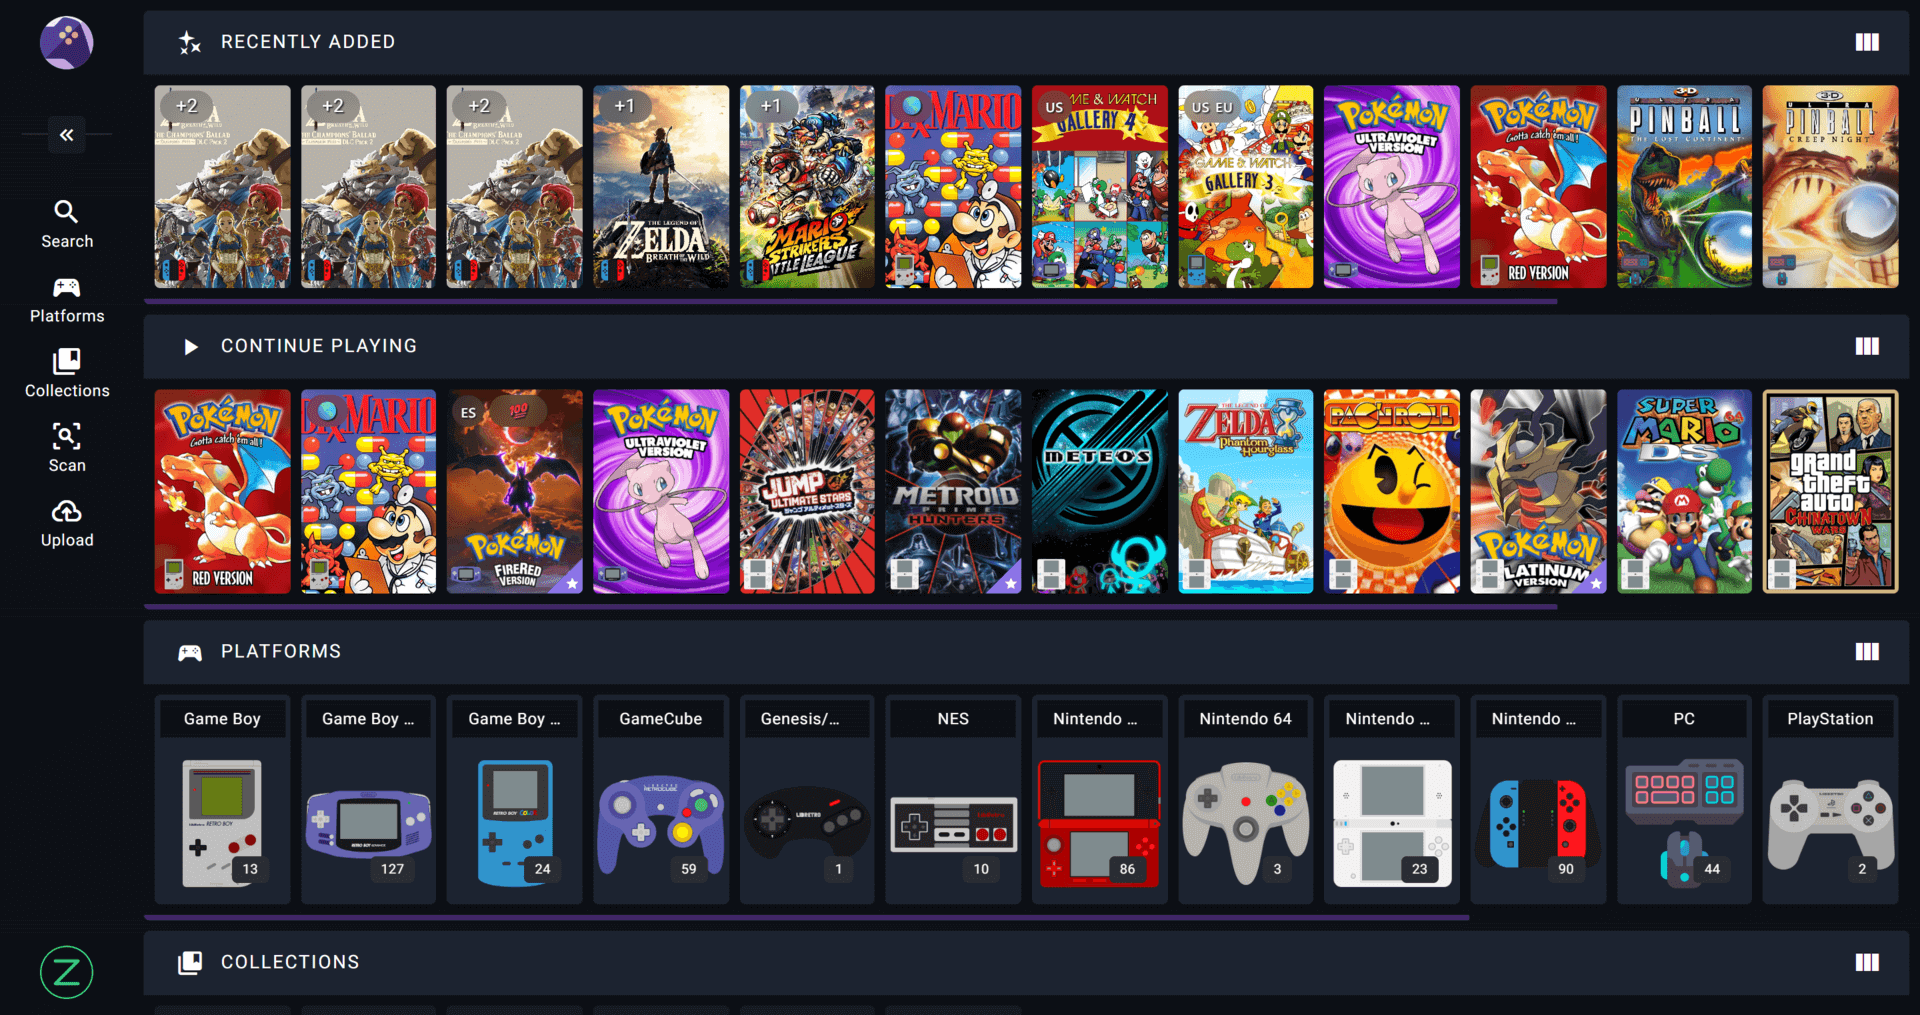
Your RomM dashboard at a glance!
Enjoy RomM on your UGREEEN NAS!
🆙Note/Update/Container: How to Update Your Docker Containers on UGREEN NAS Using Portainer.
🐳Note: How to Create Docker Shortcuts on Desktop.
🆕Note: How to Update Portainer to the latest version.
⚠️Mandatory Add Read & Write Permissions to the Docker Folder. If you have already added the Read and Write Permissions to the Docker Folder, skip this STEP.
🆕Note: How to Clean Docker.
This post was updated on Thursday / February 5th, 2026 at 5:23 PM
