

Ever spun up 20 or 30 Docker stacks and suddenly hit a wall when trying to deploy just one more? You’re not alone. After a while, both Dockhand and Portainer can throw the same frustrating network error:
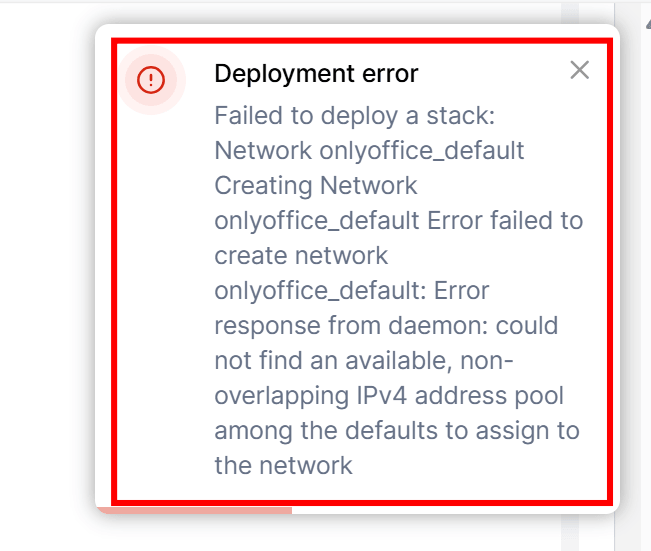
In Portainer:
failed to deploy a stack: … could not find an available, non-overlapping IPv4 address pool among the defaults
In Dockhand:
network:default failed to create network … : all predefined address pools have been fully subnetted
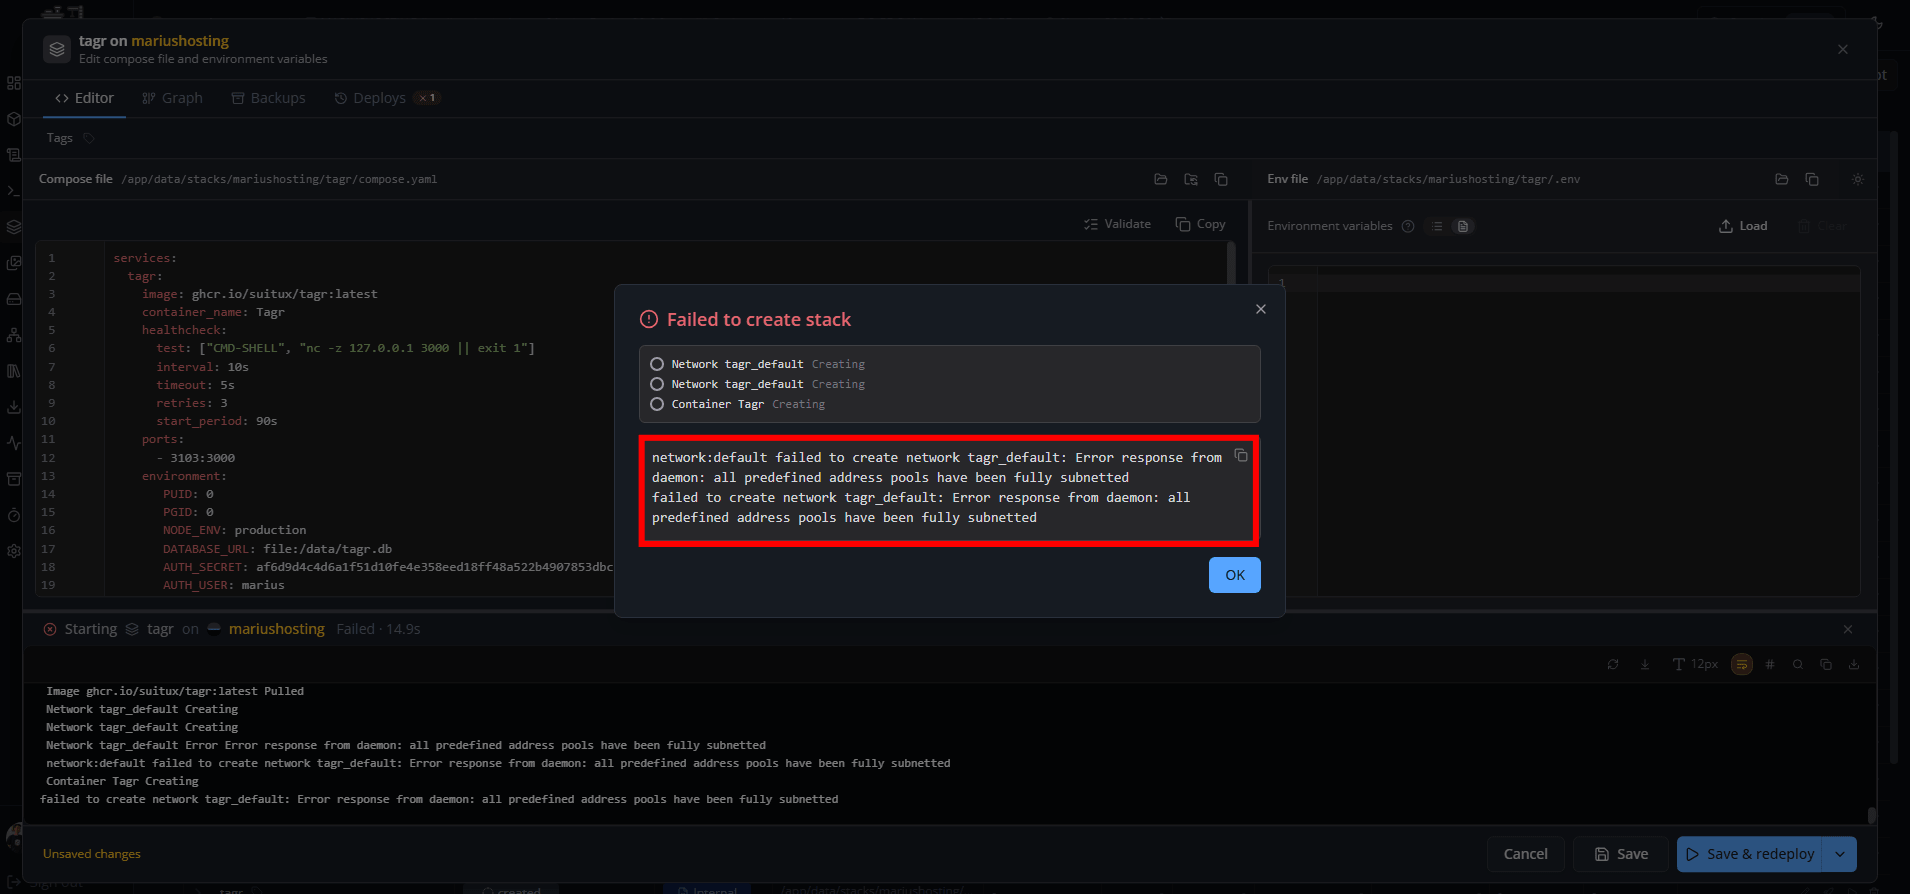
Why this error? Docker has run out of the default IP address ranges it uses for container networks. It can no longer find a free, non-overlapping IPv4 pool, so the new network (and the whole stack) fails to start.
Here’s a very simple, elementary explanation of what to change in your Docker Compose file to fix the error. Docker is trying to create a new network for your stack, but it has no free IP address ranges left. That’s why both Dockhand and Portainer fail.
You will tell Docker: “Don’t use the default (already full) address pool. Use this specific free range instead.” Just add a small networks section at the bottom of your compose stack file, and tell the service to use it.
Let’s take a real example from one of my guides, the Tagr stack at STEP 12:
services:
  tagr:
    image: ghcr.io/suitux/tagr:latest
    container_name: Tagr
    healthcheck:
      test: ["CMD-SHELL", "nc -z 127.0.0.1 3000 || exit 1"]
      interval: 10s
      timeout: 5s
      retries: 3
      start_period: 90s
    ports:
      - 3103:3000
    environment:
       PUID: 0
       PGID: 0
       NODE_ENV: production
       DATABASE_URL: file:/data/tagr.db
       AUTH_SECRET: af6d9d4c4d6a1f51d10fe4e358eed18ff48a522b4907853dbcd14c0185527cb4
       AUTH_USER: marius
       AUTH_PASSWORD: mariushosting
       AUTH_URL: https://tagr.yourname.synology.me
       TAGR_INSIGHTS: false
    volumes:
      - /volume1/docker/tagr:/data:rw
      - /volume1/music:/music:rw #Your folder path - /volume1/etc or - /volume2/etc followed by :/music:rw
    restart: on-failure:5
Here’s the tagr compose stack with the small changes to fix the issue:
services:
  tagr:
    image: ghcr.io/suitux/tagr:latest
    container_name: Tagr
    healthcheck:
      test: ["CMD-SHELL", "nc -z 127.0.0.1 3000 || exit 1"]
      interval: 10s
      timeout: 5s
      retries: 3
      start_period: 90s
    ports:
      - 3103:3000
    environment:
      PUID: 0
      PGID: 0
      NODE_ENV: production
      DATABASE_URL: file:/data/tagr.db
      AUTH_SECRET: af6d9d4c4d6a1f51d10fe4e358eed18ff48a522b4907853dbcd14c0185527cb4
      AUTH_USER: marius
      AUTH_PASSWORD: mariushosting
      AUTH_URL: https://tagr.yourname.synology.me
      TAGR_INSIGHTS: false
    volumes:
      - /volume1/docker/tagr:/data:rw
      - /volume1/music:/music:rw
    restart: on-failure:5
    networks:
      - tagr

networks:
  tagr:
    driver: bridge
    ipam:
      config:
        - subnet: 172.50.0.0/16
networks: – tagr tells the container to use your custom created network. You can change tagr to any name you like (usually matching your container/stack name).
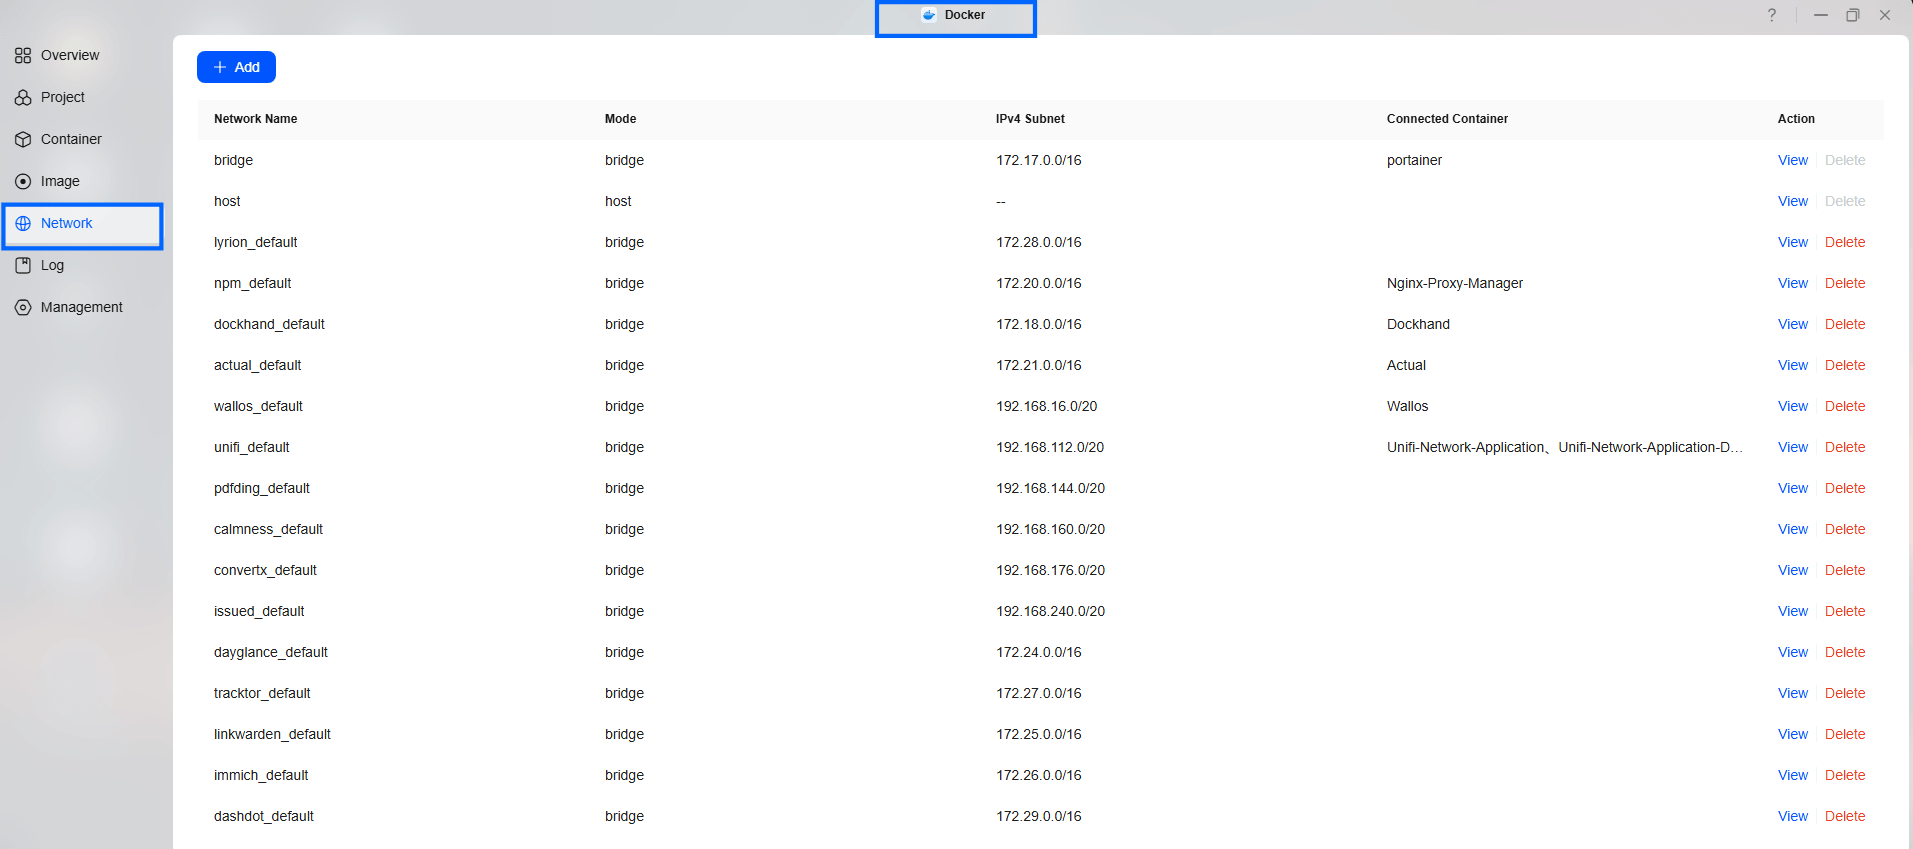
The networks: section at the bottom creates a new network that uses the IP range 172.50.0.0/16 instead of the exhausted default ones. If 172.50.0.0/16 is already in use, simply try another free range such as 172.40.0.0/16, 172.60.0.0/16, 172.70.0.0/16, etc. Just change the number in the middle (50, 40, 60, 70) of the address. Important: The structure of the networks section (the lines you see highlighted in pink) must stay exactly the same for every container. Do not change the format. Change only the network name and the subnet number if needed.
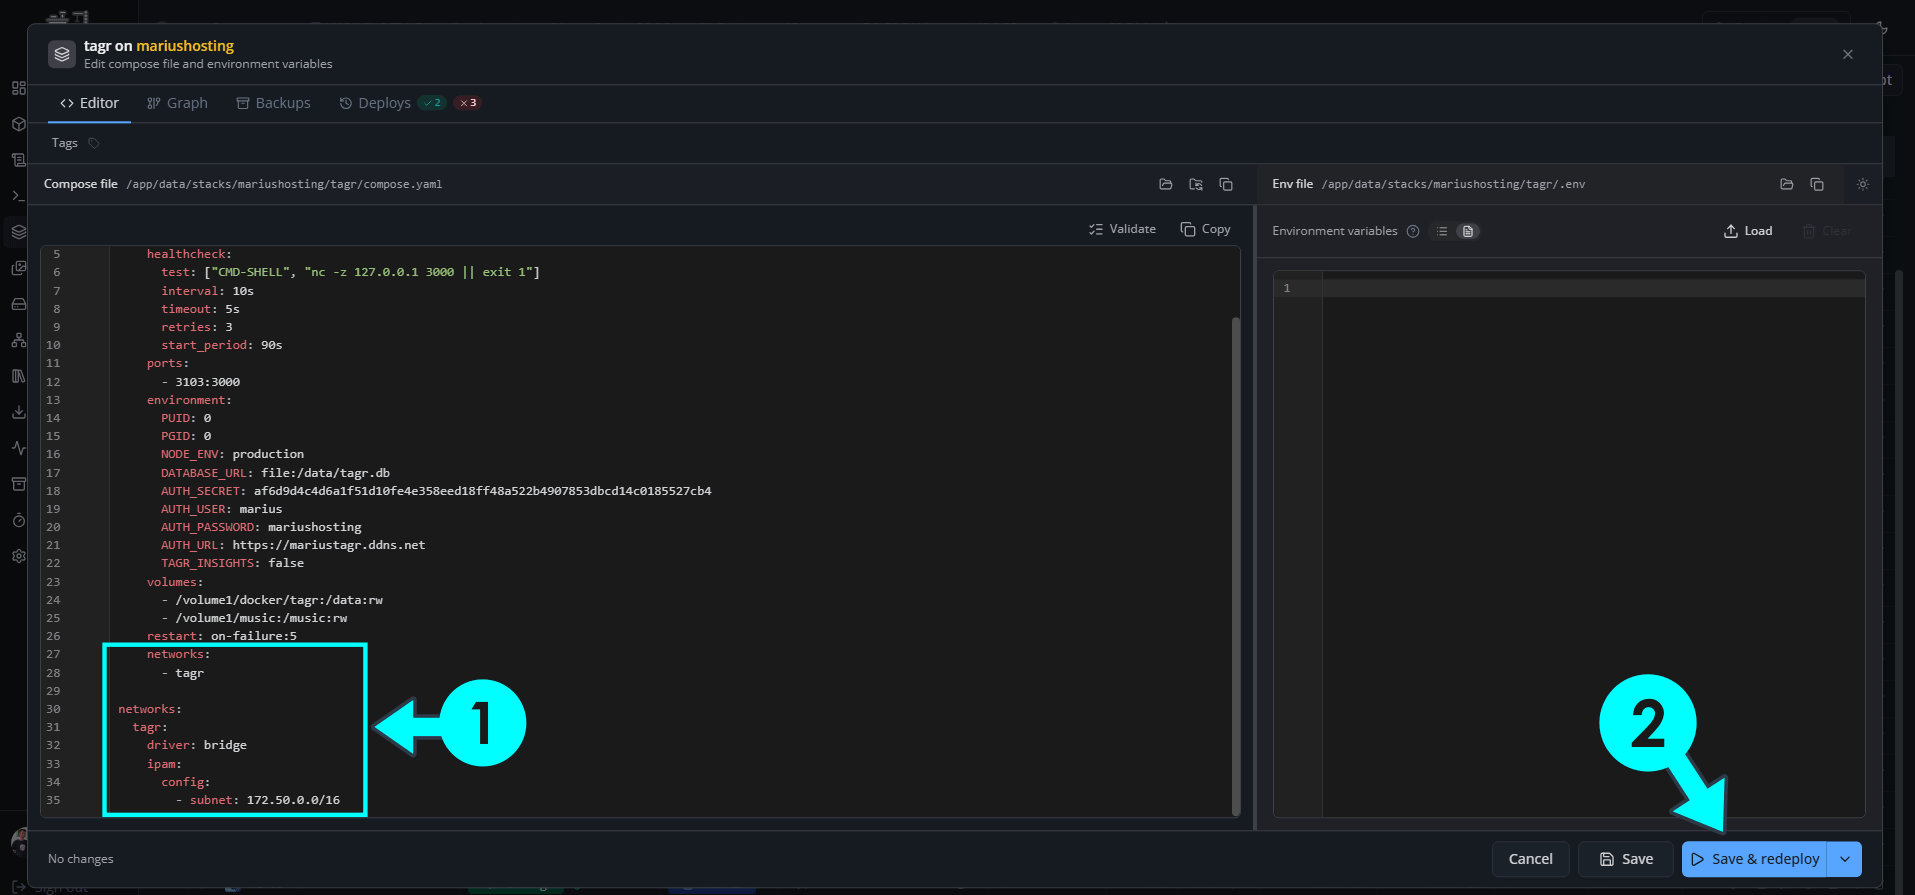
Note: That’s all you need. Deploy the stack again. The error should disappear and the container will start, no matter how many stacks you already have running.
To check a free network in Synology, open the Docker app, aka Container manager / left sidebar / Network.
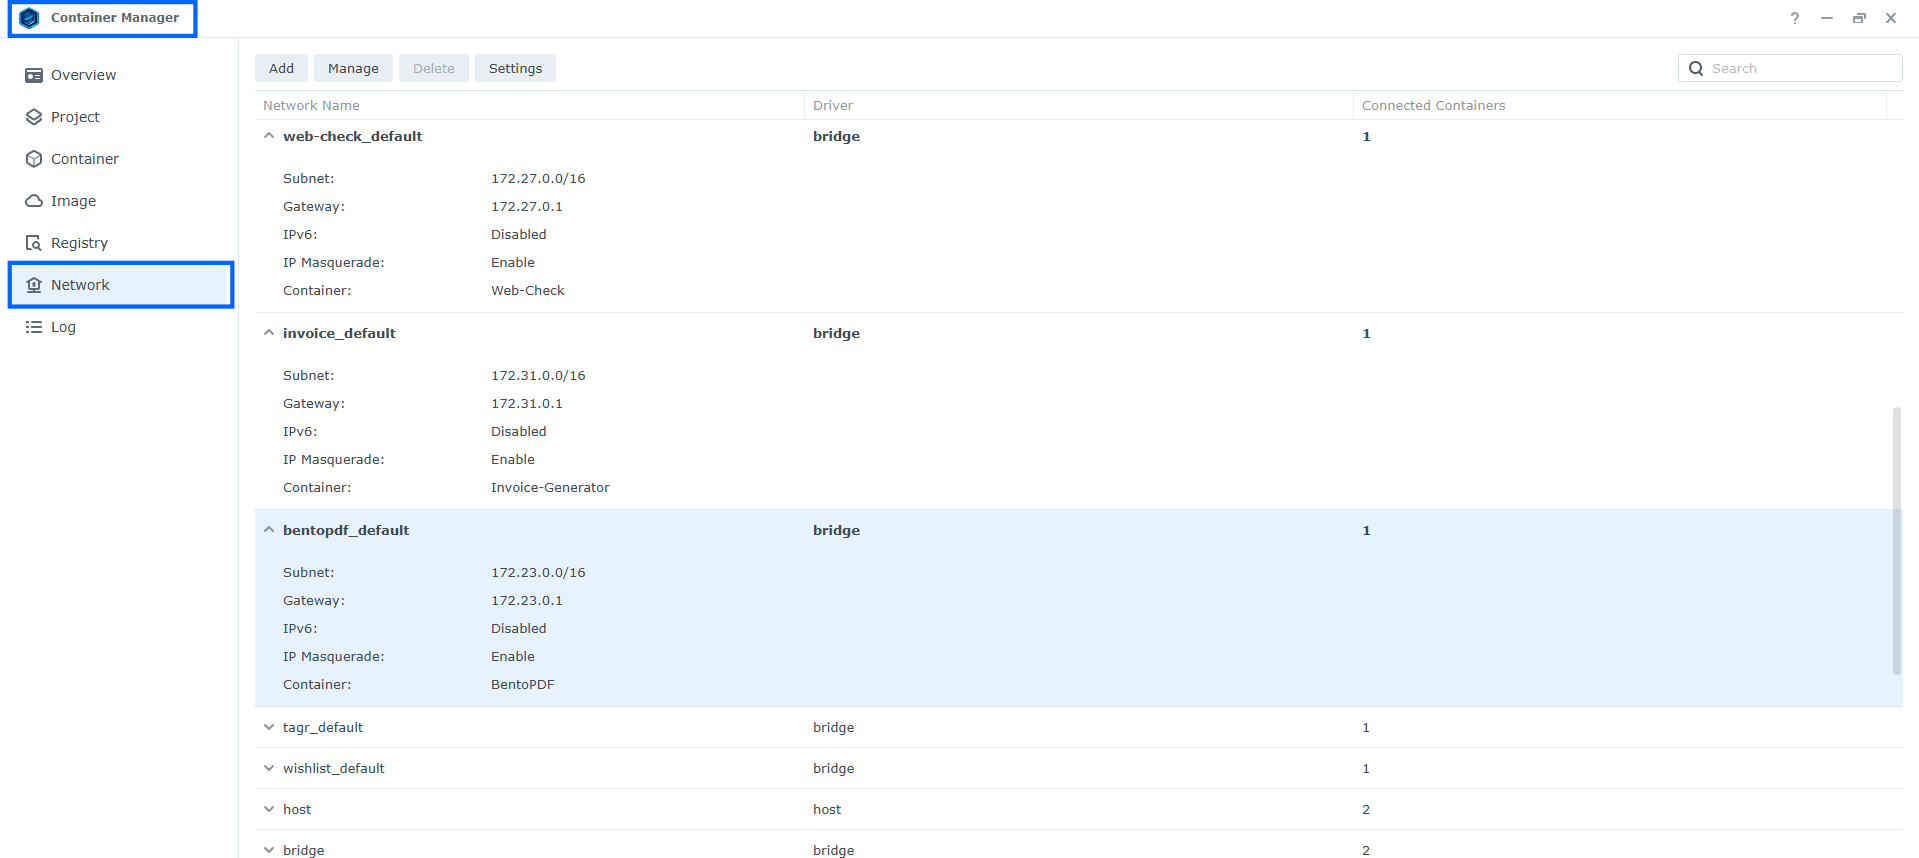
To check a free network in UGREEN, open the Docker app / left sidebar / Network.
This post was updated on Wednesday / October 14th, 2026 at 2:24 AM