Stirling-PDF is a powerful locally hosted web based PDF manipulation tool using Docker and AI that allows you to perform various operations on PDF files, such as splitting merging, converting, reorganizing, adding images, rotating, compressing, and more. In this step by step guide I will show you how to install Stirling-PDF on your Asustor NAS using Docker and Dockhand.
This guide works perfectly with the latest Stirling-PDF v2.14.1 release.
STEP 1
Please Support My work by Making a Donation.
STEP 2
Install Dockhand using my step by step guide. If you already have Dockhand installed on your Asustor NAS, skip this STEP. ⚠️Attention: Make sure you have installed the latest Dockhand version.
STEP 3
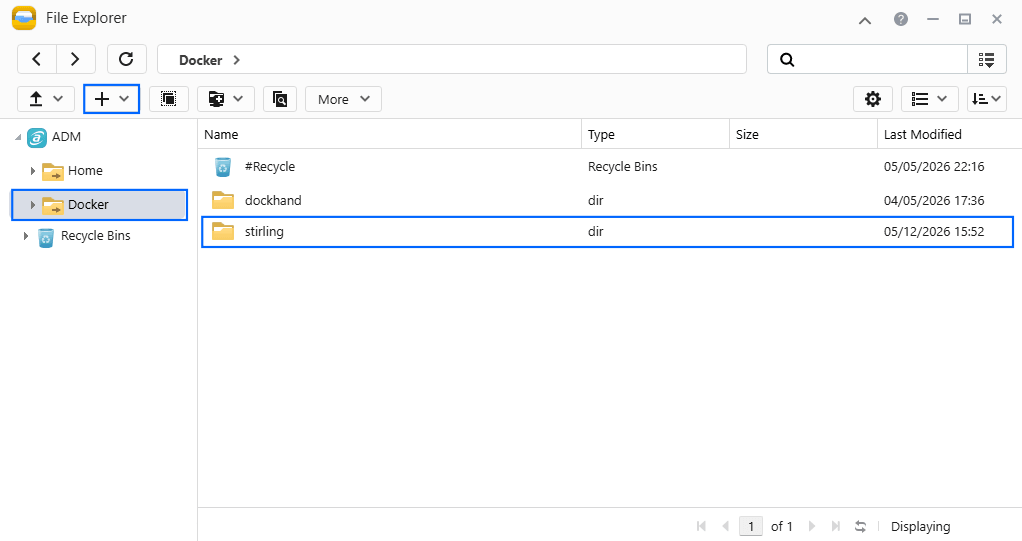
Go to File Explorer and open the Docker folder. Inside the Docker folder, create one new folder and name it stirling. Follow the instructions in the image below.
Note: Be careful to enter only lowercase, not uppercase letters.
STEP 4
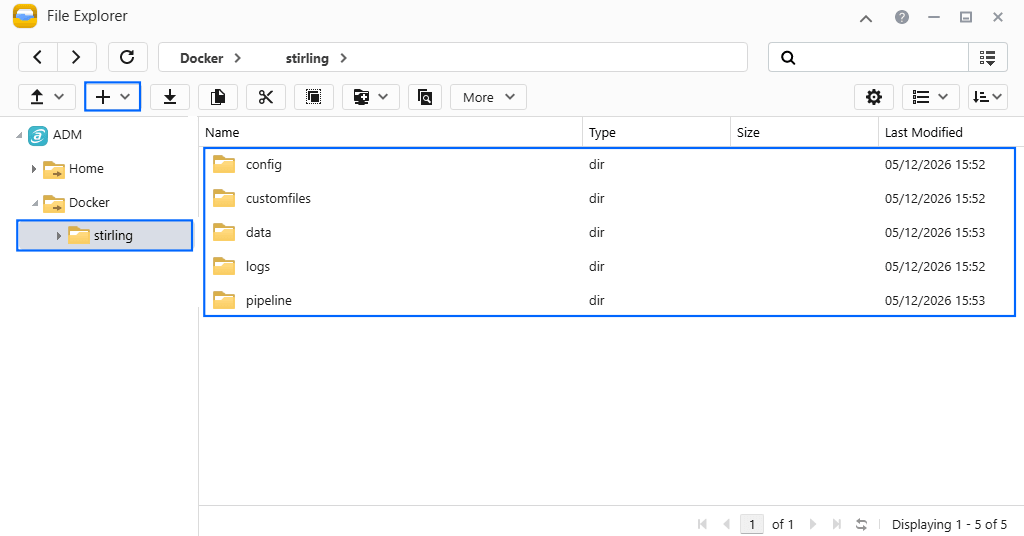
Now create five new folders inside the stirling folder that you have previously created at STEP 3 and name them config, customfiles, data, logs, pipeline. Follow the instructions in the image below.
Note: Be careful to enter only lowercase, not uppercase letters.
STEP 5
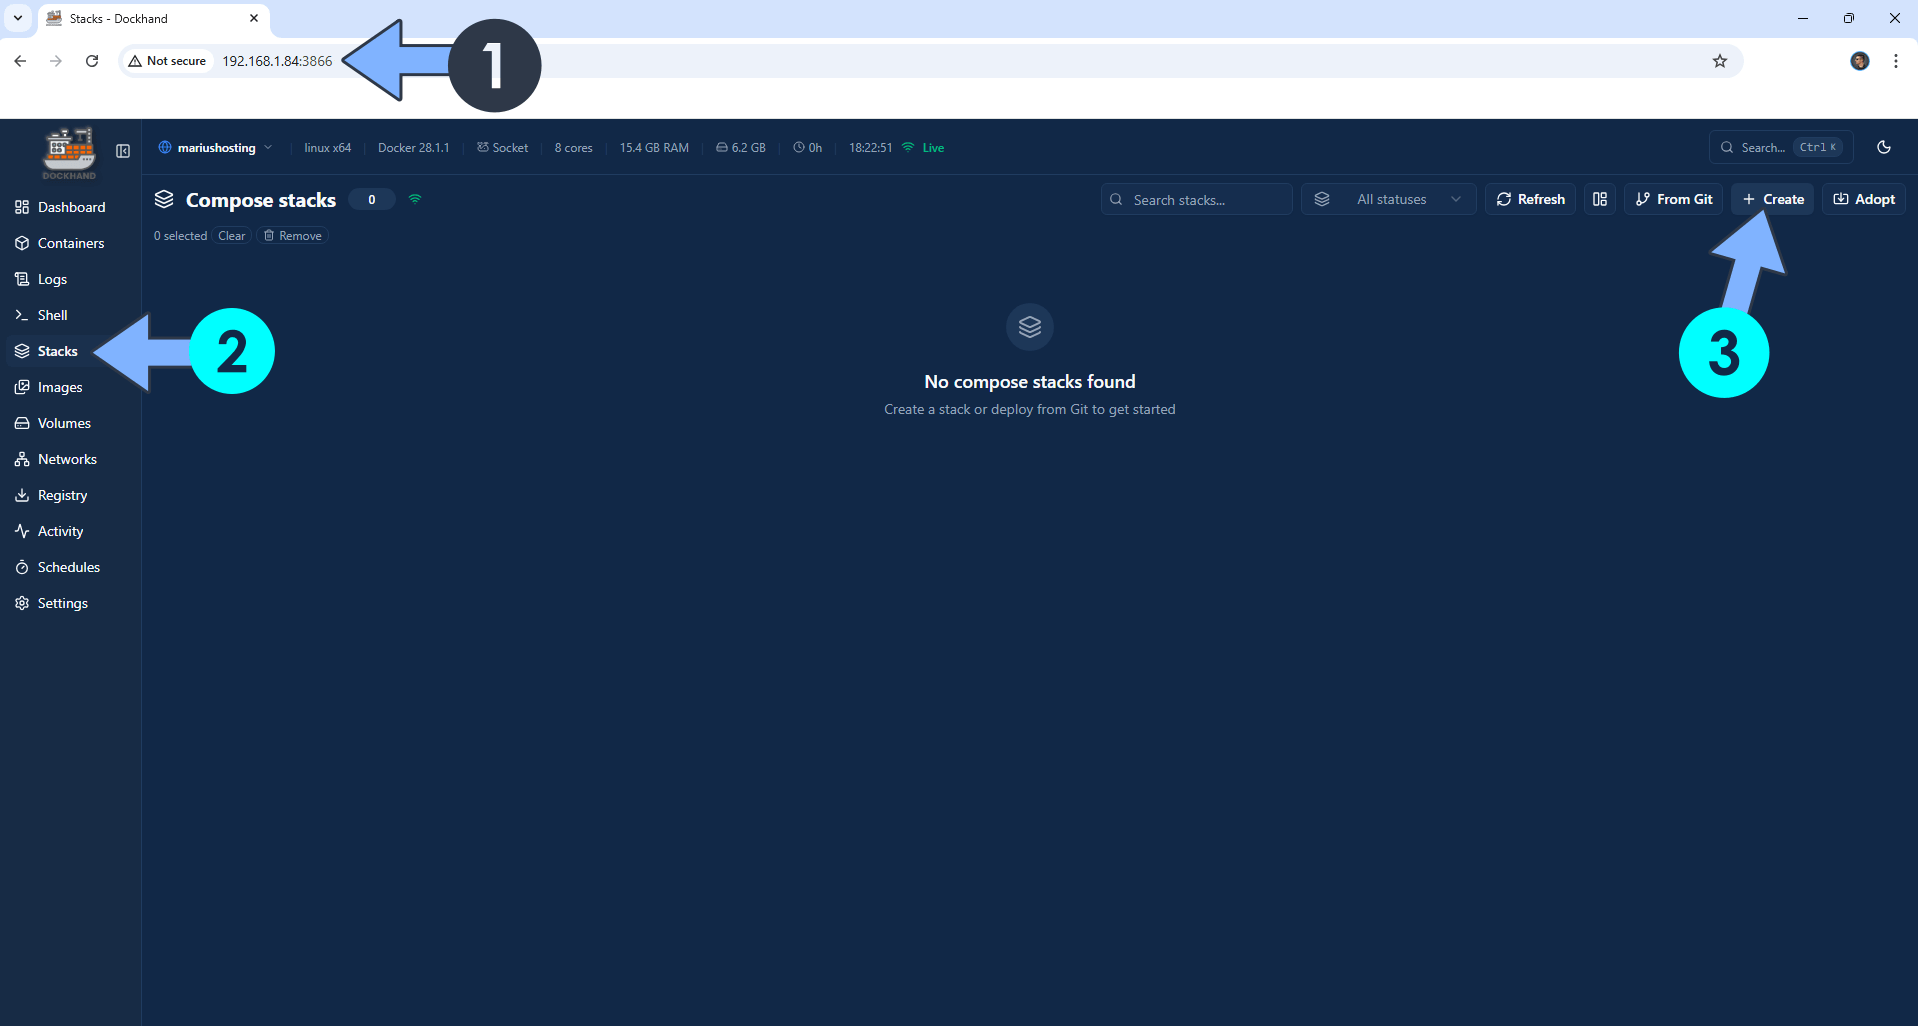
Open your browser and type in http://asustor-ip-address:3866 to connect to your Dockhand container. On the left sidebar, click Stacks then + Create. Follow the instructions in the image below.
STEP 6
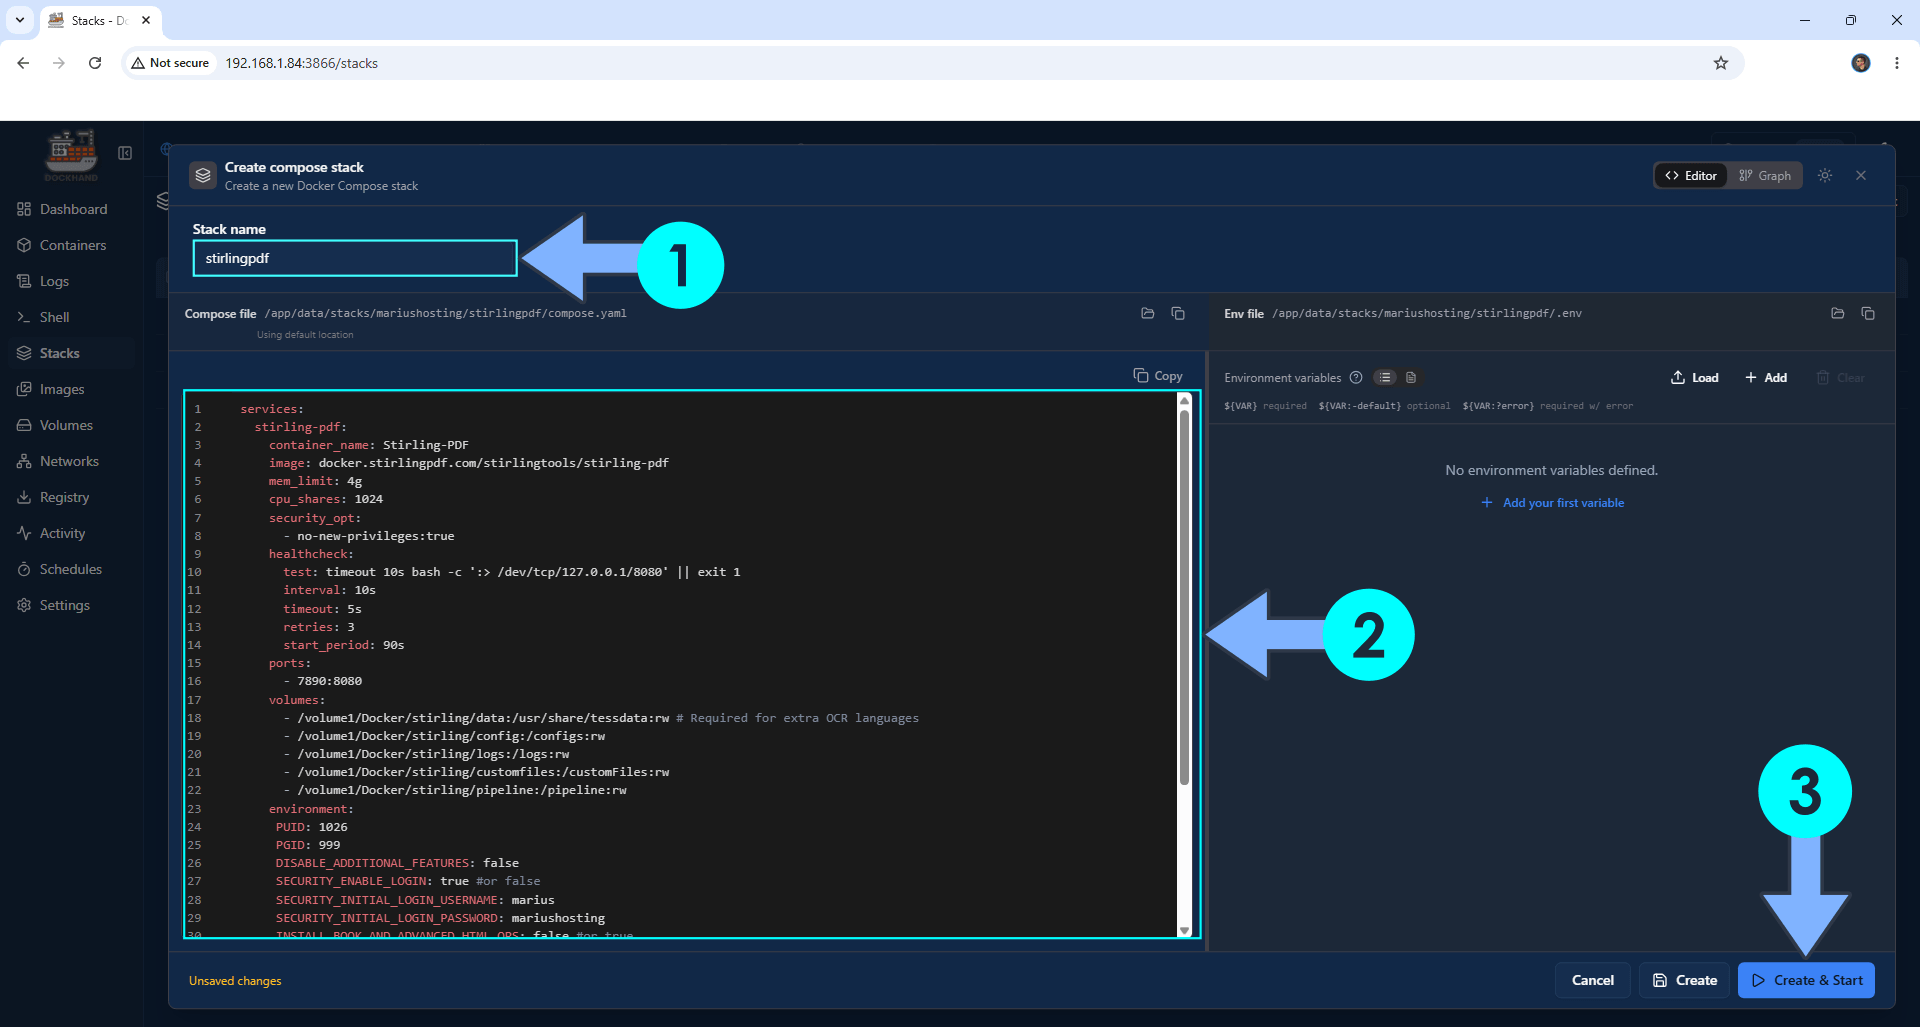
In the Stack name field, type in stirlingpdf. ⚠️Warning: Type in the name in lowercase letters. The installation process can take up to a few seconds/minutes. It will depend on your Internet speed connection. Follow the instructions in the image below.
services:
  stirling-pdf:
    container_name: Stirling-PDF
    image: docker.stirlingpdf.com/stirlingtools/stirling-pdf
    mem_limit: 4g
    cpu_shares: 1024
    security_opt:
      - no-new-privileges:true
    healthcheck:
      test: timeout 10s bash -c ':> /dev/tcp/127.0.0.1/8080' || exit 1
      interval: 10s
      timeout: 5s
      retries: 3
      start_period: 90s
    ports:
      - 7890:8080
    volumes:
      - /volume1/Docker/stirling/data:/usr/share/tessdata:rw # Required for extra OCR languages
      - /volume1/Docker/stirling/config:/configs:rw
      - /volume1/Docker/stirling/logs:/logs:rw
      - /volume1/Docker/stirling/customfiles:/customFiles:rw
      - /volume1/Docker/stirling/pipeline:/pipeline:rw
    environment:
     PUID: 999
     PGID: 10
     DISABLE_ADDITIONAL_FEATURES: false
     SECURITY_ENABLE_LOGIN: true #or false
     SECURITY_INITIAL_LOGIN_USERNAME: marius
     SECURITY_INITIAL_LOGIN_PASSWORD: mariushosting
     INSTALL_BOOK_AND_ADVANCED_HTML_OPS: false #or true
     SECURITY_CSRFDISABLED: true #or false
     SYSTEM_DEFAULTLOCALE: en-US # or fr-FR or de-DE
     UI_APPNAME: mariusPDF
     UI_HOMEDESCRIPTION: mariushosting PDF Description
     UI_APPNAMENAVBAR: mariushosting PDF
     SYSTEM_MAXFILESIZE: 999 # Set the maximum file size in MB
     METRICS_ENABLED: true
     DISABLE_PIEXEL: true
     SYSTEM_GOOGLEVISIBILITY: false # or true
    restart: on-failure:5
Note: Before you paste the code above in the Web editor area below, change the value numbers for PUID and PGID with your own values. (Follow my step by step guide on how to do this.)
Note: Before you paste the code above in the Web editor area below, change the values for SECURITY_INITIAL_LOGIN_USERNAME and type in your own username. marius is an example for a username. You will need the Username later at STEP 11. ⚠️Warning: Do NOT use Special Characters for the username.
Note: Before you paste the code above in the Web editor area below, change the values for SECURITY_INITIAL_LOGIN_PASSWORD and type in your own password. mariushosting is an example for a password. . You will need this password later at STEP 11. ⚠️Warning: Do NOT use Special Characters for the password.
Note: Before you paste the code above in the Web editor area below, change the value for SYSTEM_DEFAULTLOCALE. Examples: en-US for English, de-DE for German, fr-FR for French etc. (Select your current Default Language from this list.)
Note: Before you paste the code above in the Web editor area below, change the value for UI_APPNAME. Choose a name for the app in the Homepage. mariusPDF is an example of a Homepage name.
Note: Before you paste the code above in the Web editor area below, change the value for UI_HOMEDESCRIPTION. Choose a name for the app Description. mariushosting PDF Description is an example of a Description.
Note: Before you paste the code above in the Web editor area below, change the value for UI_APPNAMENAVBAR. Choose a name for the Navigation bar. mariushosting PDF is an example of a Navigation bar name.
STEP 7
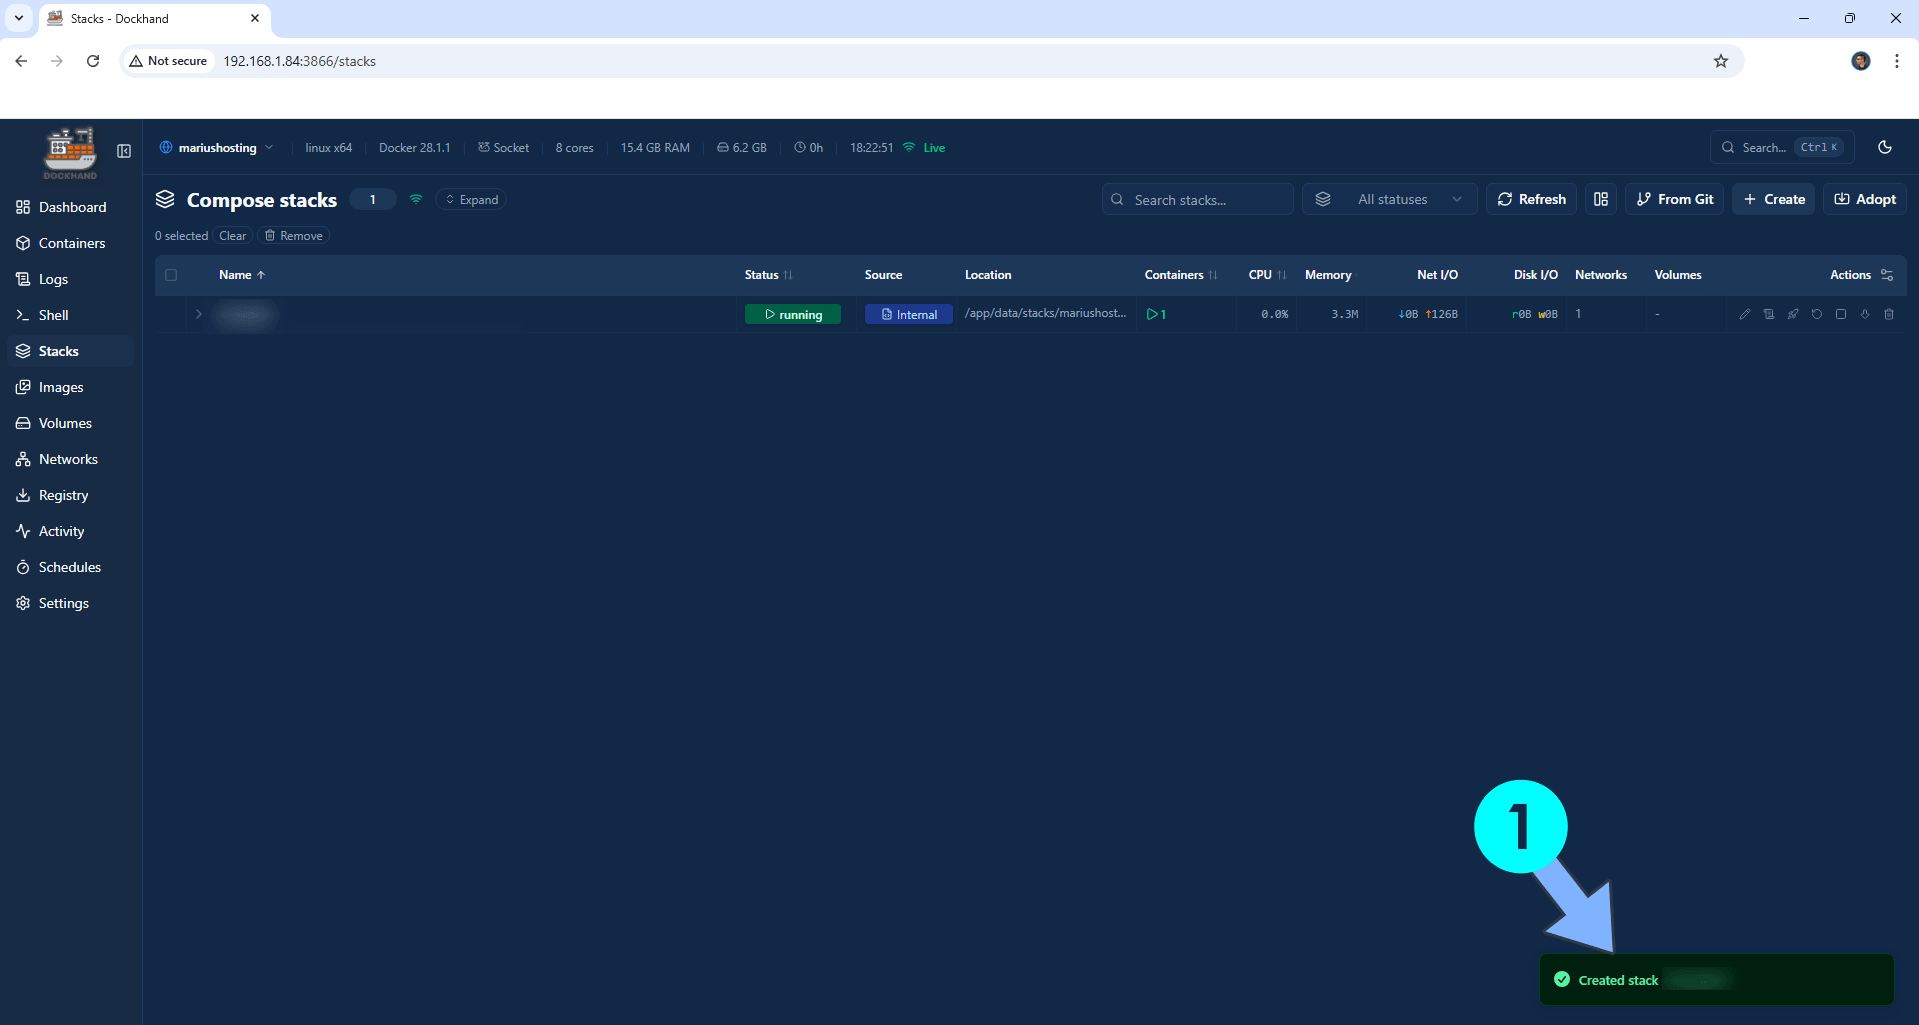
If everything goes right, you will see the following message at the bottom right of your screen: “Created stack “stirlingpdf”“.
STEP 8
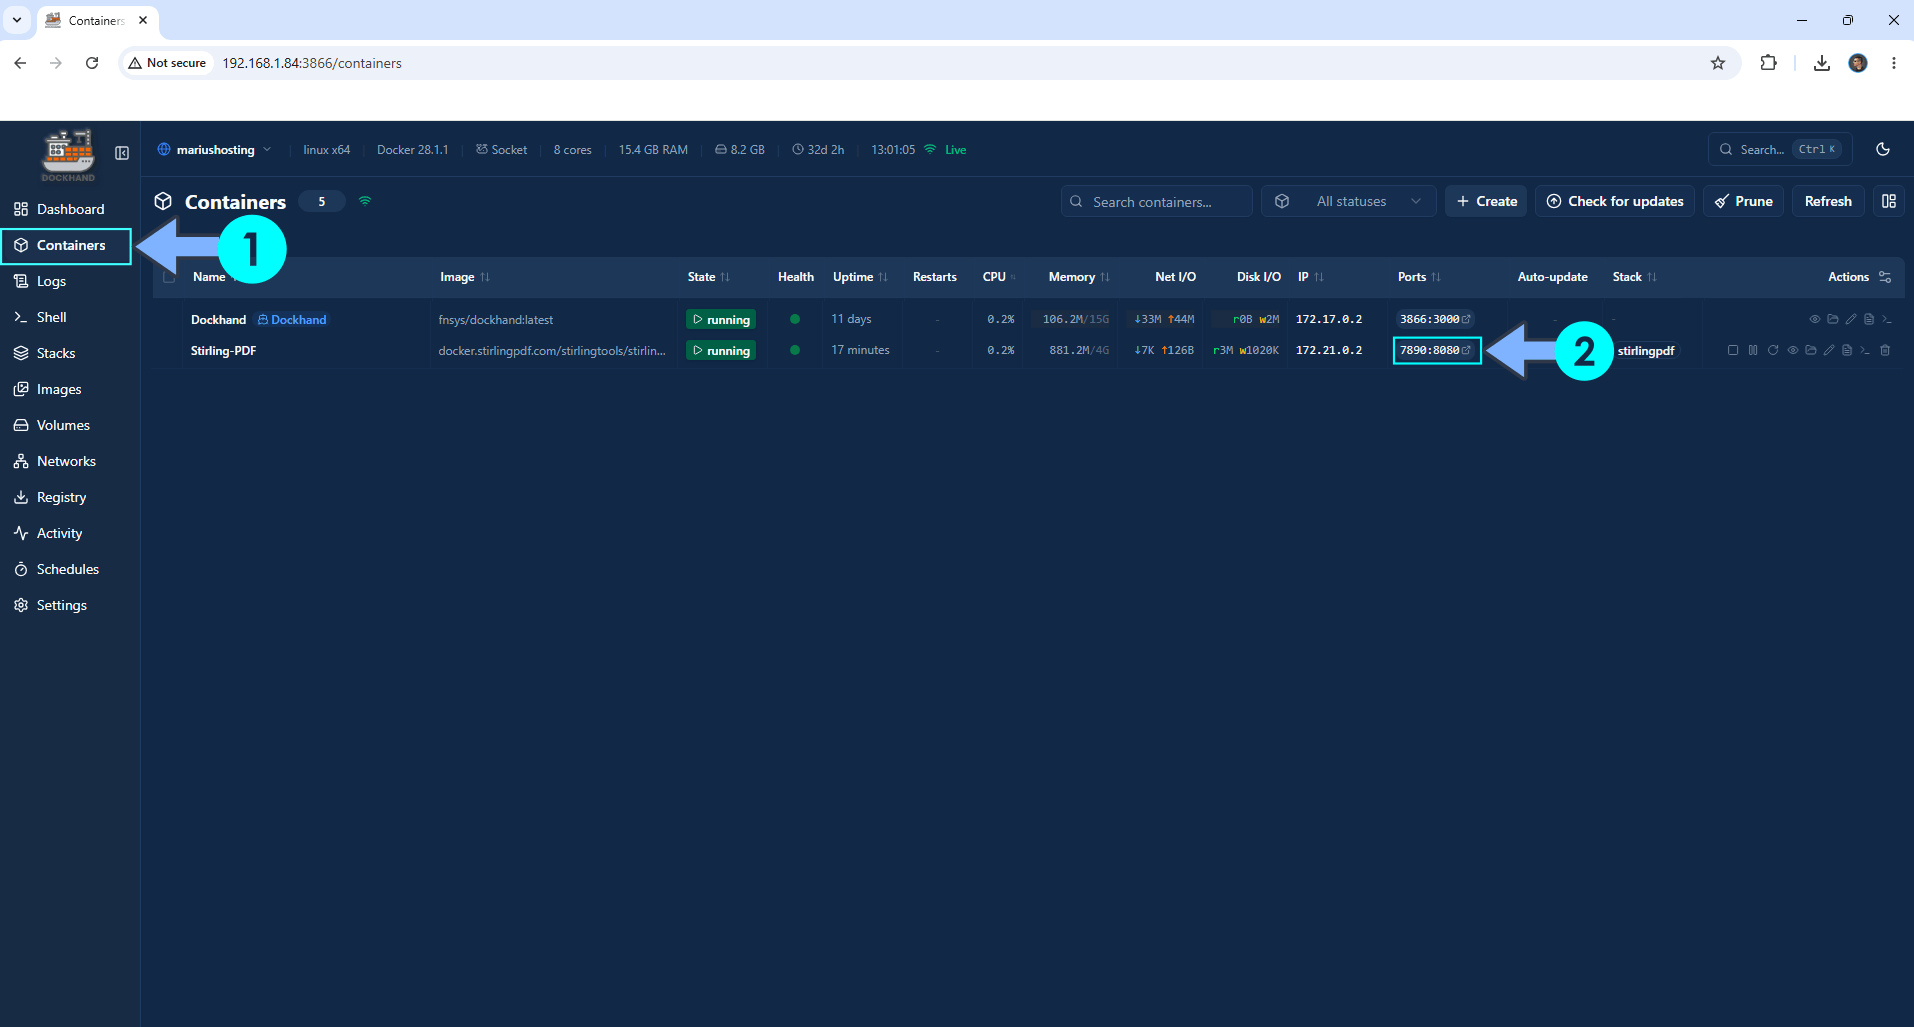
On the left sidebar, click Containers. Identify your Stirling-PDF container then click on ports 7890:8080. Follow the instructions in the image below.
STEP 9
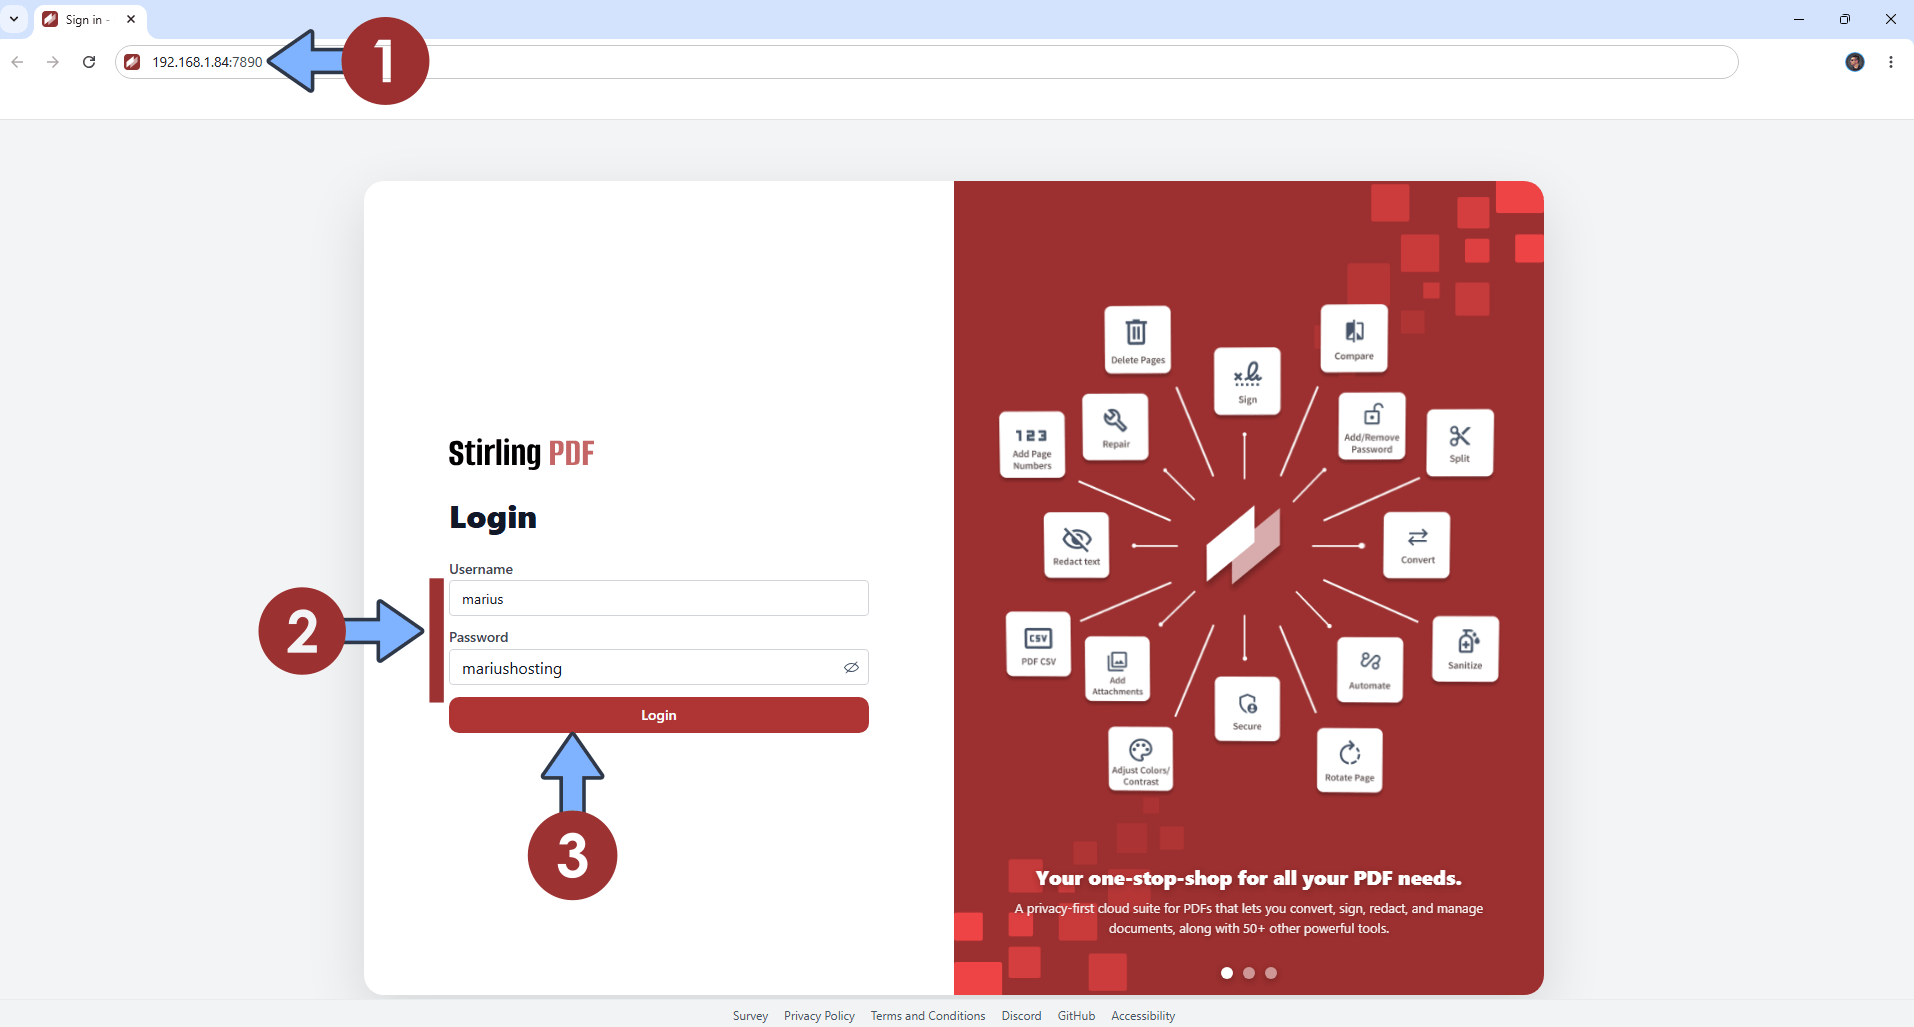
The installation process can take up to a few seconds/minutes. It will depend on your Internet speed connection. Now open your browser and type in http://asustor-ip-address:7890 Add your own Username and Password that you have previously created at STEP 6 then click Login. Follow the instructions in the image below.
STEP 10
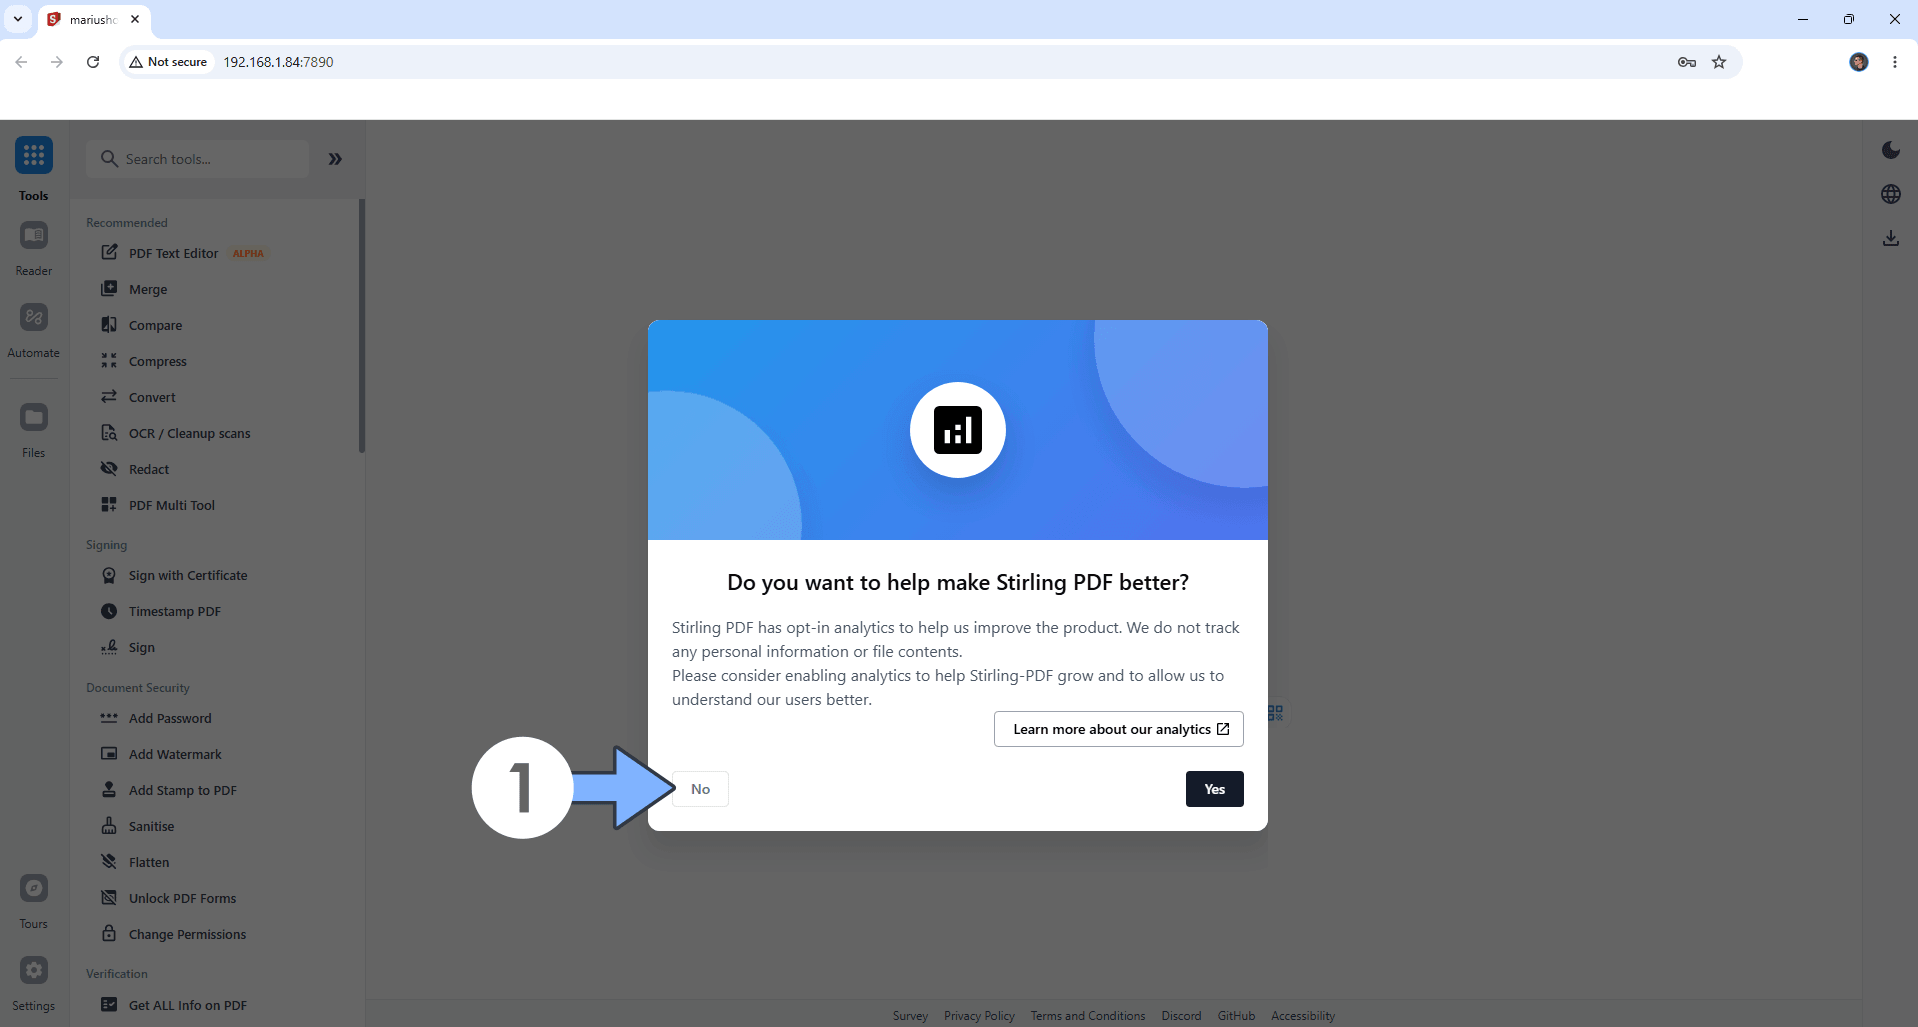
Click No to Disable Analytics/Telemetry. Follow the instructions in the image below.
STEP 11
Skip the Stirling PDF tour.
STEP 12
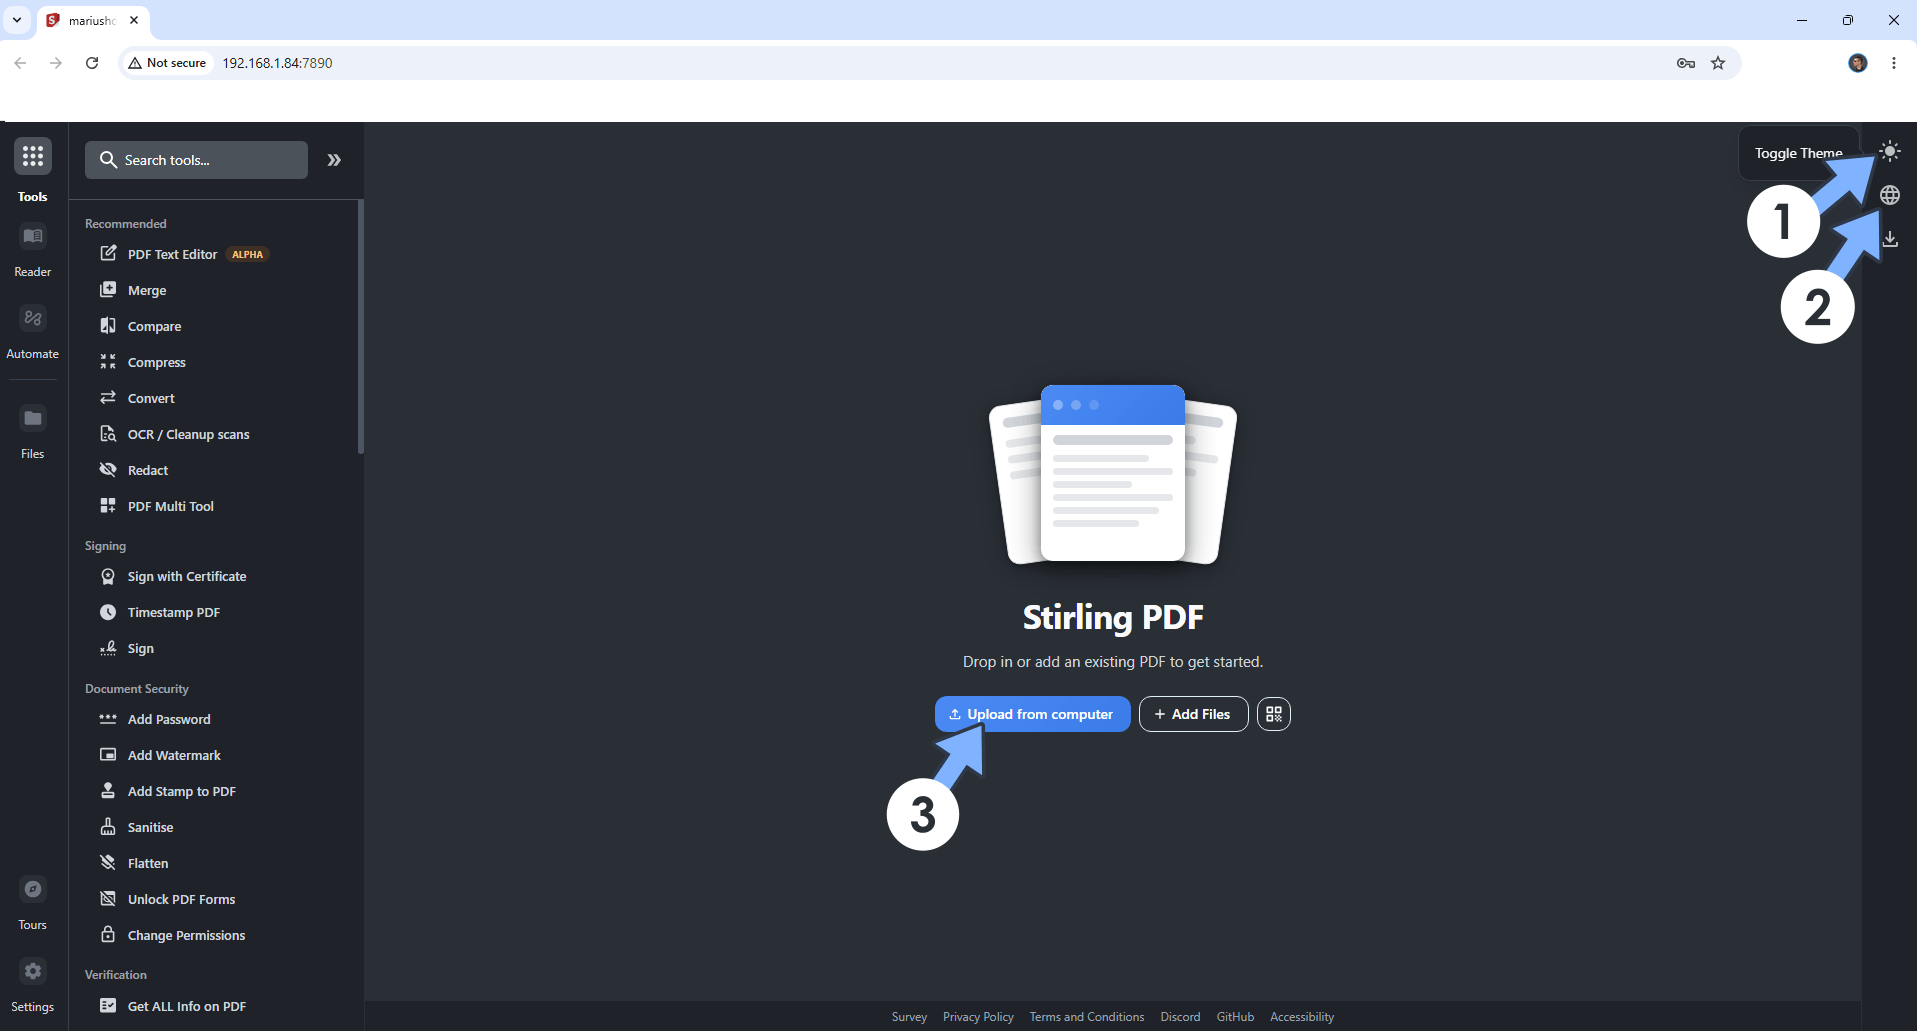
Your Stirling PDF dashboard at a glance! You can easily change the language and the theme from light to dark. Upload your first document. Follow the instructions in the image below.
STEP 13
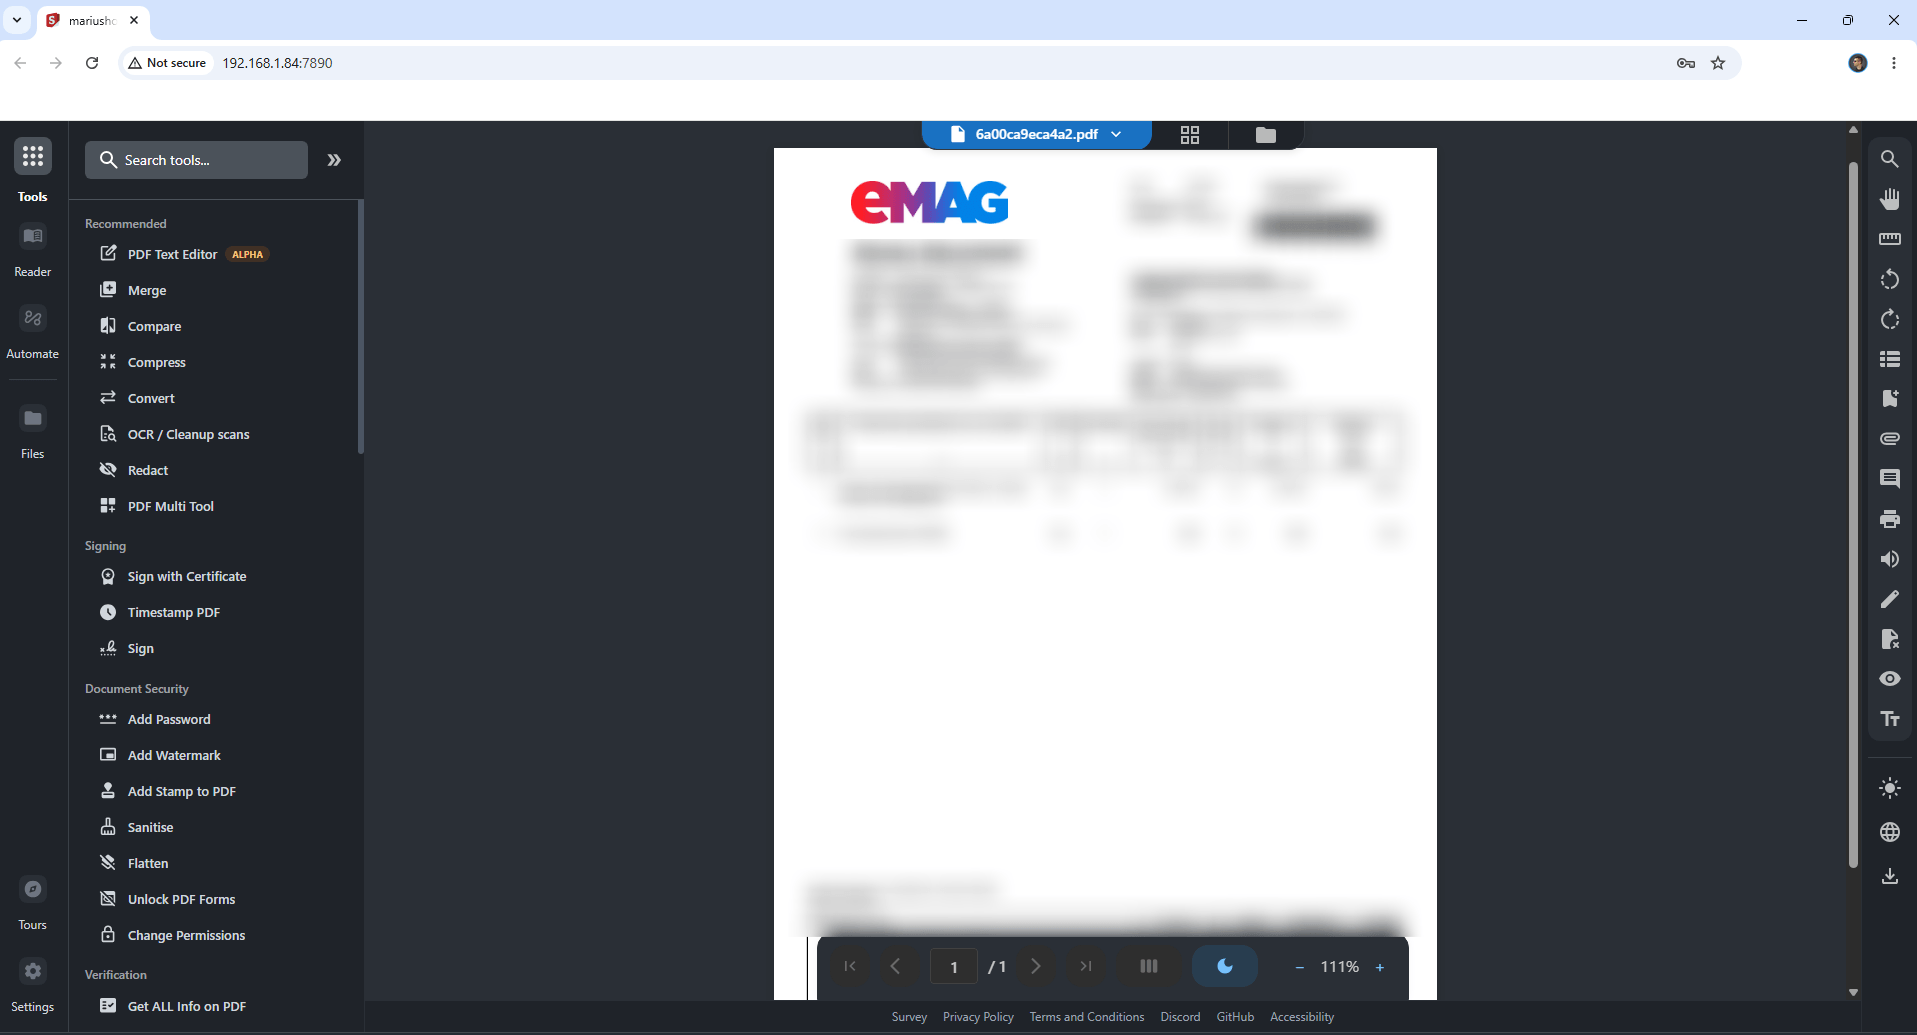
Your document at a glance!
Enjoy Stirling-PDF on your Asustor NAS!
This post was updated on Wednesday / July 8th, 2026 at 5:00 PM