
Grimmory is a self-hosted application for managing your entire book collection in one place. It lets you organize books with smart rule-based shelves and full-text search, fetch metadata automatically, read and annotate PDFs/EPUBs/comics in a built-in browser, sync progress across devices (including Kobo and KOReader via OPDS), support multiple users, import books automatically from watched folders, and share titles easily with others or to devices like Kindle, all without depending on third-party cloud services. Grimmory serves as the successor to BookLore. In this step by step guide I will show you how to install Grimmory on your Asustor NAS using Docker & Dockhand.
This guide works perfectly with the latest Grimmory v3.2.4 release.
STEP 1
Please Support My work by Making a Donation.
STEP 2
Install Dockhand using my step by step guide. If you already have Dockhand installed on your Asustor NAS, skip this STEP. ⚠️Attention: Make sure you have installed the latest Dockhand version.
STEP 3
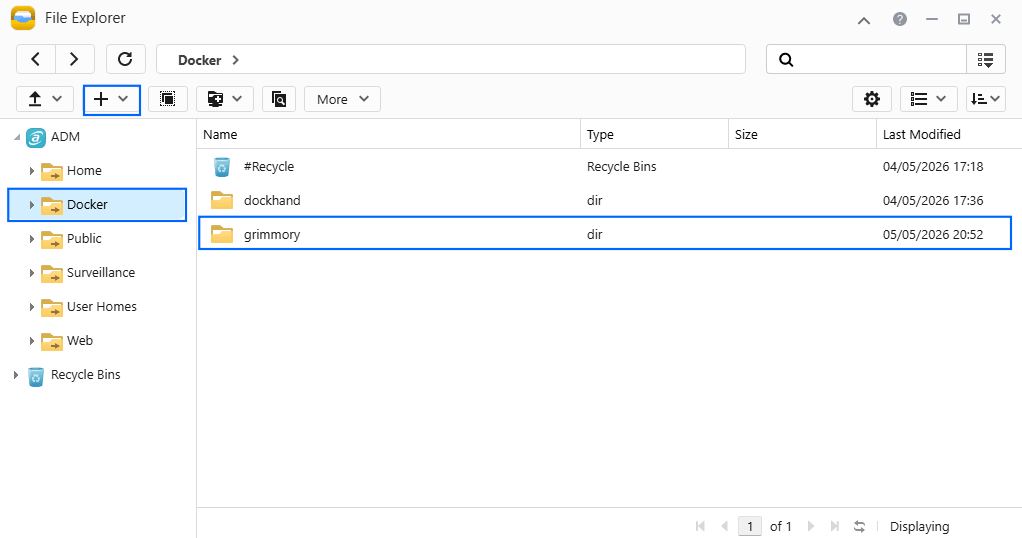
Go to File Explorer and open the Docker folder. Inside the Docker folder, create one new folder and name it pihole. Follow the instructions in the image below.
Note: Be careful to enter only lowercase, not uppercase letters.
STEP 4
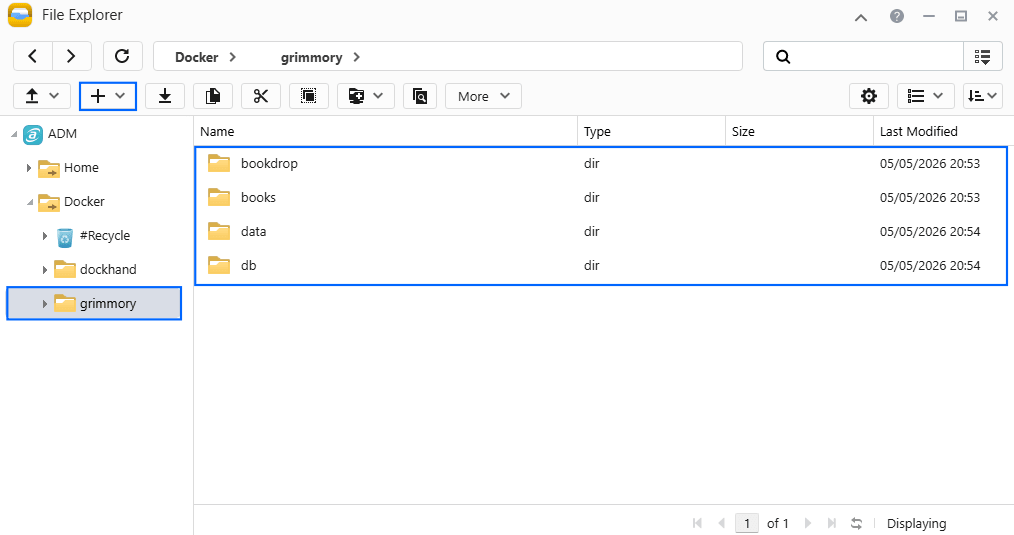
Now create four new folders inside the grimmory folder that you have previously created at STEP 3 and name them bookdrop, books, data, db. Follow the instructions in the image below.
Note: Be careful to enter only lowercase, not uppercase letters.
STEP 5
Populate the books folder that you have previously created at STEP 4 with your CBZ, CBR, PDF, EPUB files.
STEP 6
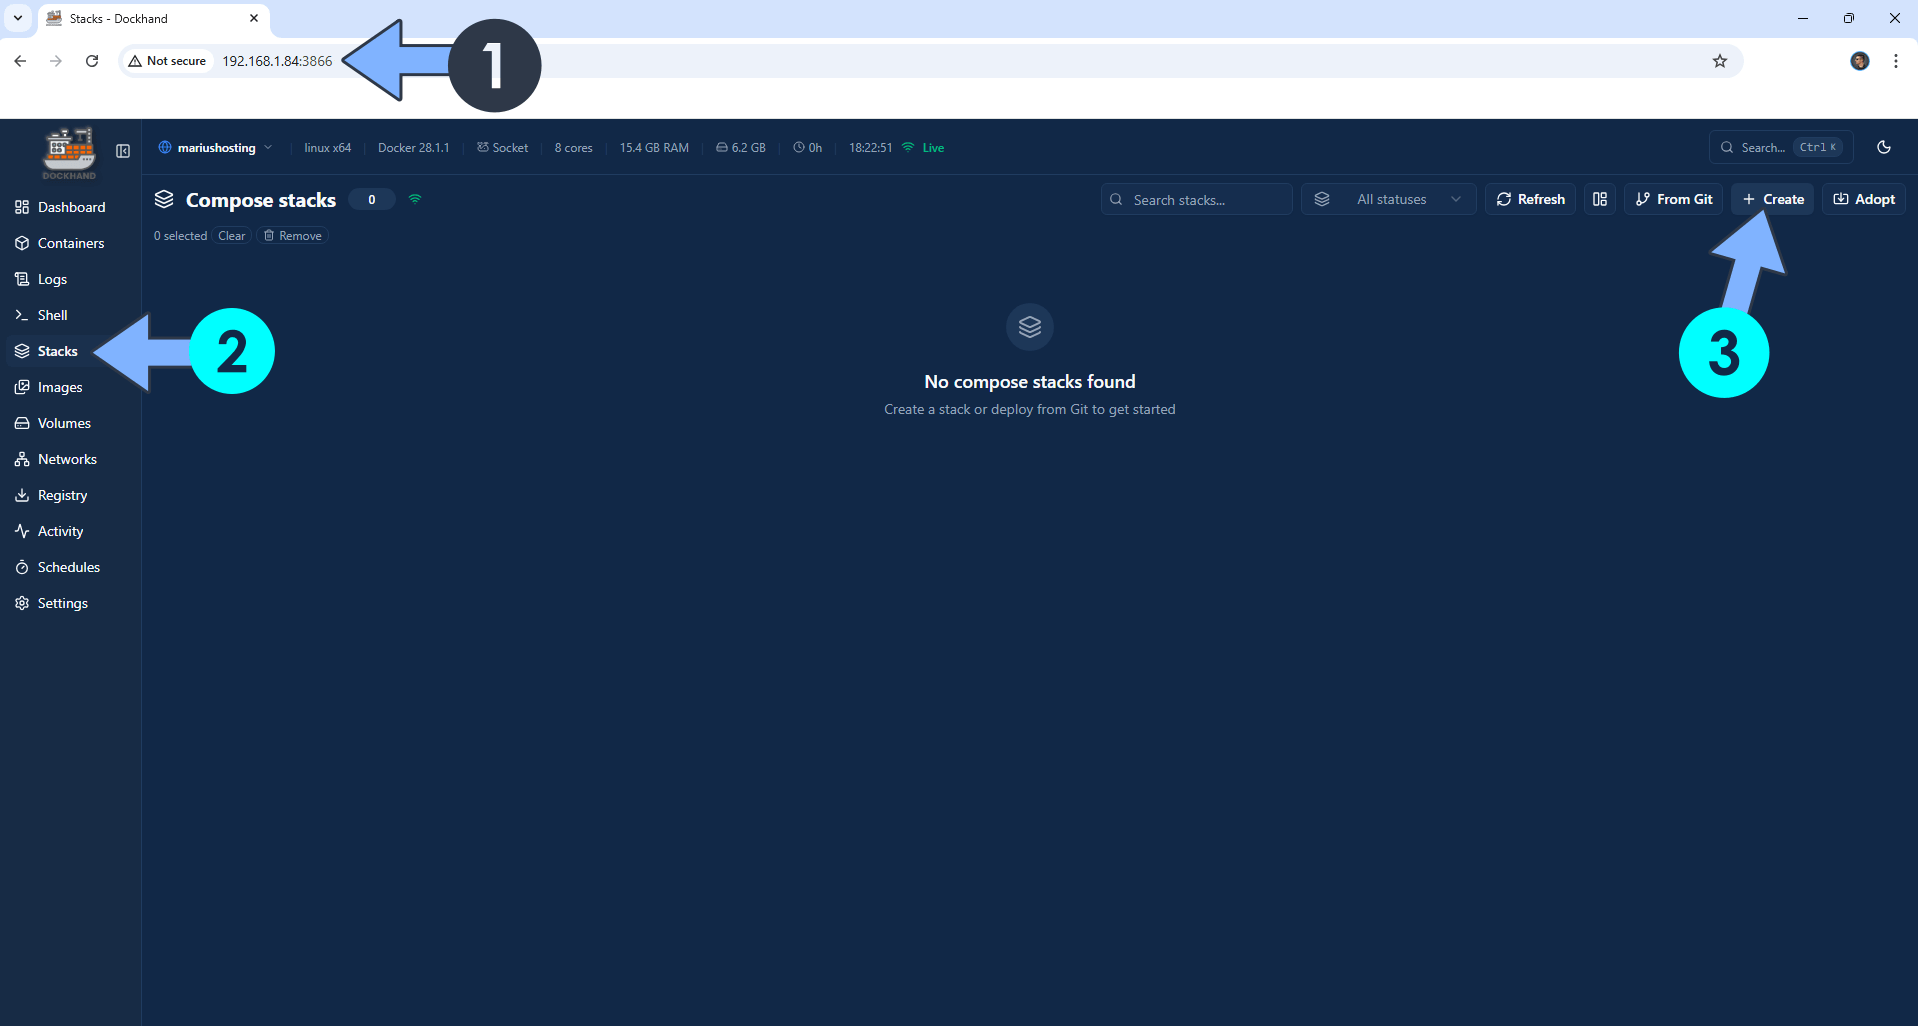
Open your browser and type in http://asustor-ip-address:3866 to connect to your Dockhand container. On the left sidebar, click Stacks then + Create. Follow the instructions in the image below.
STEP 7
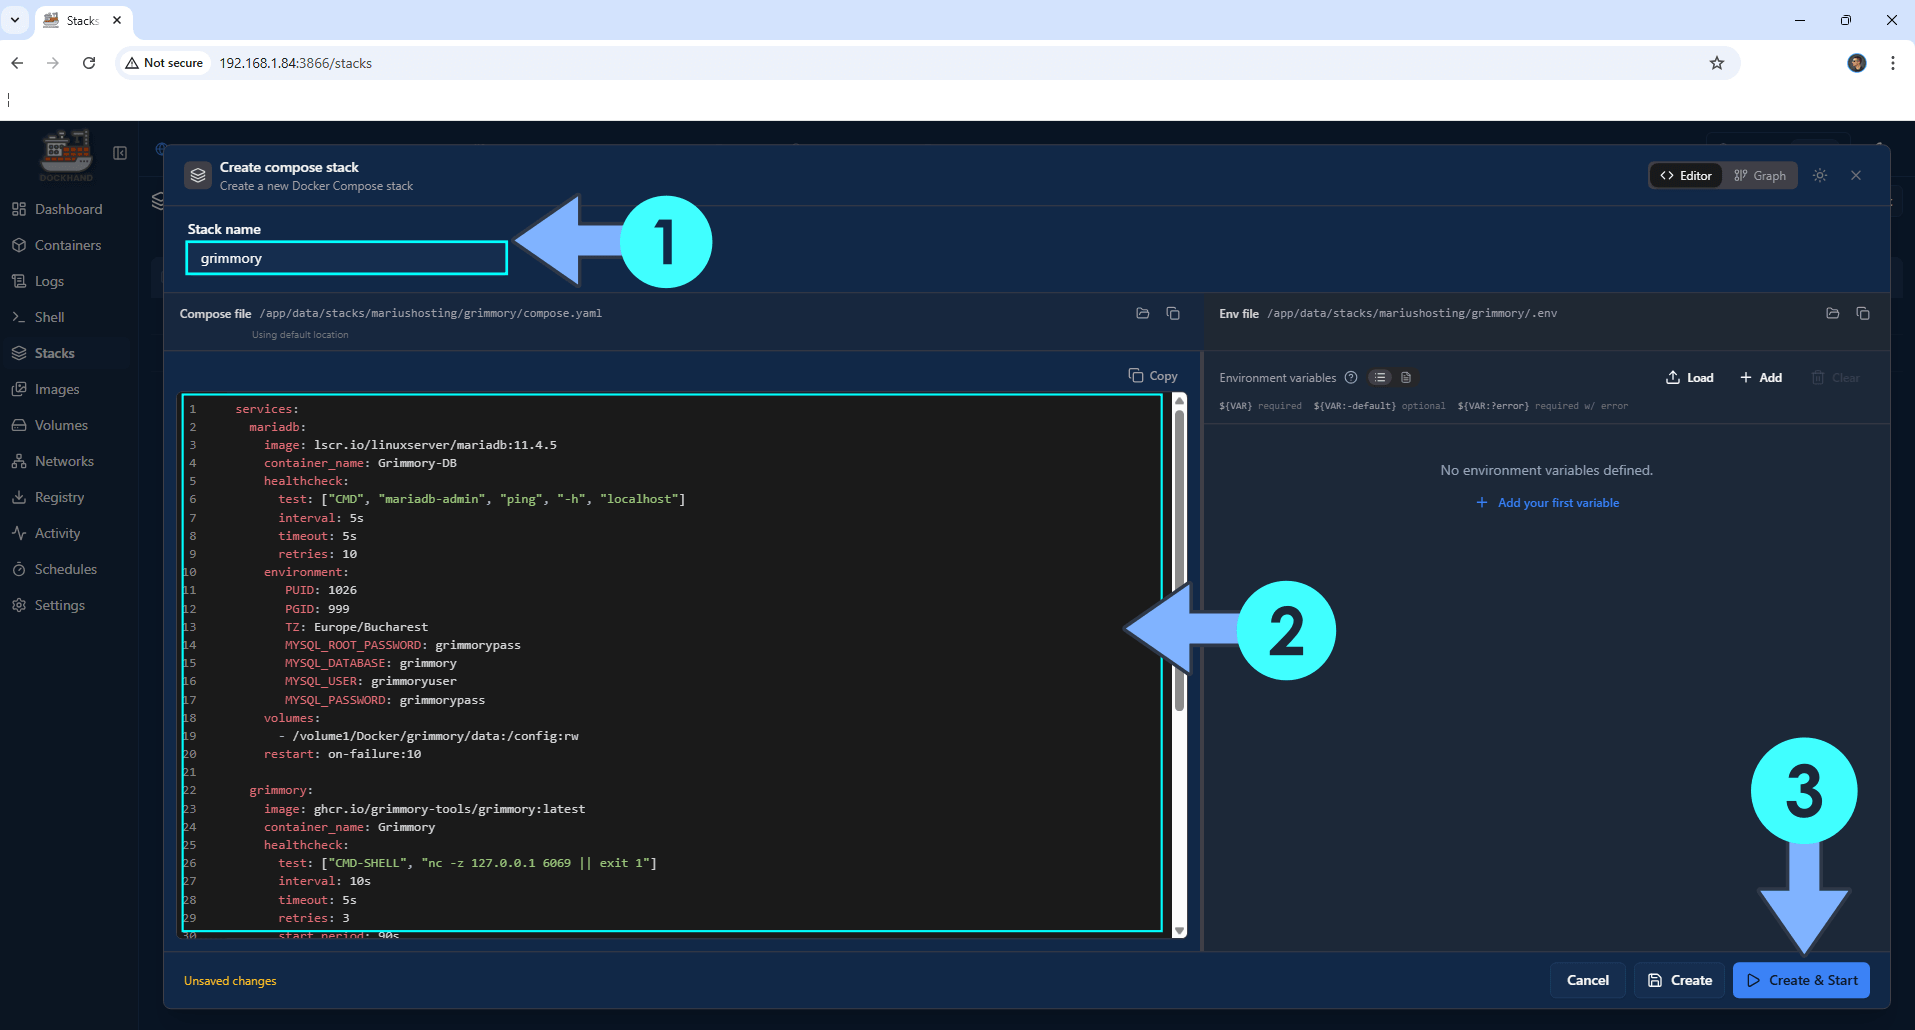
In the Stack name field, type in grimmory. ⚠️Warning: Type in the name in lowercase letters. The installation process can take up to a few seconds/minutes. It will depend on your Internet speed connection. Follow the instructions in the image below.
services:
  mariadb:
    image: lscr.io/linuxserver/mariadb:11.4.5
    container_name: Grimmory-DB
    healthcheck:
      test: ["CMD", "mariadb-admin", "ping", "-h", "localhost"]
      interval: 5s
      timeout: 5s
      retries: 10
    environment:
       PUID: 1026
       PGID: 999
       TZ: Europe/Bucharest
       MYSQL_ROOT_PASSWORD: grimmorypass
       MYSQL_DATABASE: grimmory
       MYSQL_USER: grimmoryuser
       MYSQL_PASSWORD: grimmorypass
    volumes:
      - /volume1/Docker/grimmory/data:/config:rw
    restart: on-failure:10

  grimmory:
    image: ghcr.io/grimmory-tools/grimmory:latest
    container_name: Grimmory
    healthcheck:
      test: ["CMD-SHELL", "nc -z 127.0.0.1 6069 || exit 1"]
      interval: 10s
      timeout: 5s
      retries: 3
      start_period: 90s
    environment:
      USER_ID: 1026
      GROUP_ID: 999
      TZ: Europe/Bucharest
      ALLOWED_ORIGINS: "*"
      DATABASE_URL: jdbc:mariadb://mariadb:3306/grimmory #Or jdbc:mariadb://grimmory-db:3306/grimmory if you Experience Connection Issues.
      DATABASE_USERNAME: grimmoryuser
      DATABASE_PASSWORD: grimmorypass
      BOOKLORE_PORT: 6069
    depends_on:
      mariadb:
        condition: service_started
    ports:
      - 6069:6069
    volumes:
      - /volume1/Docker/grimmory/data:/app/data:rw
      - /volume1/Docker/grimmory/books:/books:rw
      - /volume1/Docker/grimmory/bookdrop:/bookdrop:rw #Files inside the bookdrop folder are automatically detected.
    restart: on-failure:10
Note: Before you paste the code above in the Web editor area below, change the value for TZ. (Select your current Time Zone from this list.)
Note: Before you paste the code above in the Web editor area below, change the value numbers for PUID and PGID with your own PUID and PGID values. (Follow my step by step guide on how to do this.)
Note: Before you paste the code above in the Web editor area below, change the value numbers for USER_ID and GROUP_ID with your own USER_ID and USER_ID values. (Follow my step by step guide on how to do this.)
STEP 8
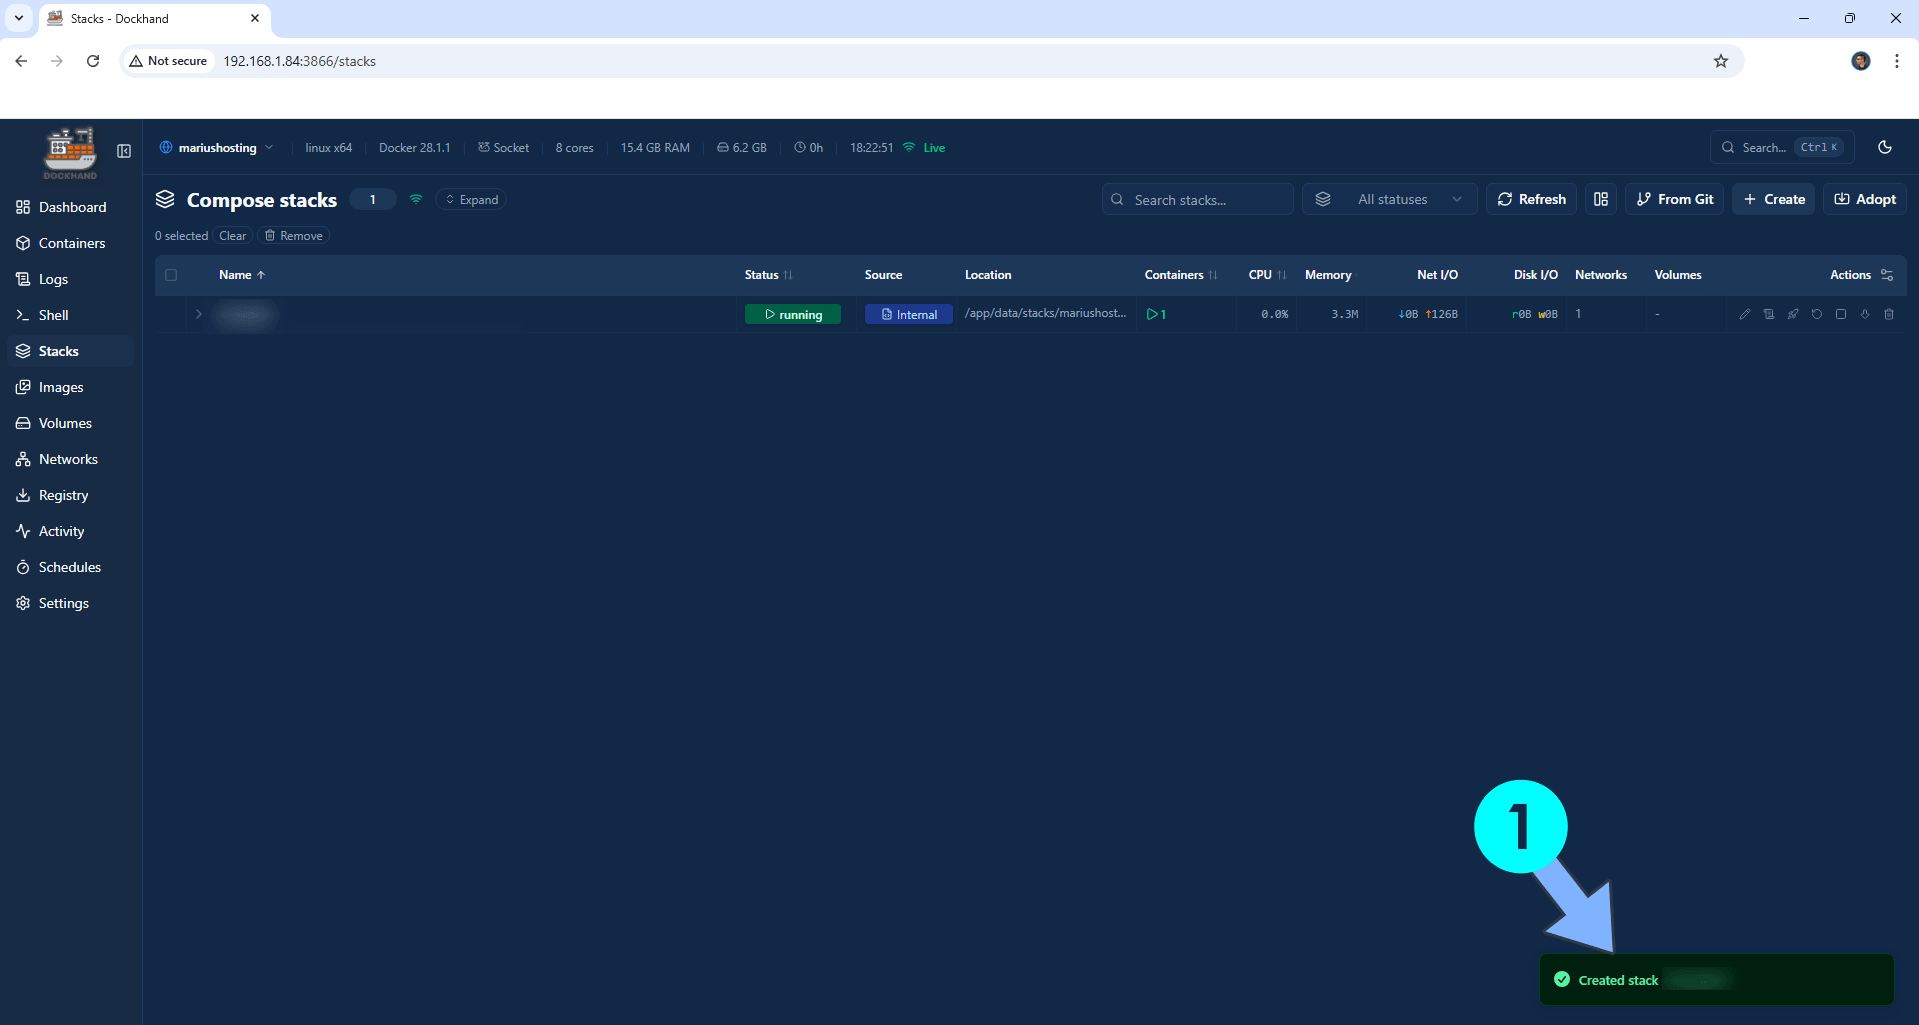
If everything goes right, you will see the following message at the bottom right of your screen: “Created stack “grimmory”“.
STEP 9
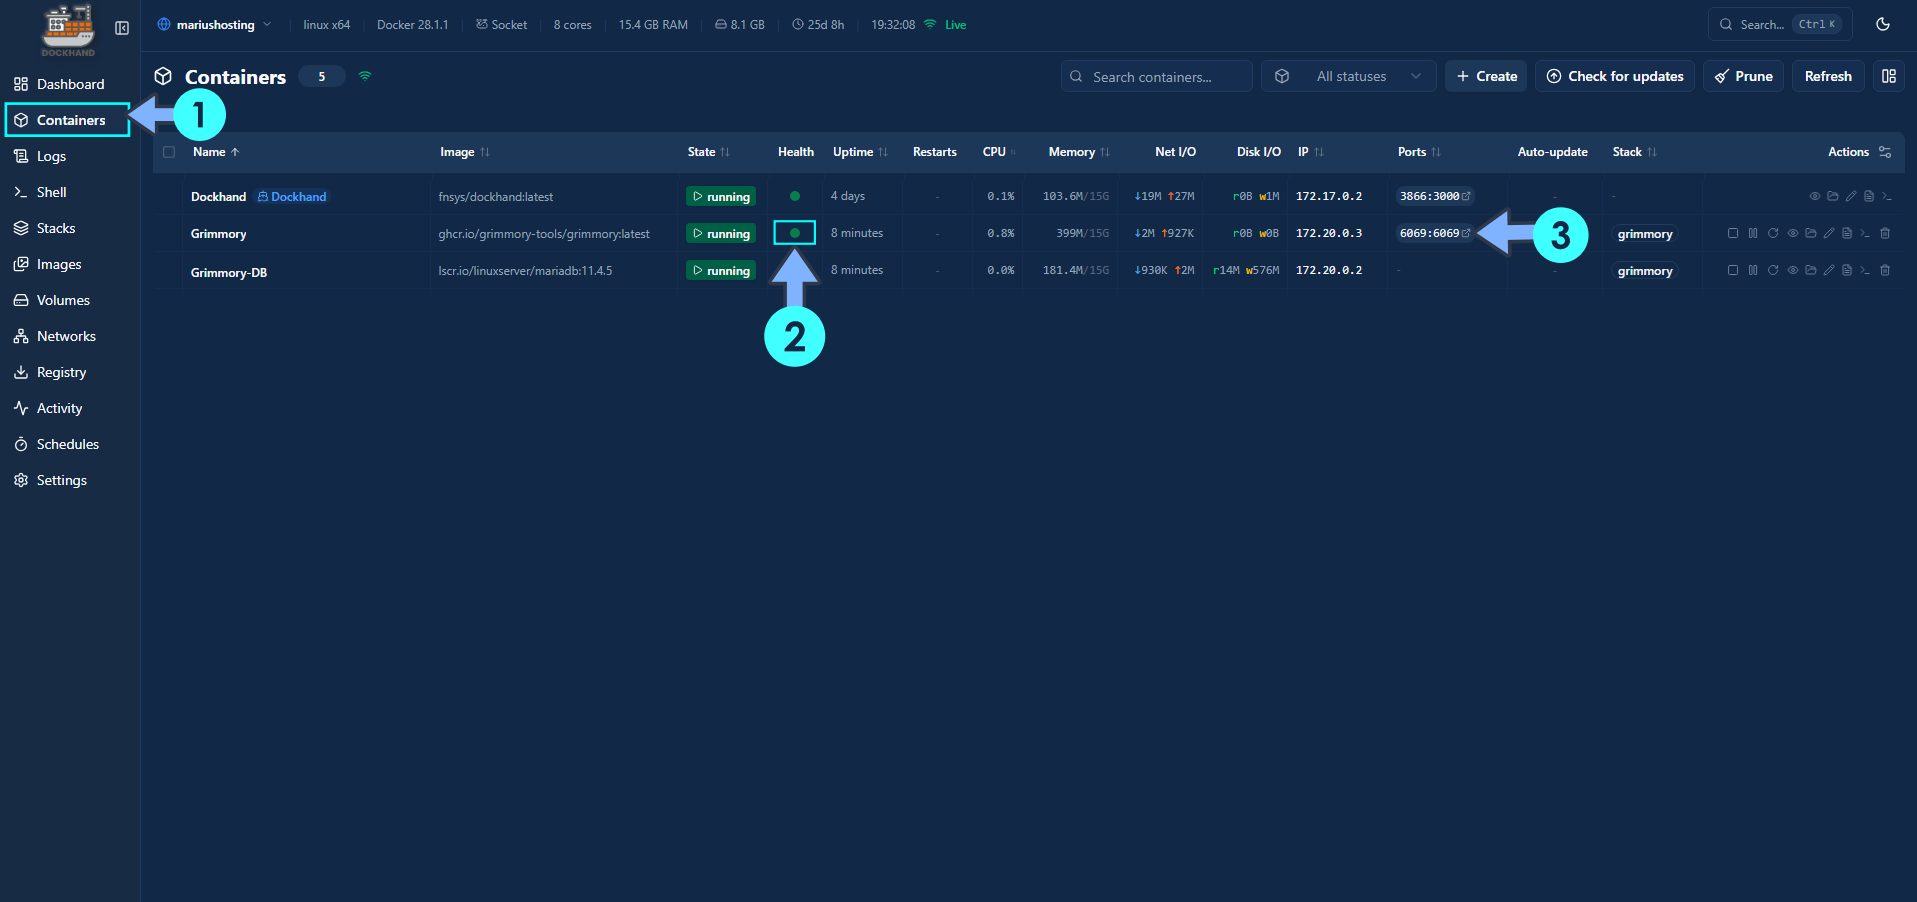
On the left sidebar, click Containers. Identify your Grimmory container then click on ports 6069:6069. Please wait approximately 10 minutes or you will get a blank web page if you try to connect too soon. This container needs 10 minutes to be fully installed. Refresh this page from time to time until the Health status is green. Follow the instructions in the image below.
STEP 10
🟢Please Support My work by Making a Donation. Almost 99,9% of the people that install something using my guides forget to support my work, or just ignore STEP 1. I’ve been very honest about this aspect of my work since the beginning: I don’t run any ADS, I don’t require subscriptions, paid or otherwise, I don’t collect IPs, emails, and I don’t have any referral links from Amazon or other merchants. I also don’t have any POP-UPs or COOKIES. I have repeatedly been told over the years how much I have contributed to the community. It’s something I love doing and have been honest about my passion since the beginning. But I also Need The Community to Support me Back to be able to continue doing this work.
STEP 11
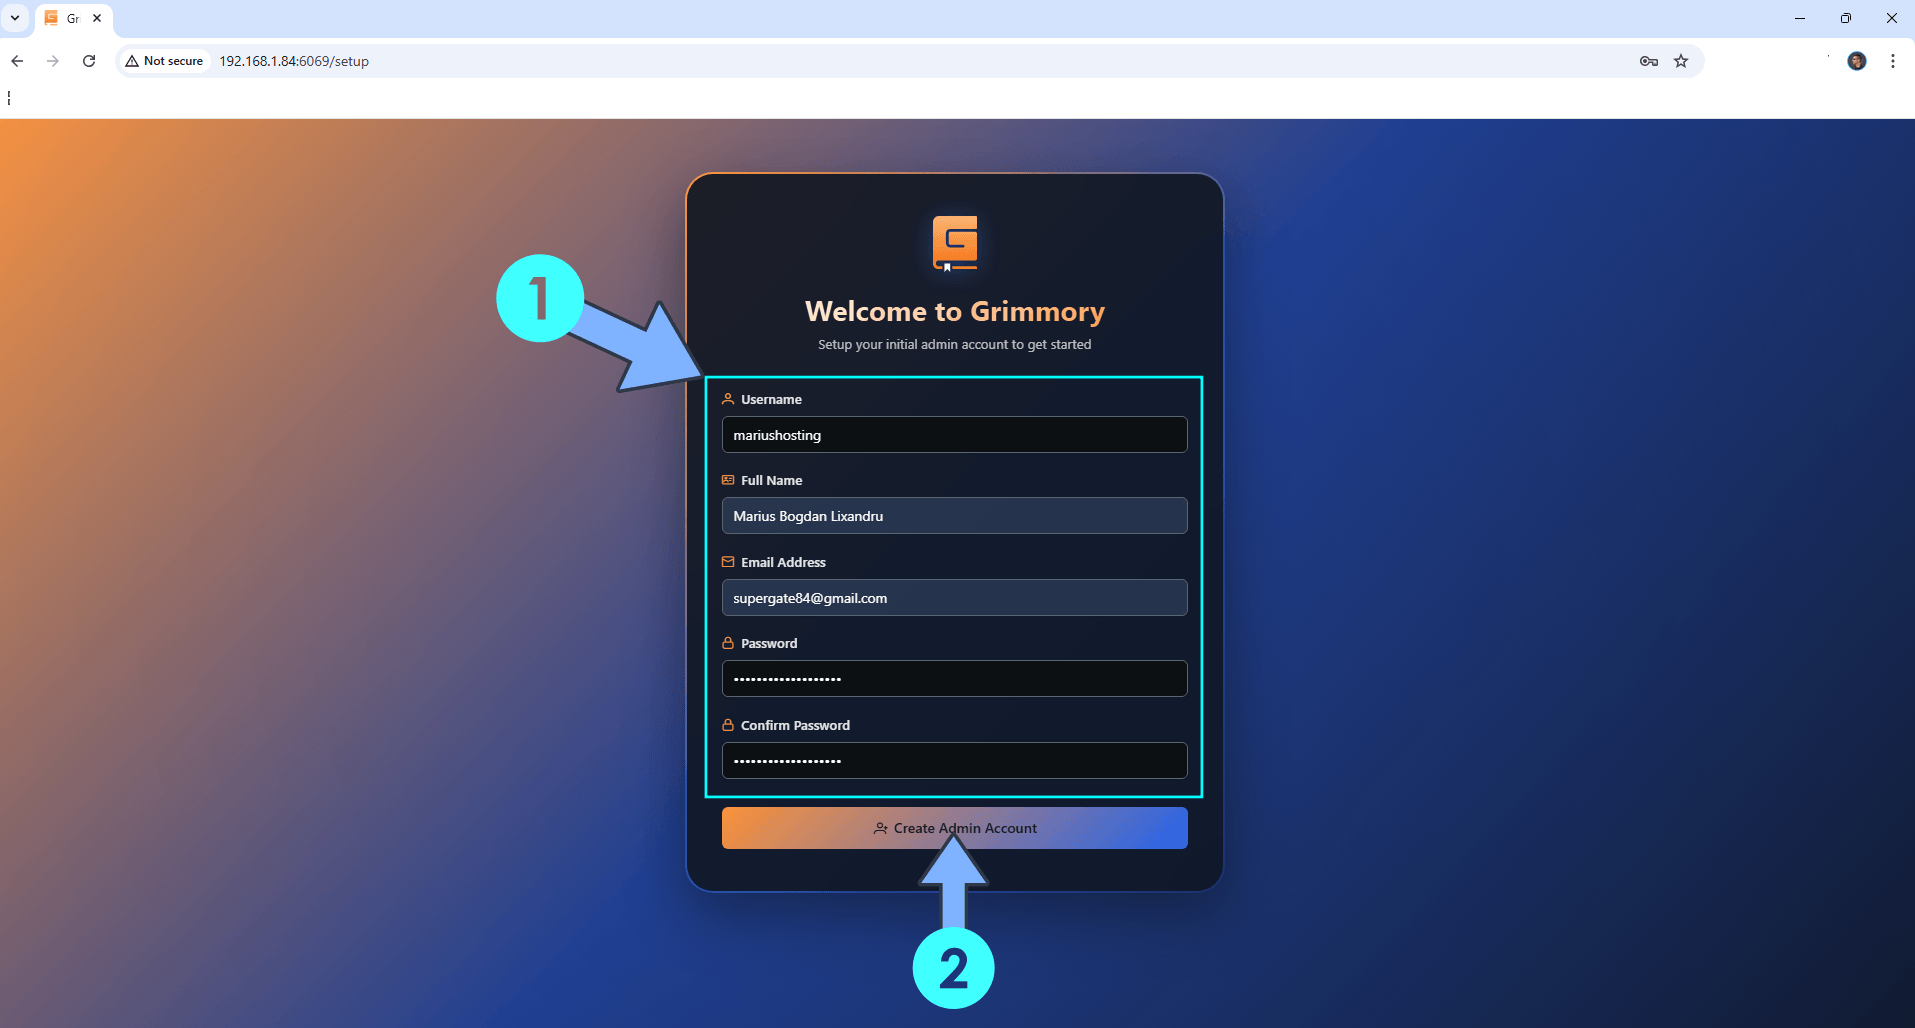
If everything goes right, you will see the Grimmory Registration page. Type in your own details, then click Create Admin Account. Follow the instructions in the image below.
STEP 12
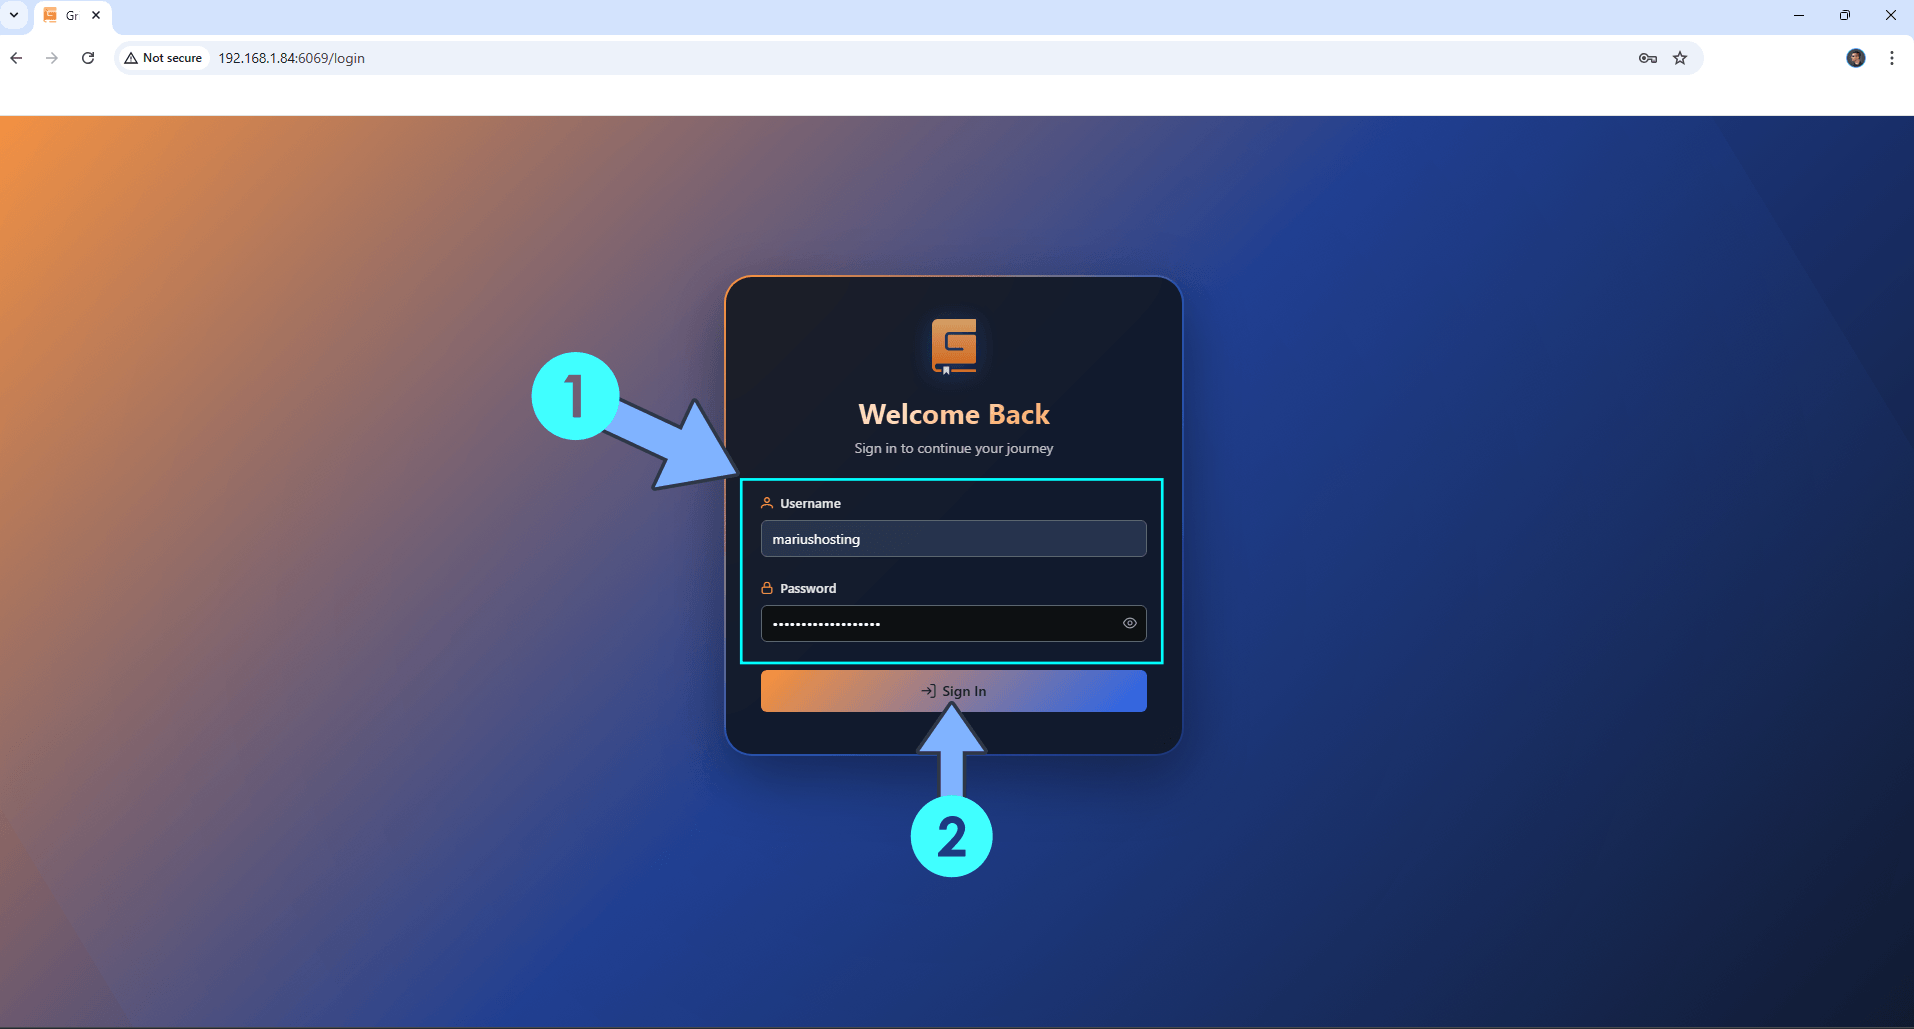
Type in your own Username and Password that you have previously added at STEP 11. Click Login. Follow the instructions in the image below.
STEP 13
Click the + Create Your Library button. Follow the instructions in the image below.

STEP 14
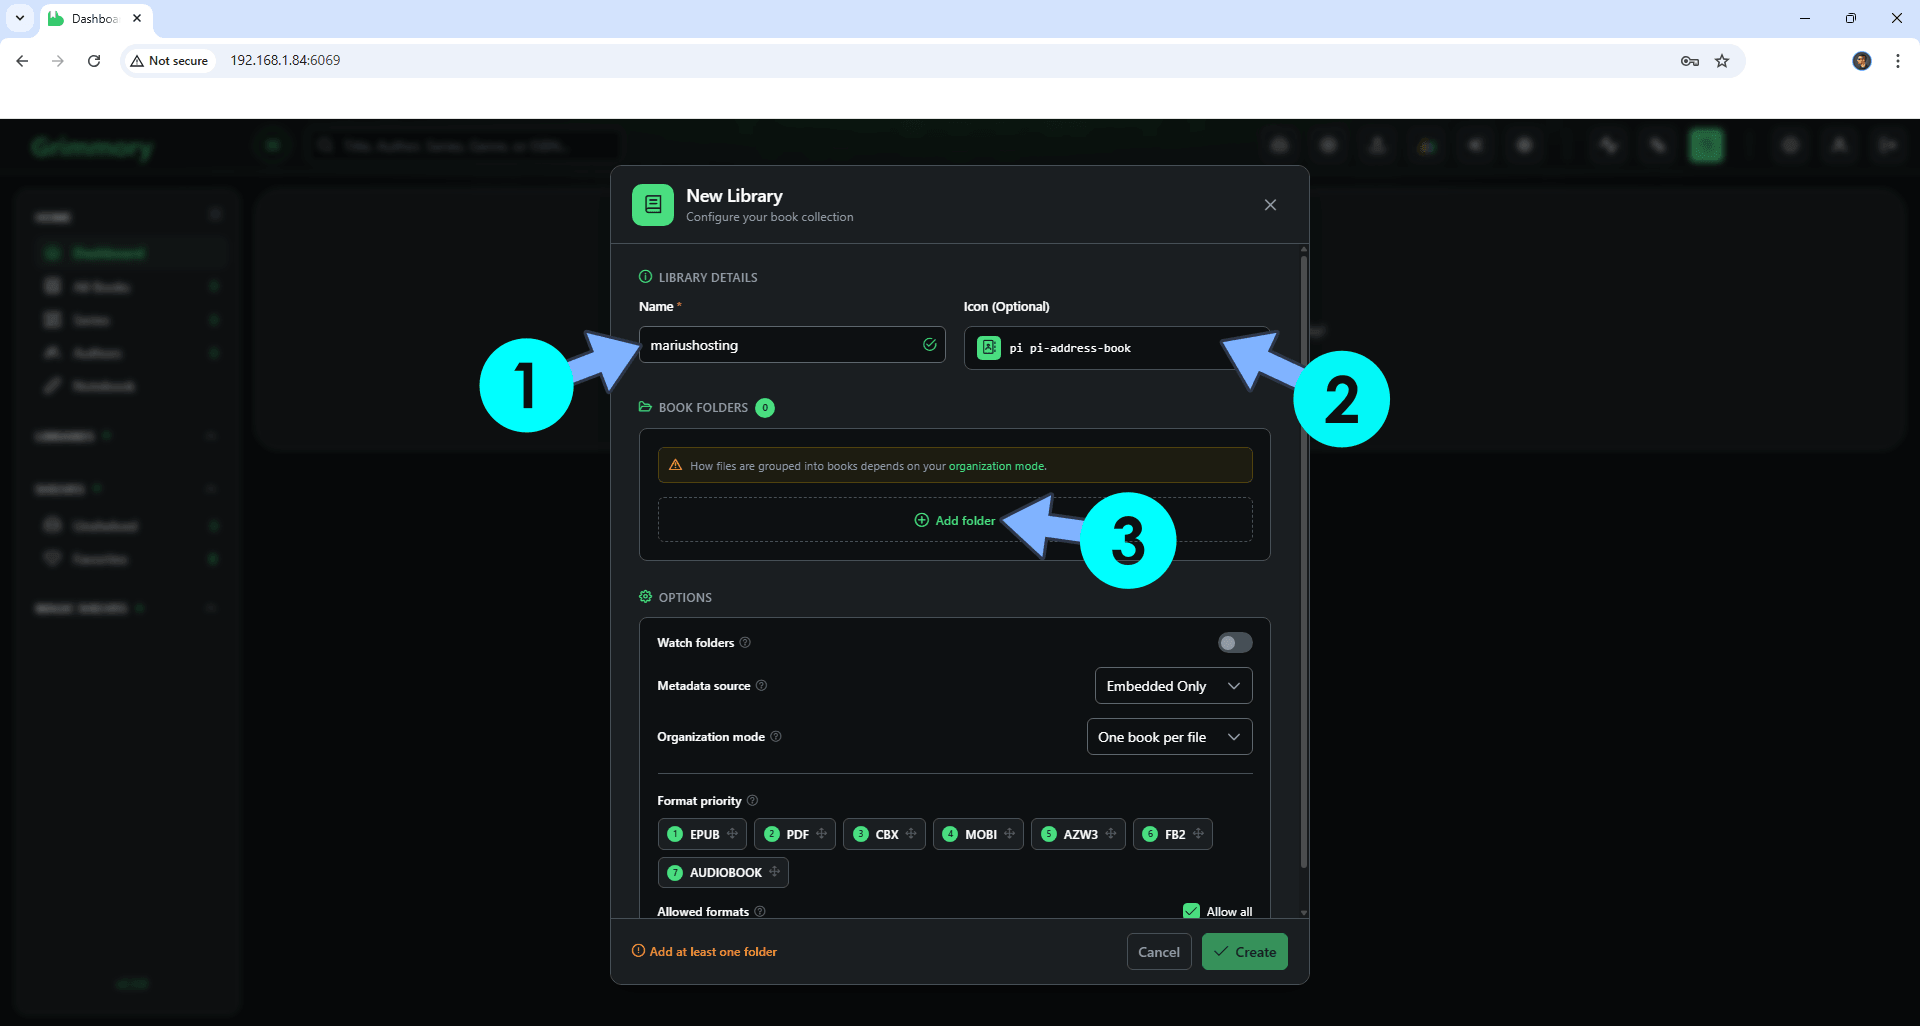
Type in a Name for the library, select the library icon. Click Add folder. Follow the instructions in the image below.
STEP 15
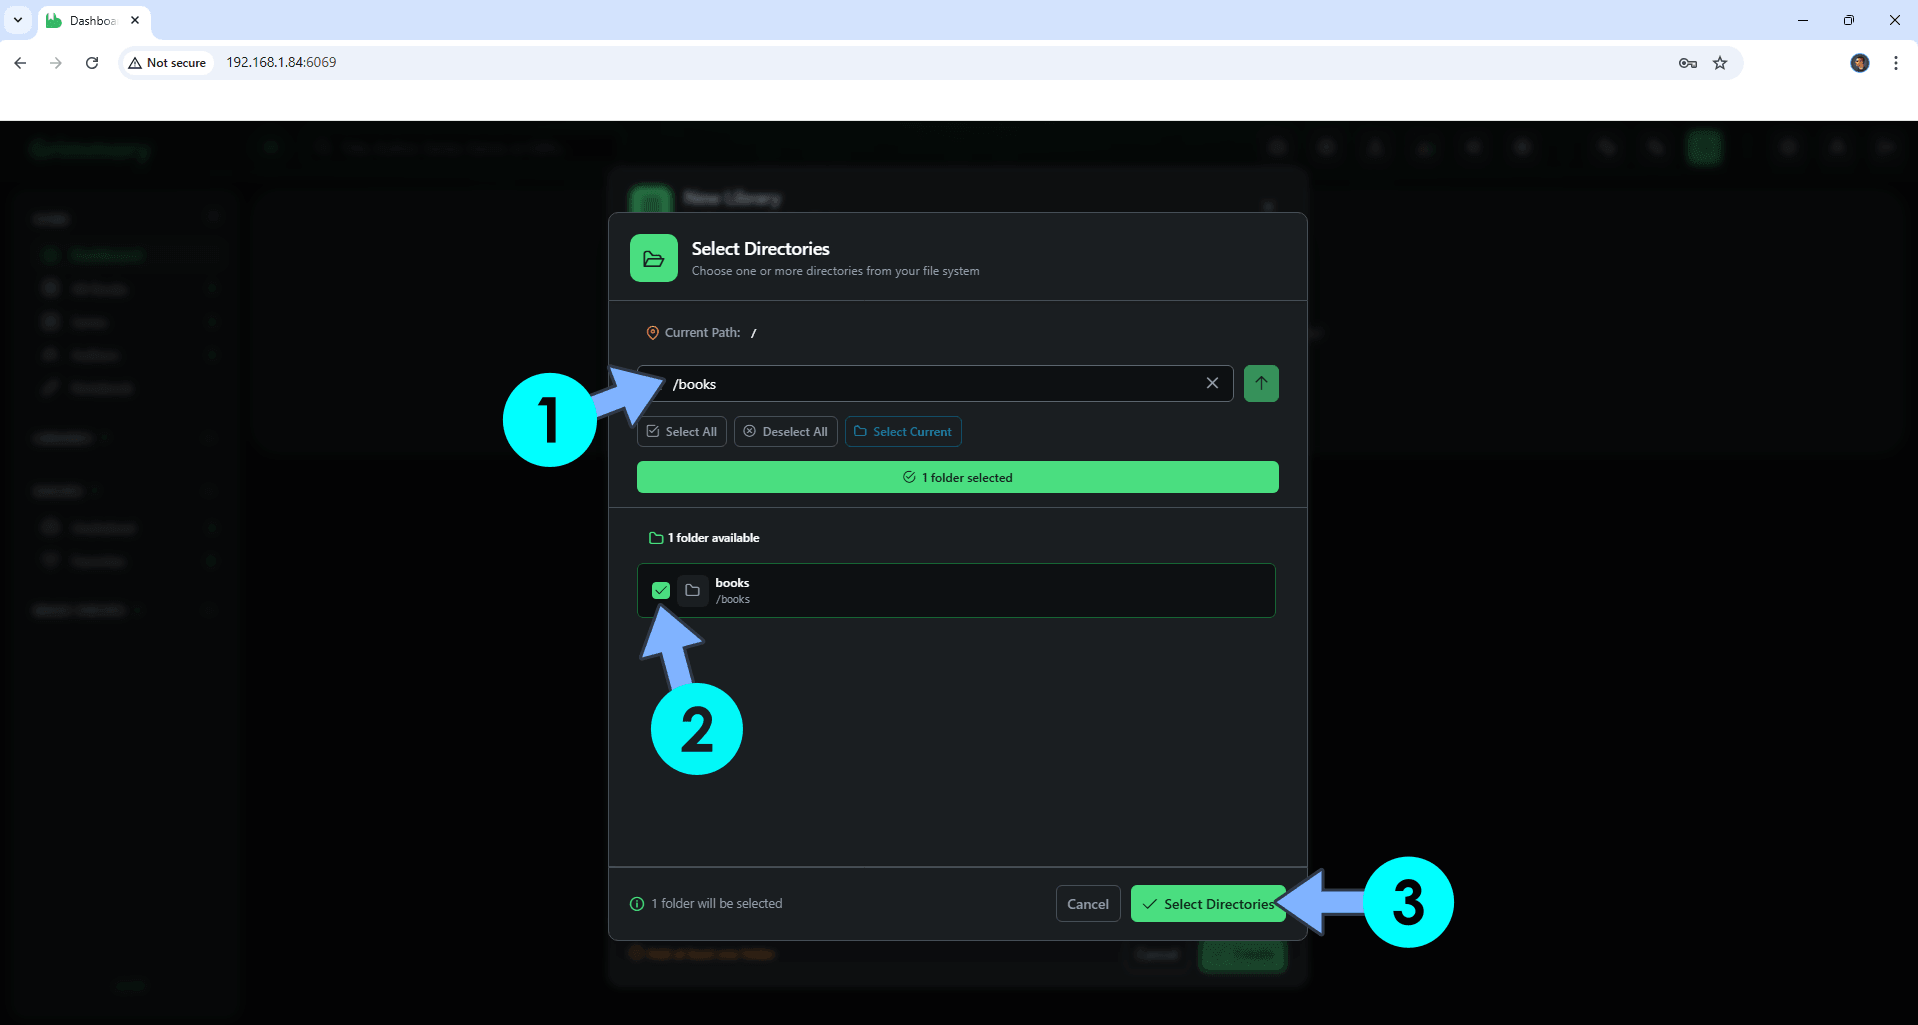
In the Current Path area, type in /books then Select the books path. Click Select Directories. Follow the instructions in the image below.
STEP 16
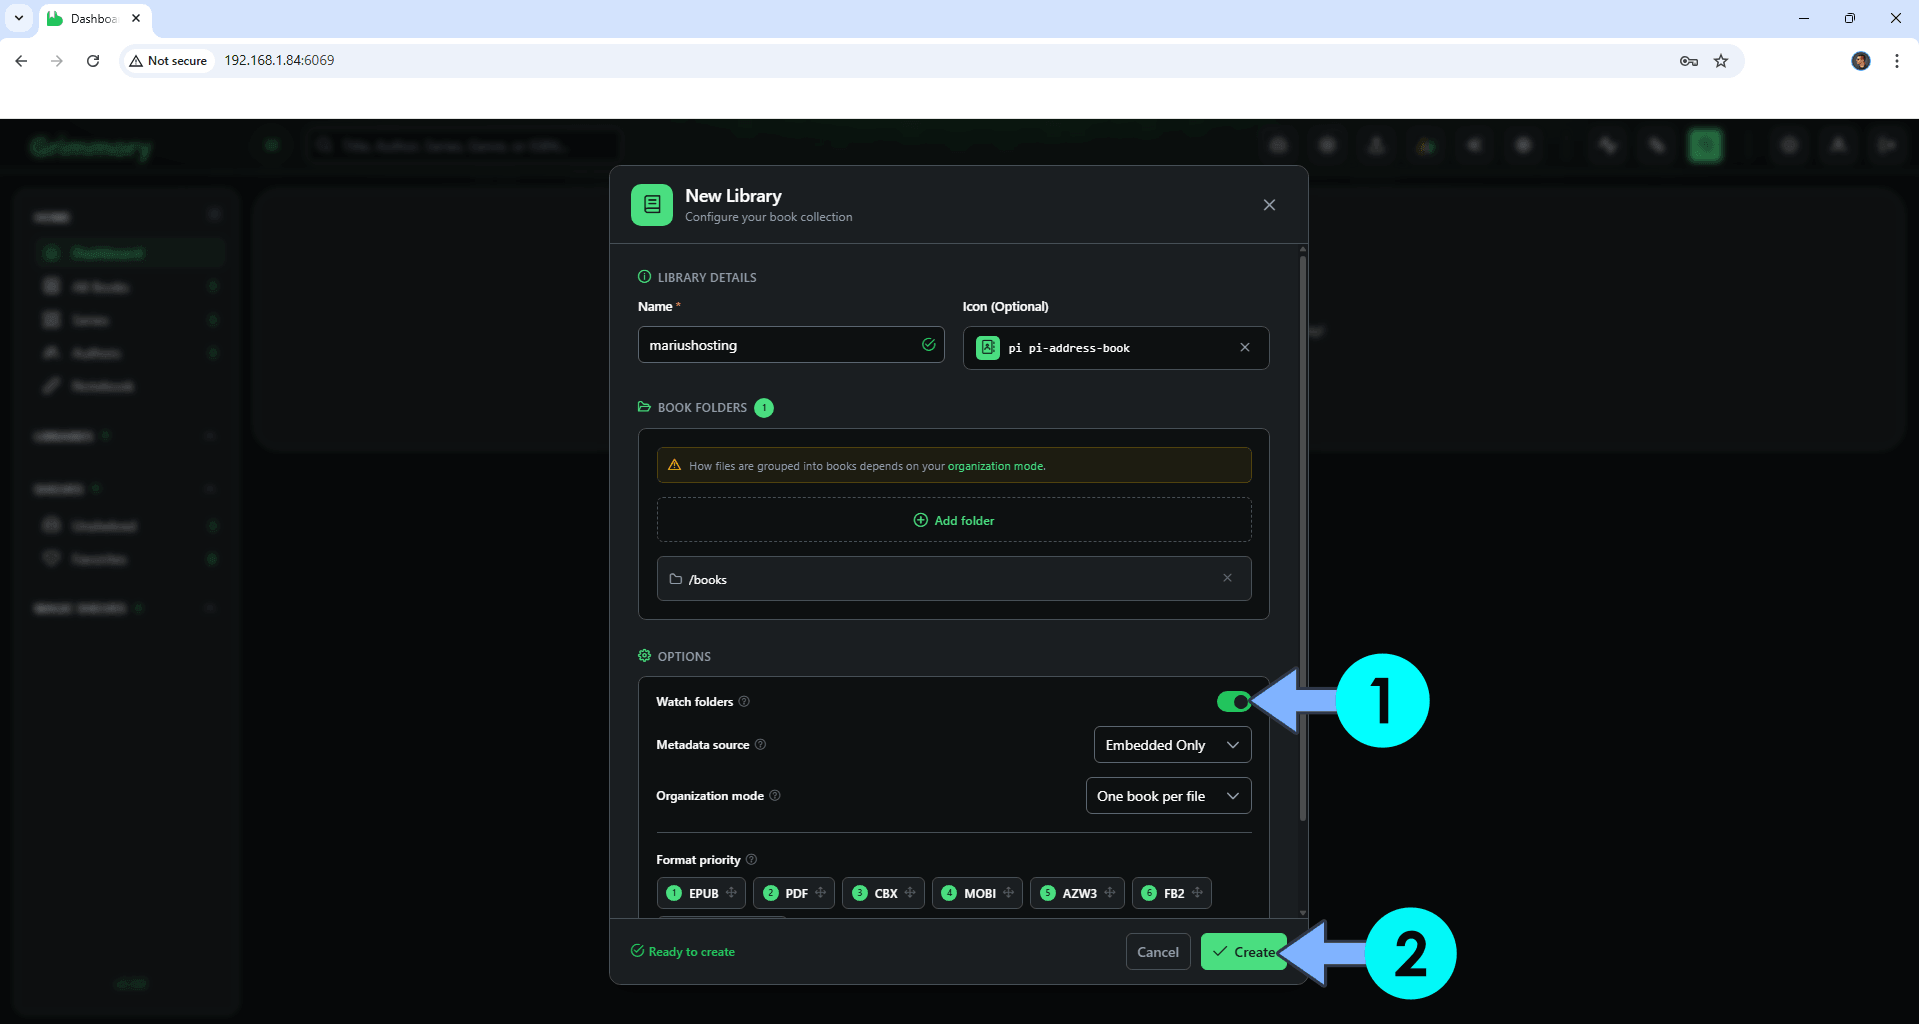
Check to enable the Watch Folders option. Click Create. Follow the instructions in the image below.
STEP 17
Wait a few minutes. The files that you have previously uploaded at STEP 5 will be processed. Click the Upload Book icon to upload new books. All the files will be automatically uploaded in the books folder that you have previously created at STEP 4, and automatically processed if you have selected the Watch Folders option at STEP 16. Follow the instructions in the image below.

STEP 18
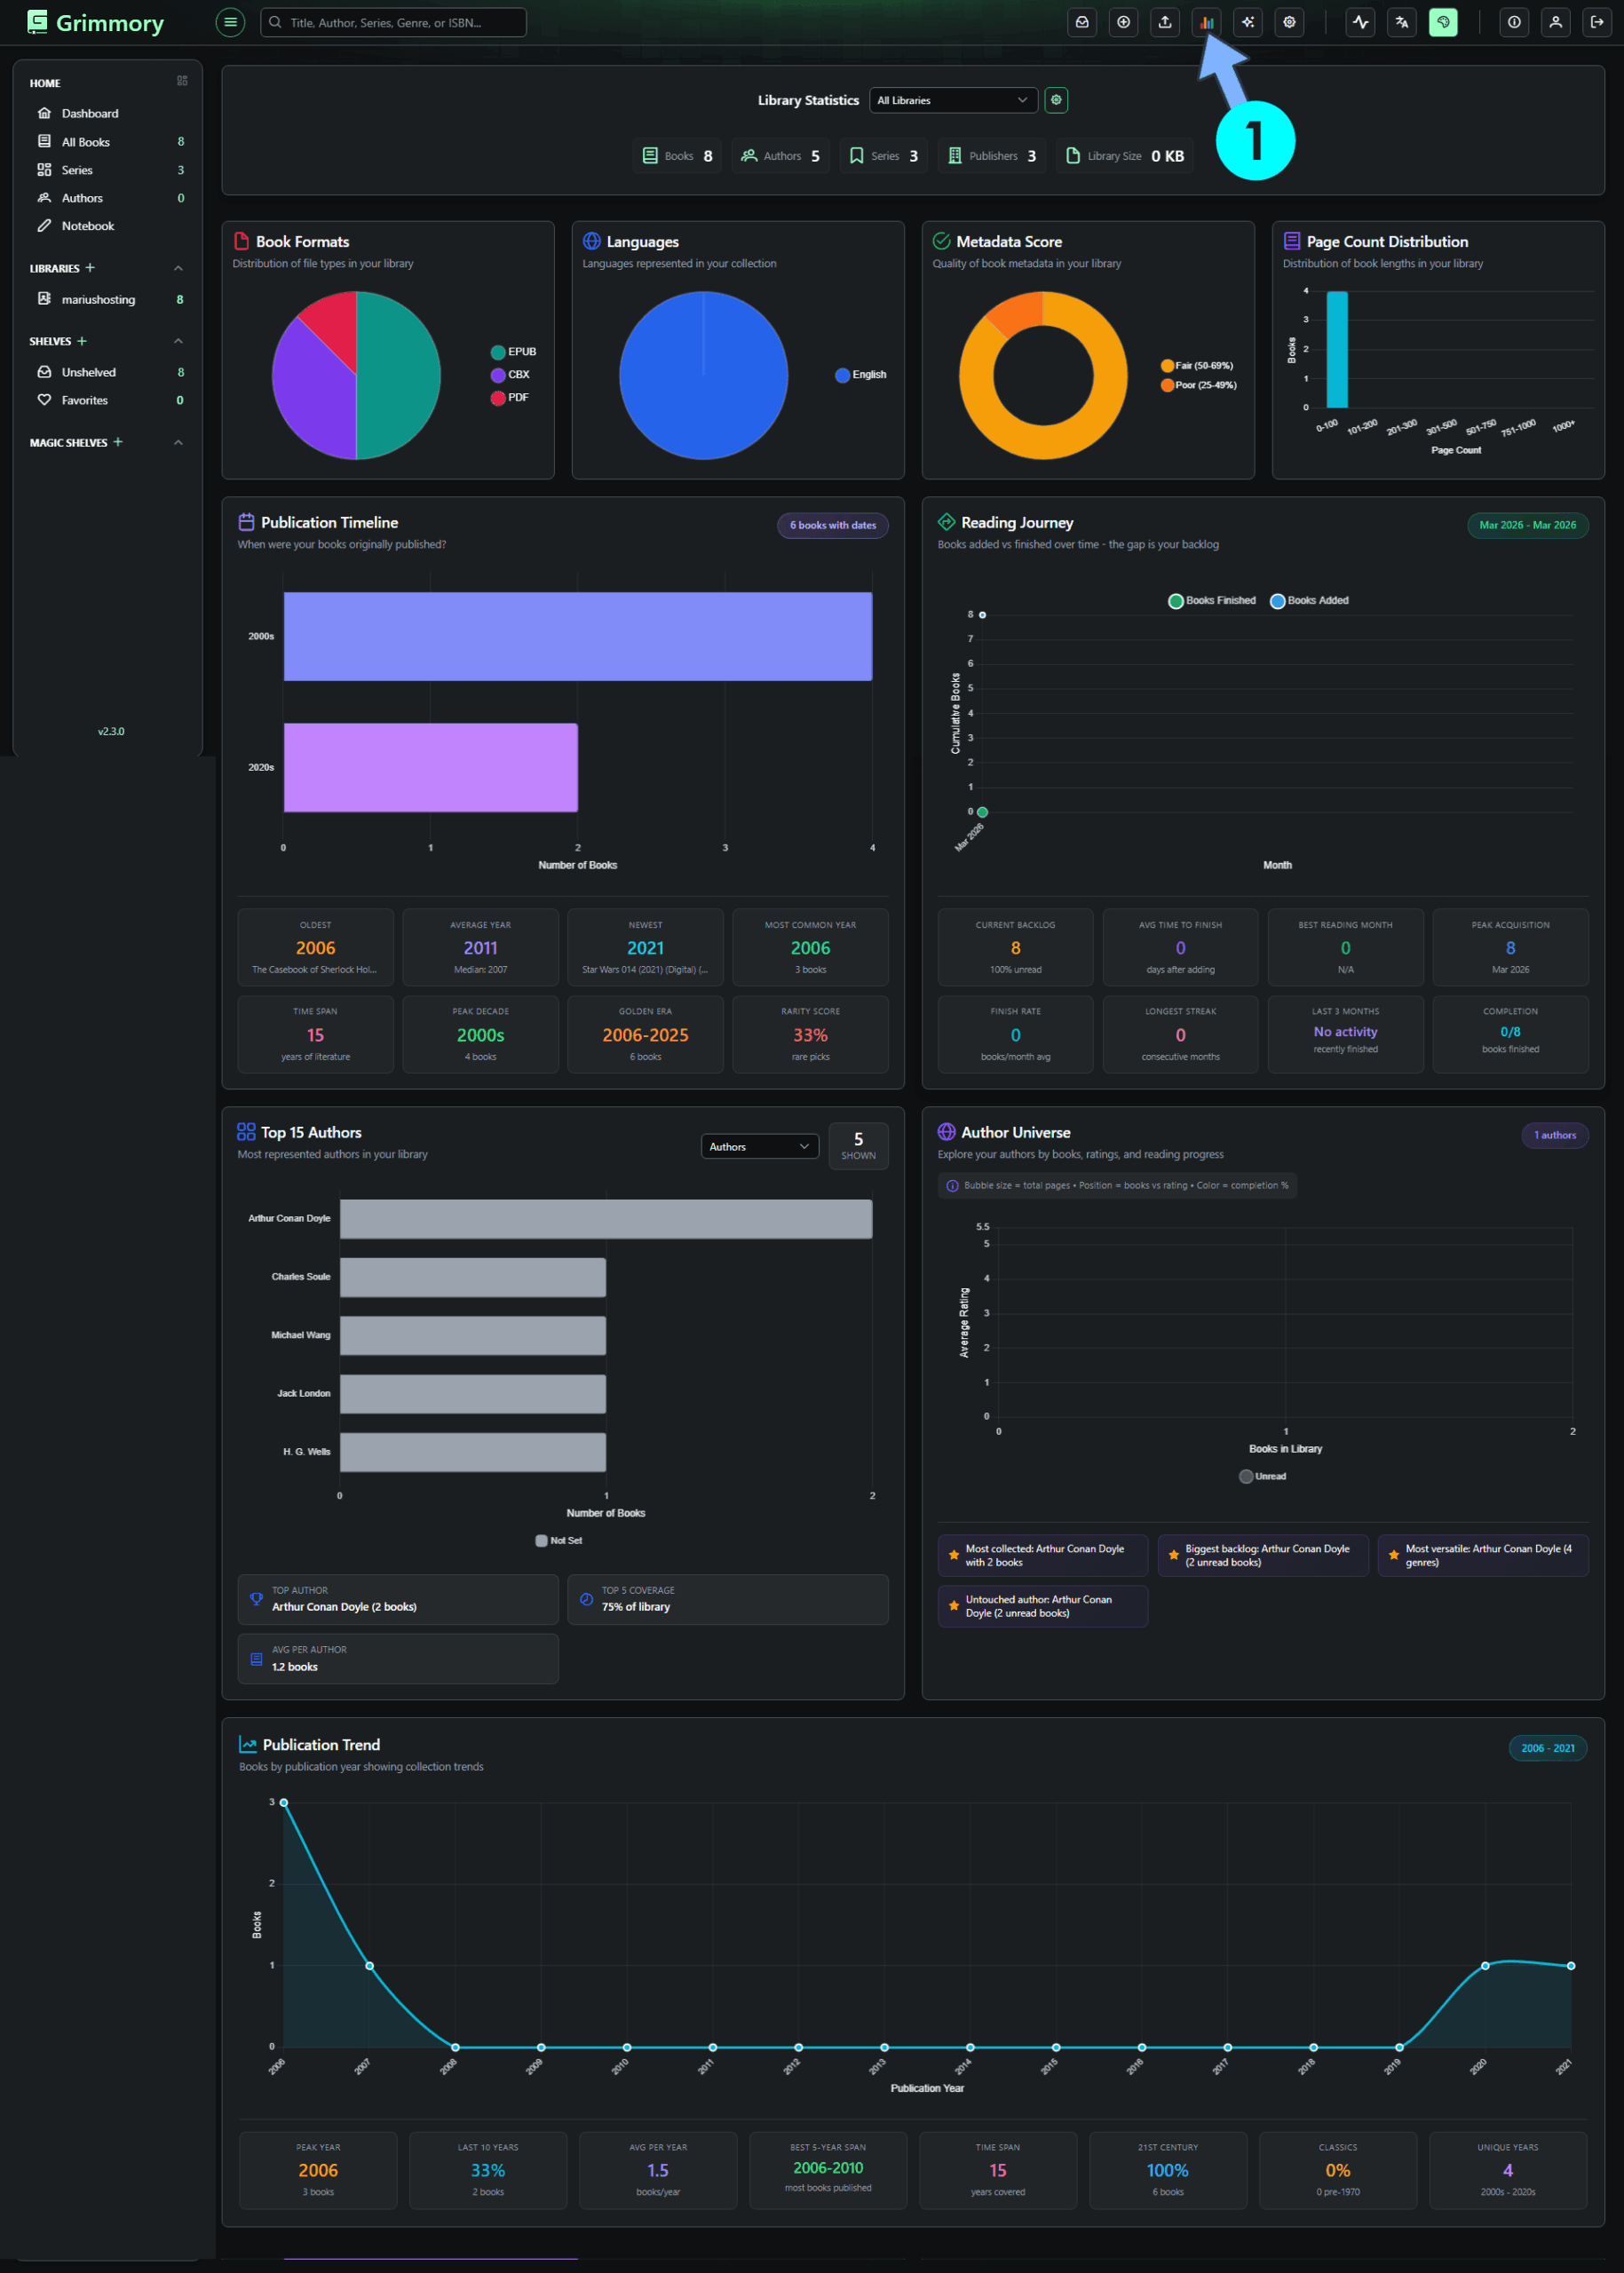
Your Grimmory stats at a glance! Click the Stats icon to check your Grimmory Stats!
This post was updated on Monday / July 6th, 2026 at 11:47 PM