
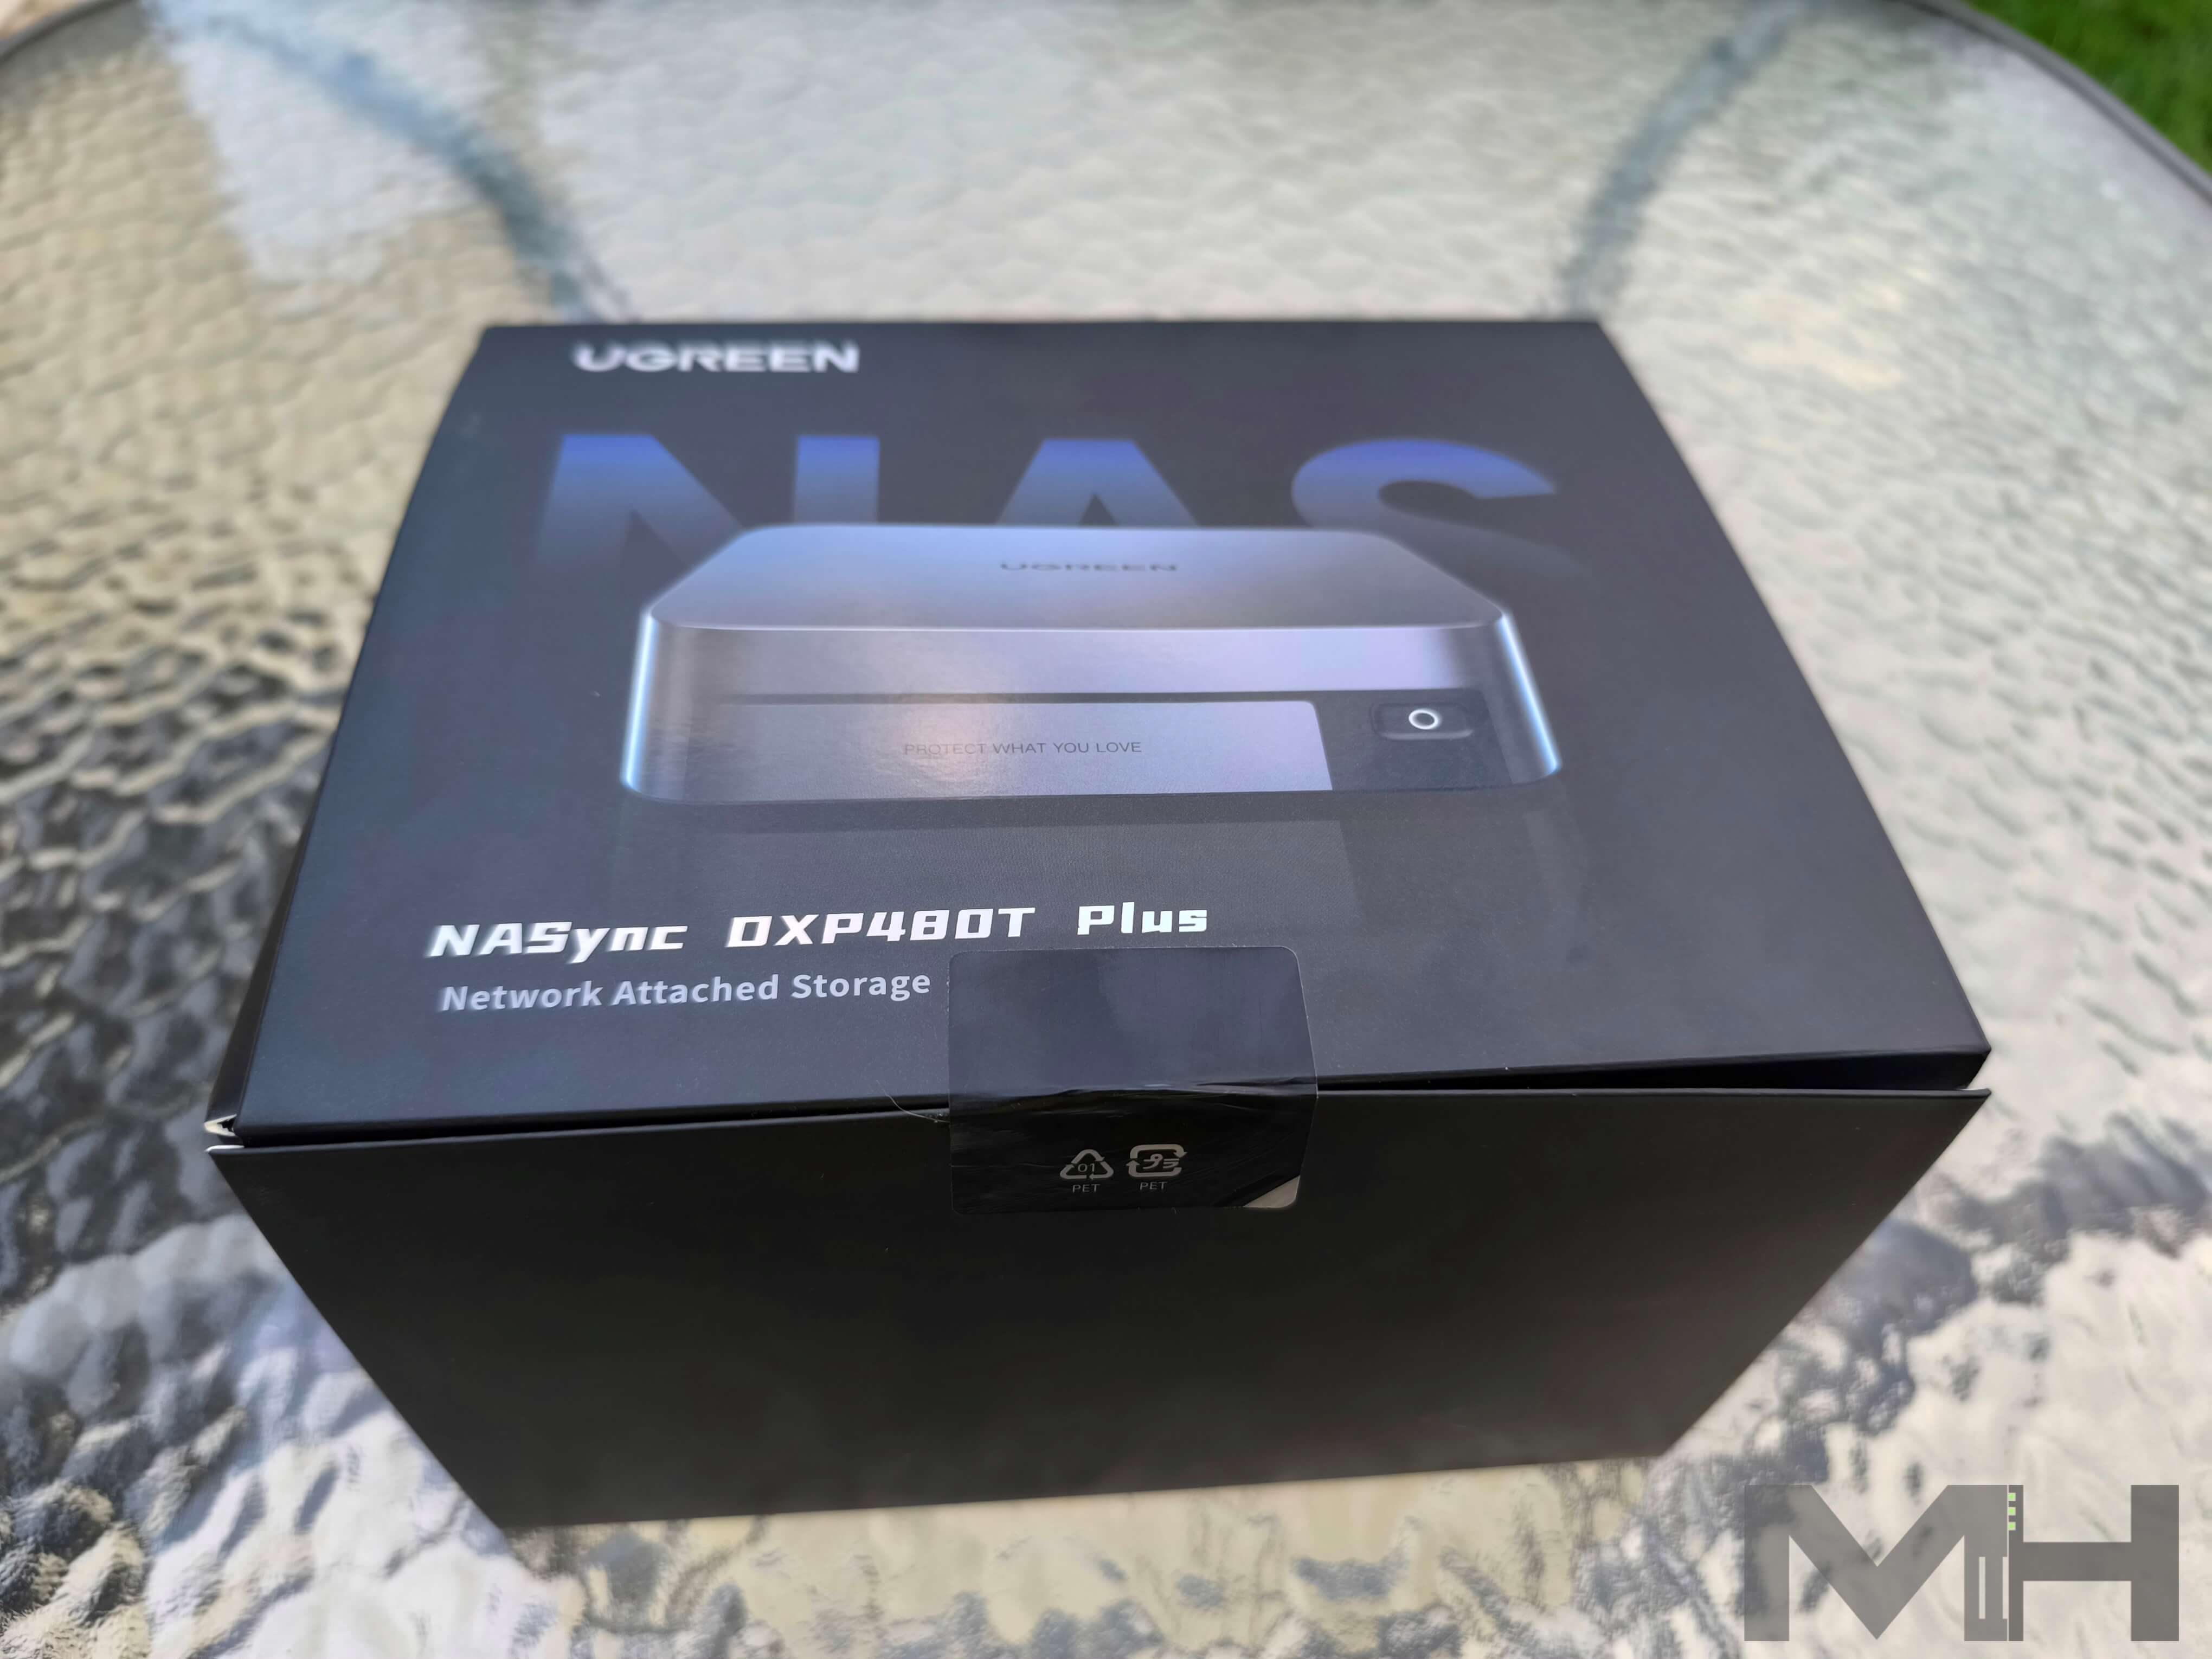
It has been roughly 3 months since my last review I wrote on the UGREEN DXP8800 Plus NAS and, today, July 25, 2024, I find myself doing a new review on the smallest model in the series, nevertheless one that packs the exact same power as its larger counterpart. The UGREEN DXP480T Plus is a NAS that I recommend to all those looking for processor speed as well as read/write speed since this model encompasses the latest technologies and support for M2.2280 PCIe 4 SSDs. The DXP480T Plus supports 4 M.2 solid-state drives. The read and write speeds that these SSDs provide make it possible for us to have a NAS device that takes up very little space on our desk, but is really a small technological gem.
DXP480T at the mariushosting Residence
Thanks go to the UGREEN team who made it possible for me to get ahold of this device which was shipped directly from China’s technology capital, Shenzhen, all the way to my home in Romania. I honestly couldn’t wait to get my hands on this product since you, dear readers, have been insisting with so many emails asking me to talk about this product.
Are You Ready?
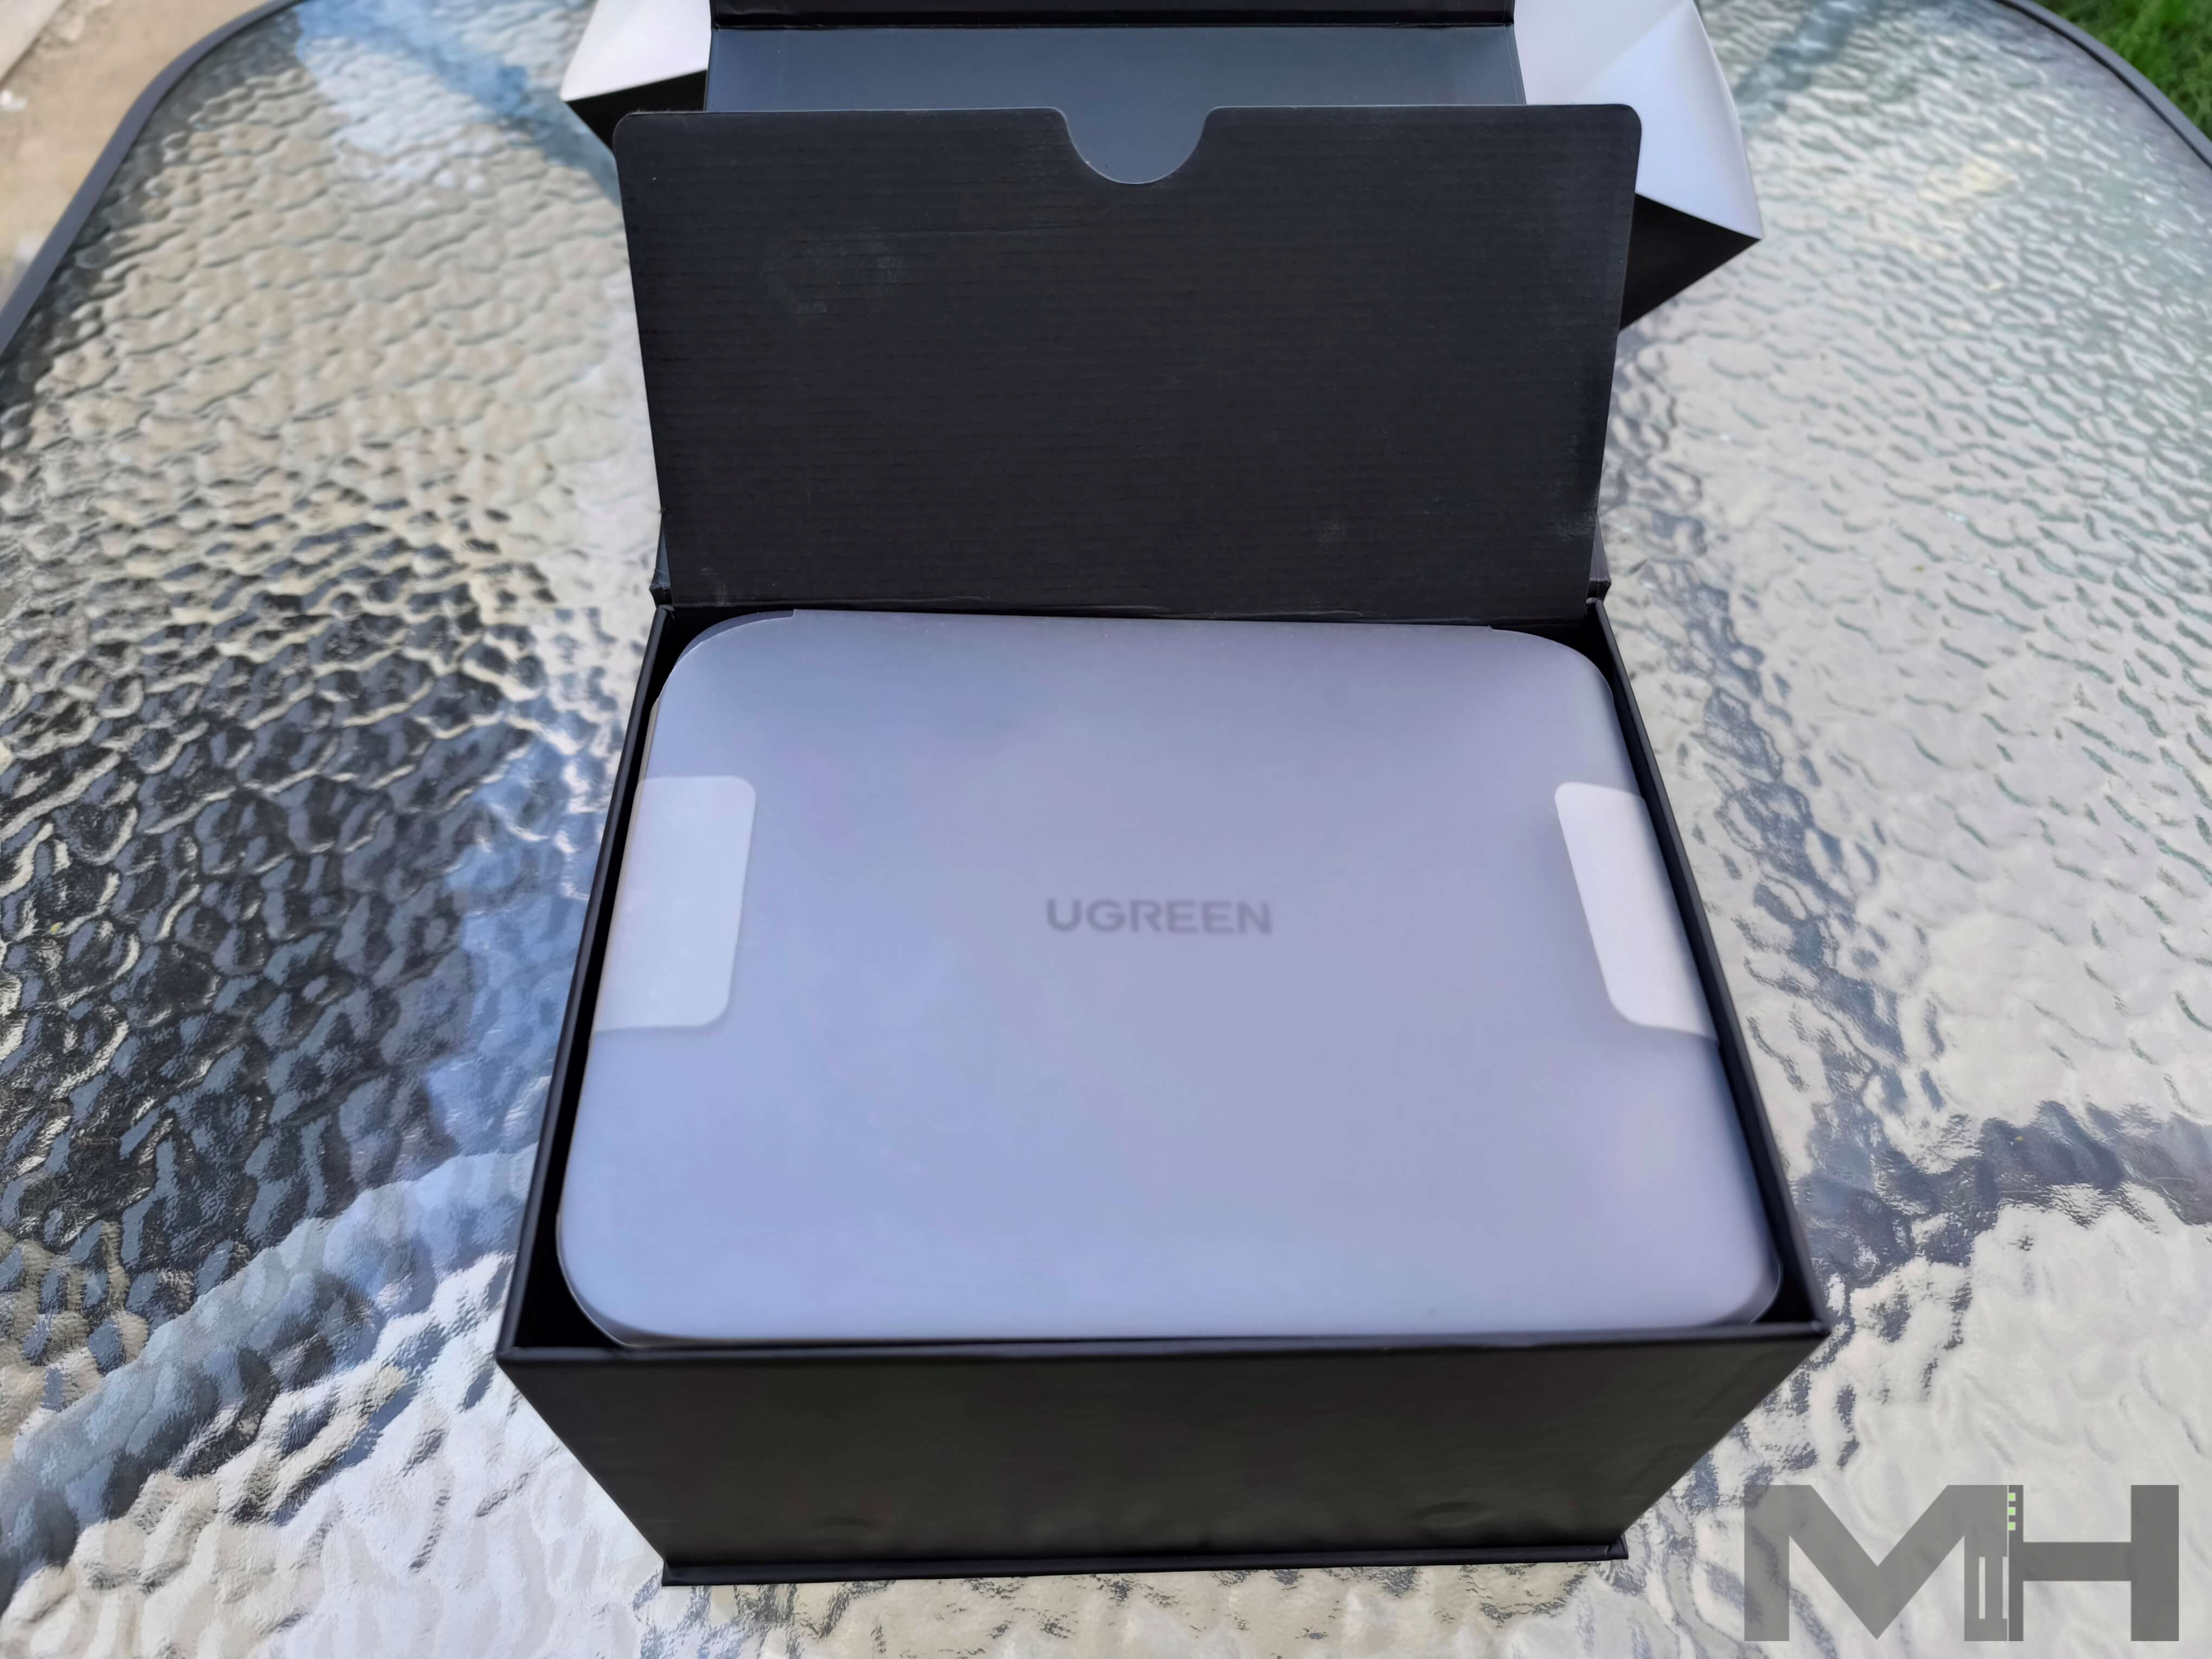
I’m celebrating opening this little gem with you, ladies and gentlemen. The DXP480T Plus and its accessories all in one box. Now follow me on this adventure.
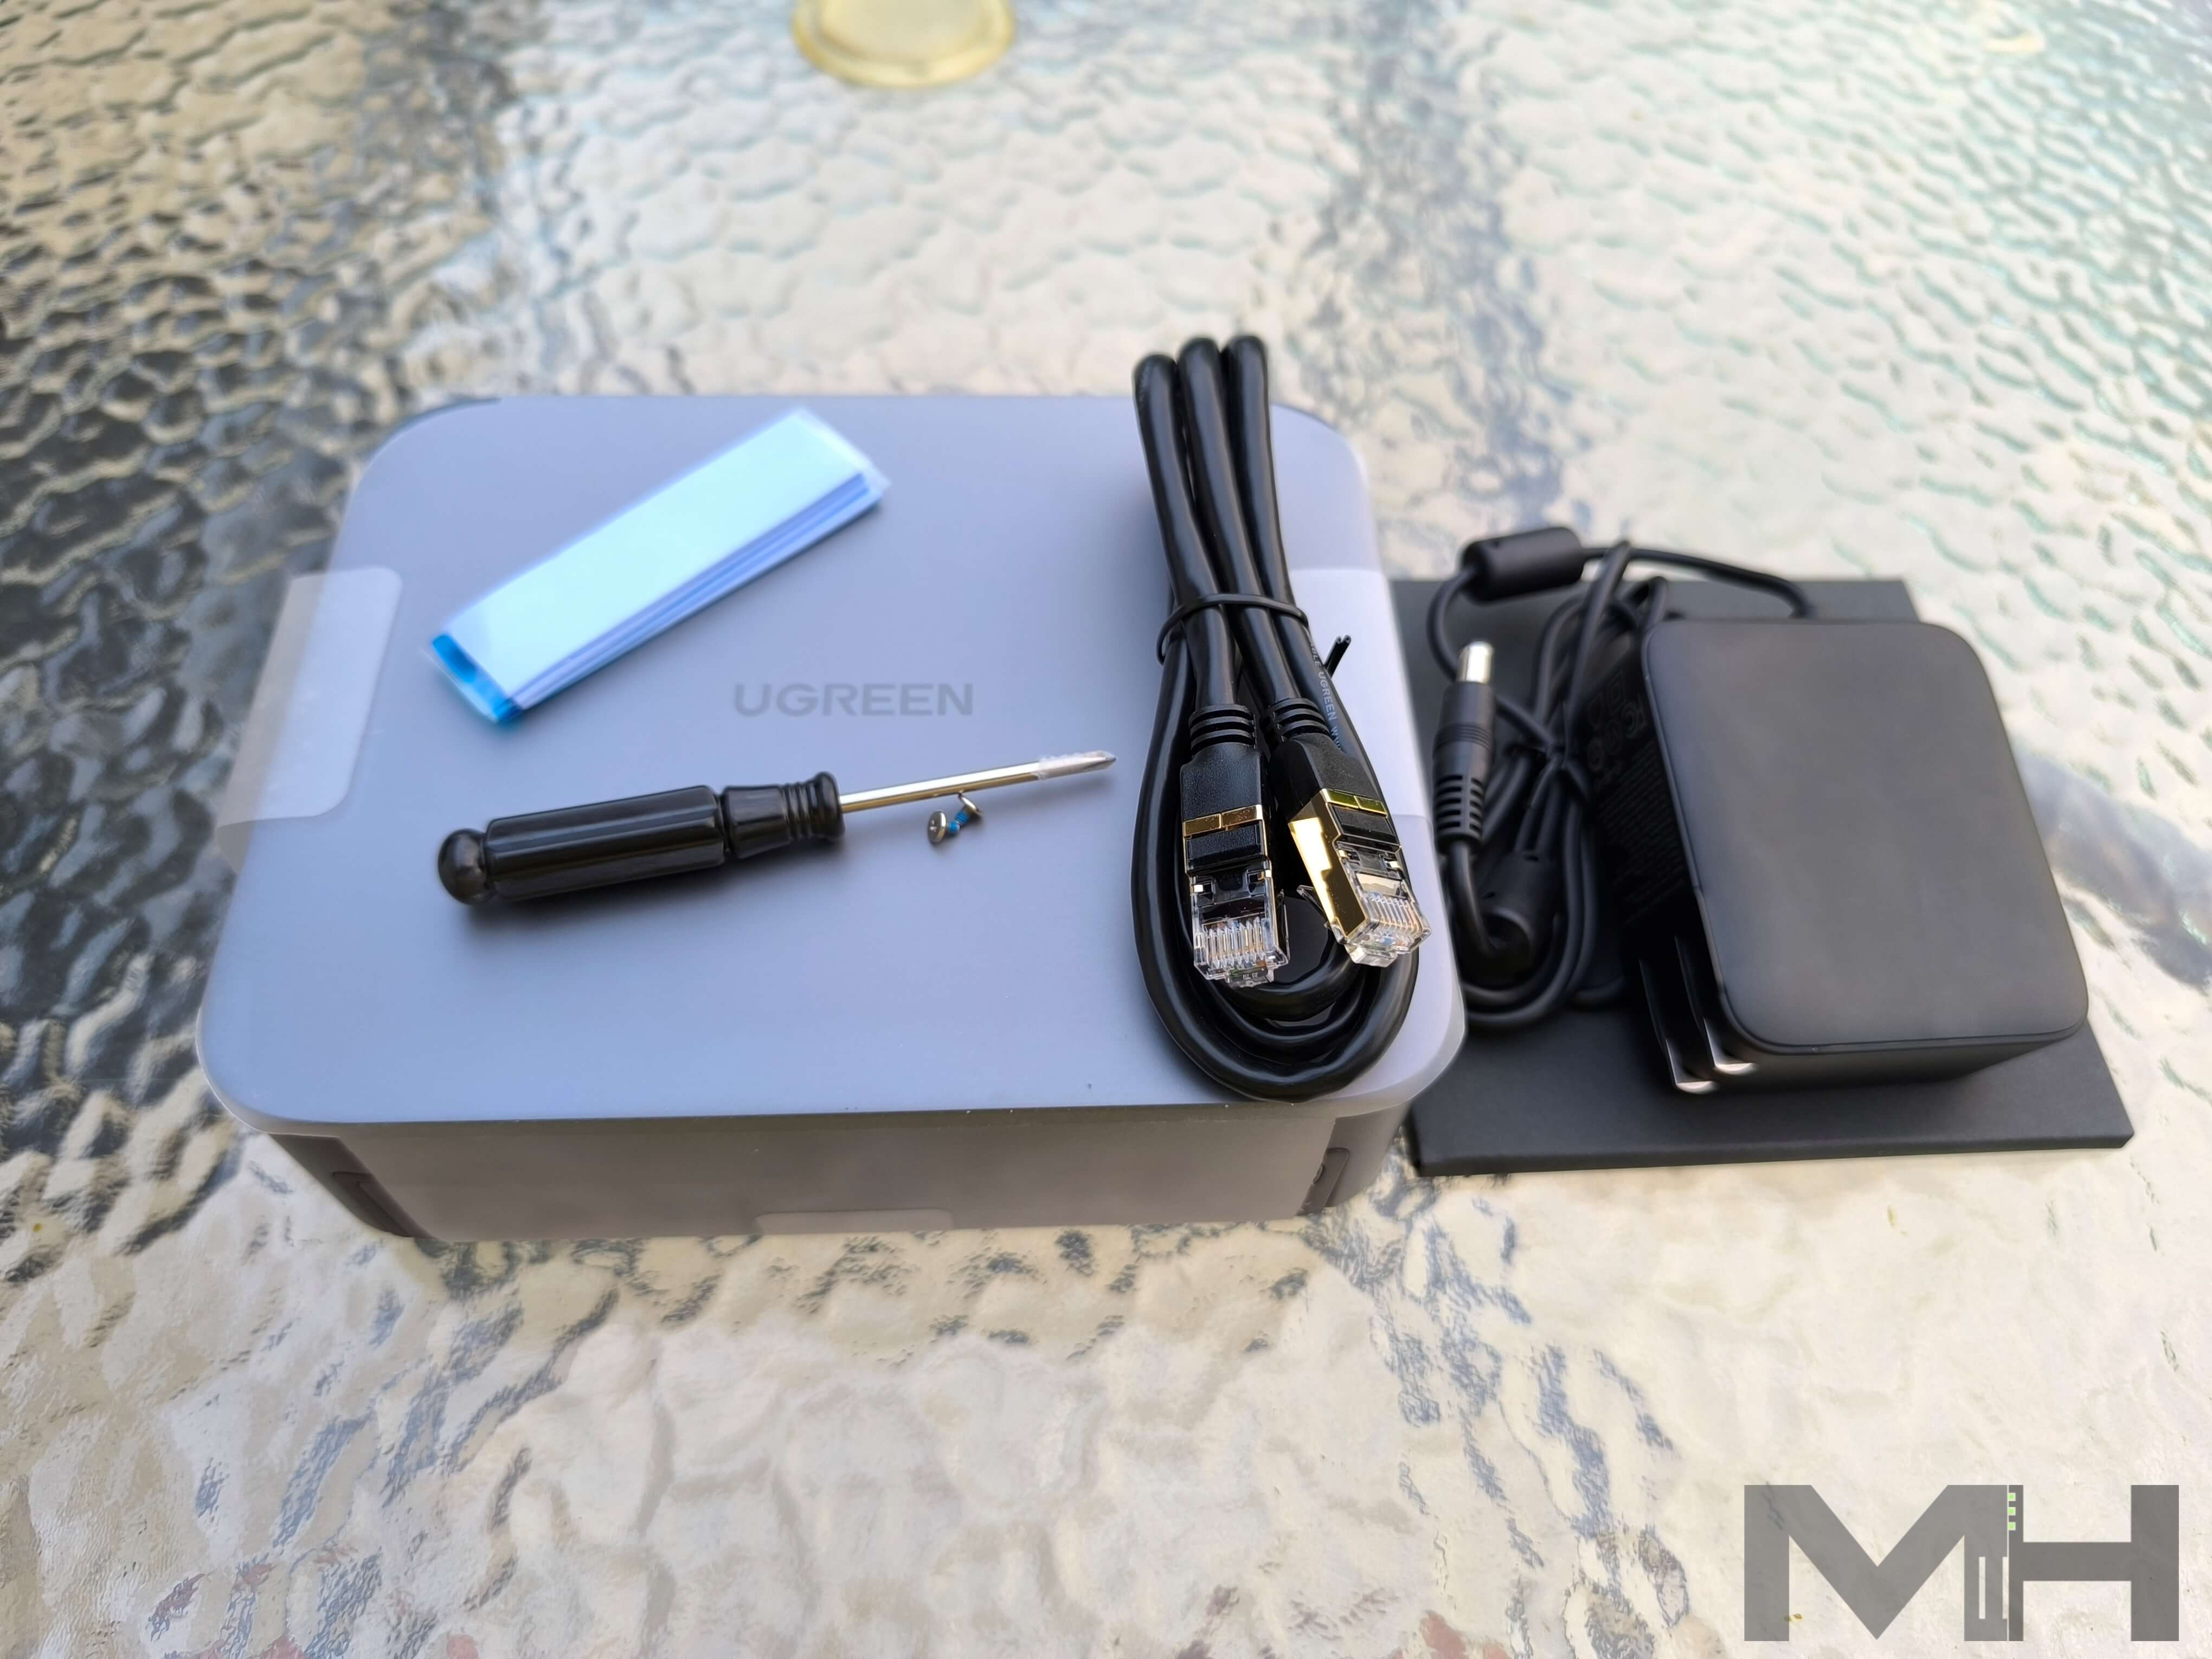
DXP480T Plus Accessories
In addition to the DXP480T Plus NAS itself, in the package you will also find the following accessories: an AC Power Cord, one 1-meter long CAT 7 LAN cable, a Limited Warranty Note, the Installation instructions, and a little black screwdriver. Icing on the cake: you will also find four heat pads to stick on top of the M.2 NVMe SSDs for thermal dissipation.
The DXP480T Plus at a glance!
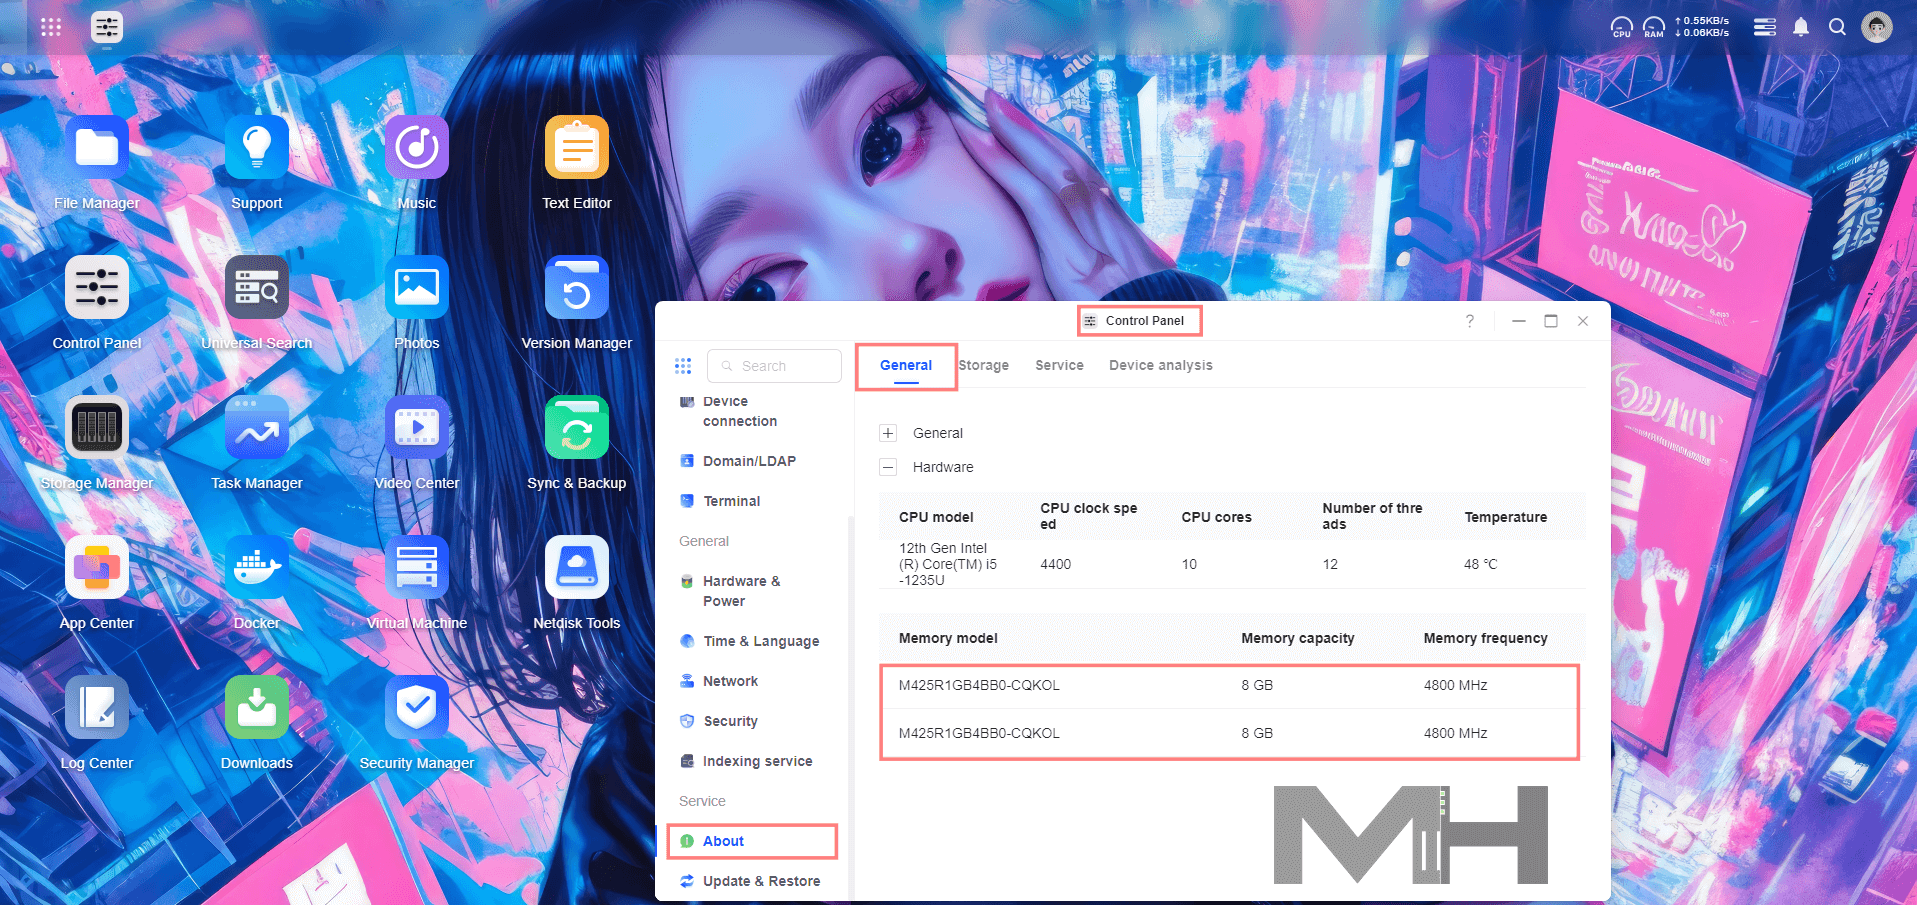
In the picture below you can see the DXP480T Plus in all its glory! Beautiful, black aluminum case. Preinstalled RAM is 8 GB, Samsung brand, expandable up to 64GB. With a 12th Gen, 10-core Intel® Core™ Processor, the processing performance is improved by leaps and bounds compared to previous processors. The result is more responsive operations, faster data transmissions, and multi-tasking made much easier. The maximum SSDs storage that you can add is 4 pieces up to 16TB.
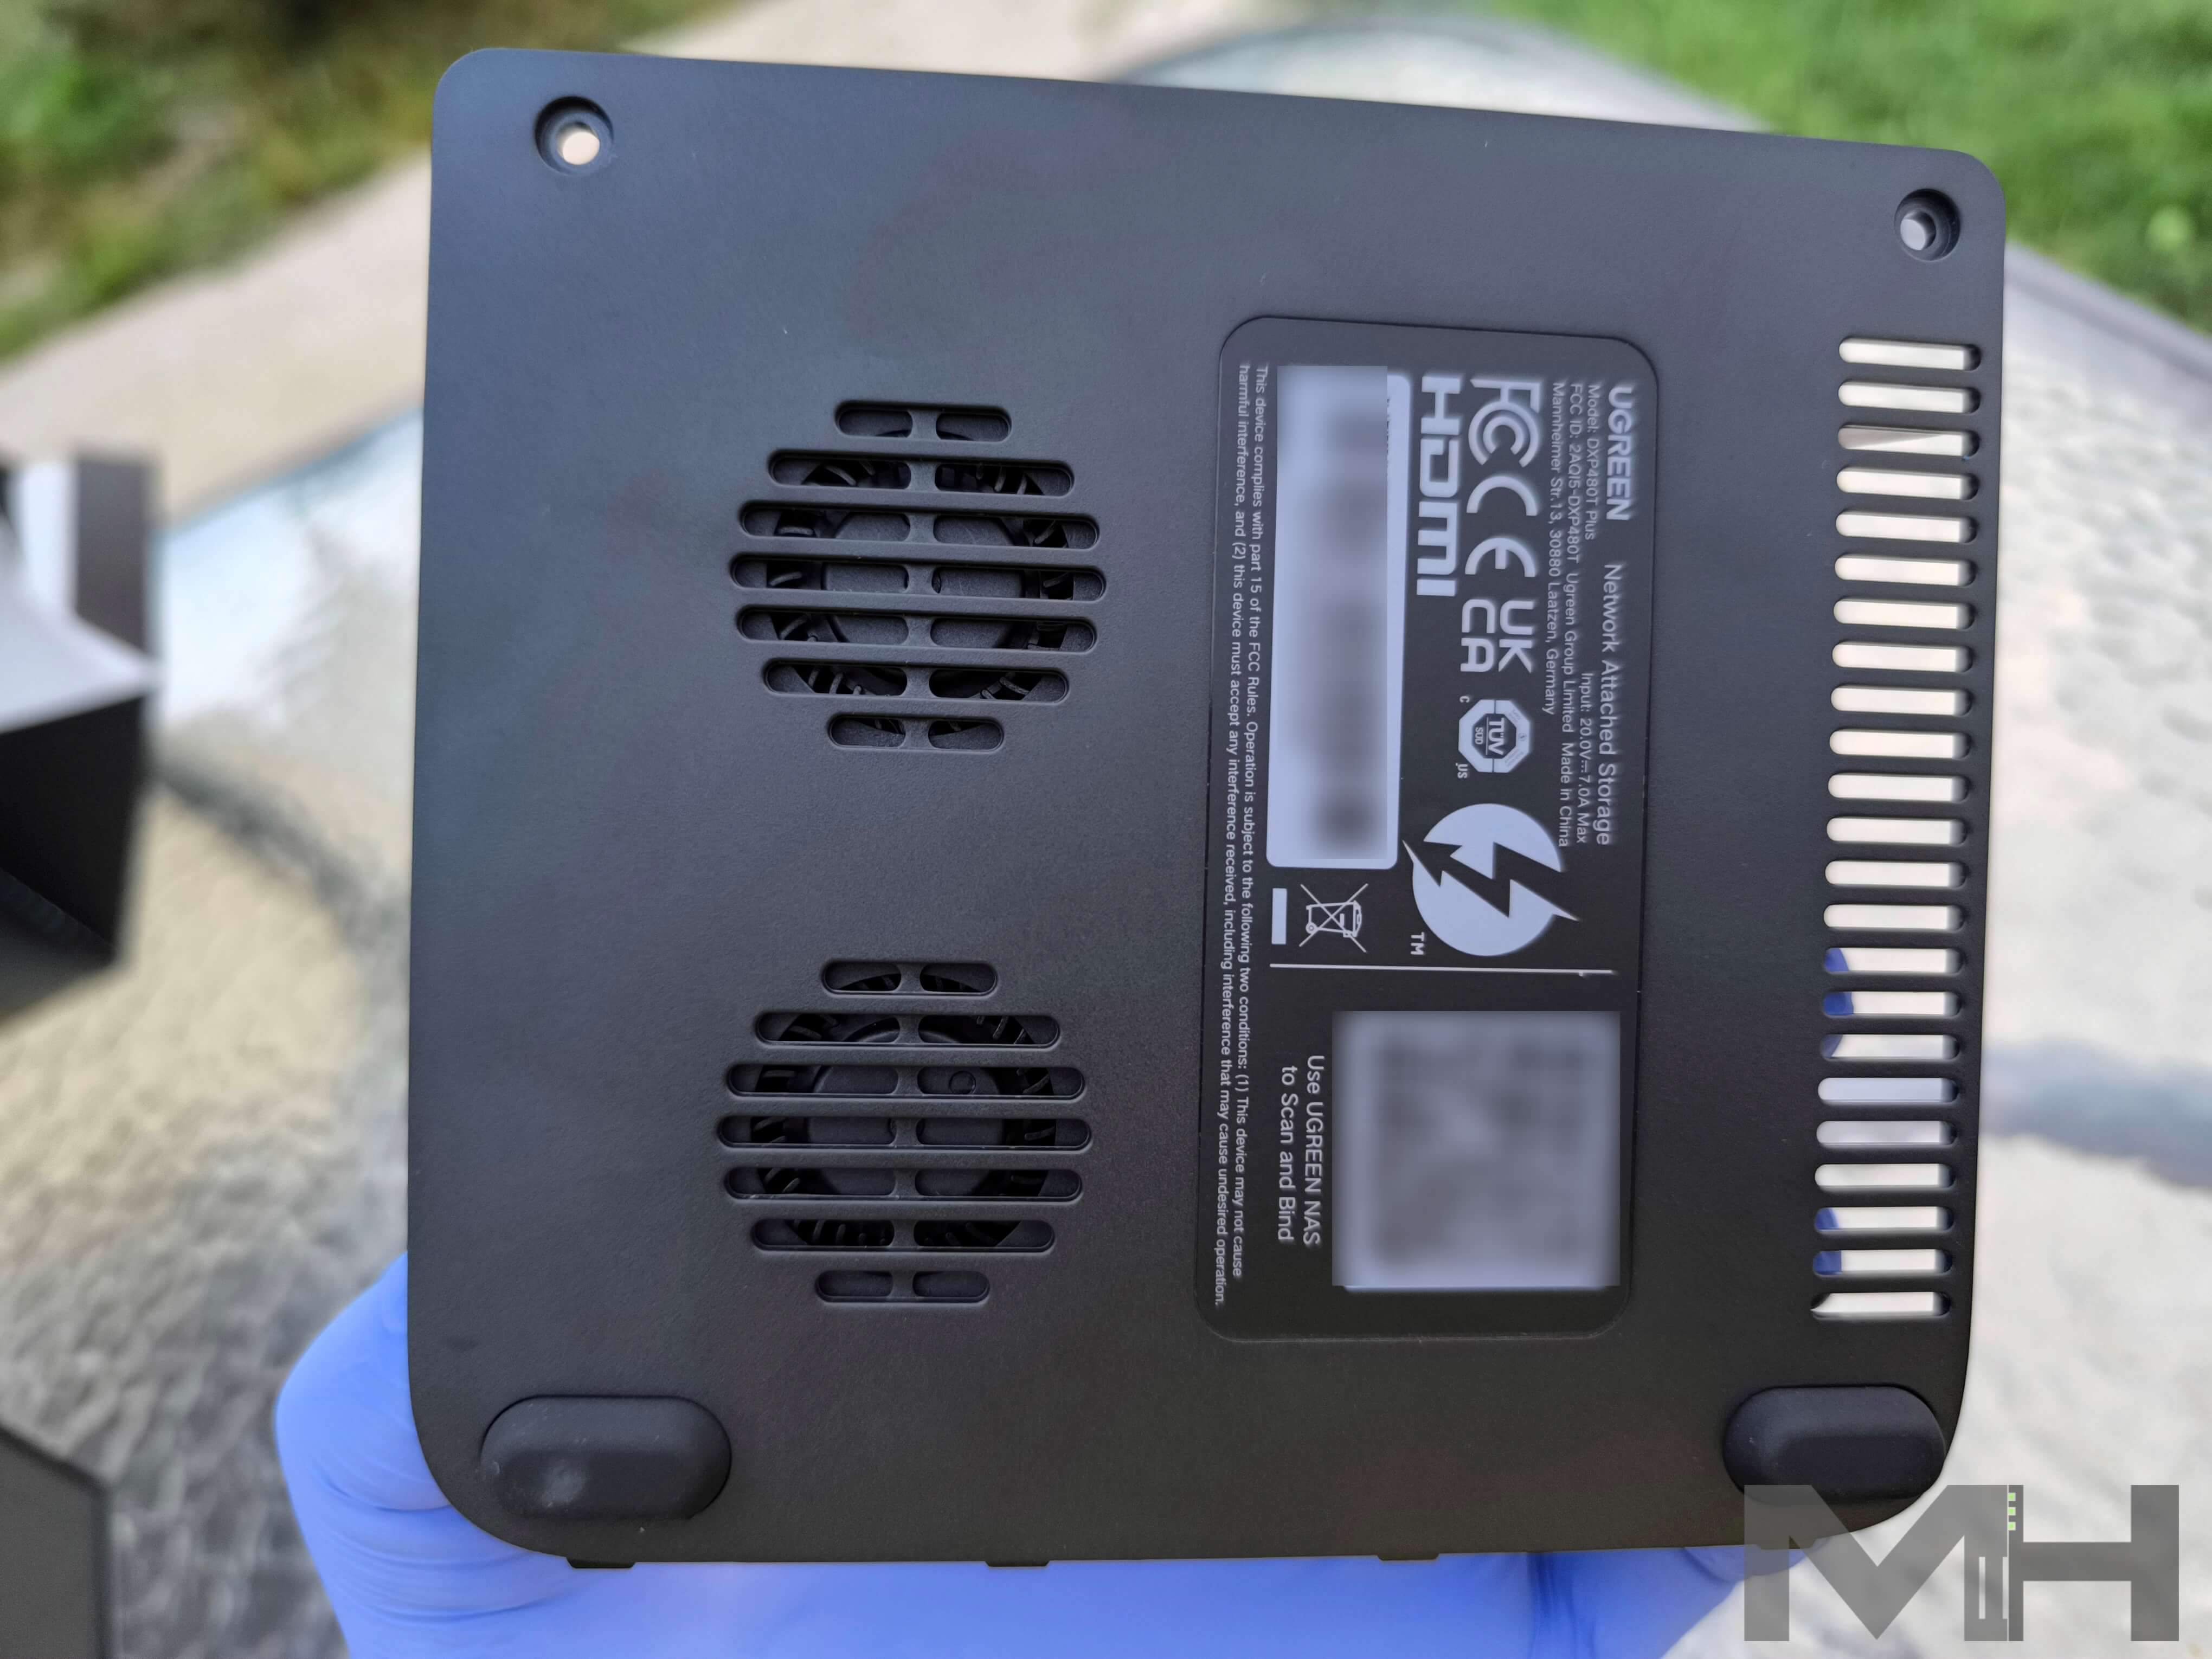
DXP480T Back View
Below is the back view of the DXP480T Plus with the following: 1x HDMI port, 1x USB 3.2 port, 1 RJ45 10GbE LAN Port, the Reset button, a Dual ThunderboltTM port and a 3.5mm audio jack connection.

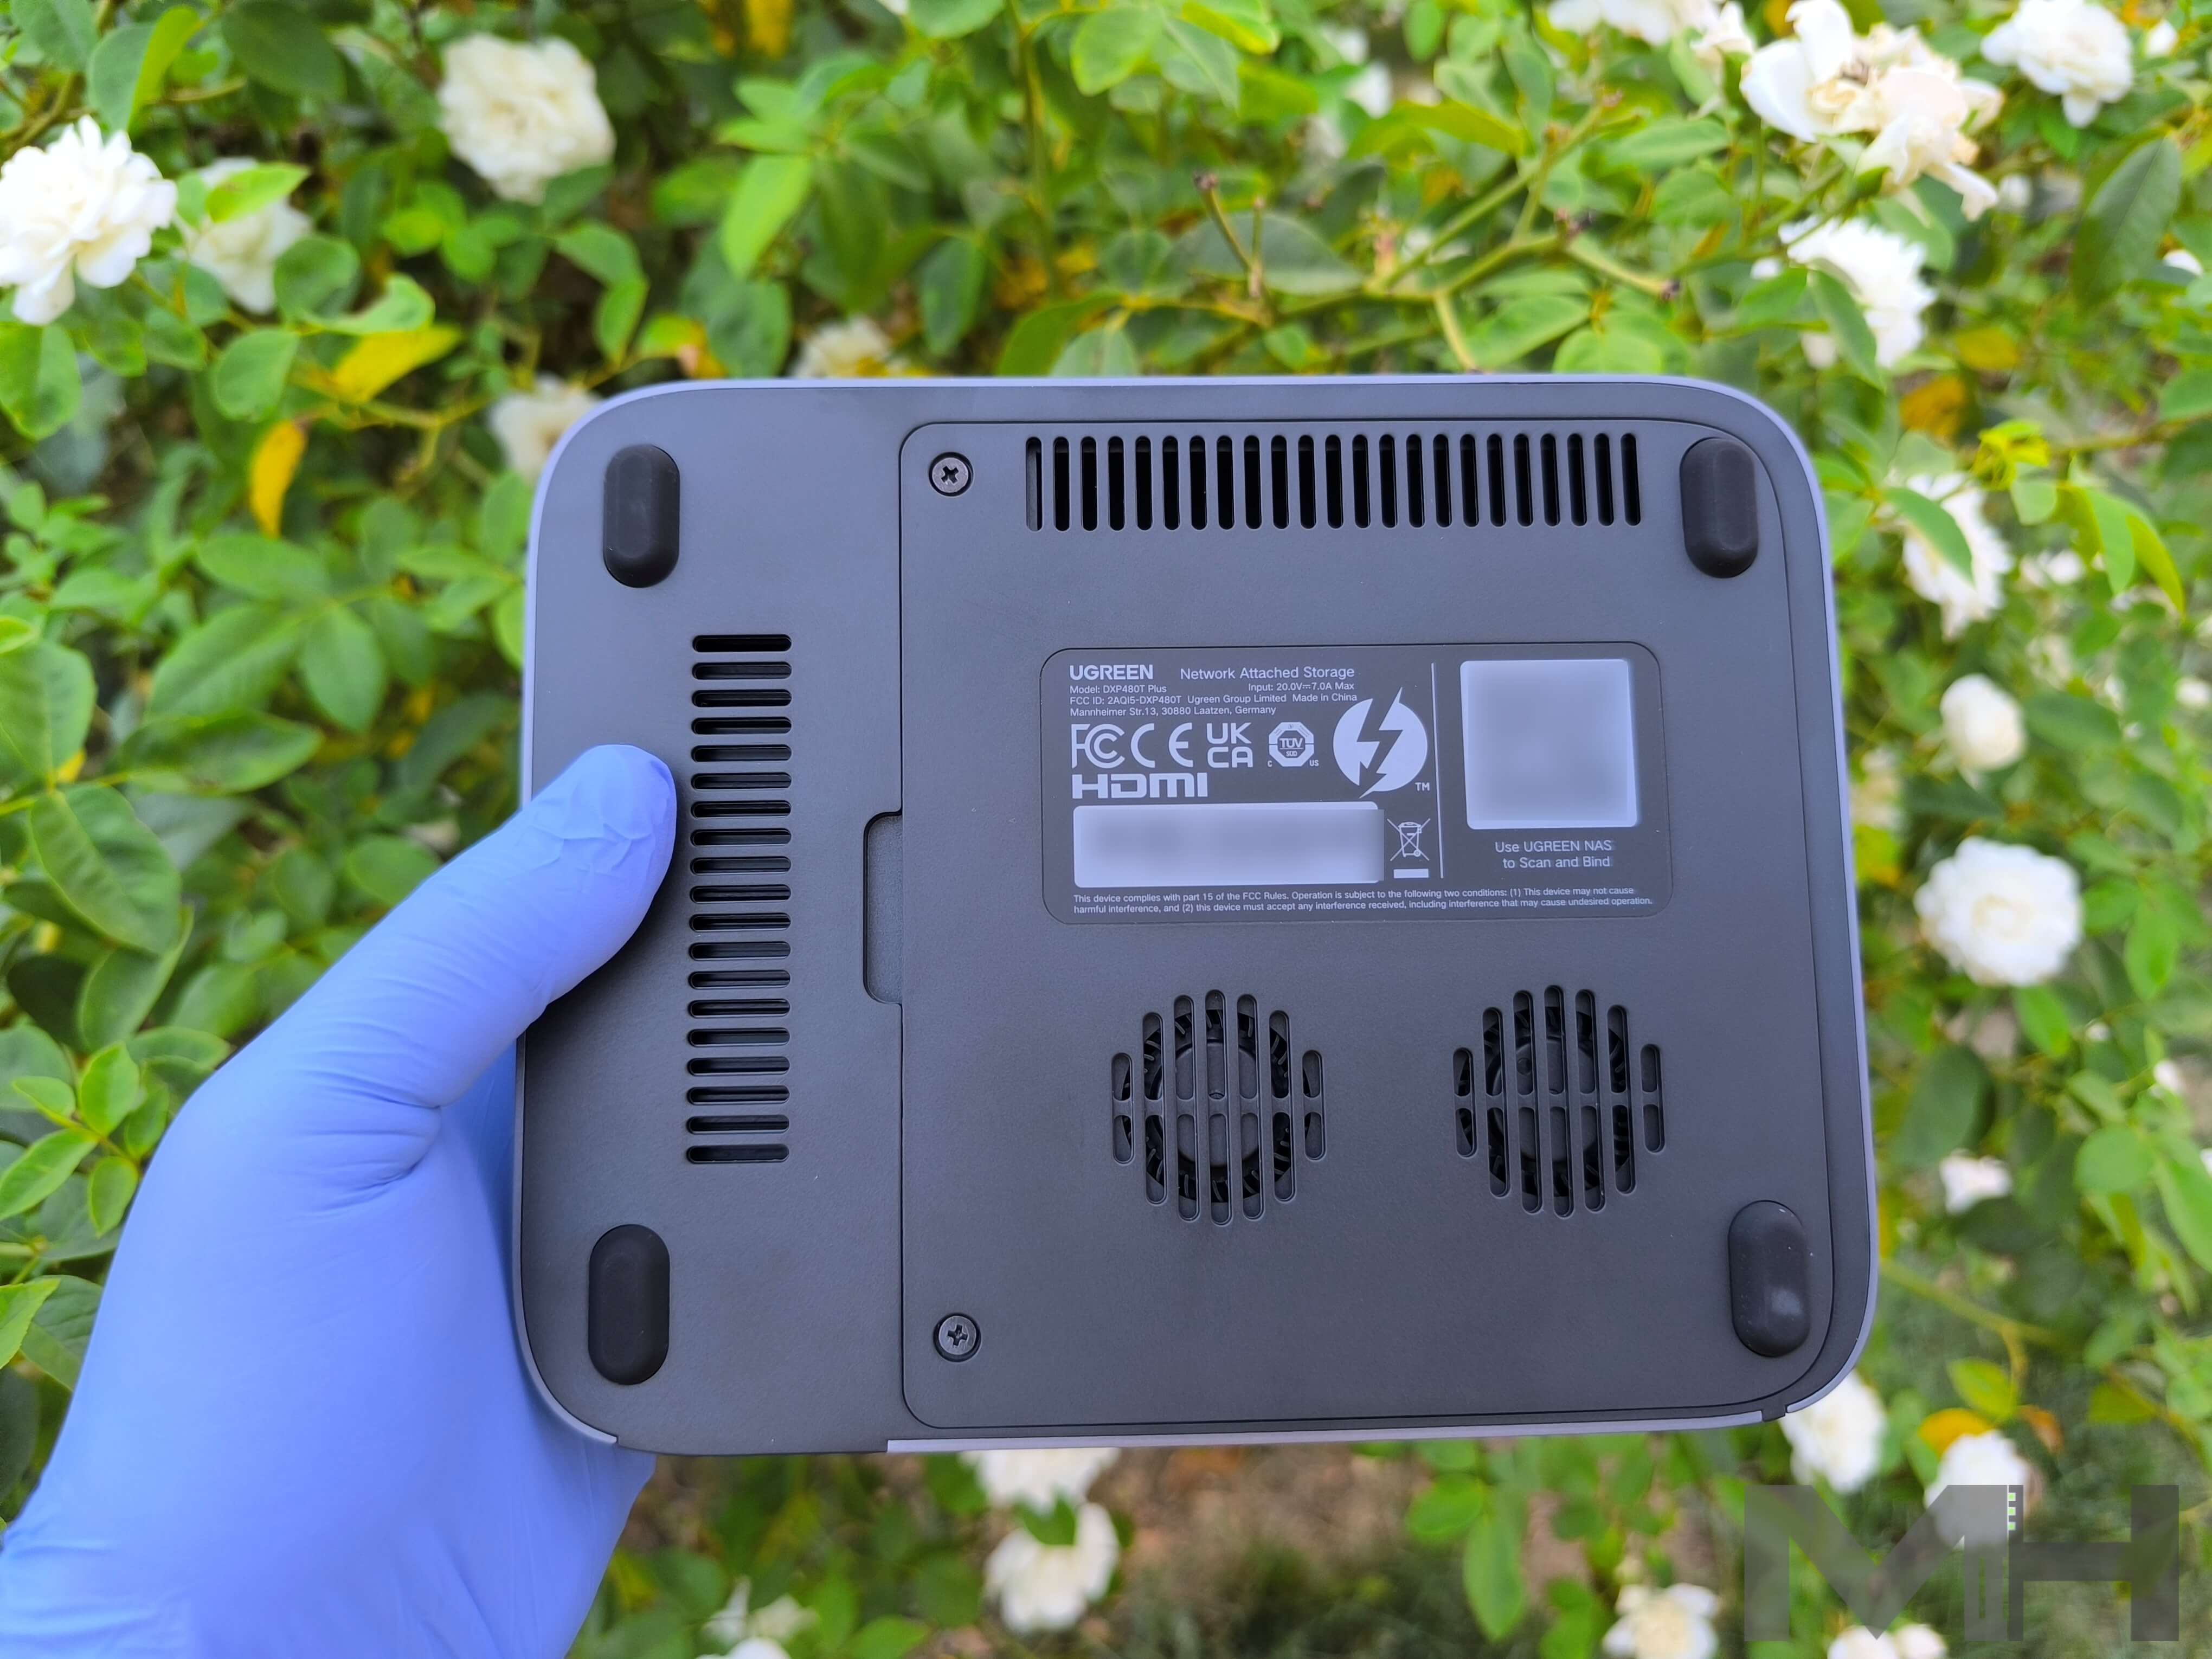
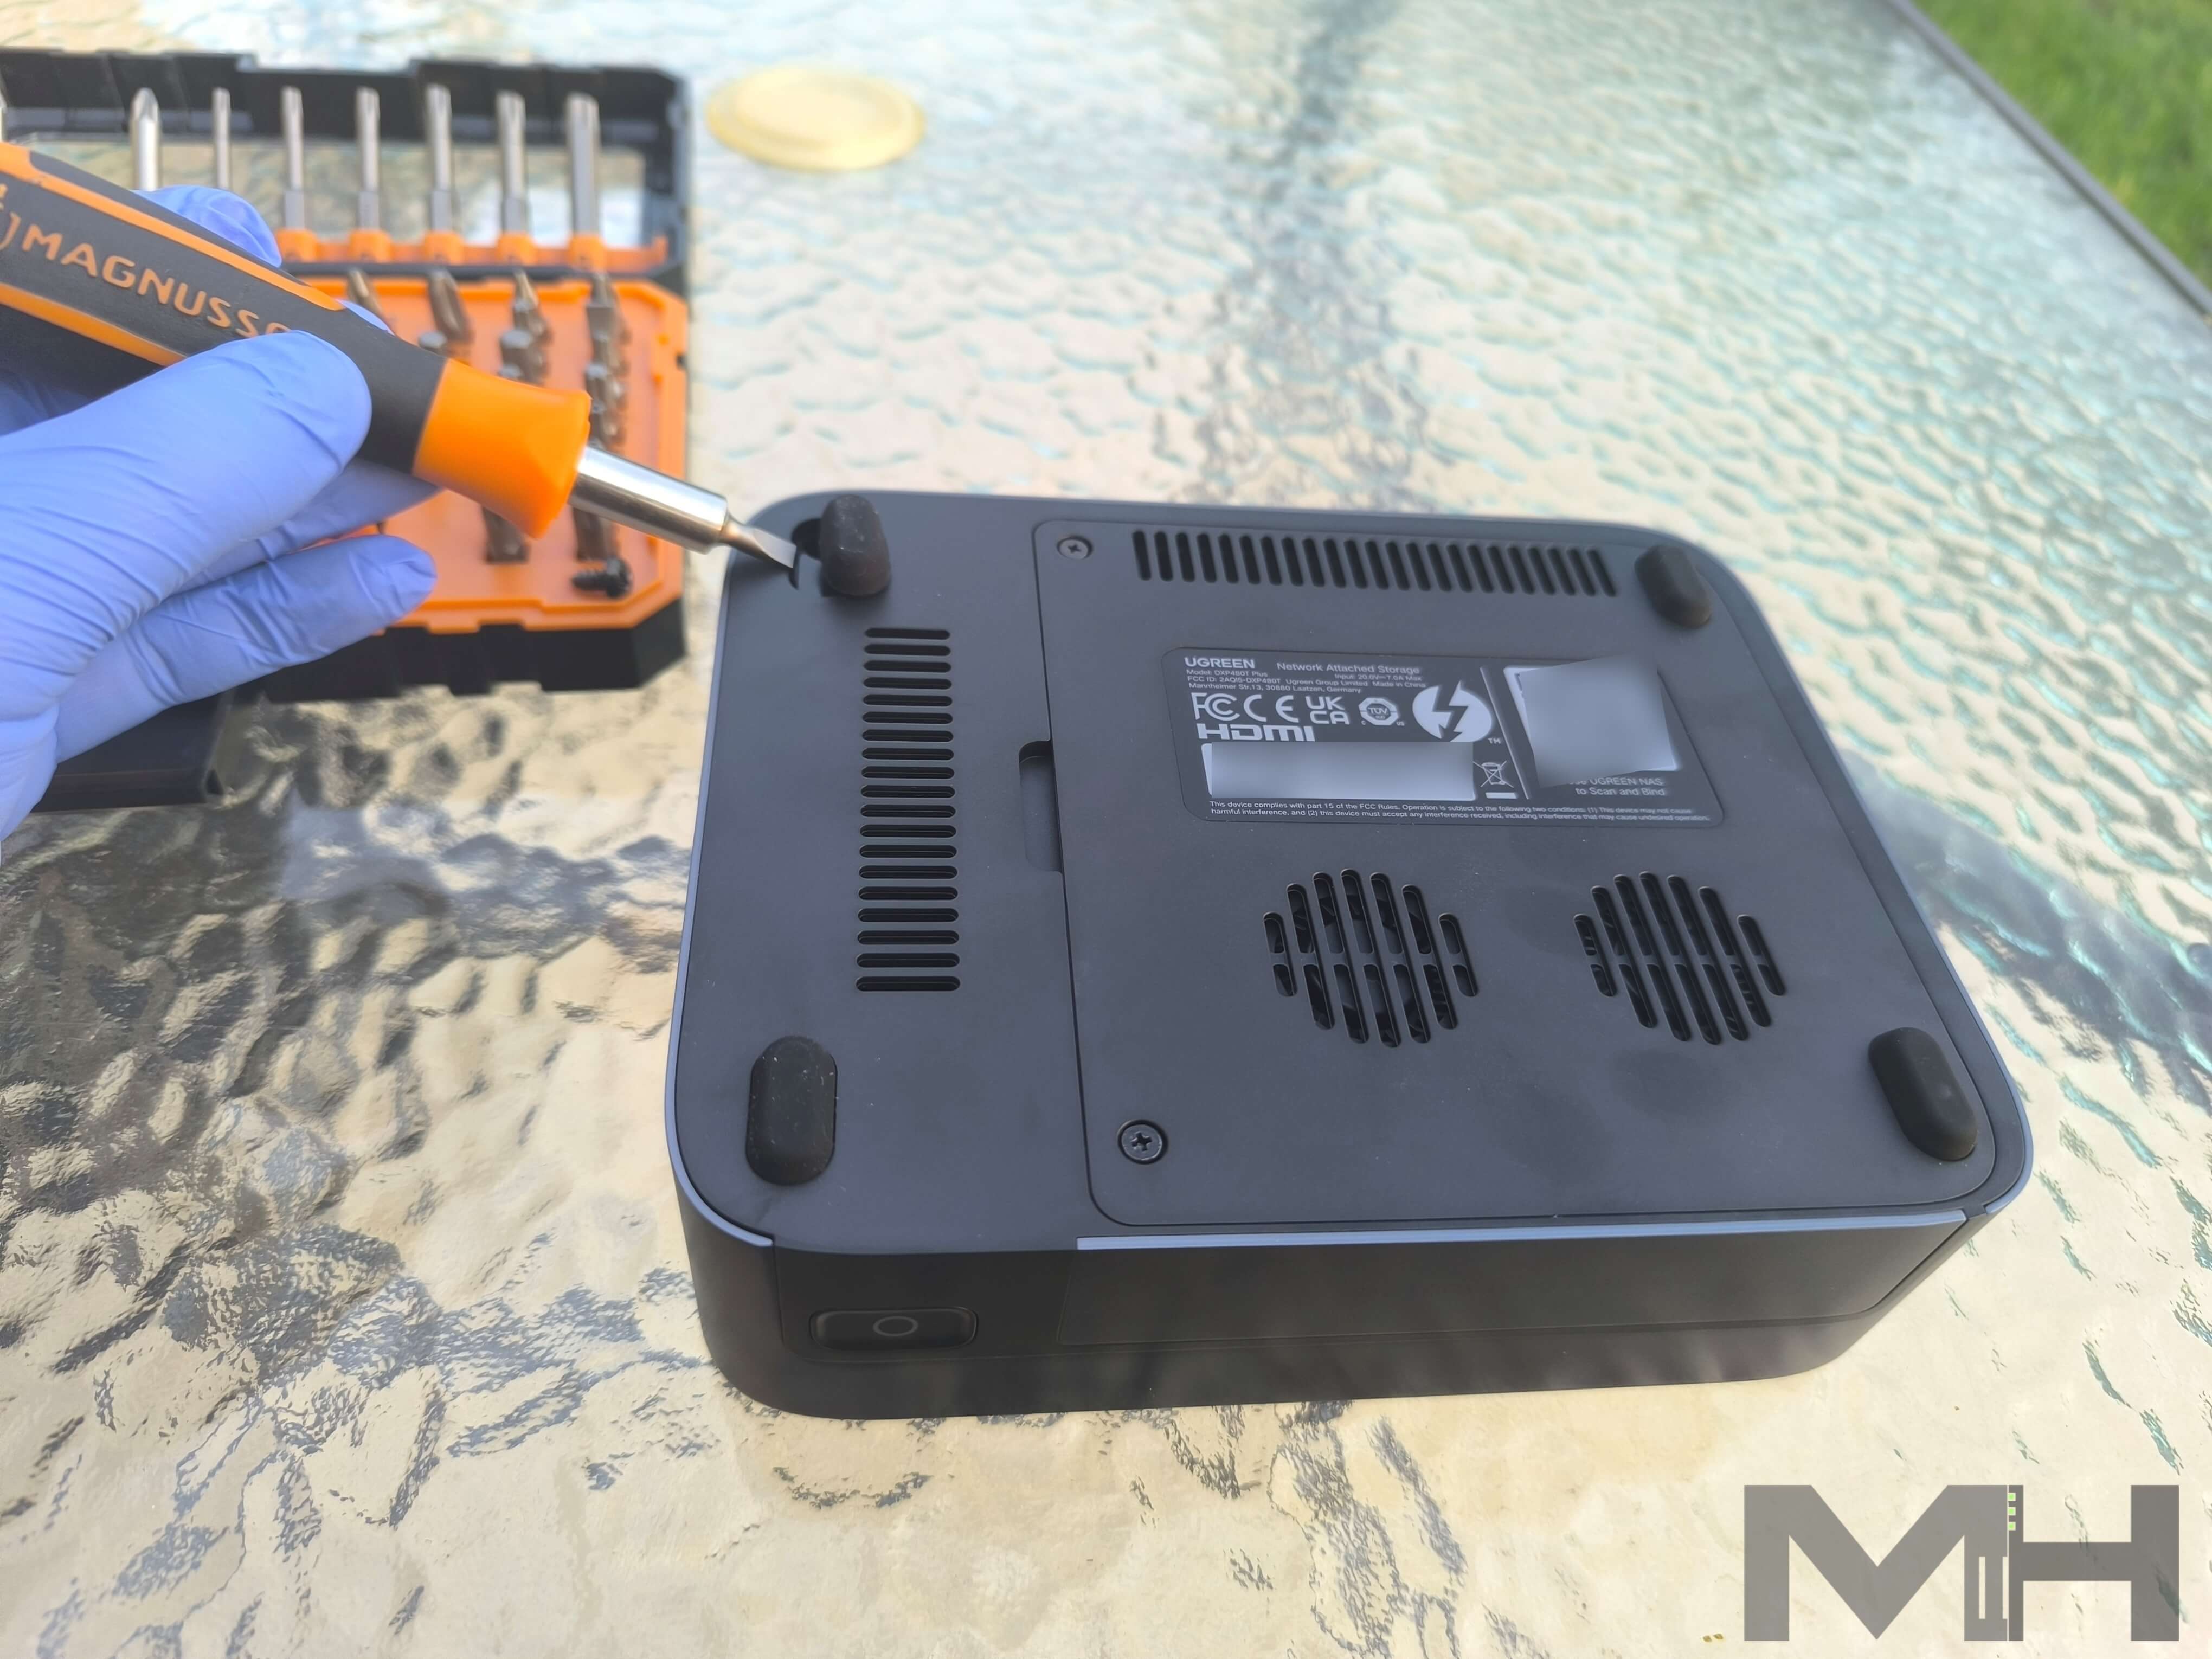
DXP480T Plus Underside View
The small, powerful fans are placed close to each other. There are also two very well designed heat dissipation grills.
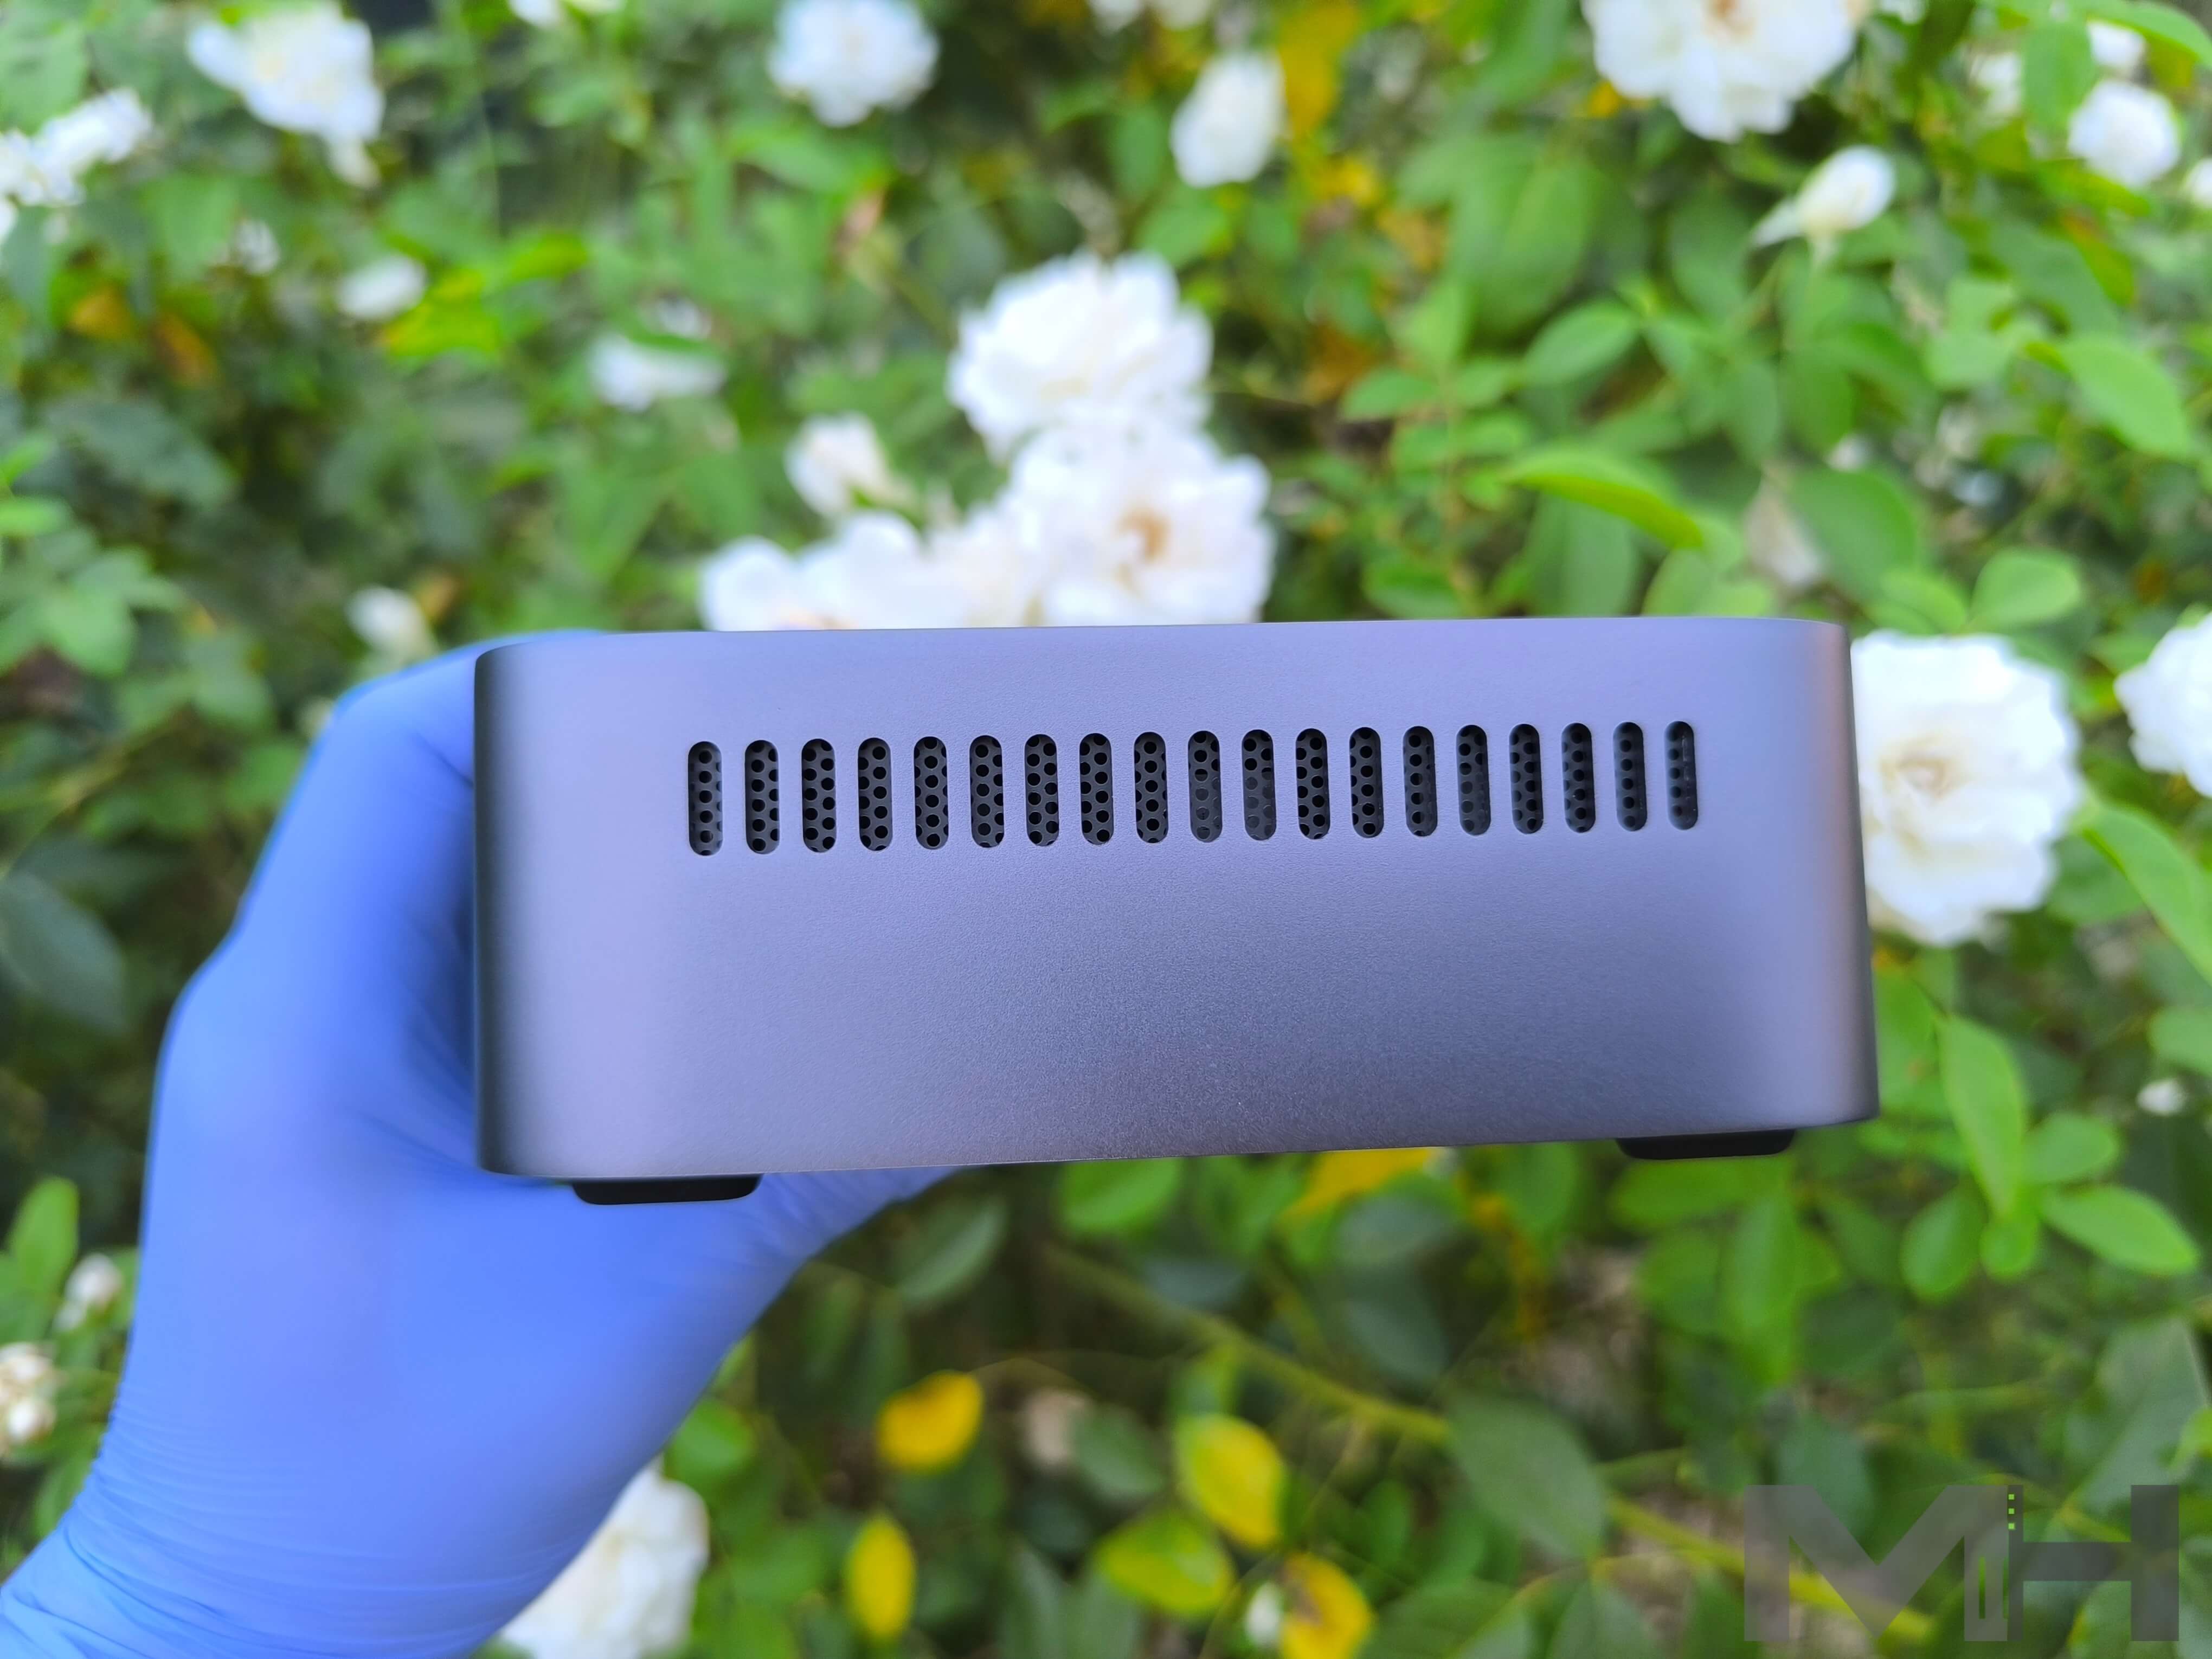
Lateral View
Below is a lateral view of the DXP480T Plus where you can see a heat dissipation grill.
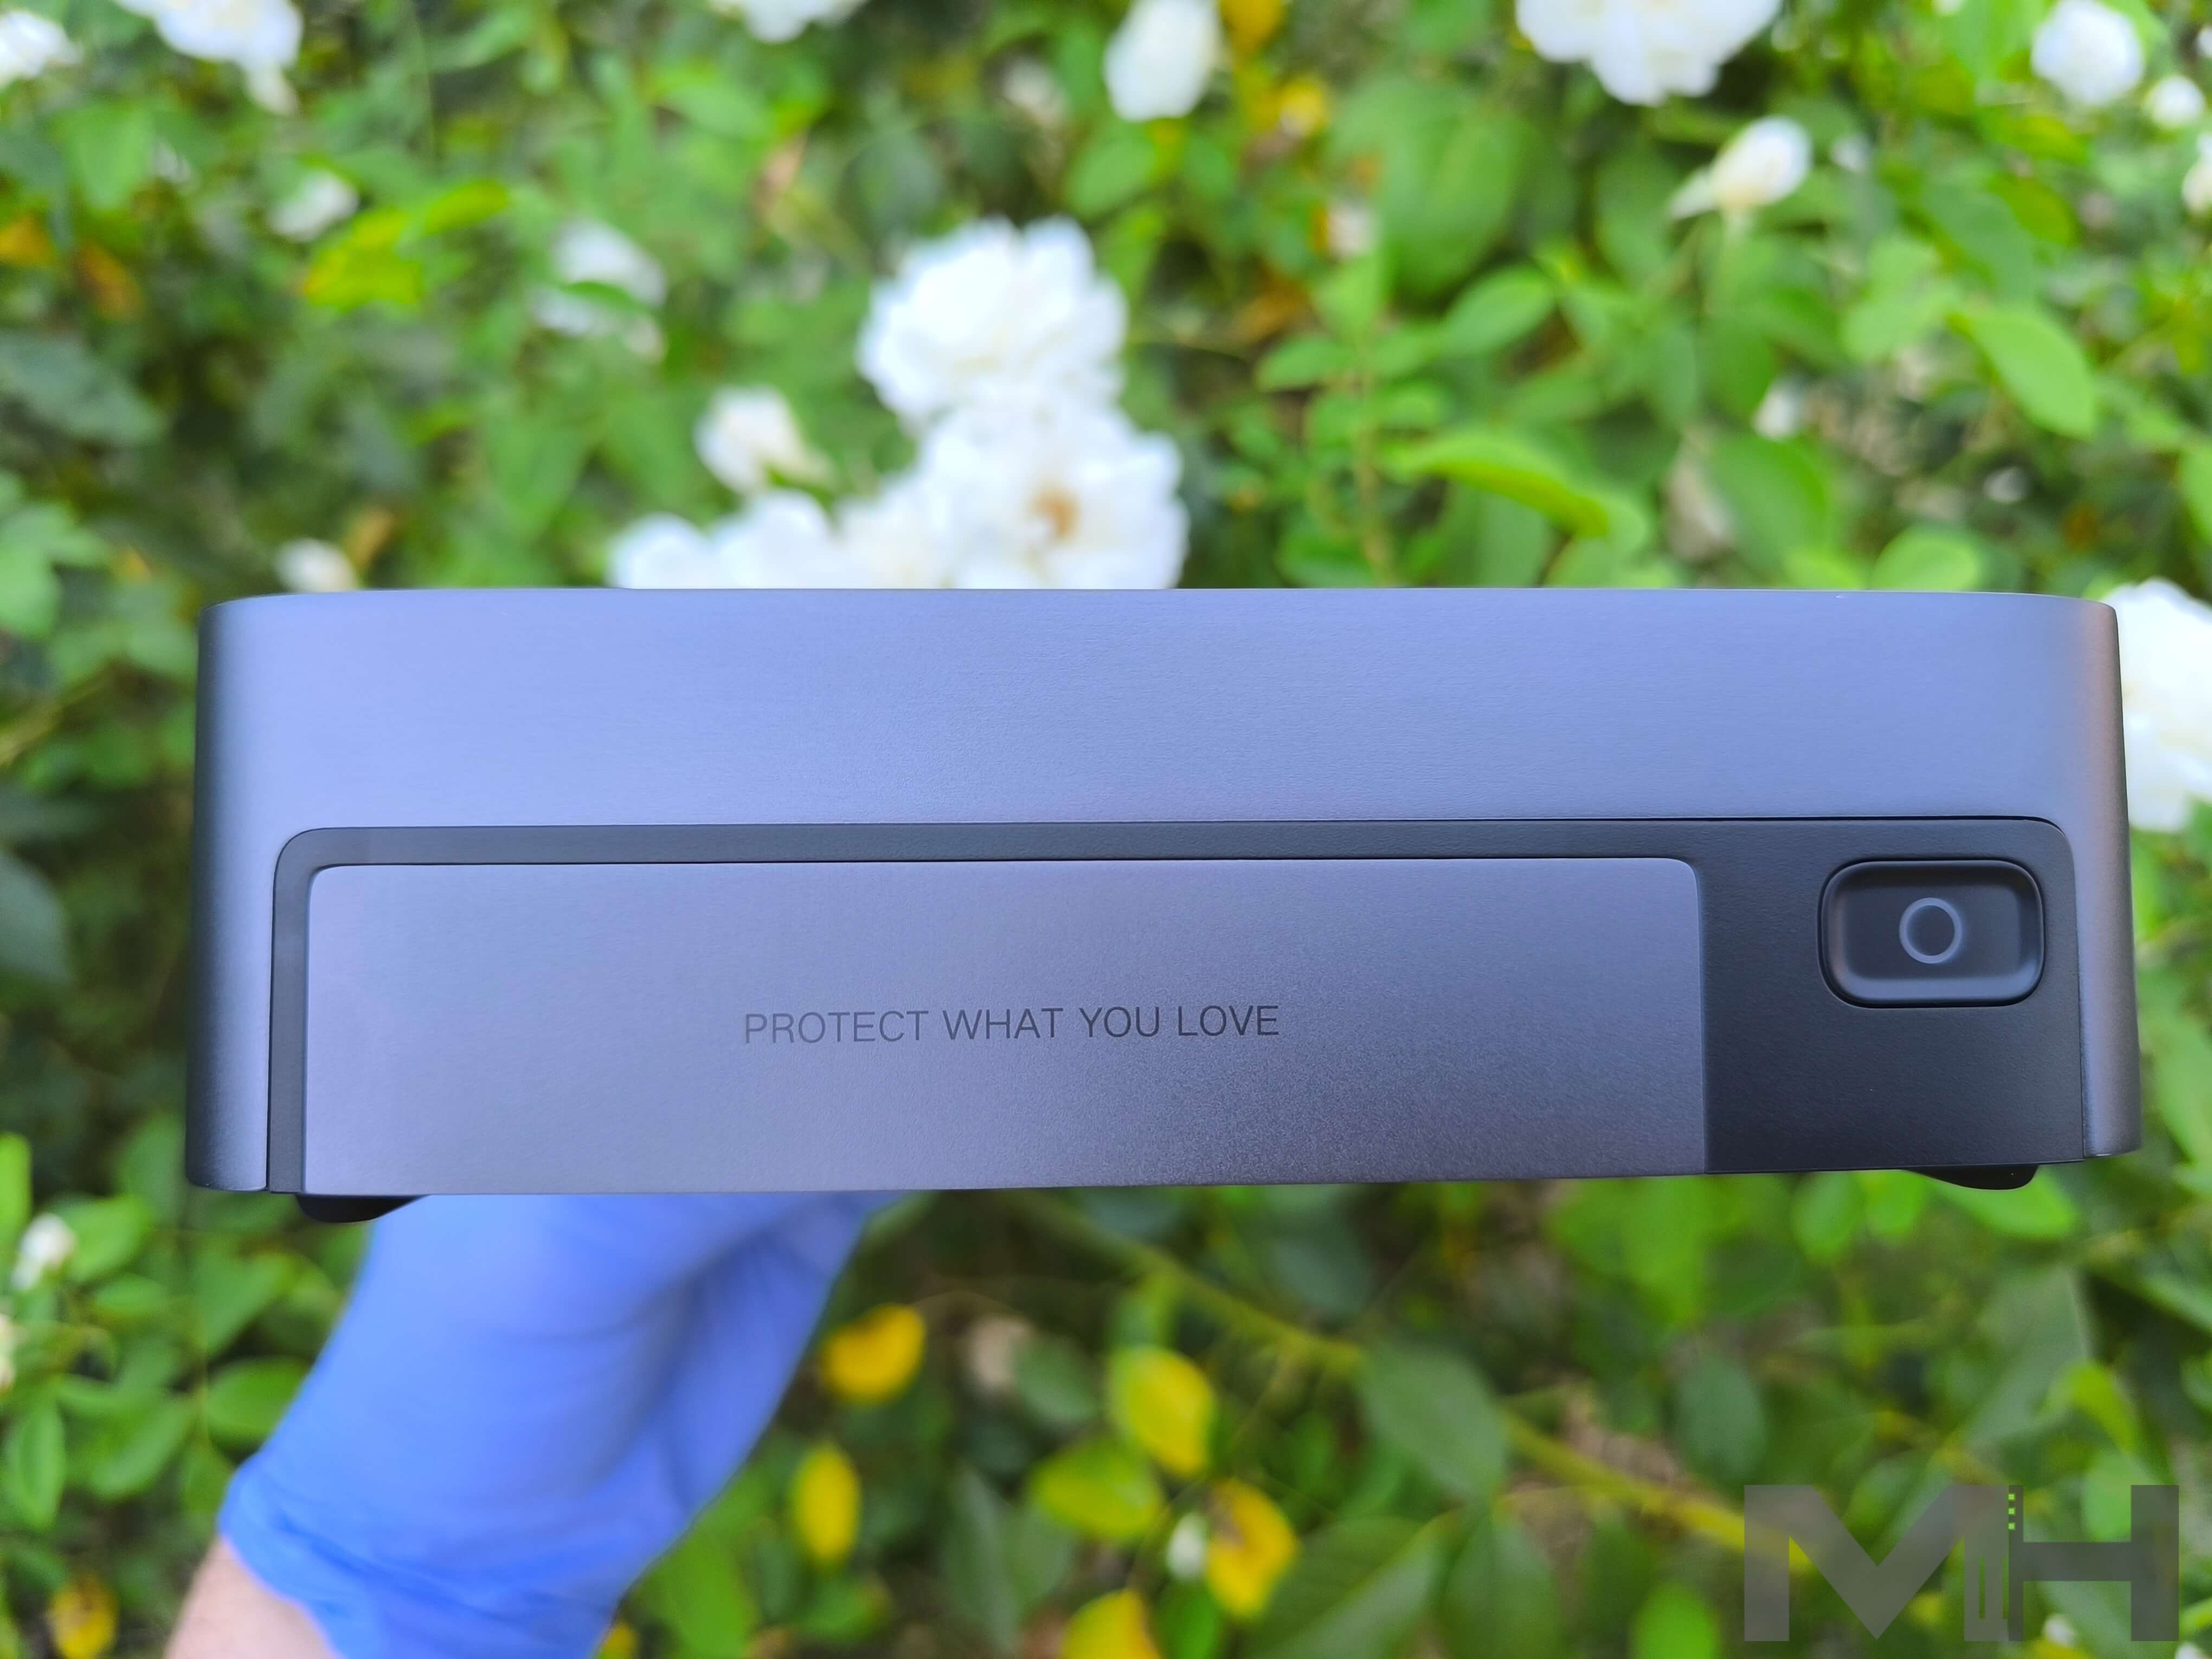
Protect What You Love
On the front of the NAS you will see only the Power button with a text that says: PROTECT WHAT YOU LOVE.
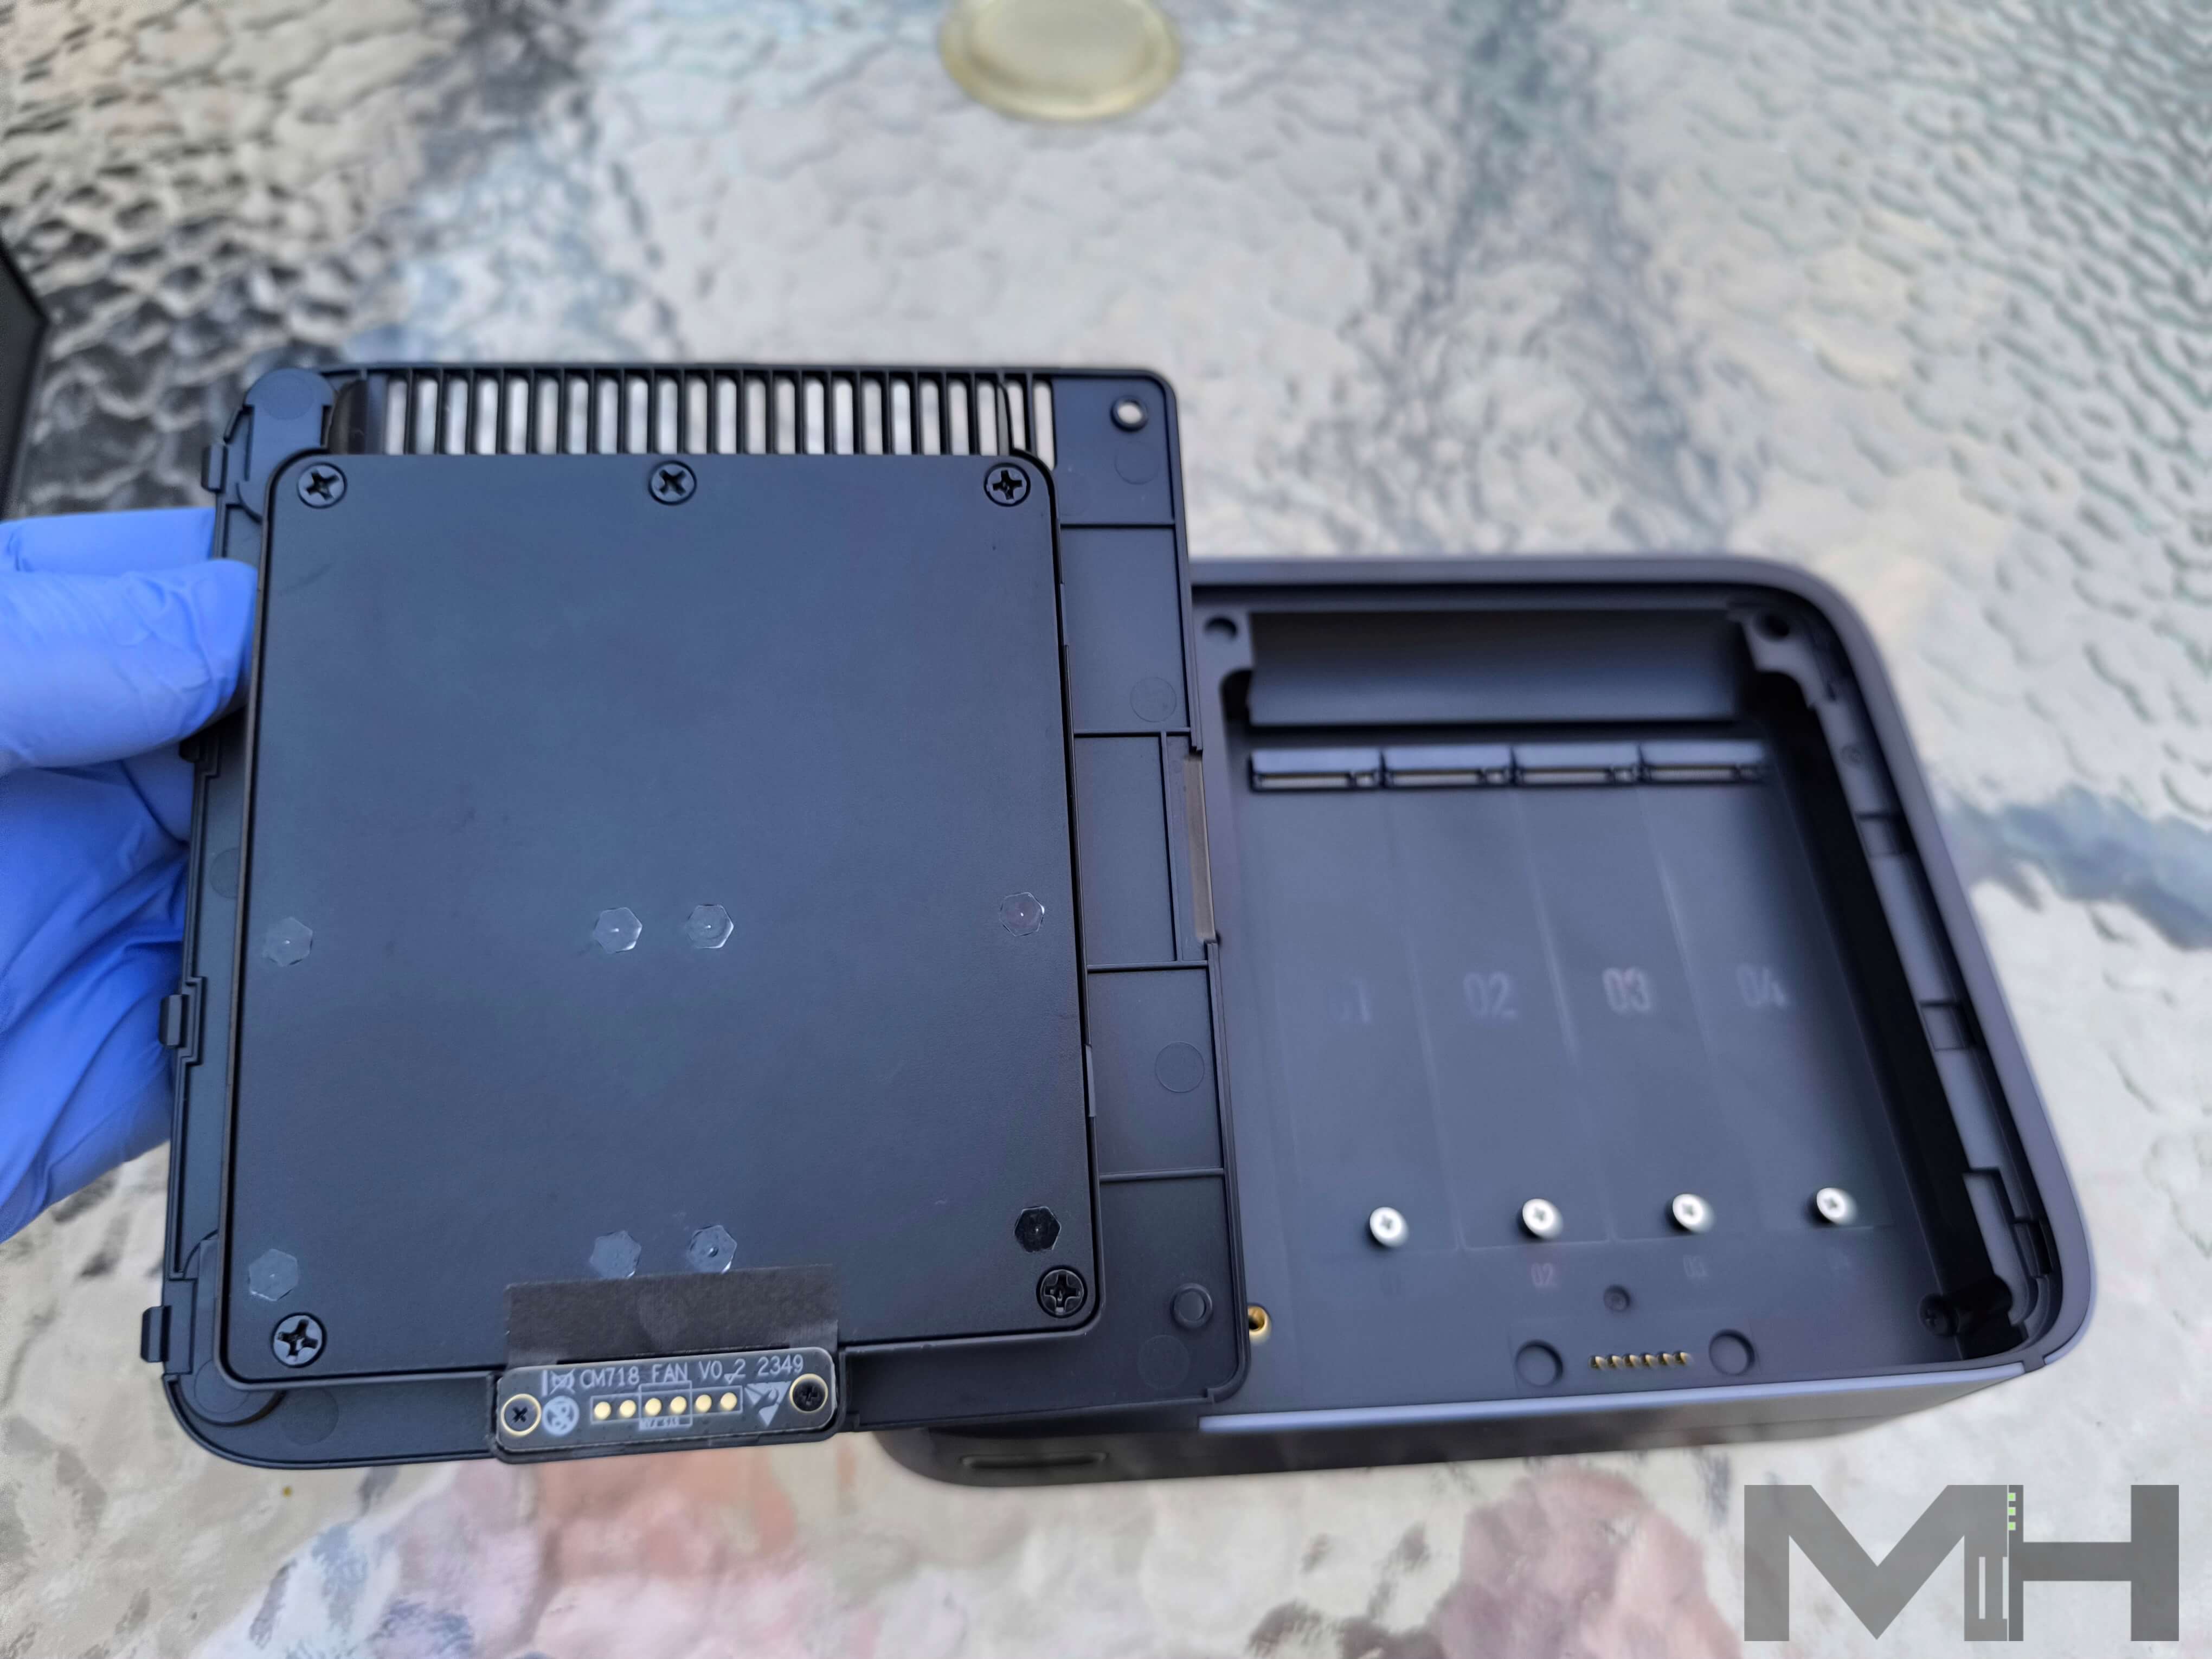
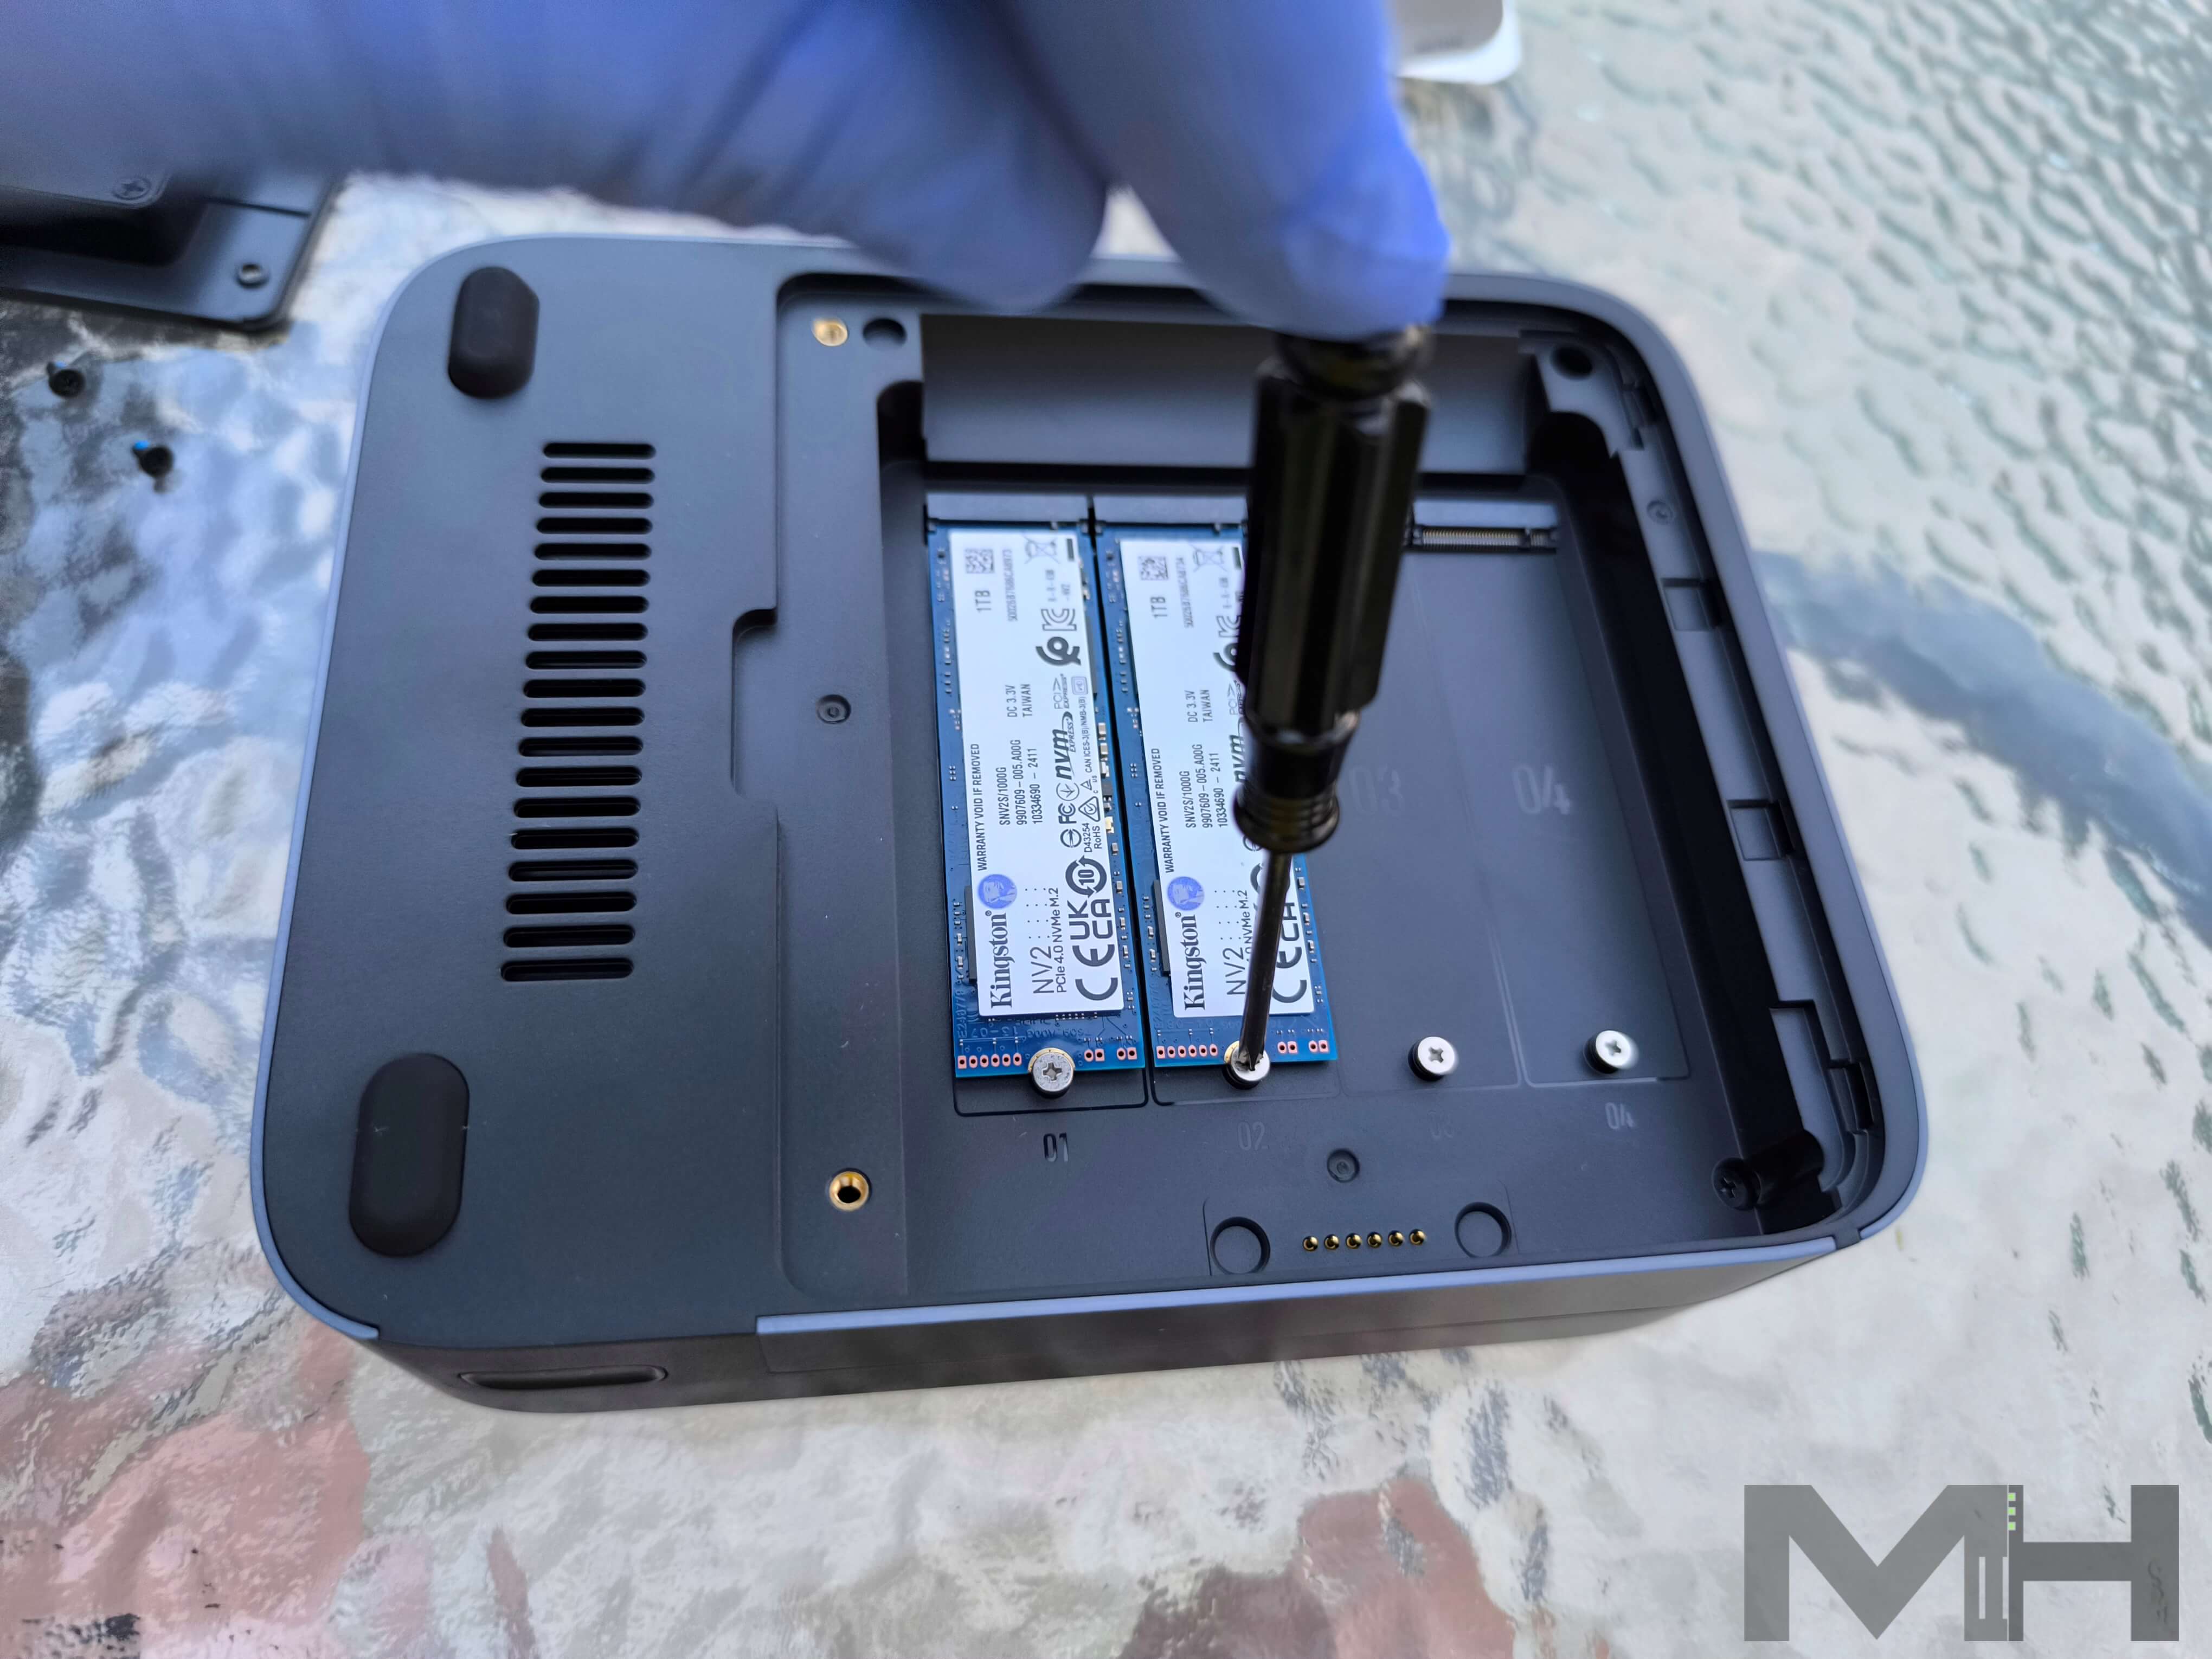
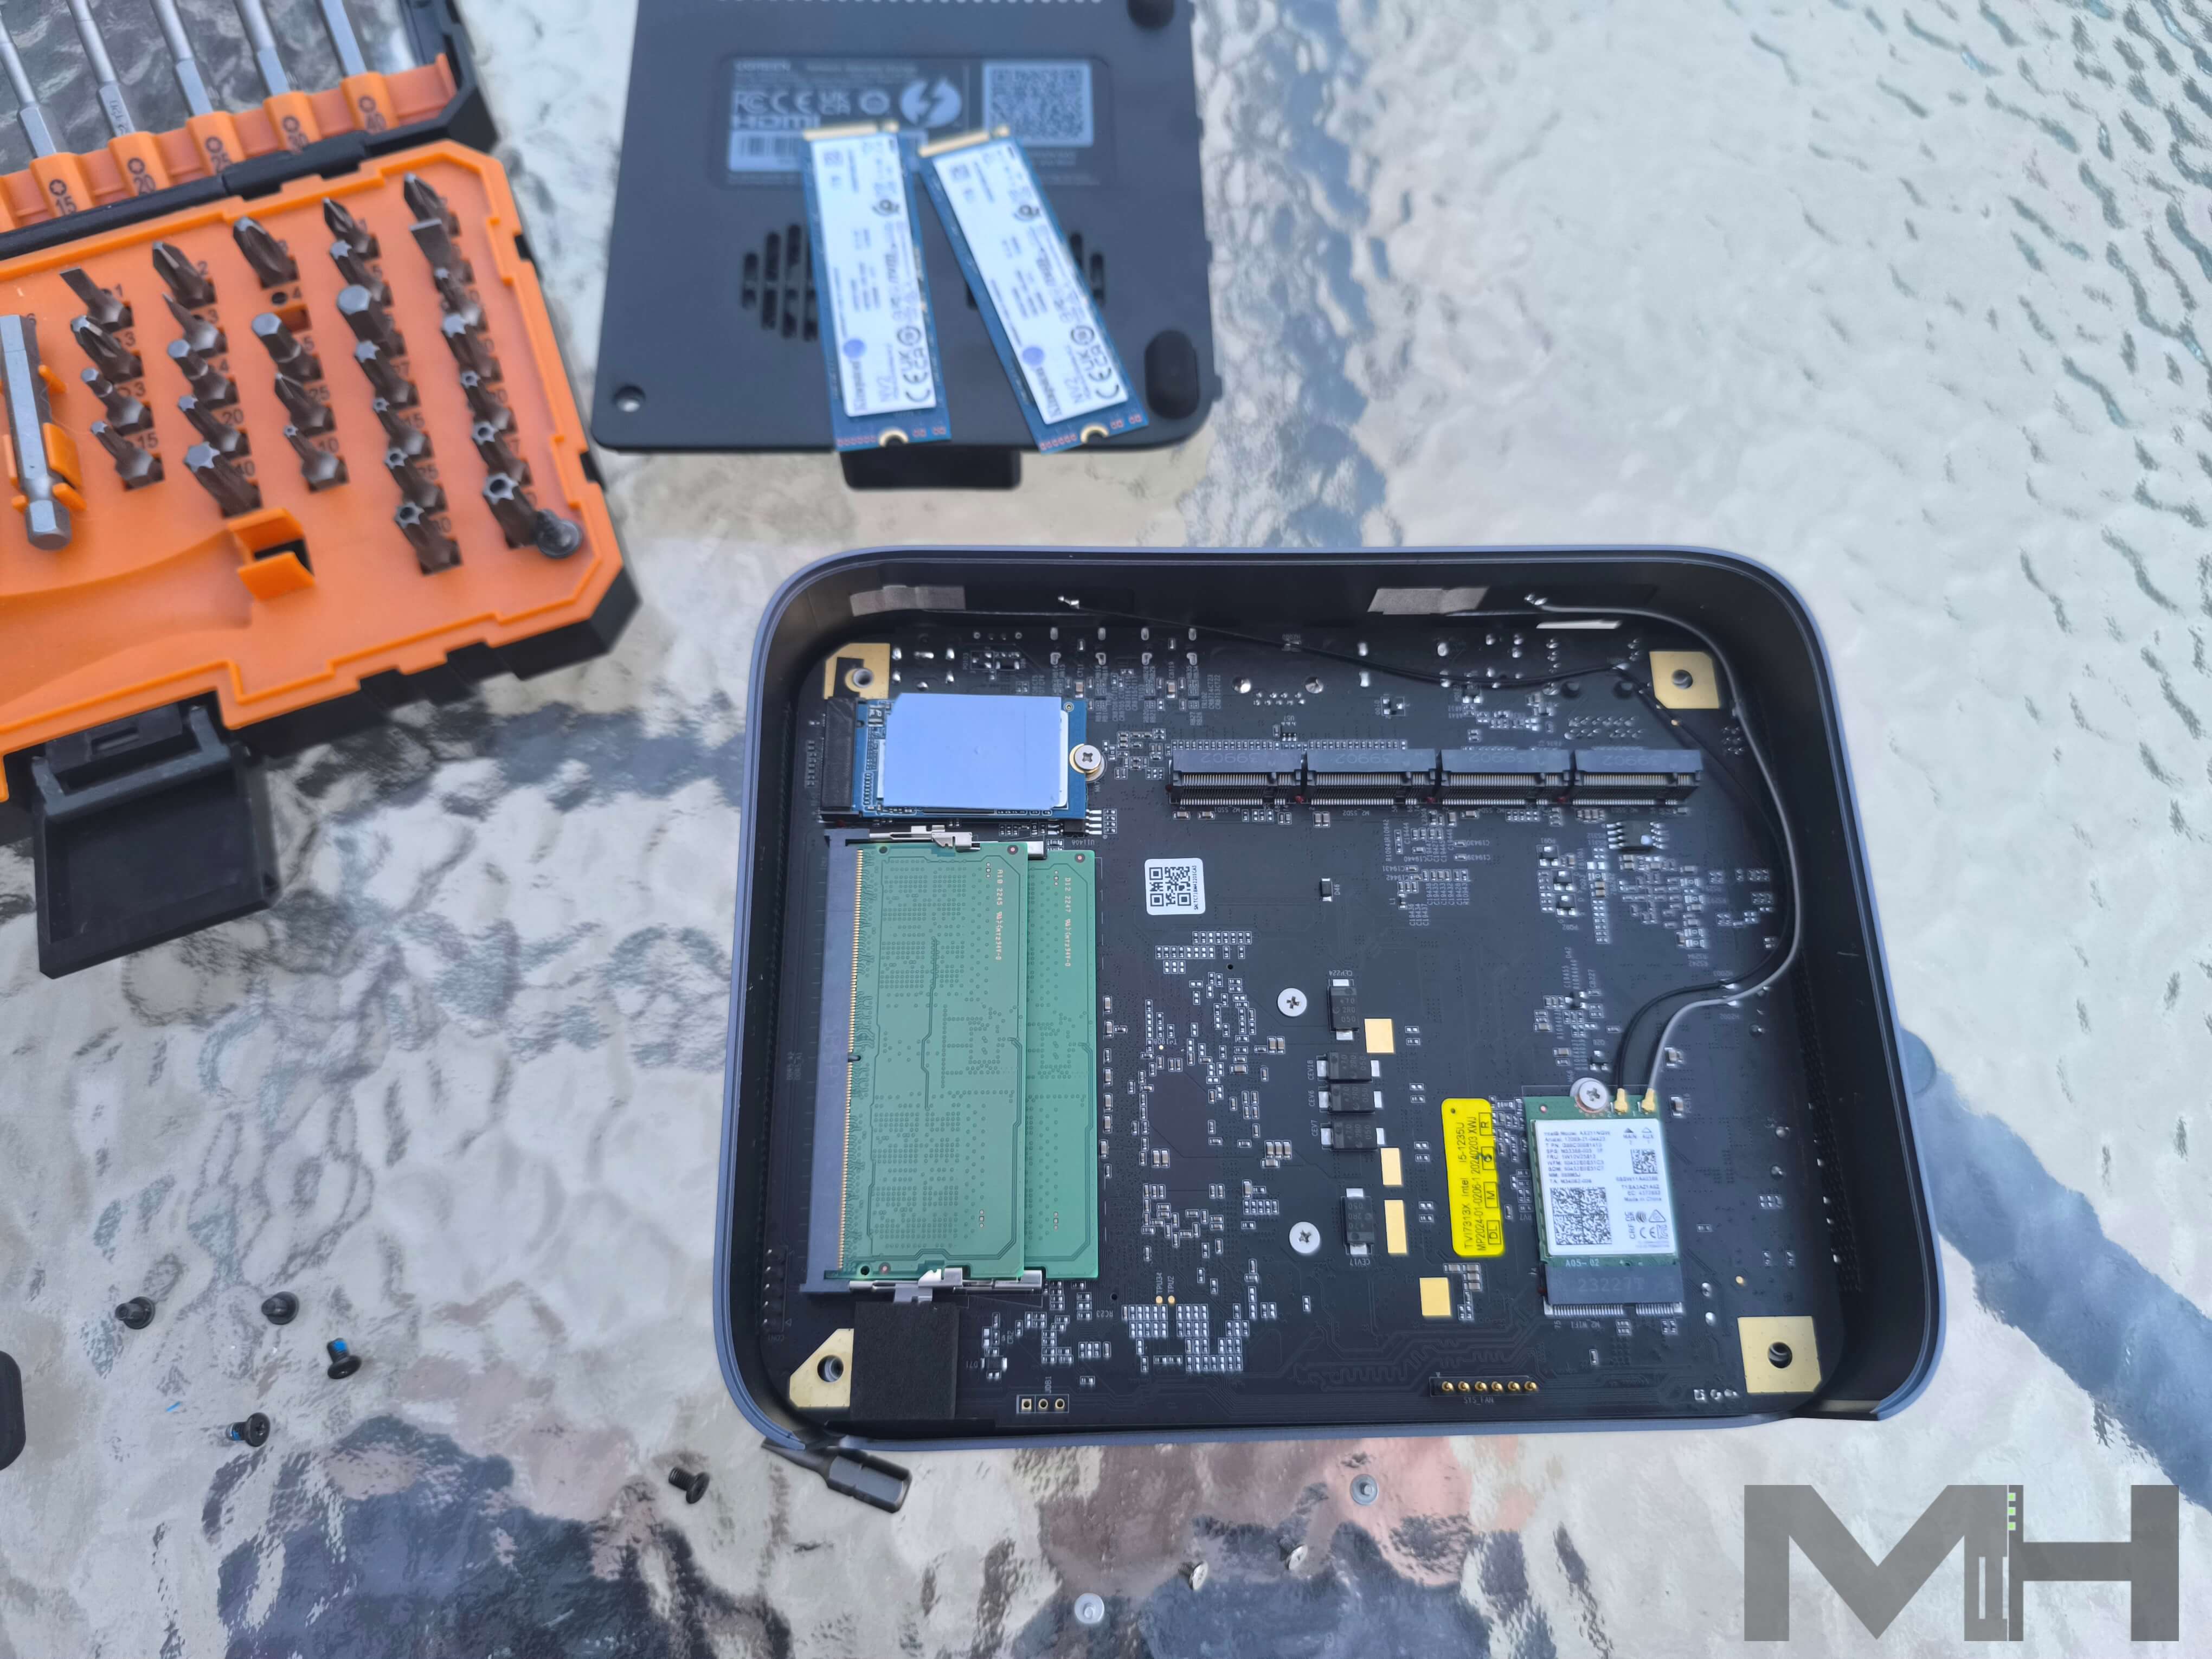
Add the SSDs
You can add your own M.2 NVMe SSDs to the DXP480T by removing the back using the screwdriver provided in the package.
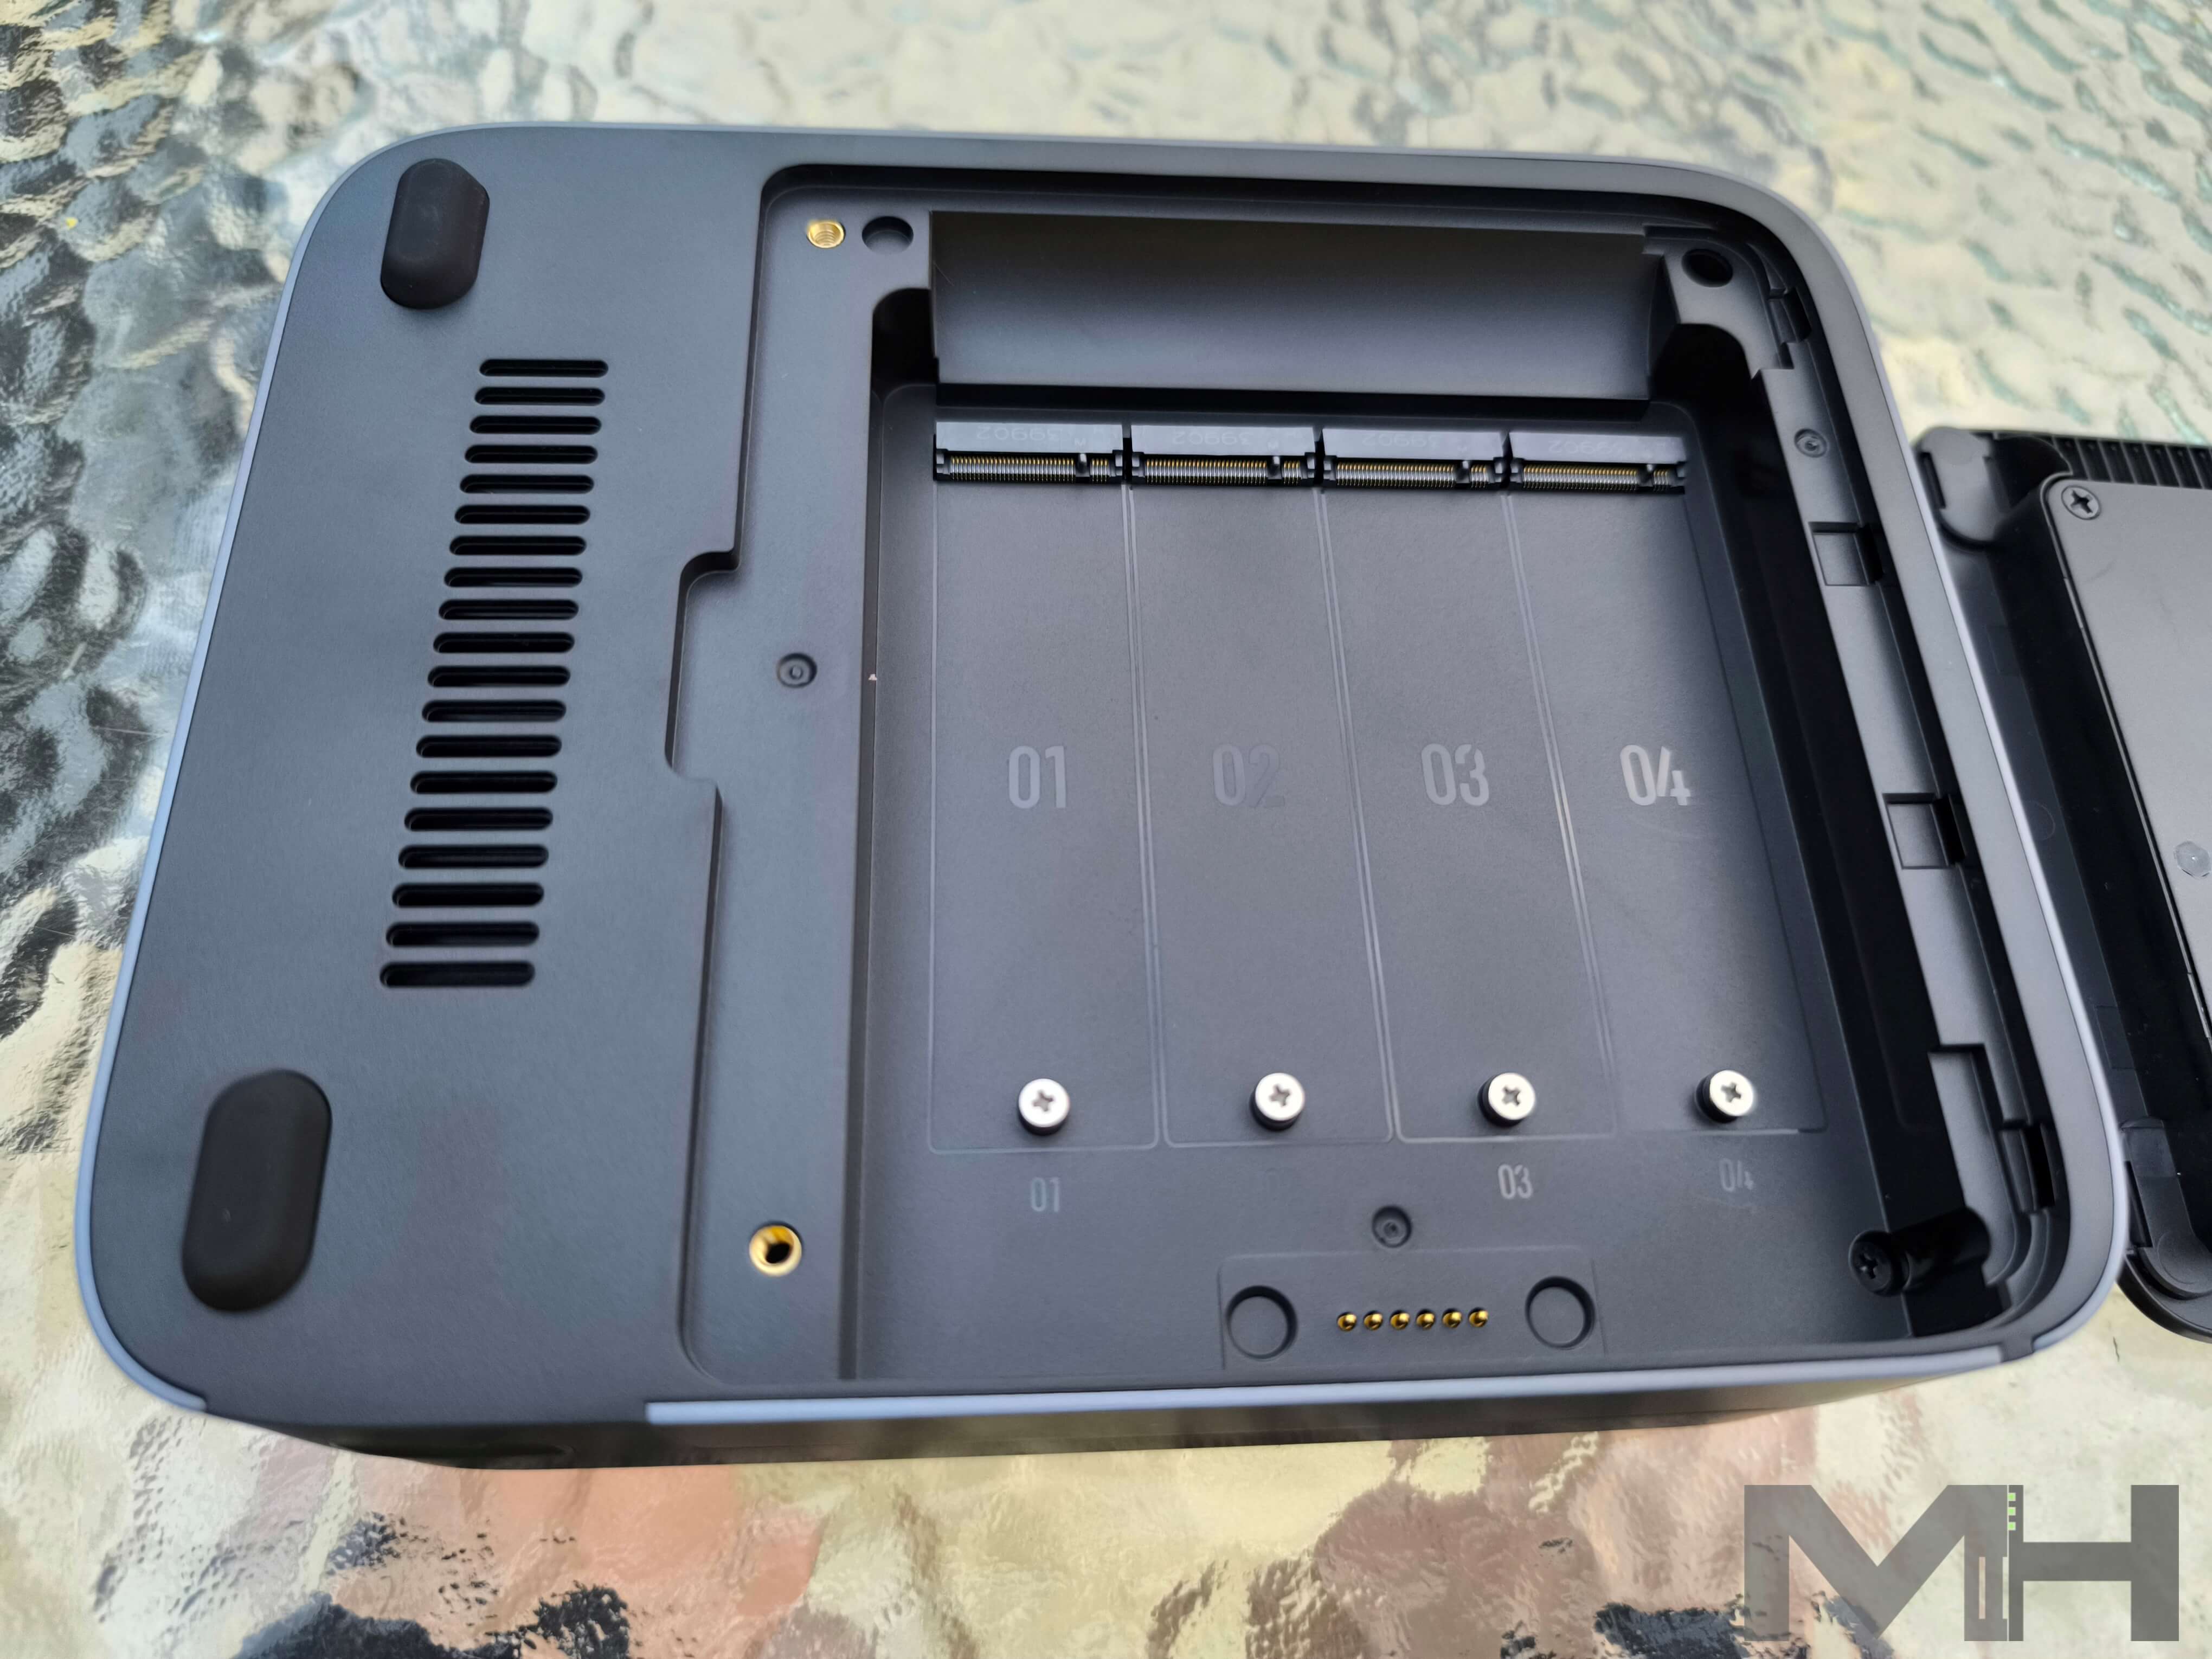
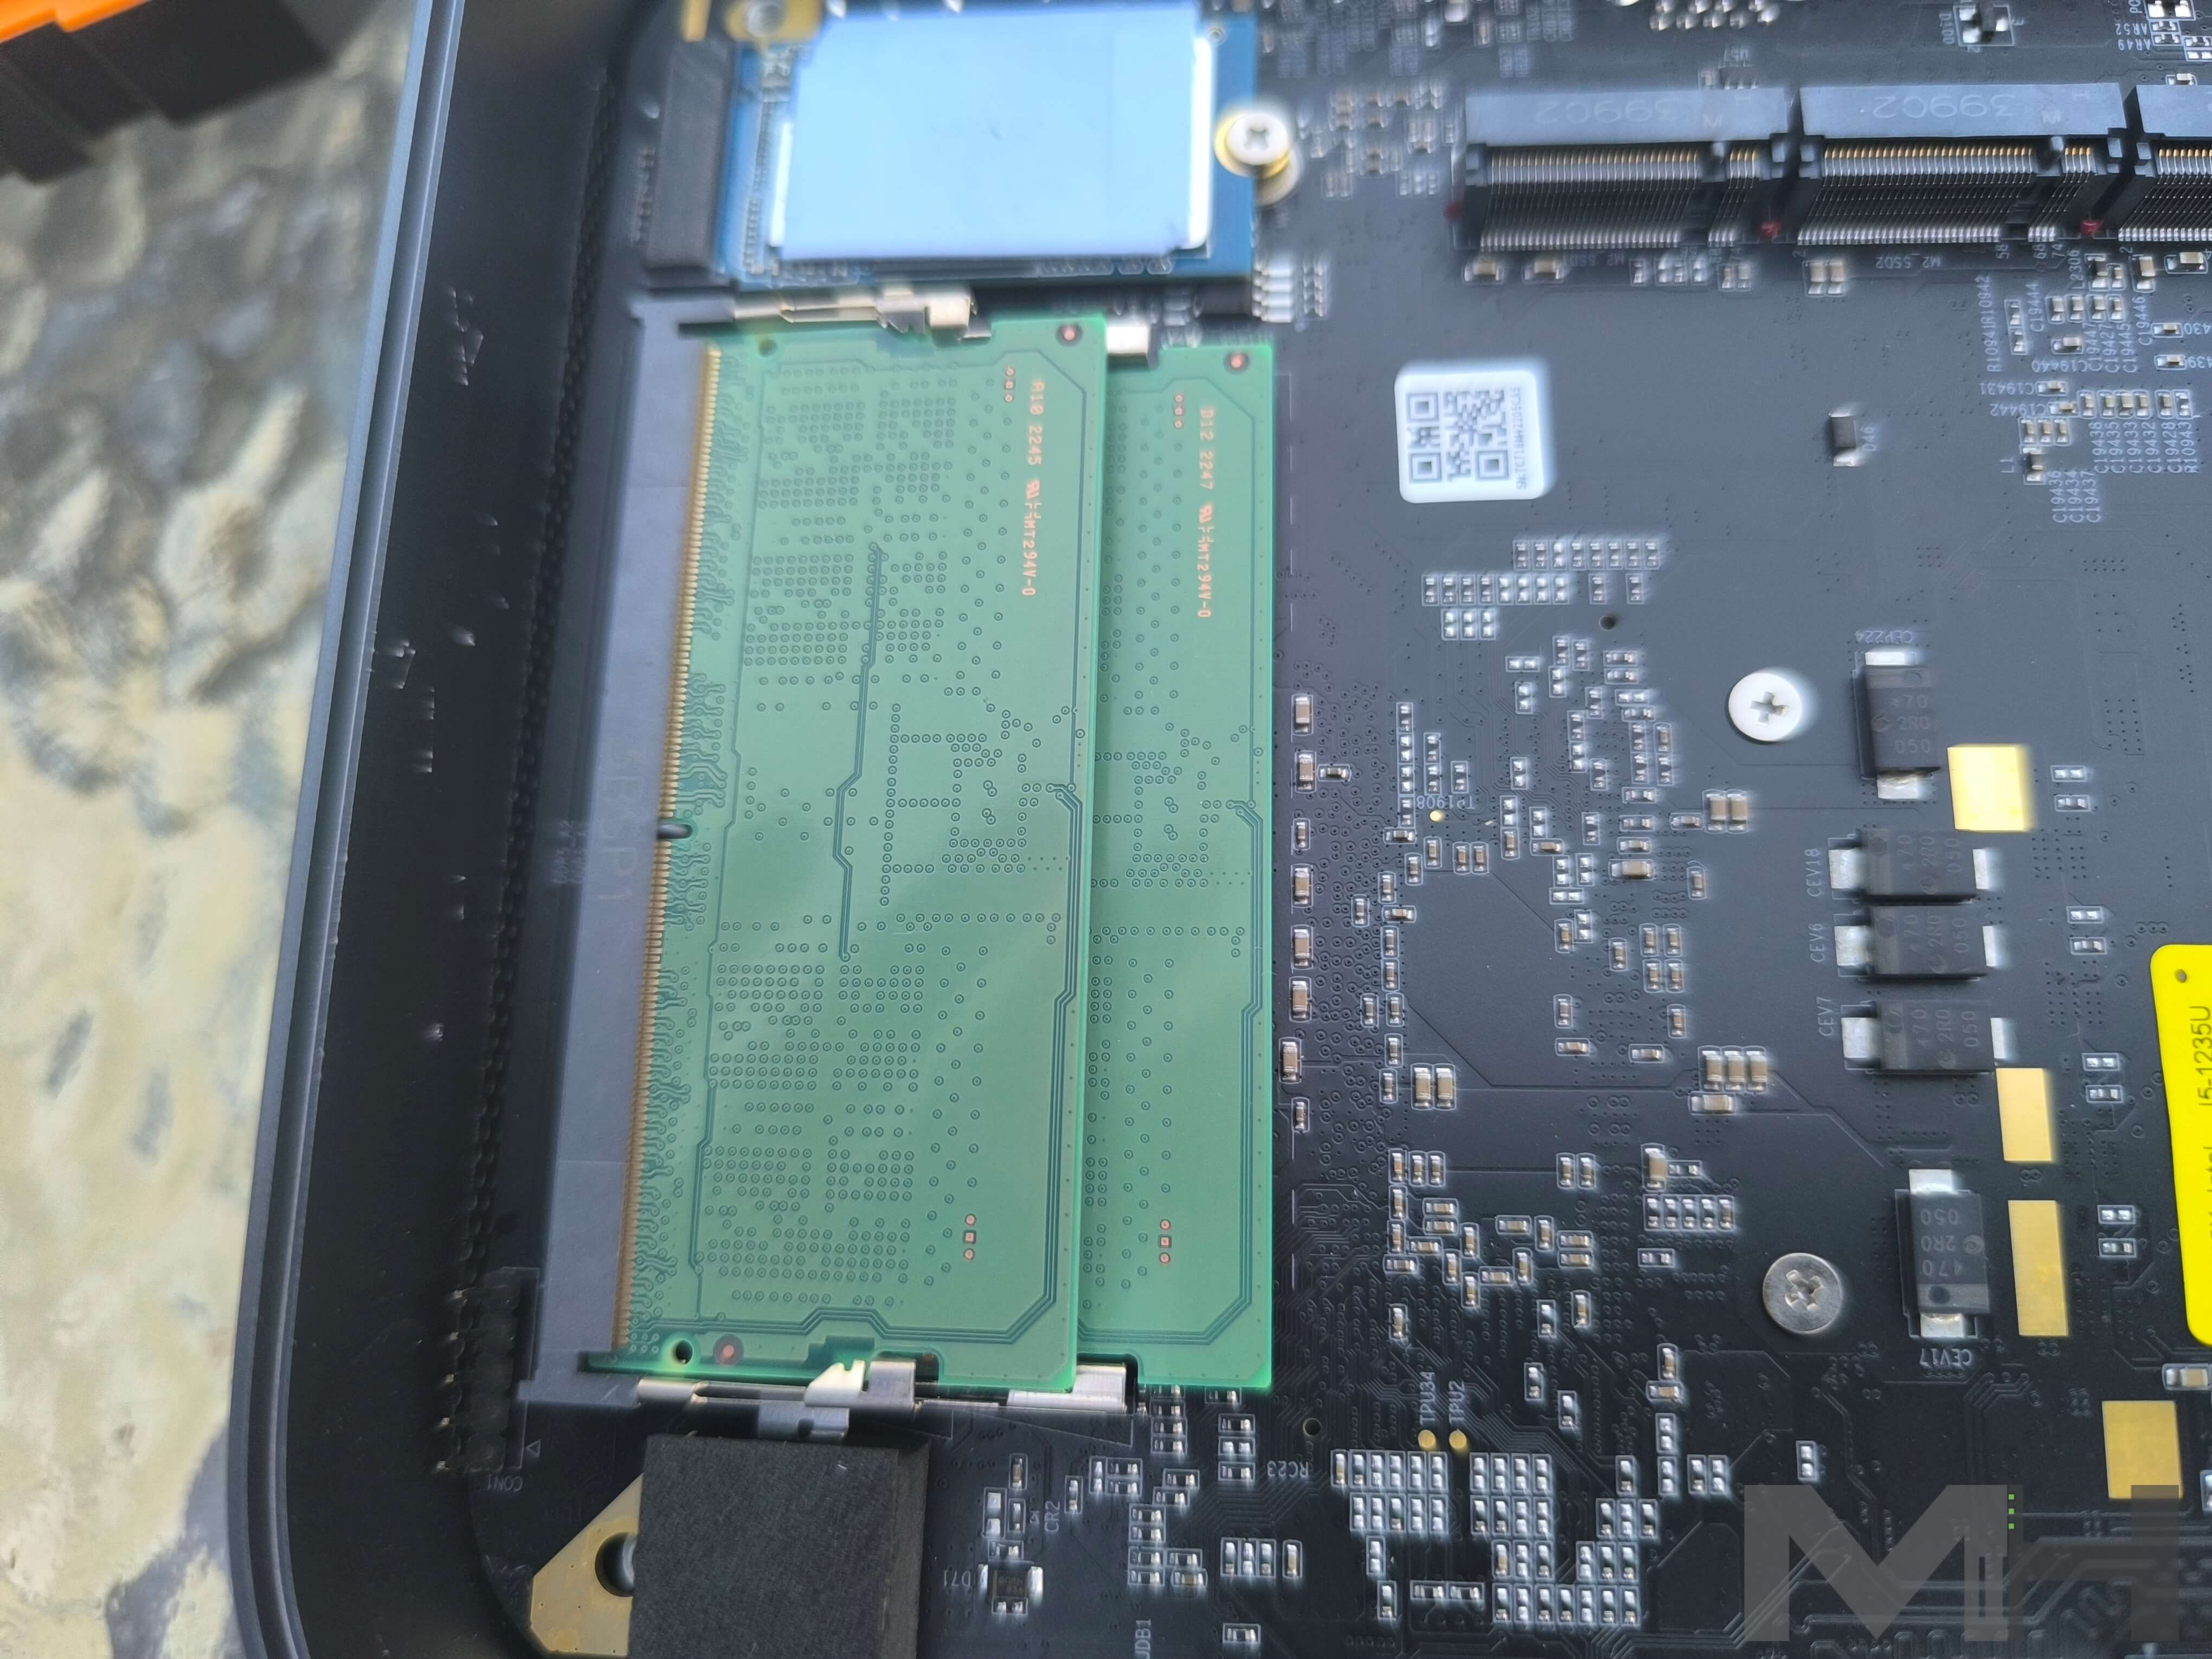
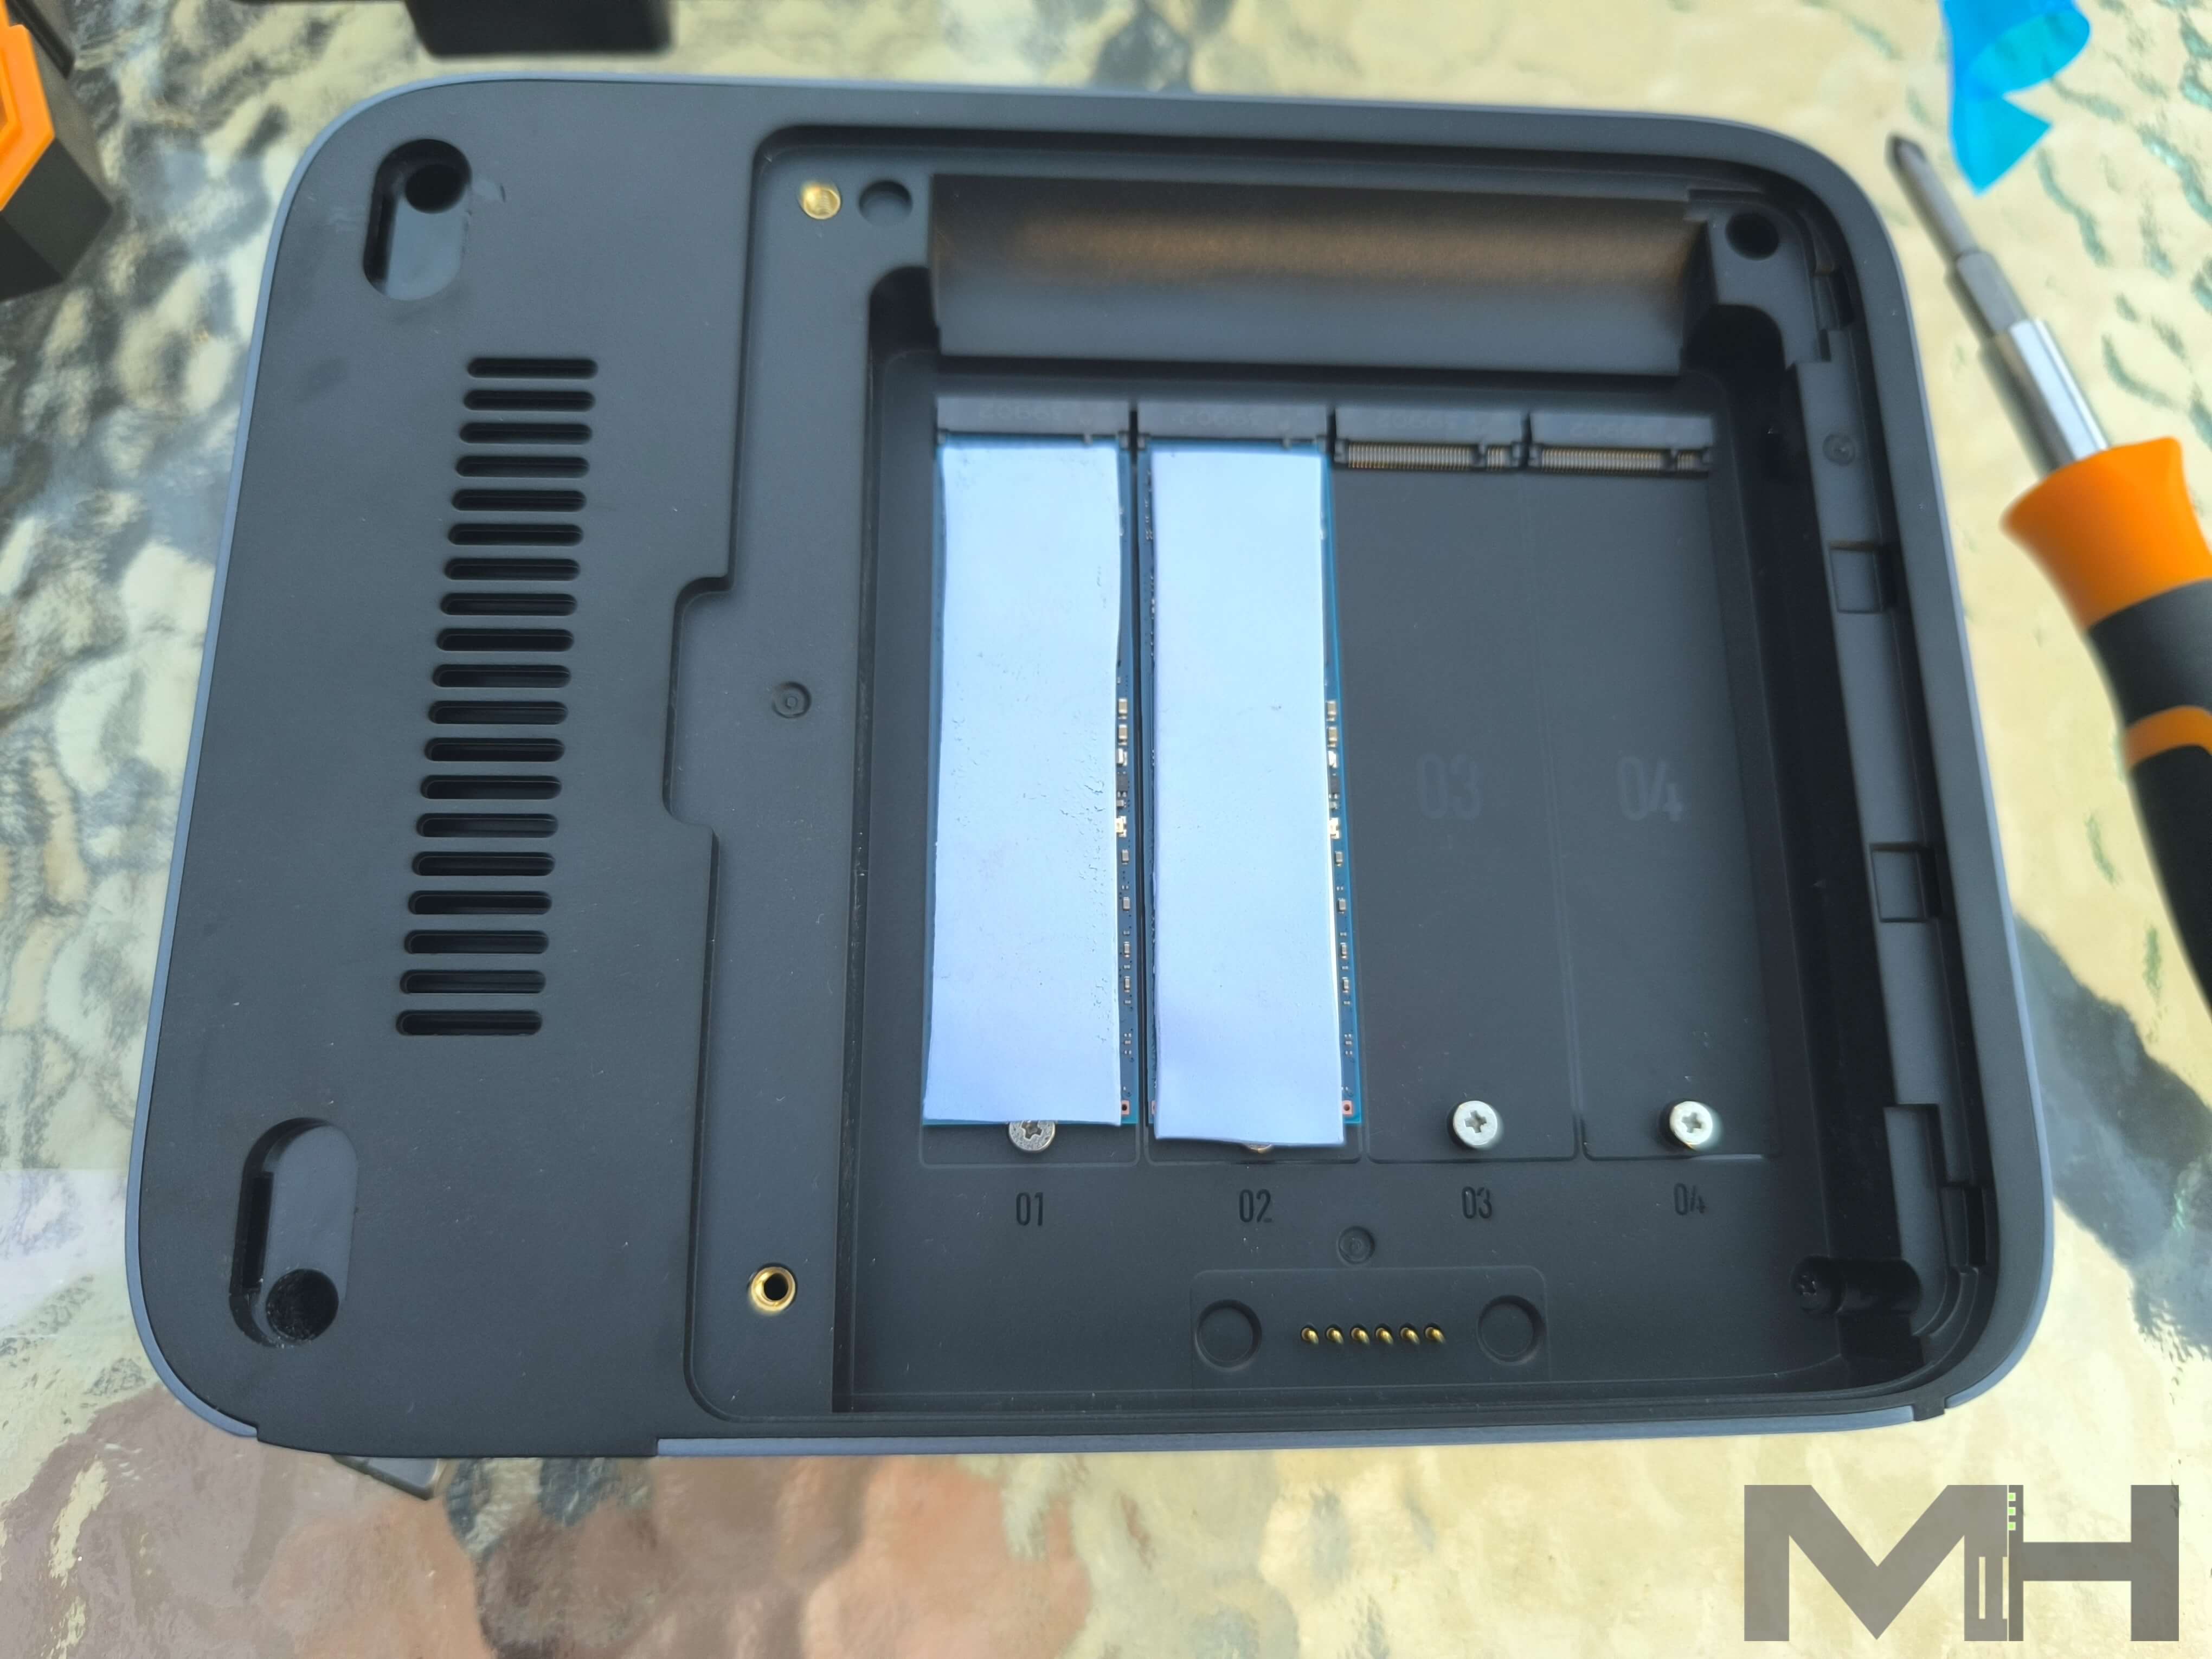
4 Available M.2 NVMe Slots
You will have a total of 4 M.2 NVMe Slots with a maximum of 16TB storage.
Dedicated Fan Vents
The two mini dedicated fan vents are small, but efficient and quiet.
A close up picture of the back of the vents.
Ready to insert the M.2 SSDs.
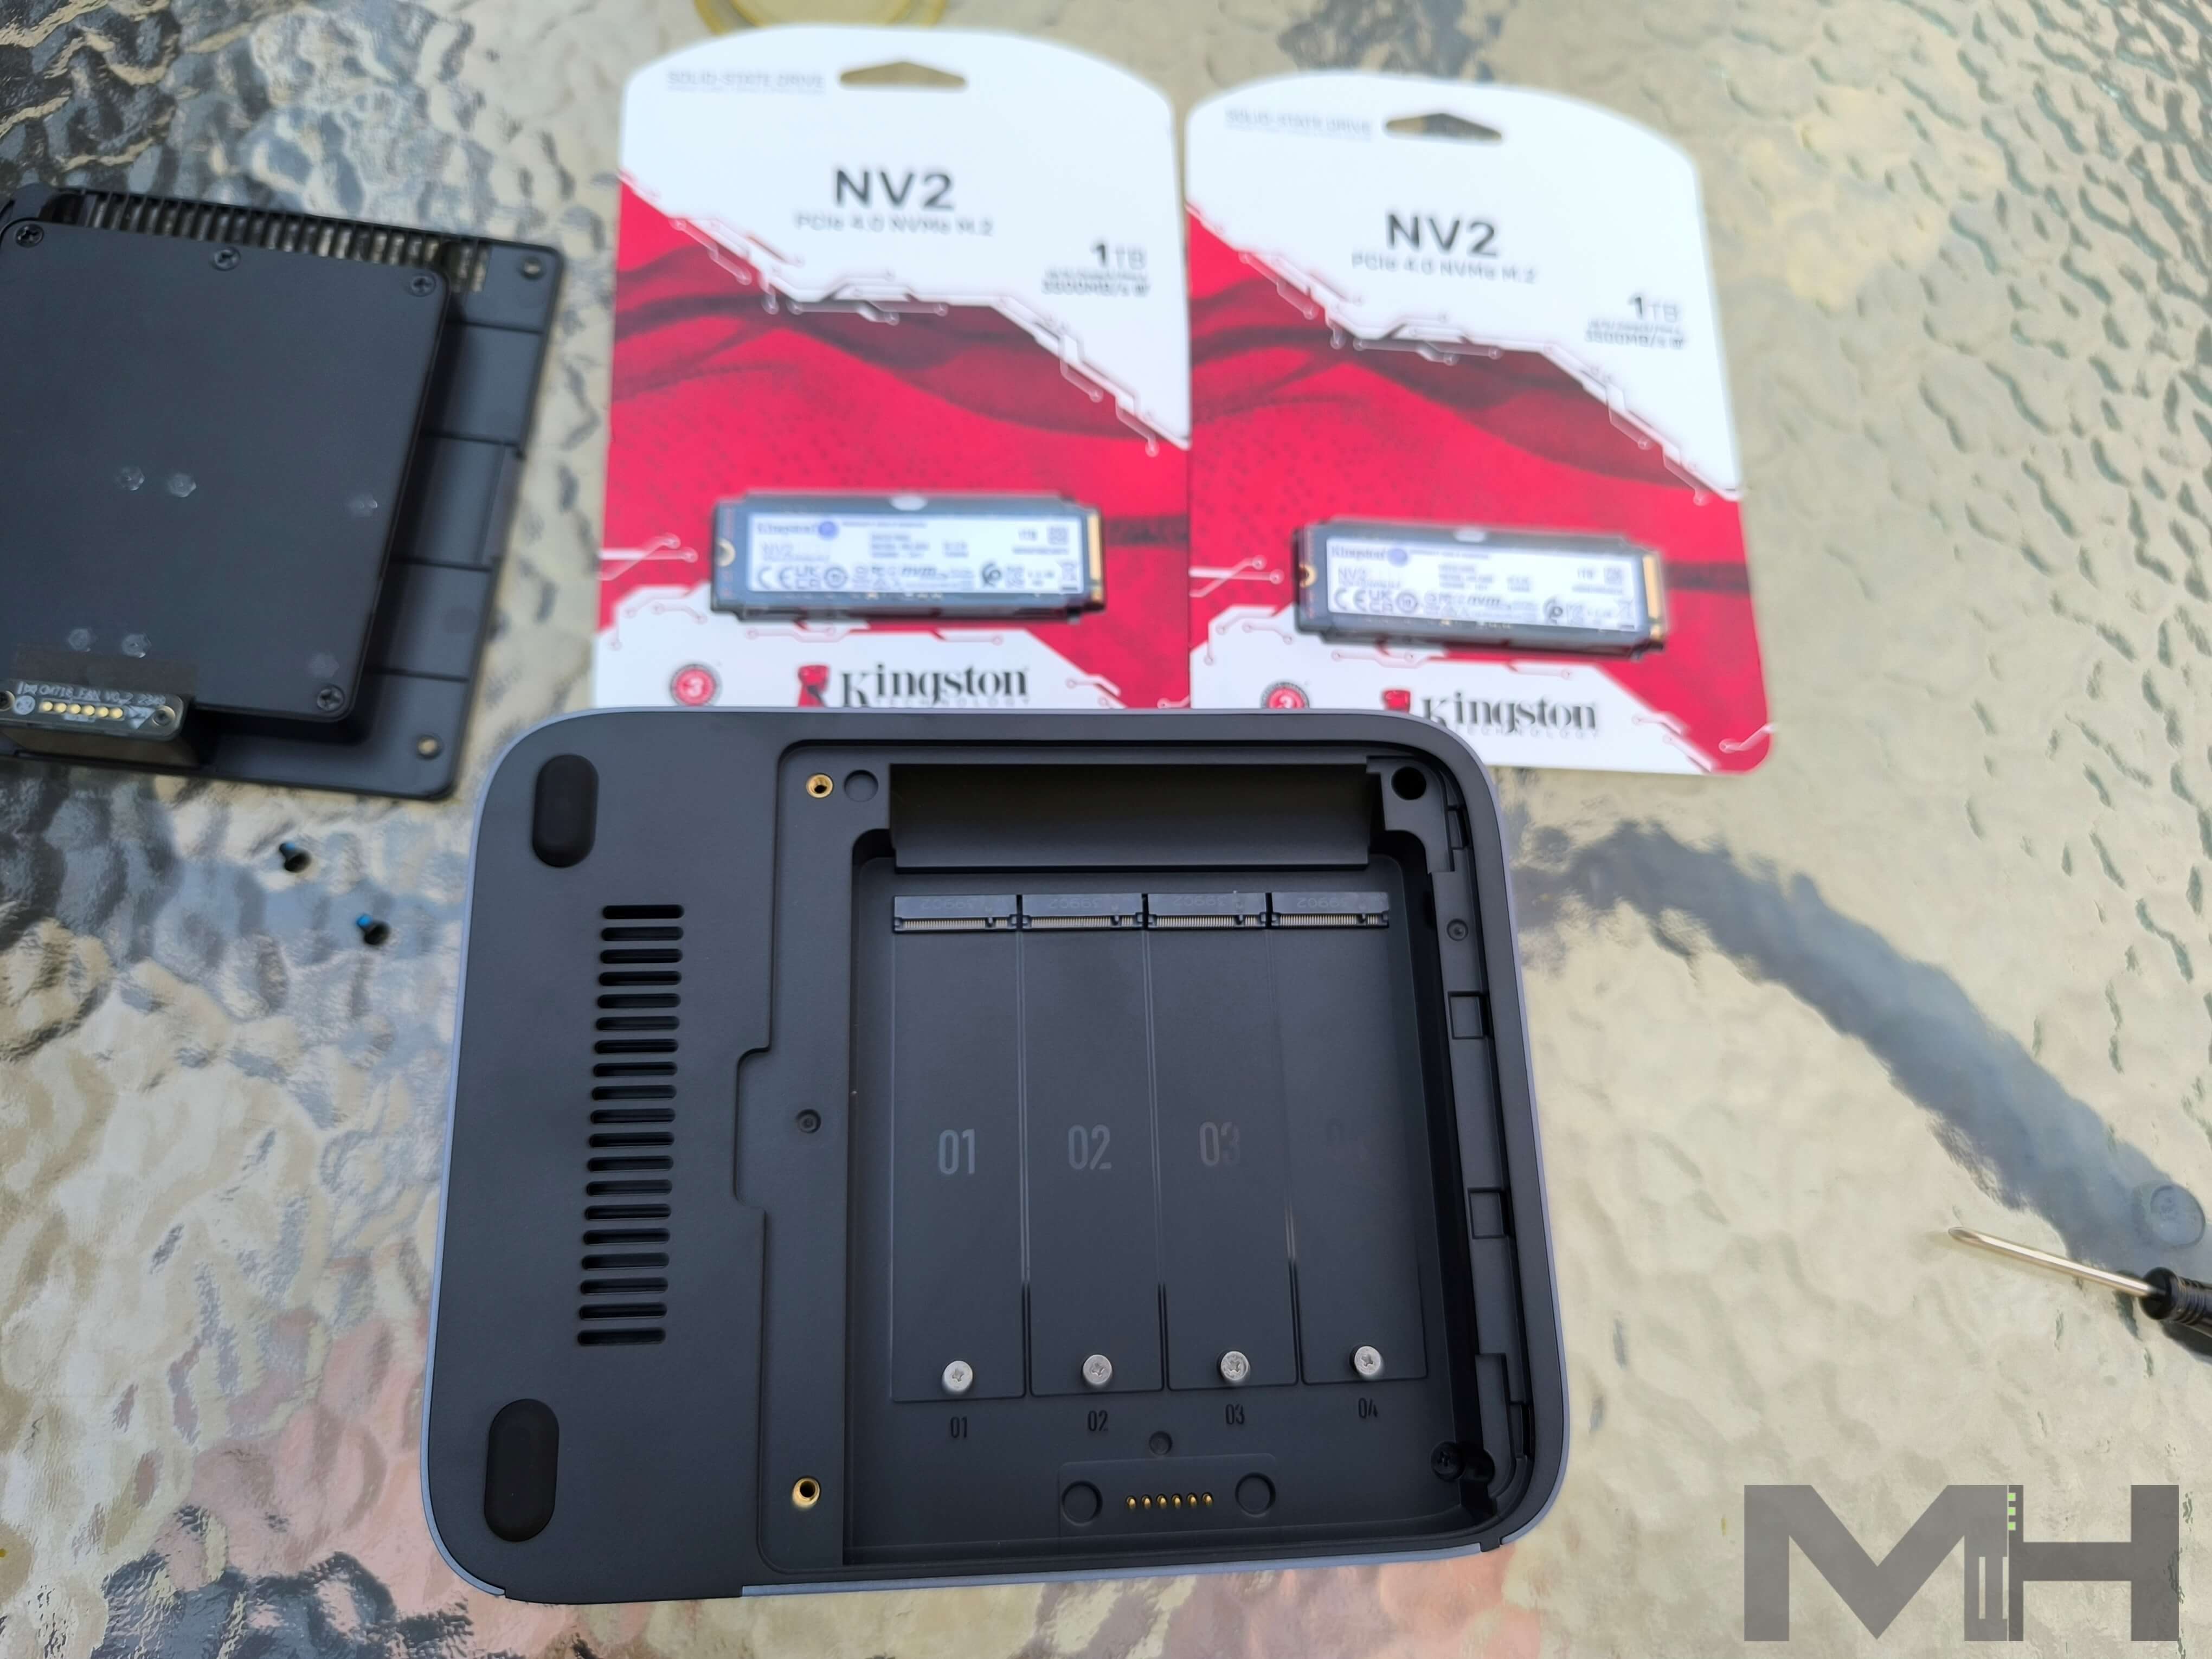
Make sure to tighten the screws well, at the same time being careful not to break the SSDs.
Upgrade The RAM on the DXP480T Plus NAS
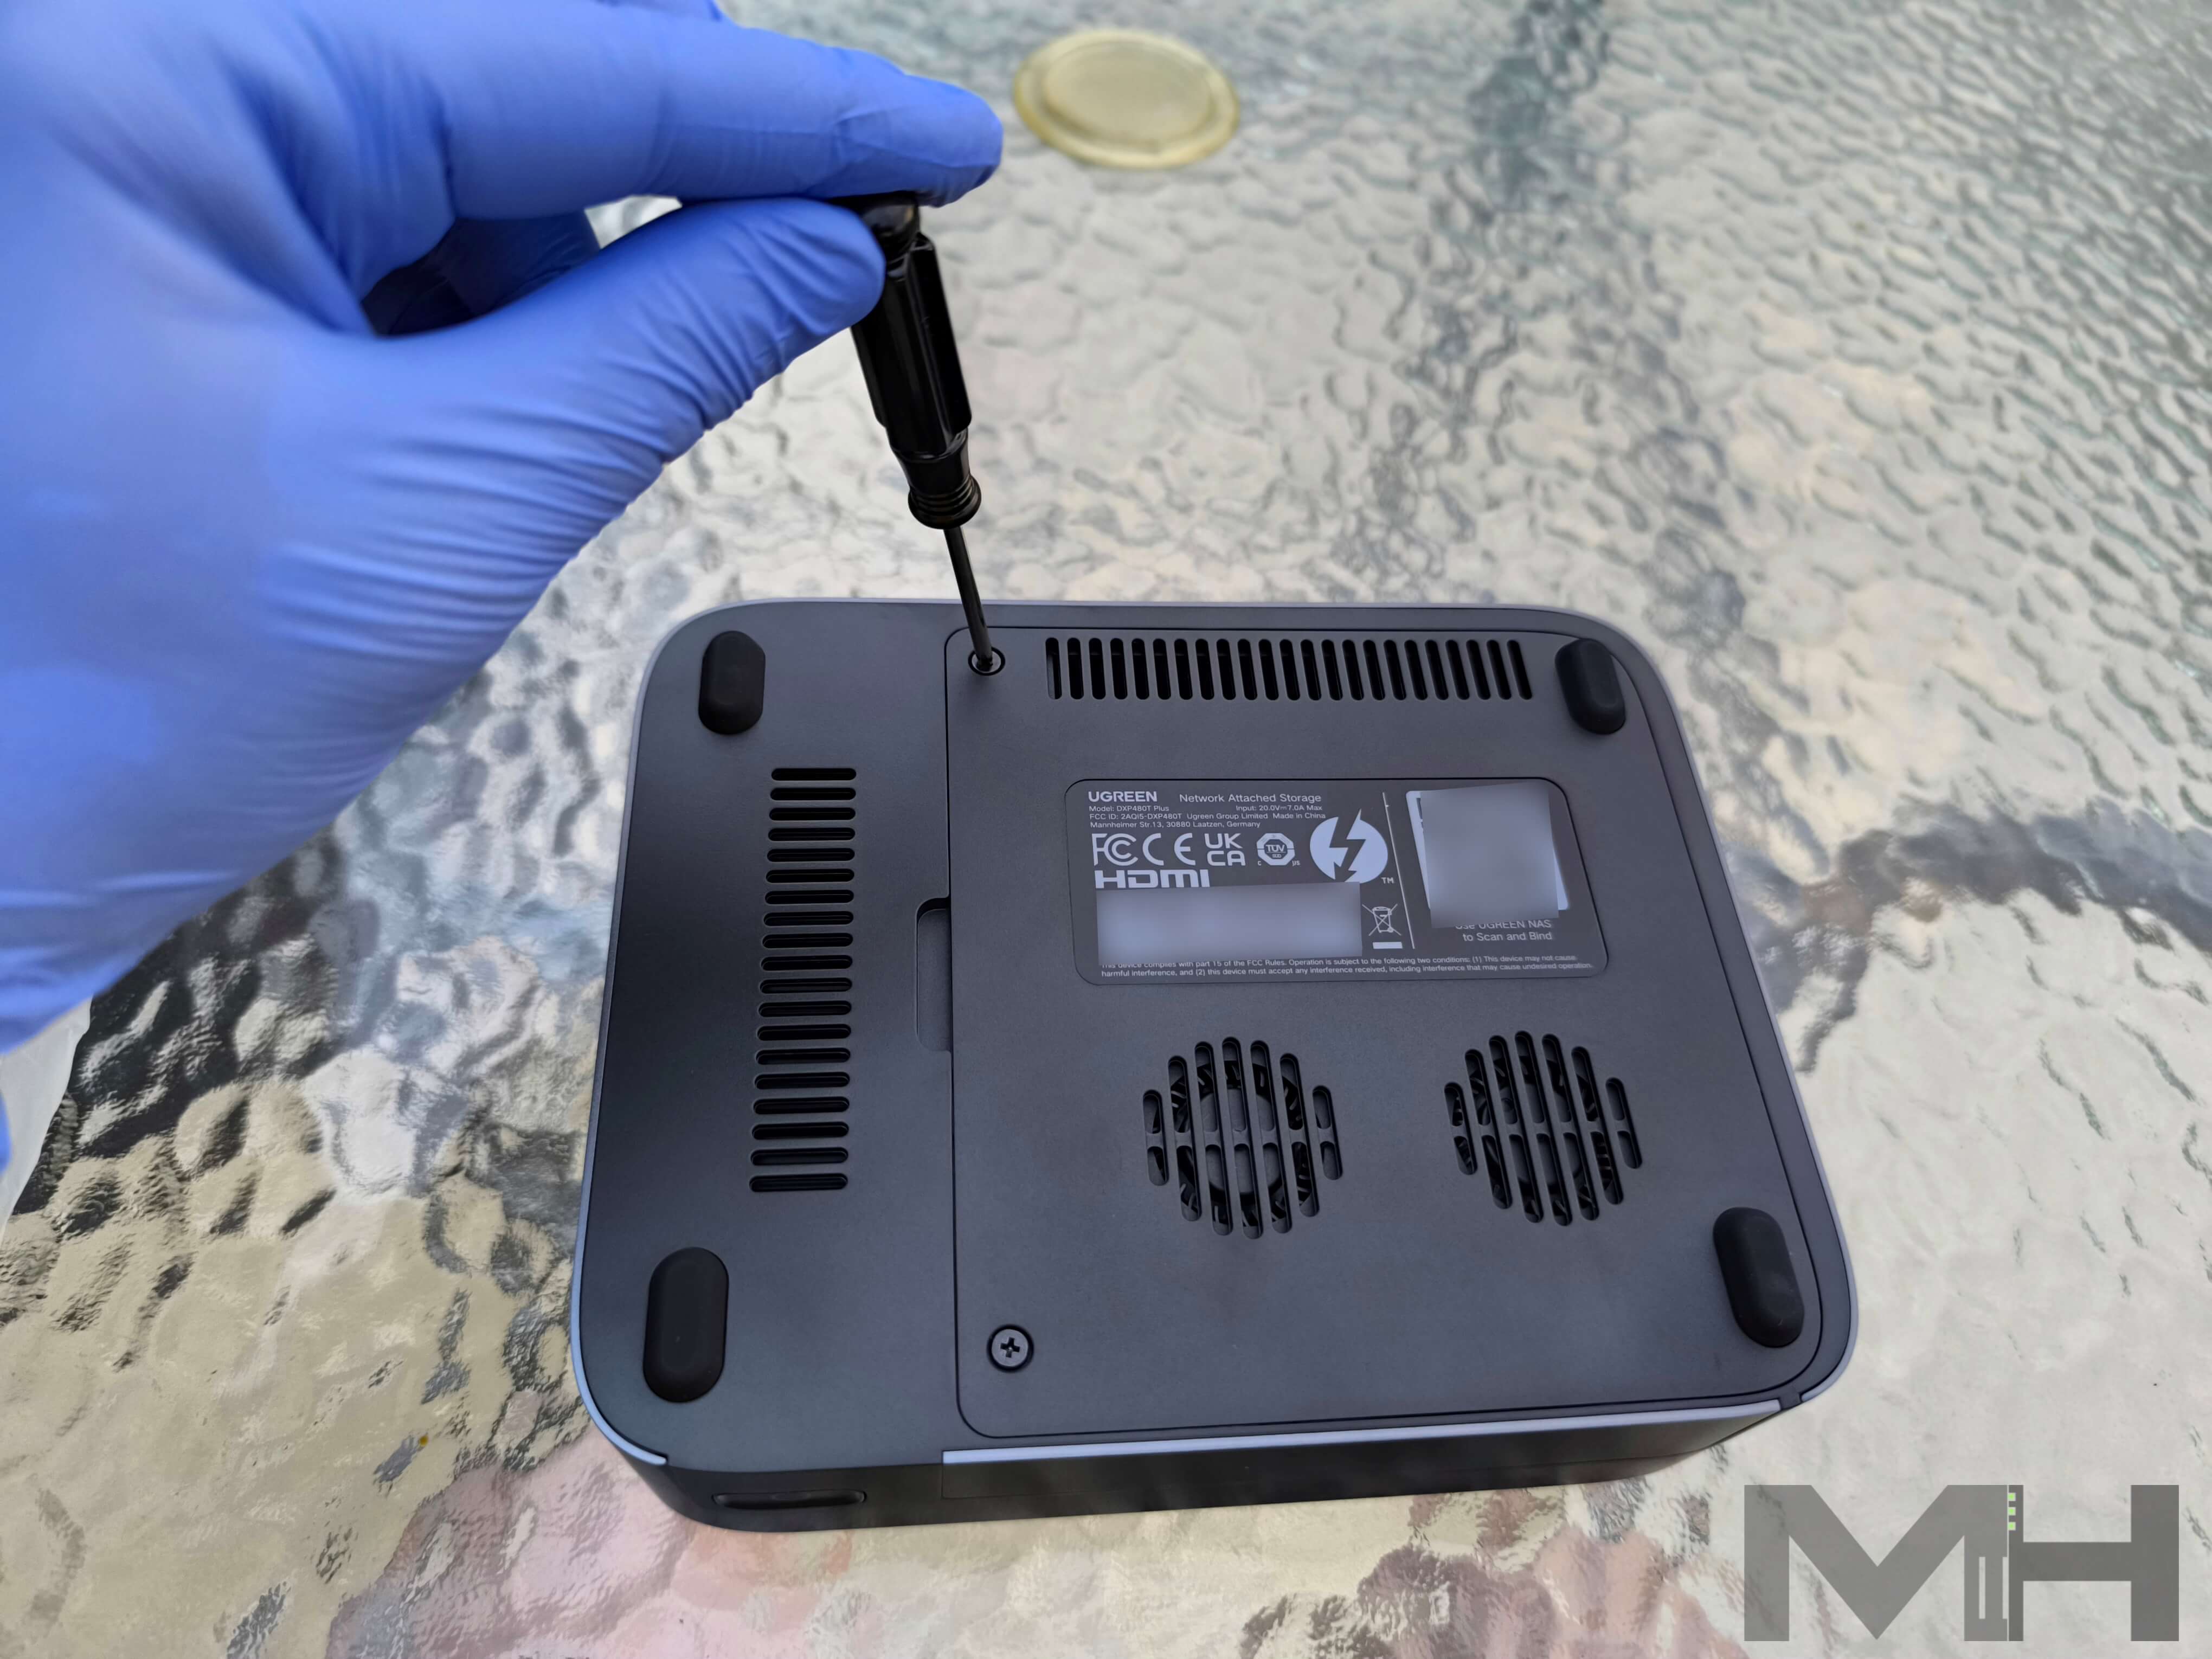
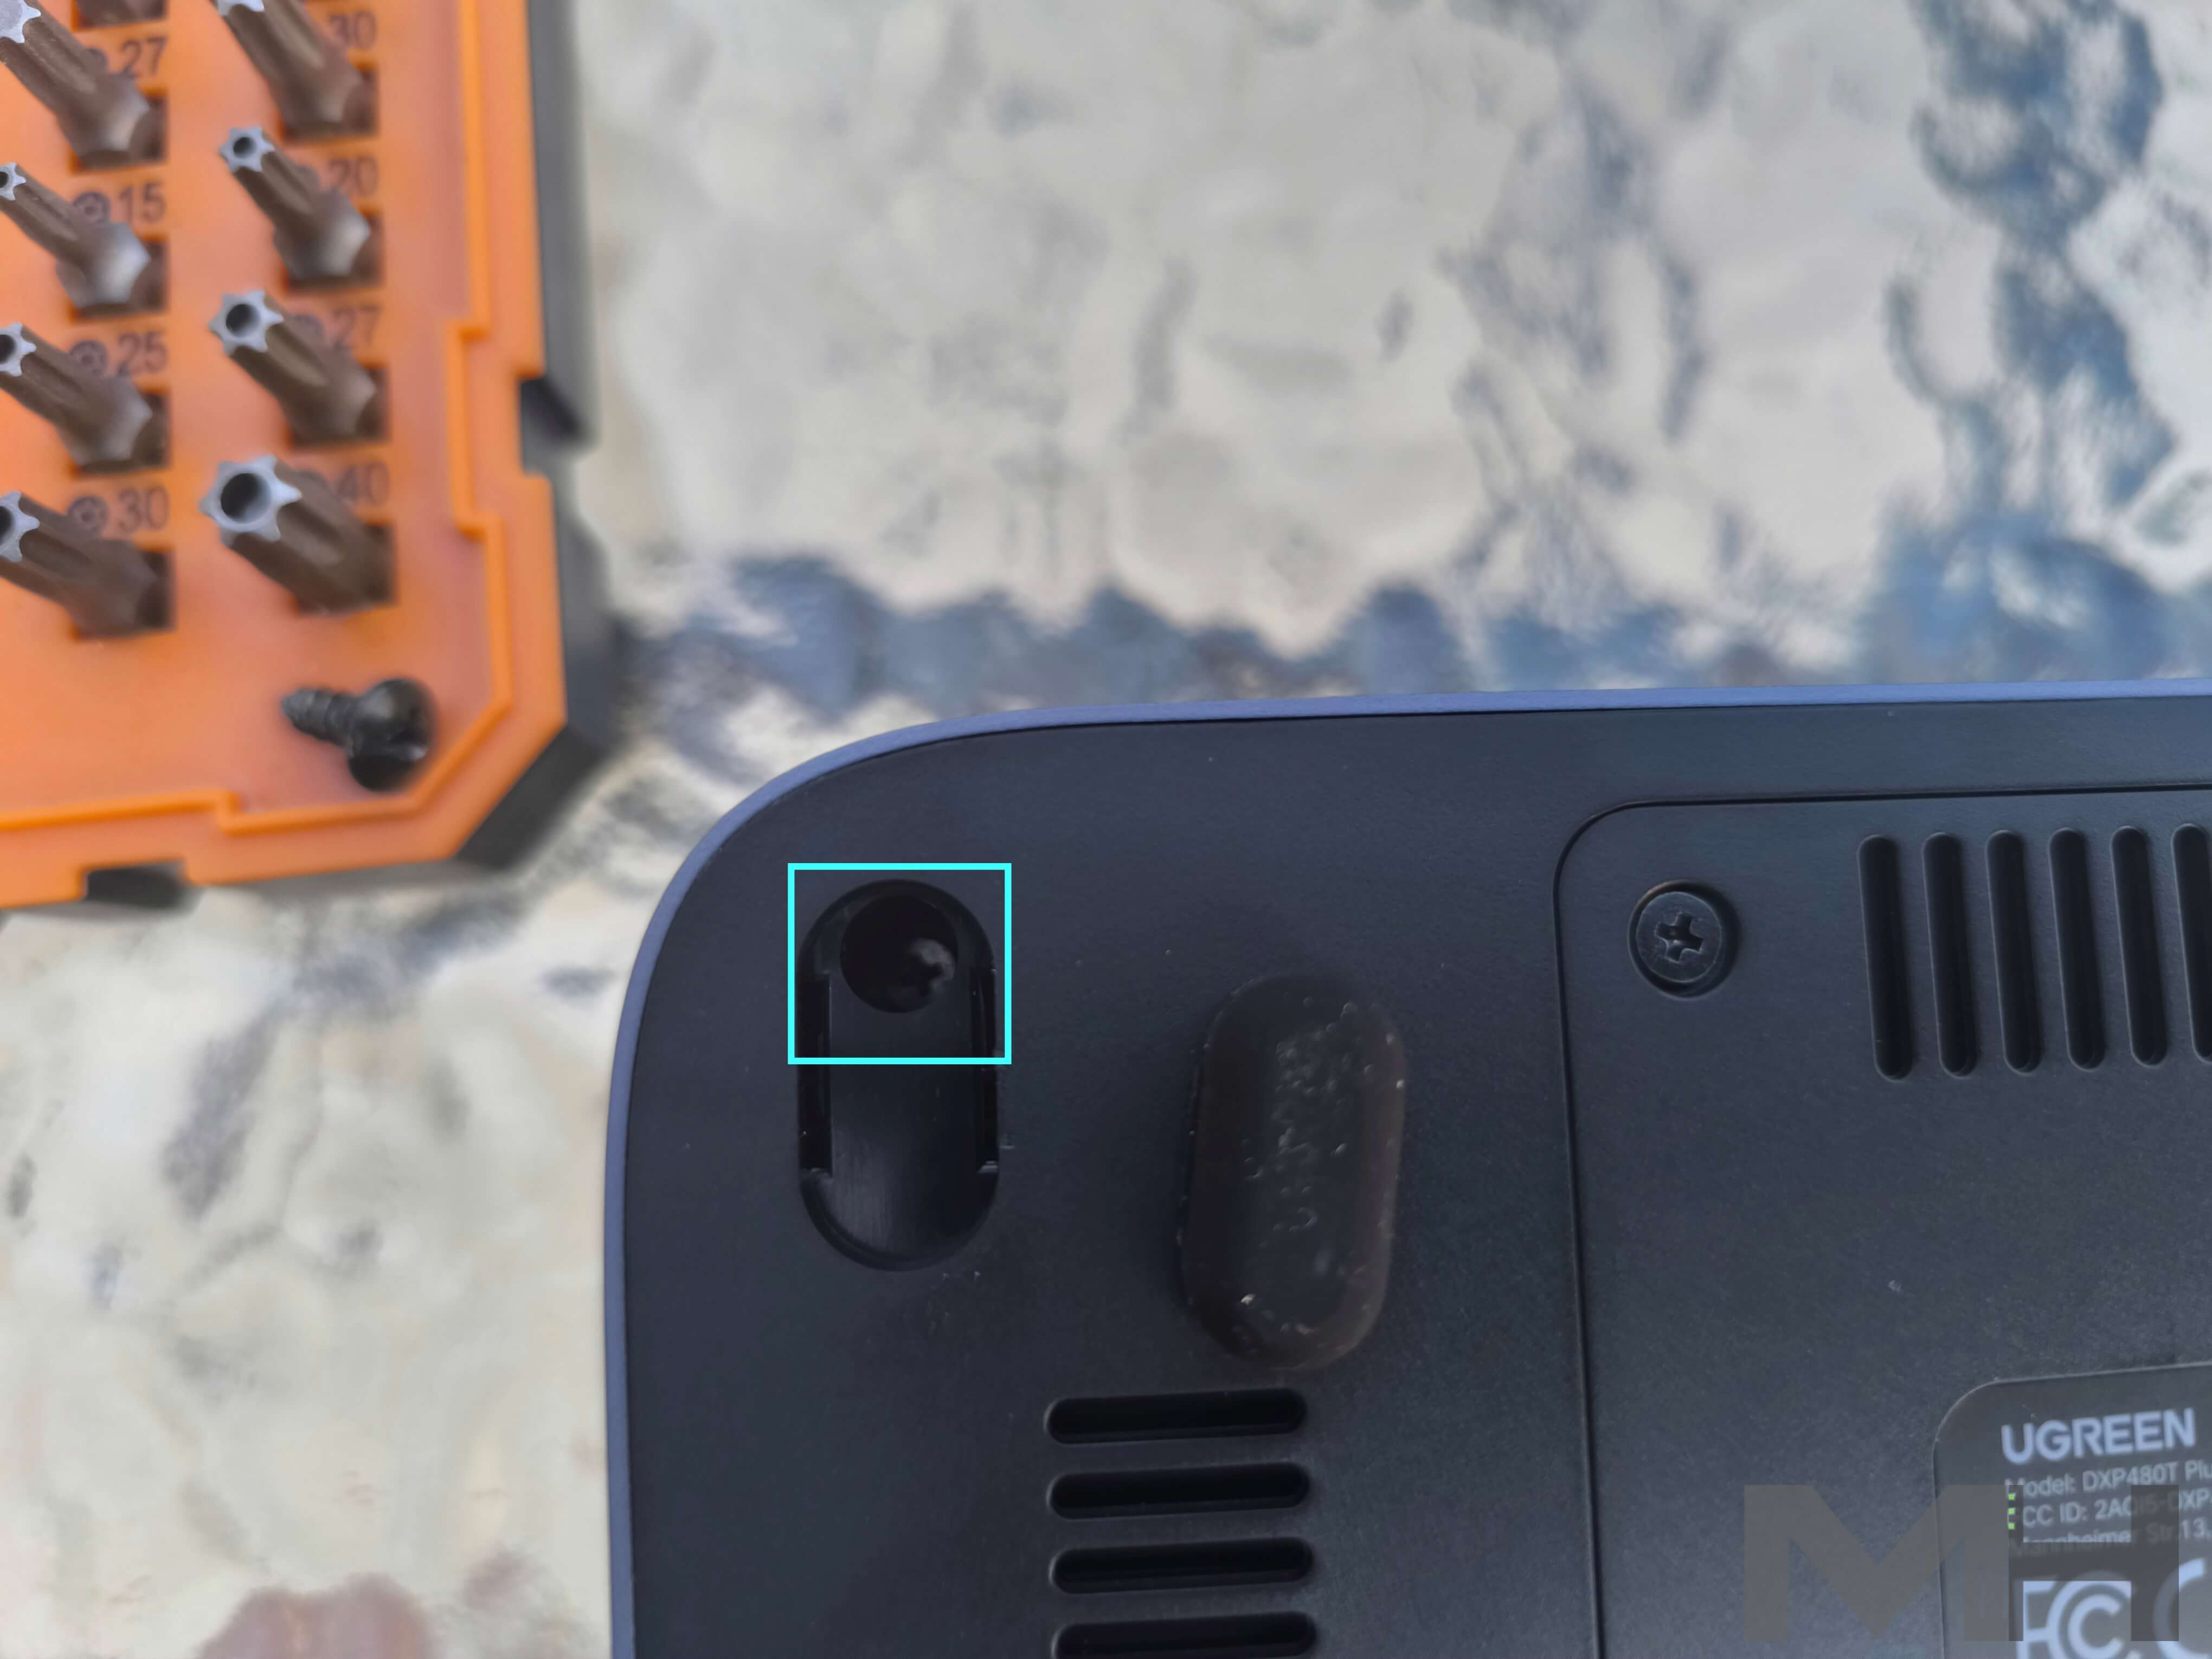
The UGREEN DXP480T has 1 8GB DDR5 4800MHz preinstalled RAM Memory. Many of you may be wondering how to change or upgrade the RAM in your beloved DXP480T Plus NAS. In the images below I will show you how to do it. The first thing you need to do is to take a flat screwdriver and apply light pressure to remove the rubber grommets on the underside of the NAS.
Under the rubber grommets you will find the screw. Now take a screwdriver and remove it.
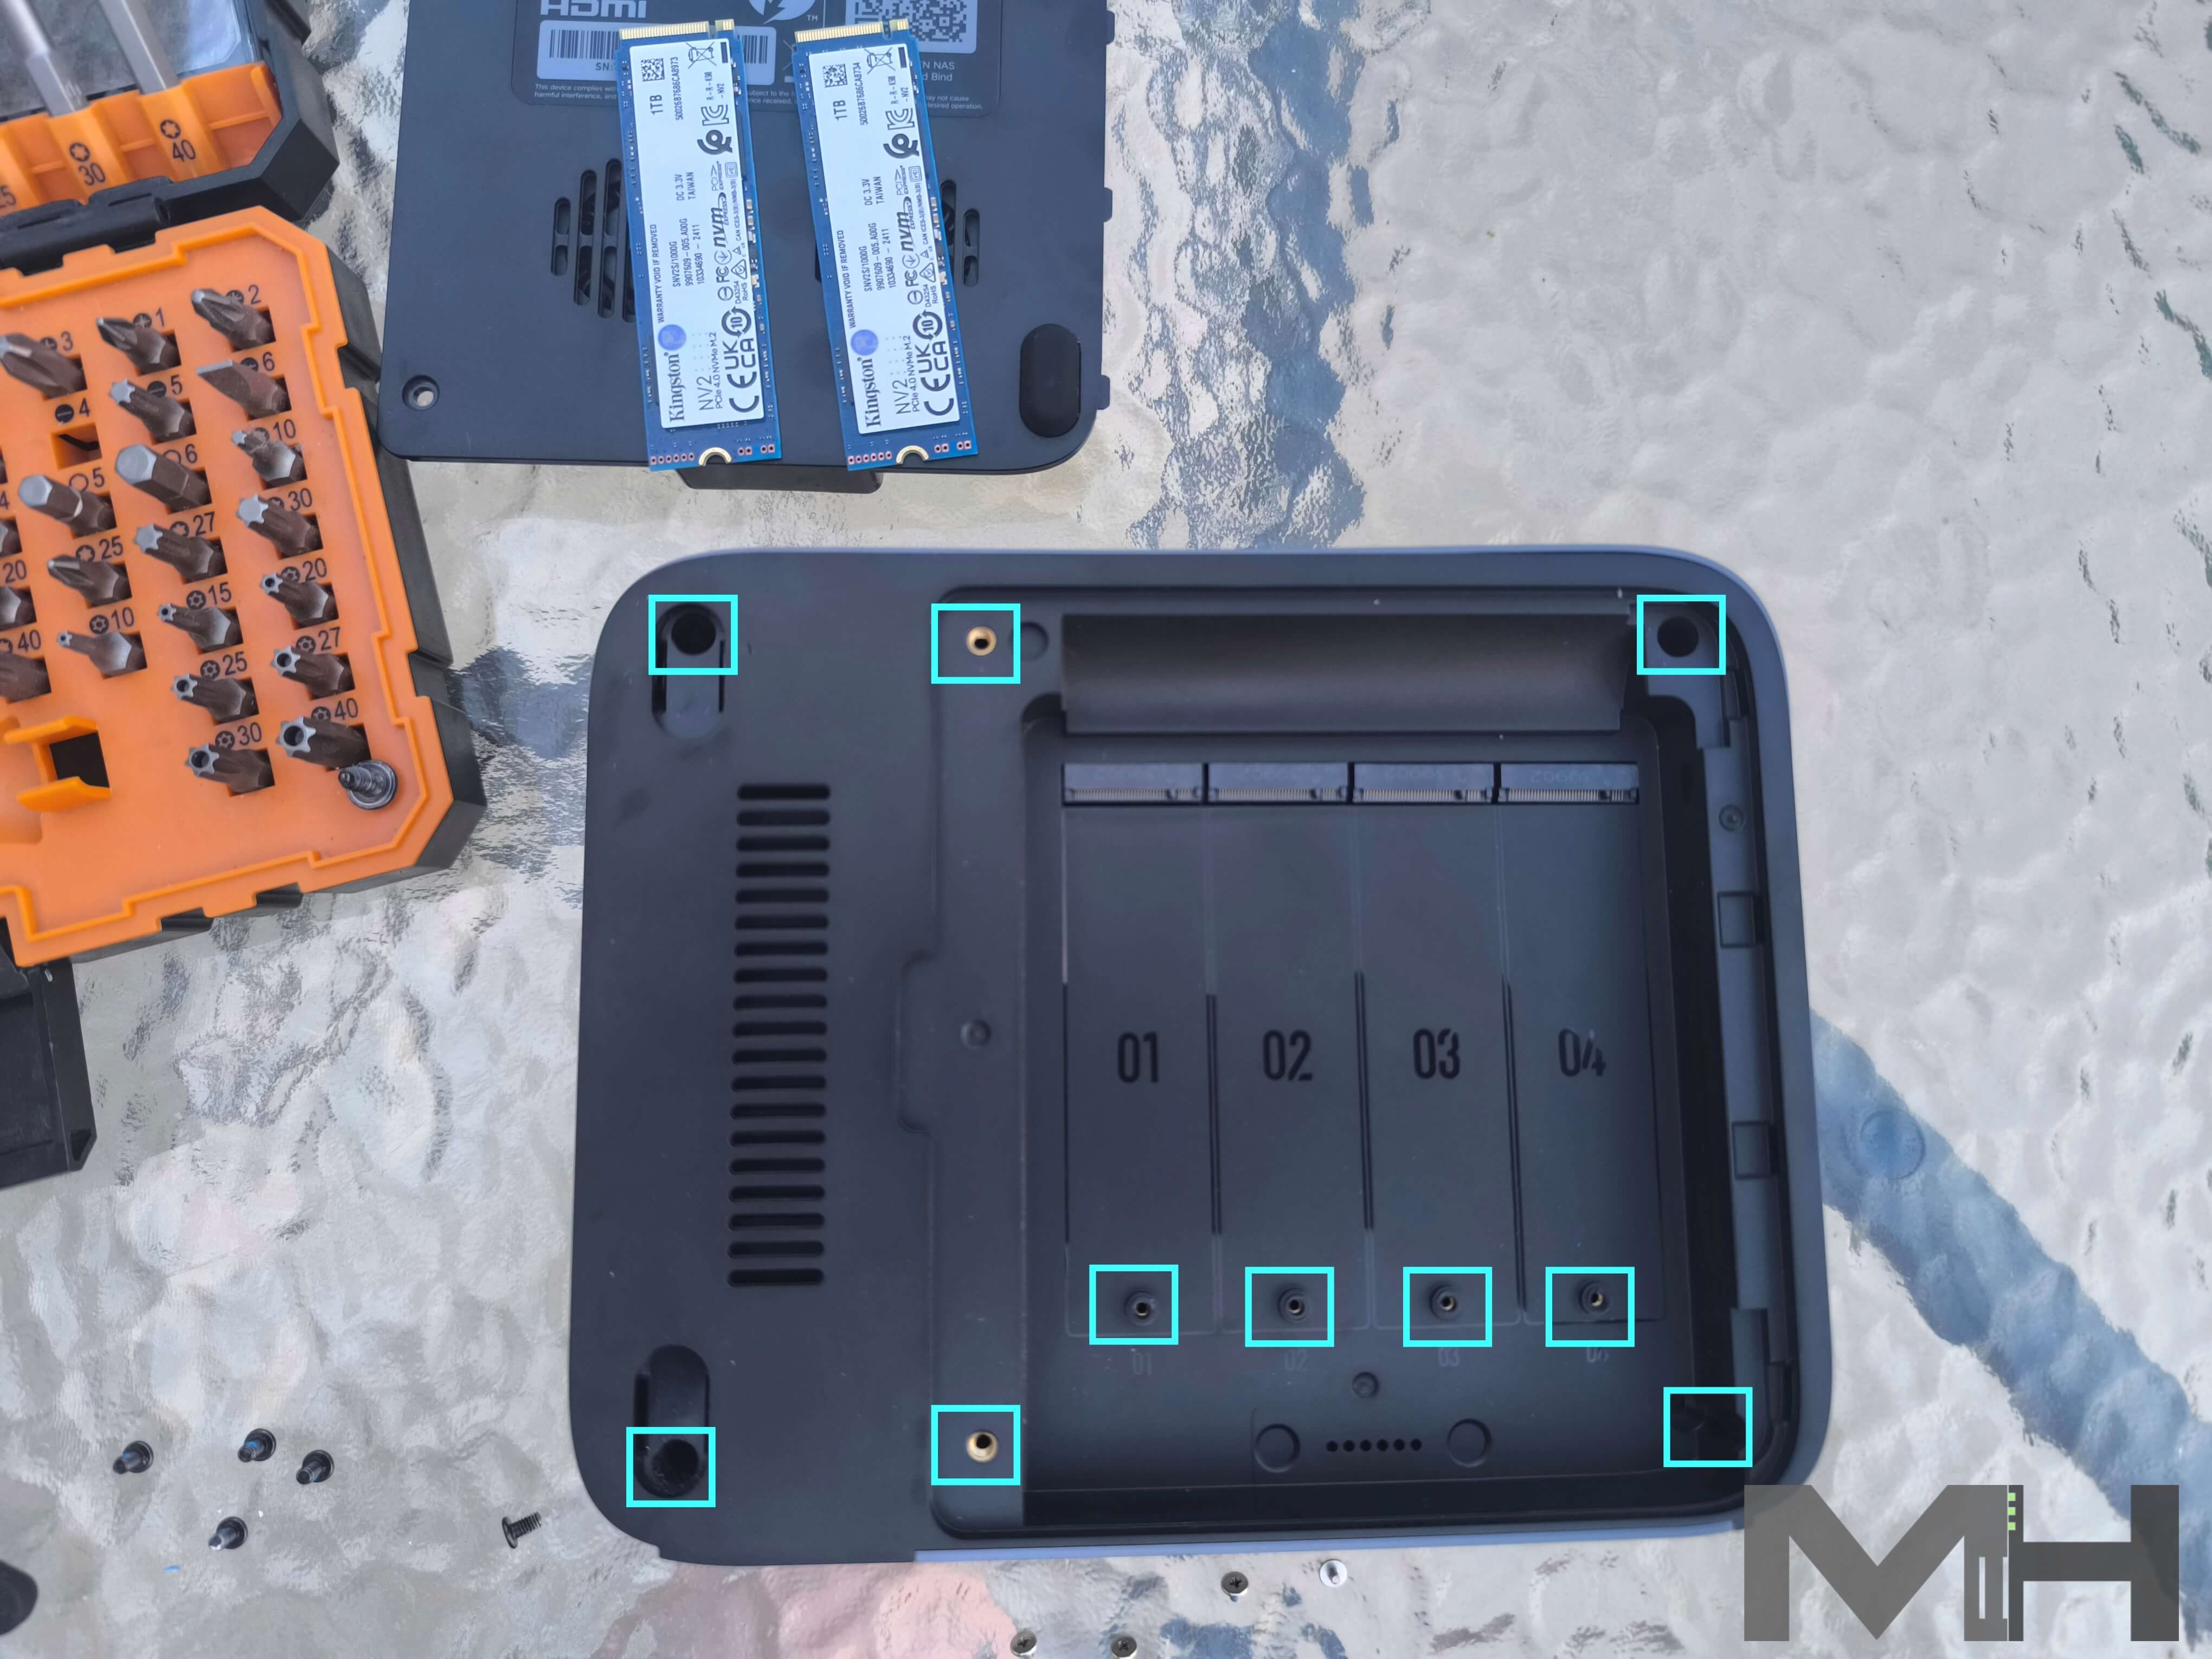
You will need to remove a total of 10 screws with the same screwdriver. To make the job easier for you, I have marked their location in the image below.💡Remember: They must all be removed before proceeding to the next step.
Now remove the plastic slightly, being careful not to pull too hard.
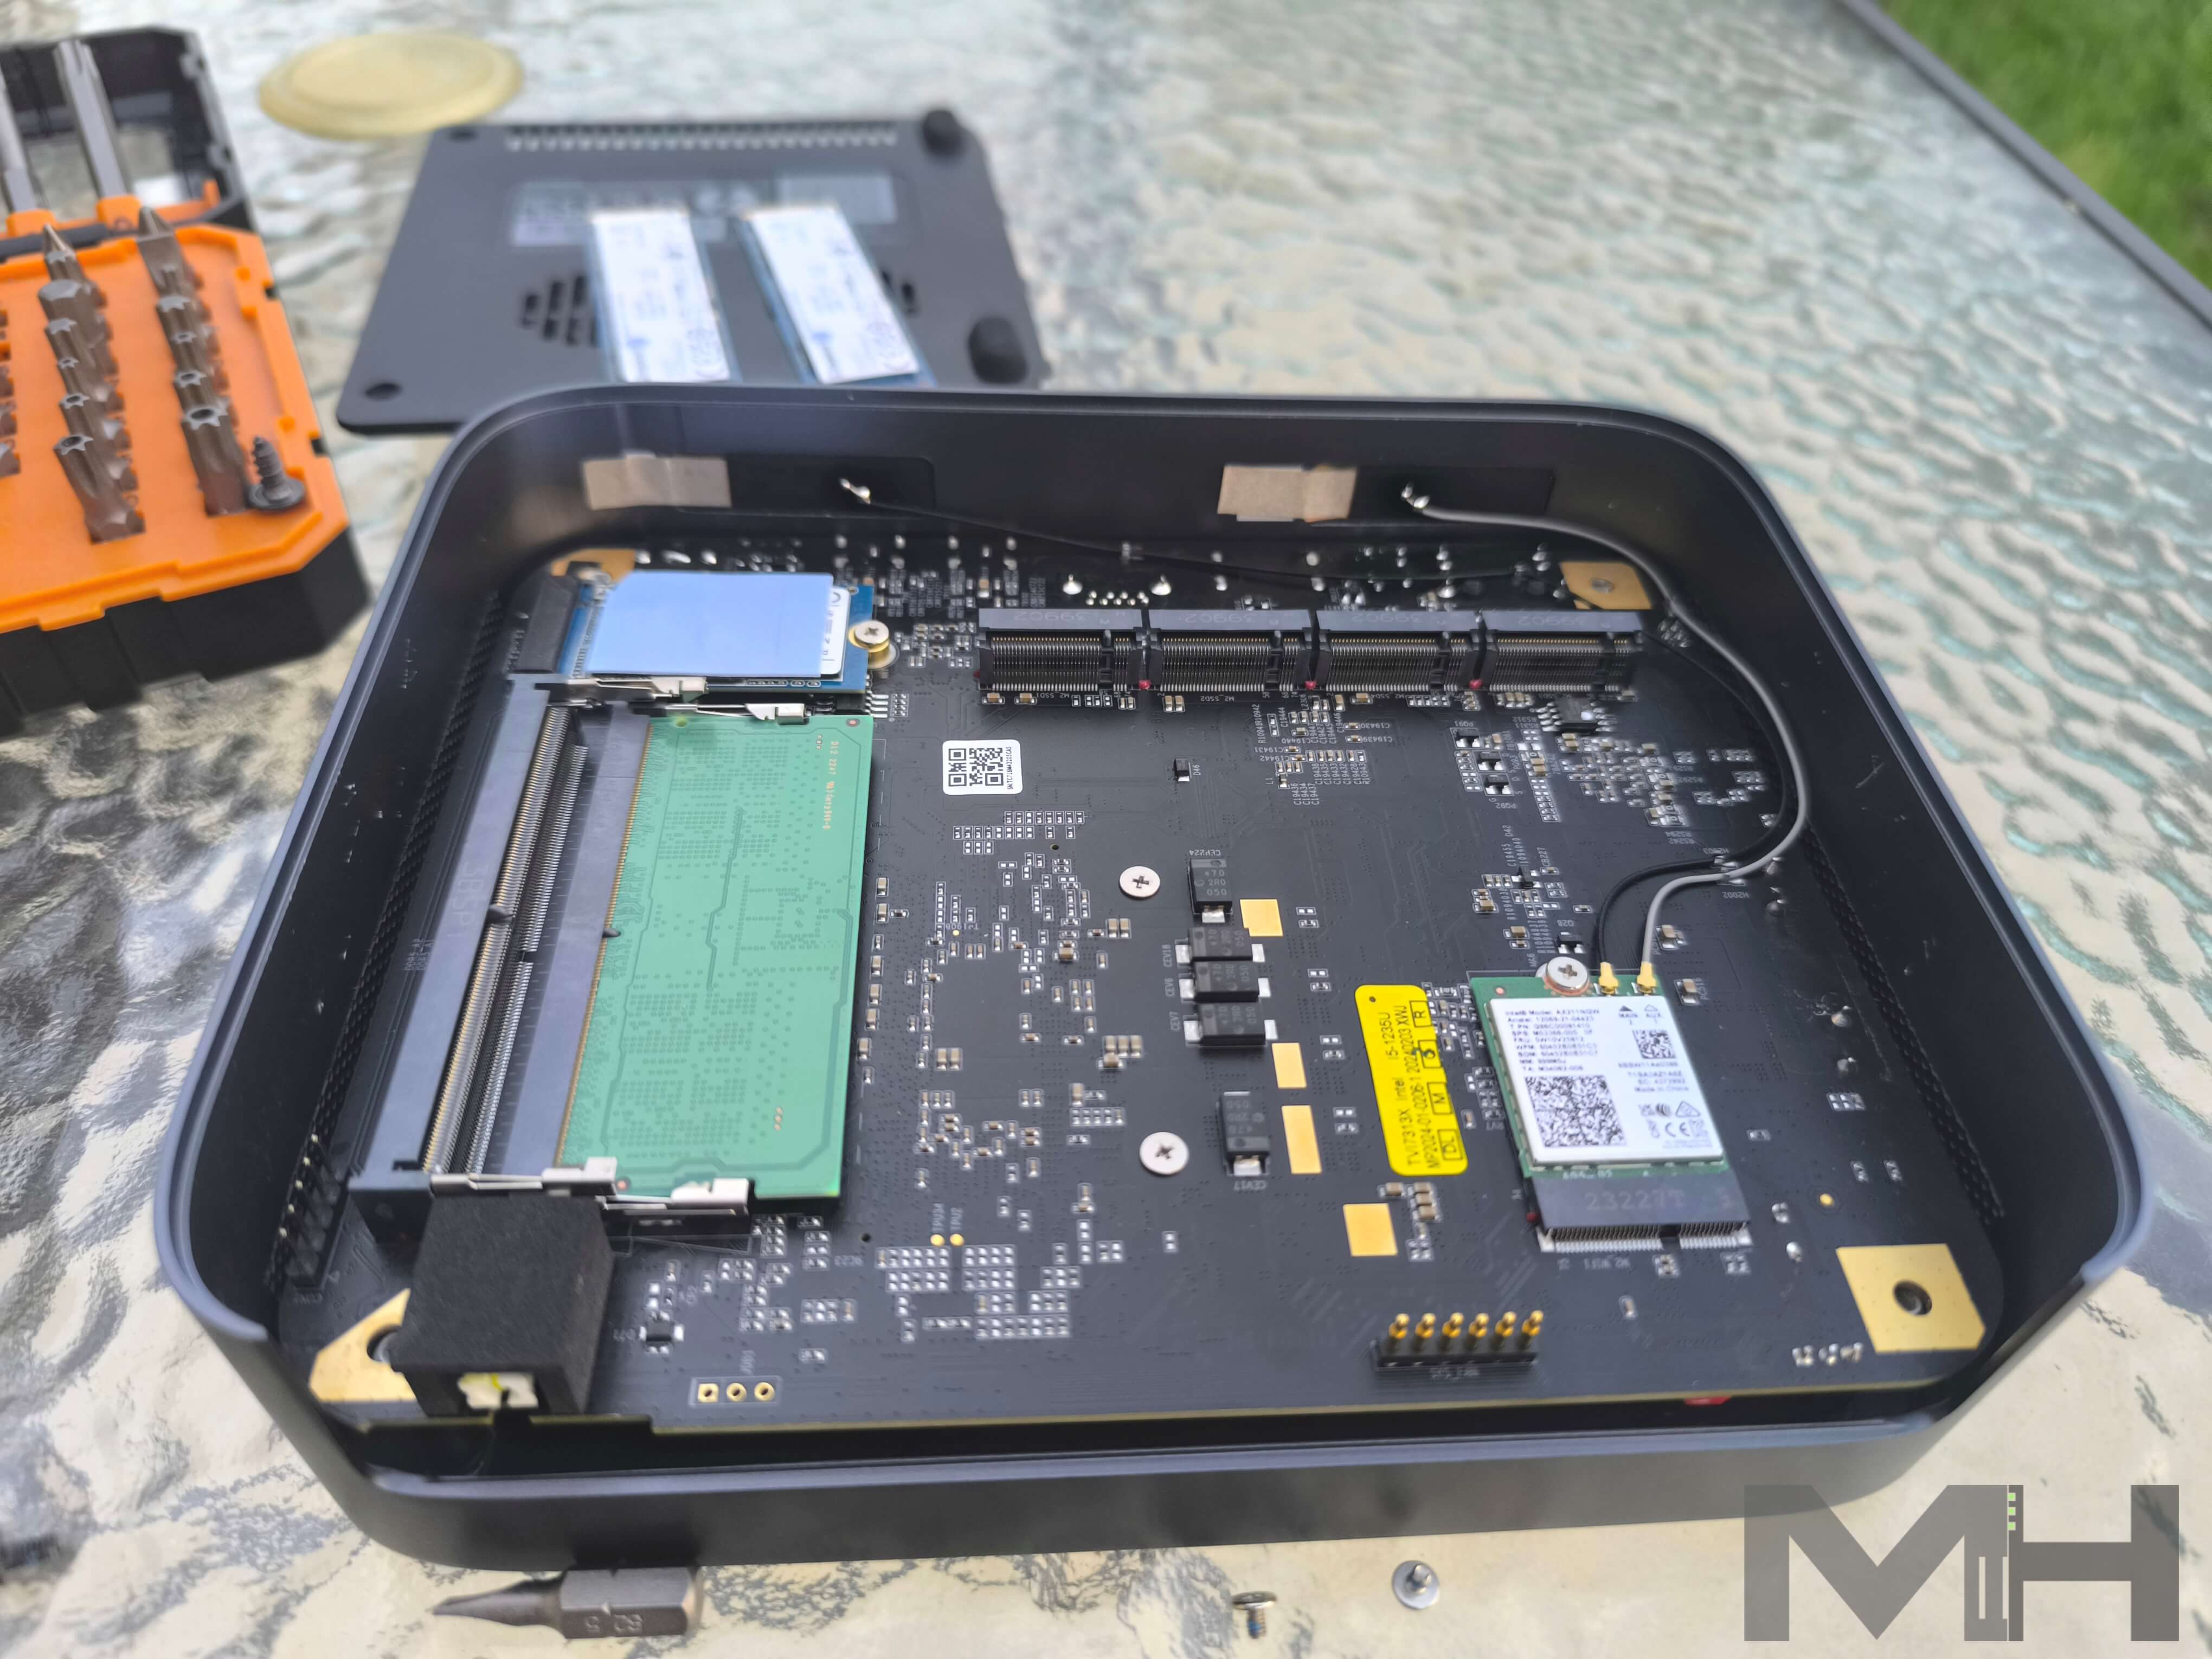
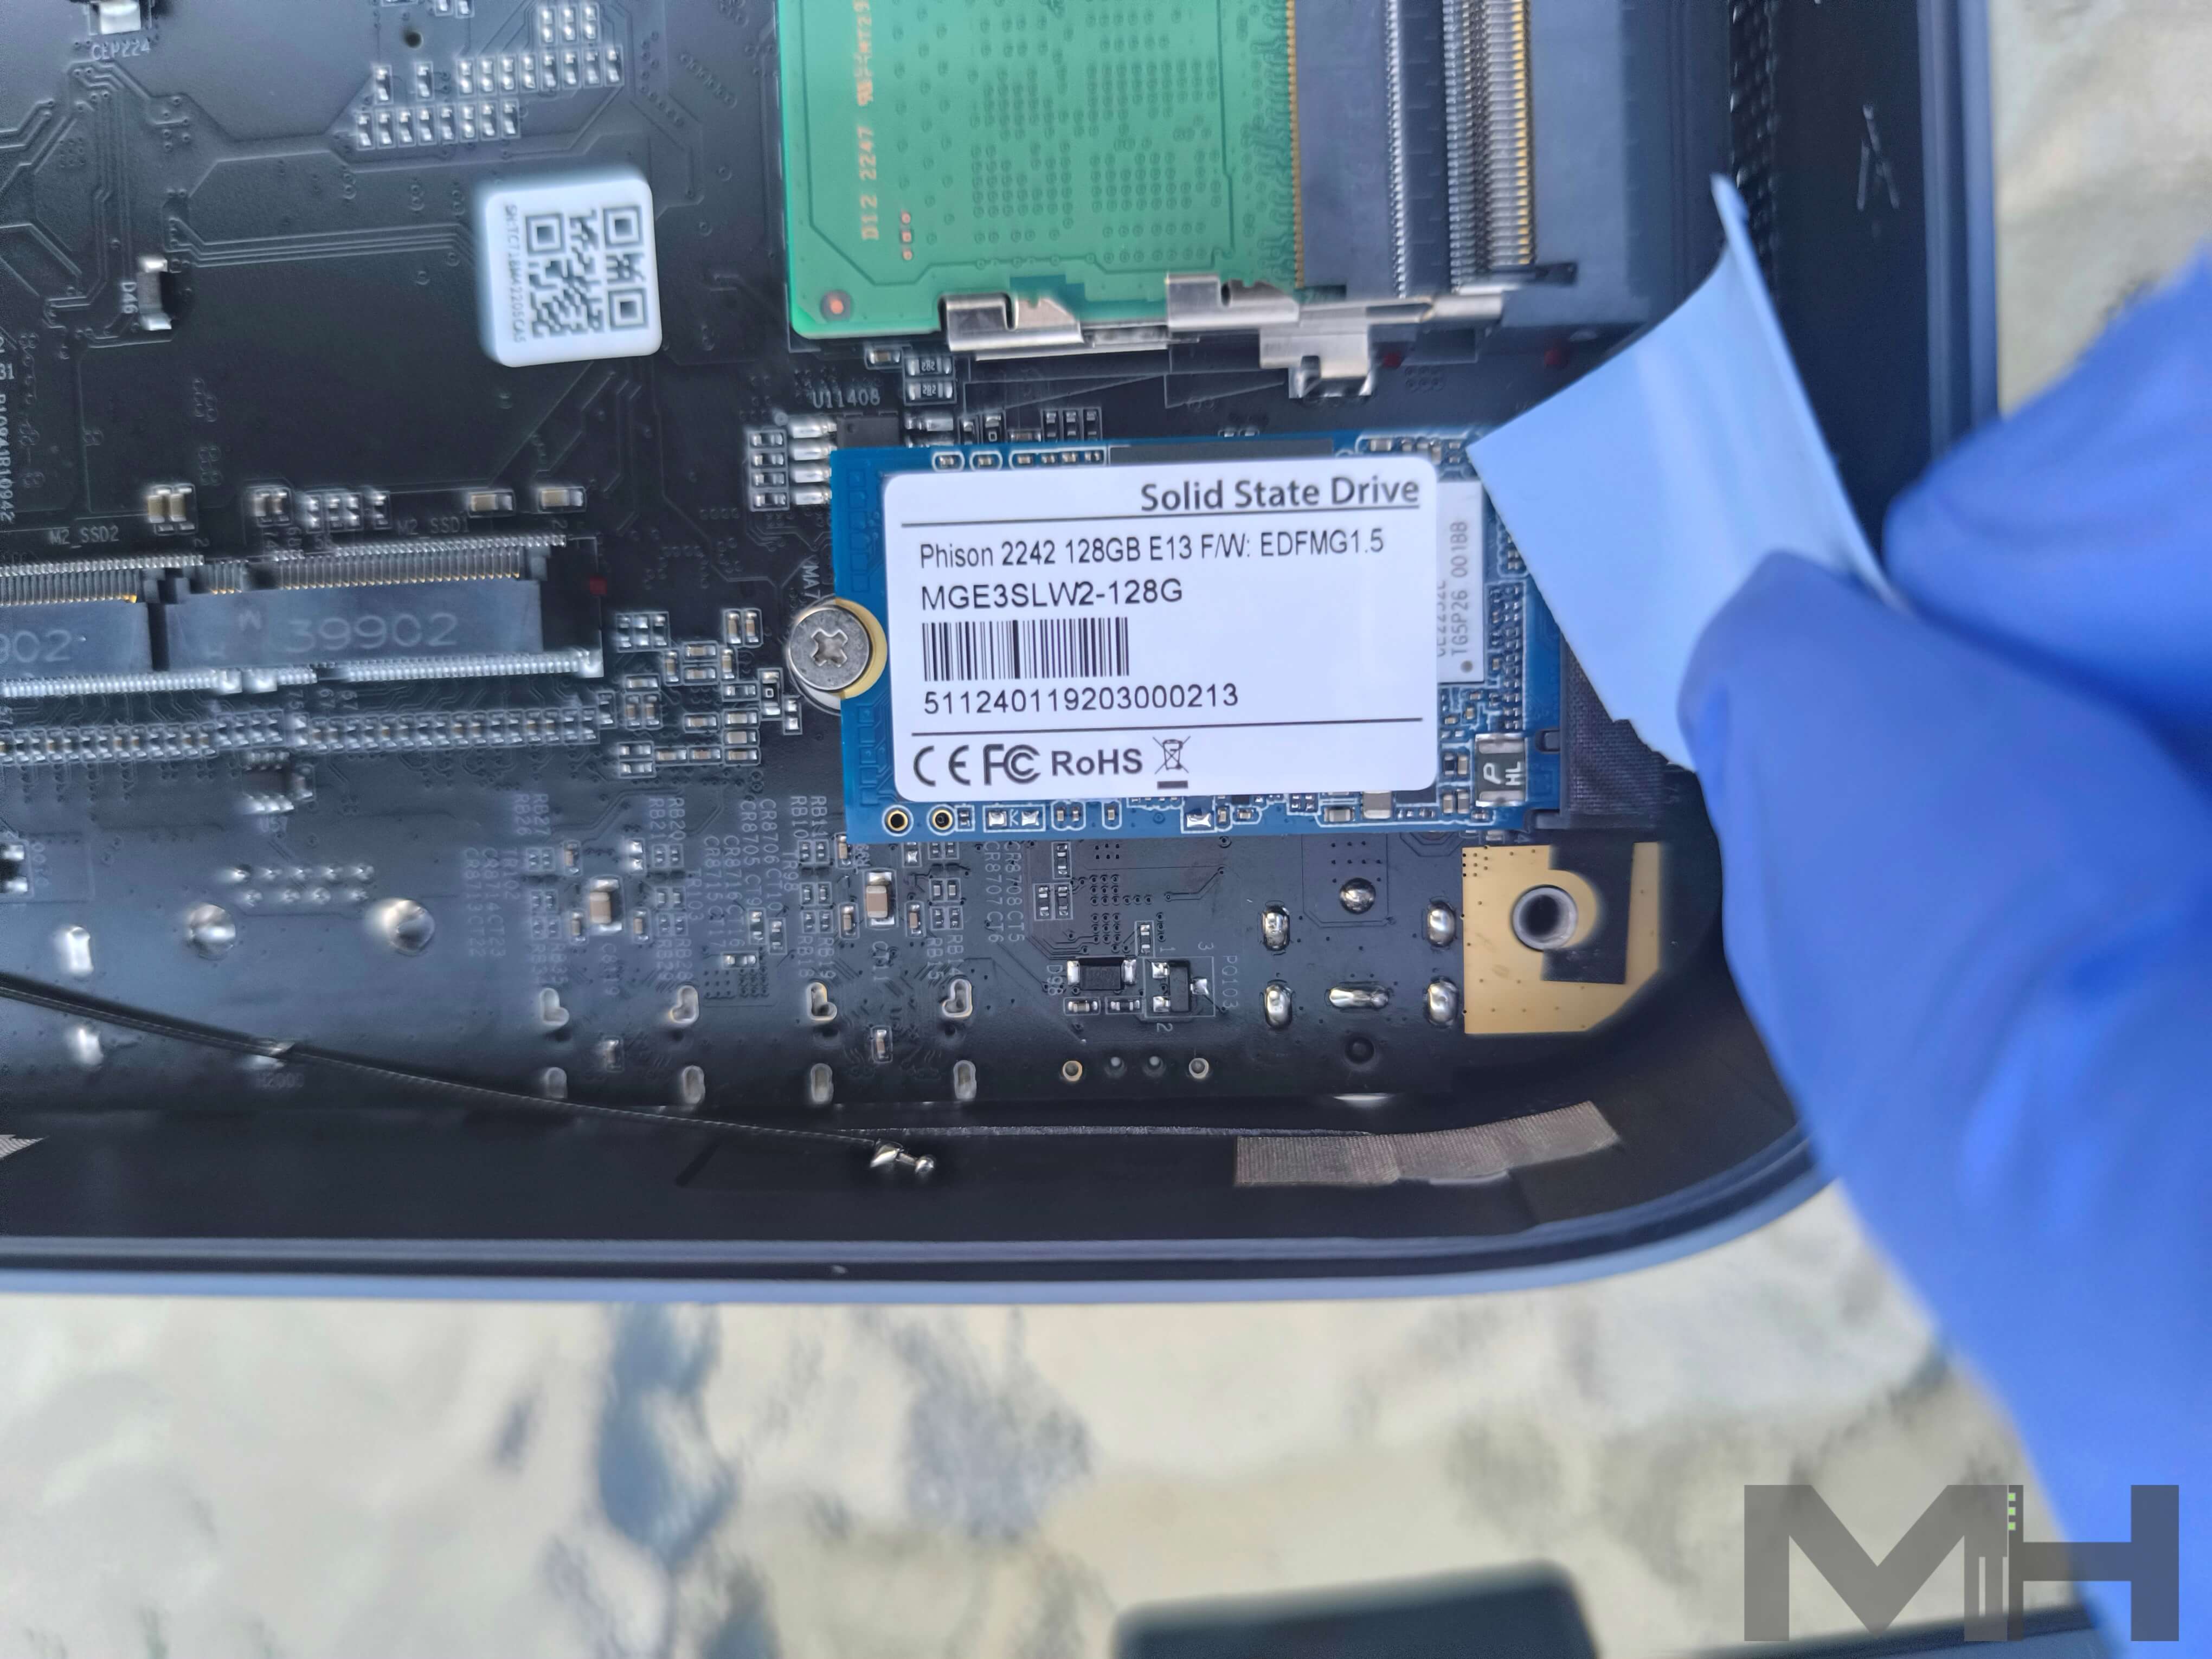
Inside the NAS you will also find the small SSD where the UGOS PRO operating system is installed. If you opt for other operating systems such as, for example, UNRAID, know that they will be installed on this small SSD with a capacity of 128G.
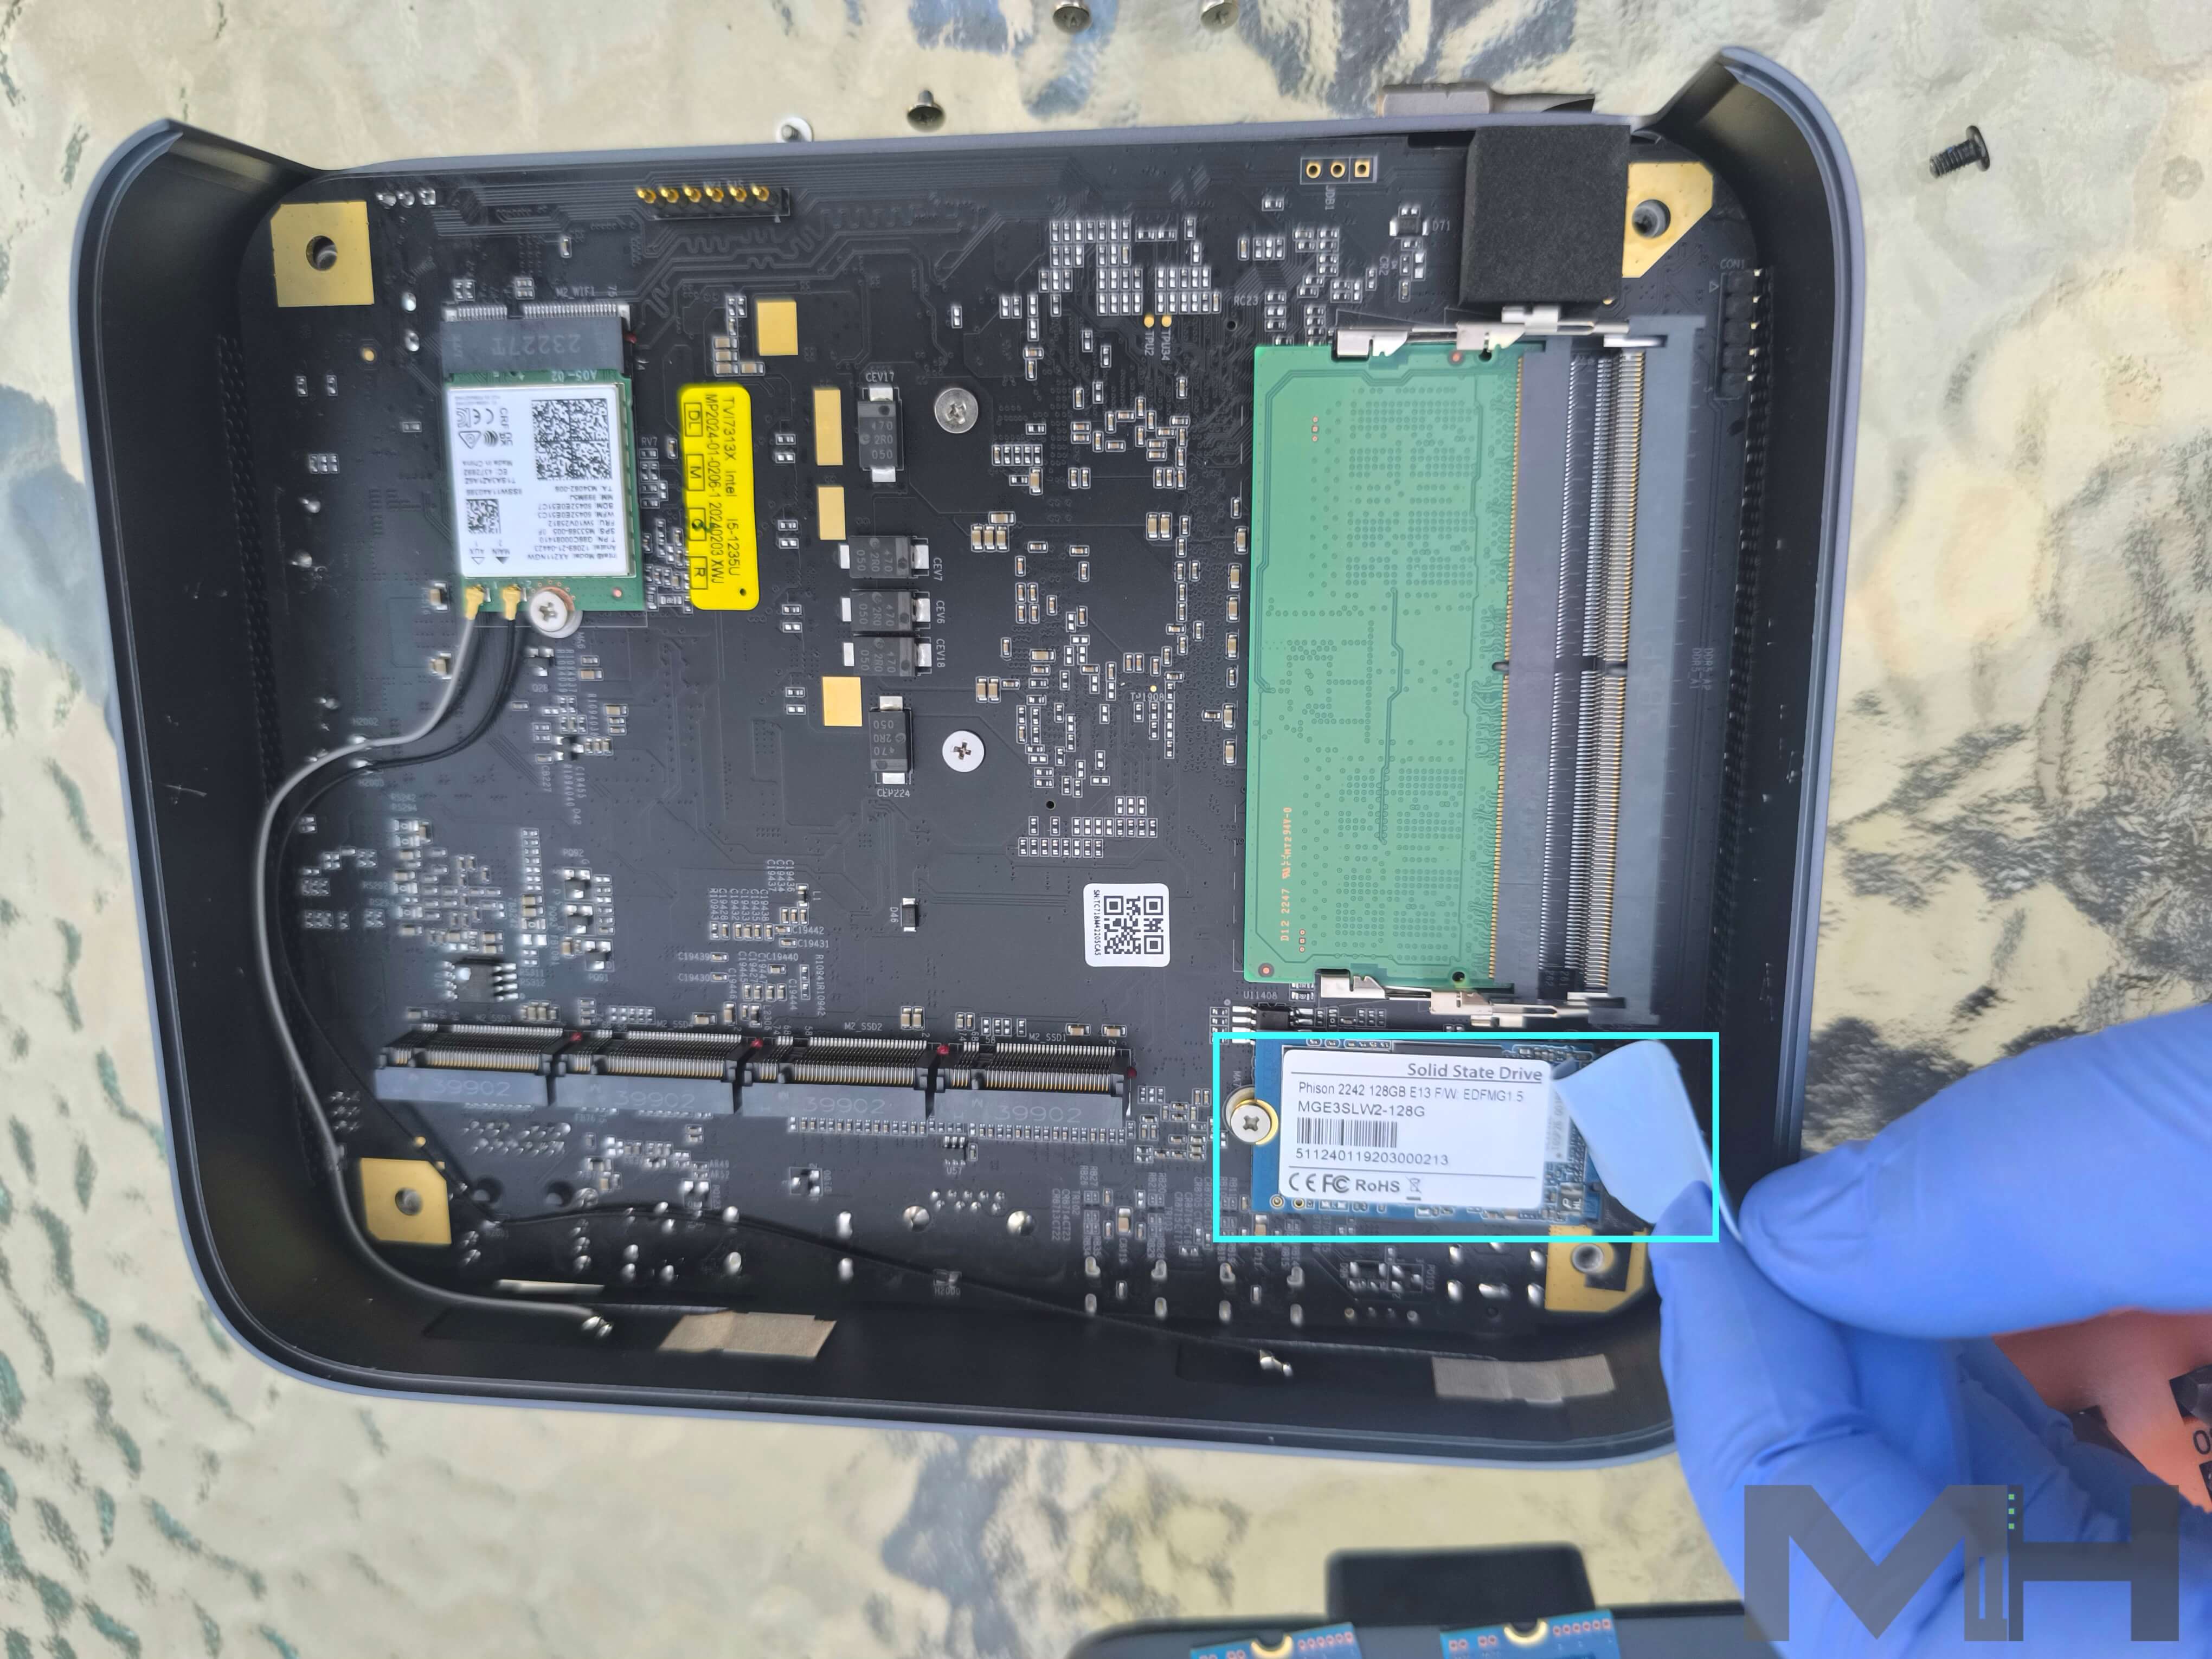
I removed the small thermal pad to better show you the 128G SSD internal storage drive.
Insert The RAM Module
Now, if you have another DDR5 RAM at 4800MHz, you can expand the Memory of your DXP480T Plus until you reach a total of 64GB of RAM. If you really want to upgrade it to the max, you can add the Crucial RAM model CT2K32G48C40S5.
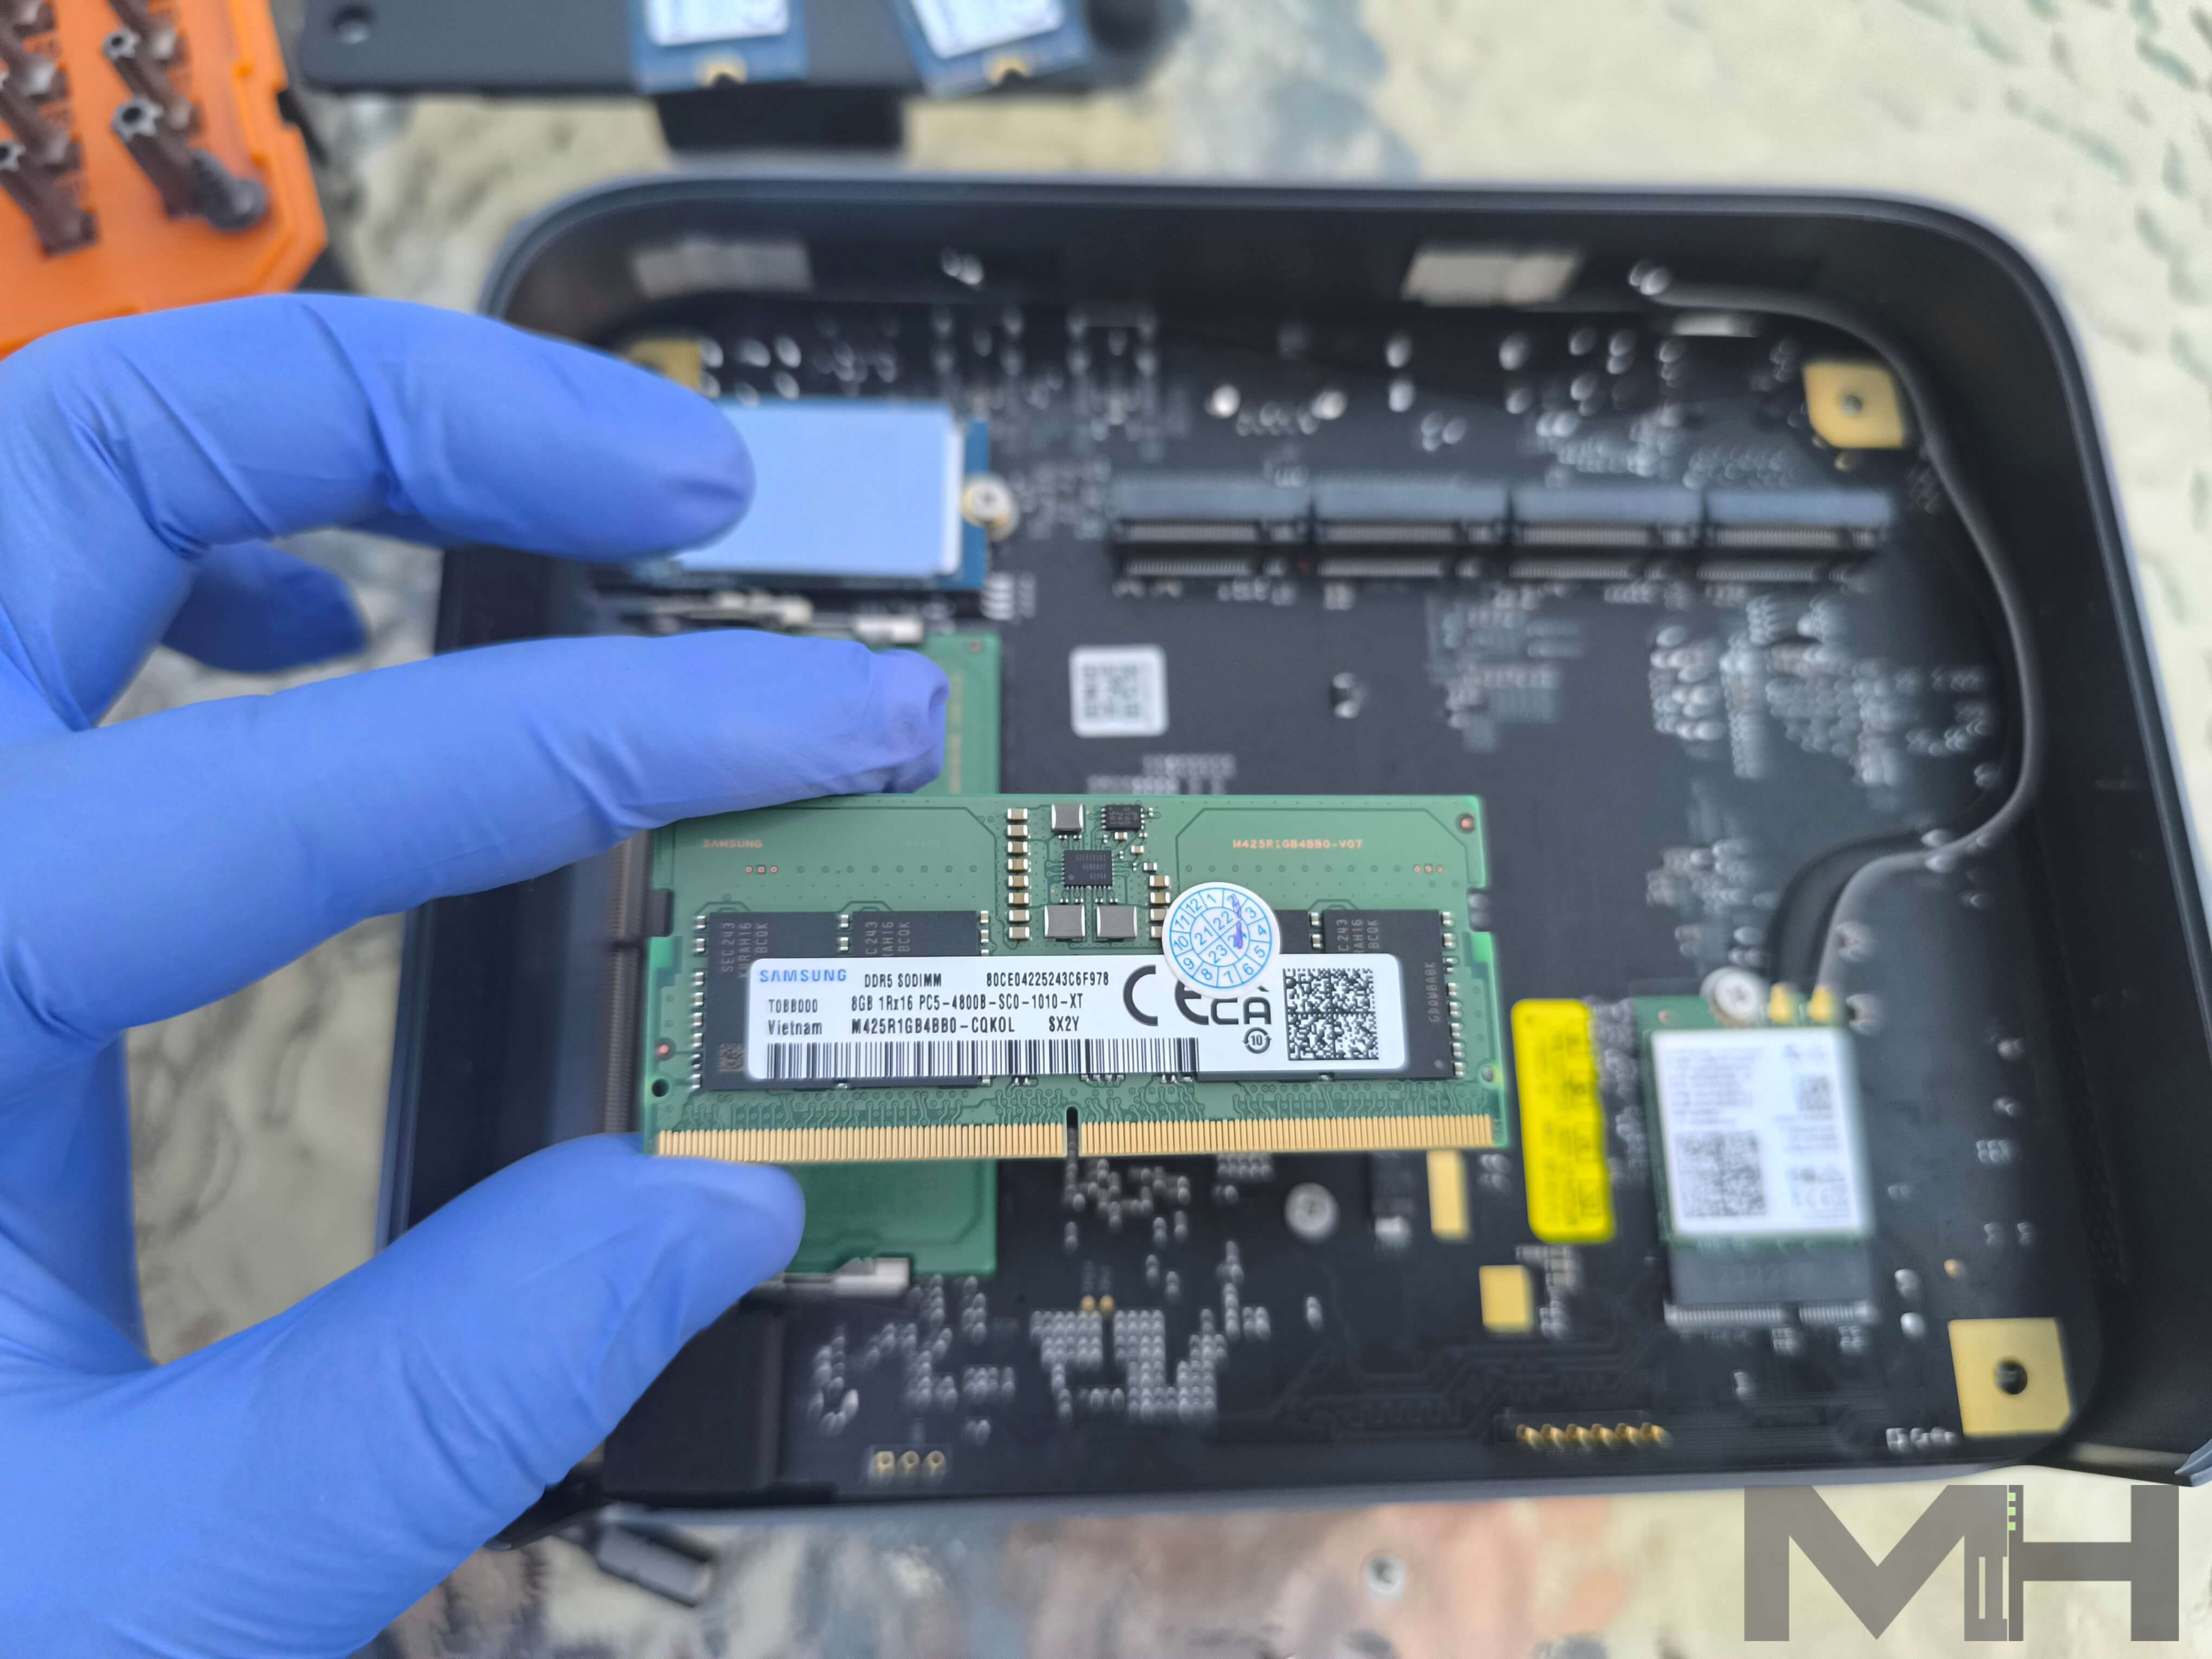
In the picture below I had just inserted the 8GB Samsung RAM module from the DXP8800 Plus NAS model.
Now you can put back the 10 screws that you have previously removed.
Add the Thermal Pads to the SSDs
After adding the SSDs, you can place the thermal pads on them. The thermal pads help with heat conduction. They are meant to prevent your M.2 SSDs from throttling and prevent damage caused by overheating.
UGREEN DXP480T Plus: First Power On
After I inserted the M2 SSDs, everything was up and running in a couple of minutes! To set up the UGREEN DXP480T Plus, connect the LAN cables, plug it in, then click the ON button at the front of the device. Next, open your favorite browser and access the following address below to start the UGOS Pro Operating System installation process. Once the device is found, click Connect. Name your UGREEN DXP480T Plus device and register a local administrator account. Initializing the device will only take a few seconds.
The UGOS Pro operating system is a young OS, but one with a fantastic potential. Many new features are on the way. I have been testing this NAS for about a week and already 2 major upgrades to the operating system have become available. This is a good sign as it means that UGREEN is focusing its energies on upgrading and improving this OS which is quite robust. It is possible to integrate external DDNS as well, but it would be nice to see an integrated DDNS like synology.me to make UGREEN even more accessible for users with little technical knowledge. You will find an environment similar to DSM in UGOS Pro, but UGOS Pro is still in its infancy and has a longer way to go. What surprised me was the speed of Docker containers in the UGOS Pro environment compared with Synology. UGOS Pro actually uses Docker Engine version 26.1 in its app. You can also check the UGOS Pro official changelog page.
This post was updated on Friday / November 29th, 2024 at 2:33 AM