It was 4 months ago that I wrote my last review on the UGREEN DXP480T Plus NAS and, today, November 29, 2024, just after Thanksgiving, I’ve come with a new review of the 4-bay Plus model. The UGREEN DXP4800 Plus is a NAS for those of you looking for processor speed as well as read/write speed since this model encompasses the latest technologies, and support for M2.2280 PCIe 4 SSDs. The DXP4800 Plus supports 4 M.2 solid-state drives. The read and write speeds that these SSDs provide make it possible to have a NAS device that takes up very little space on our desk and is, at the same time, a small technological gem. If you want to use Plex with hardware transcoding on your UGREEN NAS, then this is the right model for you. The UGREEN DXP4800 Plus also supports Docker engine 26.1.
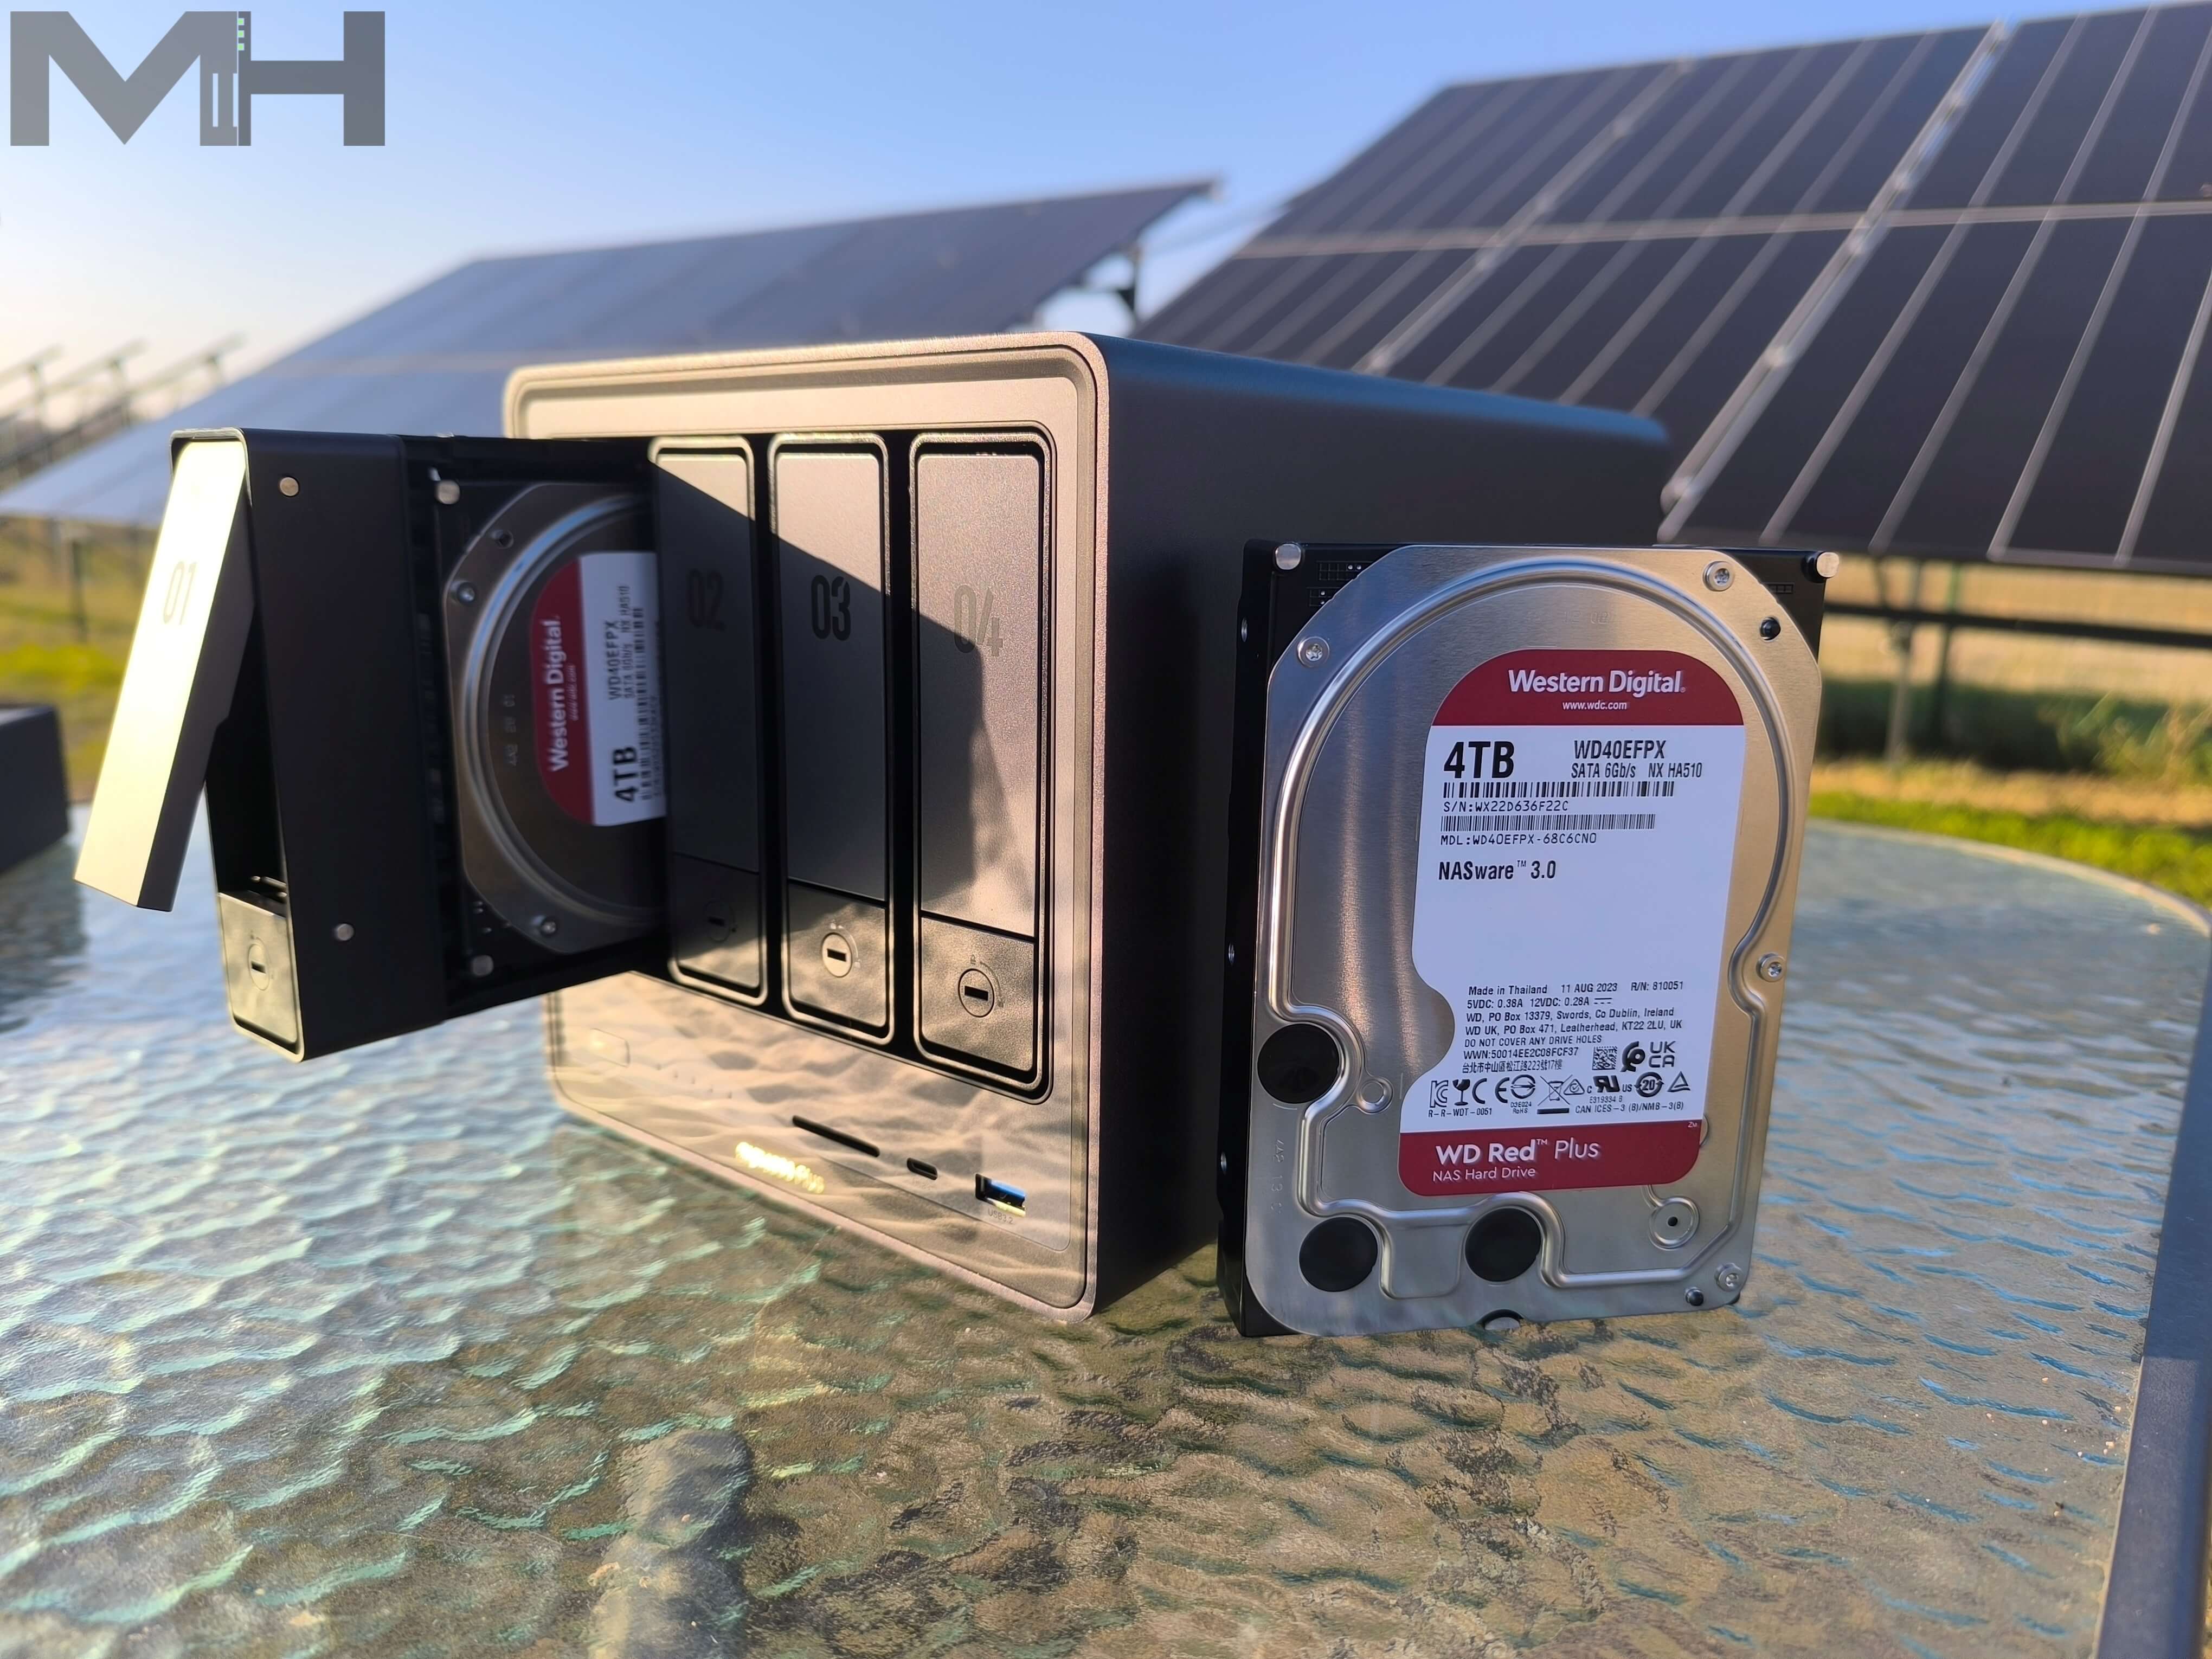
DXP4800 Plus at the mariushosting Residence
Thanks go to the UGREEN team who made it possible for me to get a hold of this device which was shipped directly from the UGREEN Germany warehouse. I honestly couldn’t wait to get my hands on this product since you, dear readers, have been insisting with so many emails asking me to talk about this product after my reviews about the NASync DXP8800 Plus model and the NASync DXP480T.
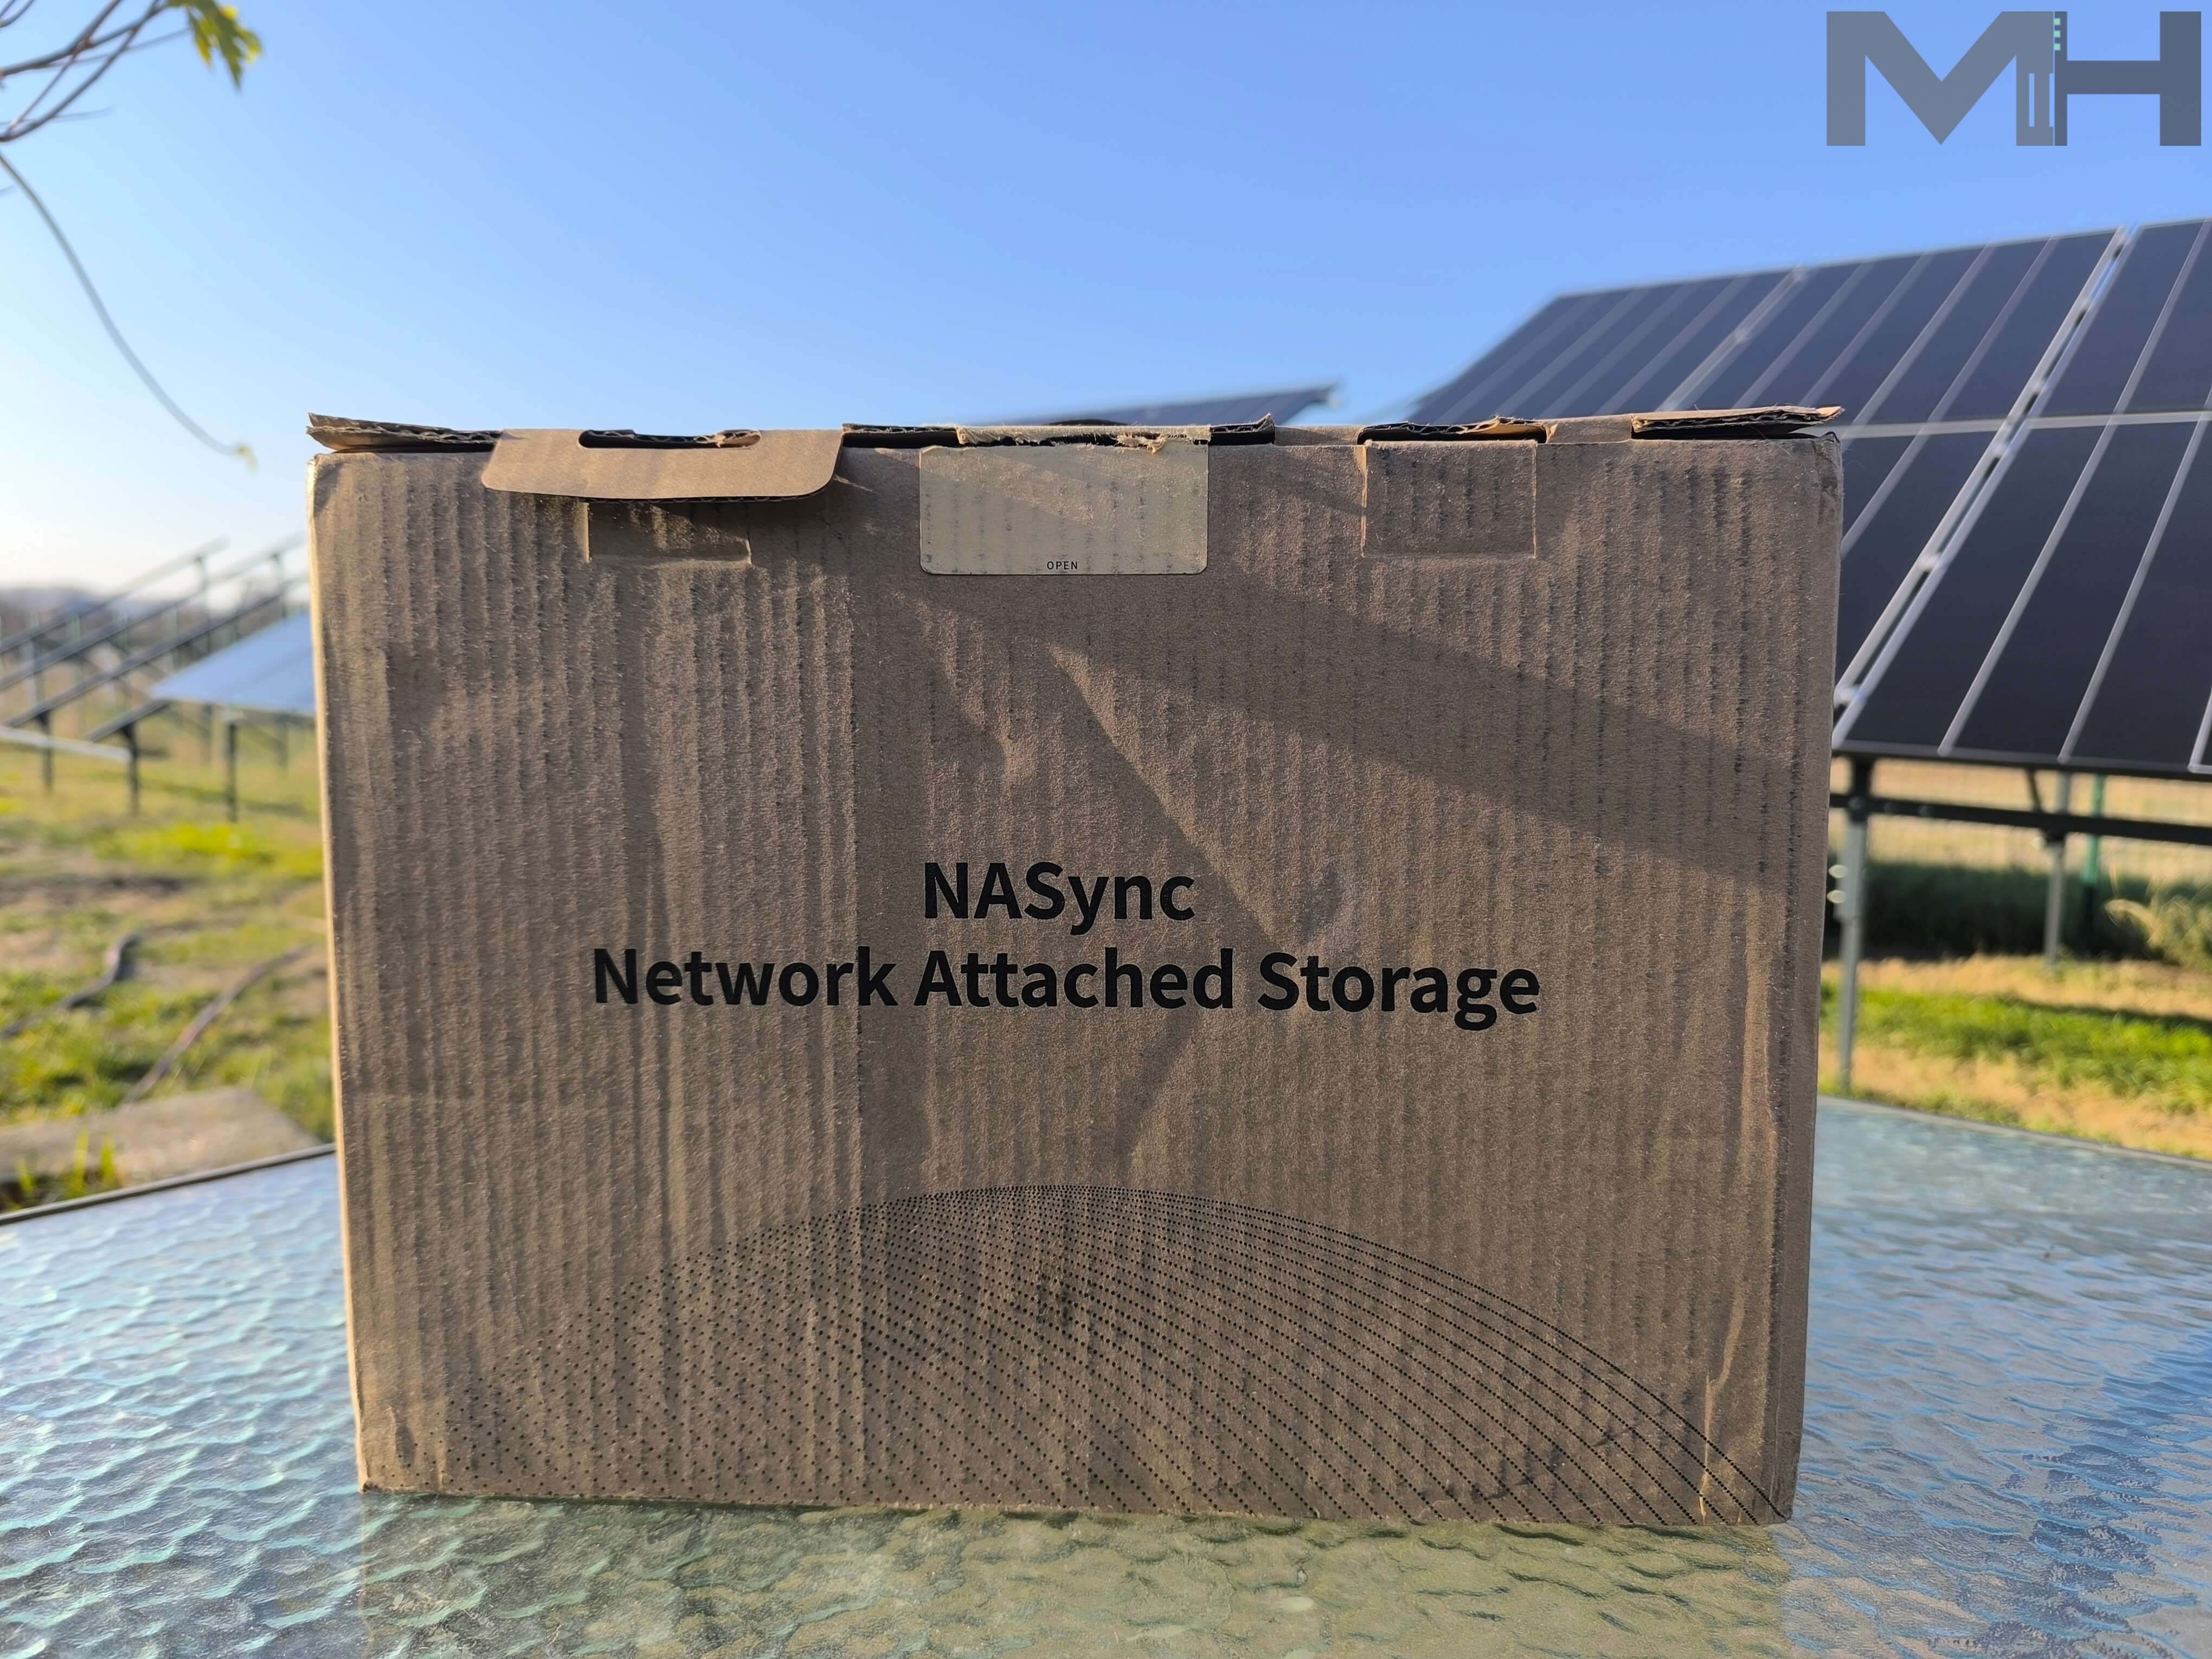
Double layer of protection
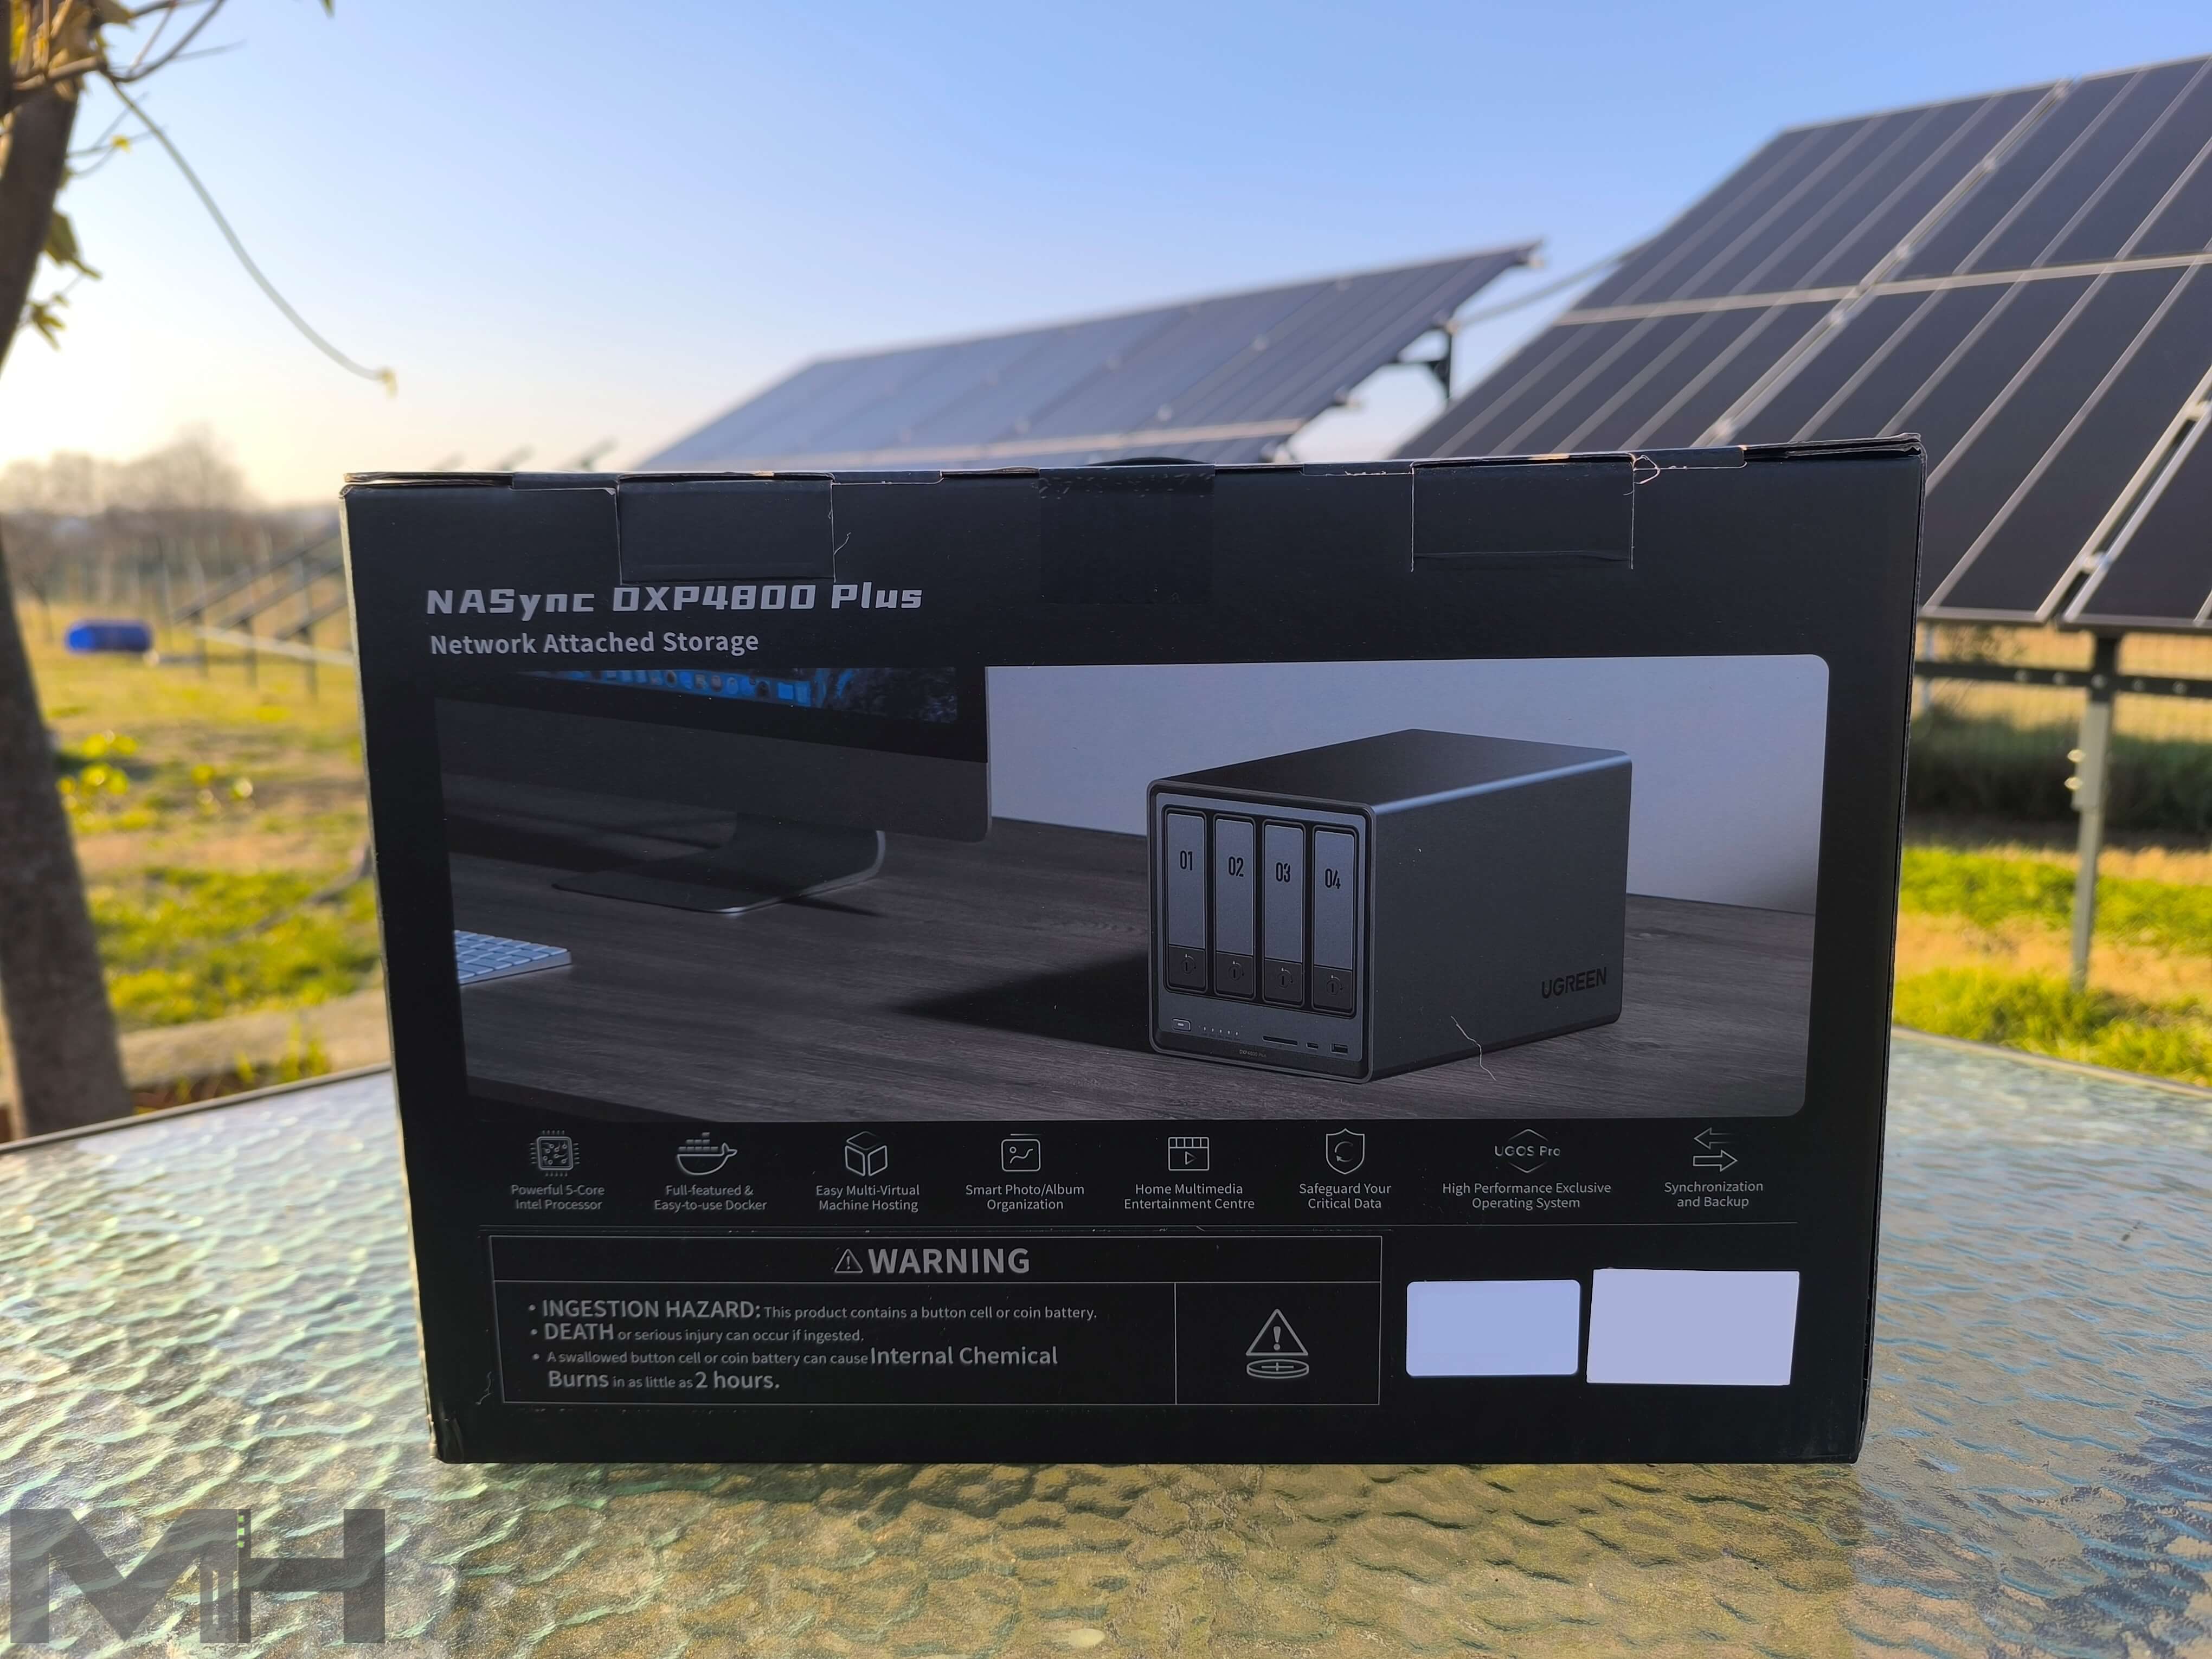
The NASync DXP4800 Plus comes in two boxes: a small black box with the product picture, name and other relevant information that is packed in a bigger, thick, cardboard box that adds an additional layer of protection.
Snuggly contained in Styrofoam
As soon as you open the box, you can see the DXP4800 Plus sitting snugly in its Styrofoam encasing that protects it from damage during shipment and handling.
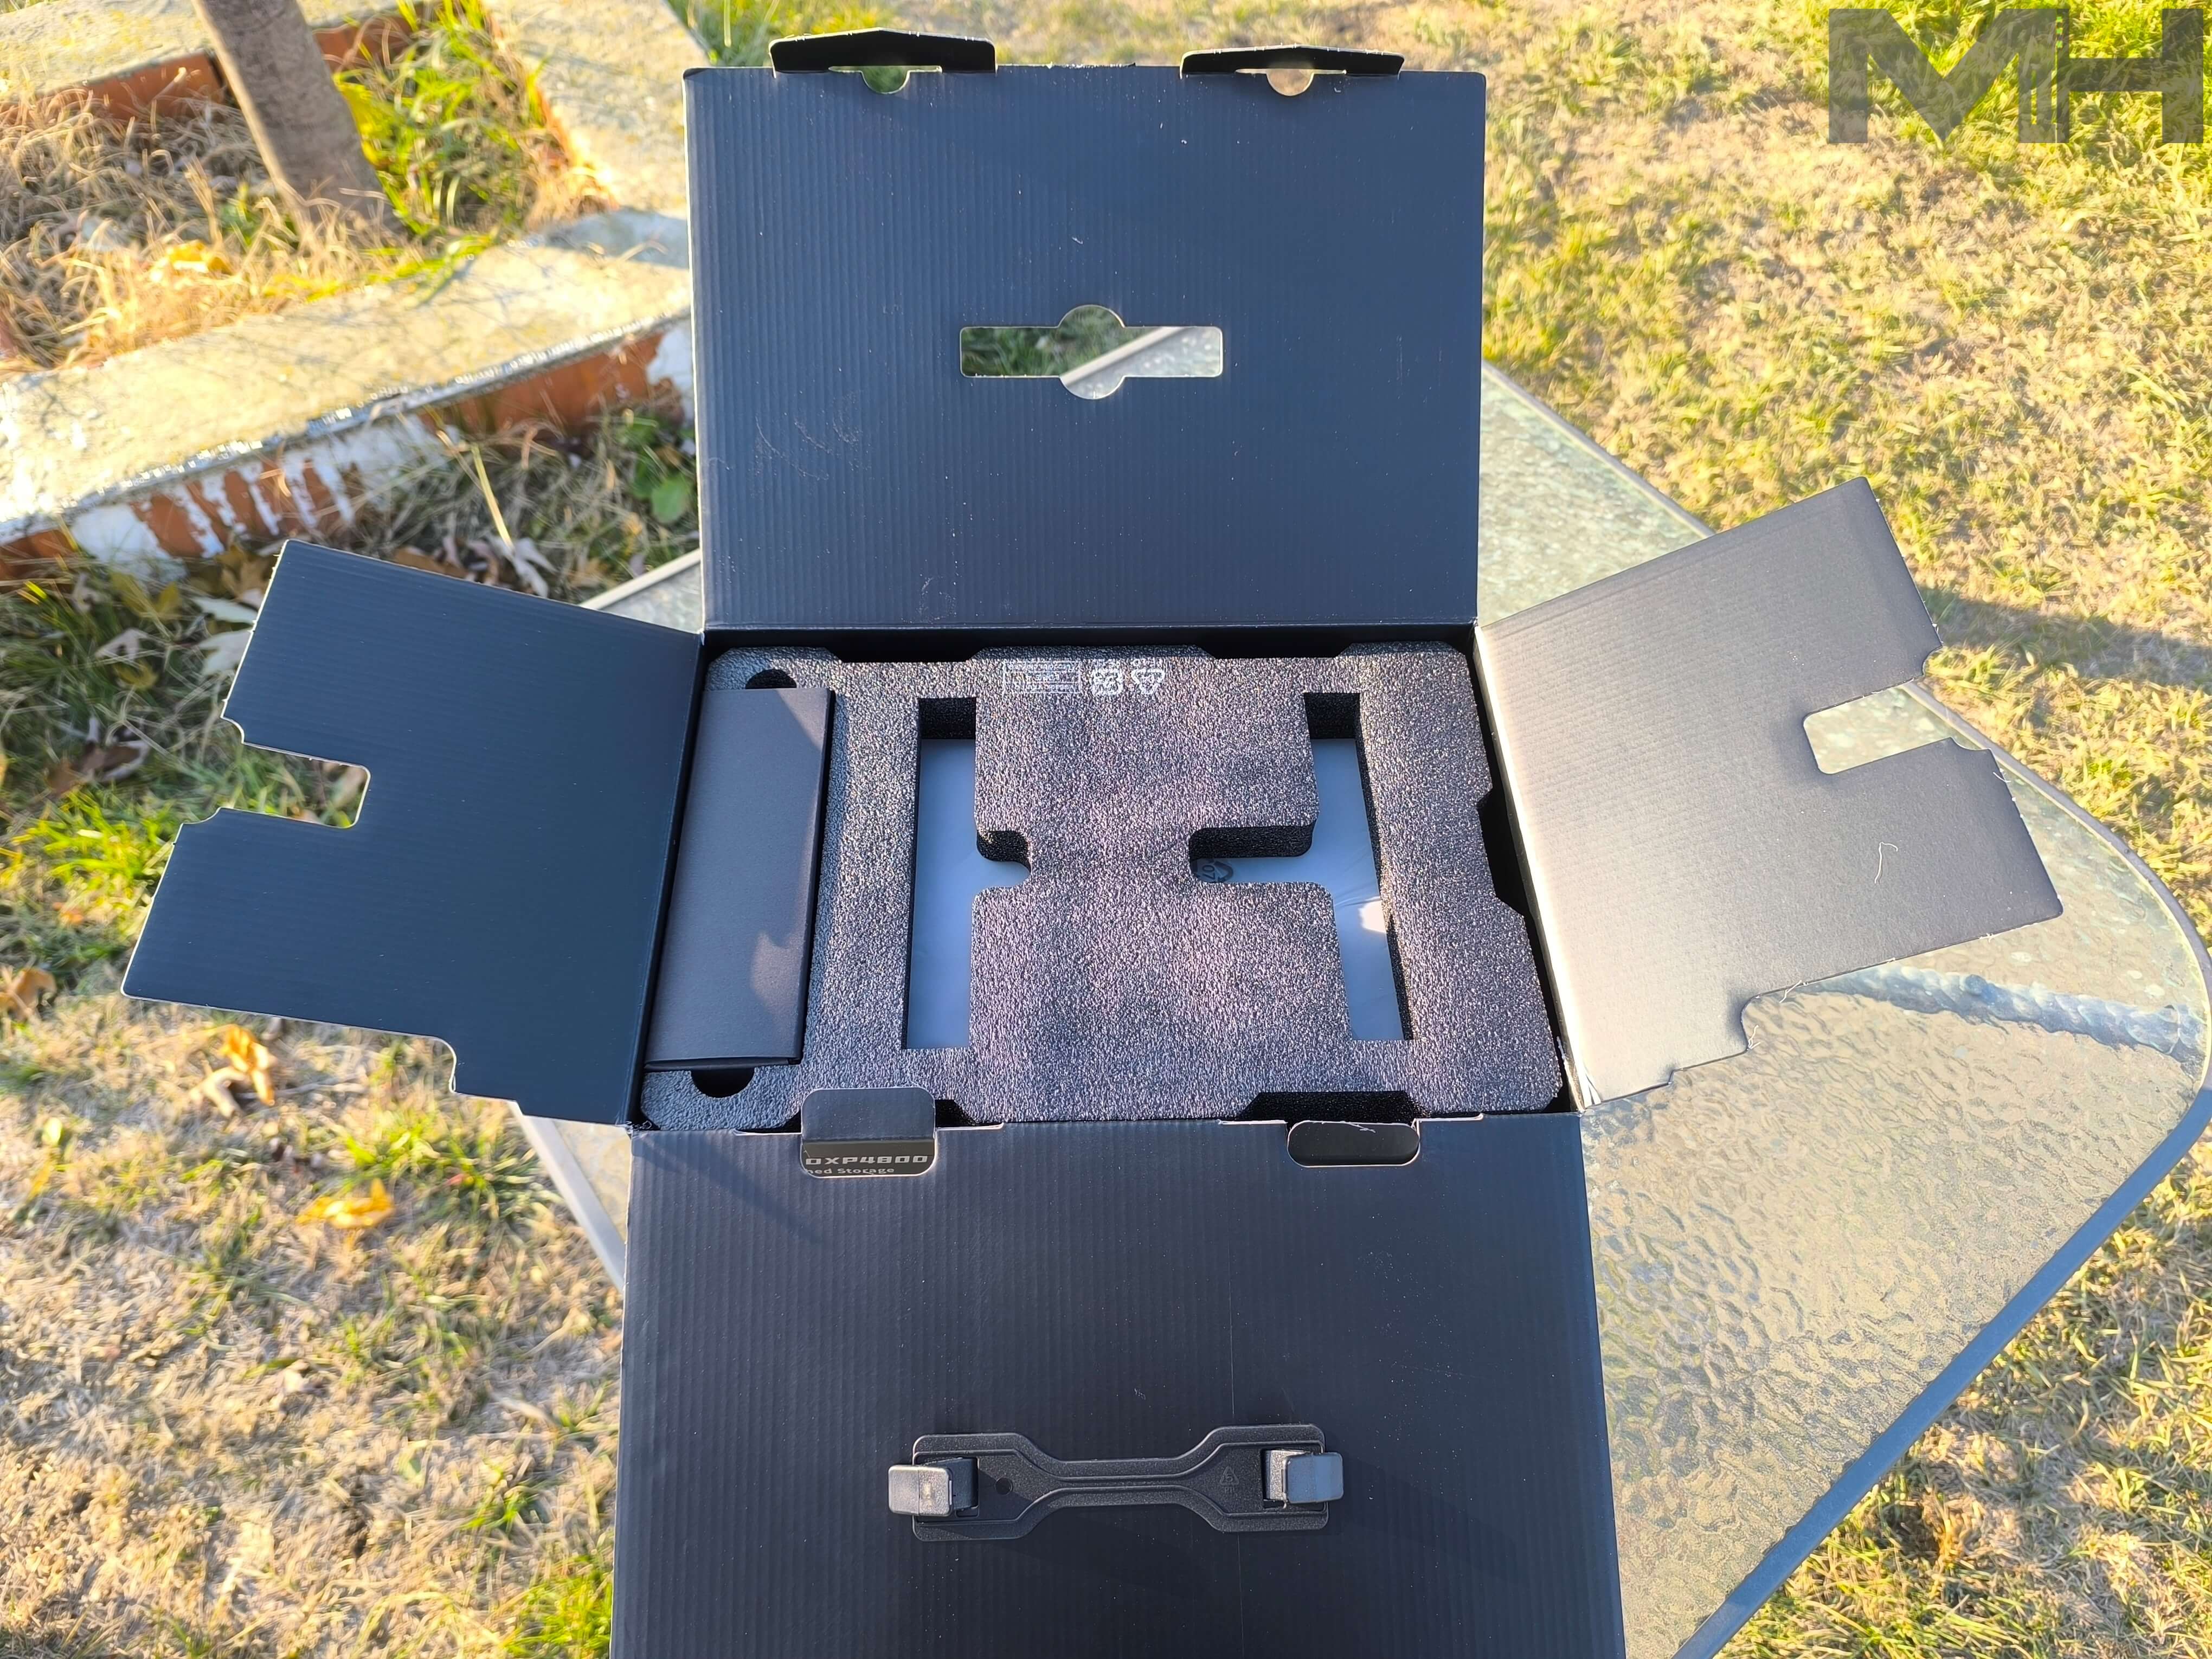
Out of the box!
The NAS is additionally protected by an antistatic plastic casing, while the accessories are packed separately in a smaller black box.
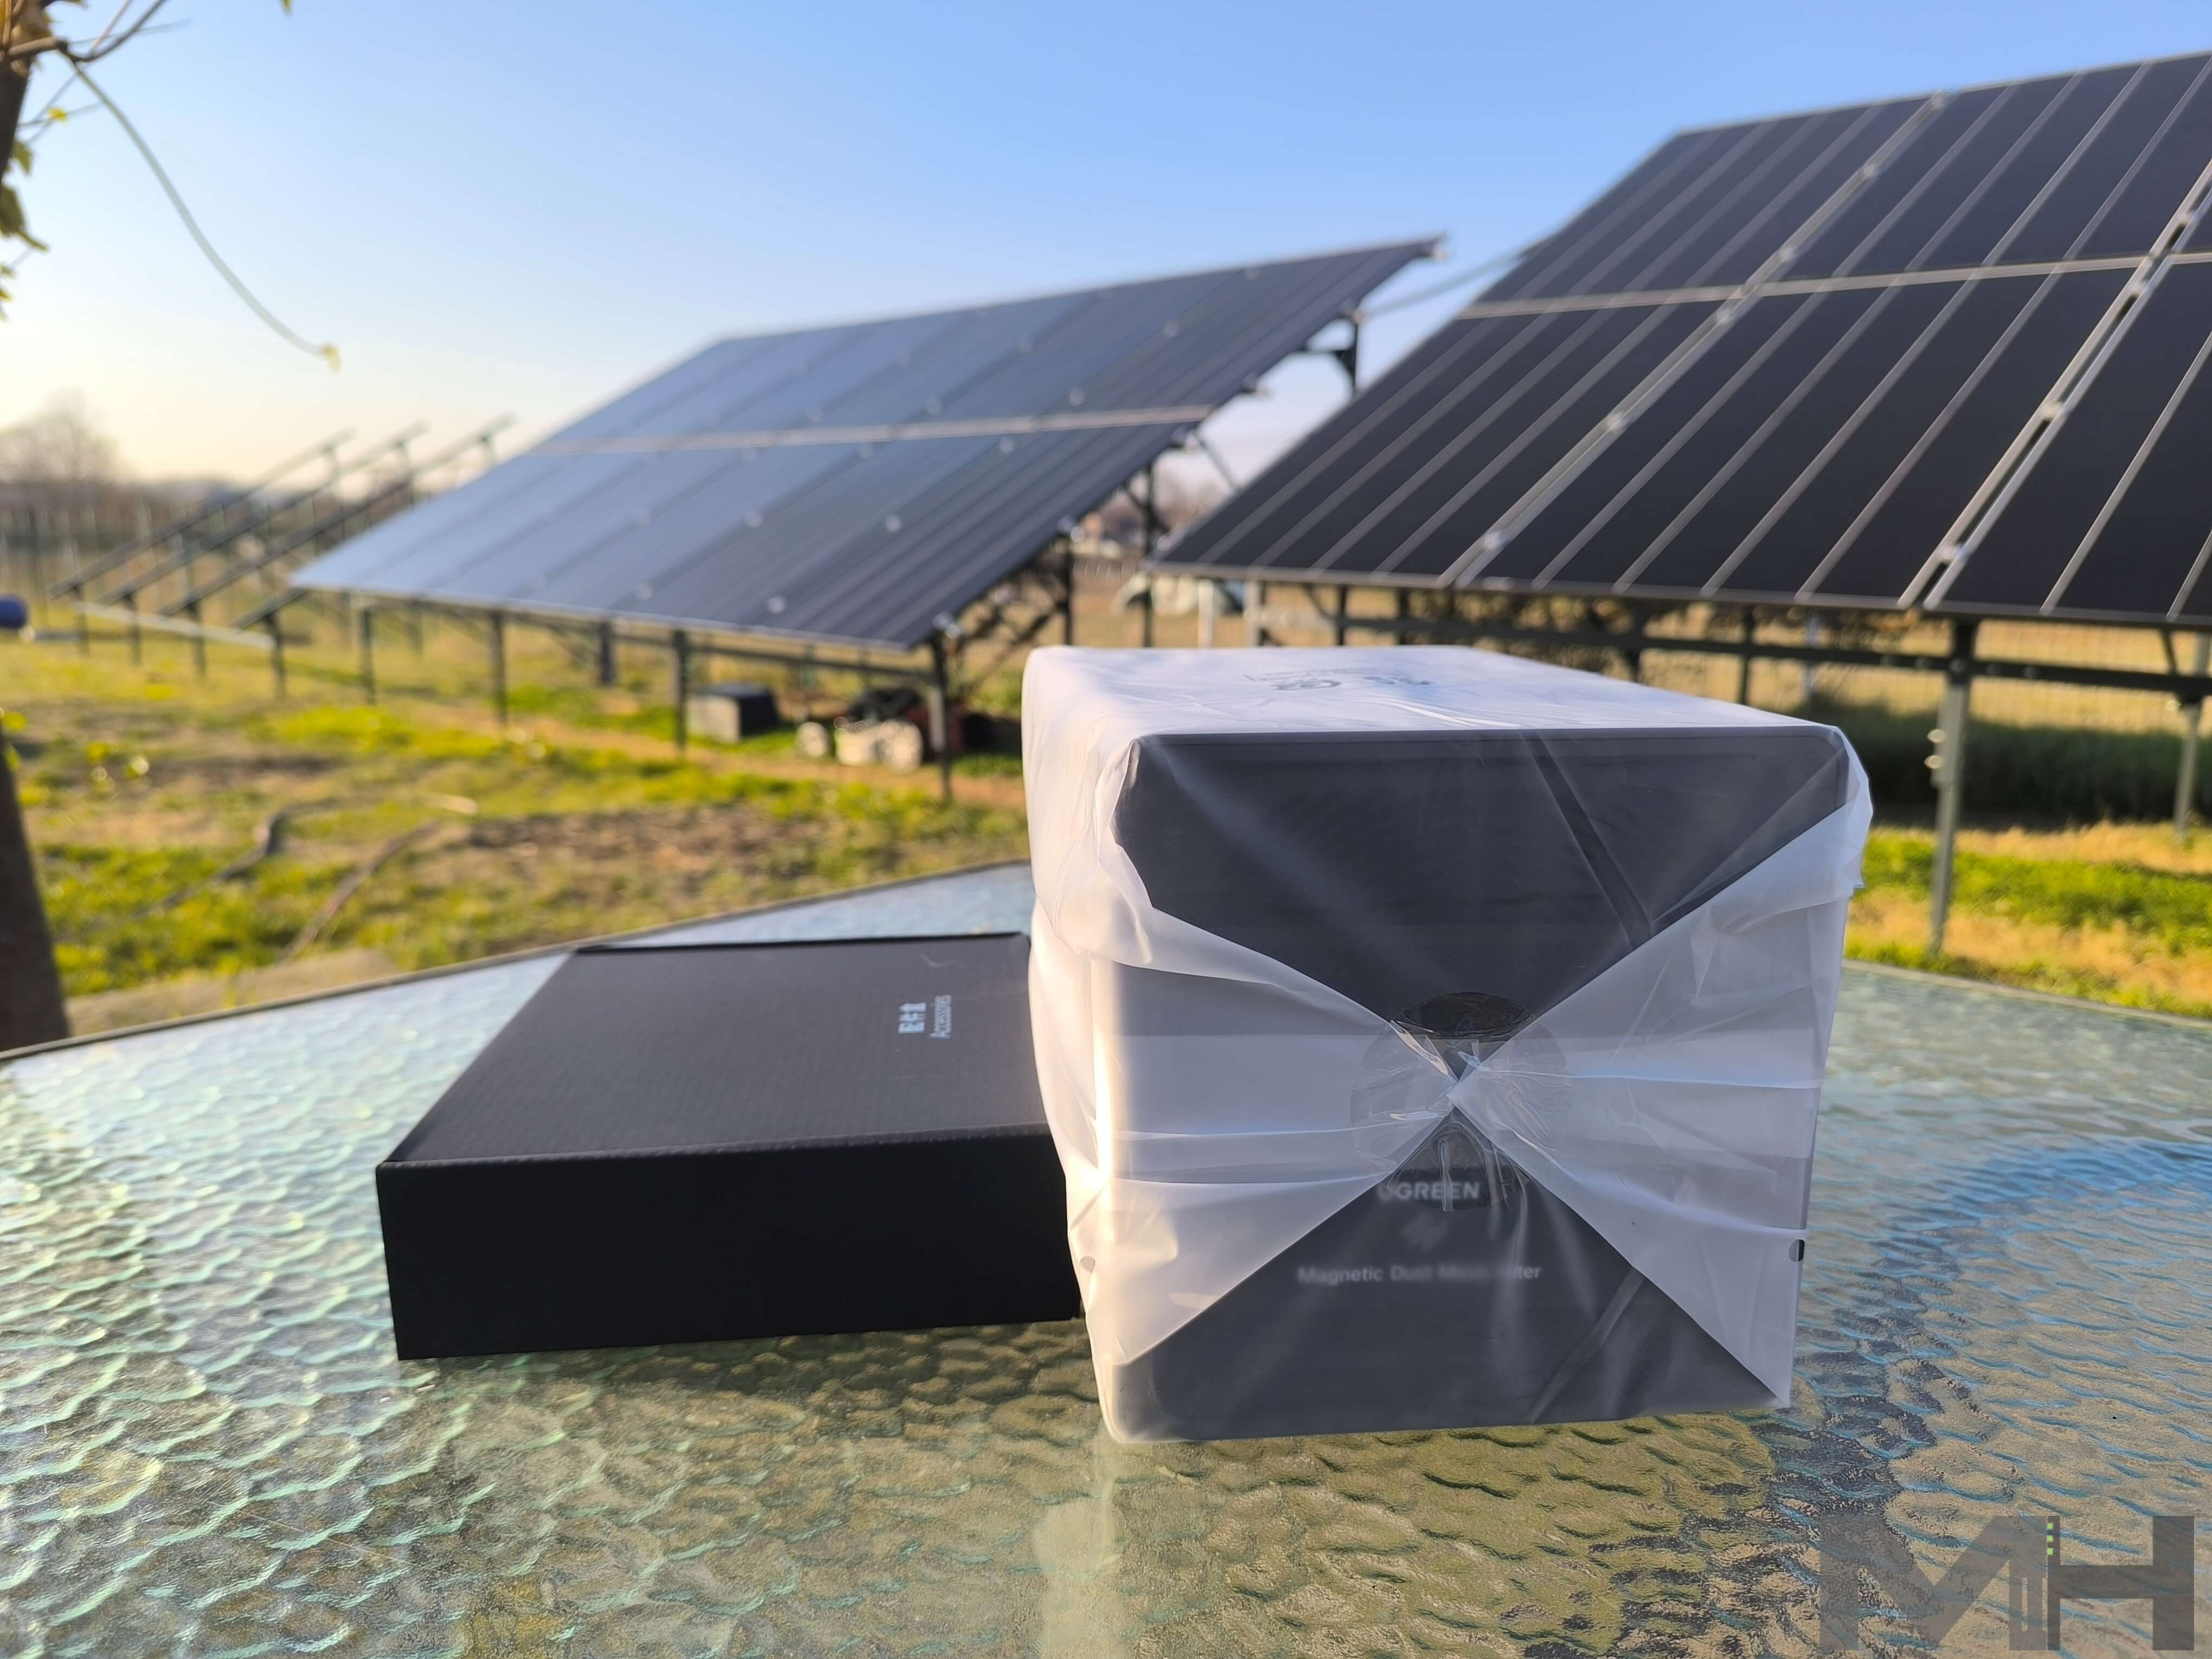
Accessories
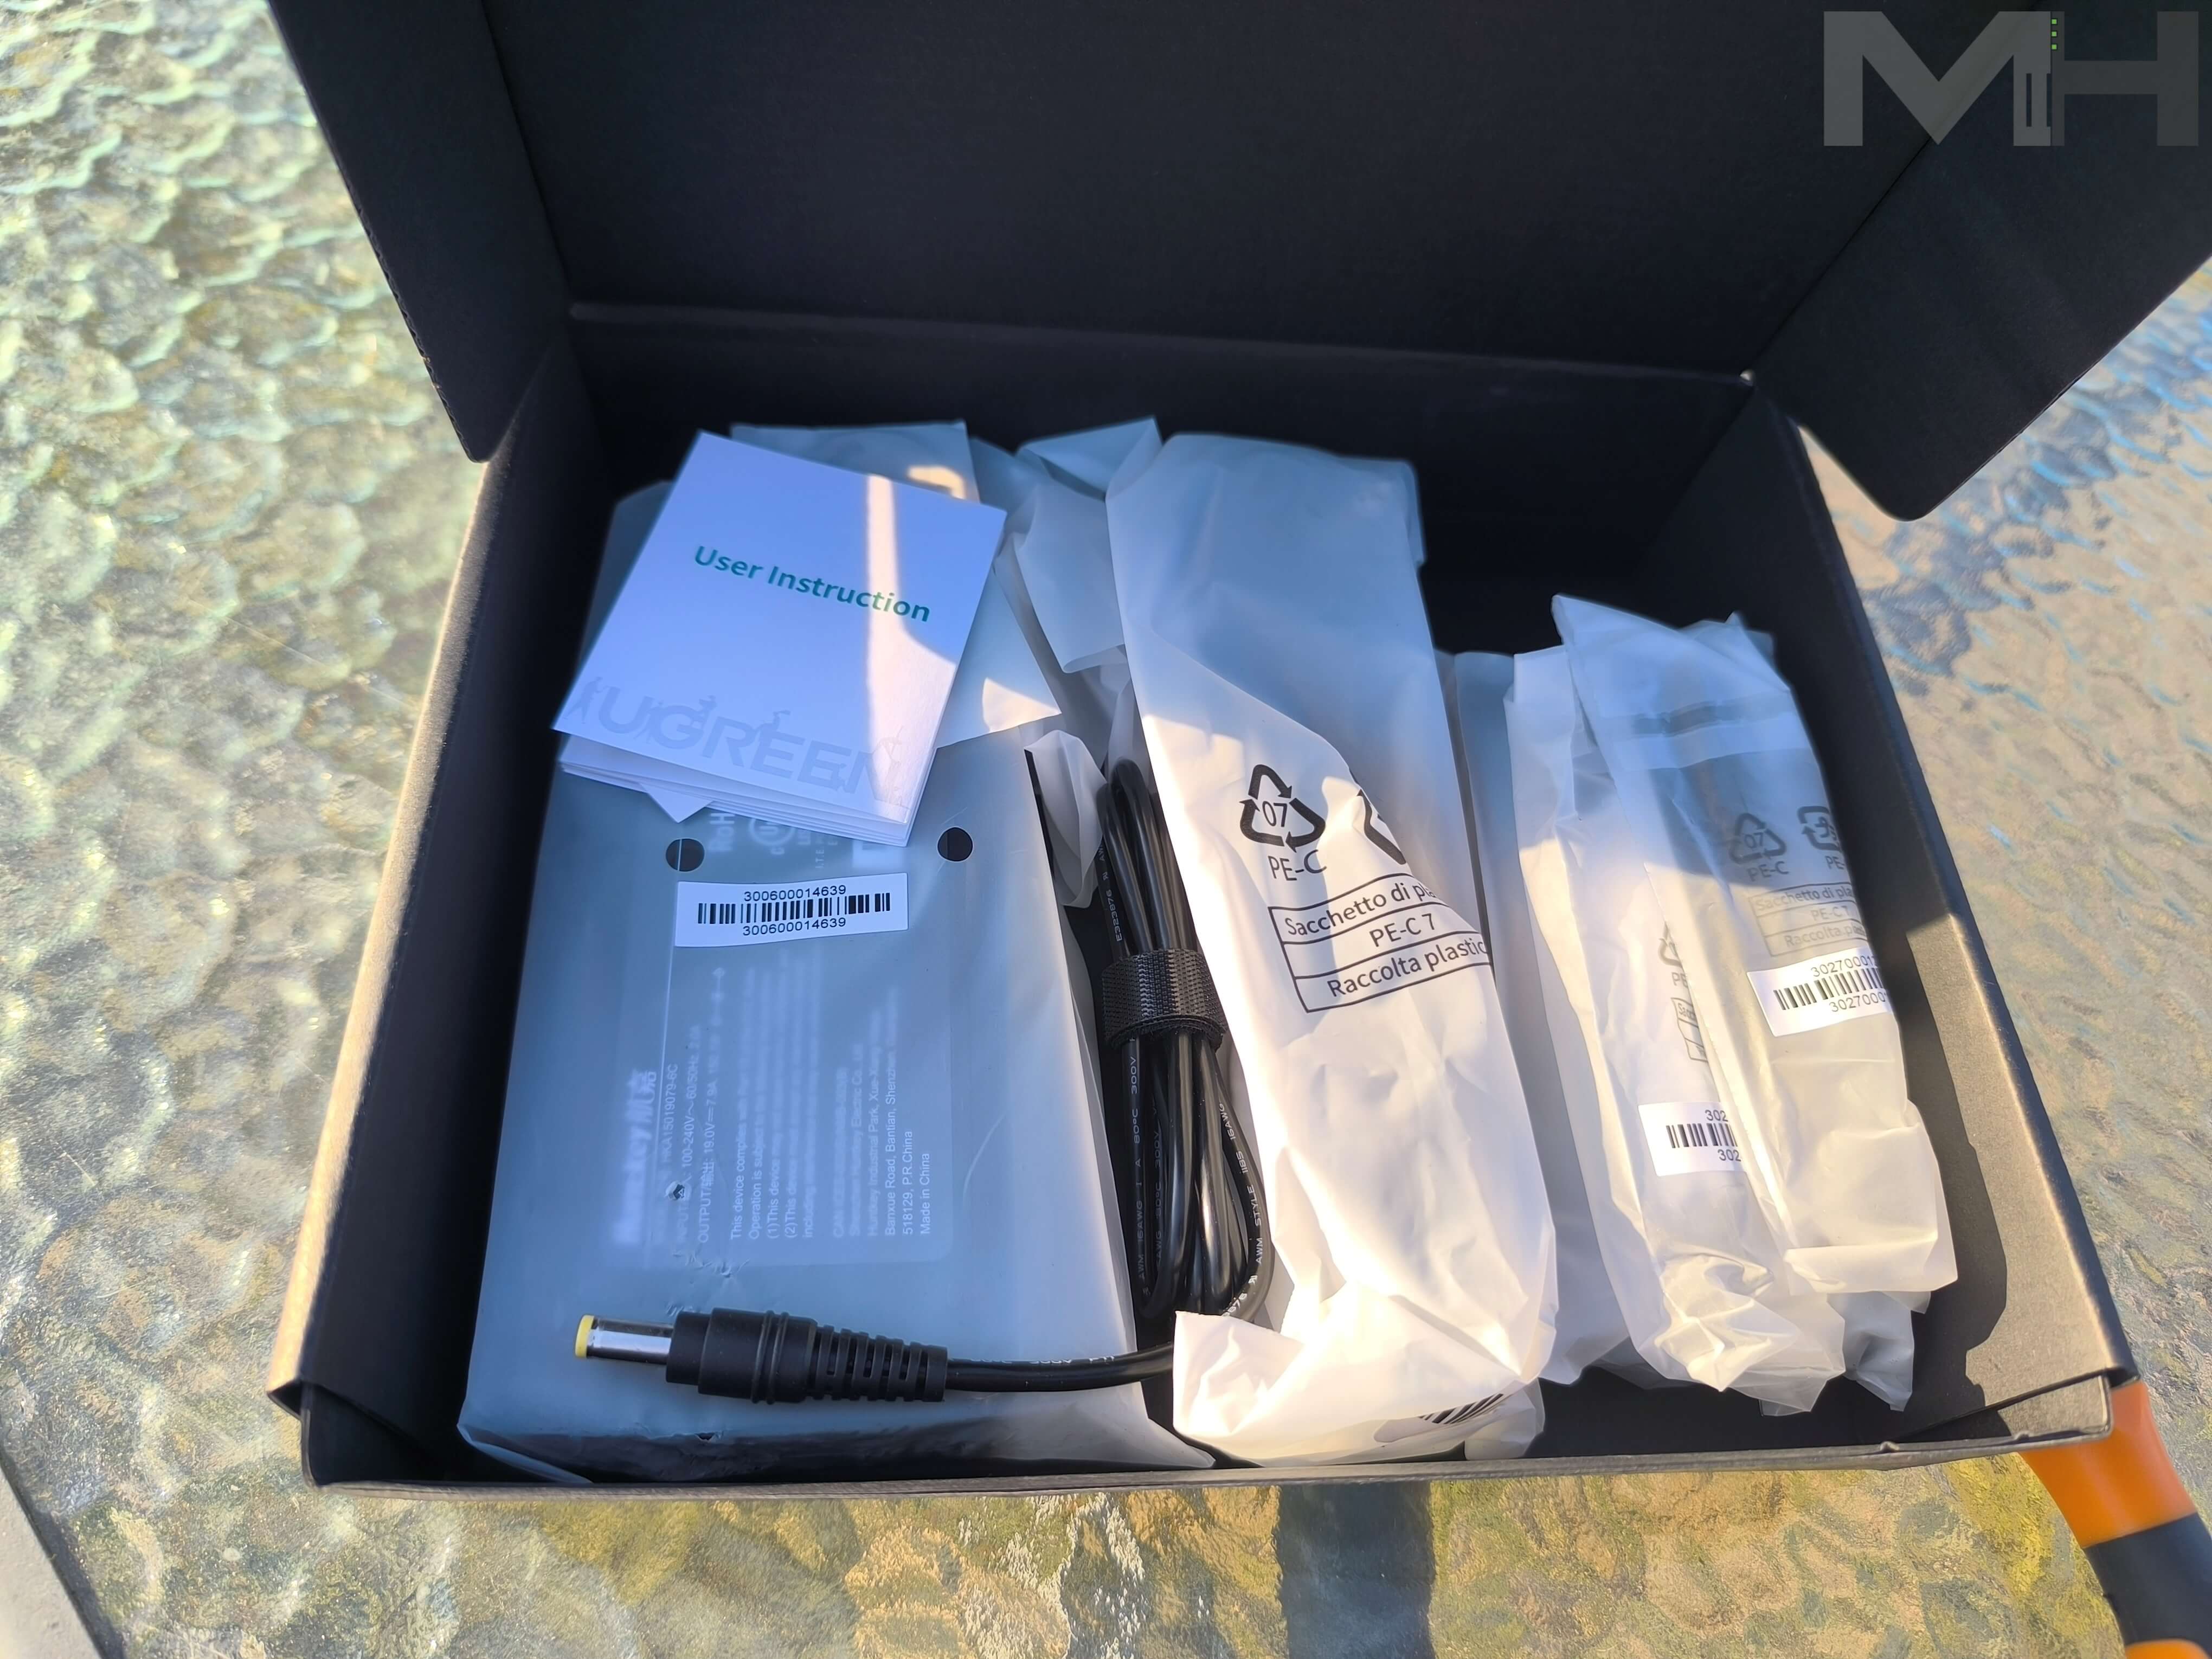
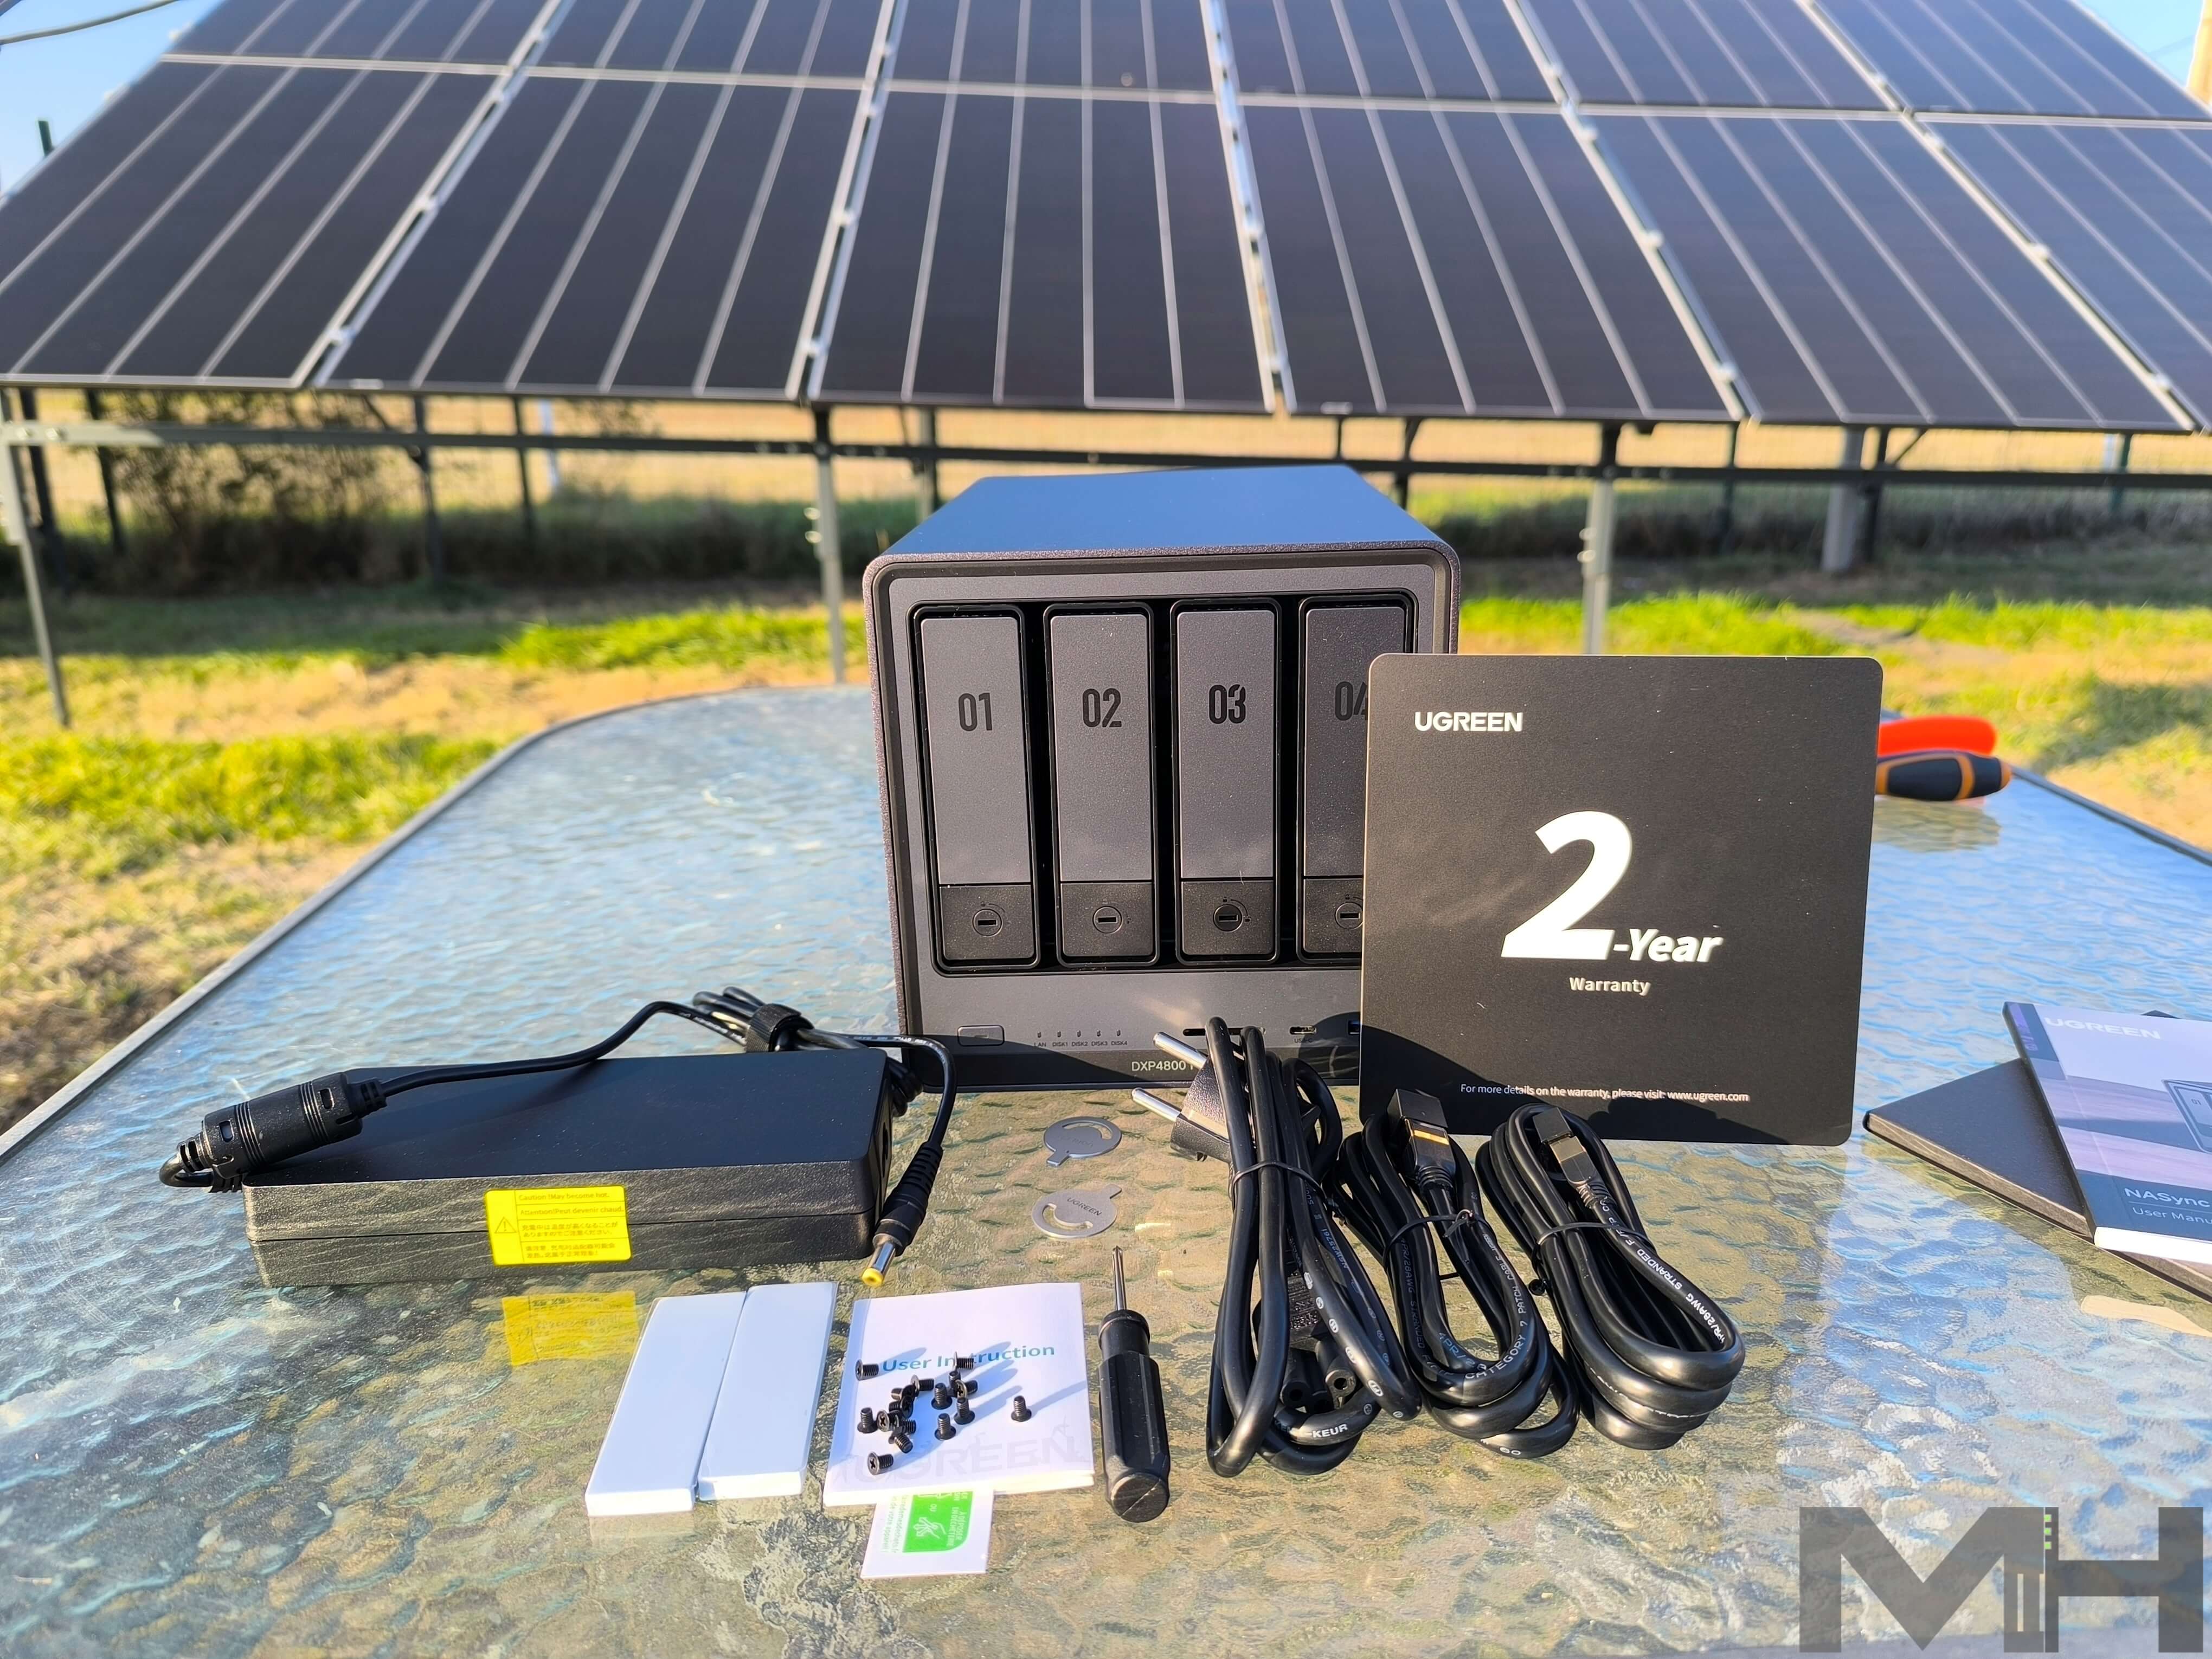
In addition to the DXP4800 Plus NAS itself, in the package you will also find the following accessories: an AC Power Cord, some SSD screws and two 1-meter long LAN CAT 7 cables. There is also a Limited Warranty Note, the Installation instructions, and a little black screwdriver. Icing on the cake: you will also find two heat pads to fit into the M.2 NVMe slots for thermal dissipation and a magnetic dust mesh filter for the back of the device.
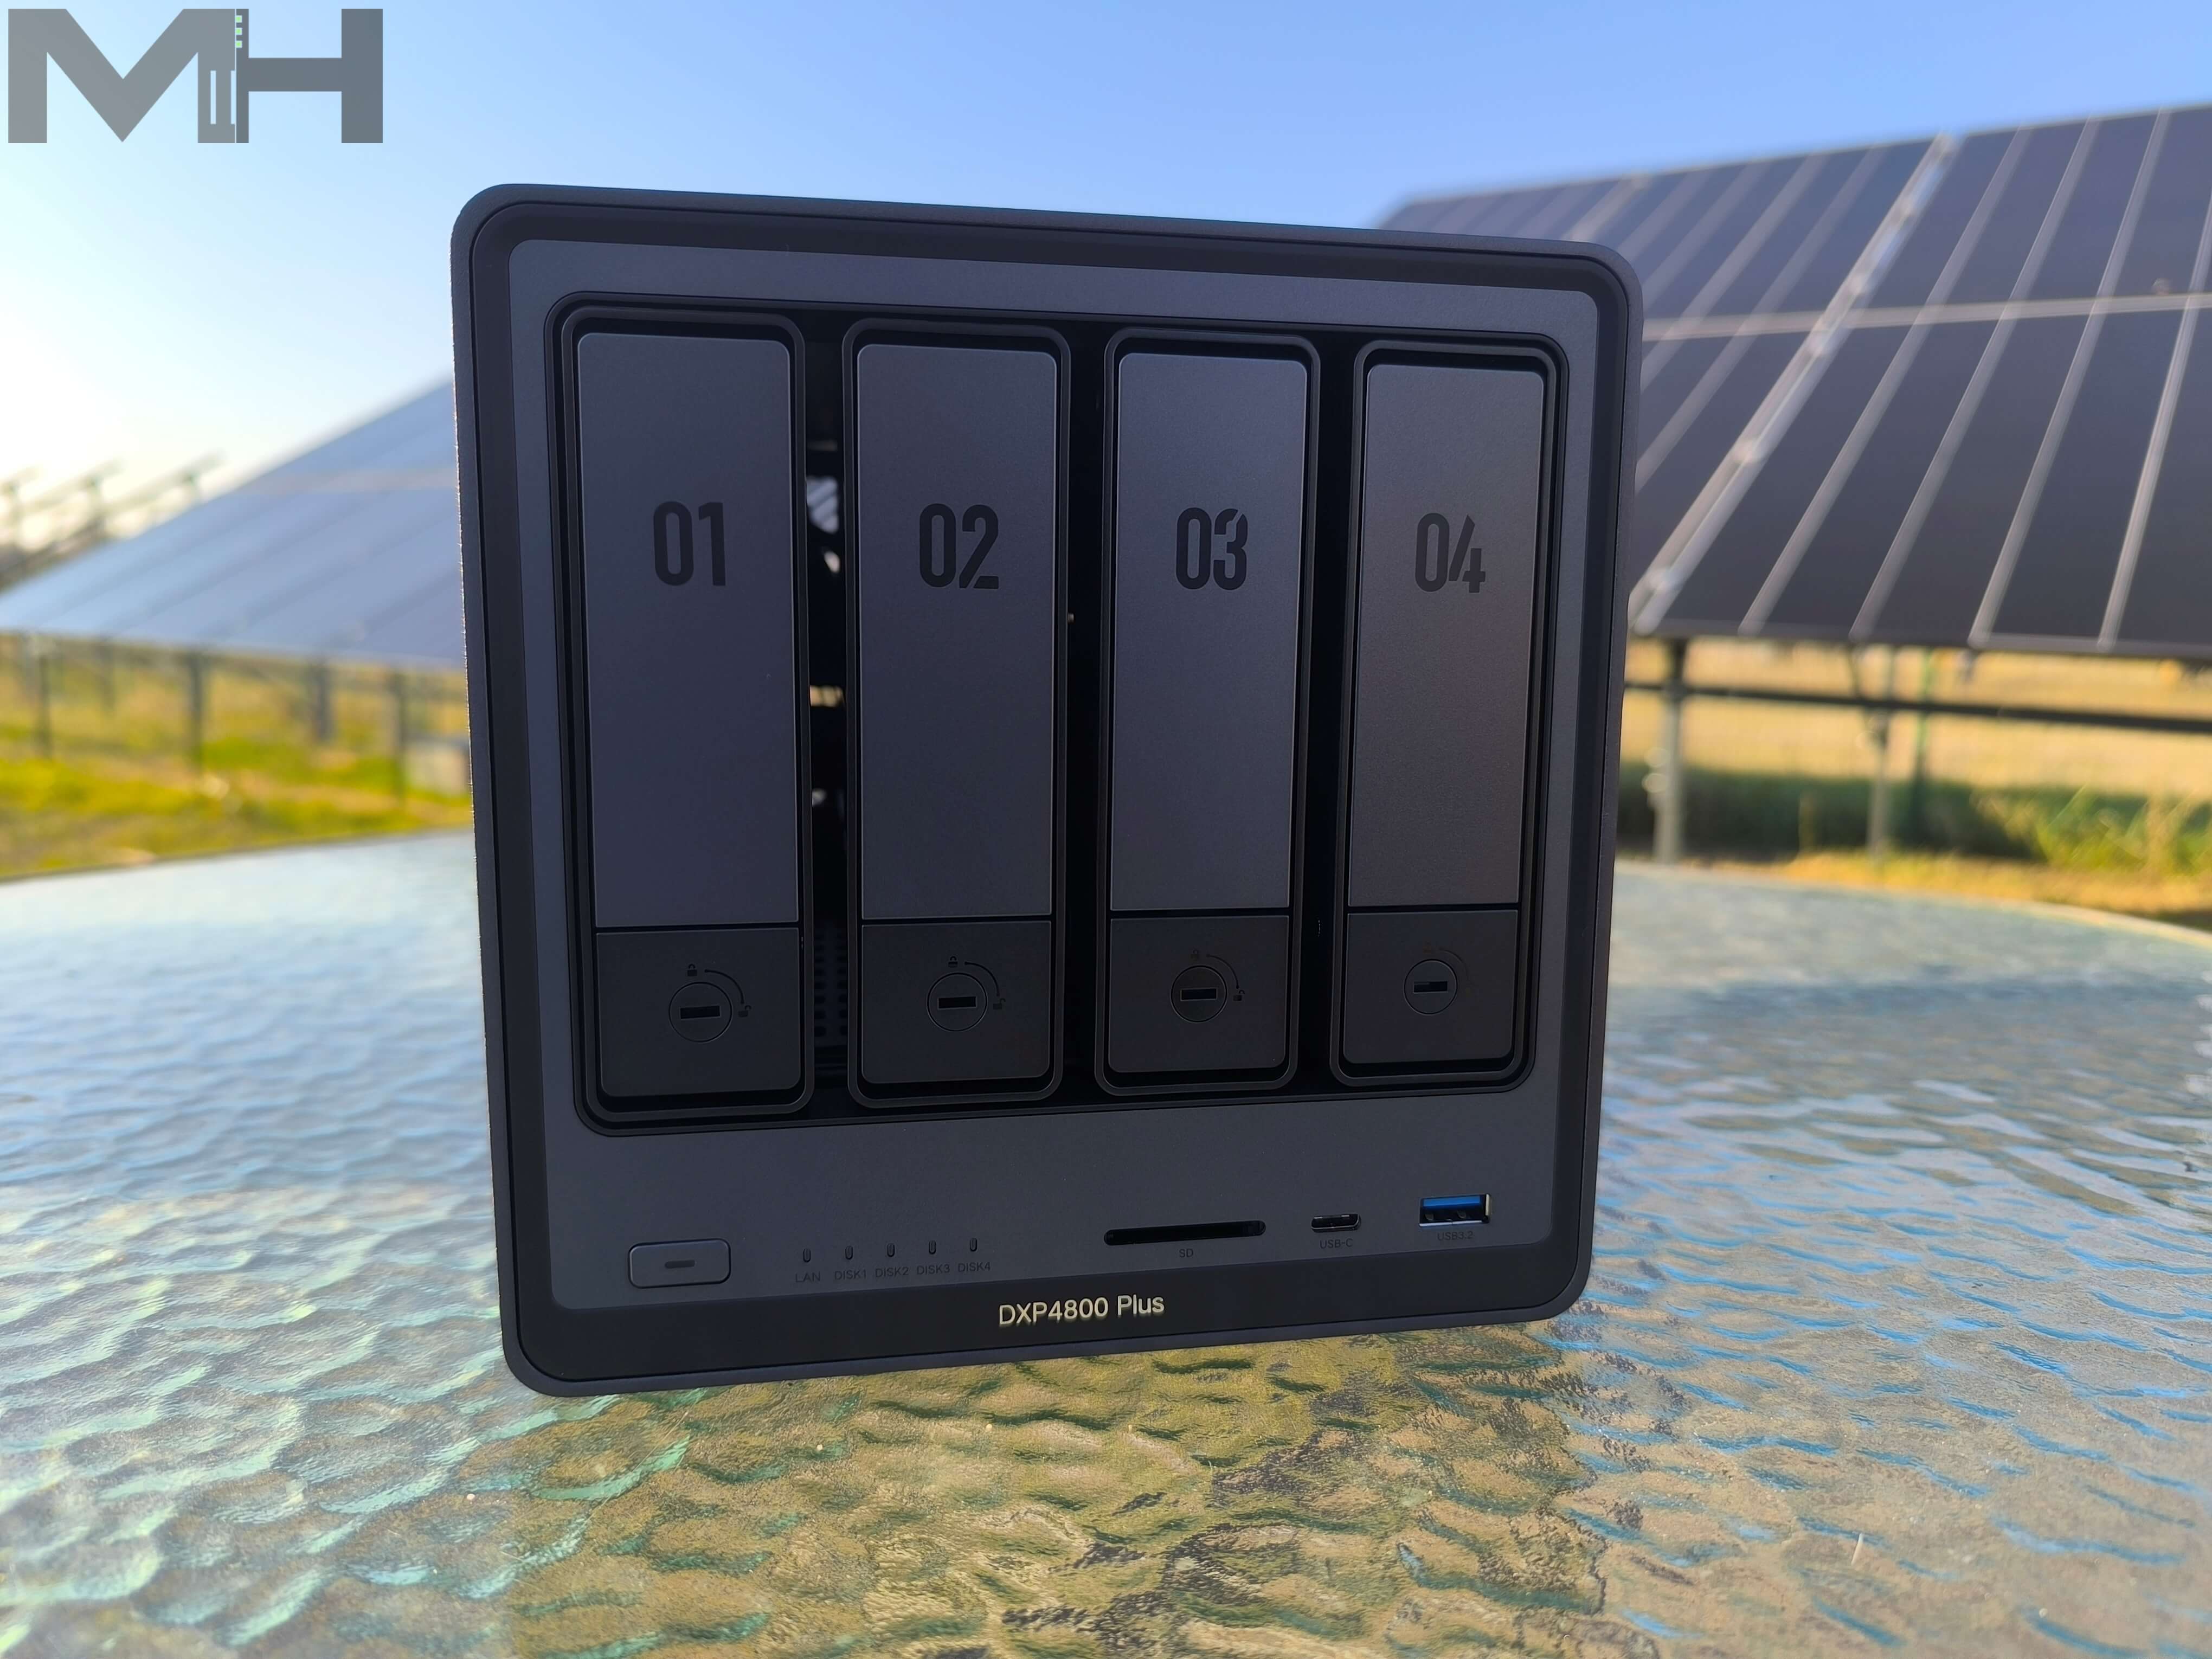
The DXP4800 Plus at a glance!
In the picture below you can see the DXP4800 Plus in all its glory! Beautiful, black aluminum case. Power button. SD card reader 4.0. 1x USB 3.2 slot. Preinstalled RAM is 8 GB DDR5, Samsung brand, expandable up to 64GB. Intel® Pentium® processor Gold 8505.
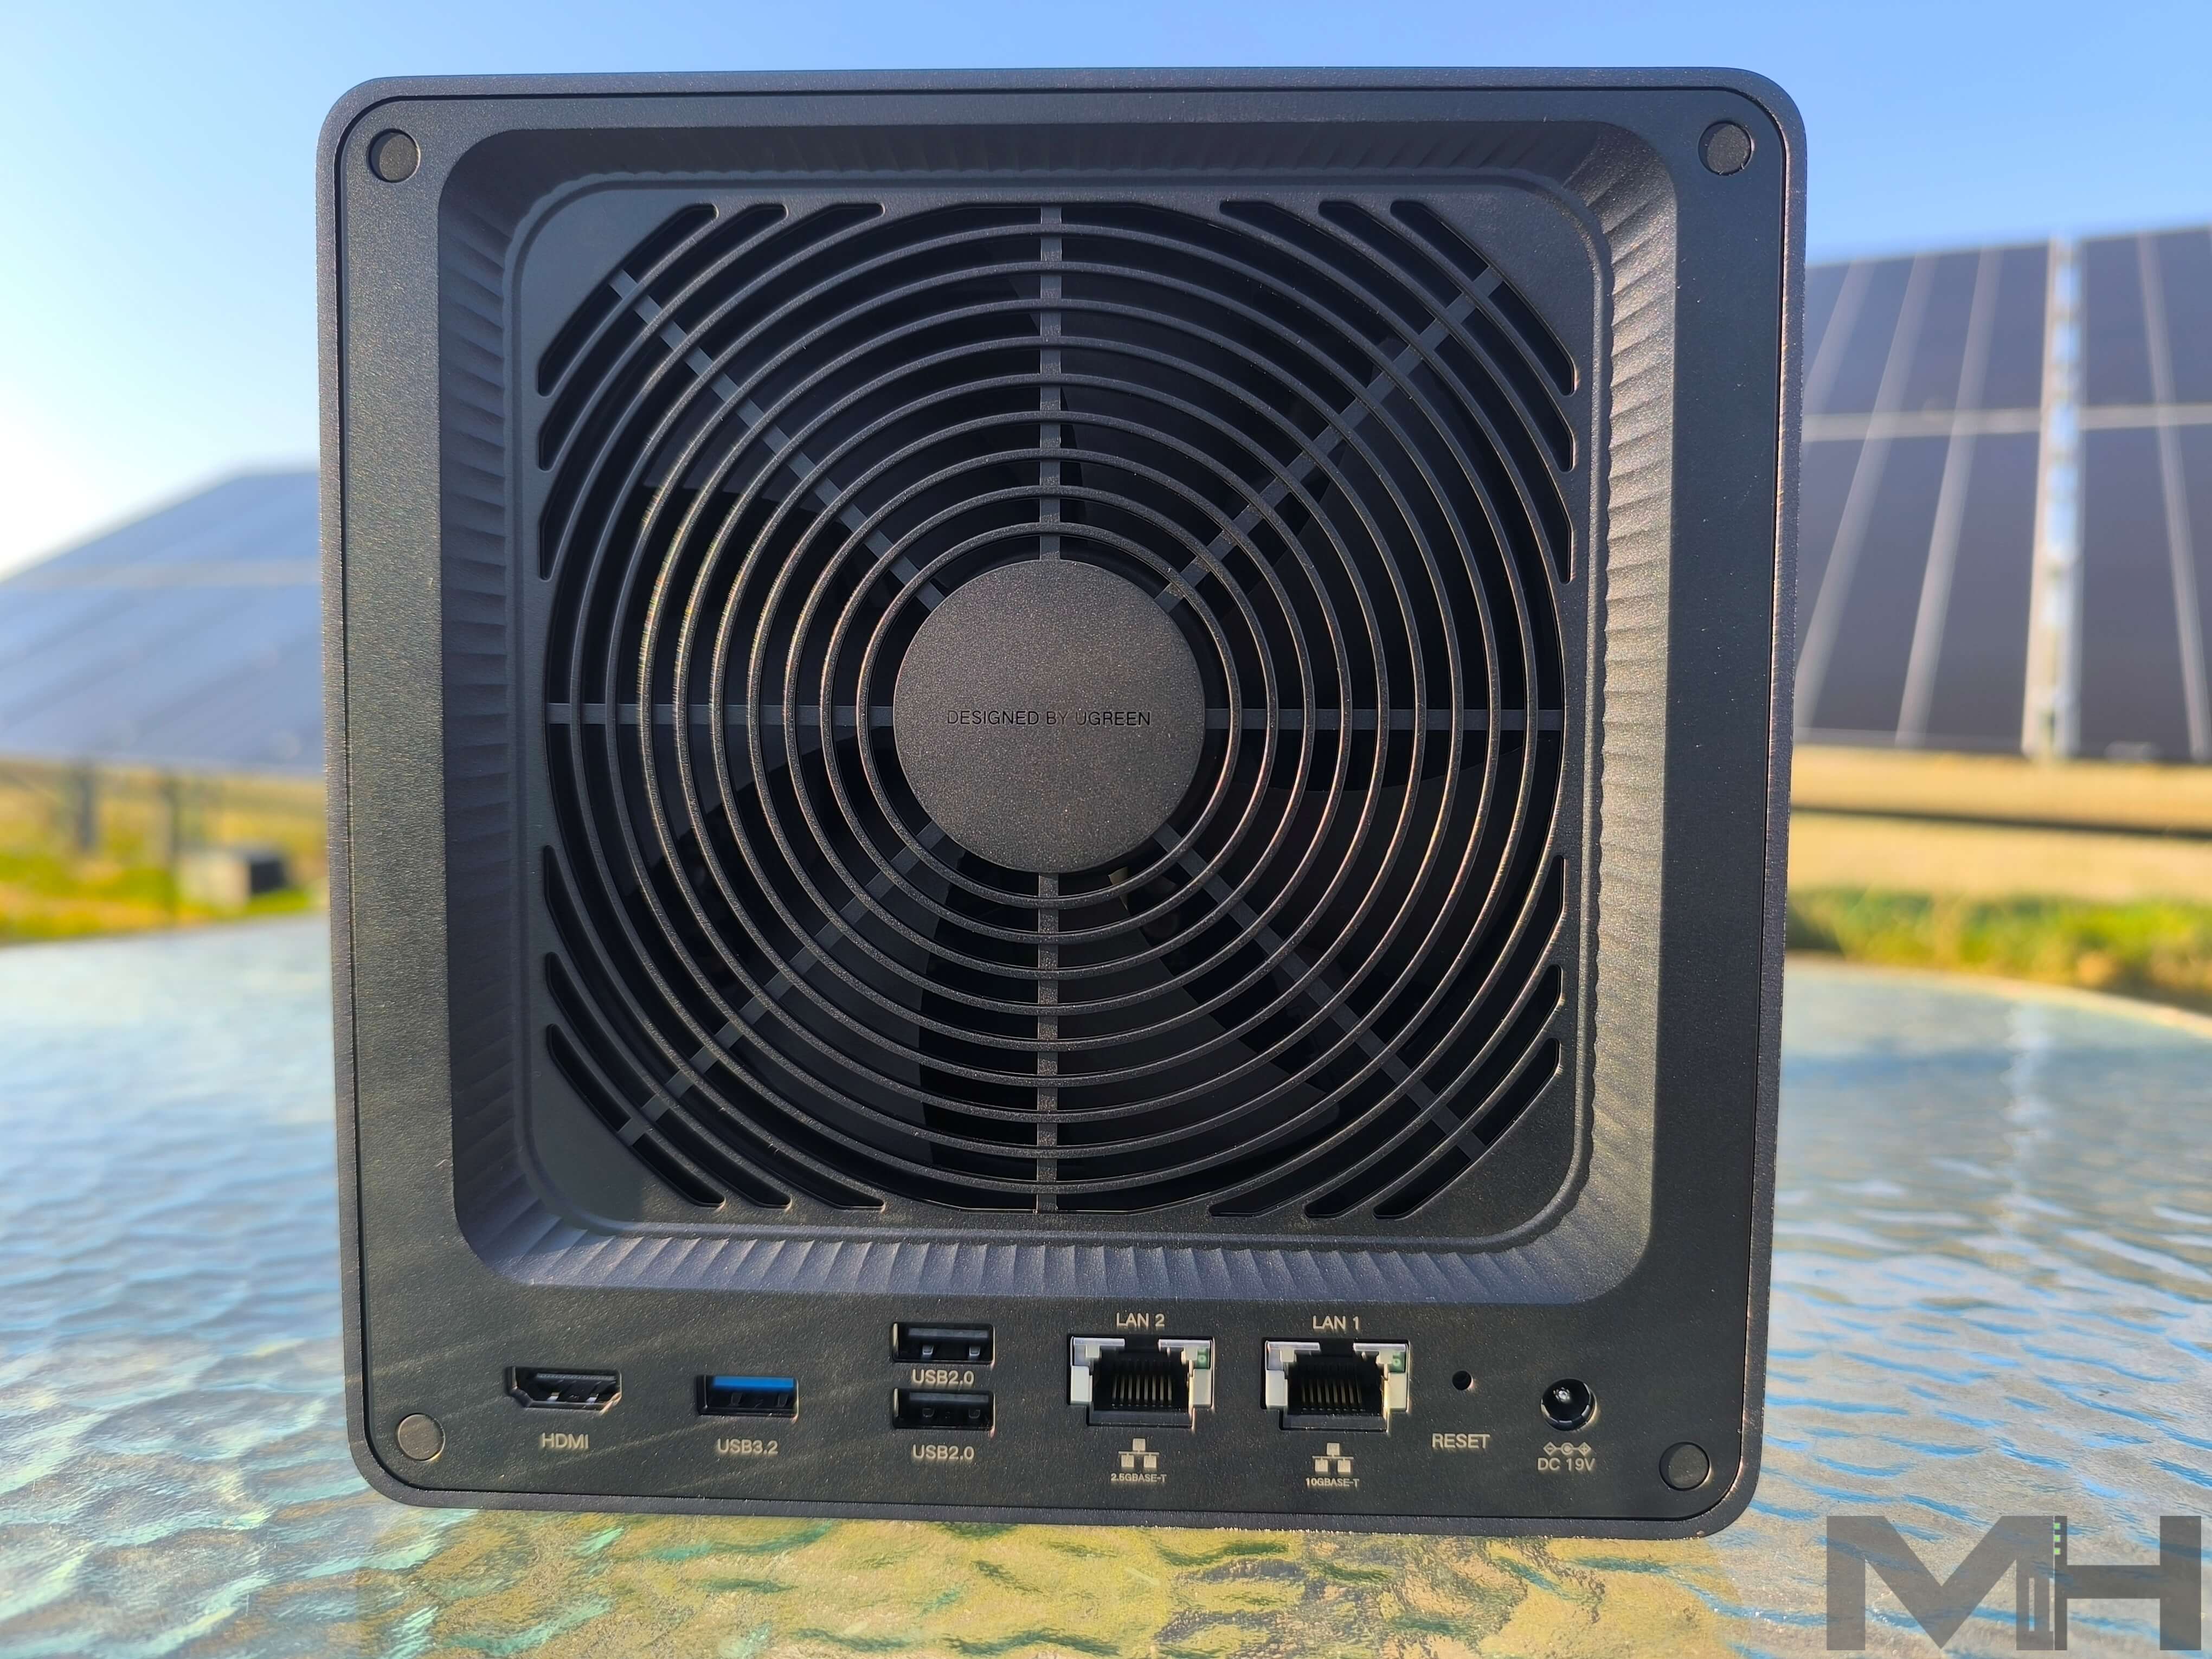
Back View
In the picture below is a back view of the DXP4800 Plus with the following: one big vent, 1x HDMI port, 1x USB 3.2 port, 2x USB 2.0 ports, 1 RJ45 2.5GbE LAN Port and 1 RJ45 10GbE LAN Port, the Reset button and the DC Power port.
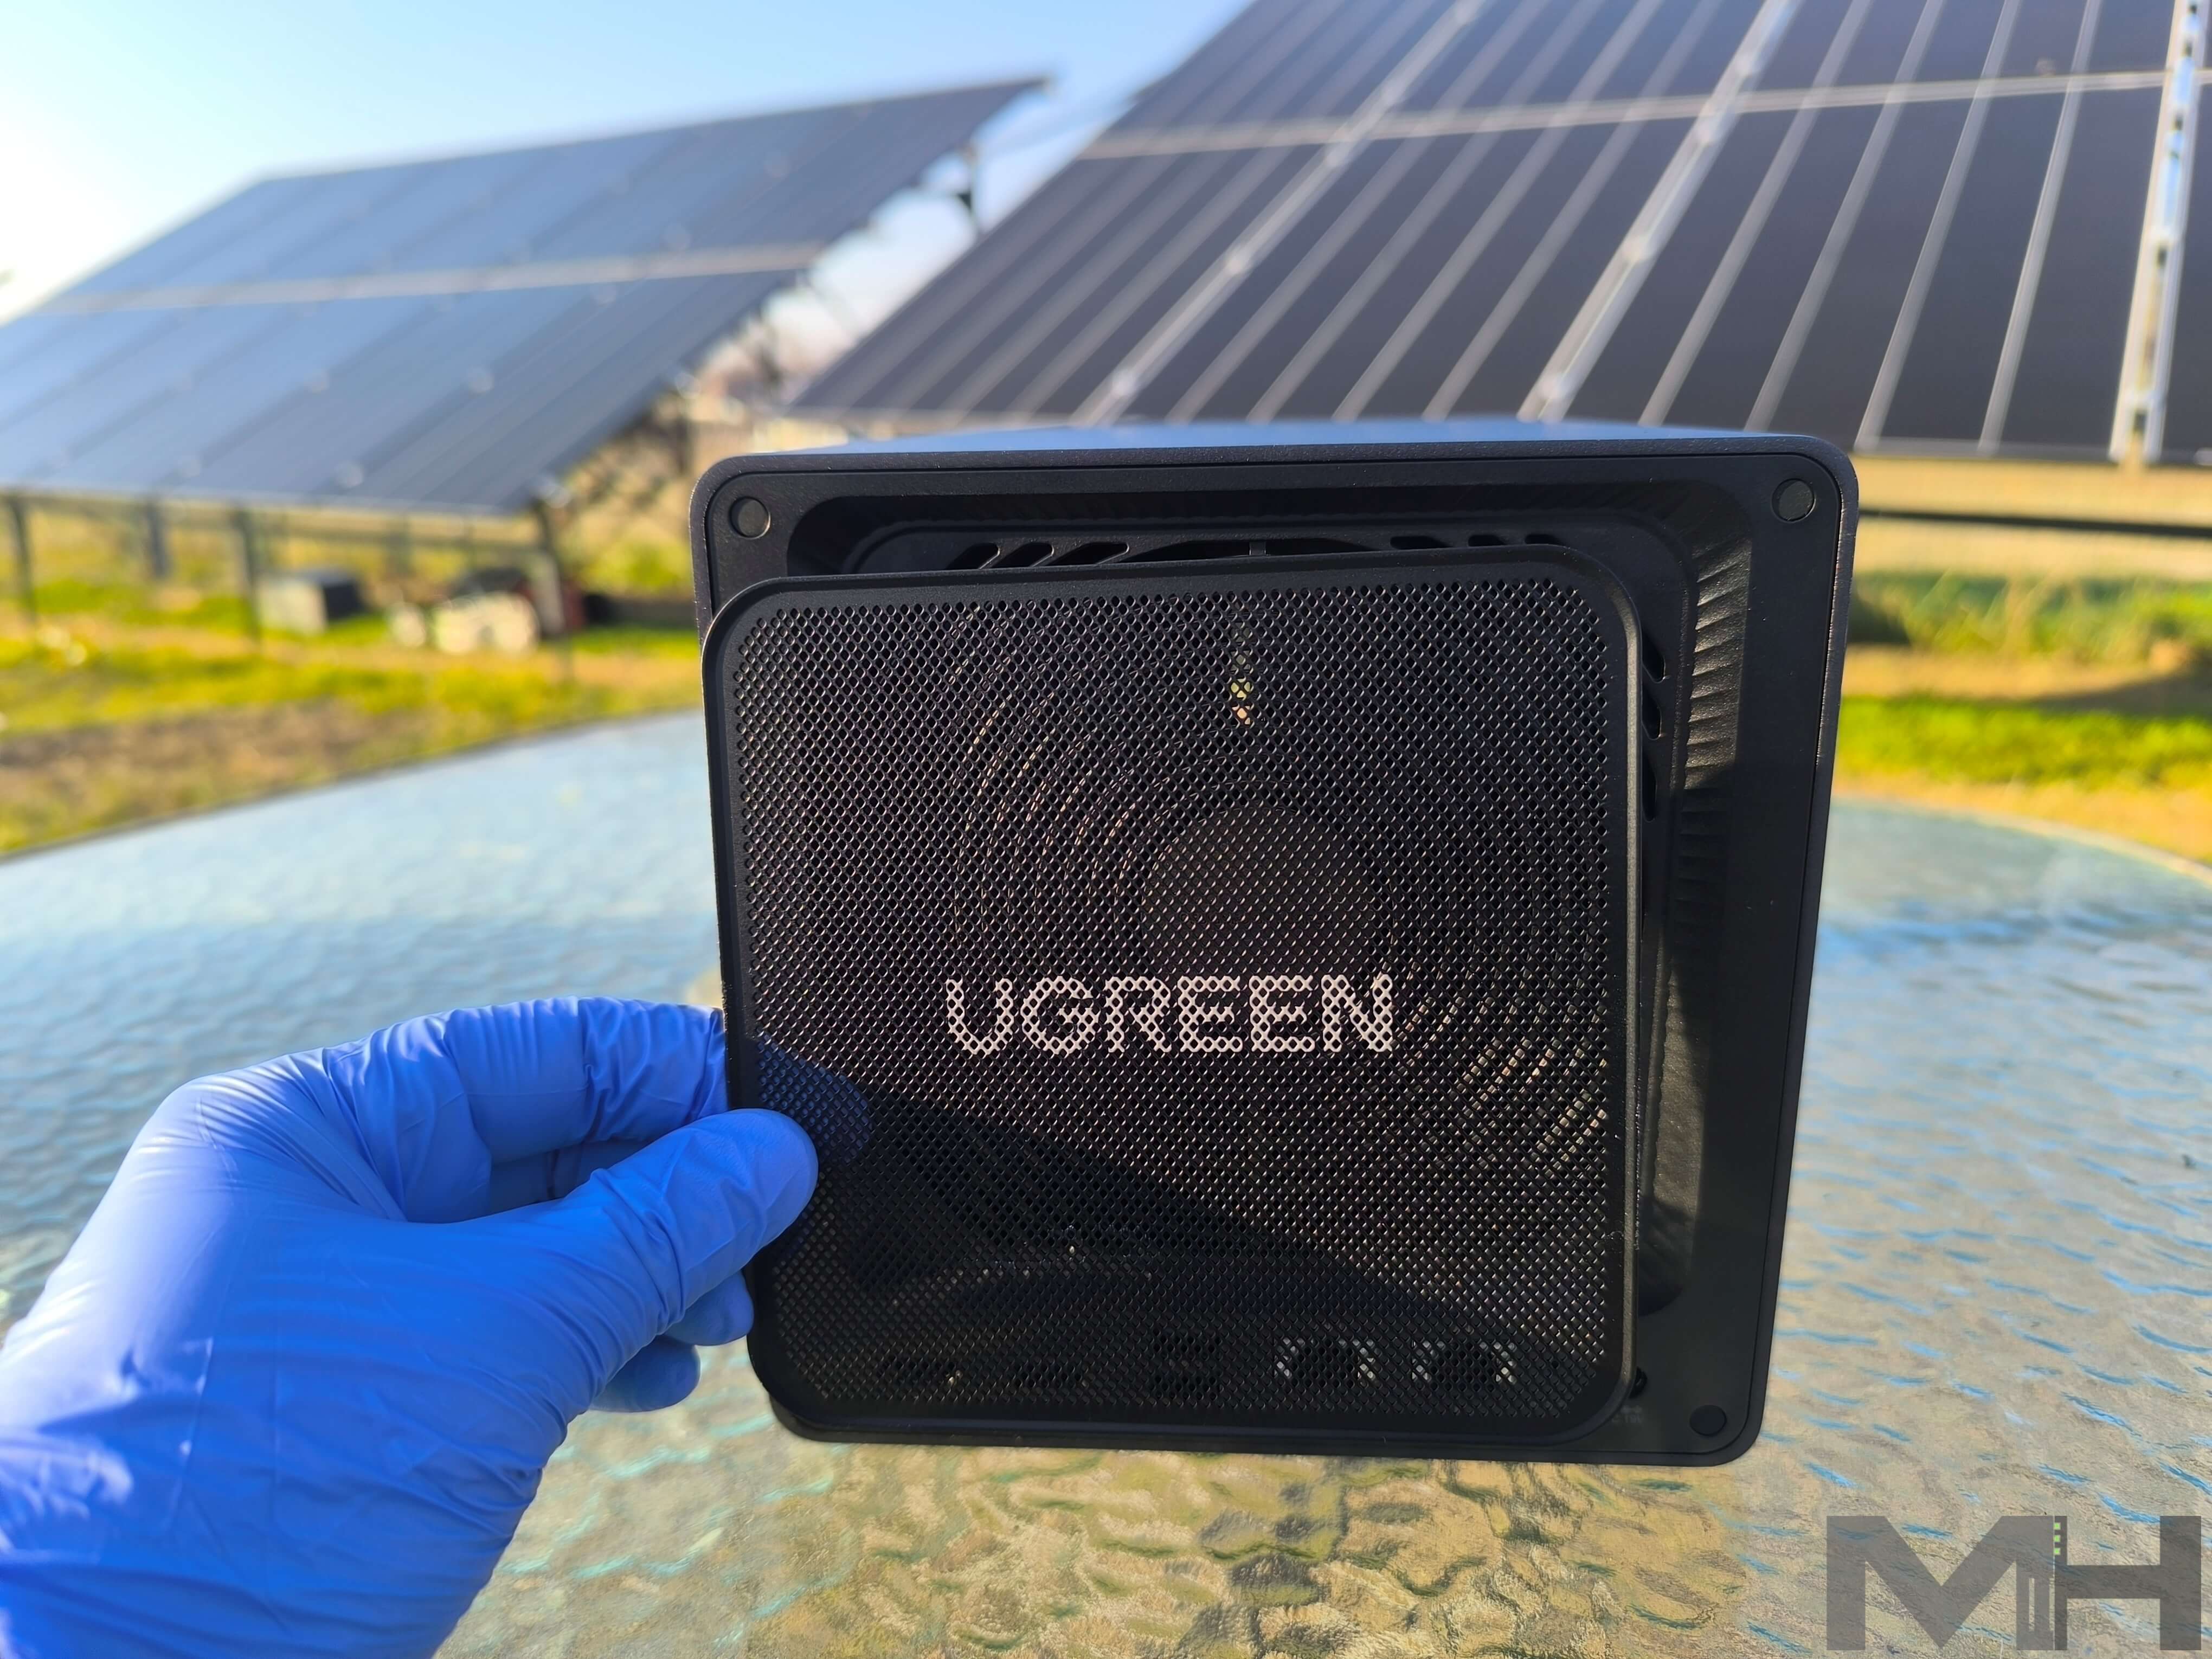
Magnetic FAN Cover
Great attention to detail is shown by UGREEN – including a magnetic dust mesh filter for the back of the NAS where the large fan is. Dust can be a real issue for electronic devices and something as simple as a protective filter to prevent dust ingress can add years to a device.
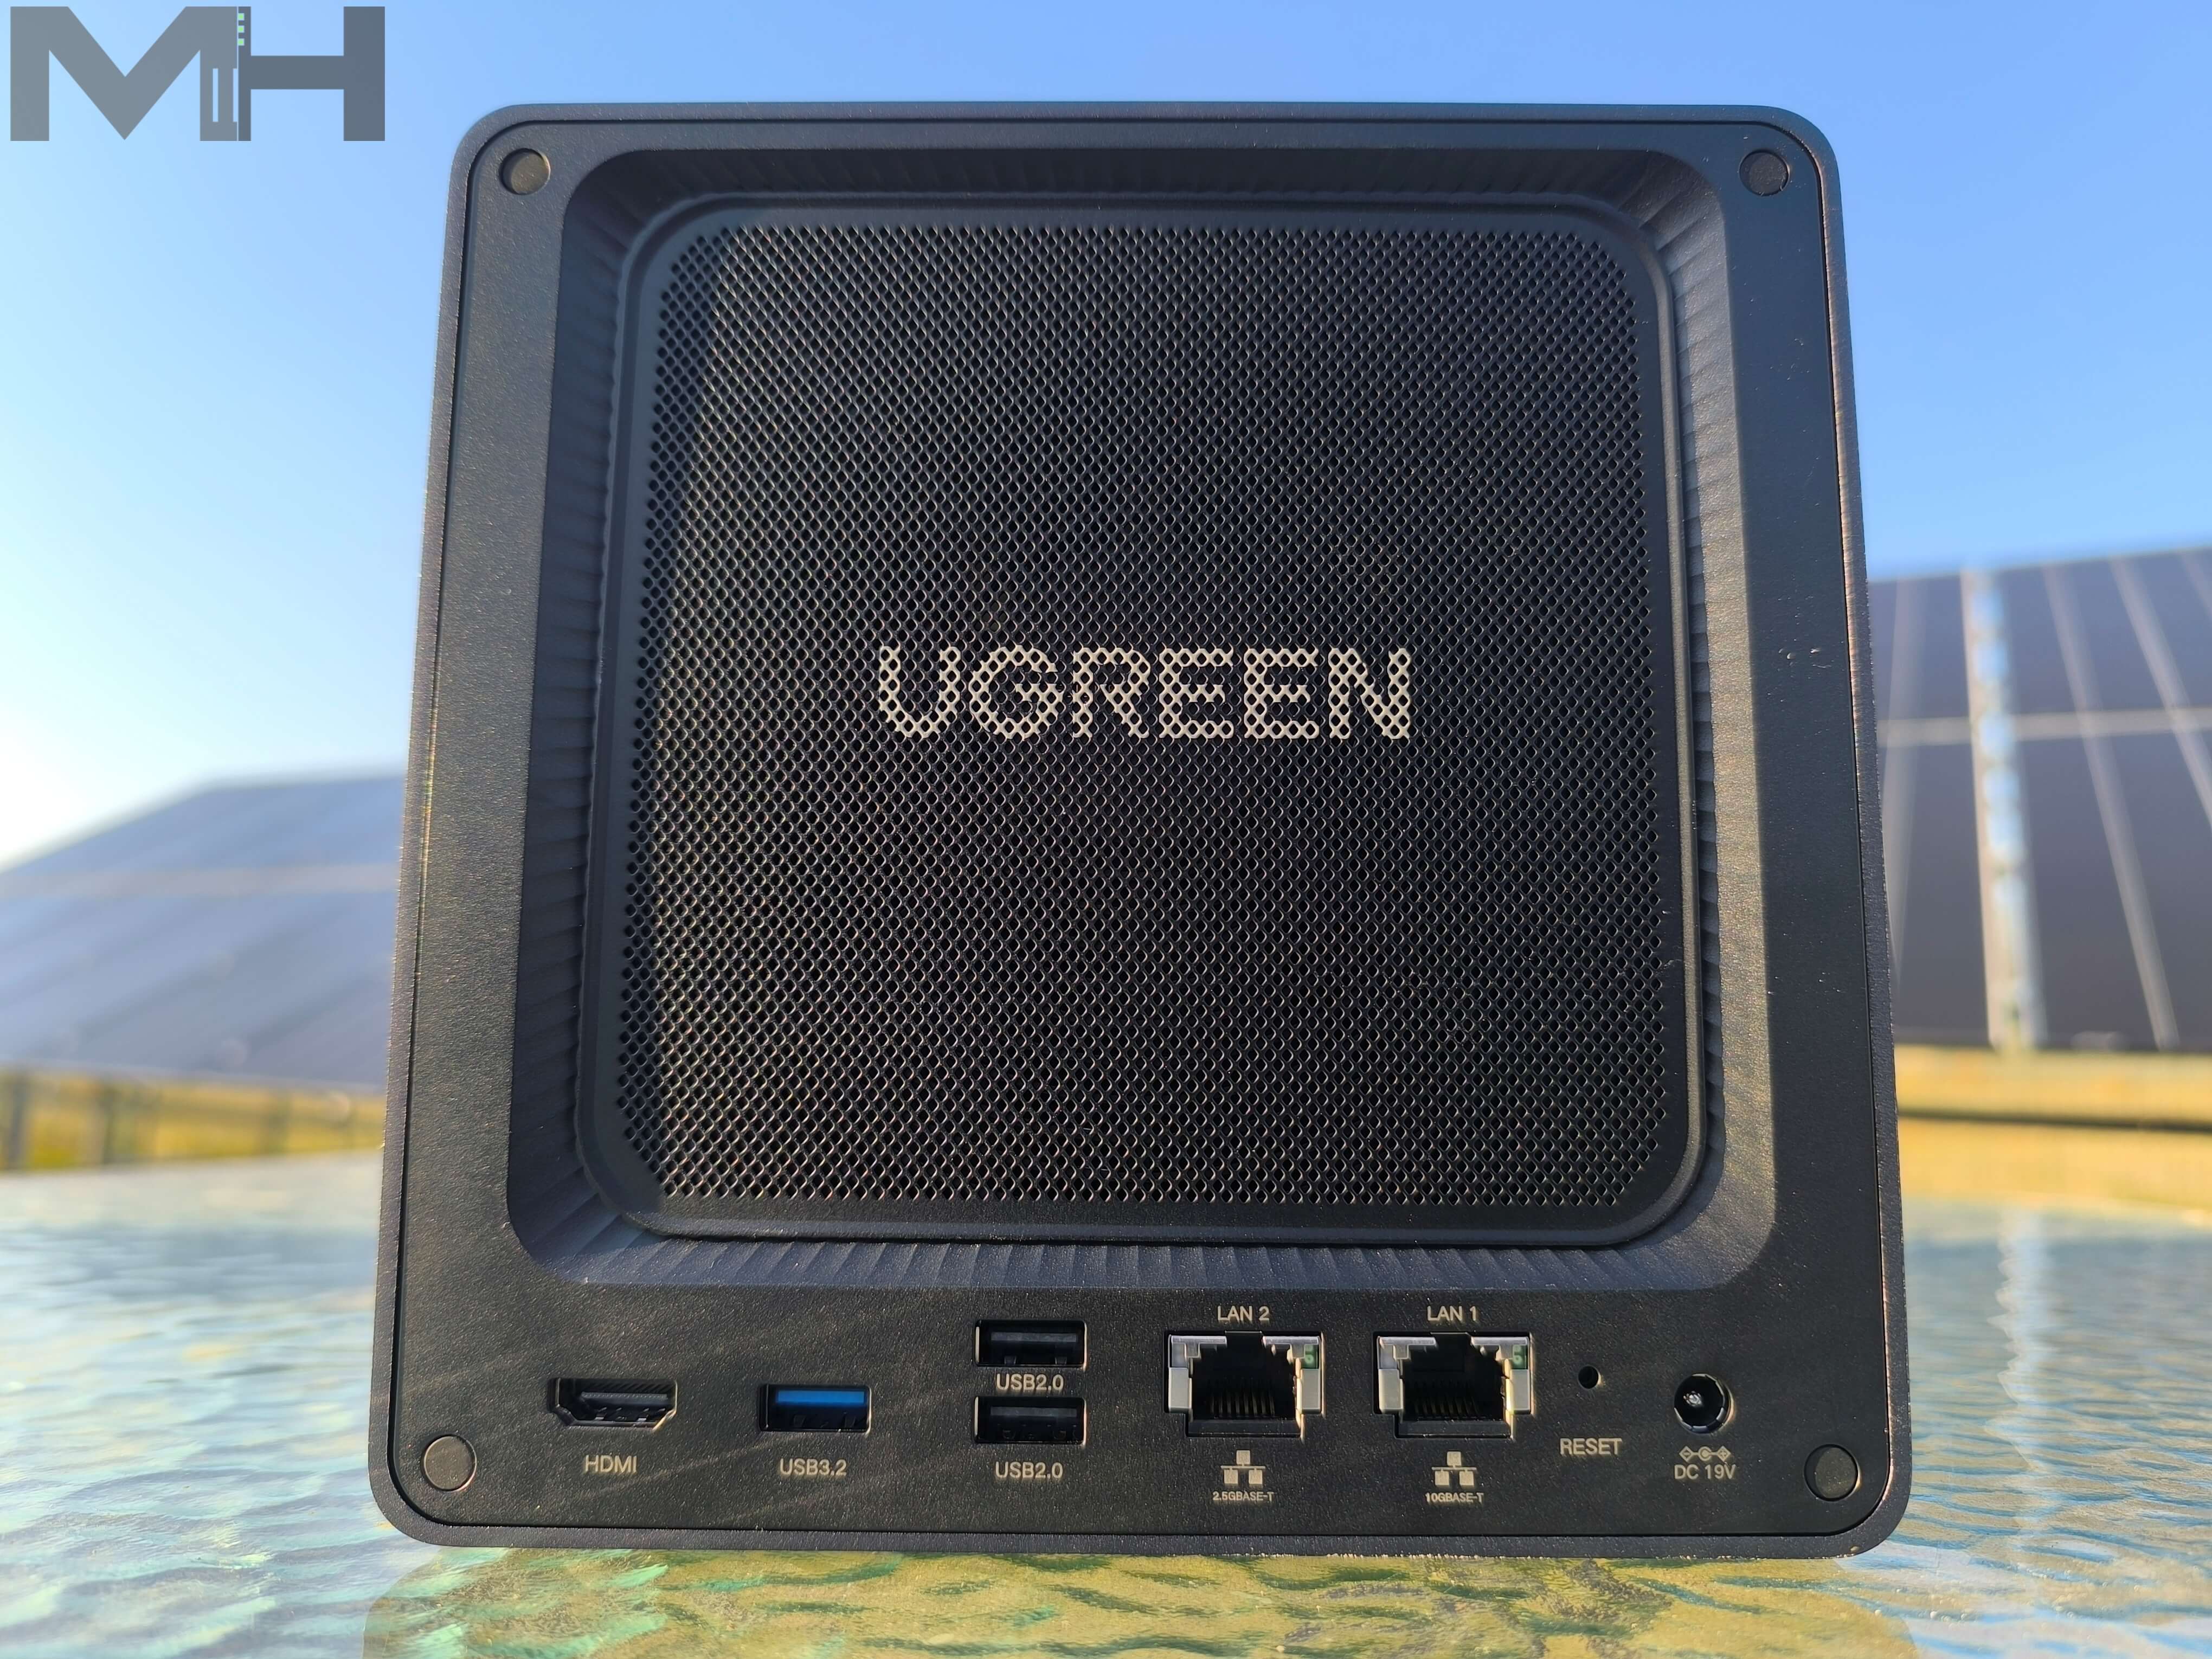
Magnetic FAN Cover at a glance
In the picture below you can see the back of the DXP4800 Plus NAS with the magnetic FAN cover on.
Magnetic FAN Demonstrative Video
Below is a short demonstrative video on how to add the magnetic dust protection cover to the back of your NAS.
Getting Ready to Add the Disks
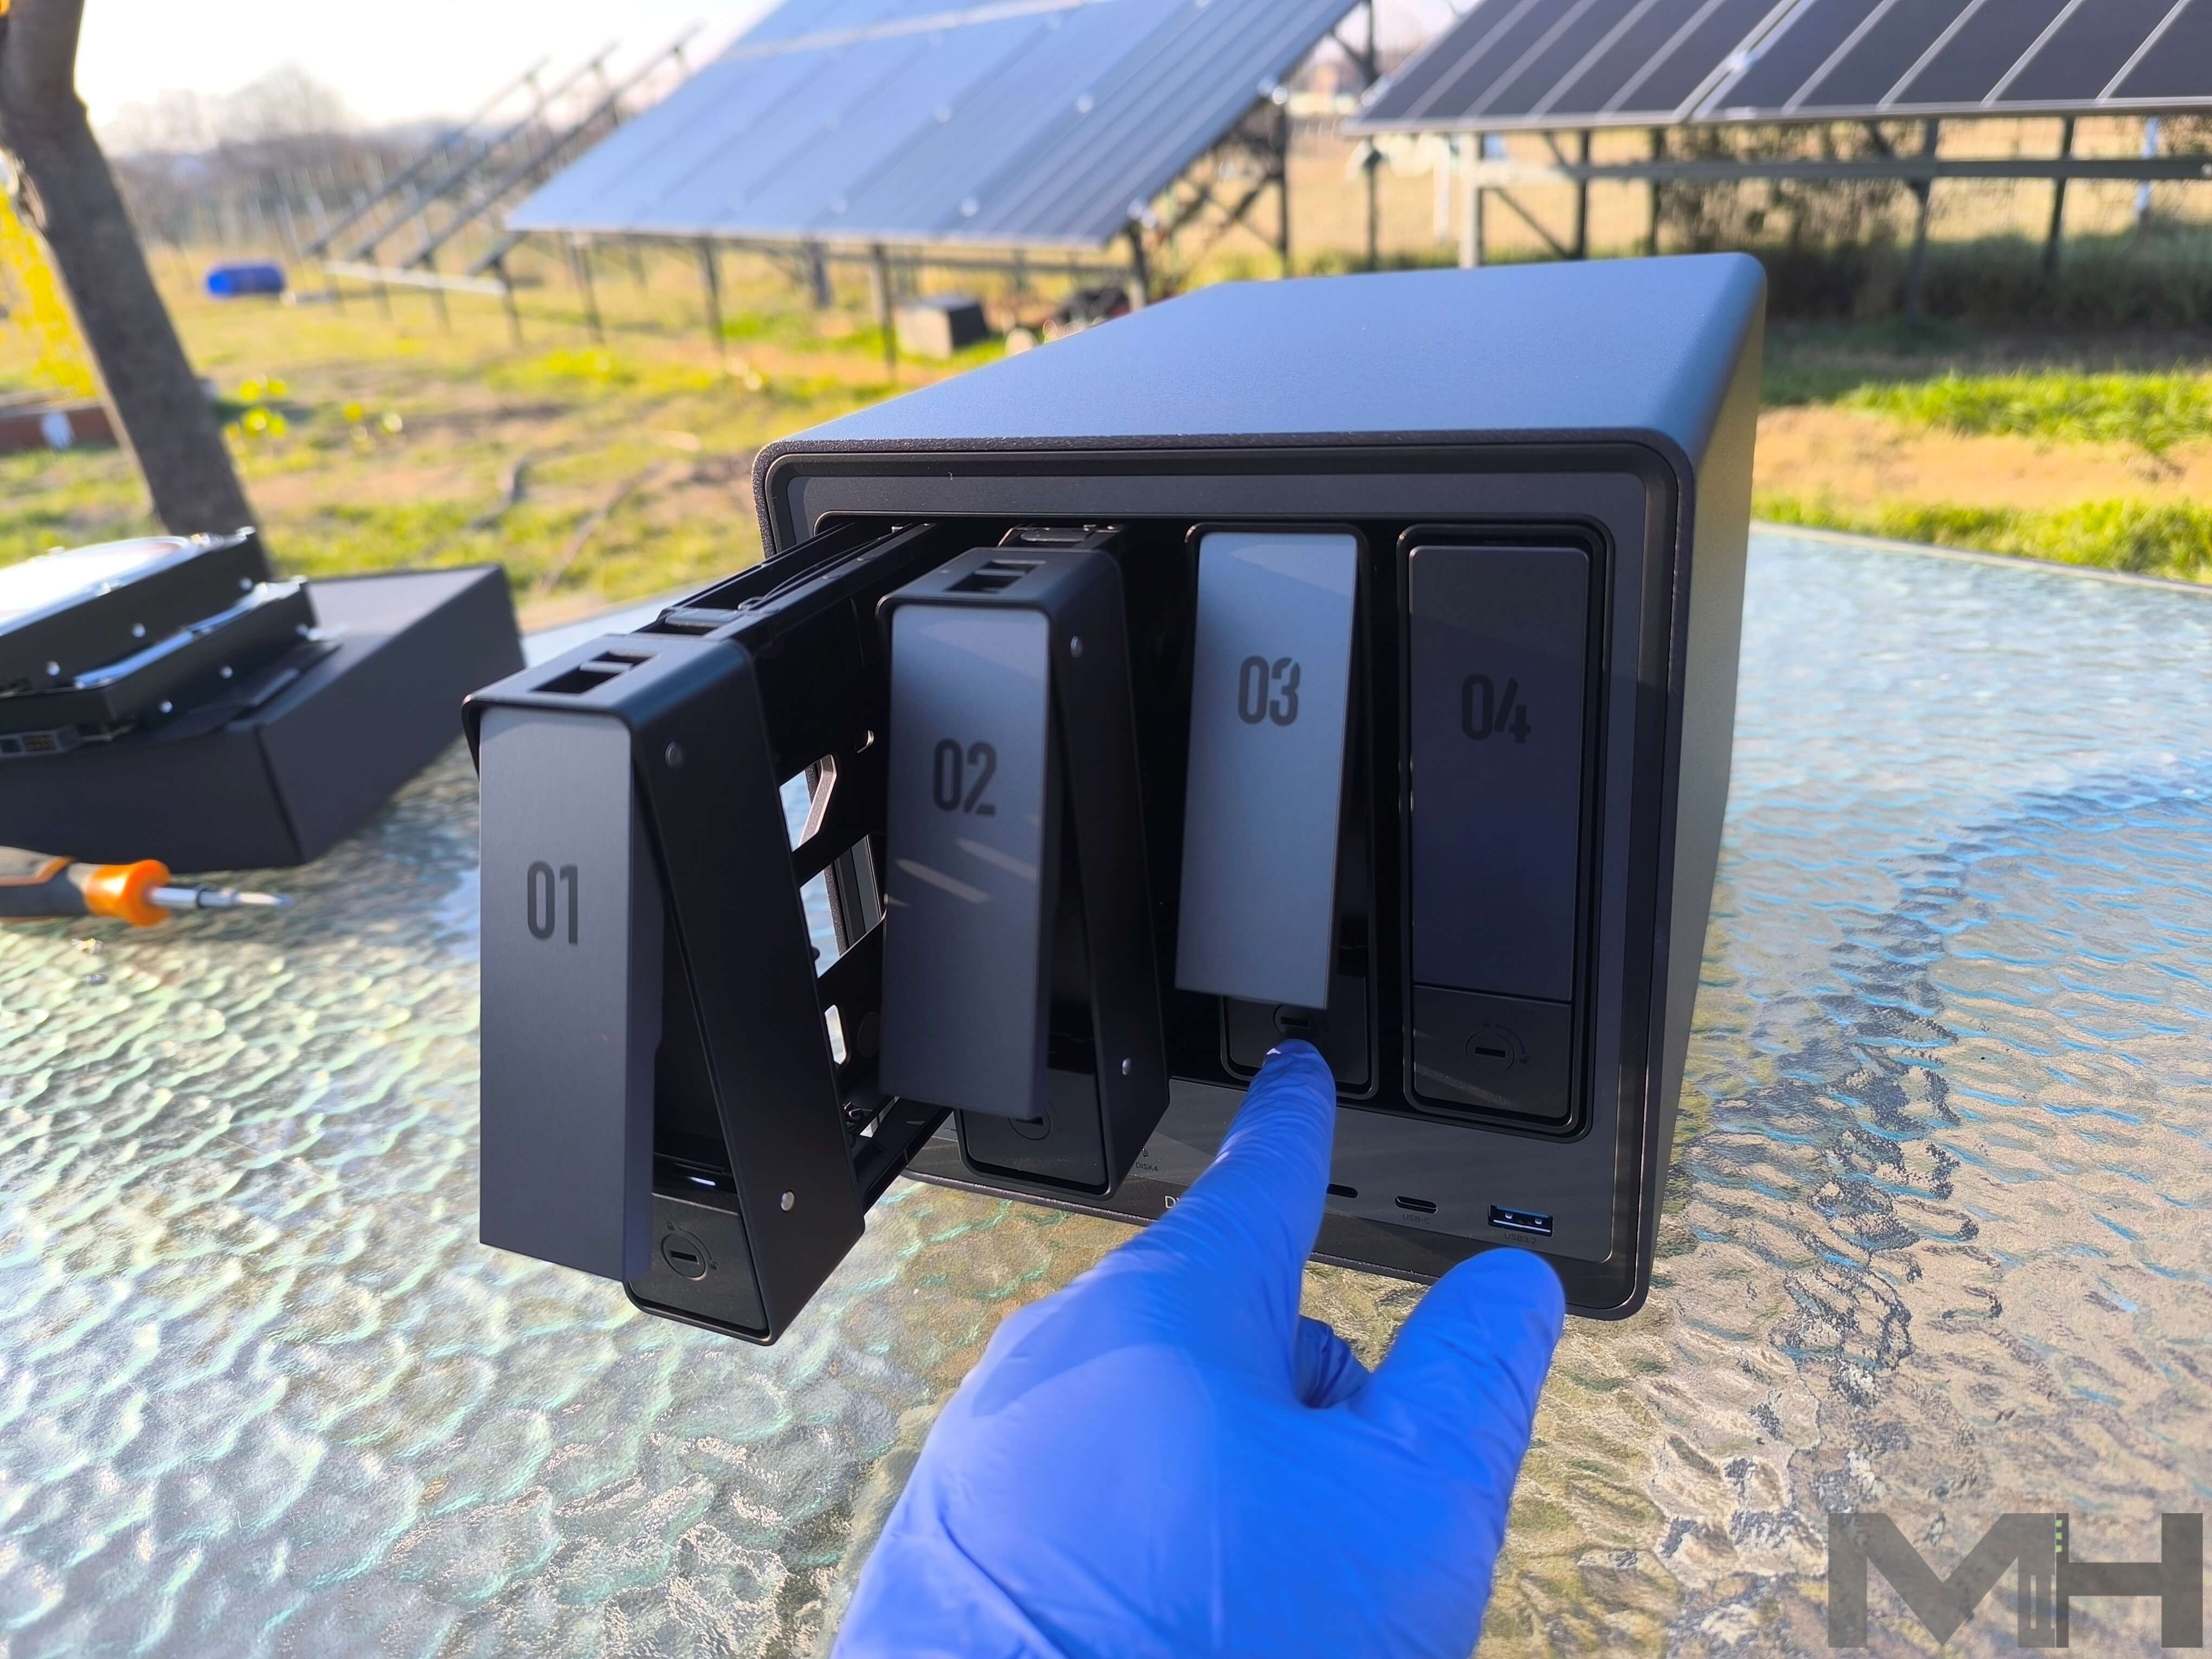
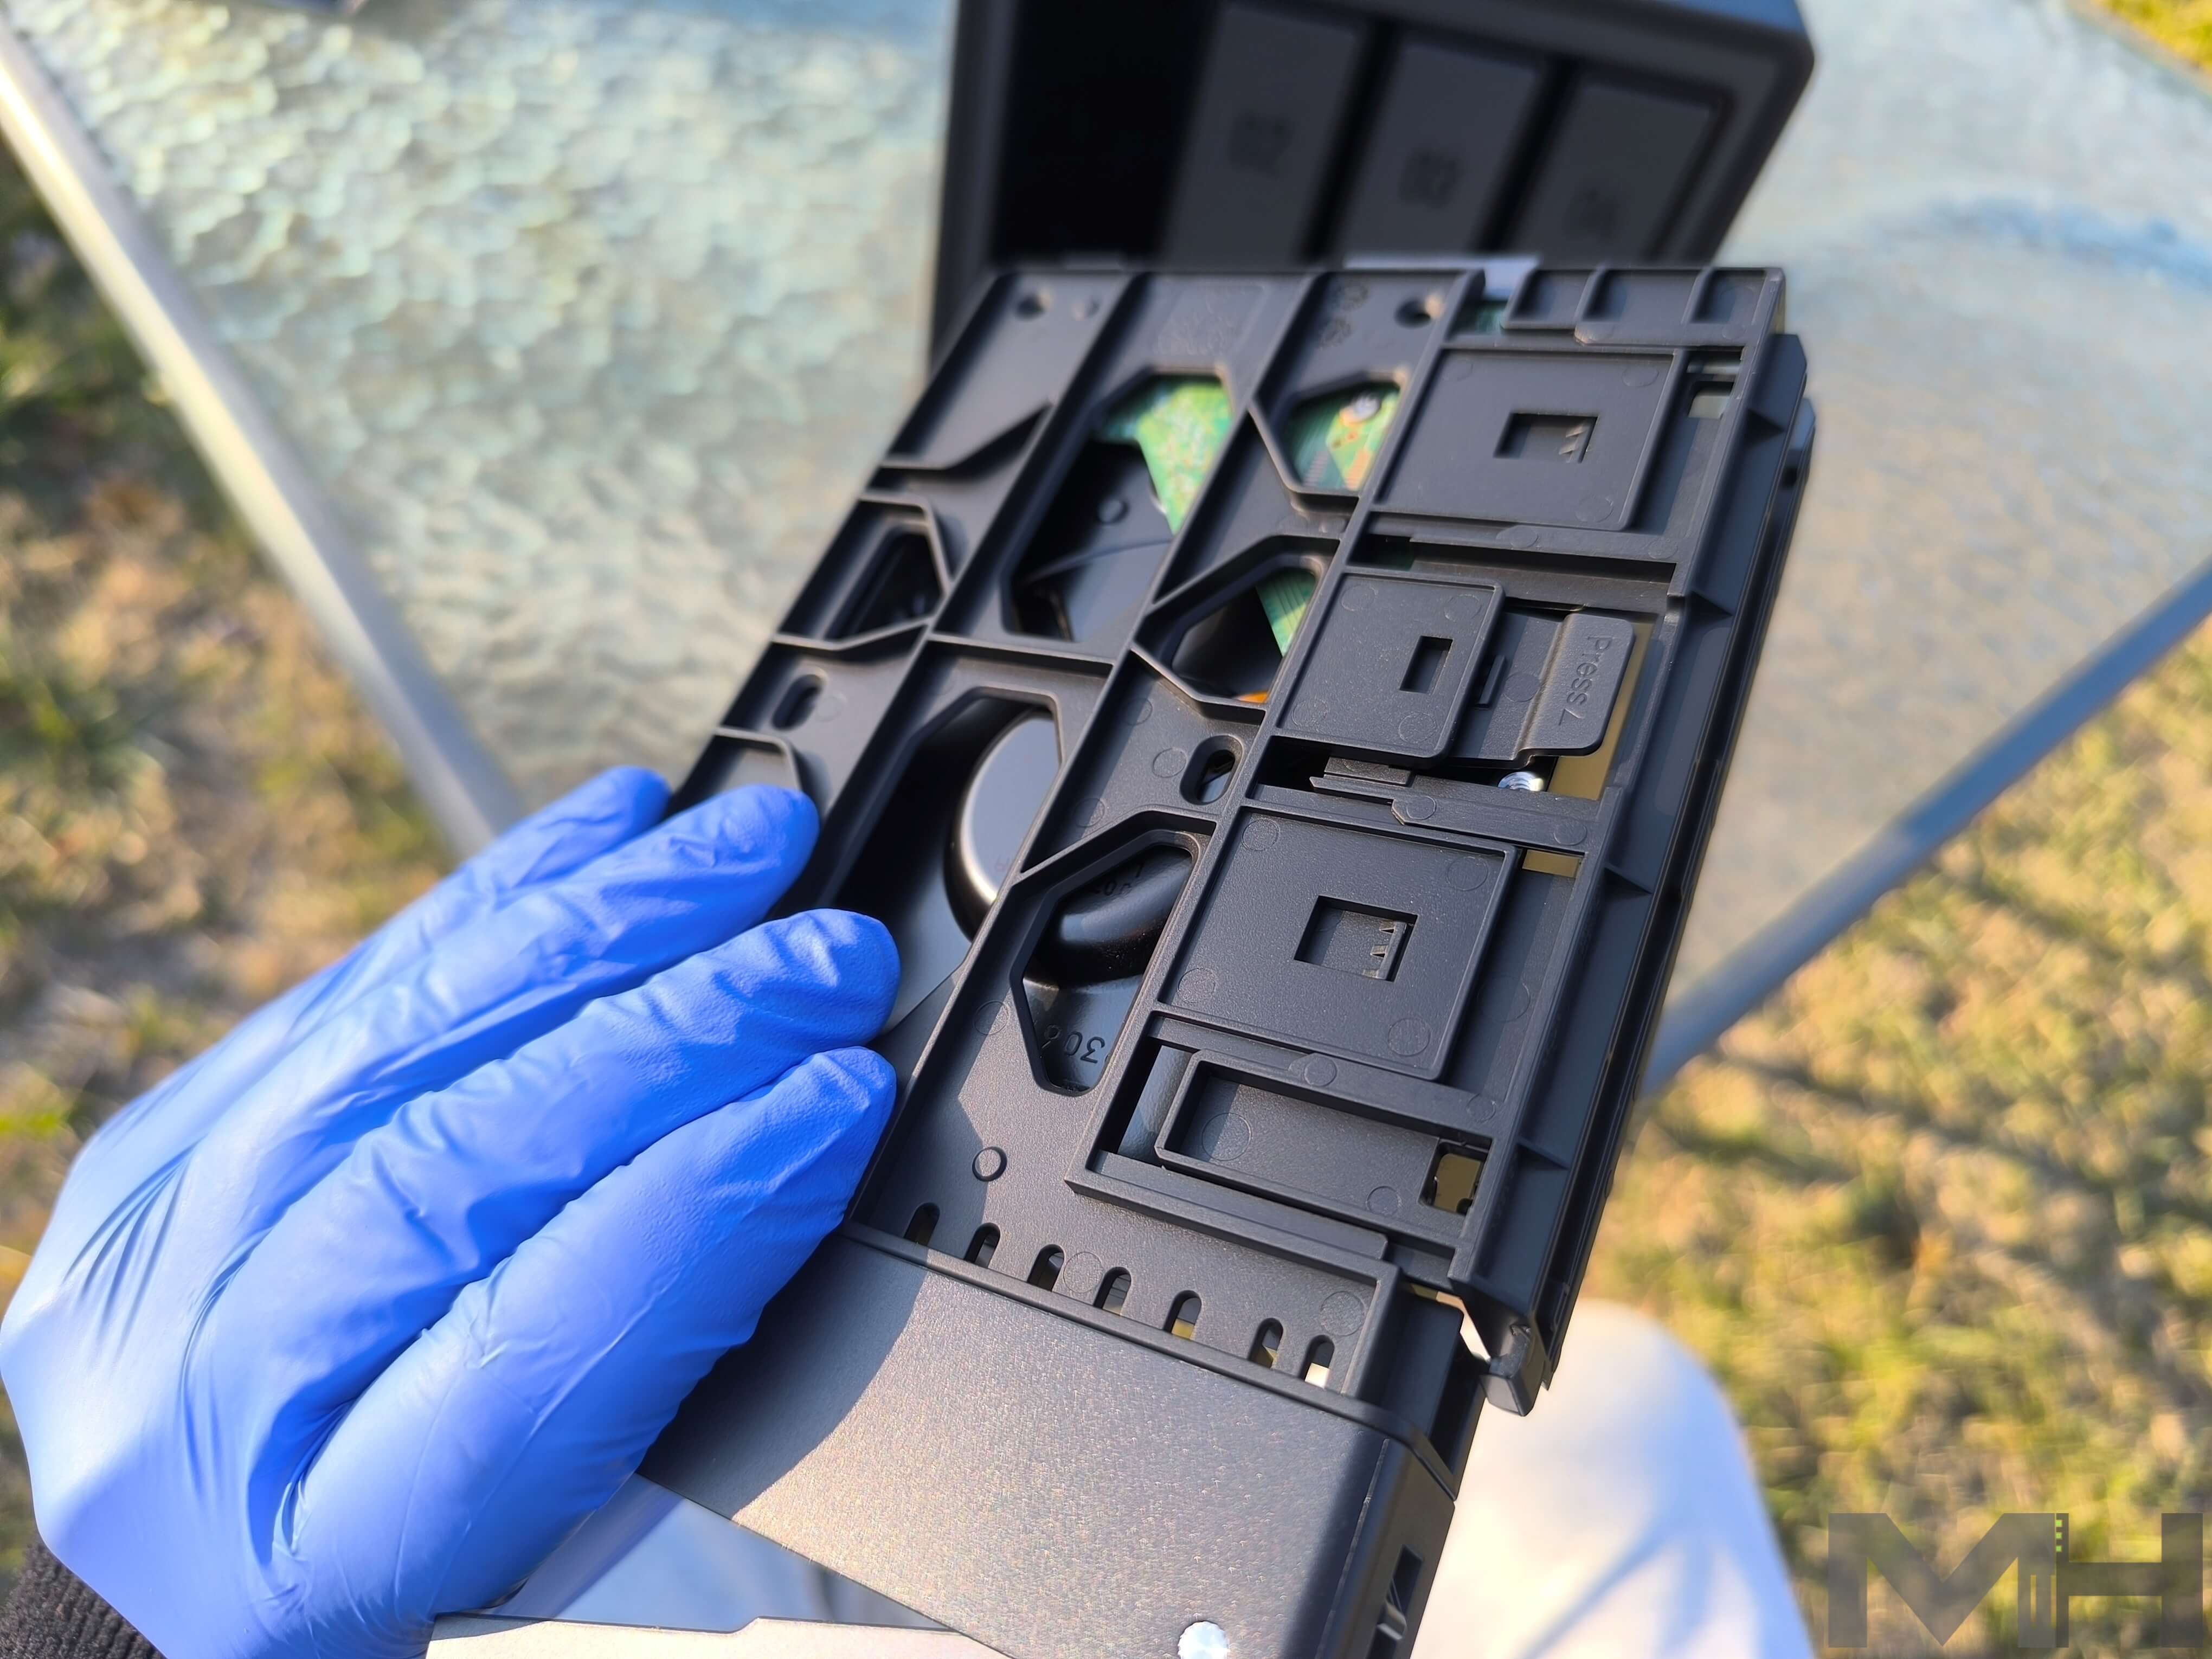
Push the Bay
Push on the side of the bay (PRESS) to increase the space and accommodate the HDD disk.
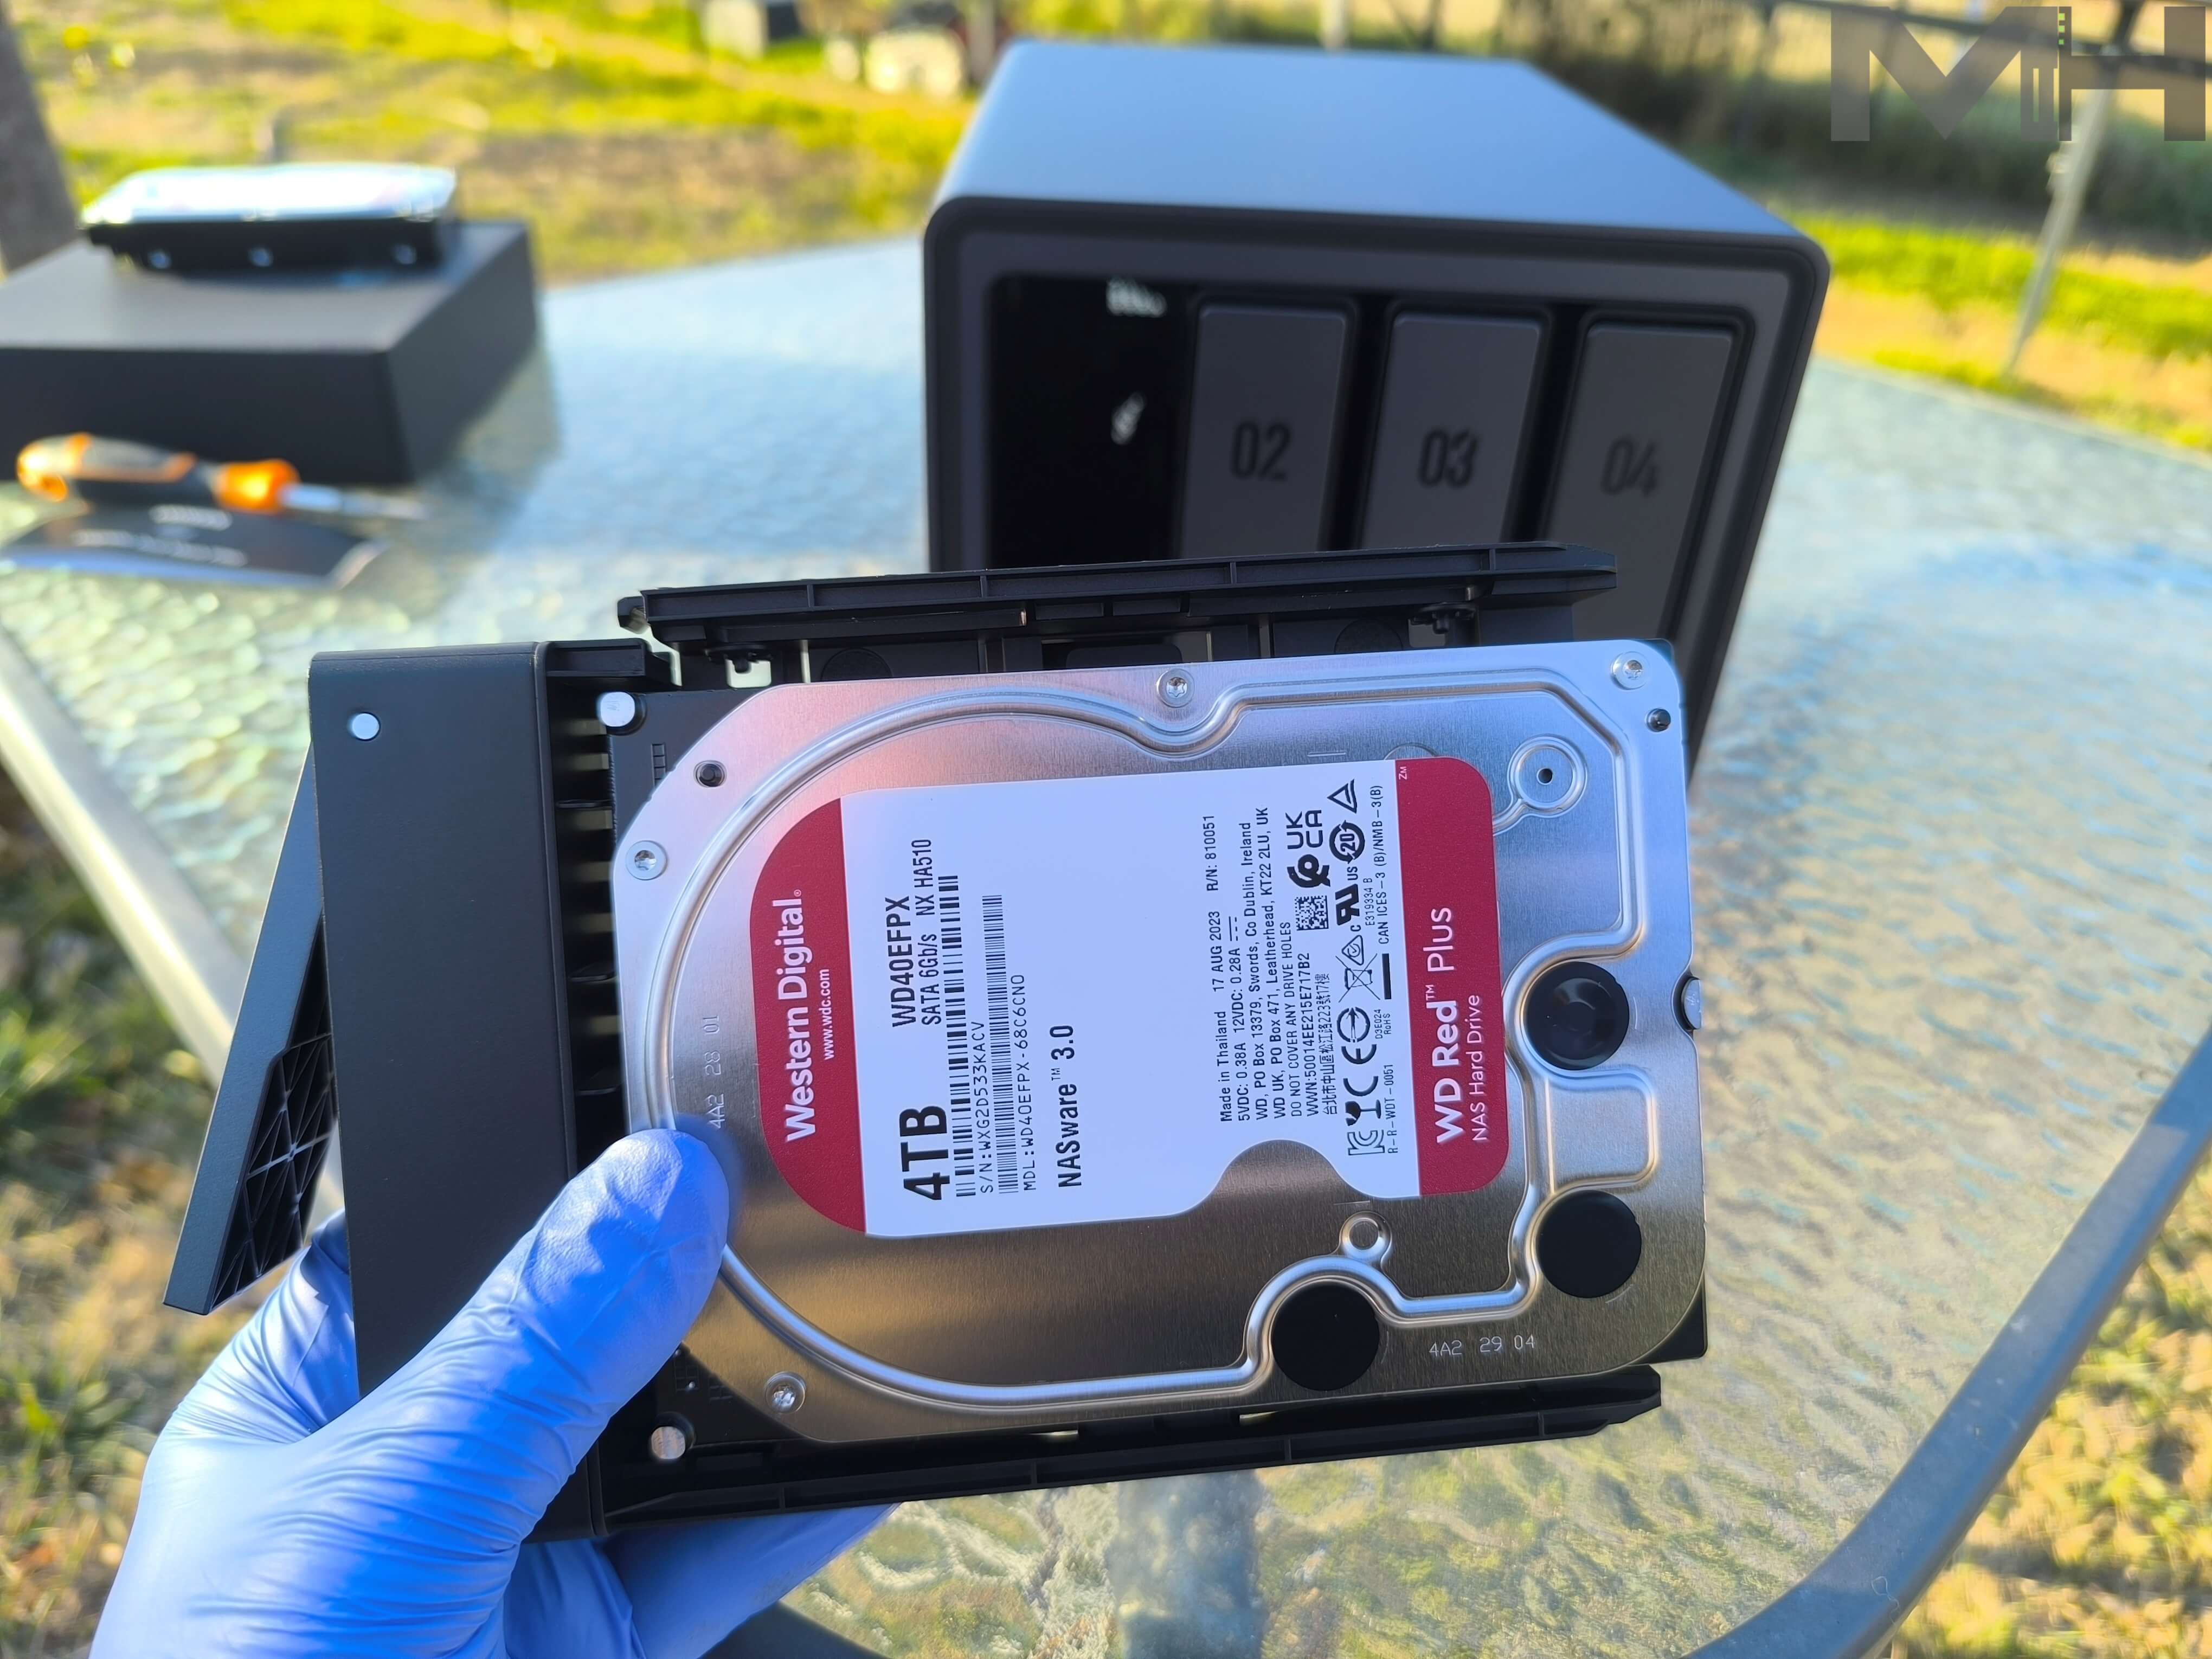
Perfect Fit
The HDD disk fits perfectly in the bay.
Almost Ready to Power ON
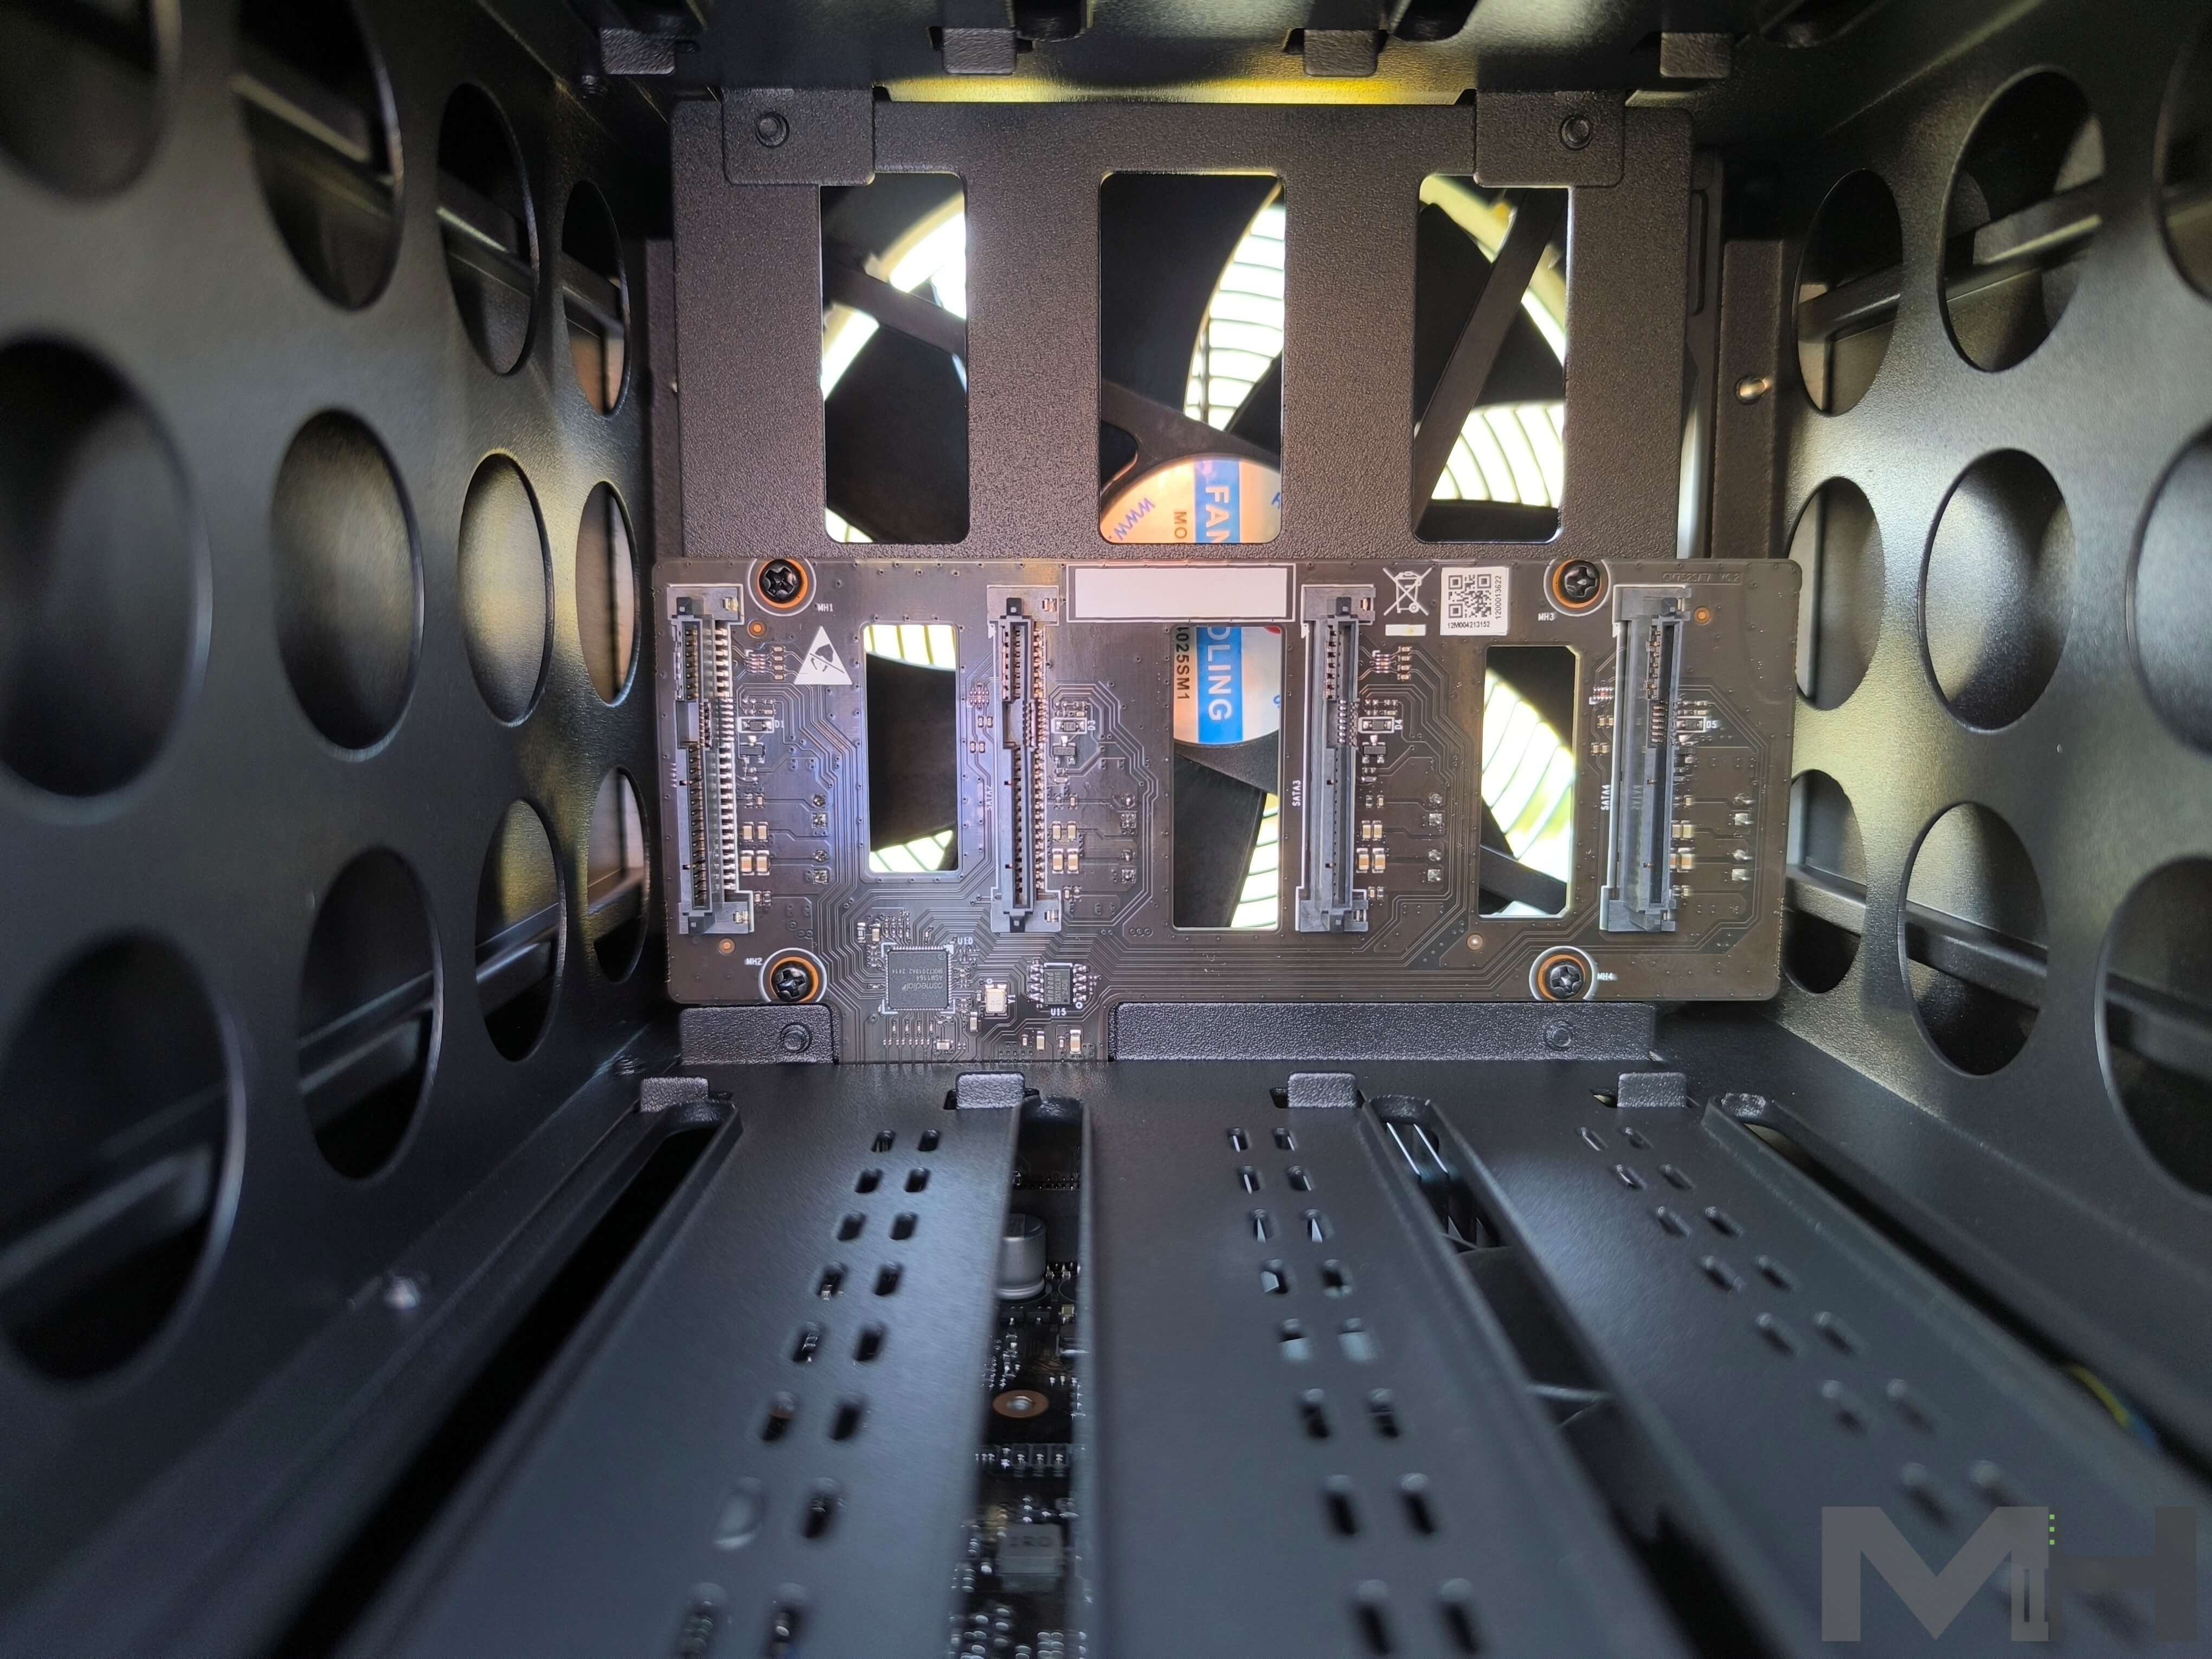
SATA and Power Connectors
The DXP4800 with the 4 integrated SATA and power connectors at a glance.
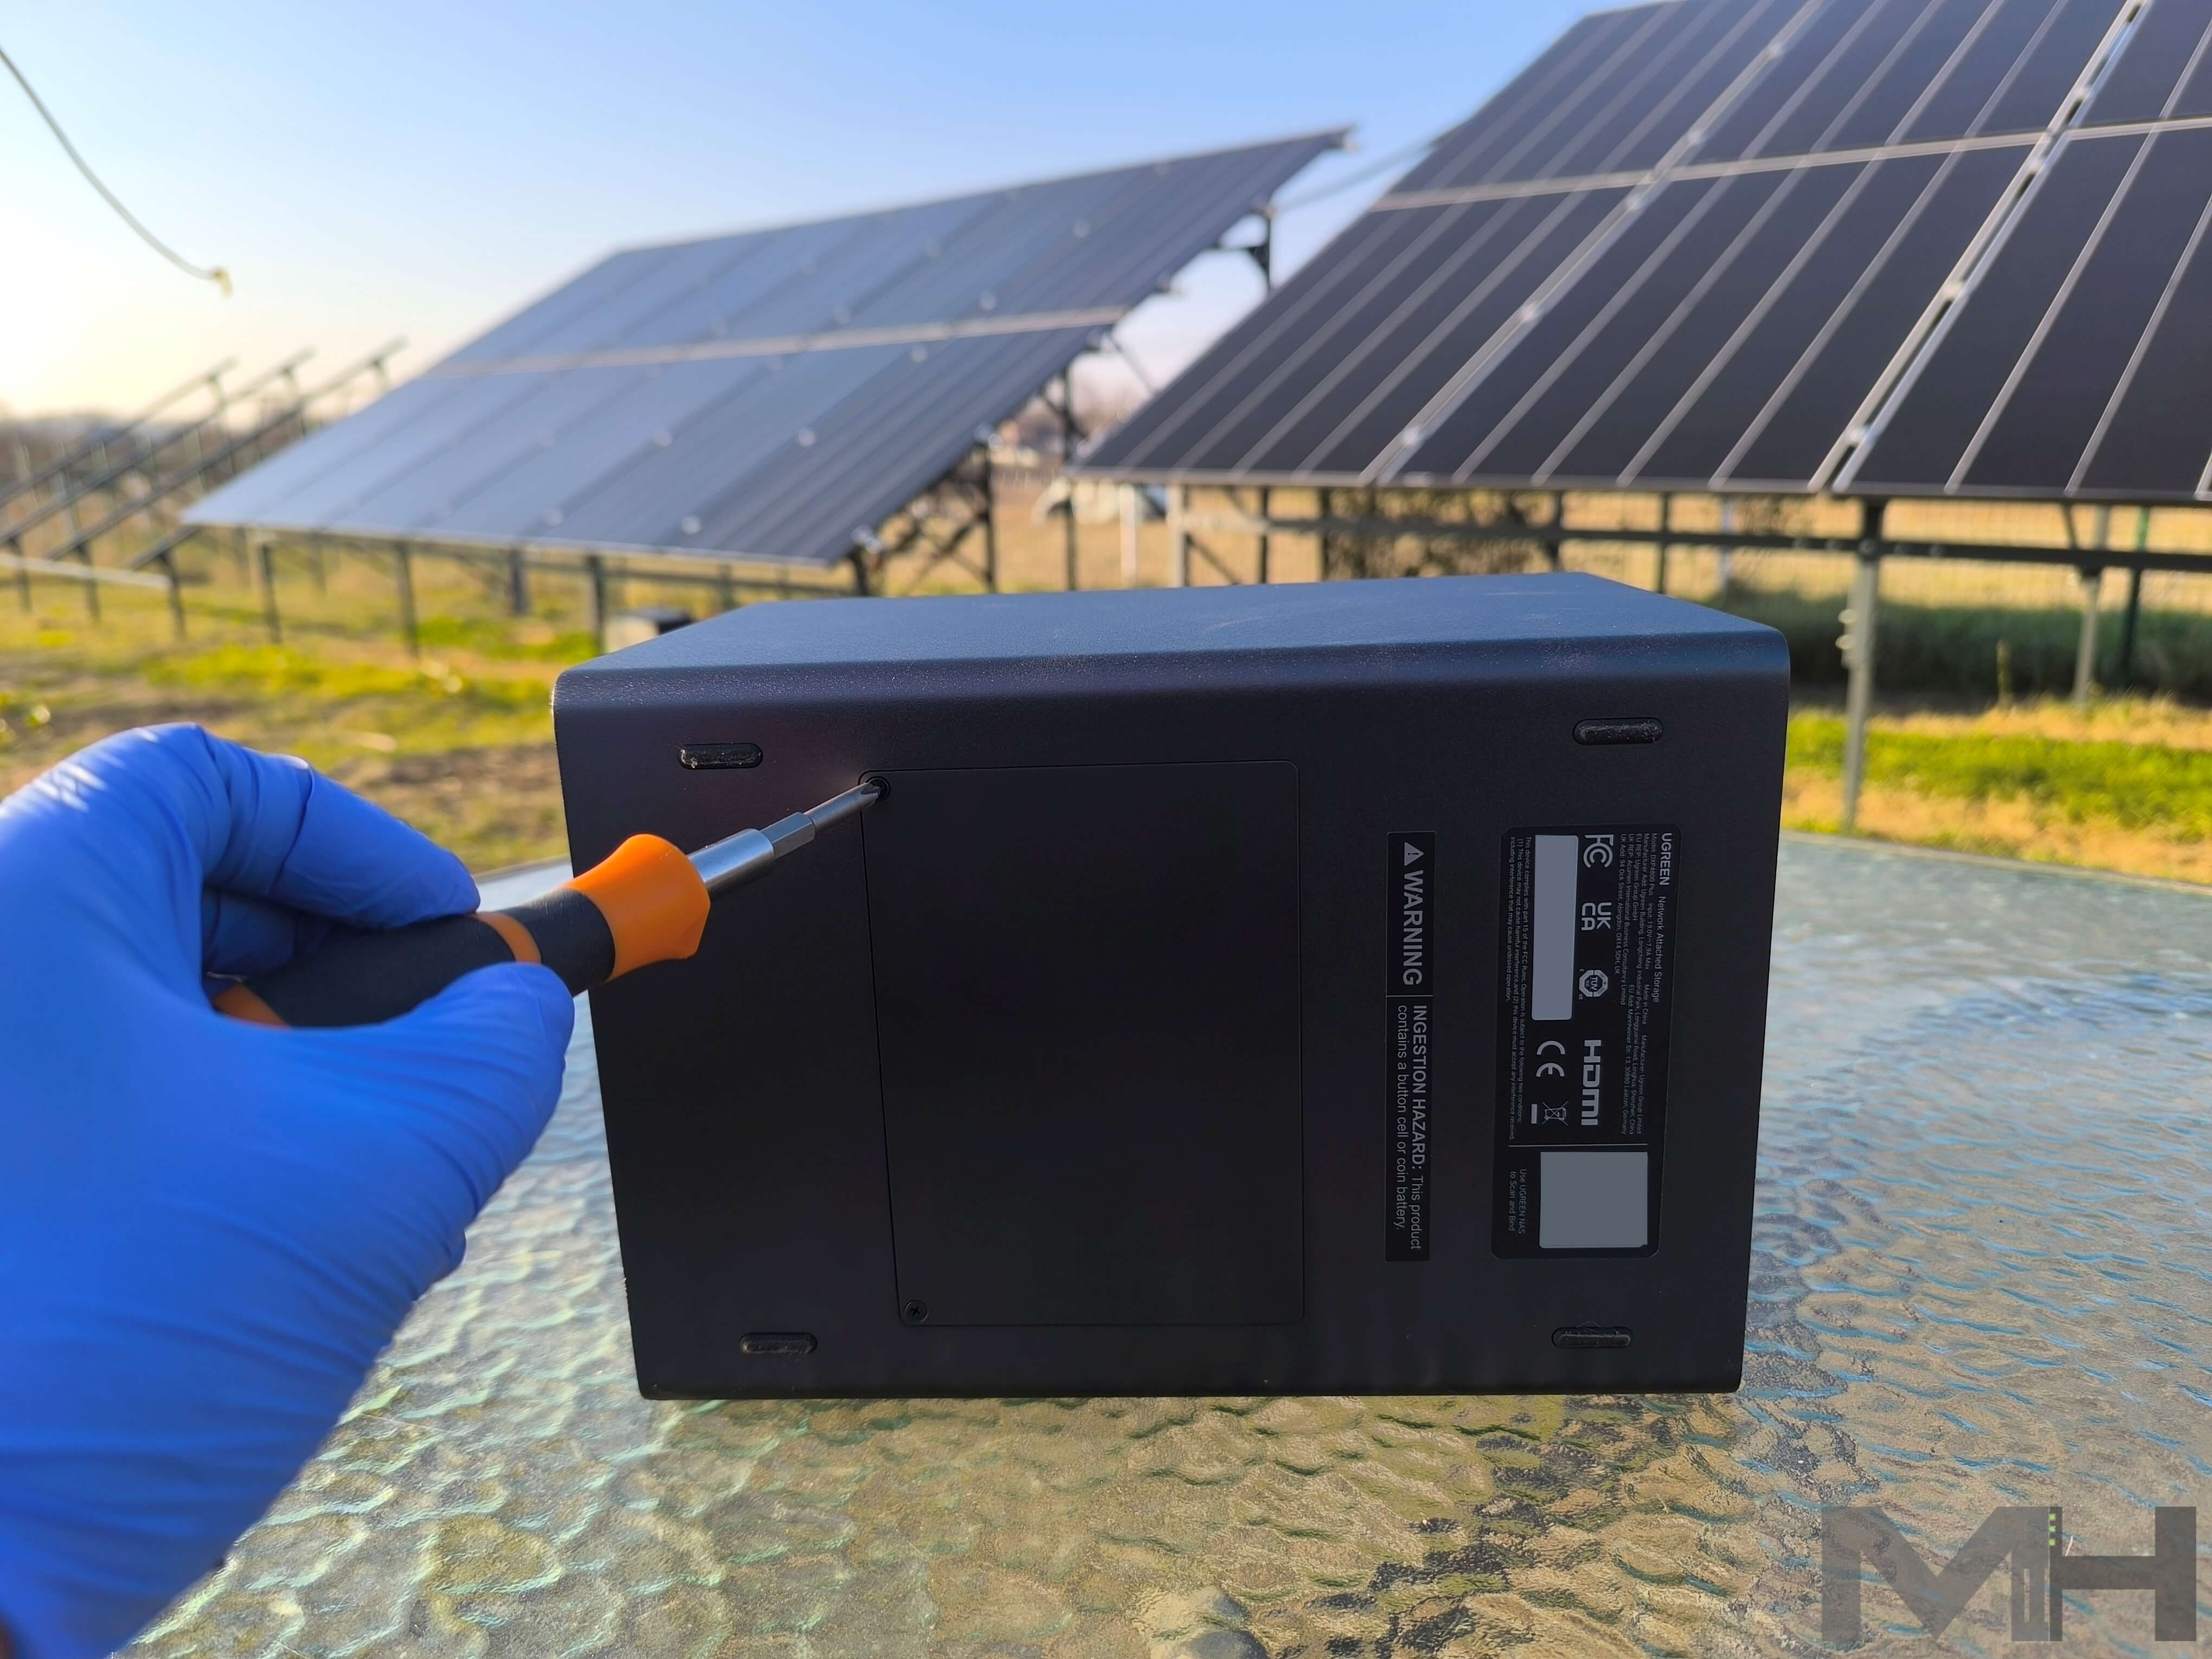
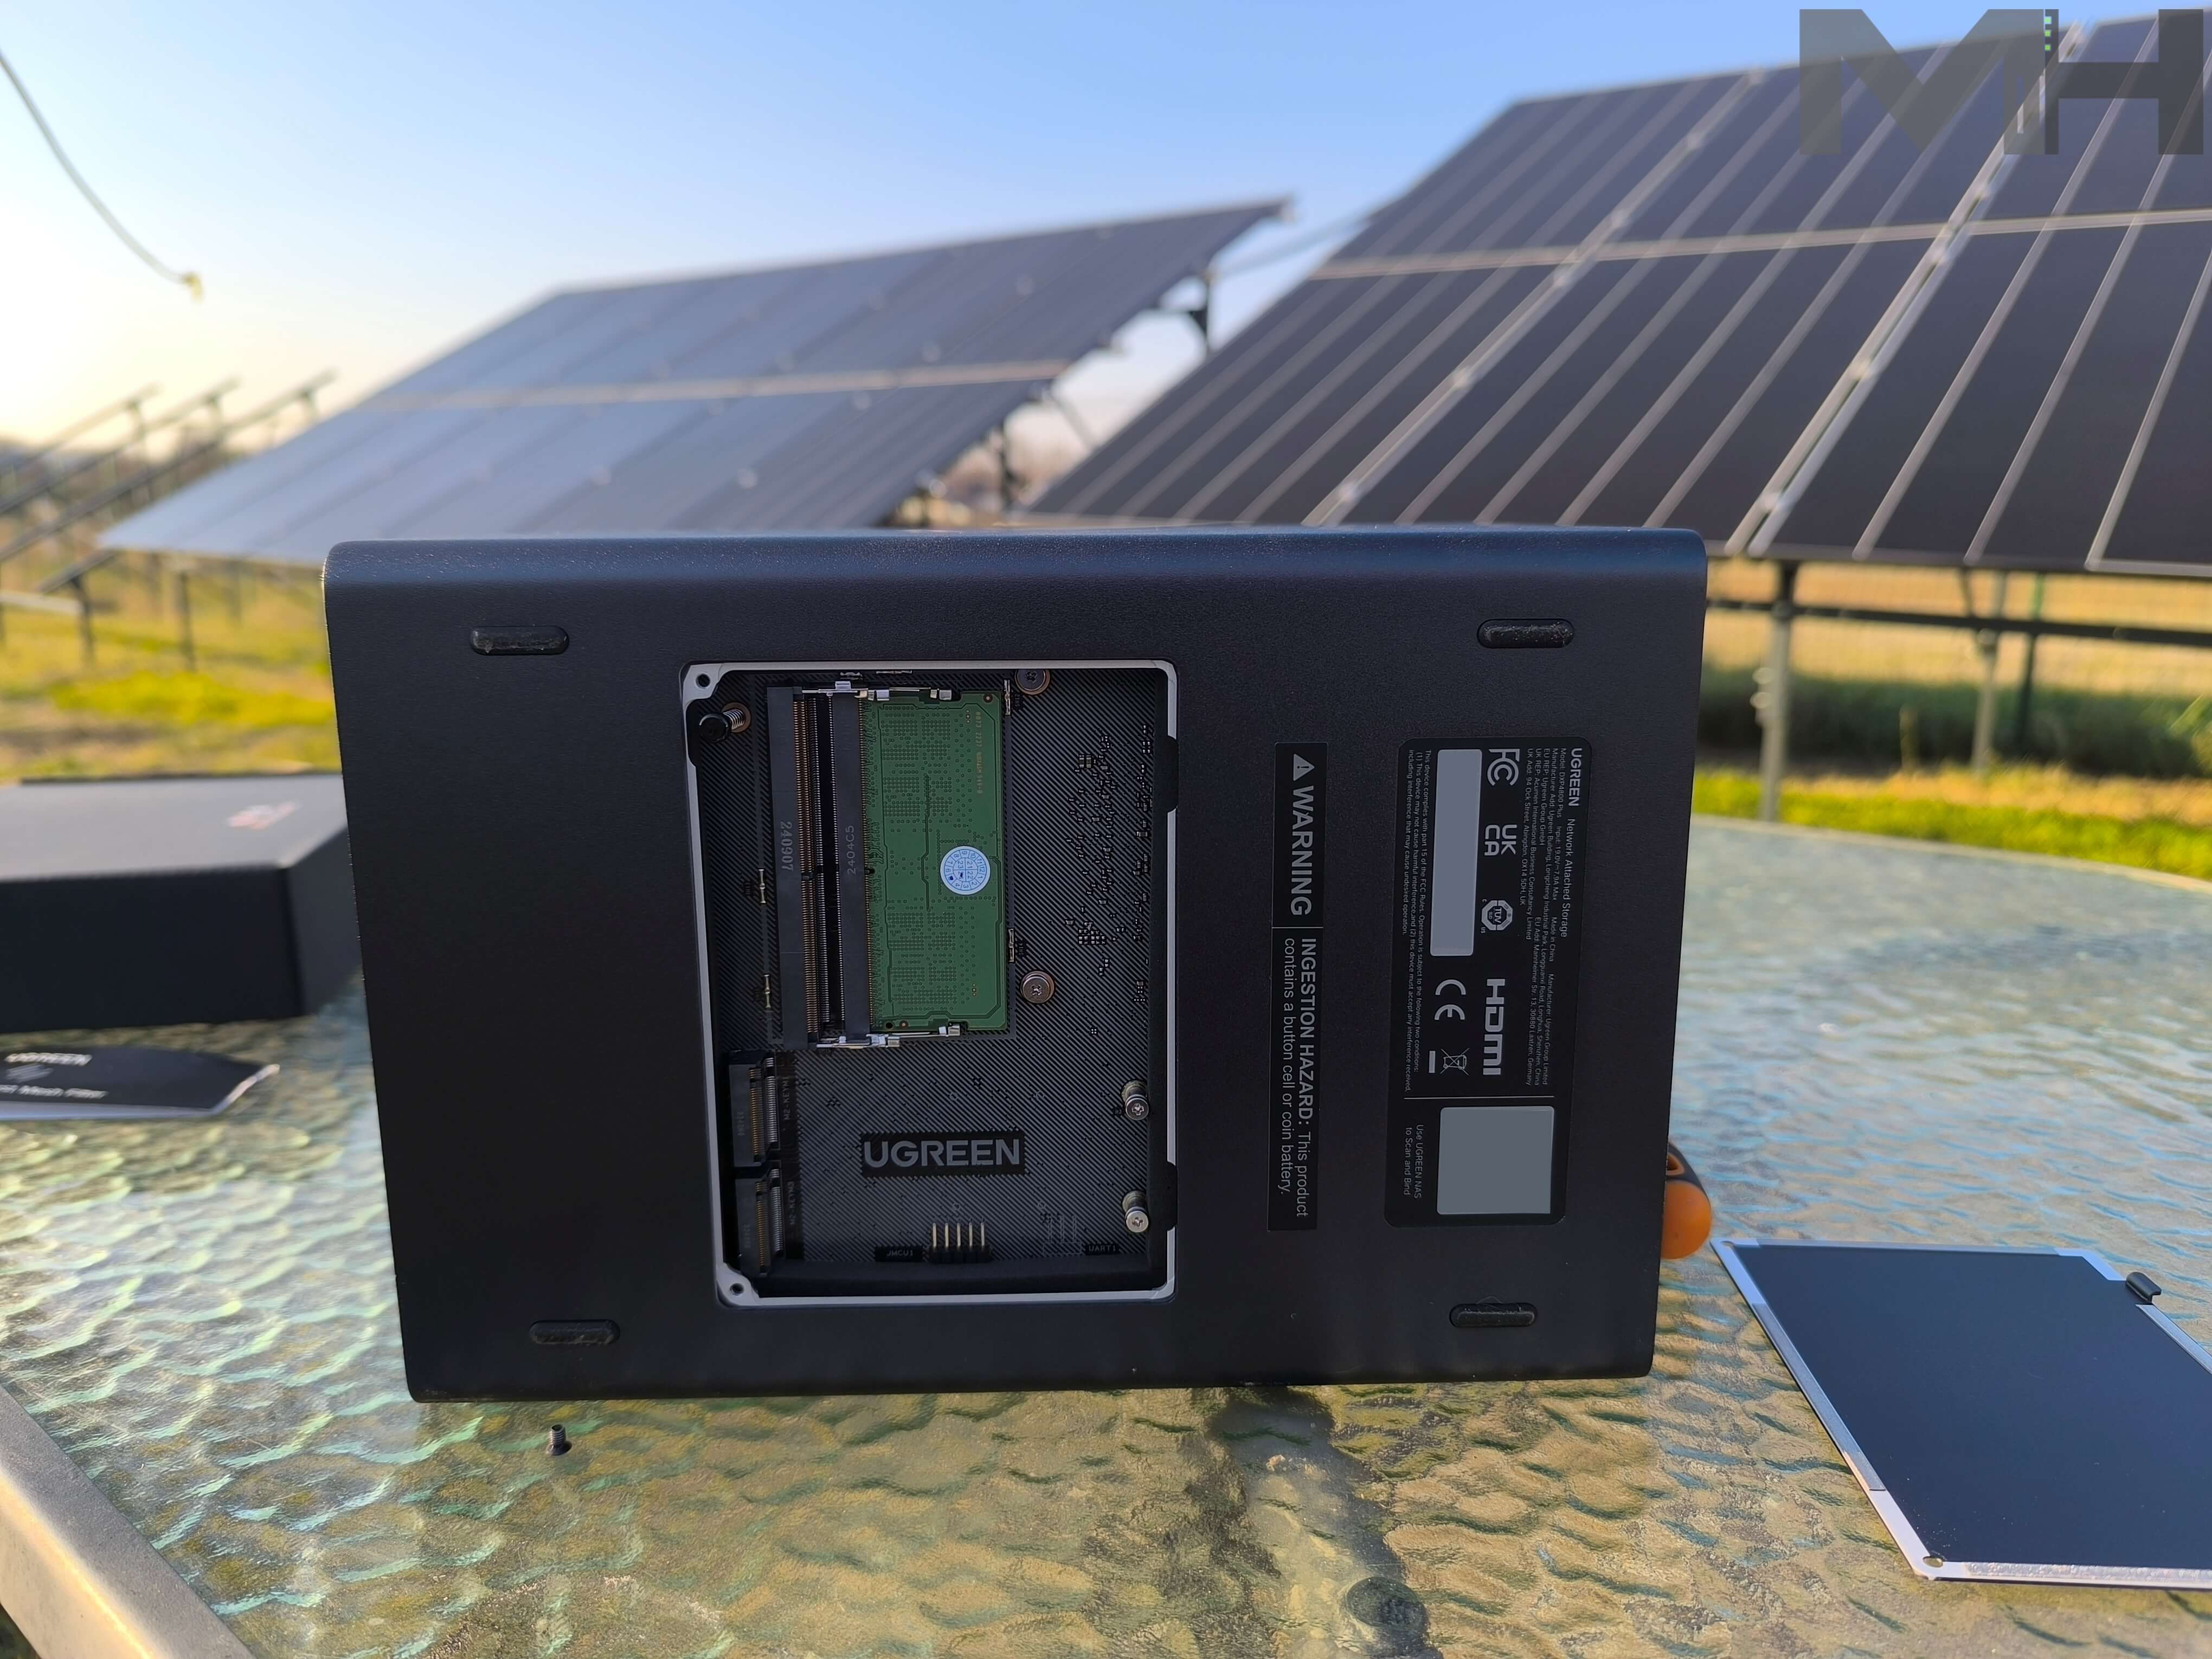
DXP4800 Plus Underside View
Take the screwdriver provided in the box because it’s time to open Pandora’s box. Carefully remove the two screws on the underside of the NAS as shown in the picture below.
Inside the DXP4800 NAS
Preinstalled RAM is 8 GB DDR5, Samsung brand, expandable up to 64GB. The two M.2 NVMe SSD bays support PCIe 4.0
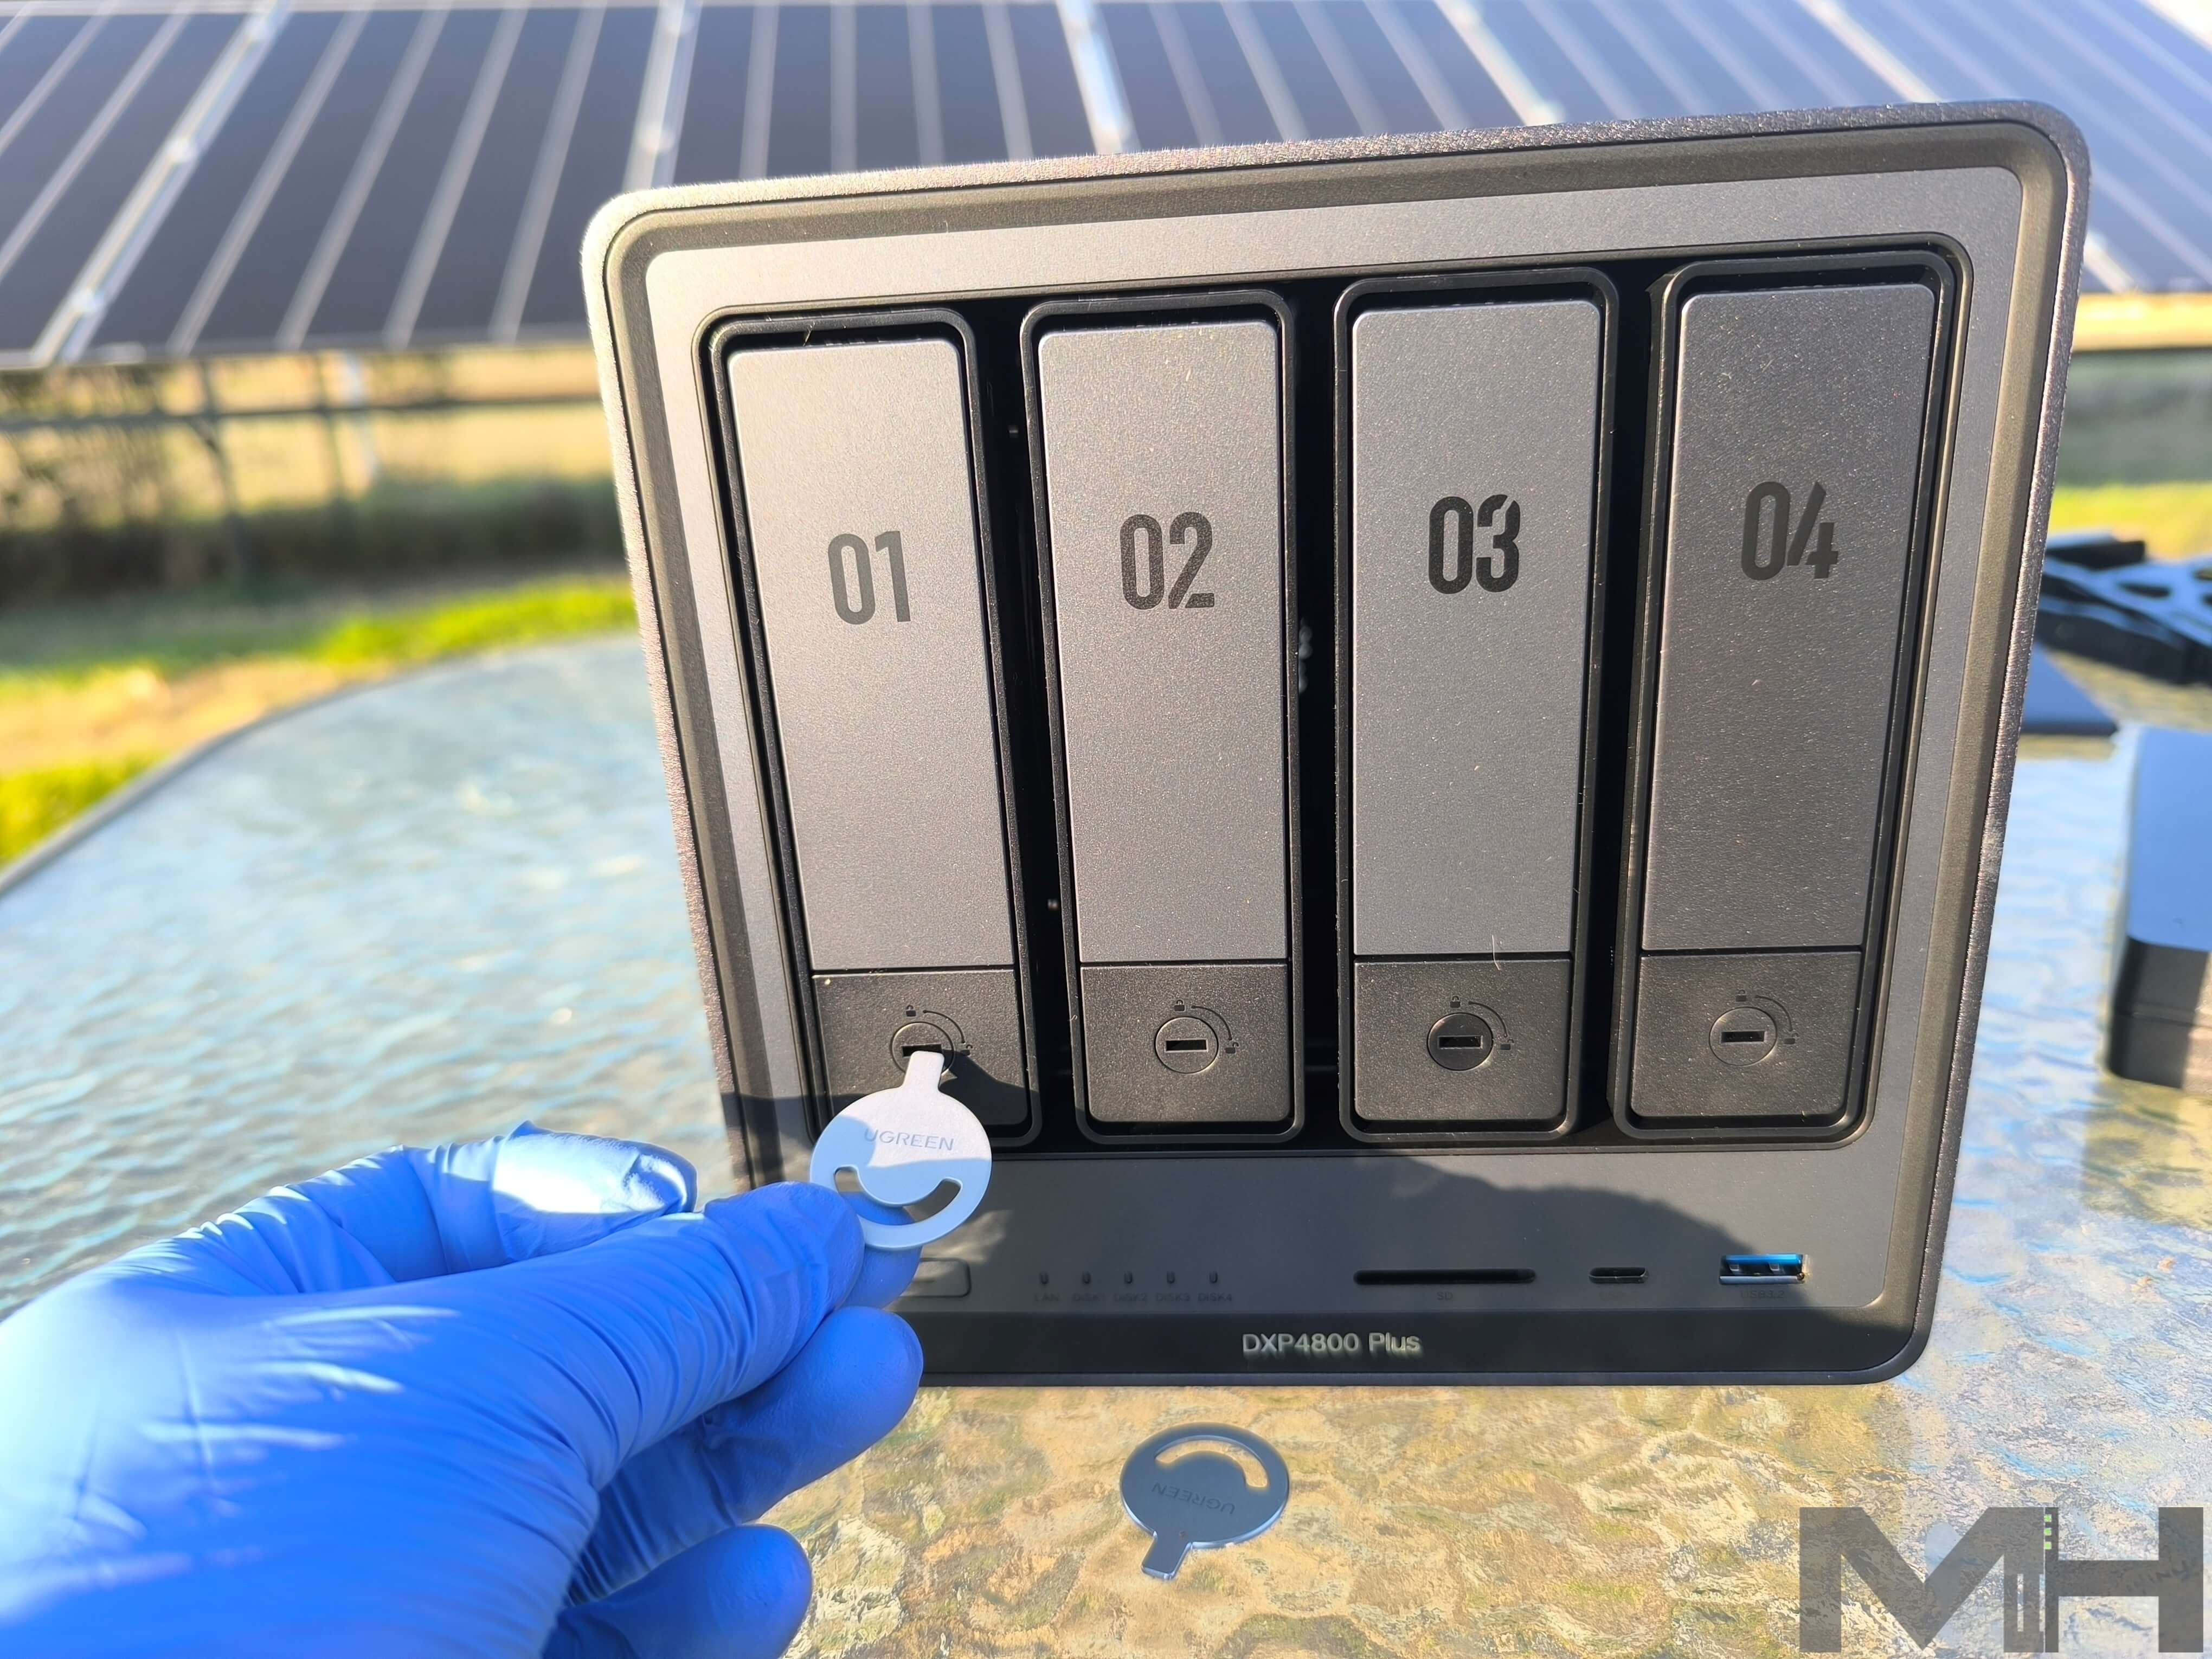
Lock the Bays with 2 Keys
You get two keys to lock the bays for peace of mind. Lock and Unlock following the symbols depicted on the NAS box. Personally, I have never had the need to lock my disks with the keys provided, but I know many people prefer to lock the bays.
DXP4800 Plus and Accessories
The NAS with all its accessories found in the box. The DXP4800 Plus NAS comes with two important accessories: two CAT 7 network cables with gold/copper ends. By comparison, Synology provides standard CAT 5E cables. Inside the accessories box you will also find plenty of SSD screws and a small black screwdriver. The NAS comes with a 2-Year Warranty.
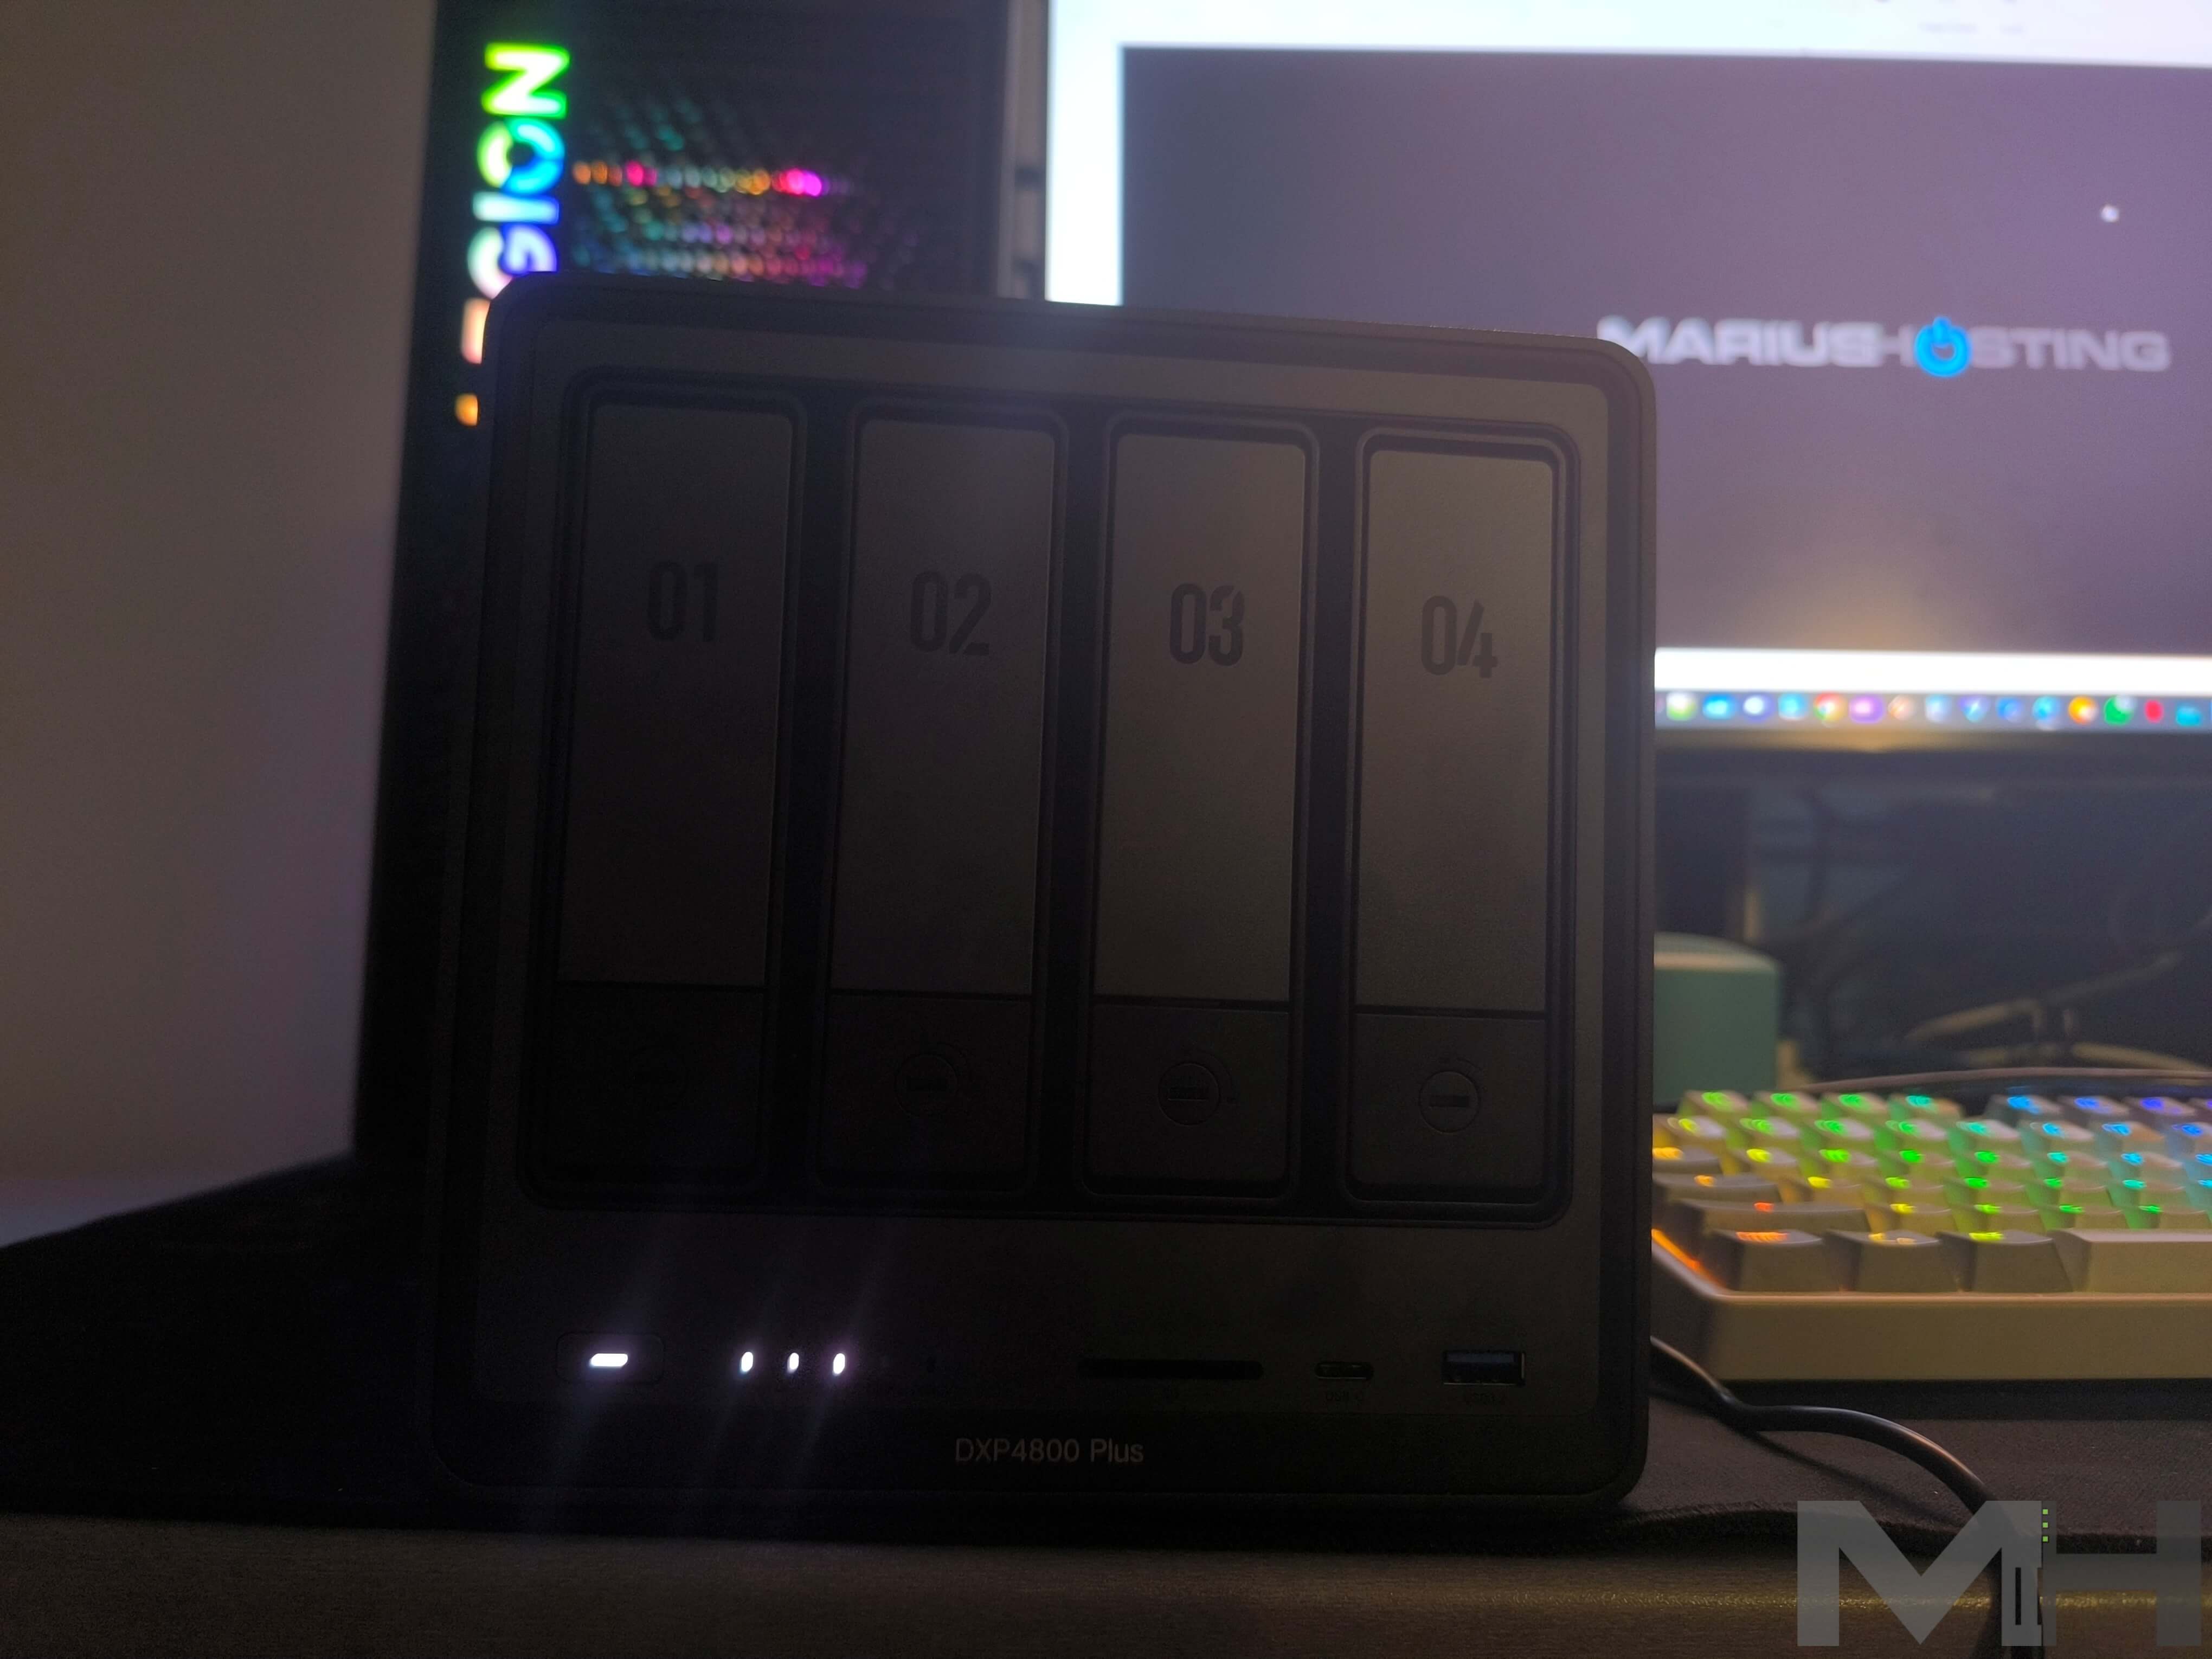
UGREEN DXP4800 Plus: First Power On
After I inserted the disks, everything was up and running in a couple of minutes! To set up the UGREEN DXP4800 Plus, after you have inserted the disks, connect the LAN cables, plug it in, then click the ON button at the front of the device.
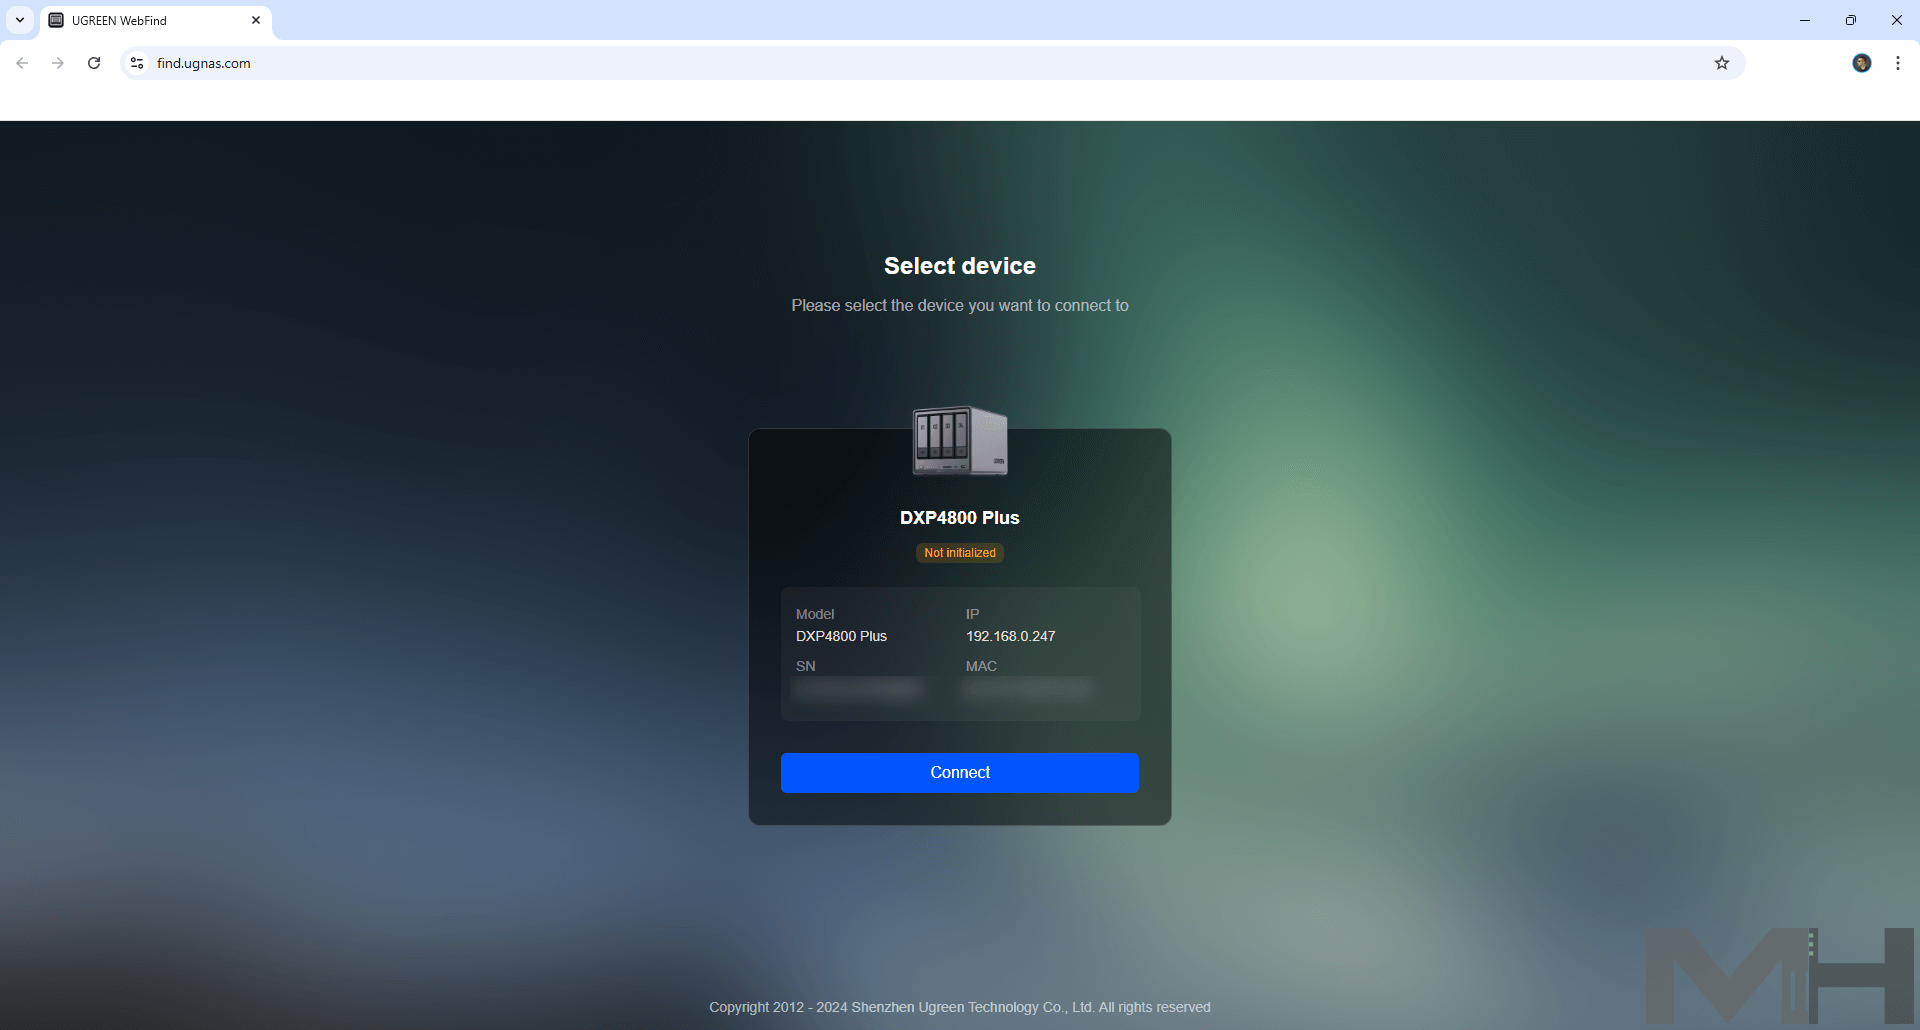
Next, open your favorite browser and access the following address below to start the UGOS Pro operating system installation process. Once the device is found, click Connect.
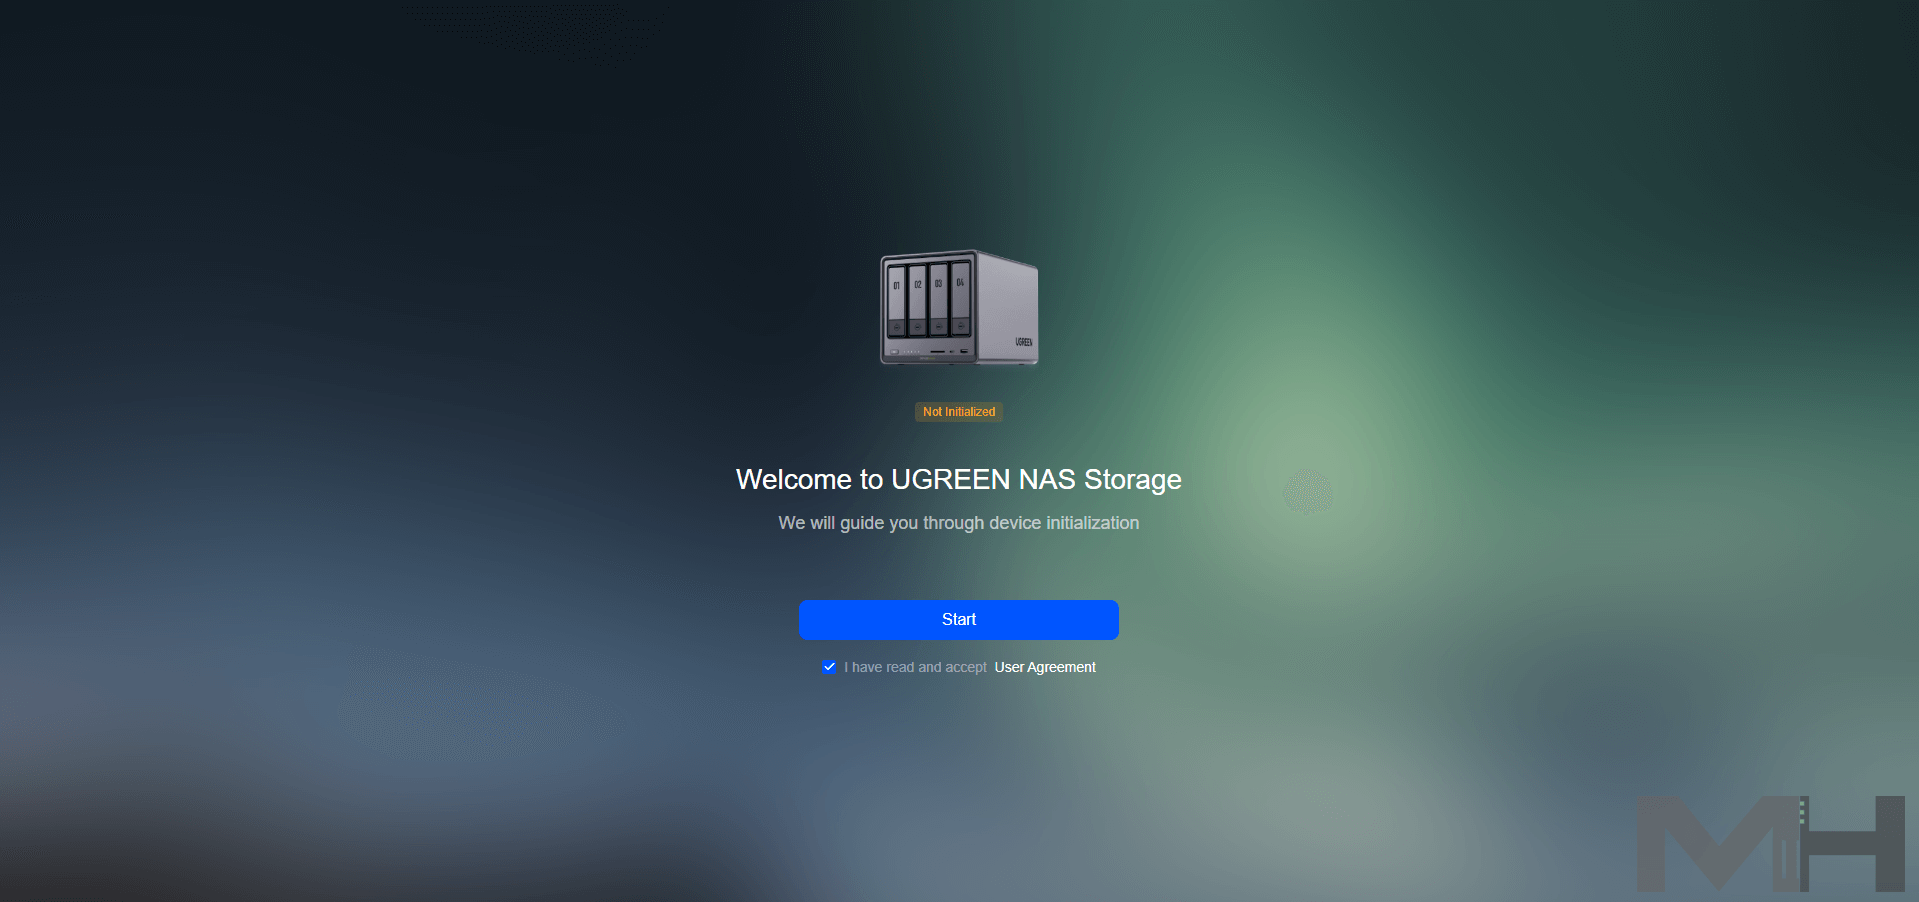
Click Start and read and accept the User Agreement.
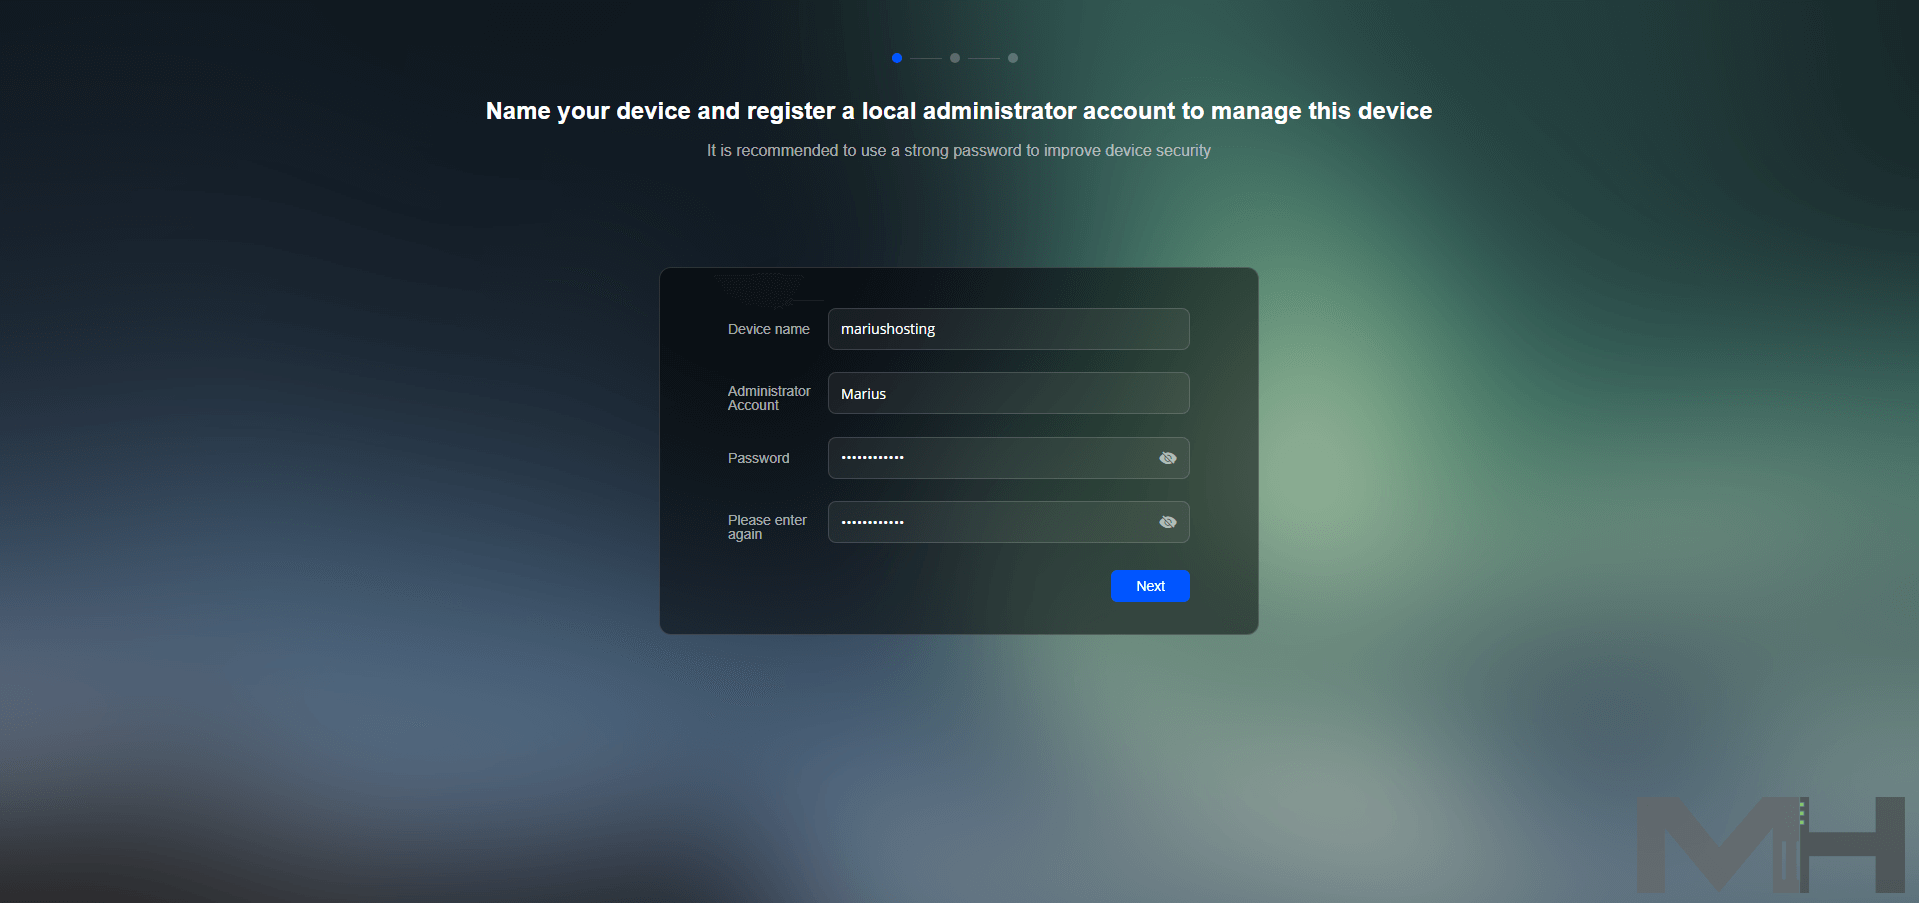
Name your UGREEN DXP4800 Plus device and register a local administrator account.
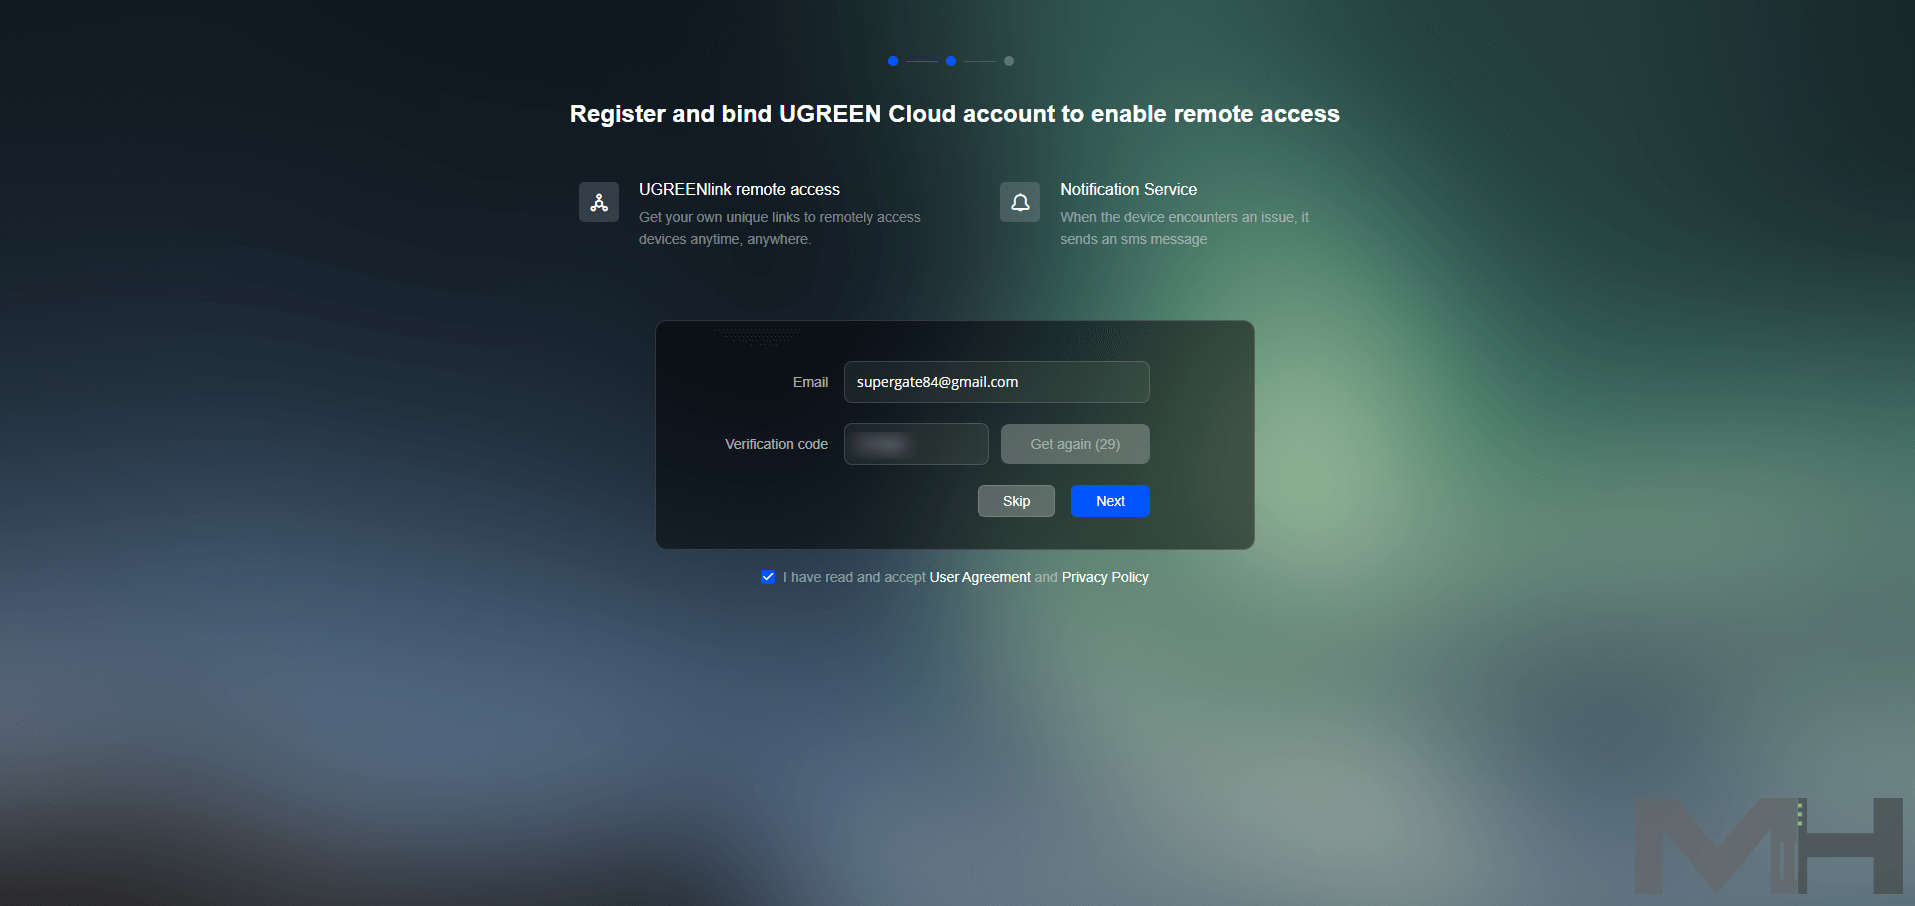
Register and bind the UGREEN Cloud account or Skip.
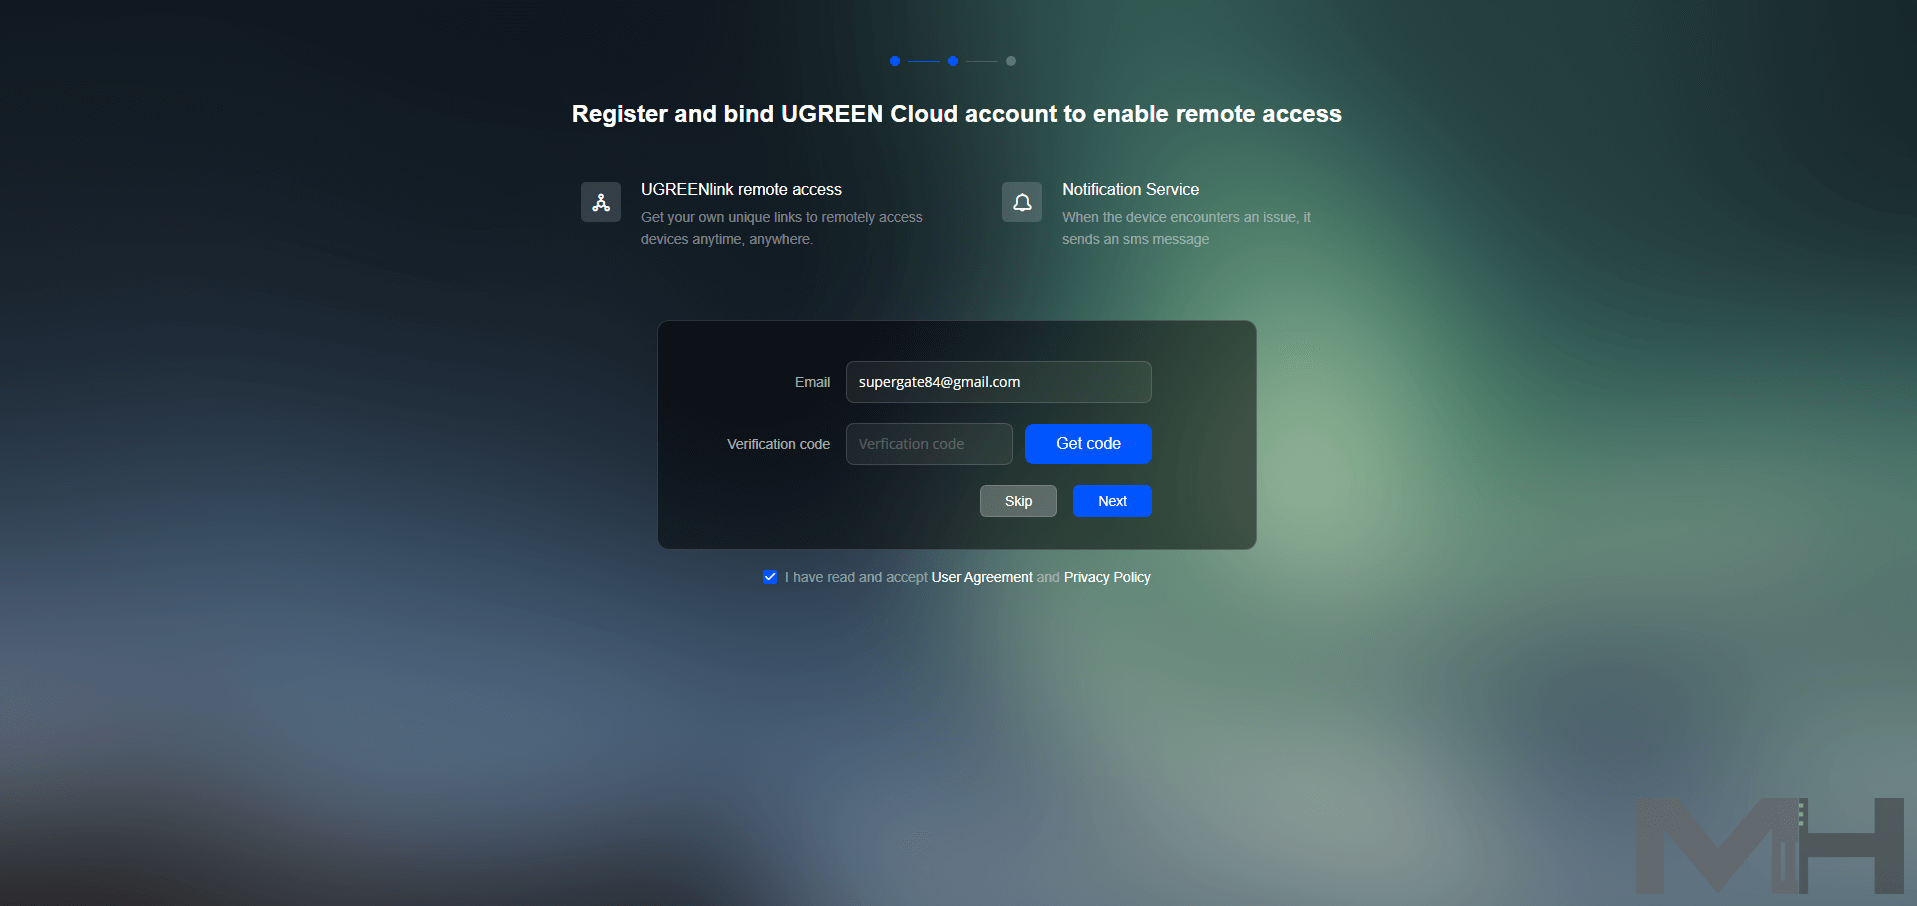
If you decide to create the UGREEN Cloud account, type in your Verification code that you have received in your email, then click Next.
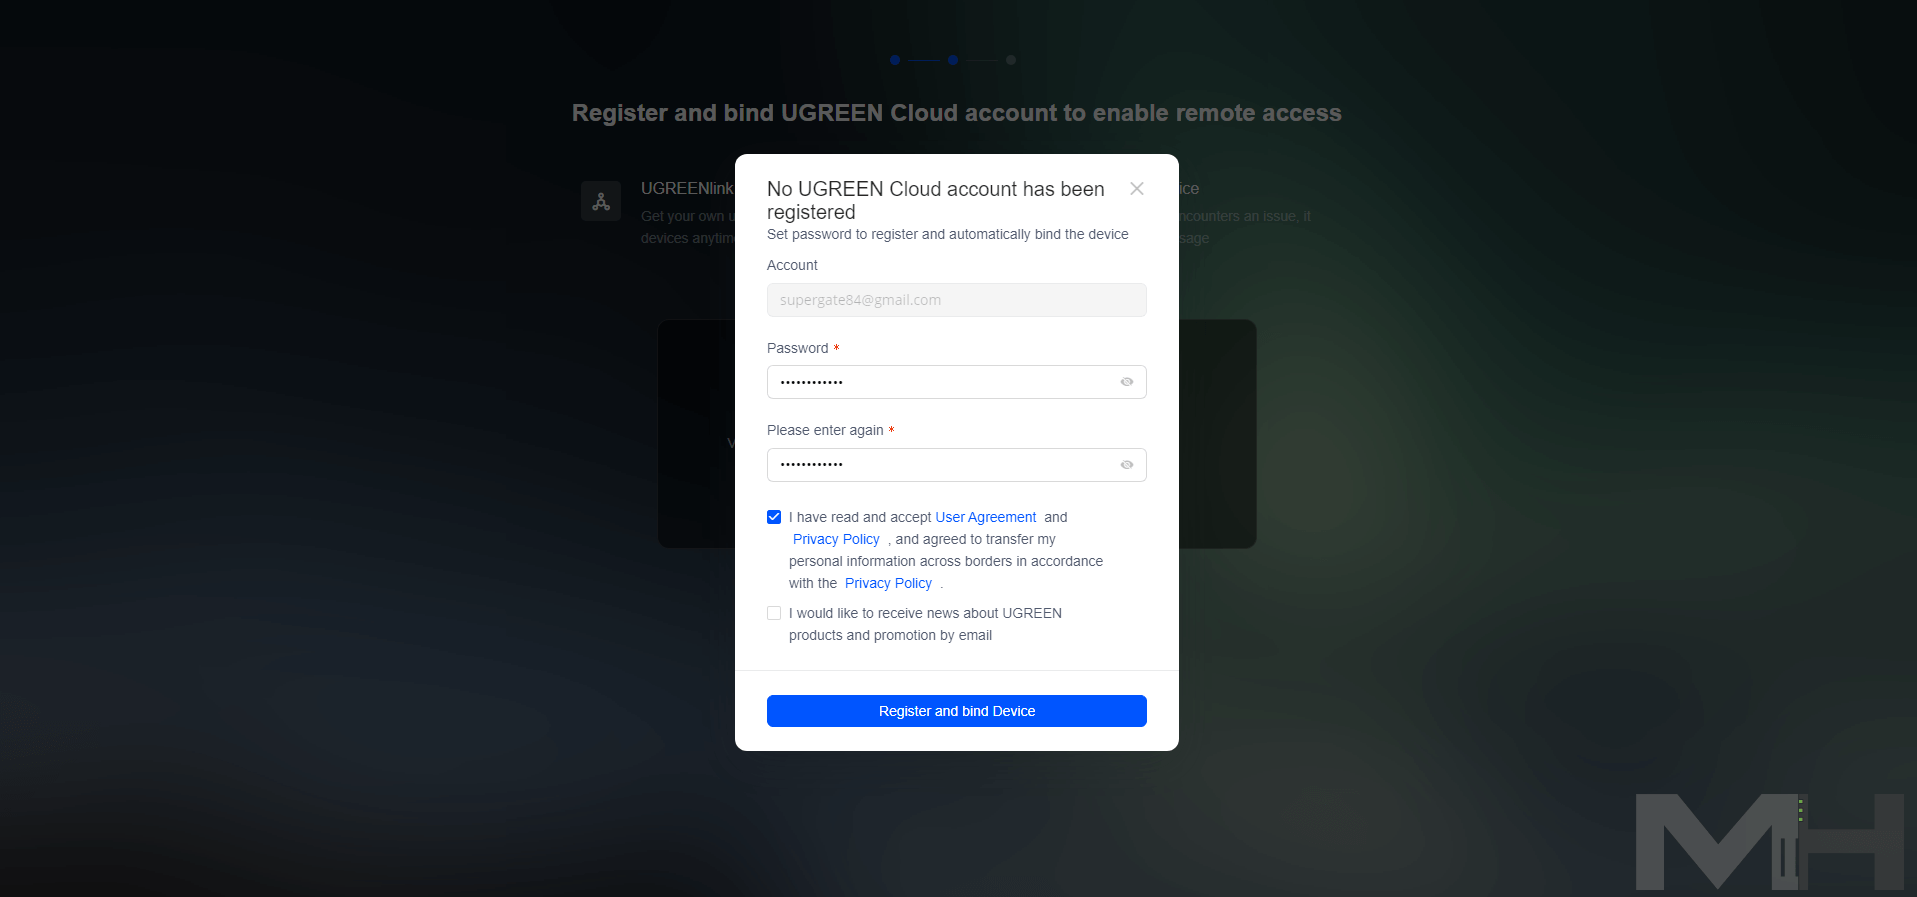
Click Register and bind Device.
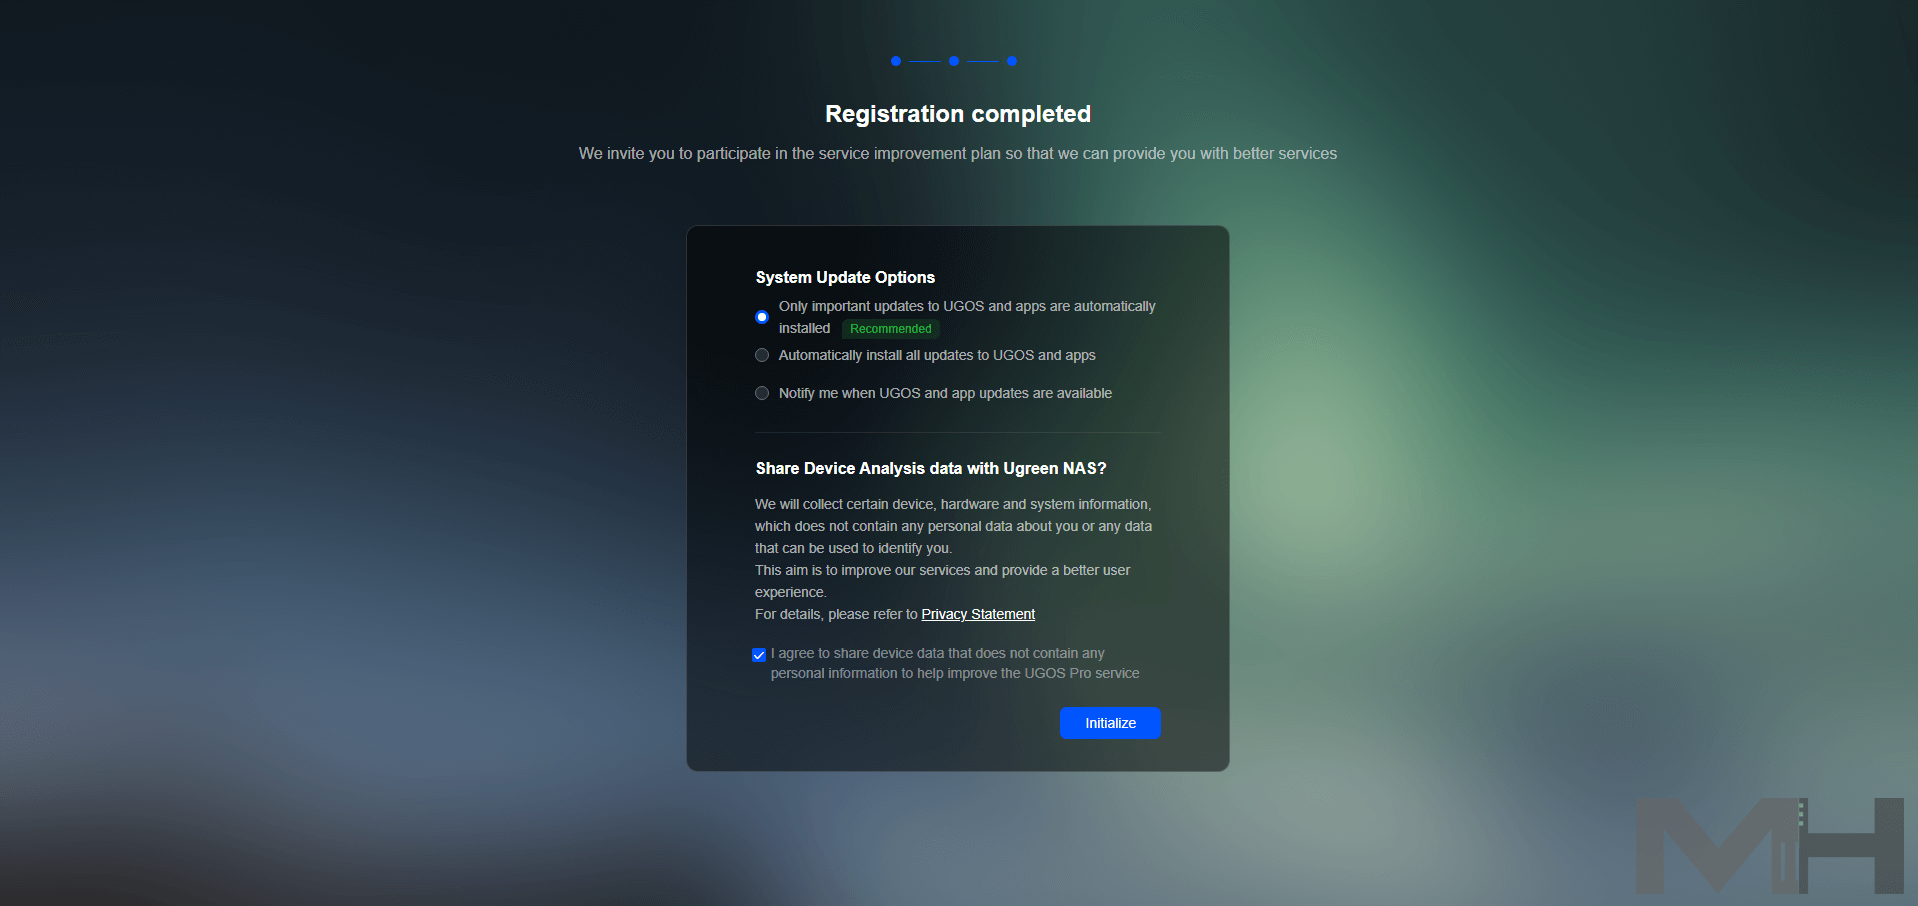
Once the registration is complete, select which System update options fit your needs, then click Initialize.
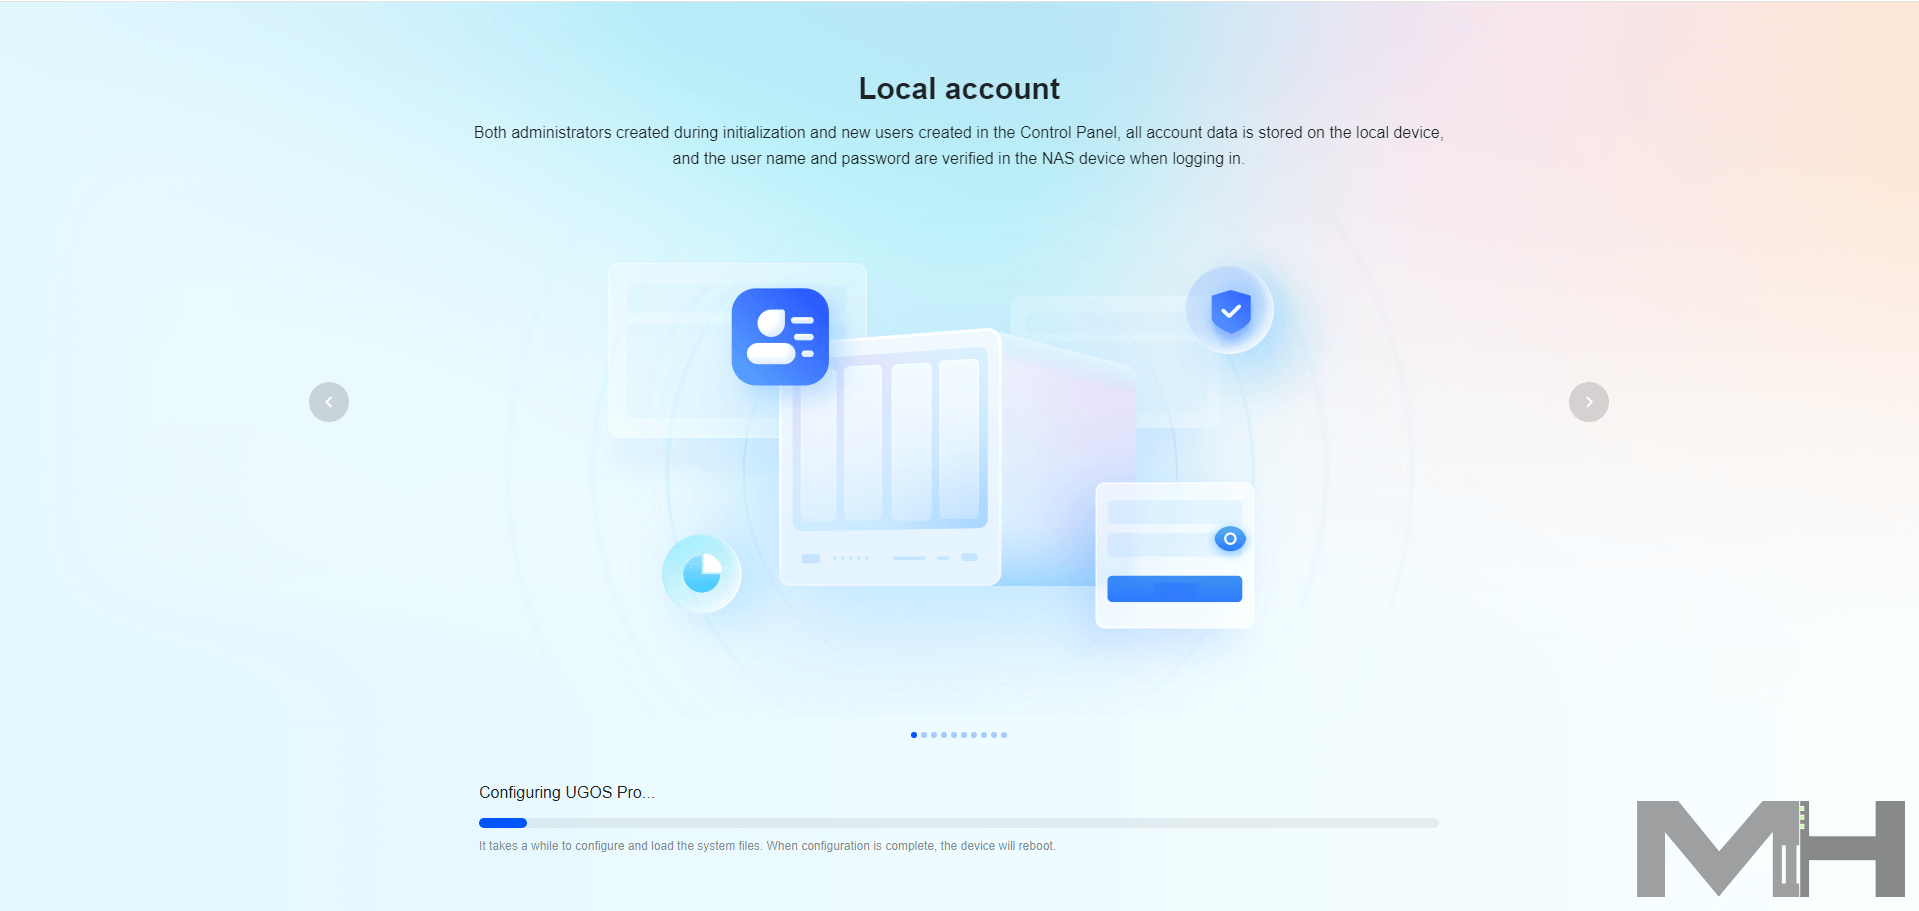
Initializing the device will only take a few minutes.
Create your Storage Pool and Volume!
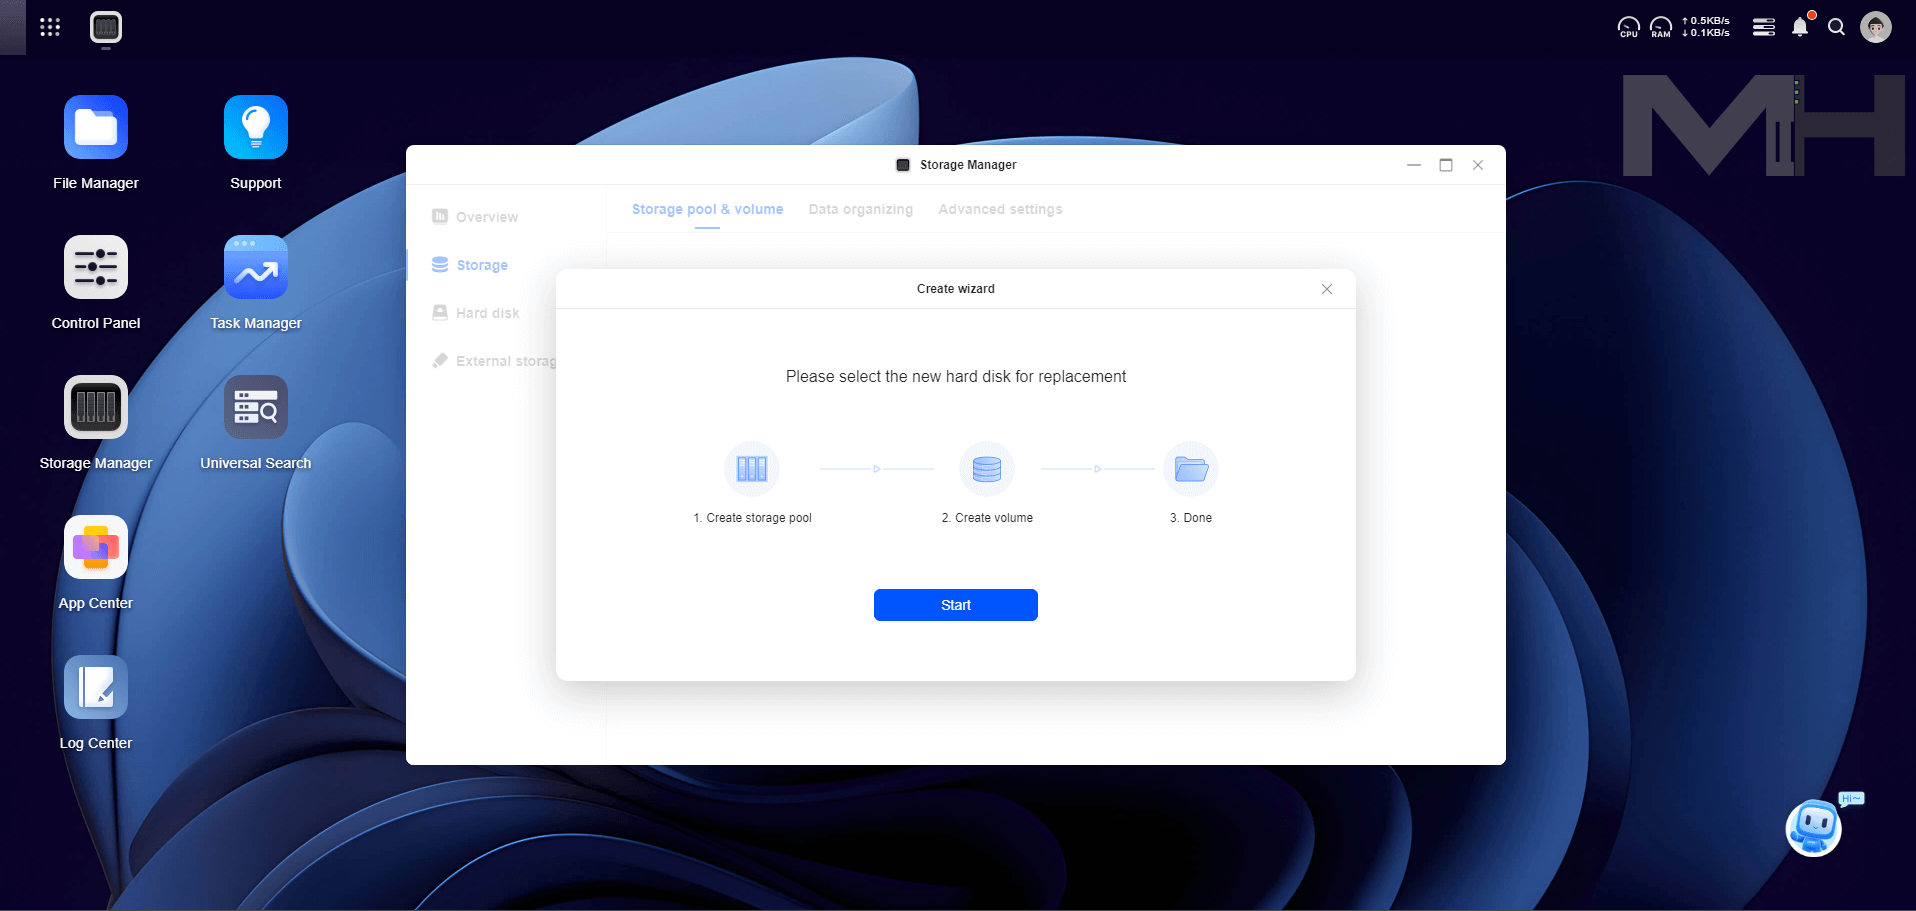
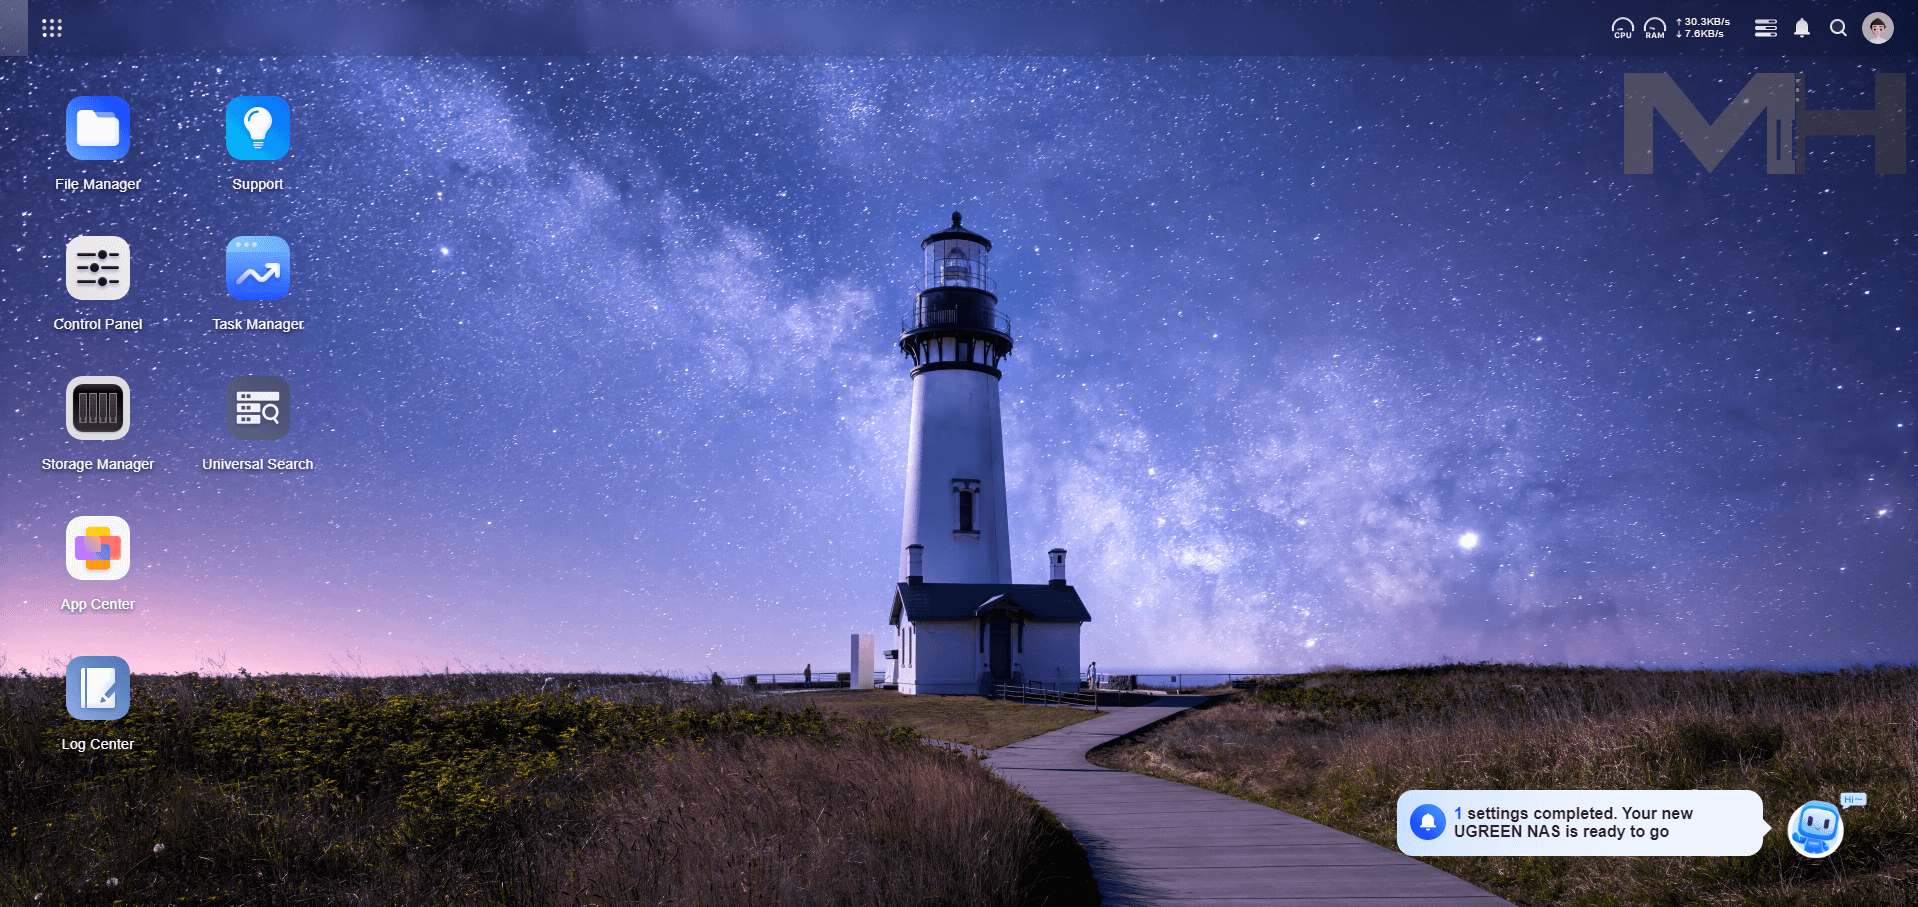
The UGOS Pro OS at a glance.
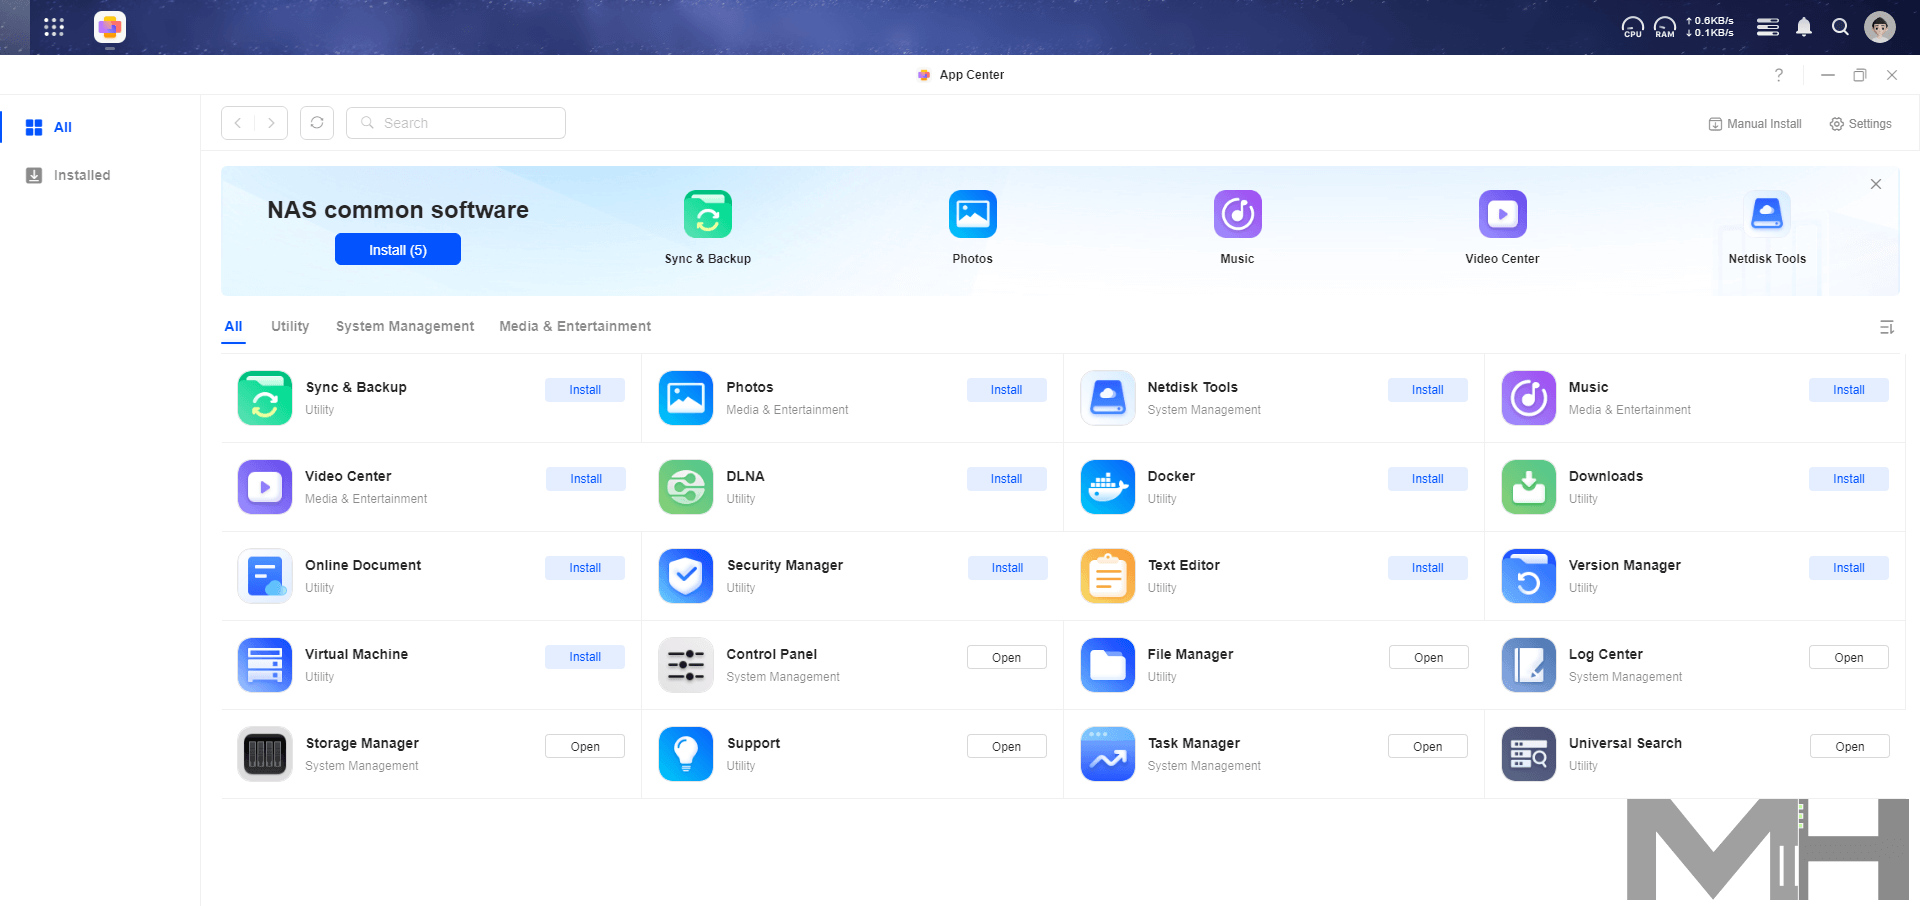
You have an App Center similar to Synology Package Center. You can Install the latest Docker engine and start to dream thanks to all the free mariushosting guides for your UGREEN NAS.
This post was updated on Friday / November 29th, 2024 at 3:45 AM

