
Hello, everyone! For today, your friend Marius has tested the new TerraMaster F2-424 equipped with an Intel® N95 CPU. The new F2-424 achieves a 40% improvement in overall performance compared to the previous TerraMaster generation of NAS devices. The F2-424 will come with the new generation TOS 5.1 operating system and can be smoothly upgraded to the TerraMaster TOS 6 operating system in the near future. With its robust features and state-of-the-art technology, the F2-424 NAS redefines data storage and management for both personal and business users.
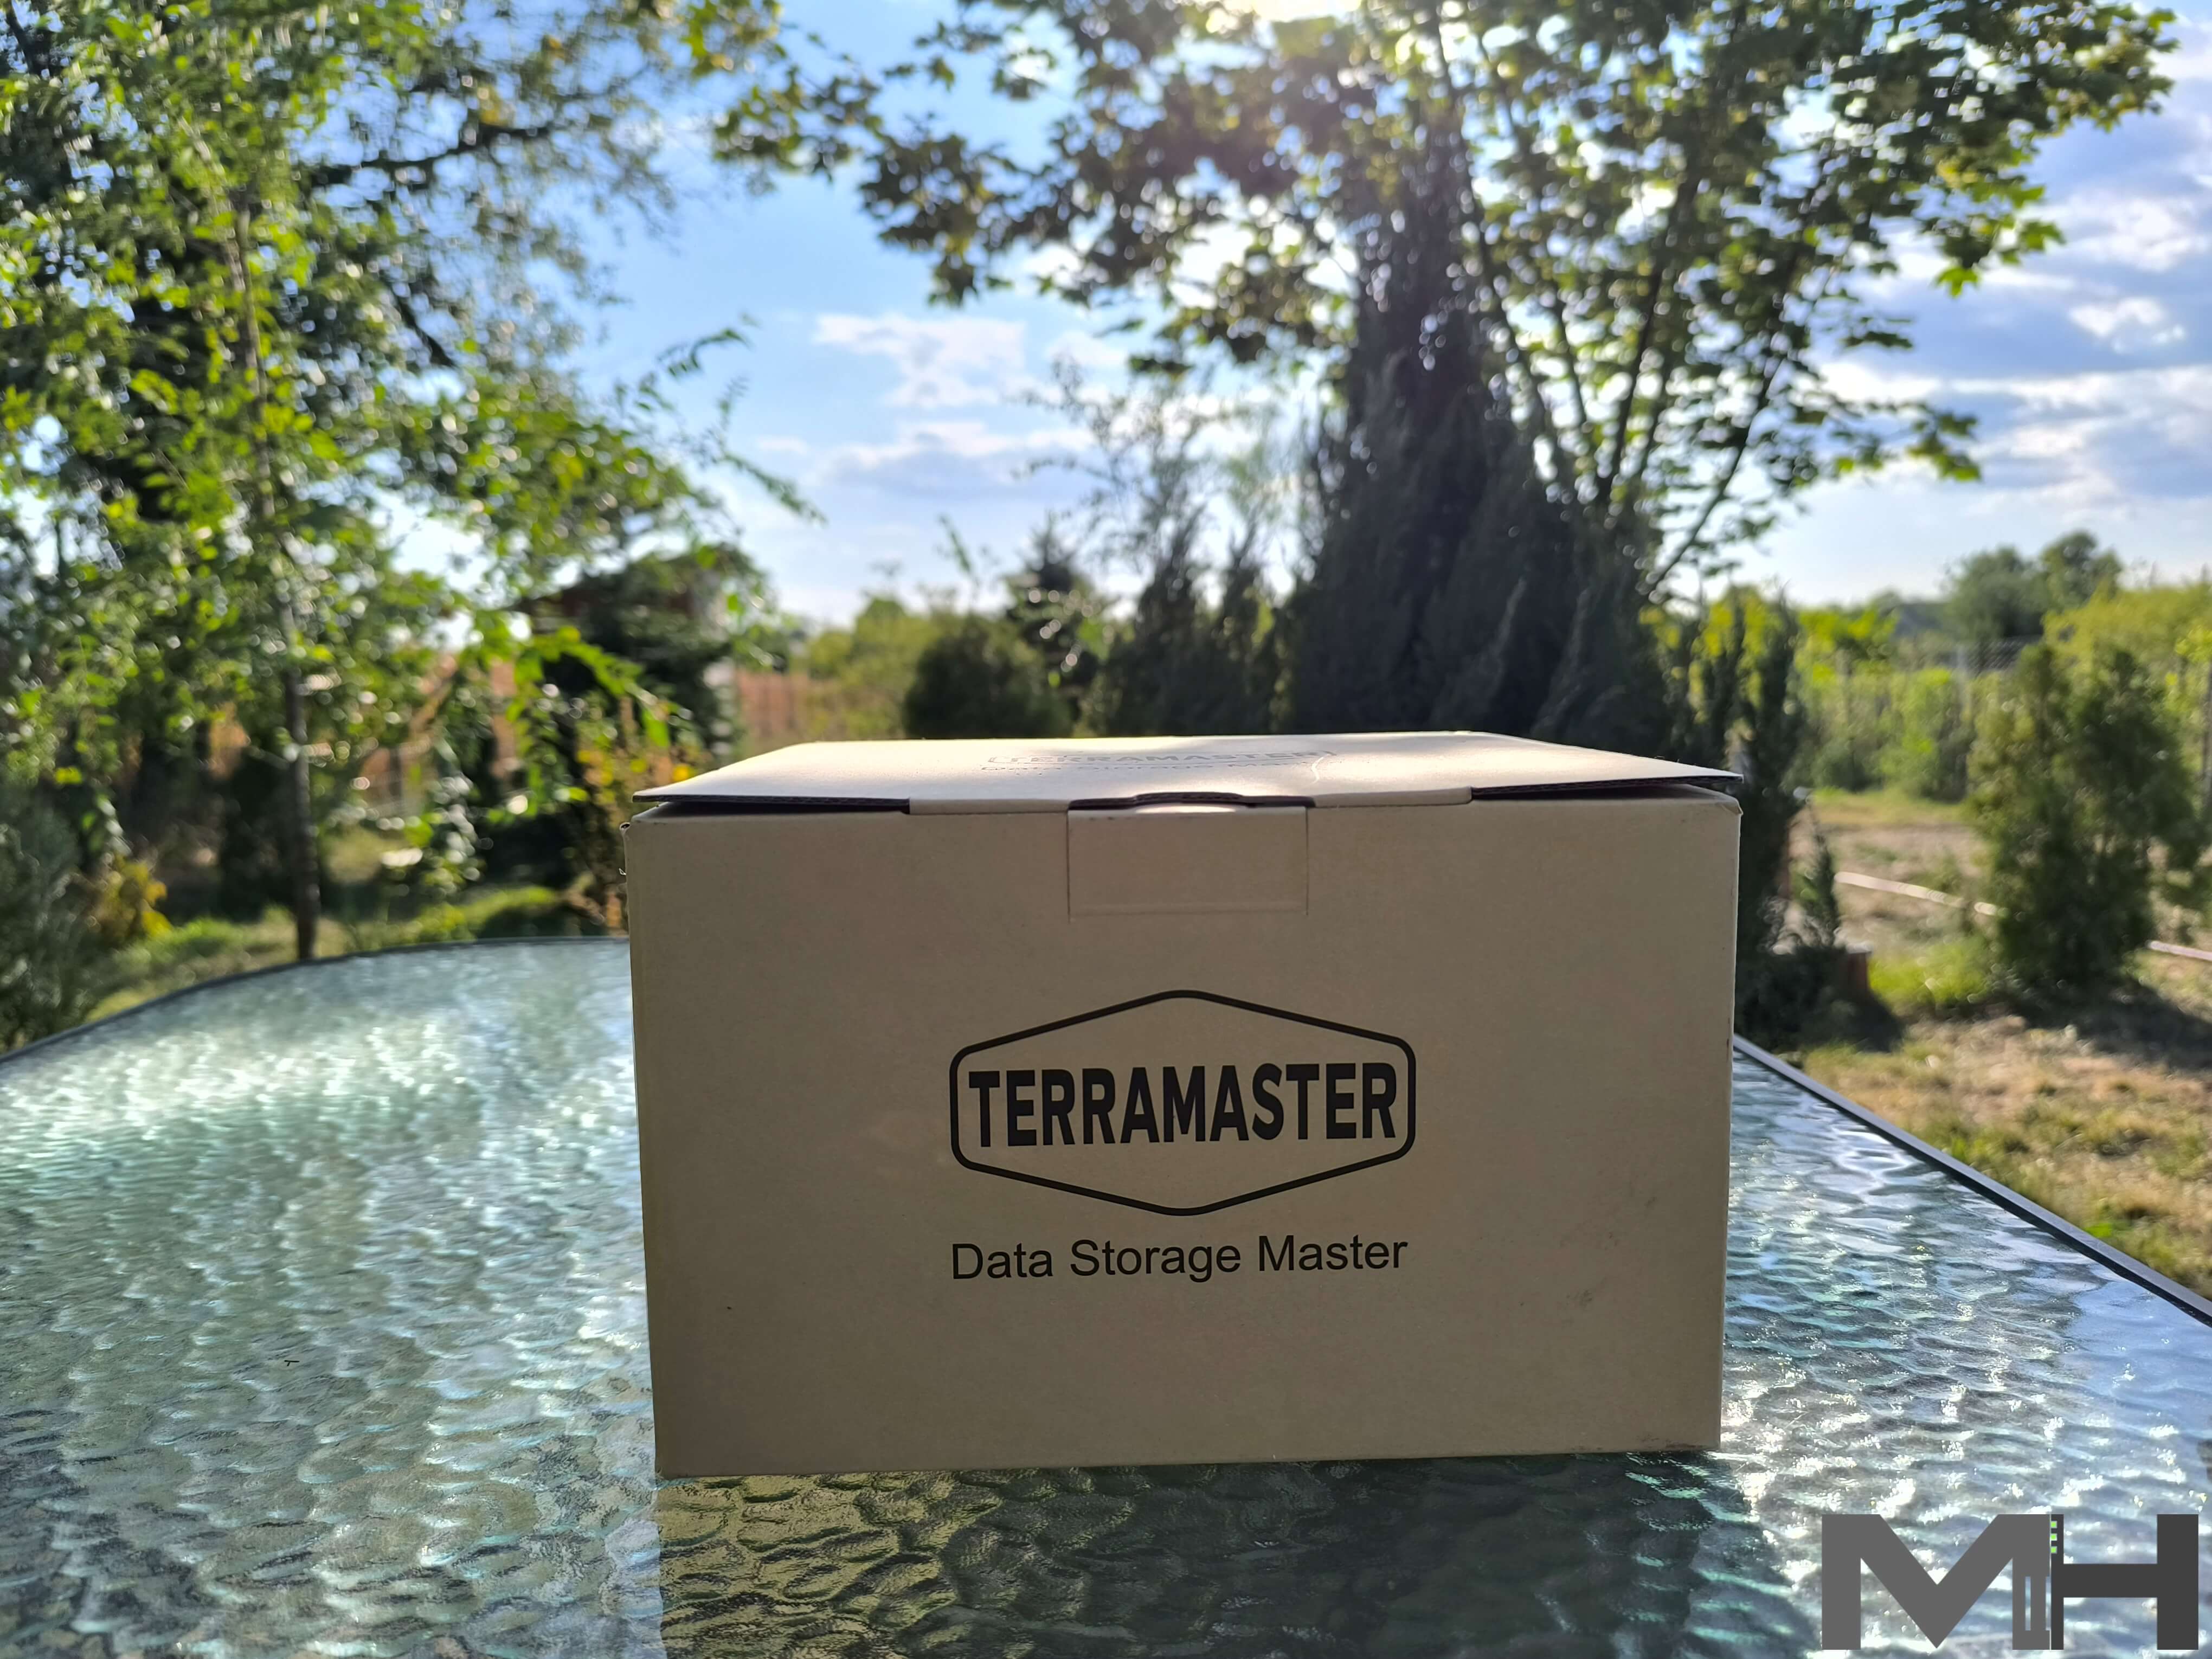
TerraMaster F2-424 Package
The TerraMaster F2-424 NAS arrived at the mariushosting residence packed in a sturdy cardboard box. The product itself is further packed carefully inside, covered in Styrofoam from every angle to ensure its integrity during delivery.
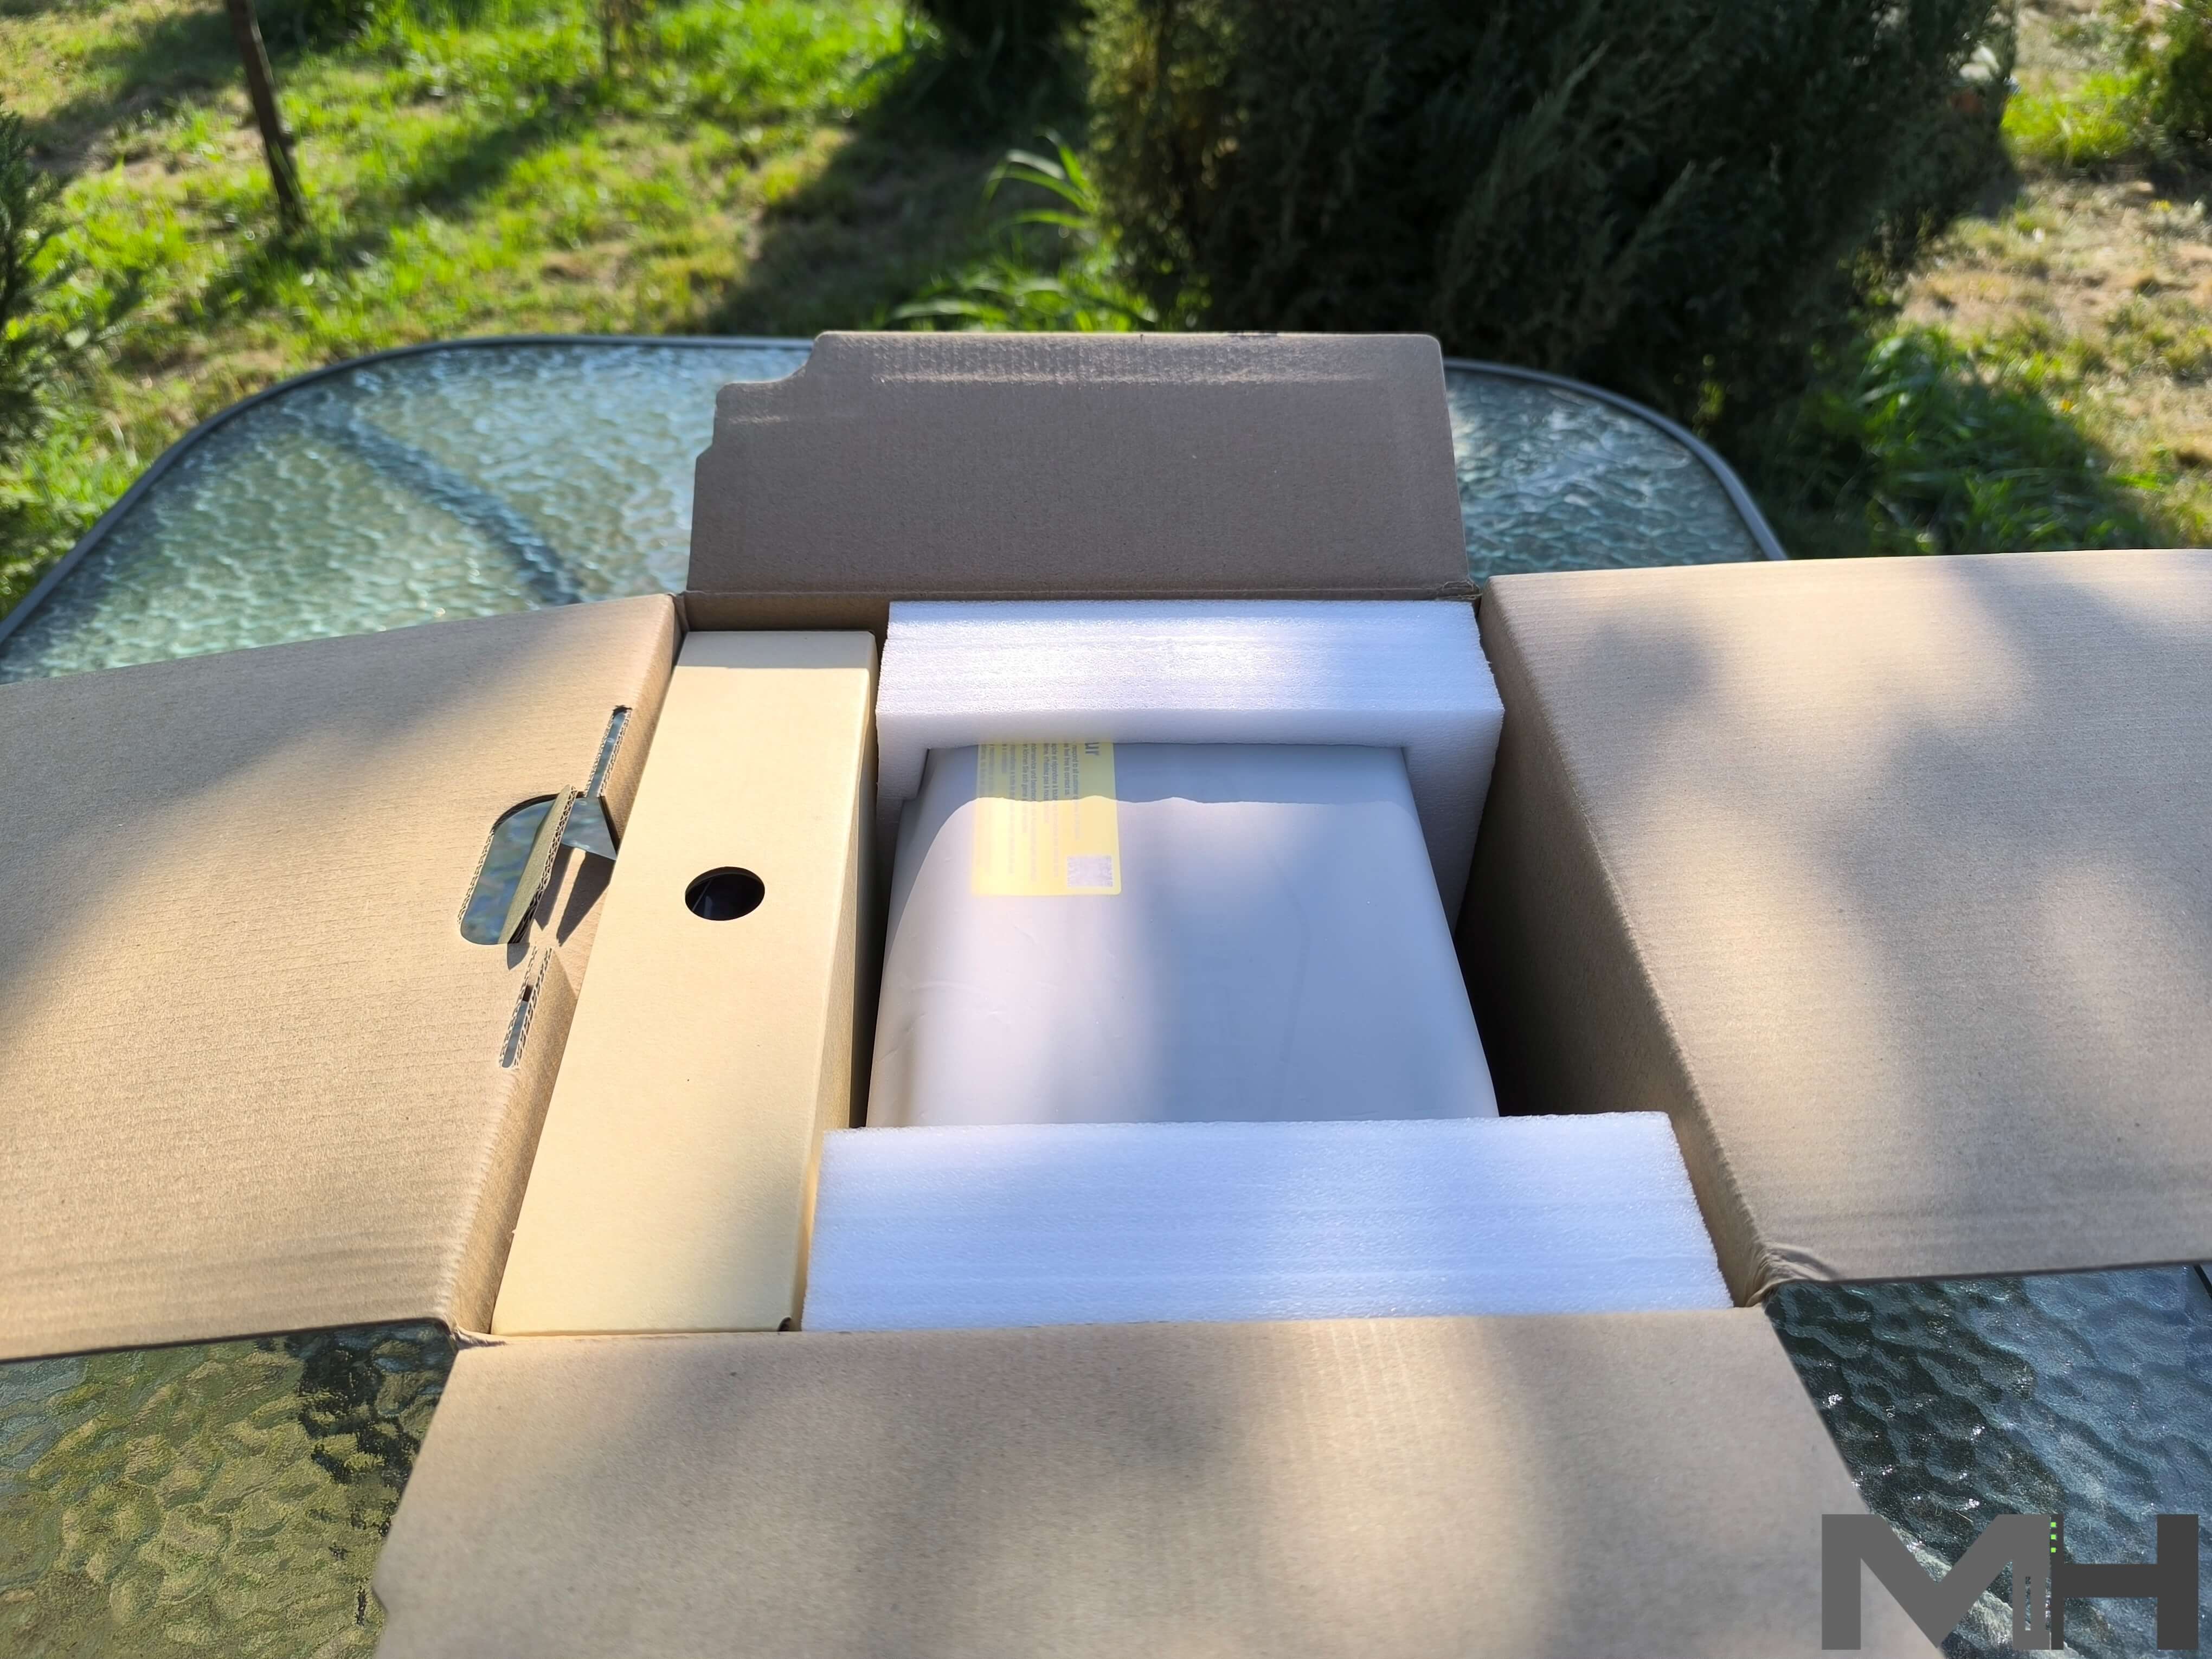
You can see the Styrofoam Protection encasing the NAS as soon as you open the box.
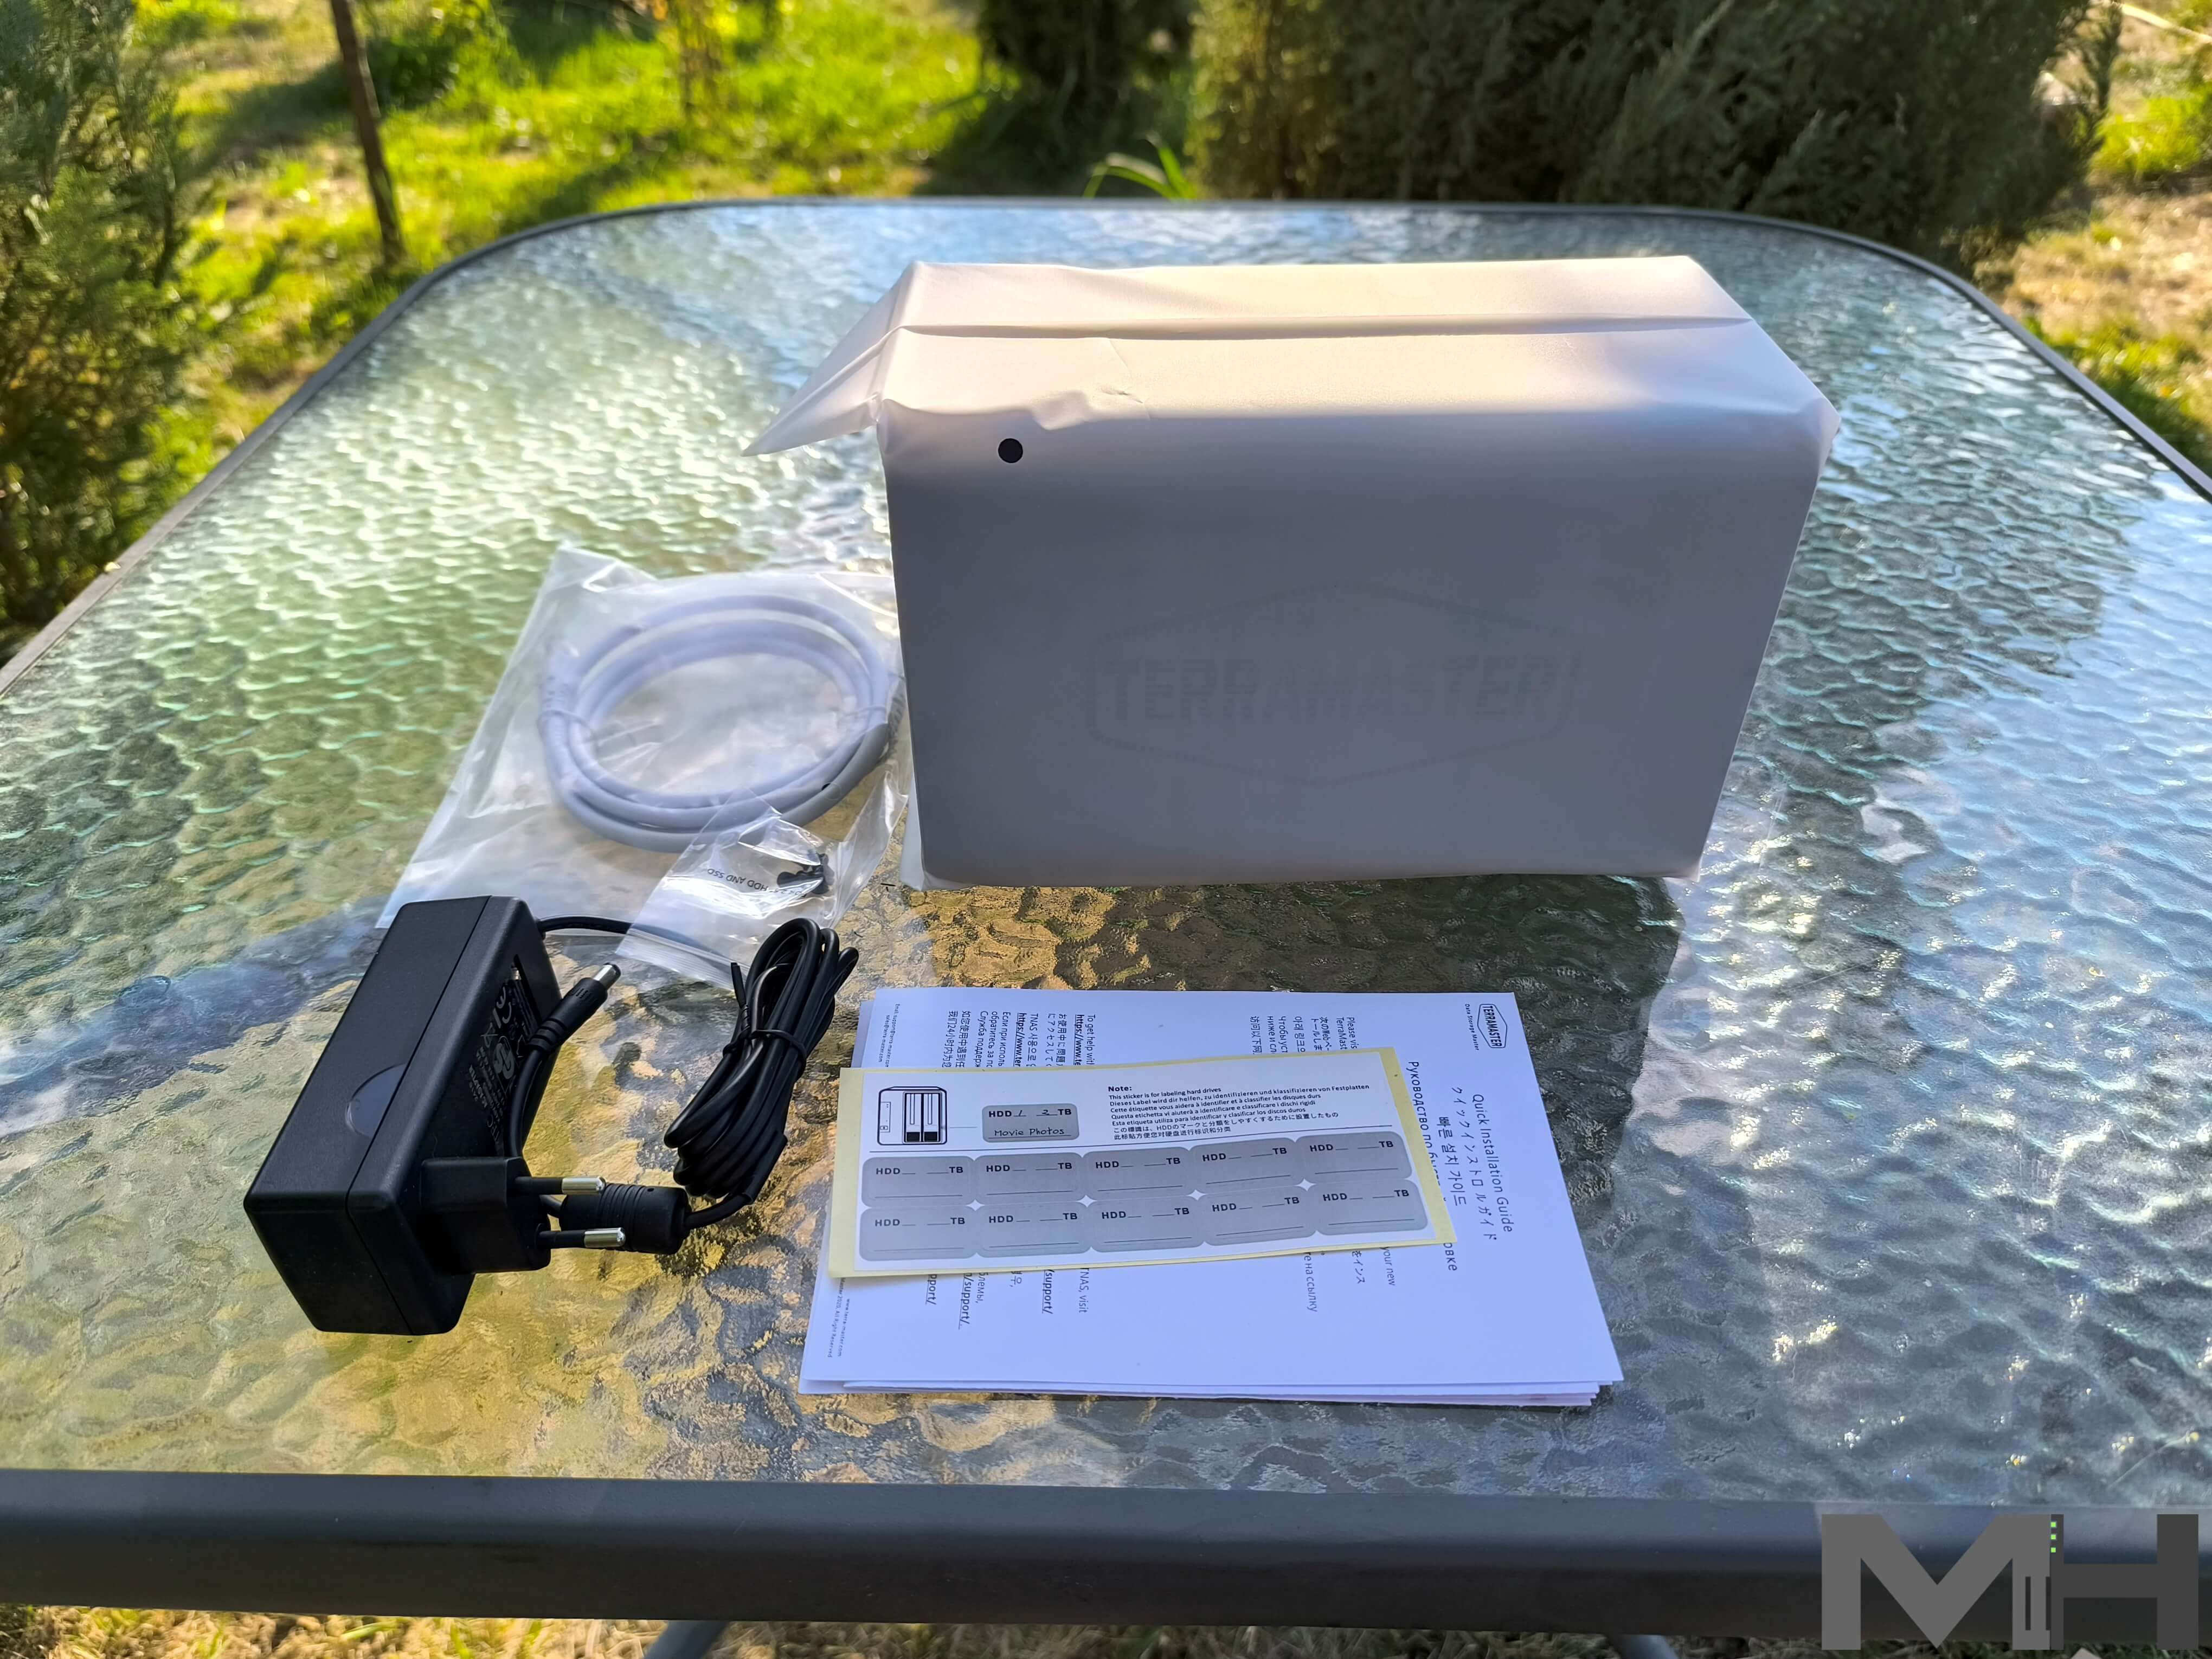
The F2-424 and its accessories, all in one box. The F2-424 NAS is protected by an antistatic plastic casing, while the accessories are packed separately in a smaller box. In addition to the F2-424 NAS box itself, in the package you will find the following: an AC Power Cord and Power Adapter, a few SSD and HDD screws as well as a 1-meter long LAN cable. You also have a Limited Warranty Note included in the package.
The TerraMaster F2-424 NAS at a glance!
In the picture below you can see the TerraMaster F2-424 NAS in all its glory! Beautiful, black case. The F2-424 represents a performance improvement of more than 140% on the previous generation. Application load times have increased by 90%, file and photo retrieval speed by 40%, database response speed by 50%, and the PHP response for web pages has seen a remarkable 60% improvement. Such enhanced performance enables seamless handling of high-load workflows.
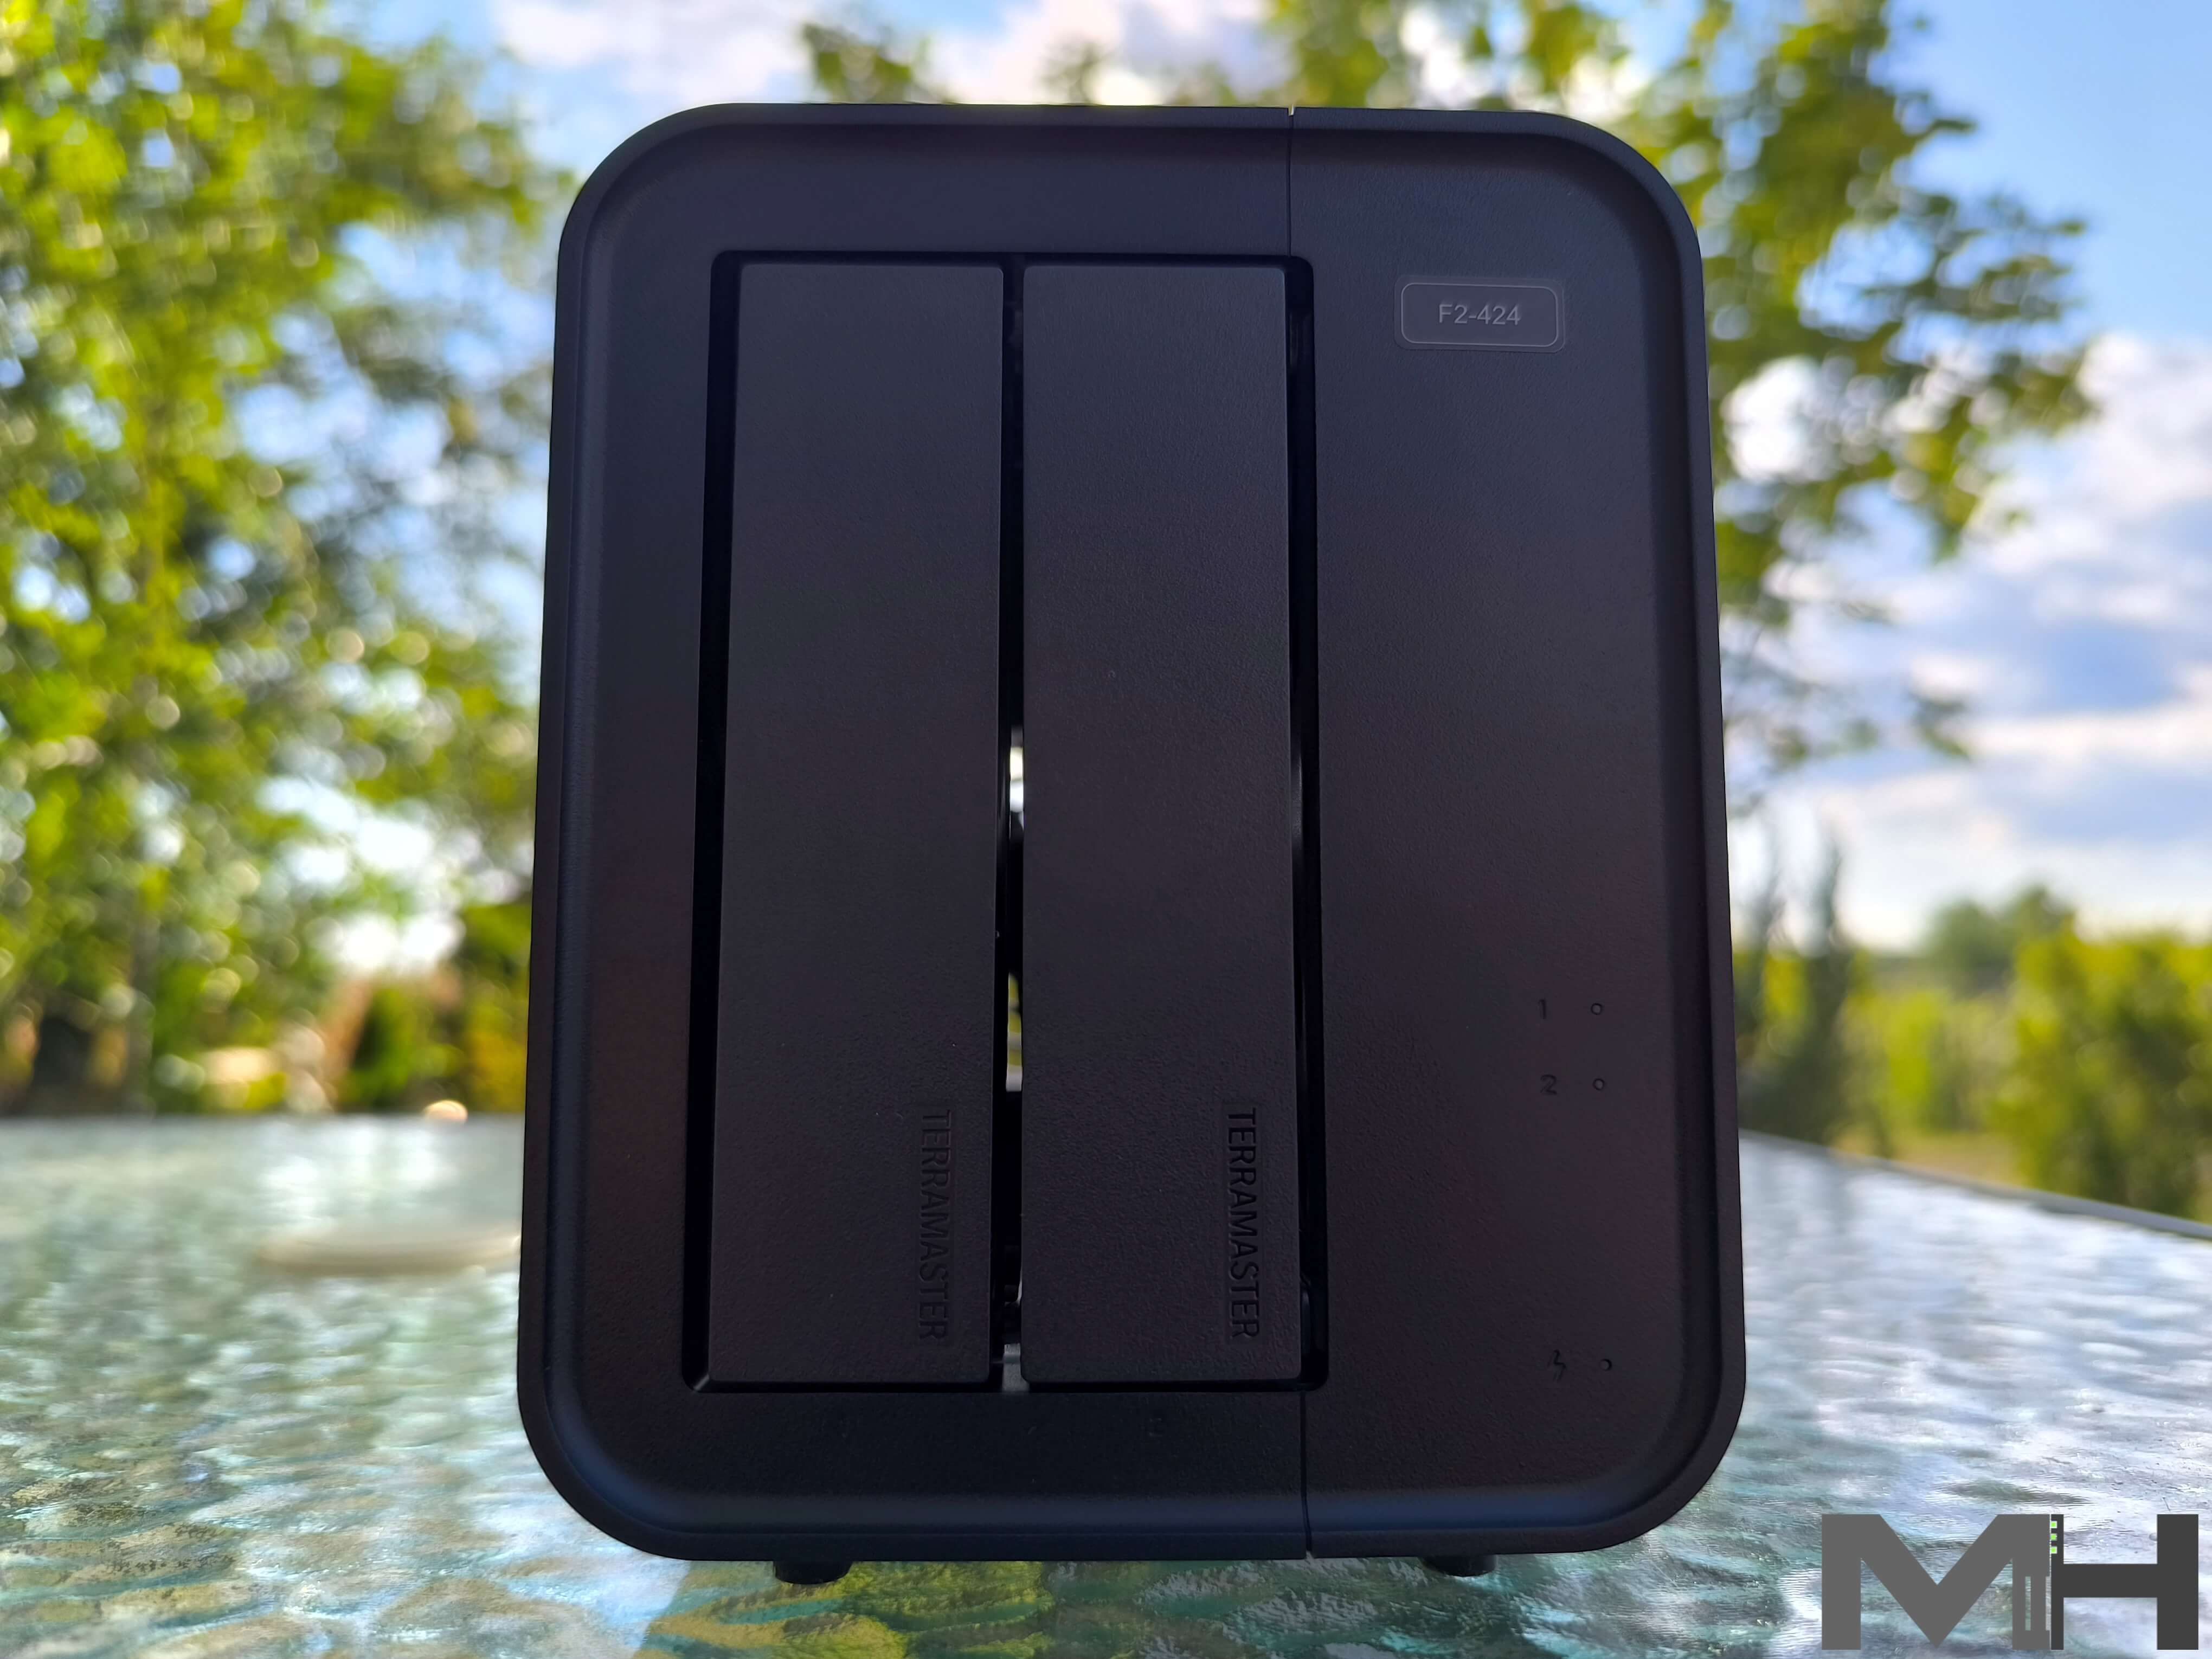
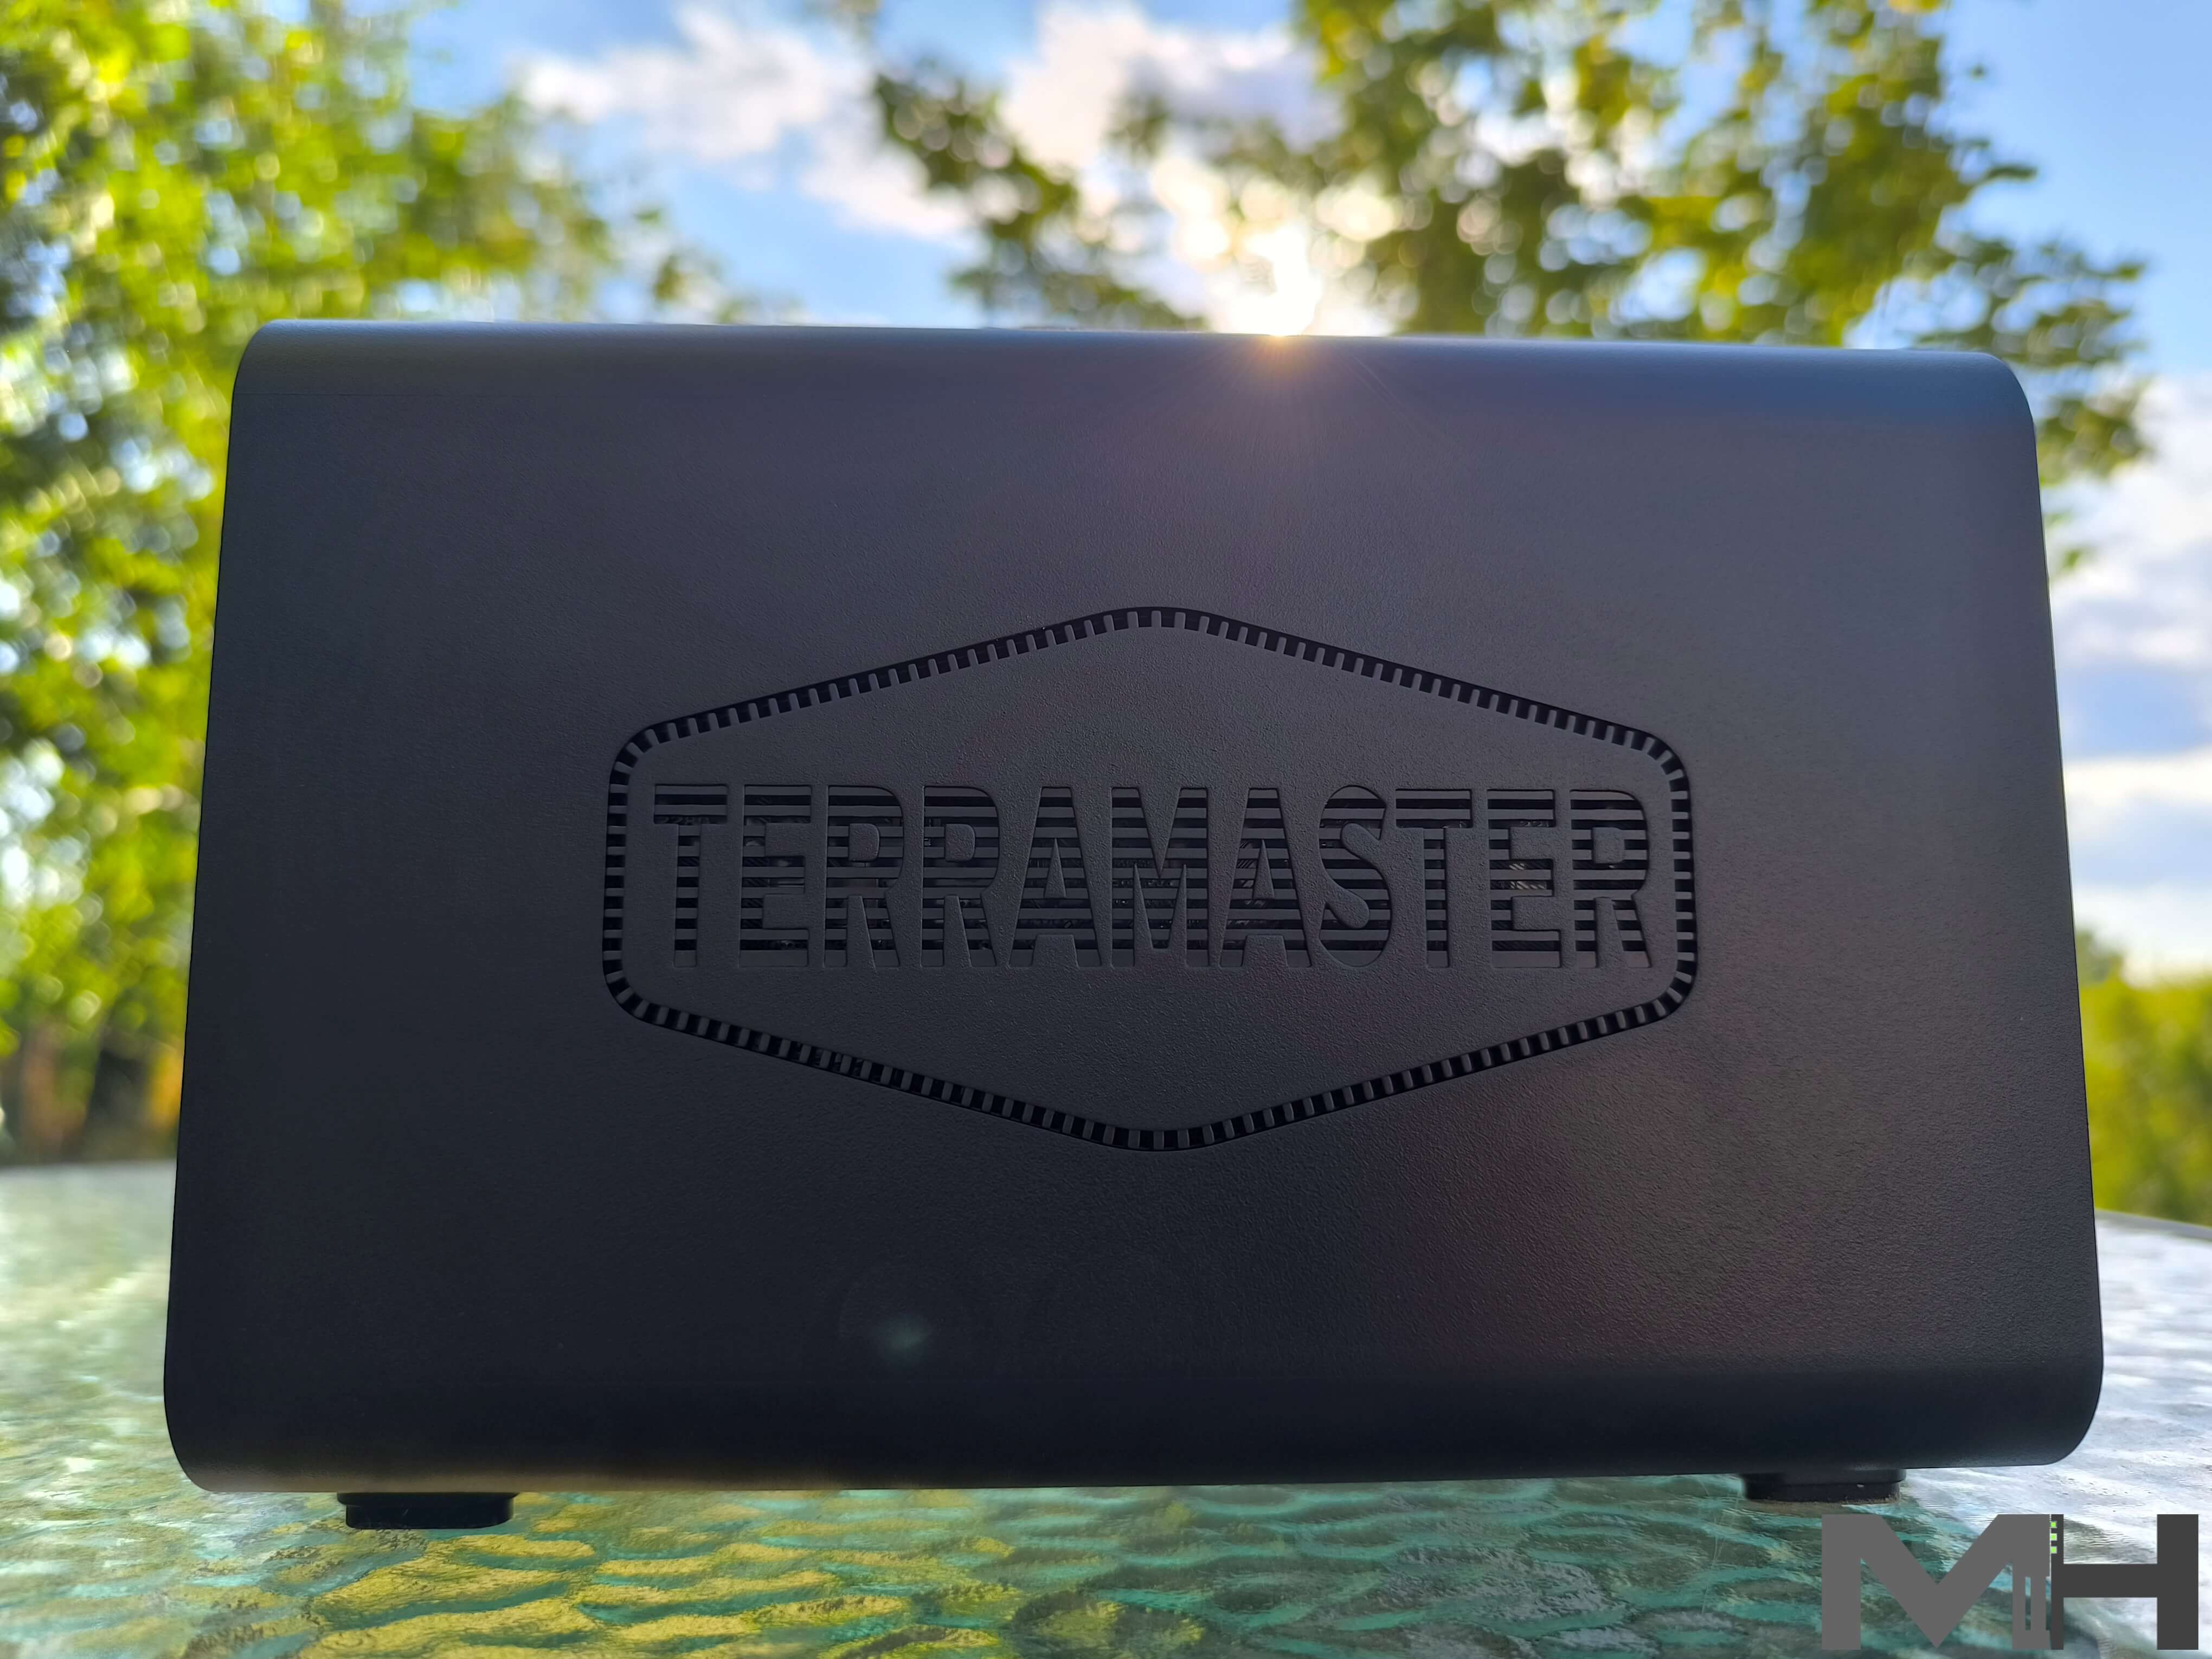
Robust NAS
If you take a closer look at the device, you will notice that it’s quite sturdy and robust. There is a TERRAMASTER logo on the side of the device, as can be seen in the picture below.
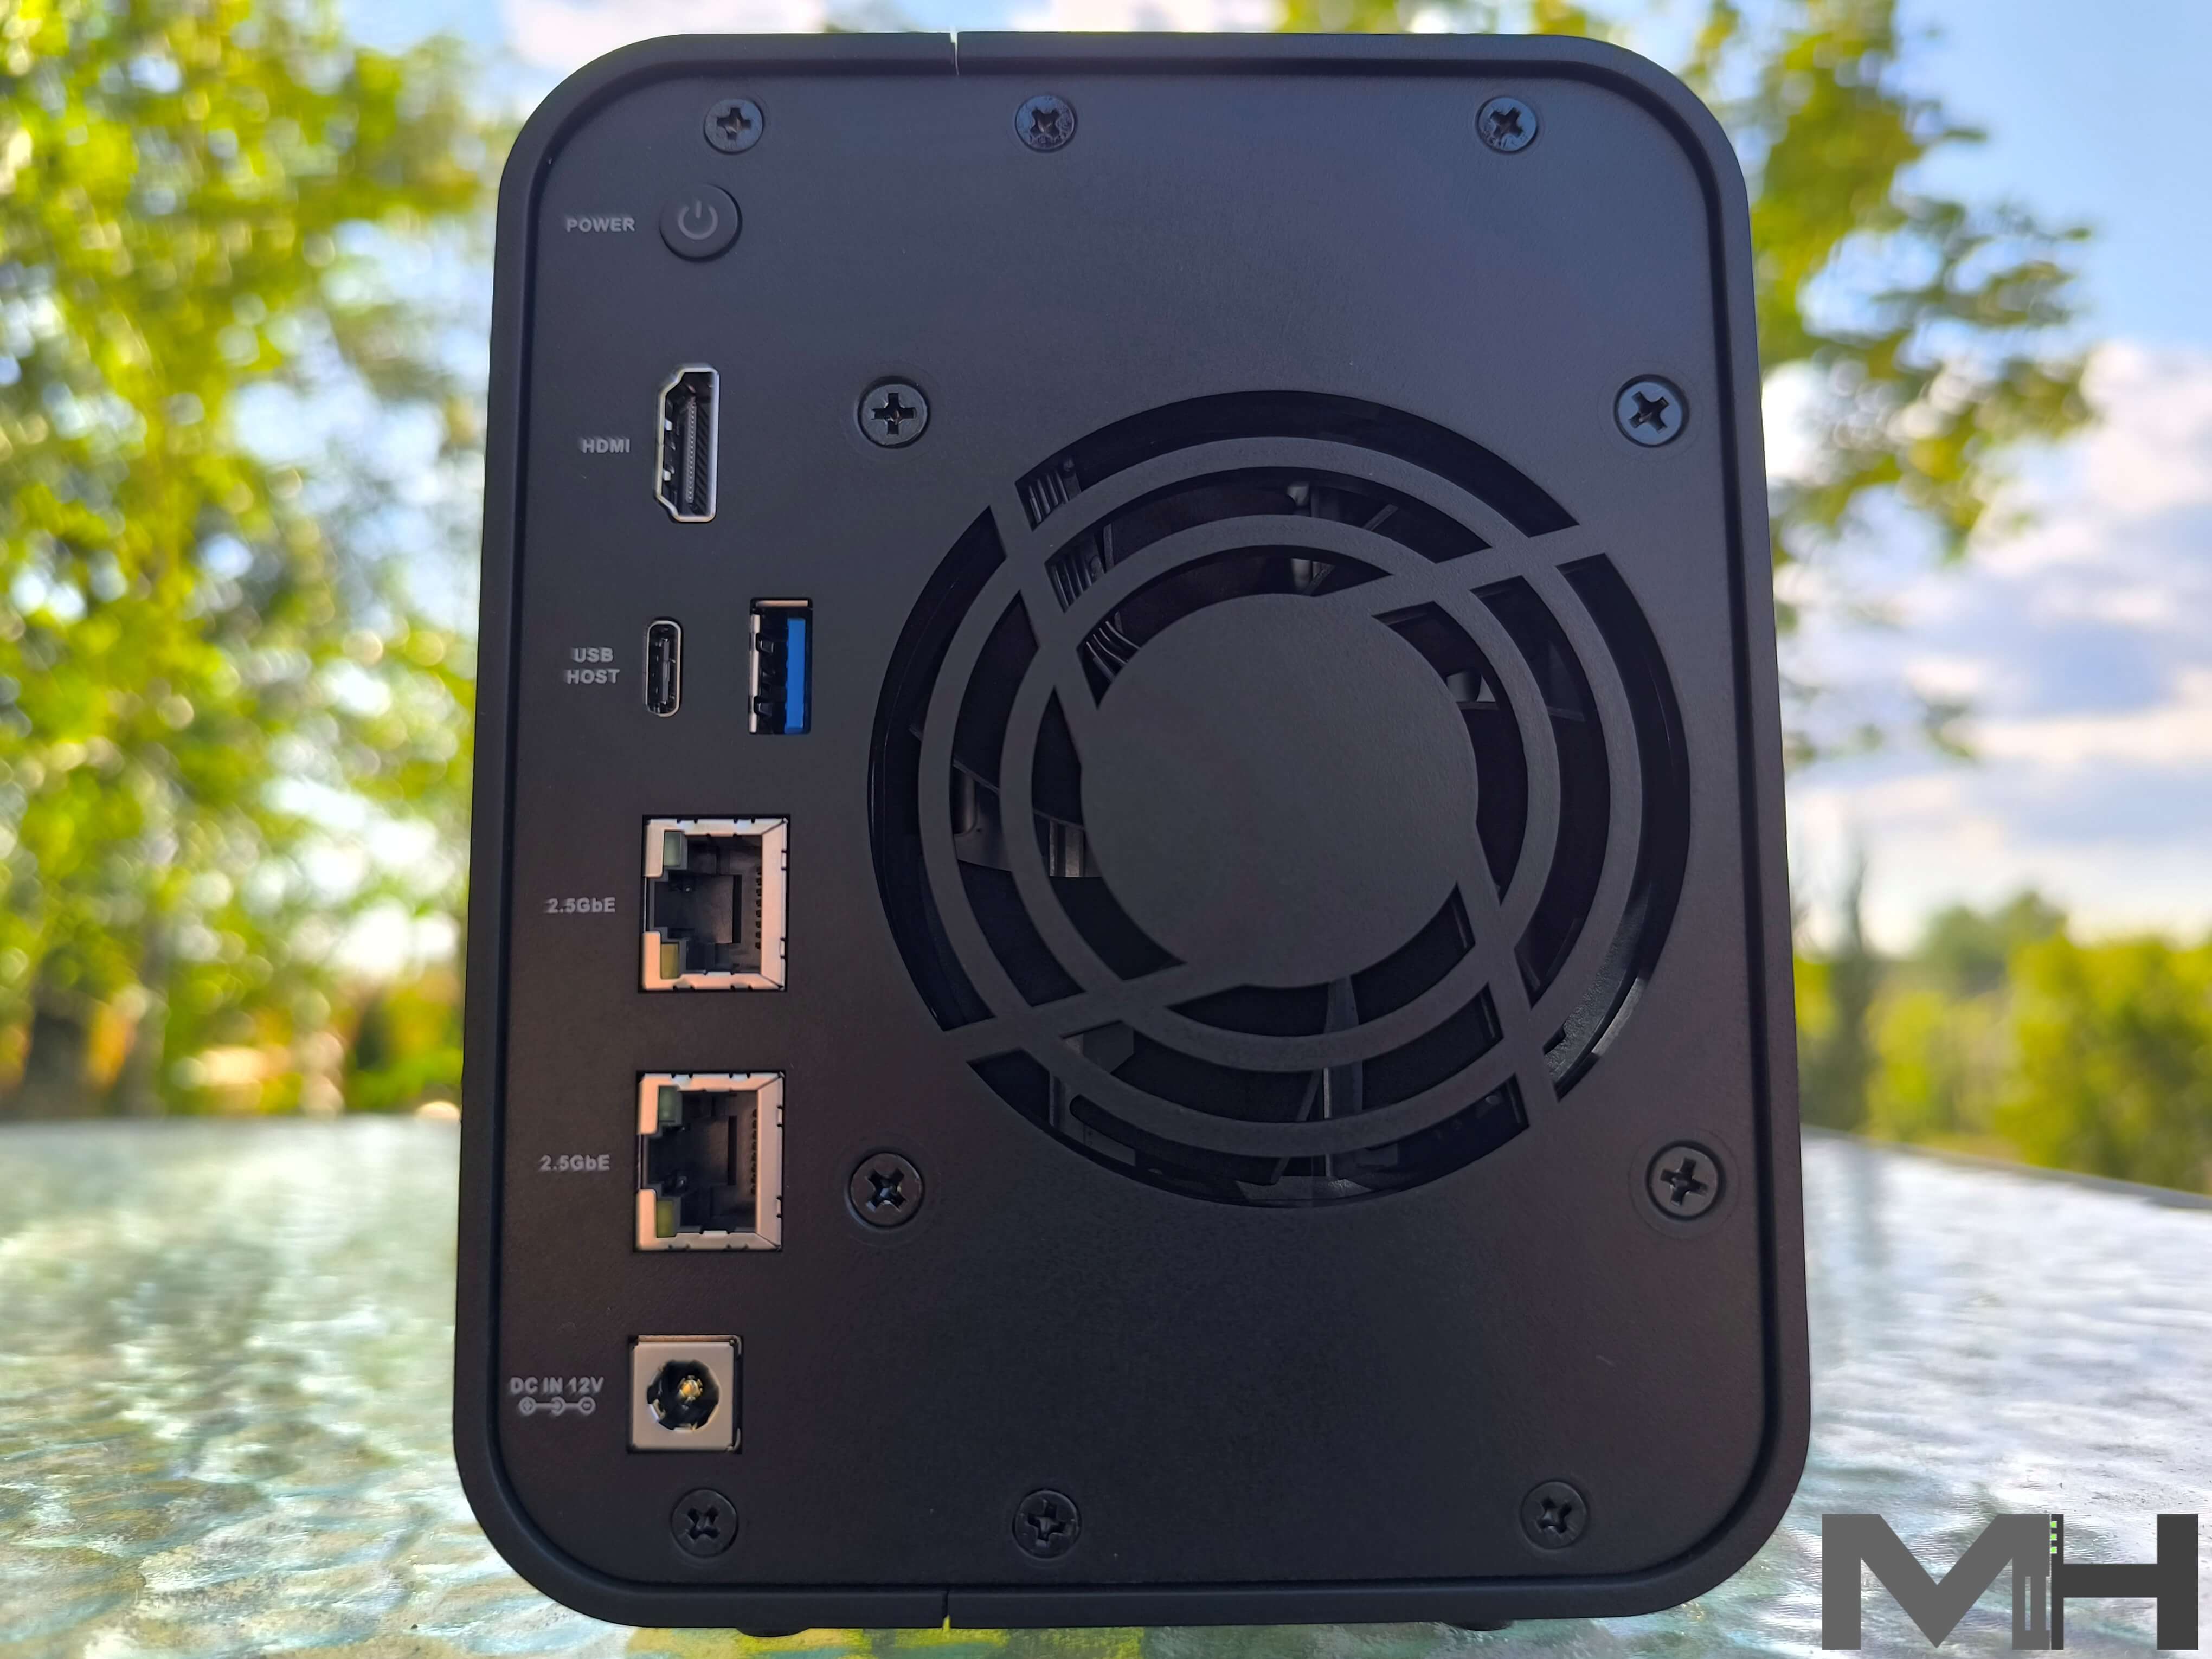
Excellent Ventilation and a Close-Up of the Back
As you can tell from the picture below, the F2-424 NAS enjoys excellent rear ventilation. One large fan at the back of the device handles ventilation and temperature control, providing optimal heat dissipation. The NAS is surprisingly quiet, as was every TerraMaster device I’ve tested so far. Below is a back view picture of the F2-424 with the following: 1x HDMI port, 2x USB 3.2 (10Gbps) ports, 2 RJ45 2.5GbE LAN Ports and the Power button.
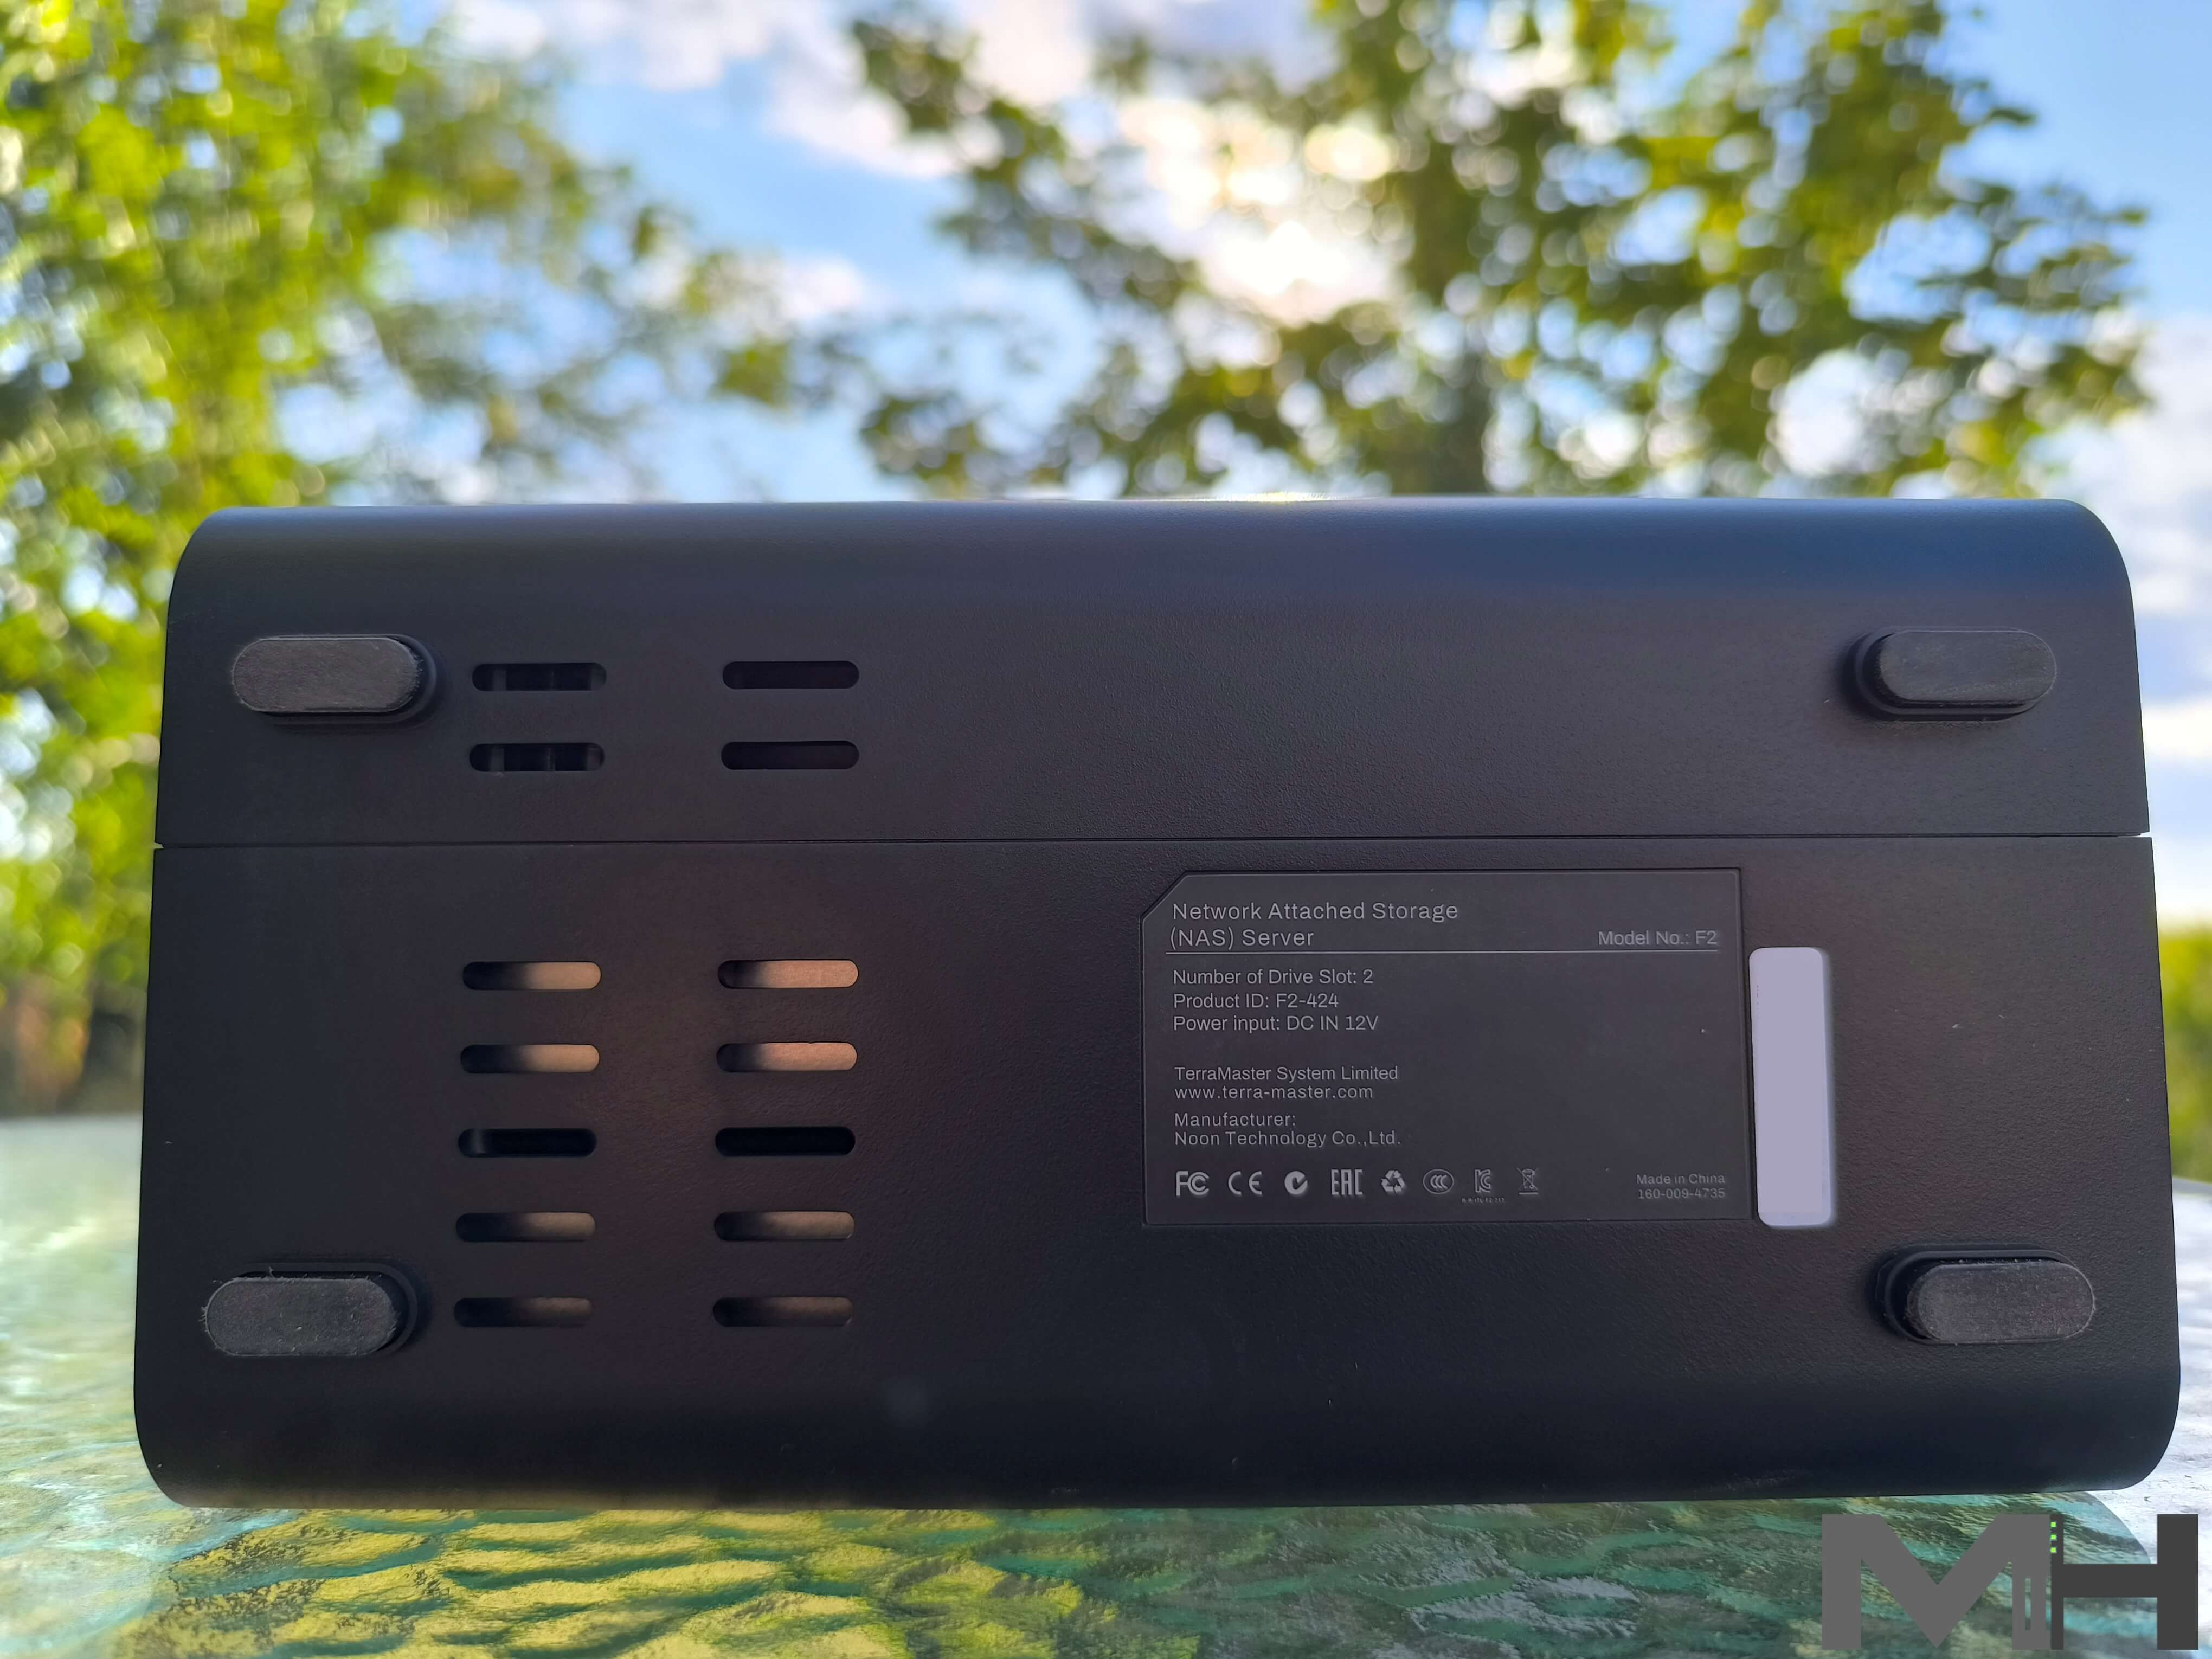
The F2-424 is Ventilated at The Bottom
Upon a closer inspection of the device, you will notice there is ventilation present on the underside of the device as well to further help with heat dissipation.
F2-424 Compatible Drive Types
- 3.5″ SATA HDD
- 2.5″ SATA HDD
- 2.5″ SATA SSD
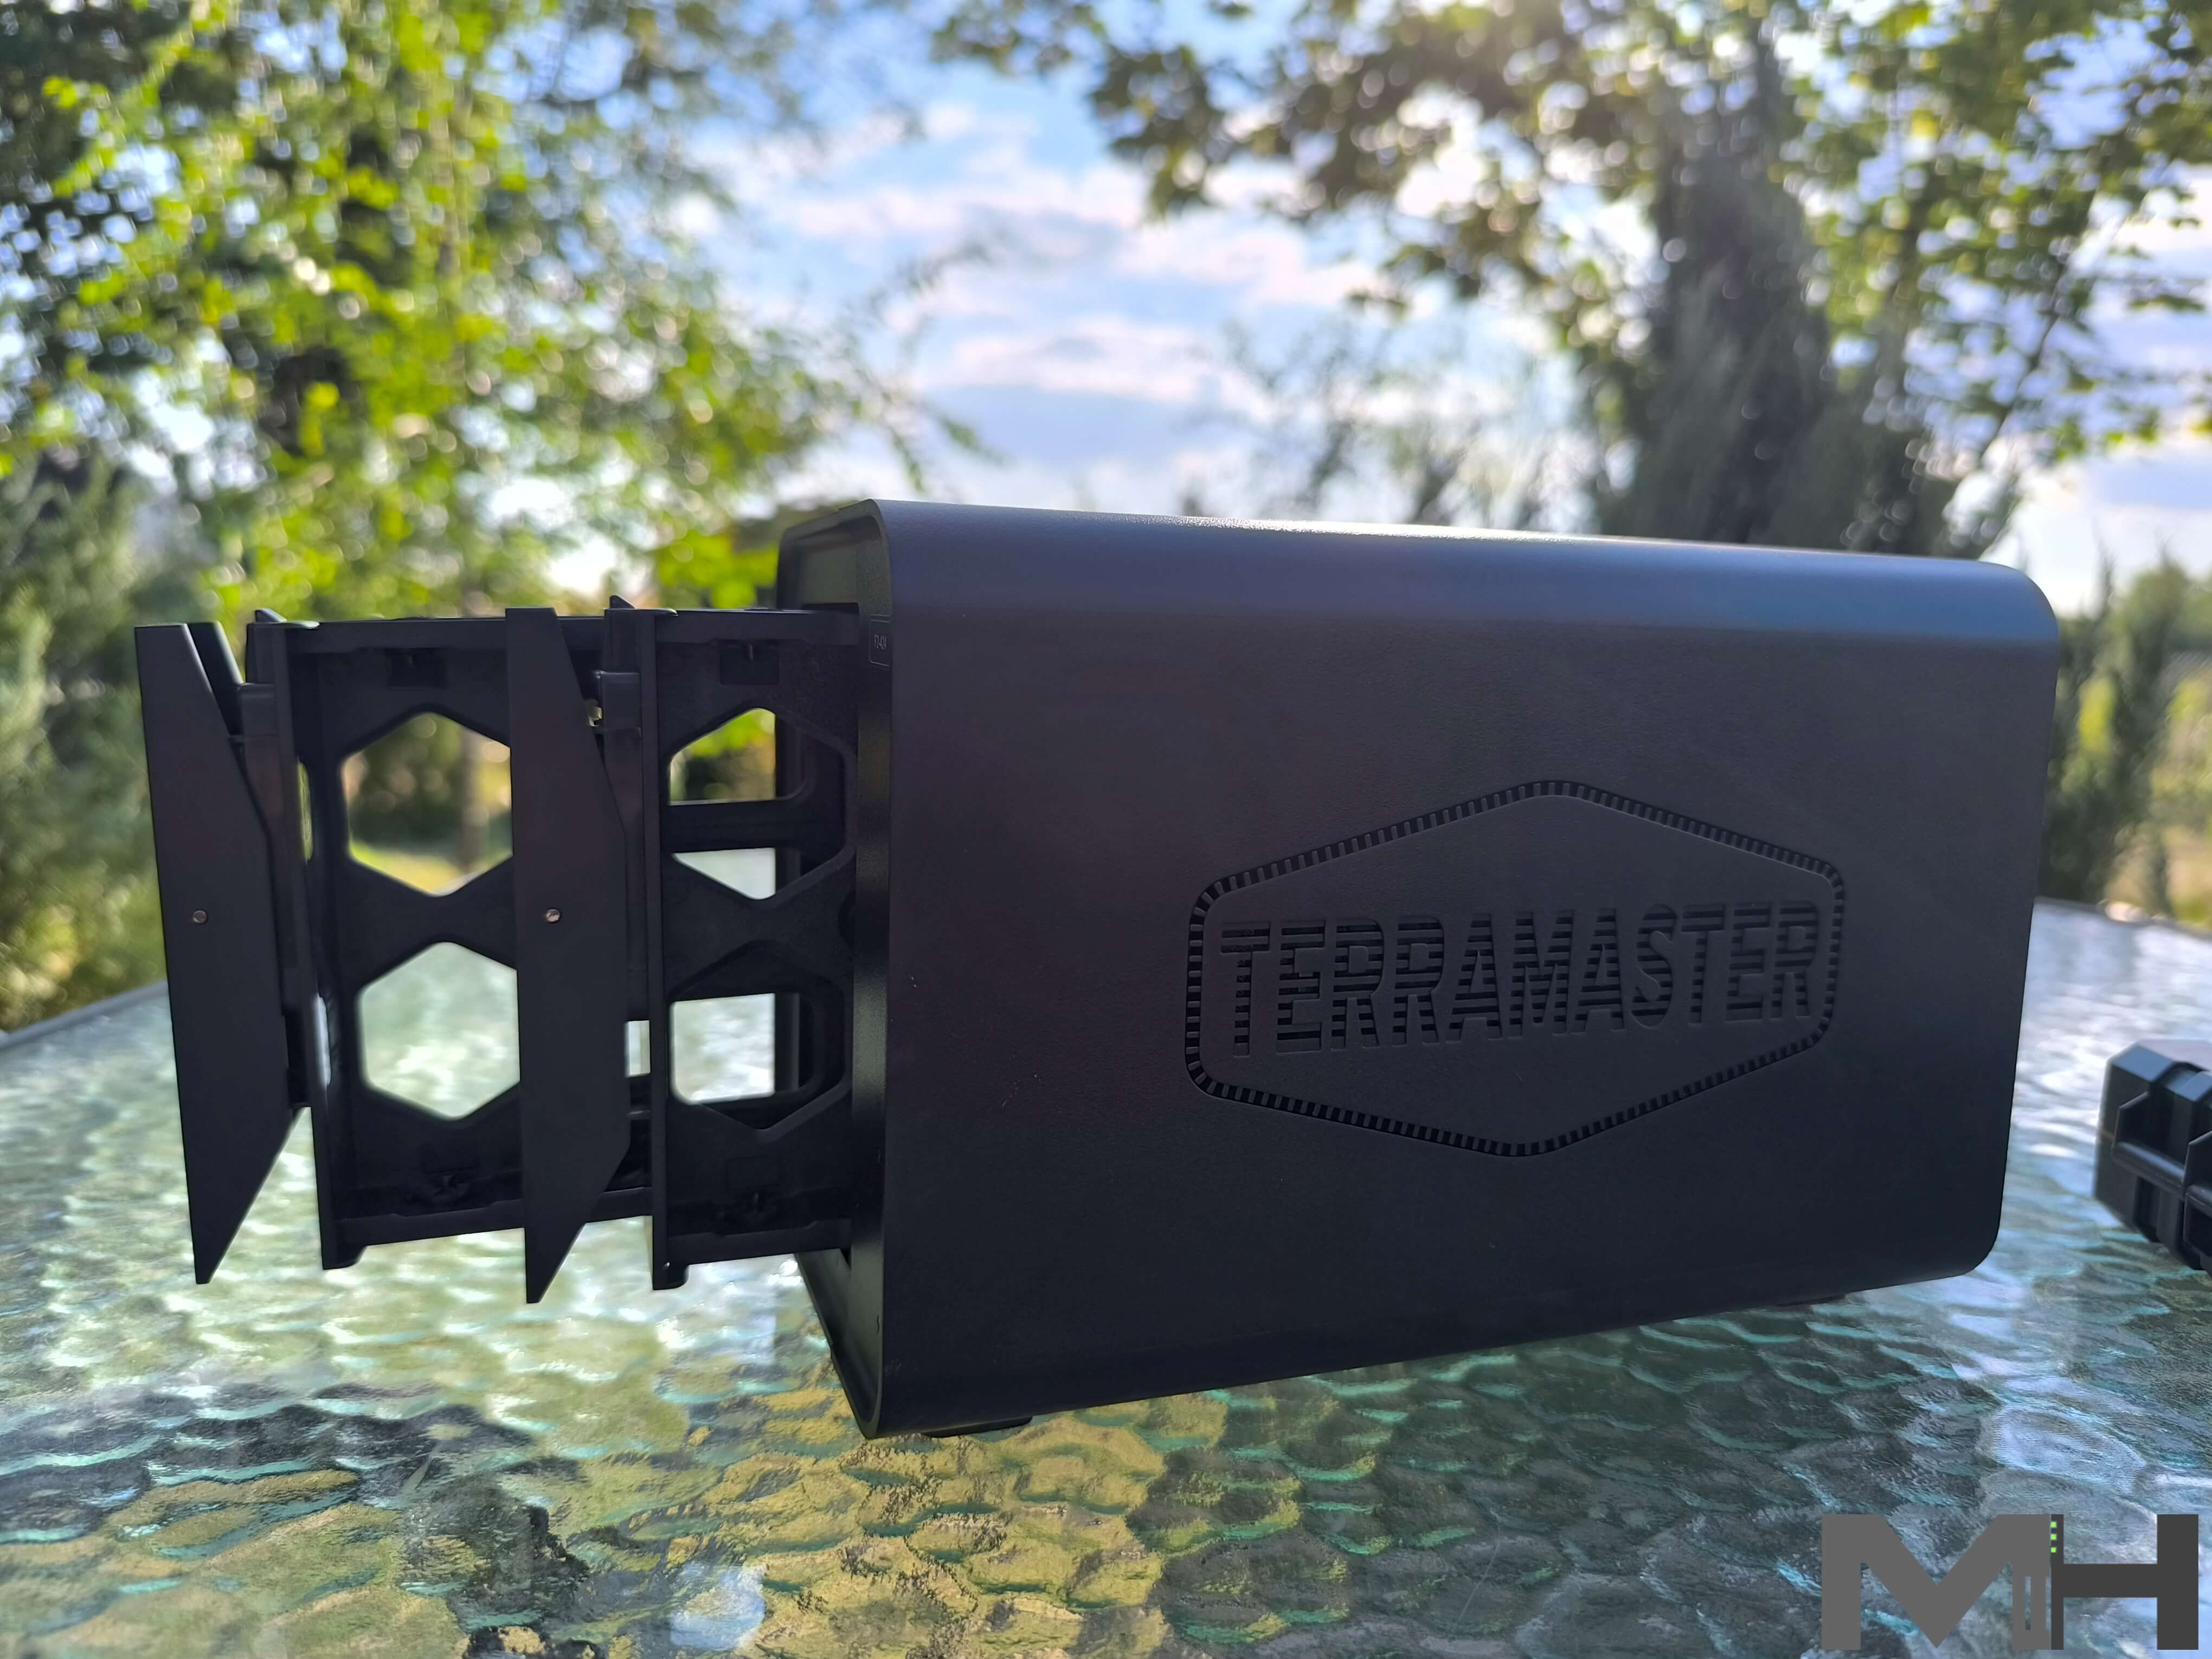
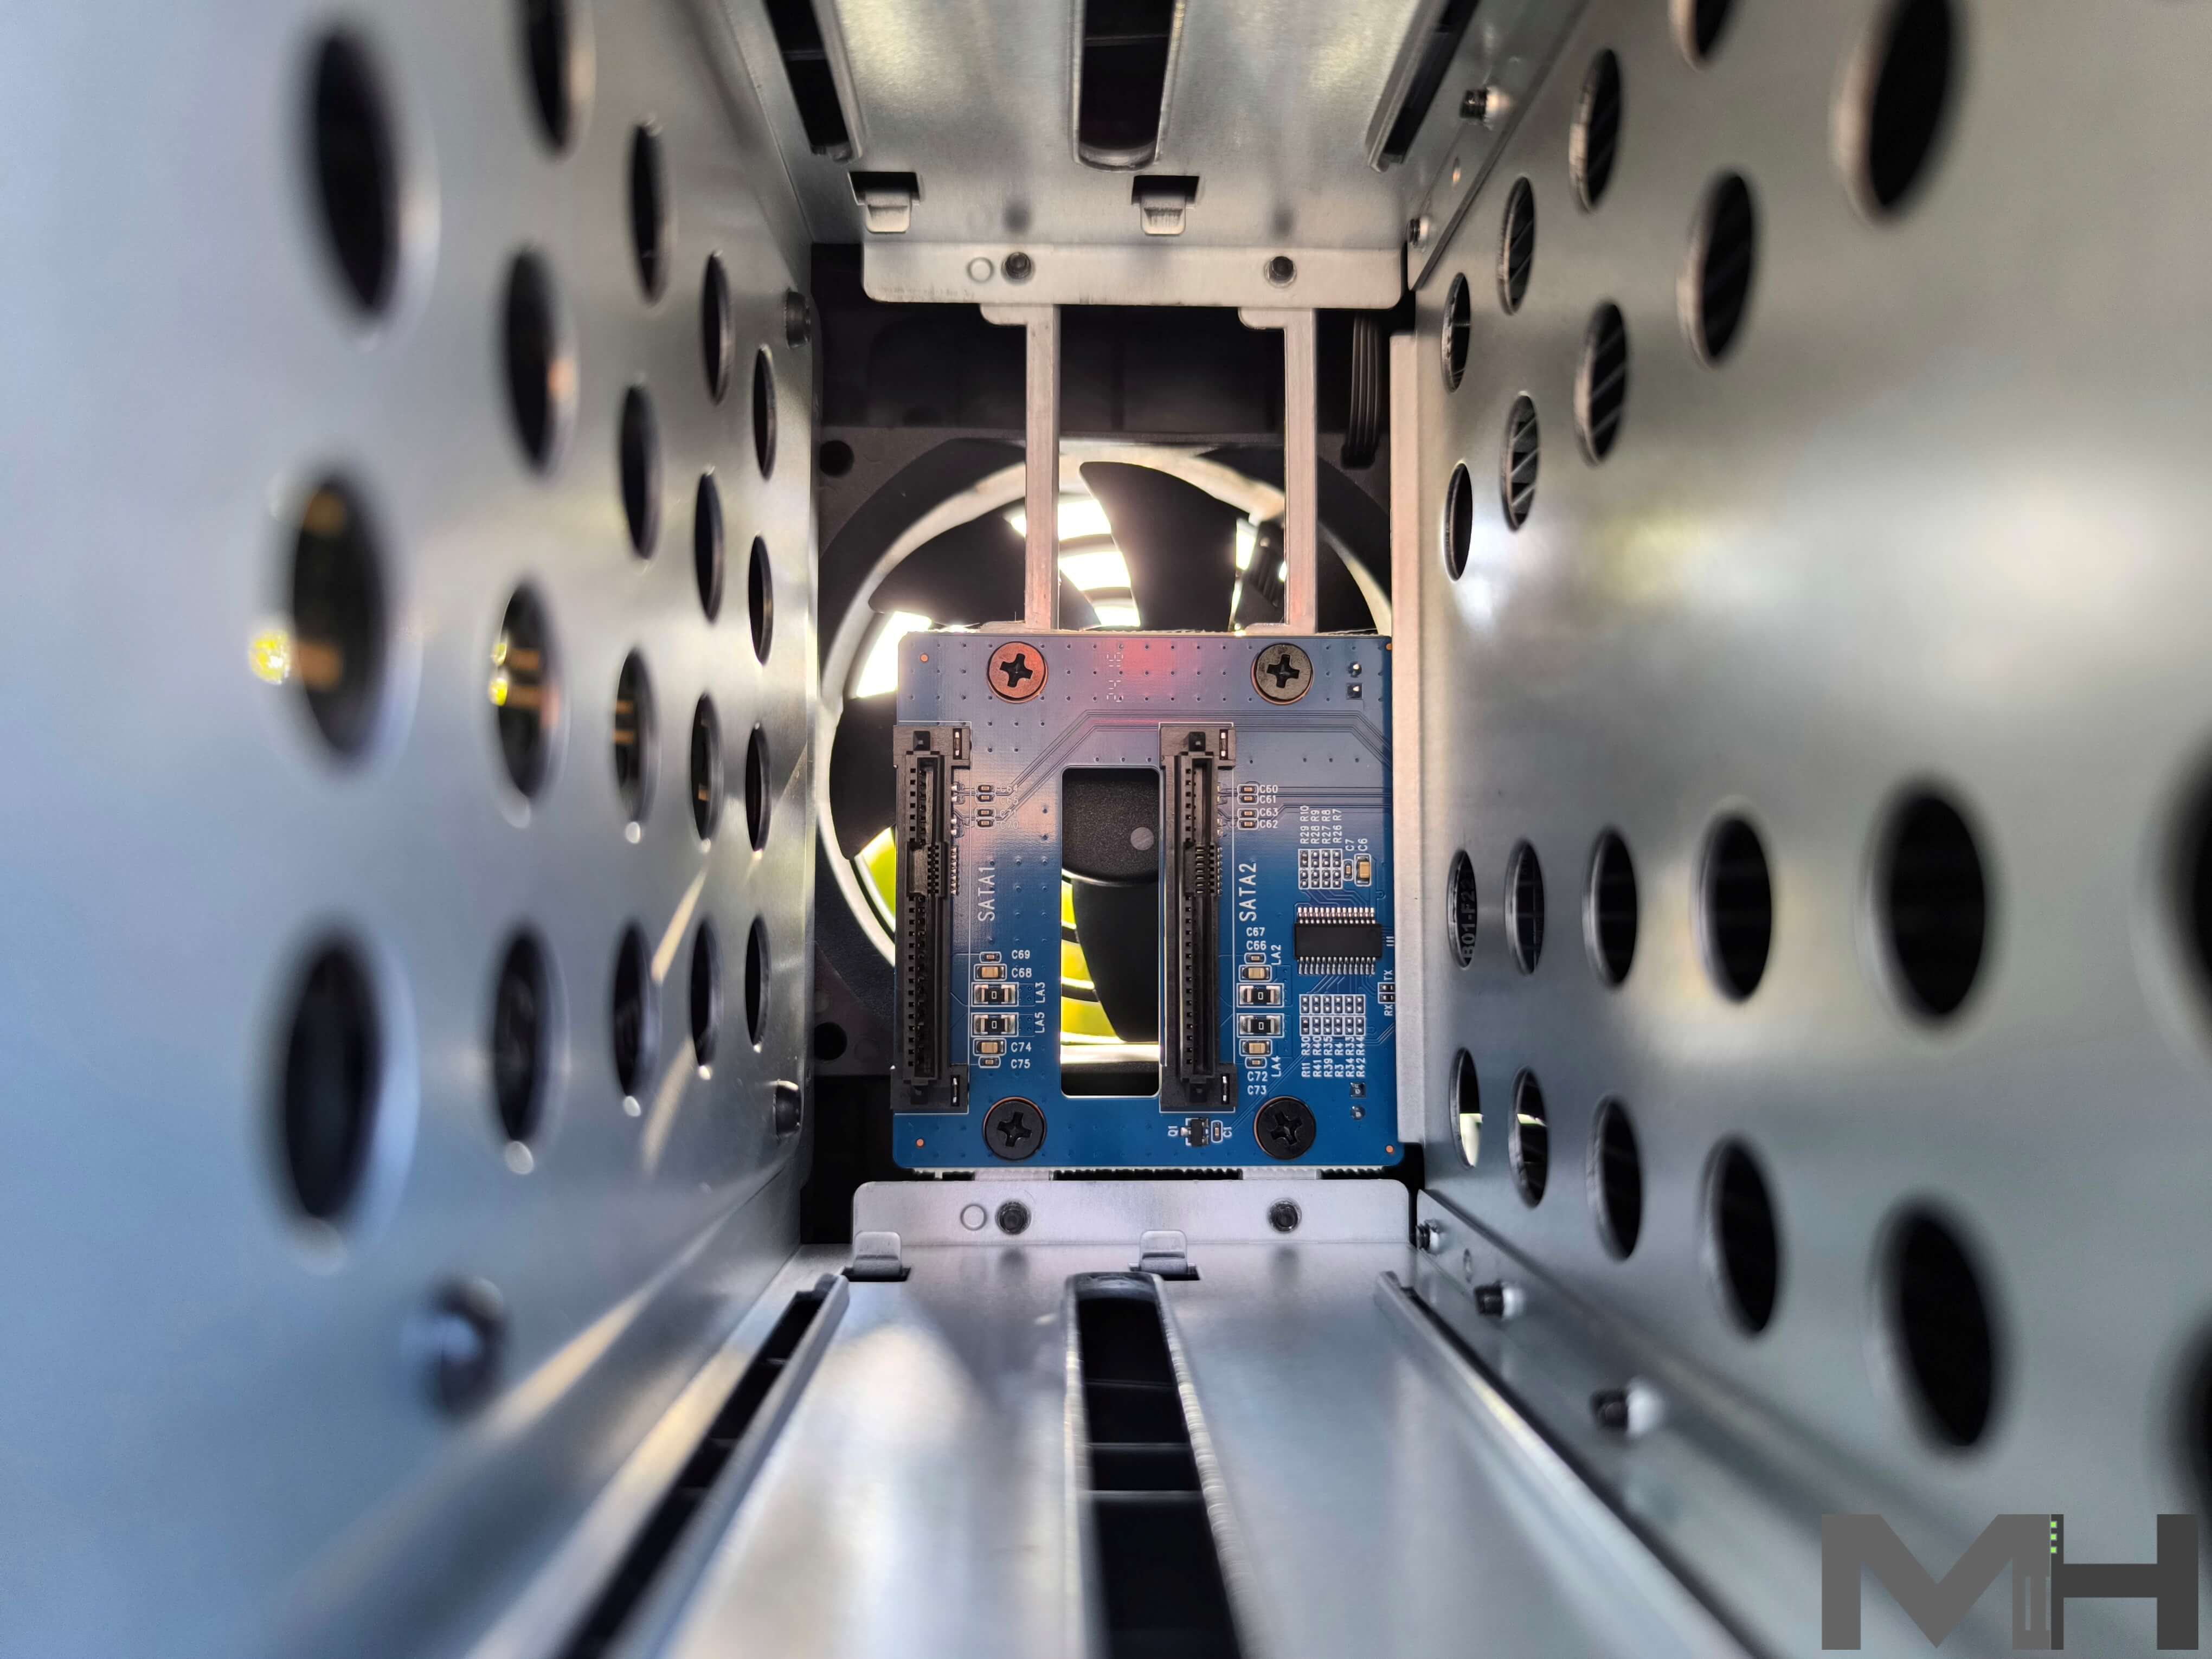
A Close-Up!
Looking inside one of the disk slots, you can see there is a metal frame, and the design overall supports optimal heat dissipation which helps prolong disk lifespan. Metal protection separates the disks from the well-ventilated motherboard.
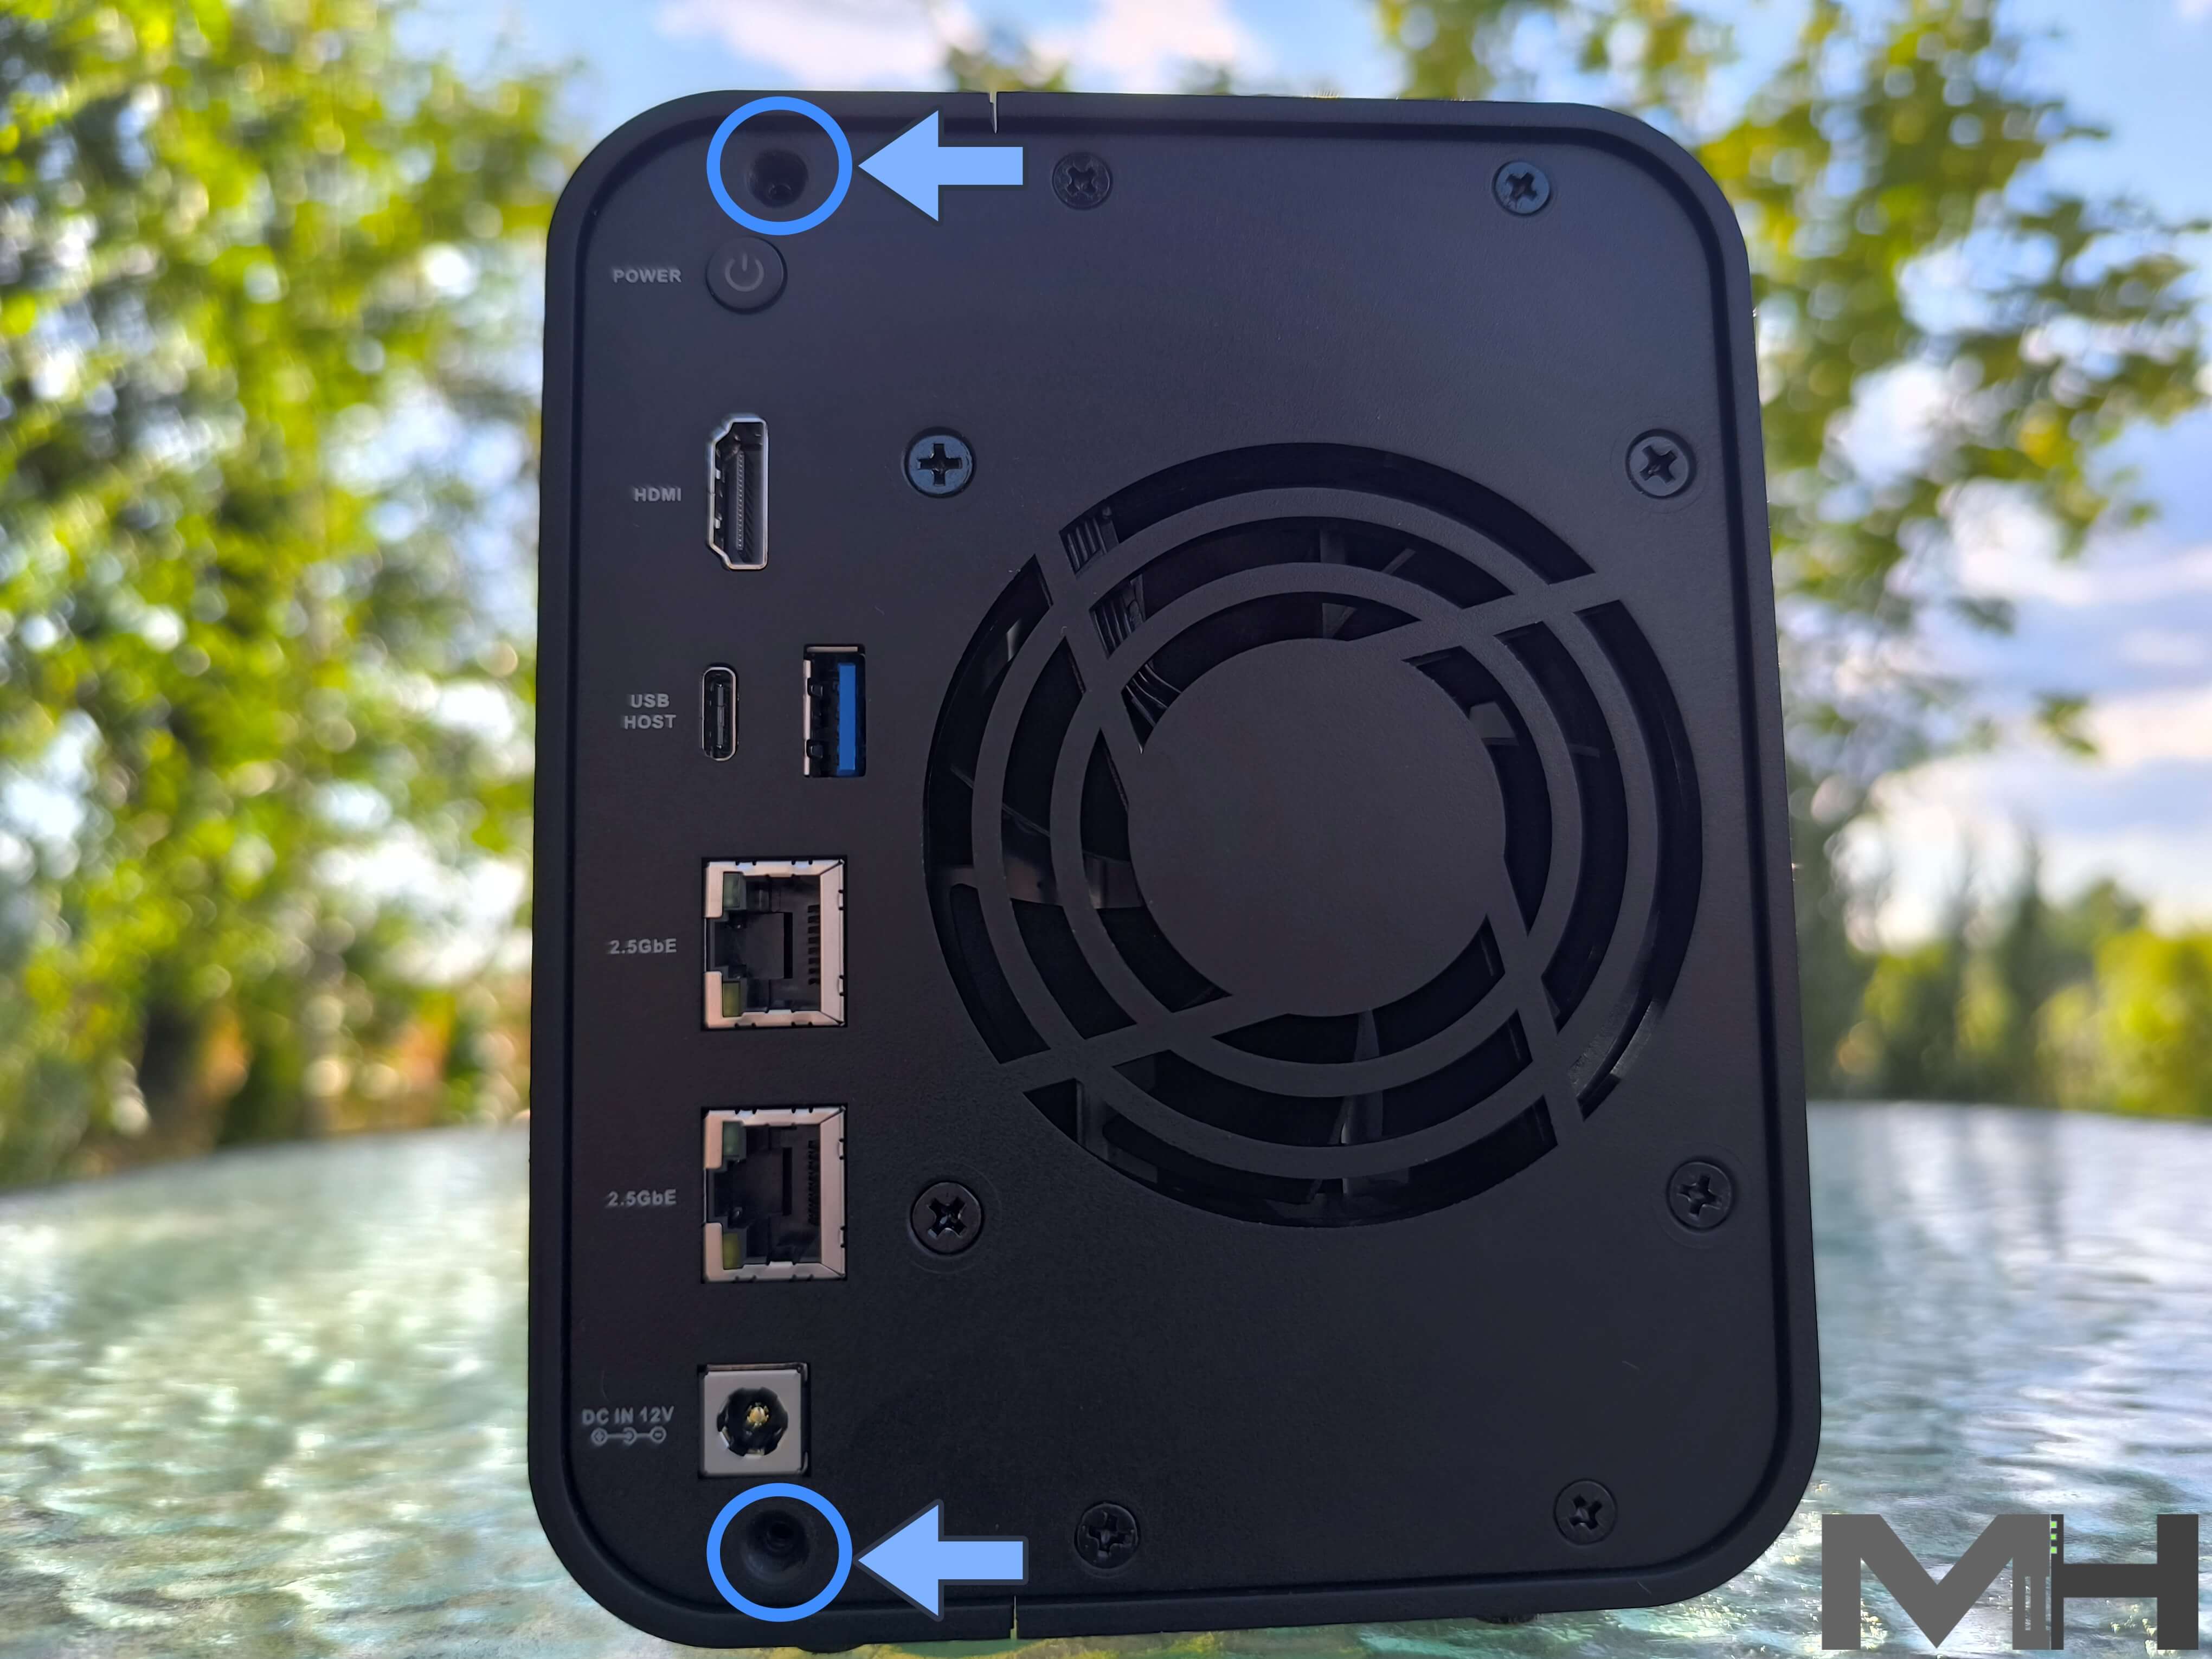
How to Access and Add M2 2280 SSDs and Upgrade F2-424 RAM
Using a screwdriver, remove the two screws at the back of the F2-424 NAS as indicated in the picture below.
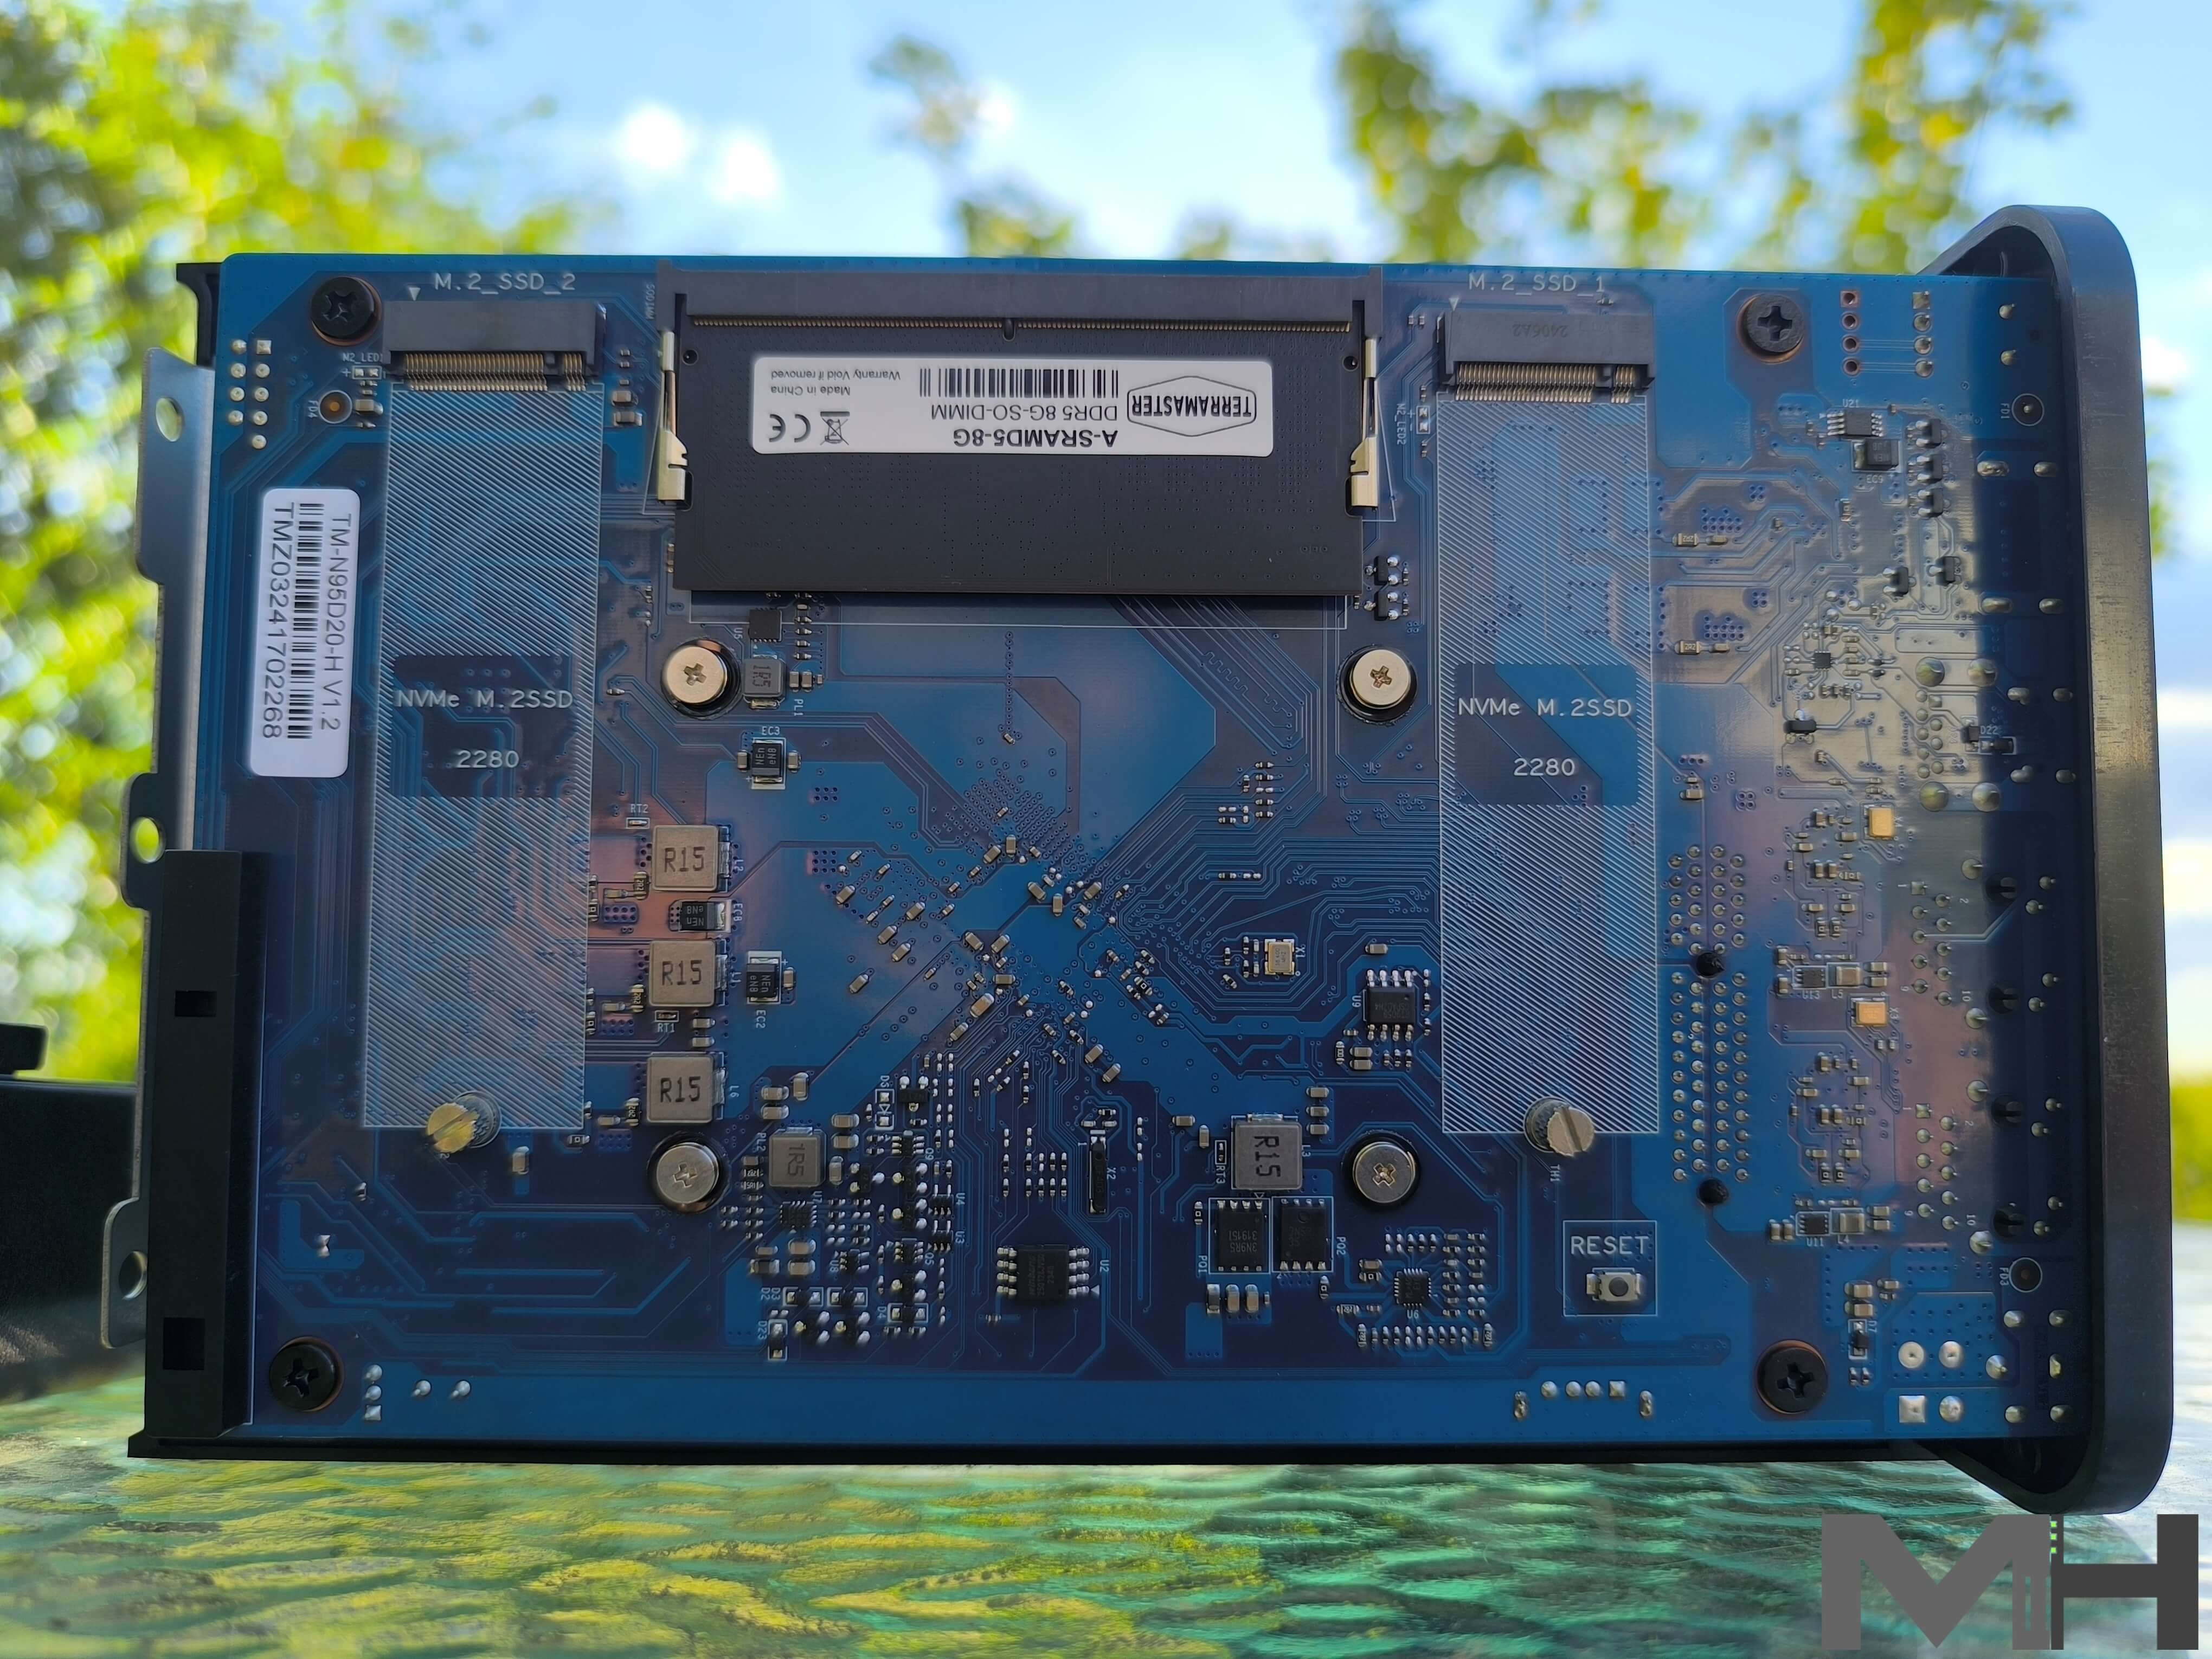
Add RAM and SSDs
Open the NAS case using gentle forward pressure. Here you can expand the RAM and, instead of the pre installed 8 GB DDR5 RAM, you can add a 32 GB DDR5 non-ECC SODIMM RAM. To facilitate the installation of M.2 SSDs, TerraMaster has specially designed a side sliding cover for the F2-424 chassis which is simply pushed aside to install M.2 SSDs. TerraMaster also provides hand-tightened screws, making it easy to install an SSD within 5 seconds.
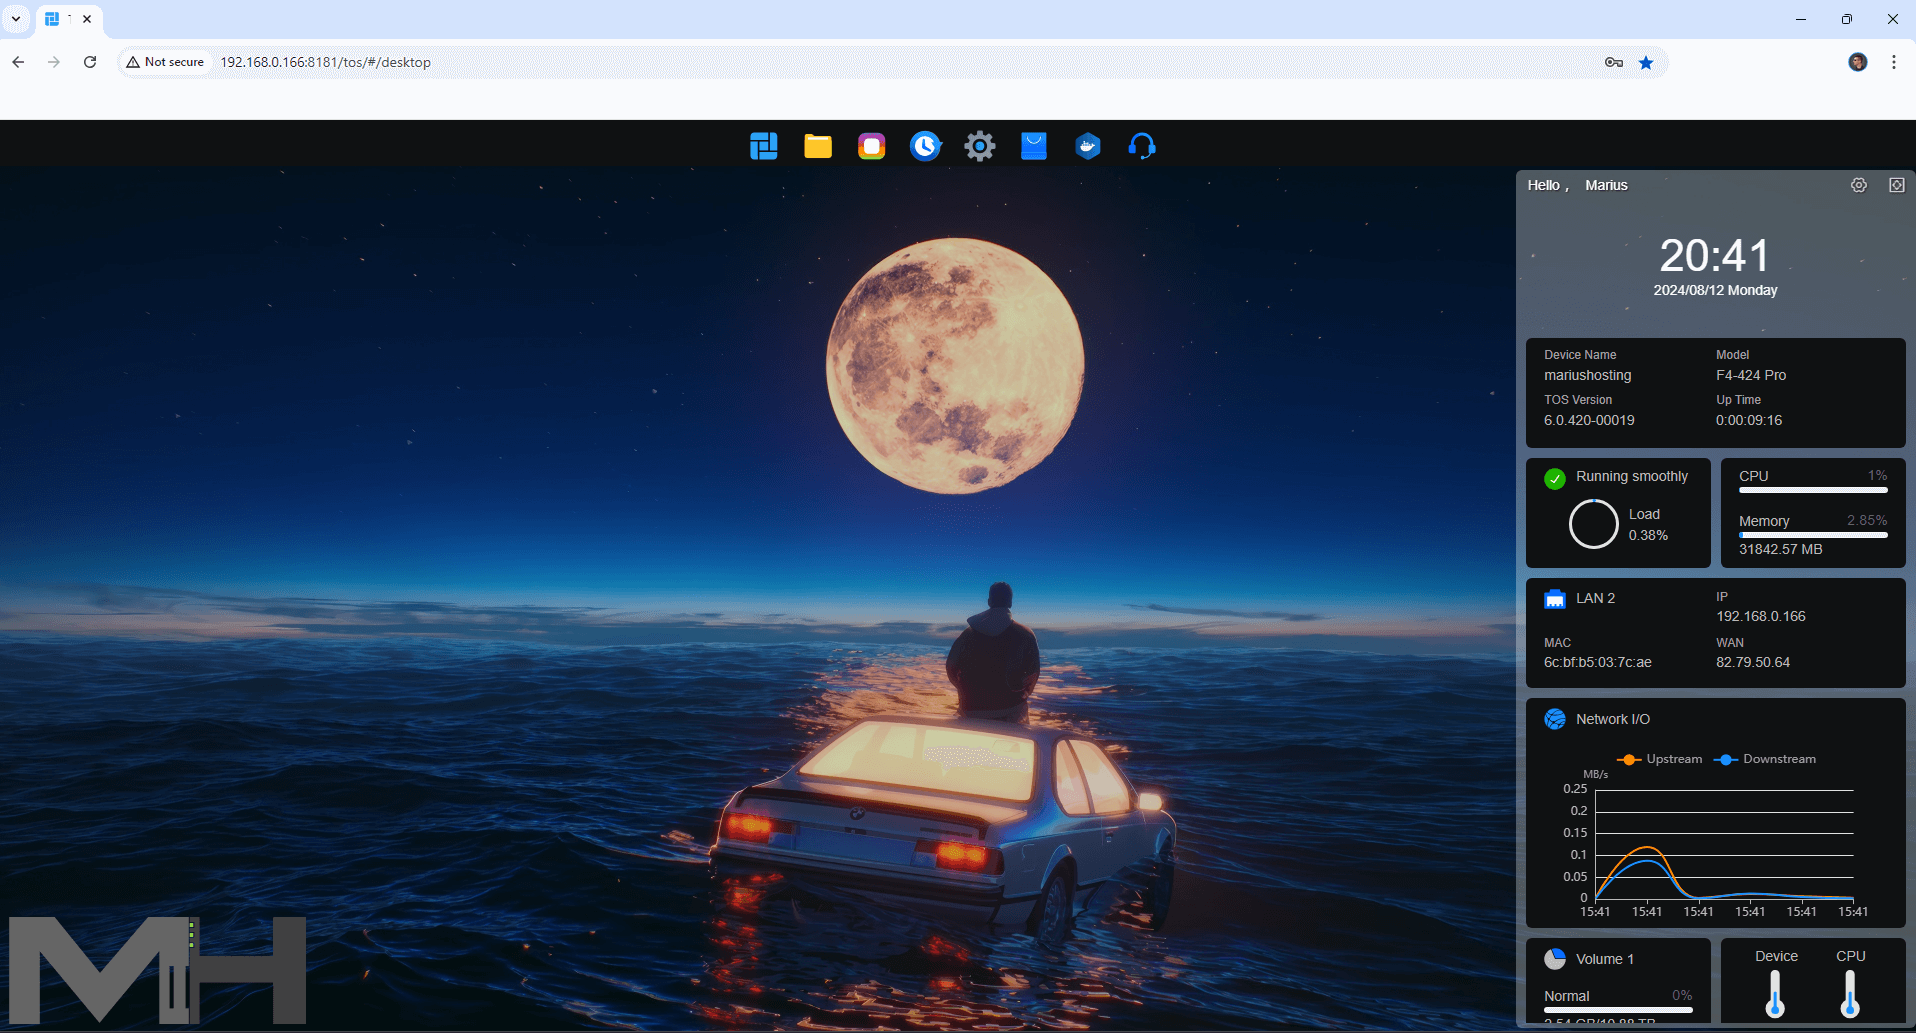
First Power On
After I inserted the disks, everything was up and running in a couple of minutes! To set up the TerraMaster F2-424, after you have inserted the disks, connect the power adapter, plug in the LAN cable, then click the ON button. Next, open your favorite browser and access the following address below to start the installation process.
Monitor your system at all times!
This post was updated on Friday / September 13th, 2024 at 9:53 AM