WordPress is a powerful Content Management System that has its own built-in Cron system known as WP Cron. WP Cron is a task scheduler for WordPress that allows you to schedule various tasks such as publishing scheduled posts, running database maintenance, and sending scheduled emails. However, the integrated WP Cron has a few limitations. One of the major limitations is that it relies on website traffic to run scheduled tasks.
This means that if your website doesn’t receive any traffic, then the scheduled tasks won’t run. In addition, if you have a website that generates high-traffic, the WP Cron integrated in WordPress can cause some performance issues as it can lead to an increase in server load. To overcome these limitations, you can use the server (Synology) side Cron instead of the WP Cron. In this tutorial, I will guide you on how to use the server Cron in WordPress instead of the built-in WP Cron. Note: this guide will work only if you have installed WordPress on your Synology NAS using my Docker guide.
STEP 1
Please Support My work by Making a Donation.
STEP 2
Install WordPress using my step by step Docker guide. If you already have WordPress installed on your Synology NAS, skip this STEP.
STEP 3
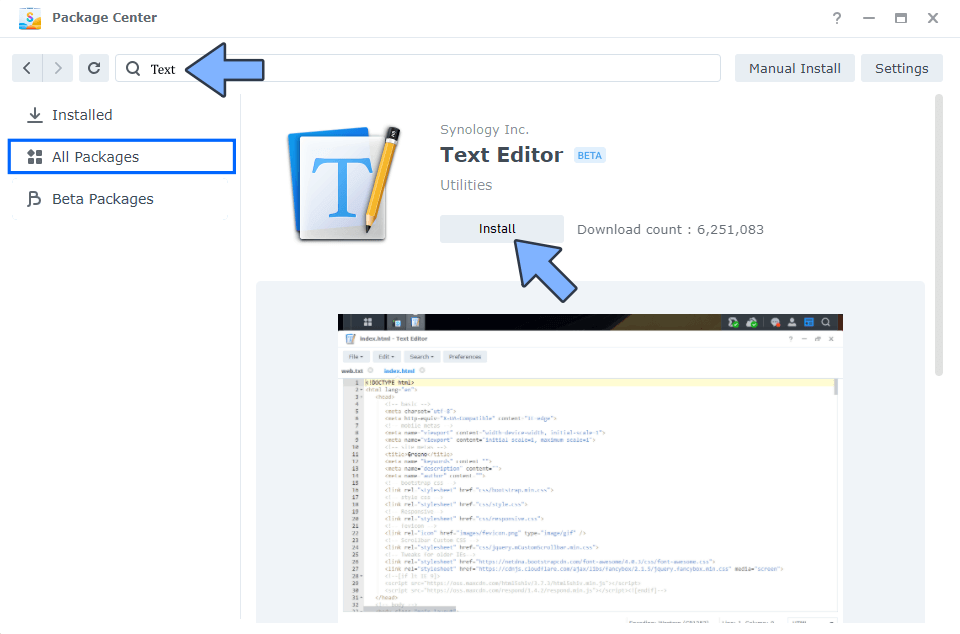
Install Text Editor via Synology “Package Center”. (Mandatory STEP.) If you already have Text Editor installed on your Synology NAS, skip this STEP.
STEP 4
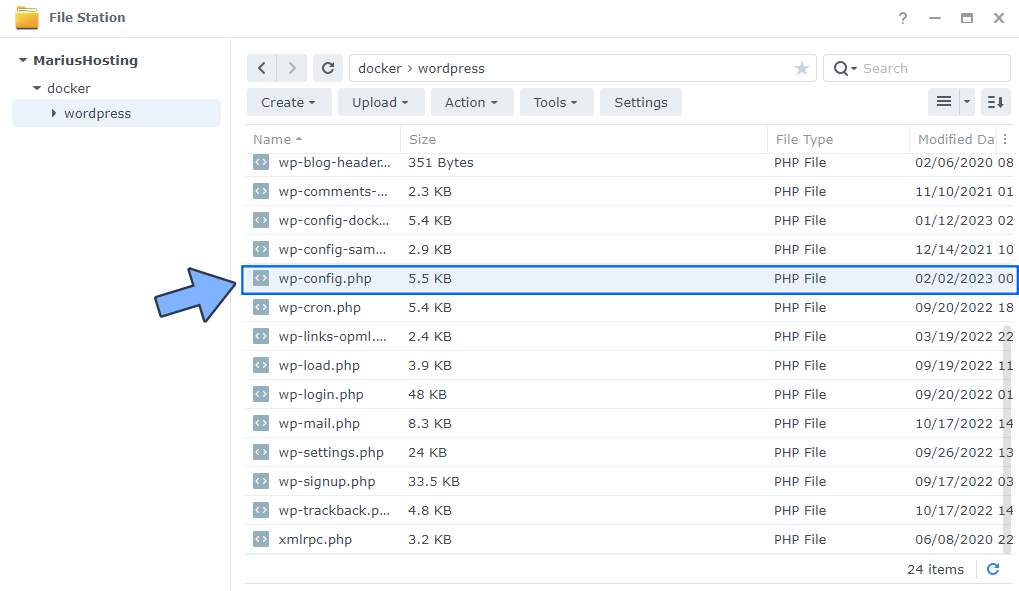
Make sure you have installed Synology Text Editor as per the instructions at STEP 3. Double click on the wp-config.php file in your wordpress folder to open it. Follow the instructions in the image below.
STEP 5
Under the define(WP_REDIS_PORT’, ‘6379’); line, copy and paste this supplementary line. Click X to save the file. Follow the instructions in the image below.
define('DISABLE_WP_CRON', true);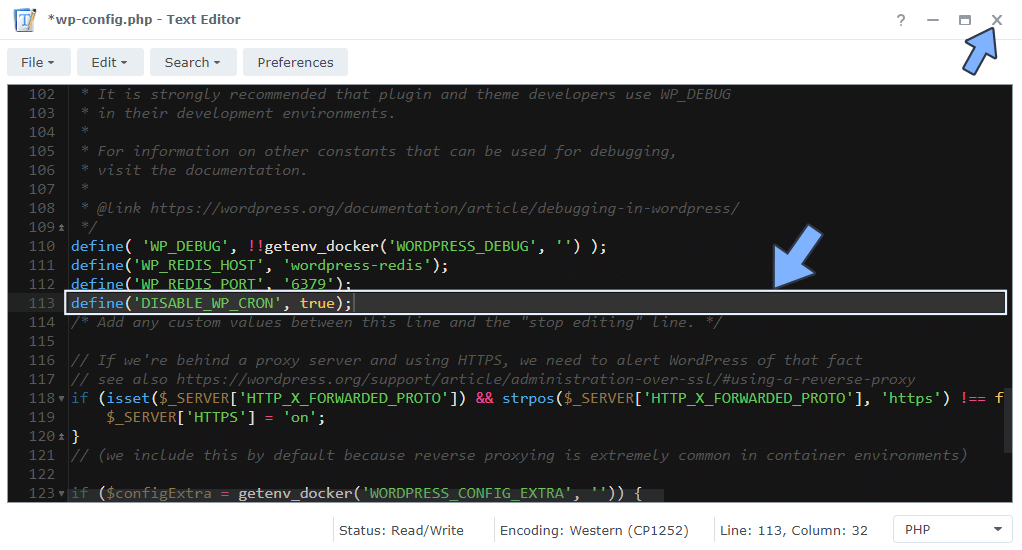
STEP 6
Go to Control Panel / Task Scheduler / Create / Scheduled Task / User-defined script. Follow the instructions in the image below.
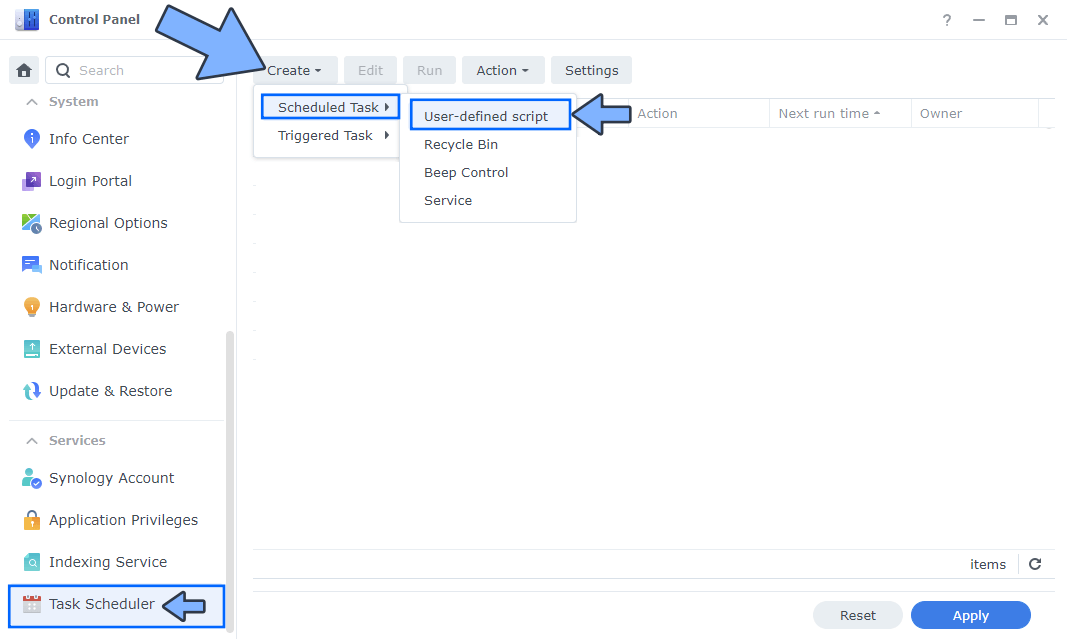
STEP 7
Once you click on User-defined script a new window will open. Follow the instructions below:
- General: In the Task field type in “WordPress CRON“. Check the “Enabled” option. Select root User.
- Schedule: Select Run on the following days then select “Daily“. Check Continue running within the same day then select Repeat Every 15 minutes.
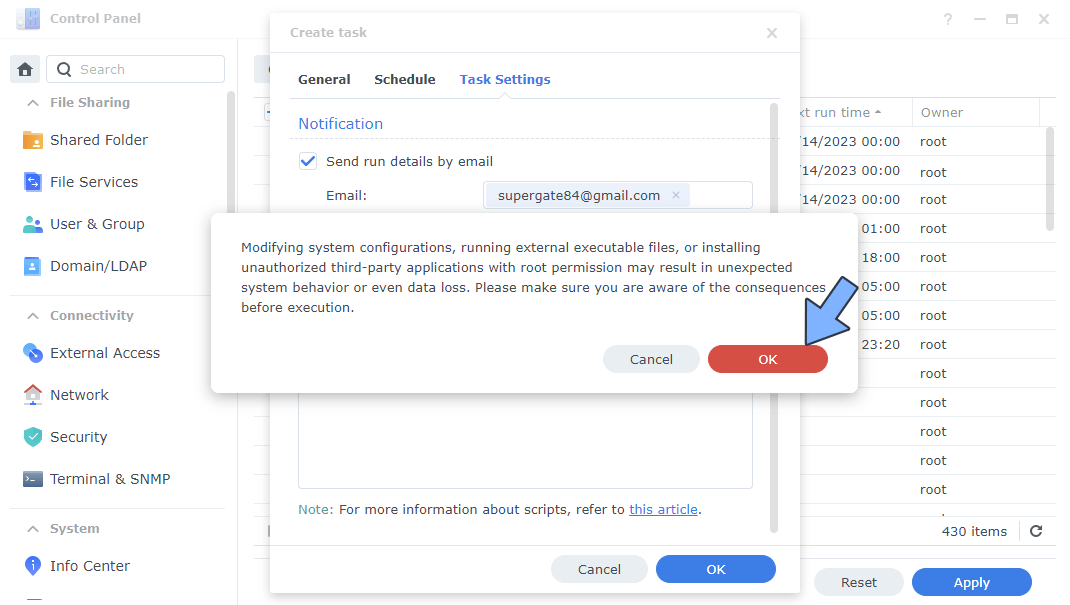
- Task Settings: Type in your own email then Check “Send run details by email” and “Send run details only when the script terminates abnormally“. Copy paste the code below in the Run command area. After that, click OK.
docker exec WordPress /bin/su -s /bin/bash -c "/usr/local/bin/php -f /var/www/html/wp-cron.php"Note: Before you paste the code in the Run command area below, remember to change WordPress with the name of your own WordPress docker name instance. If you have followed my WordPress docker guide to the letter, you don’t have to change anything.

STEP 8
After you click OK on STEP 7 a new warning pop up window will open. Click OK.
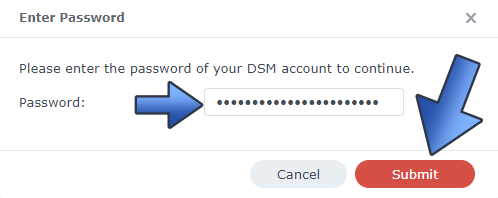
After you click OK, type in your DSM Password then click Submit. Follow the instructions in the image below.
STEP 9
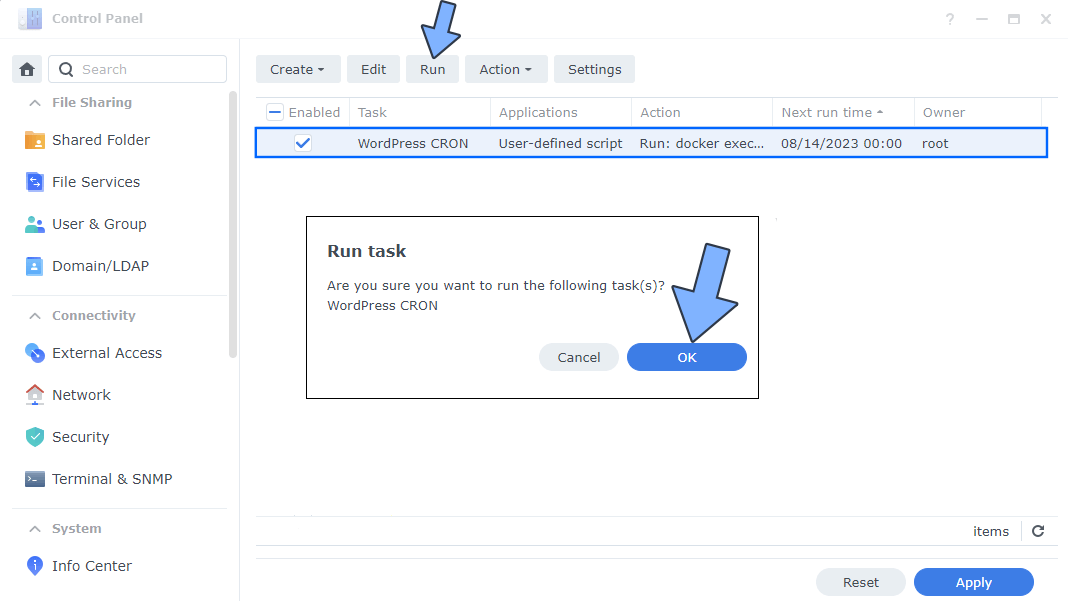
After you click Submit at STEP 8, select your “WordPress CRON” Task then click the “Run” tab. You will be asked to run WordPress CRON – click OK. Follow the instructions in the image below.
Note: That’s it! Using a server Cron job instead of the WP Cron is a great way to ensure that your scheduled tasks run reliably and efficiently, regardless of website traffic. Setting up a server side Cron job is a straightforward process that can help improve the performance and reliability of your website hosted on your Synology NAS device.
Note: In the following guide find out how to use Cron for WordPress if you have installed the non Docker version of WordPress like the original WordPress Synology package or the original WordPress downloaded from wordpress.org on your Synology NAS.
This post was updated on Saturday / August 19th, 2023 at 9:53 PM