When configuring my firewall on Synology NAS I found it useful to have a quick way to check if the ports I was working with were open or closed. Few people know that an application called PowerShell is included in Windows 10 (by default). Thanks to the command called Test Net Connection (TNC), we can check the status and correct the functioning of our firewall. Note that TNC has limitations, but seems to work fine when testing one port at a time on our NAS to check if it’s open or closed.
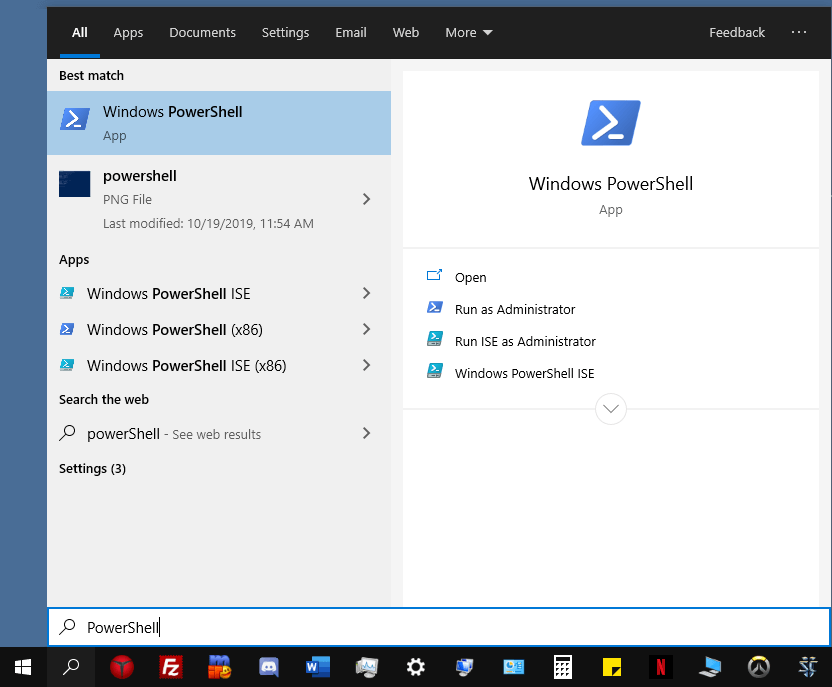
How can I find PowerShell? Follow the instructions below:
- On Windows 10 desktop, select Search.
- In the search field, type PowerShell.
Now open the PowerShell application and, from the command prompt of Powershell, type the following:
tnc <ip address of your NAS> -port <the port to be tested>
When you press enter on your keyboard, the test will run and, after a few seconds, it will look the same as in the screenshot below.
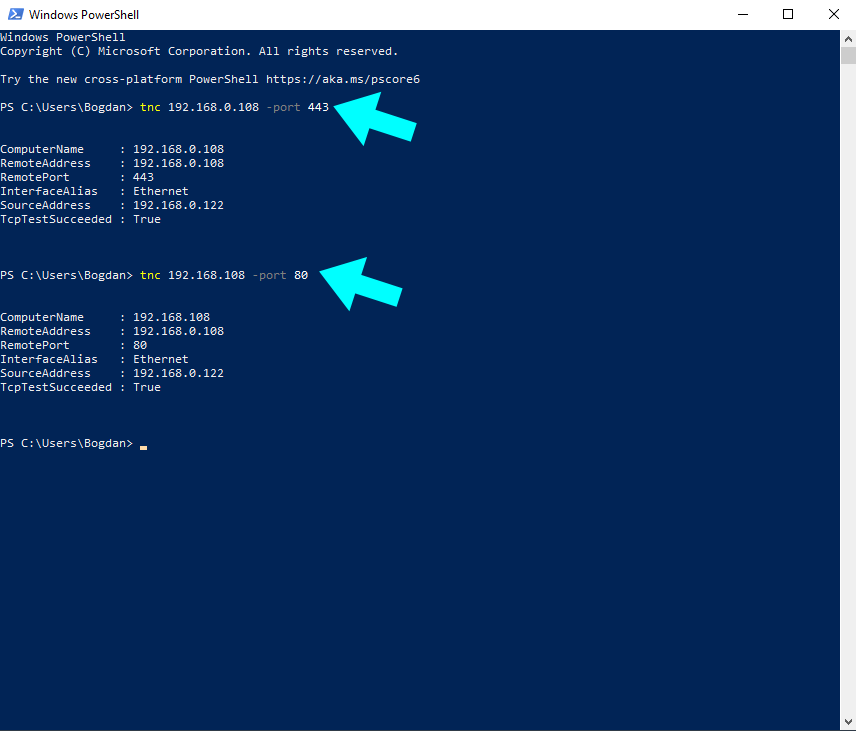
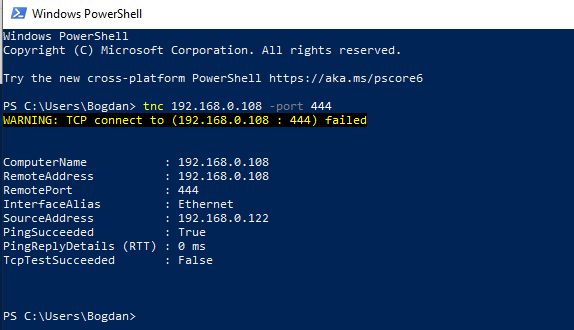
I have tested port 80 for web and port 443 for the SSL certificate using PowerShell and found they work perfectly. You can see in the image above TcpTestSucceeded: True. If a tested port is closed, for example port 444, the message shown will be: TcpTestSucceeded: False. A closed port result will be accompanied by a clearly visible Warning: TCP connect to (Your NAS IP : YOUR PORT IP) failed. See more details in the image below.
You can find more information and more commands for PowerShell on the Windows Test-NetConnection website.
This post was updated on Saturday / October 19th, 2019 at 10:45 PM