
As you have certainly read in my previous articles, the new Synology NAS DS1621+ is about to land and will be available all over the world. At this point you may be asking yourself: how do I get all the data from my old DS1618+ NAS onto my new DS1621+ NAS? In my opinion the fastest and overall best way is to simply put the old hard drives into the new device. It’s only recently that I have transferred my data from an old NAS model to a new NAS model and you can do it with DS1618+ in the exact same way. I was worried about the process too at the beginning, but if you read and carefully follow these 4 steps listed below, you’ll find out it’s child’s play.
STEP 1
Please Support My work by Making a Donation.
STEP 2: Backup!
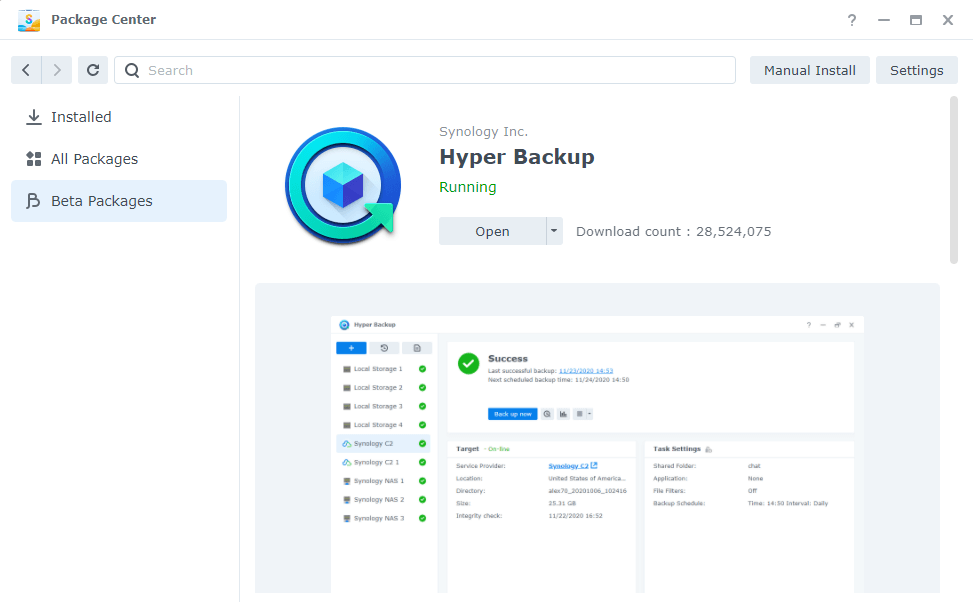
I use a 12TB external USB 3 hard drive for backups. The Synology Hyper Backup Package backs up my most important data every day. So, the first step is to backup your actual files and configuration on DS1618+ with Hyper Backup Package using an external USB, Hard drive, Synology C2 cloud, Dropbox etc.
STEP 3: Removing and installing HDD disks or SSD disks from DS1618+ into the new DS1621+
After the back up with Hyper Backup is done, the second most important part is to put the disks from the old NAS (DS1618+) into the new NAS (DS1621+) in the exact same order. At that point, if the message “Migrate” does not appear in the new NAS, then the data cannot be transferred. It’s imperative that you stop the process immediately. For example, one reason could be that the new NAS does not support the BTRFS file system, but DS1621+ supports BTRFS by default.
What is BTRFS? BTRFS is a modern file system developed by multiple parties and now supported by select Synology NAS models. BTRFS was designed to address obstacles often encountered in enterprise storage systems such as those relating to fault tolerance, management and data protection. If the “Migrate” message appears, everything will work as expected.
STEP 4: Migration.
Install into the new DS1621+ Hyper Backup Package and restore your files and configurations. So, what data has been transmitted to your new DS1621+ Synology NAS from your old DS1618+ Synology NAS? All the settings and files from your old DS1618+ Synology NAS should have been successfully migrated to your new DS1621+. Here is a detailed list:
- Volumes and their shared folders.
- All settings of the interface.
- All users with permissions.
- All scheduled tasks.
- All shell scripts.
- Public and private SSH keys.
- Docker configurations.
- Virtual Machine Manager with all VMs.
- Plex with all trimmings.
- jDownloader, including configuration.
- WebStation configuration that includes PHP configuration.
- MariaDB 10 configurations with all databases.
- phpMyAdmin with all configurations users and databases.
- WordPress website with all configurations users, data and databases.
I for one am completely satisfied with Synology and its easy migration process. Migrating data is easy as 1,2,3 with Synology.
This post was updated on Wednesday / August 10th, 2022 at 9:12 PM