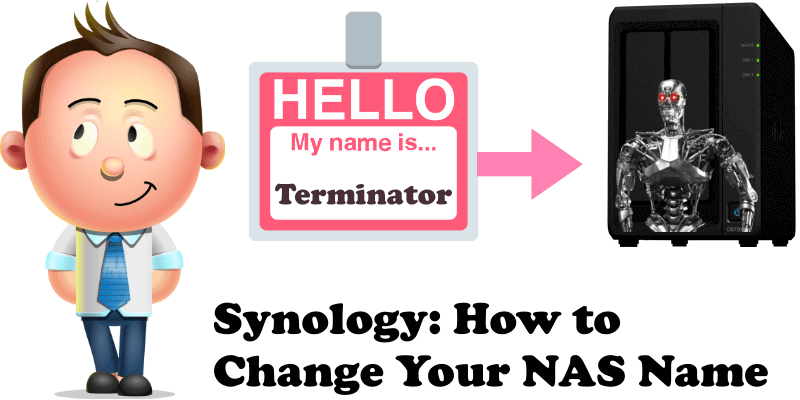
The first time you installed DSM, Synology’s operating system, on your NAS, you were asked to enter a name for your device. At the time, that name was likely chosen in a hurry, and may not be what you really wanted to call your device. Today I will teach you how to change the name of your Synology NAS on your own. While it is a very easy procedure to change the name of your NAS, some people may still find it difficult. But follow the instructions below and you will be successful.
STEP 1
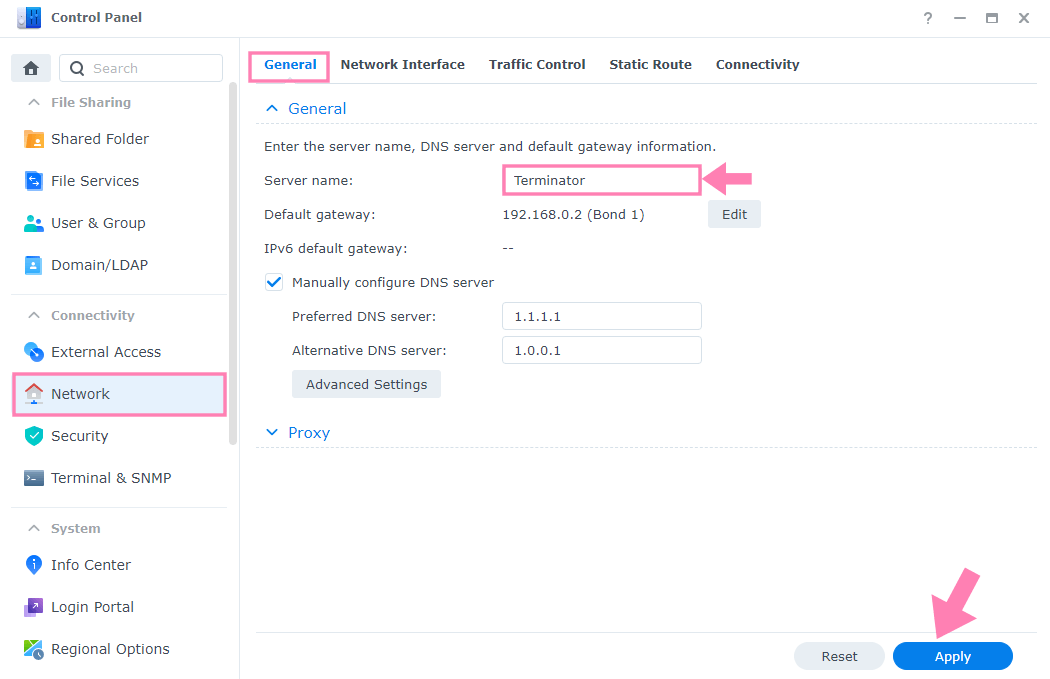
Go to Control Panel / Network / General tab / in the field right to Server name type in your new Synology NAS name, then click Apply. Follow the instructions in the images below.
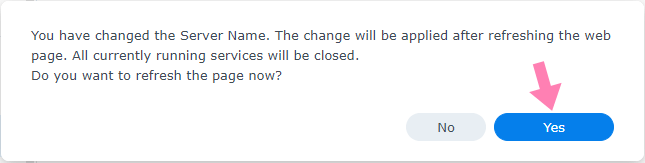
After you click Apply, you will be prompted to confirm your choice. Click Yes.
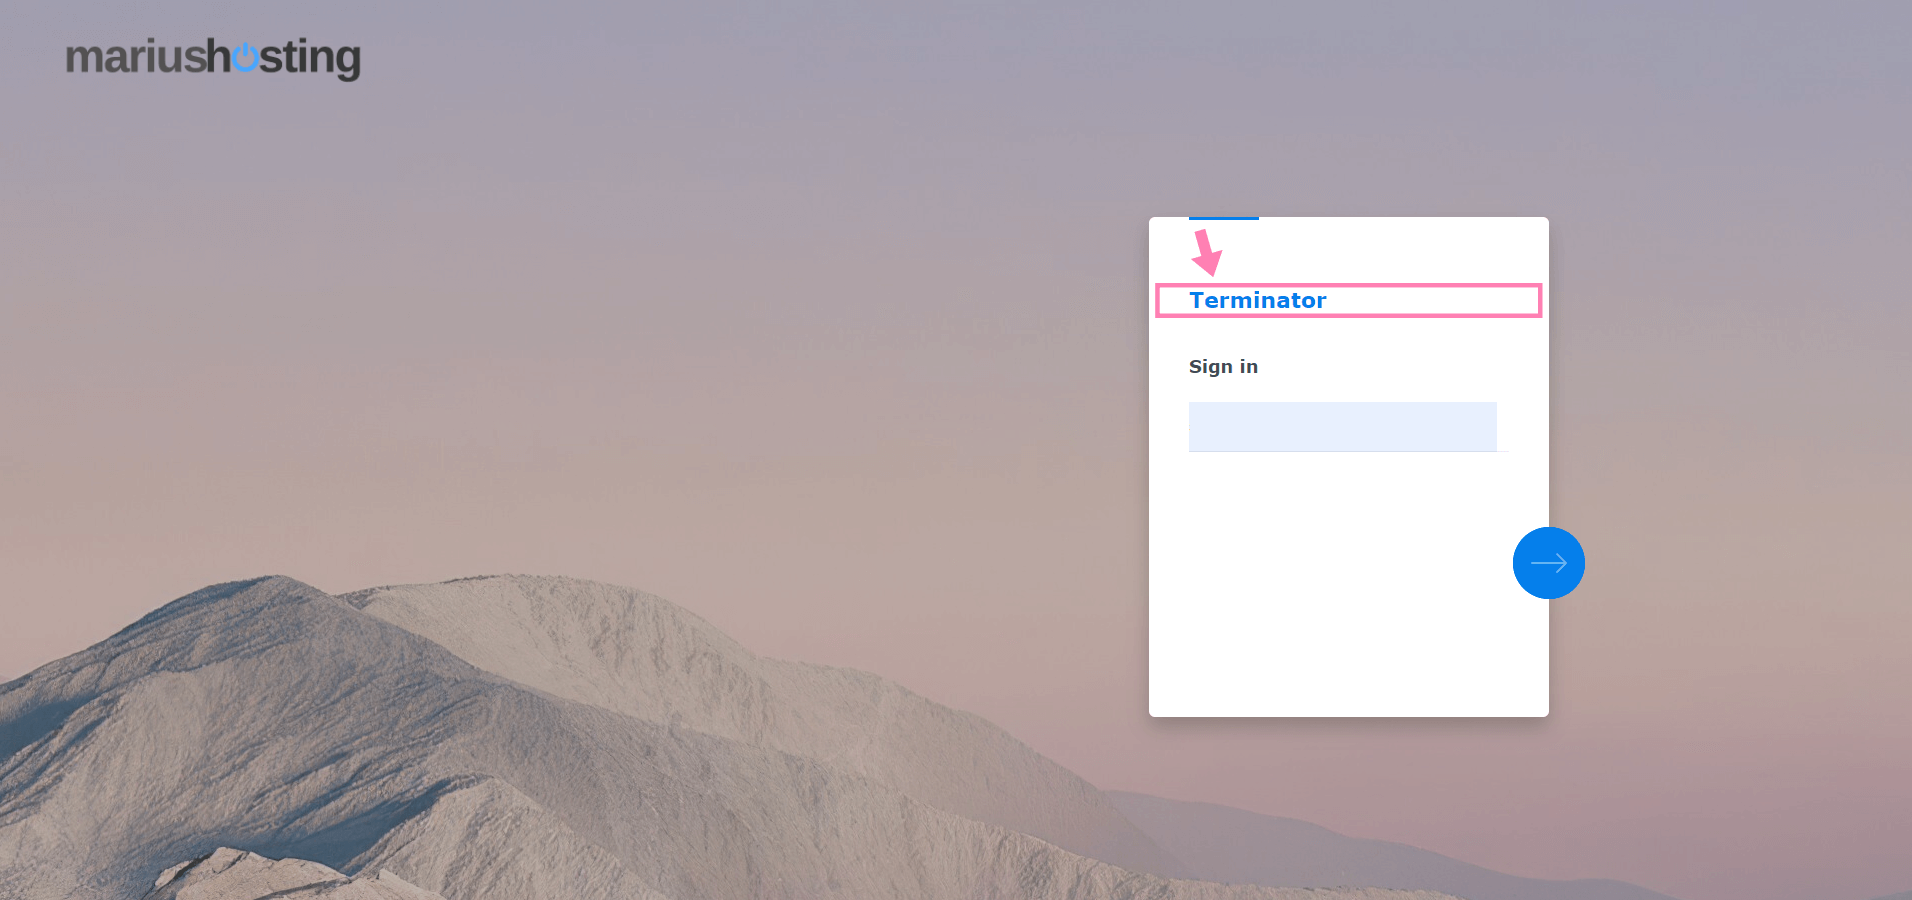
When you try to Sign in on your Synology NAS, you will now see the new Server Name you have previously chosen.
Note: If you use Docker, some containers may require the name of your Synology NAS “Hostname”. Remember to change it accordingly to the new Server name you have chosen.
This post was updated on Wednesday / August 10th, 2022 at 9:15 PM