How do you change the Display Language on DSM 7? While it may sound like an easy thing to do, it can sometimes prove problematic. Say you’ve just bought a second-hand Synology NAS. If the NAS already has the disks inside, and they weren’t formatted prior to the sale, then the language is still the one set by the previous owner. Today I will teach you how to change the current Display Language on your Synology NAS with DSM 7.
Method 1
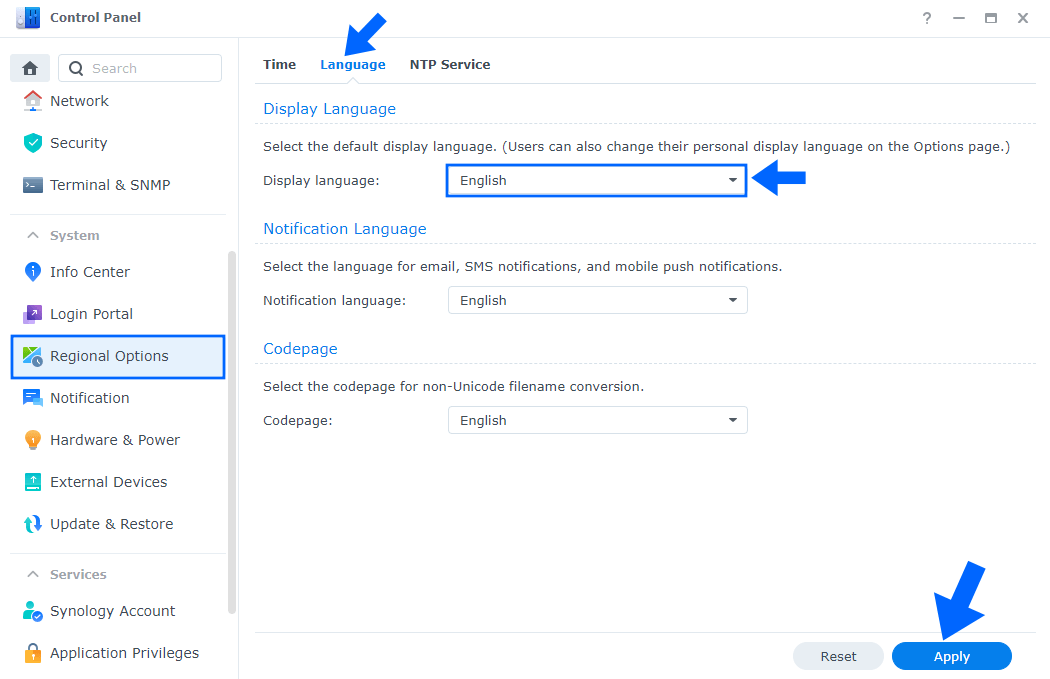
Go to Control Panel / Regional Options / Language tab / from the dropdown menu select the Display language you want to use on your Synology NAS, then click Apply. Follow the instructions in the image below.
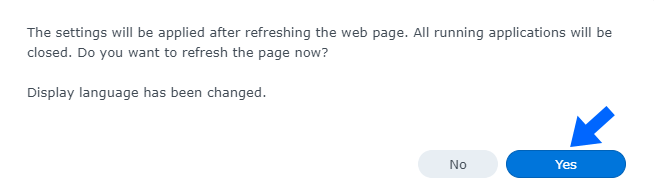
After you click Apply, a new pop up window will open. Click Yes. Follow the instructions in the image below.

Method 2
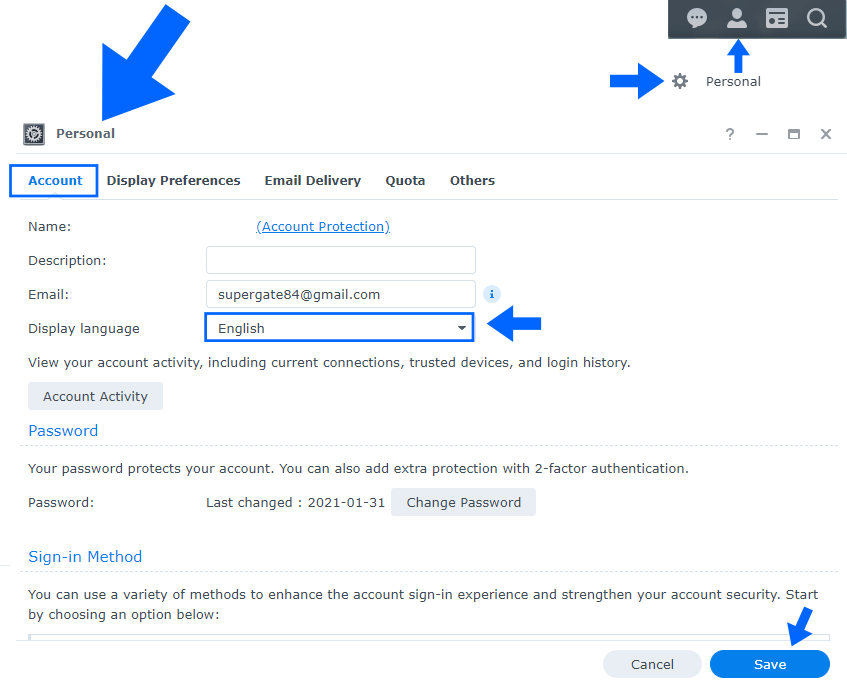
Go to Options in the main menu at the top right of your DSM desktop operating system. There, click Personal. From the dropdown select your DSM 7 Display language then click Save. Follow the instructions in the image below.
After you click Save, a new pop up window will open. Click Yes. Follow the instructions in the image below.
This post was updated on Wednesday / August 10th, 2022 at 9:23 PM