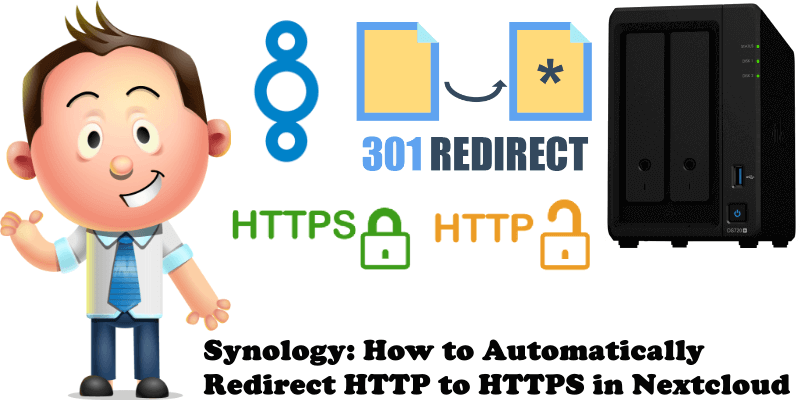
Did you follow my step by step guide on how to install nextcloud on your Synology NAS? Have you decided to use your own custom domain name to log into your Nextcloud? Have you already added an SSL certificate? Surely you have noticed that, if you type in http://yourowndomainname.com in your browser address bar, you are told that your nextcloud site is not using a valid HTTPS/SSL certificate. To solve this problem you will need to follow my instructions below to redirect HTTP to HTTPS.
STEP 1
Please Support My Work by Making a Donation.
STEP 2
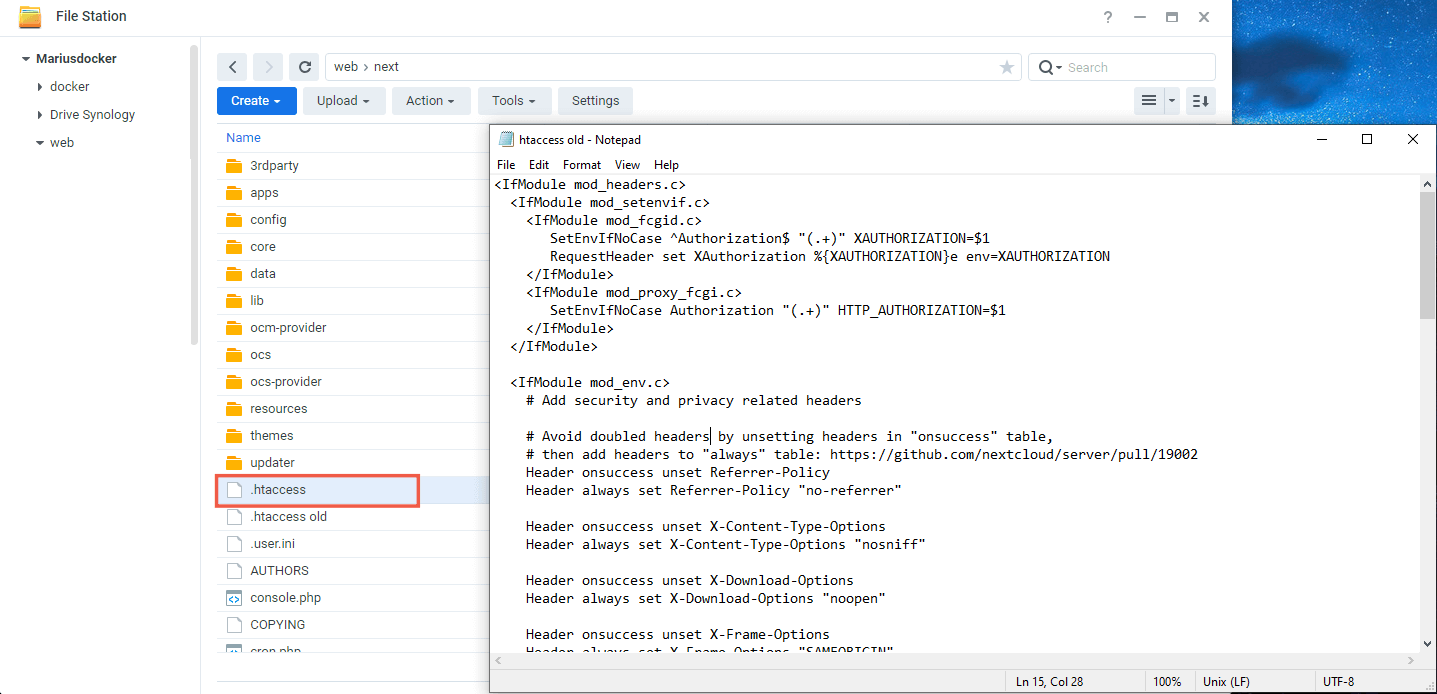
Go to File Station / web folder / Nextcloud folder / and download the .htaccess file on your computer. Open the .htaccess file with notepad. The file will look like the one in the screenshot below.
STEP 3
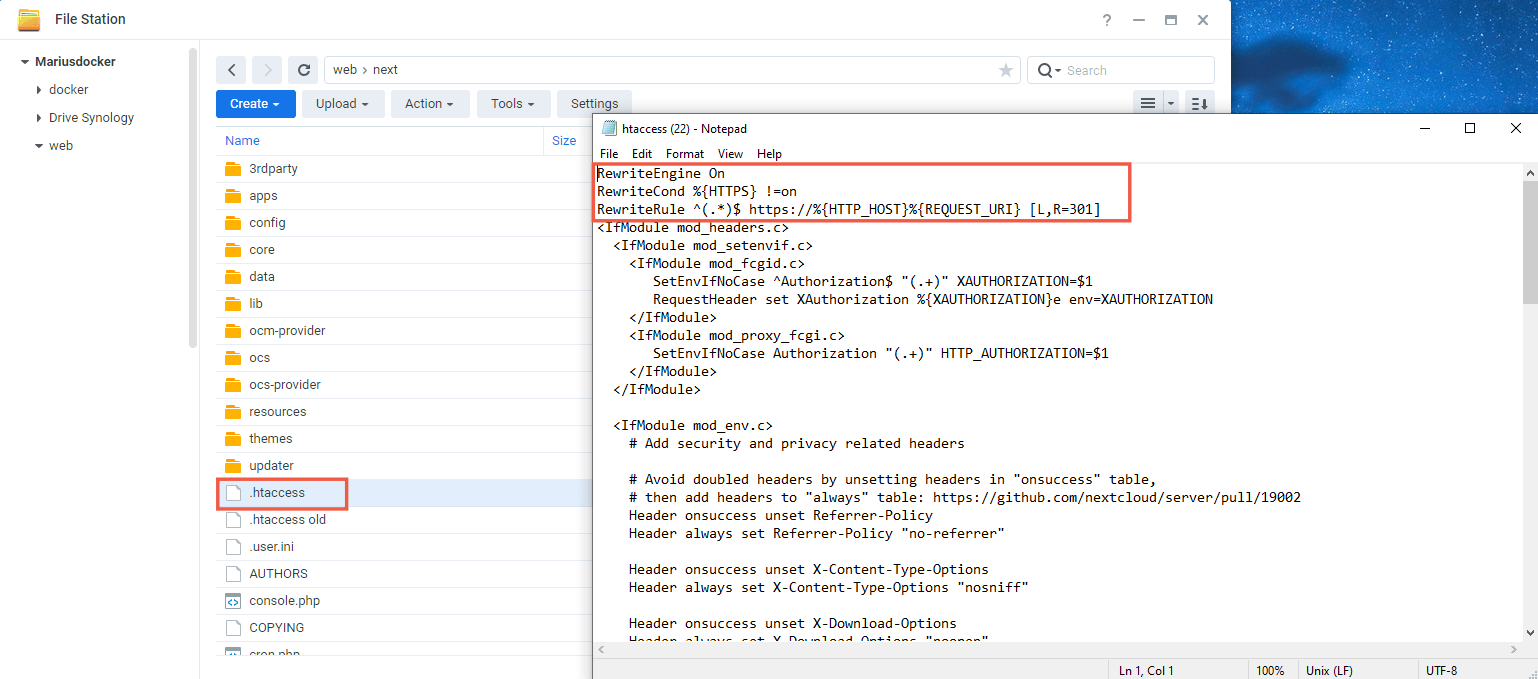
At the beginning of the .htaccess file copy/paste the code below:
RewriteEngine On
RewriteCond %{HTTPS} !=on
RewriteRule ^(.*)$ https://%{HTTP_HOST}%{REQUEST_URI} [L,R=301]
After you copy paste the code above, save the .htaccess file and upload it again in your Synology nextcloud folder. Rename the old file .htaccess old and the new file .htaccess
Remember to add the . (dot) at the beginning of the htaccess file name. Follow the instructions in the image below.
Note: You can use the Synology Text Editor Package downloaded from Package Center to edit the .htaccess file without having to download it in your computer, then upload it again in your Nextcloud folder.
Note: The instructions above work perfectly with WordPress too. You can automatically redirect HTTP to HTTPS by adding the code above at the beginning of the .htaccess WordPress file.
Note: To take advantage of the SSL connection it is mandatory to create an SSL certificate in Control Panel / Security / Certificate.
This post was updated on Wednesday / August 10th, 2022 at 10:23 PM