On March 16, 2026, Synology released a new DSM version called DSM 7.3.2-86009 Update 2 (DSM 7.3.2-86009-2). Below I will guide you step by step through the process of installing the new DSM 7.3.2-86009-2. This update fixes multiple security vulnerabilities without disclosing any of the issues. Why the secrecy? Likely a mix of factors: preventing attackers from targeting unpatched systems before everyone updates, avoiding unnecessary alarm for non-exploitable issues, or simply because the fixes were minor/internal. In the end, Update 2 exemplifies Synology’s pragmatic (some say frustrating) approach: patch quietly, let the update speak for itself, and trust users to apply it. If your NAS prompted you for it, go ahead, it’s the digital equivalent of changing the locks without announcing why. Your data stays a little safer, even if we don’t get the full story right away.
STEP 1
Manually Download DSM 7.3.2-86009 Update 2 by following the blue link below. From the official Synology Archive, download DSM 7.3.2-86009 Update 2 for your NAS model.
STEP 2
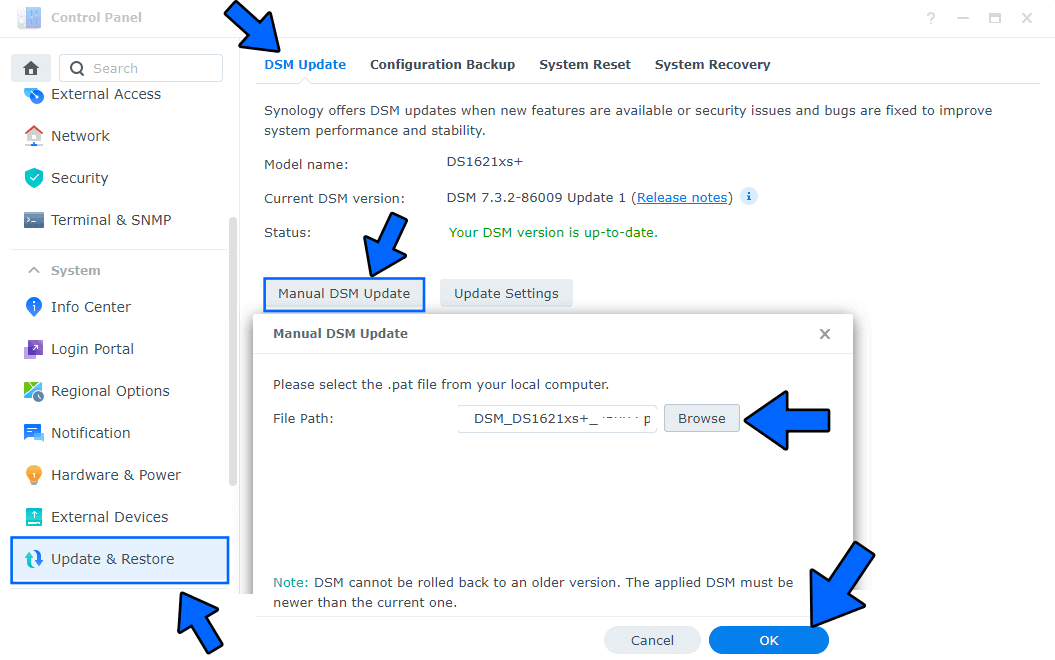
Go to Control Panel / Update & Restore then click on Manual DSM Update. Select the file you have previously downloaded at STEP 1 then click OK. Follow the instructions in the image below.
STEP 3
A new pop up window will open. Click OK. Follow the instructions in the image below.

STEP 4
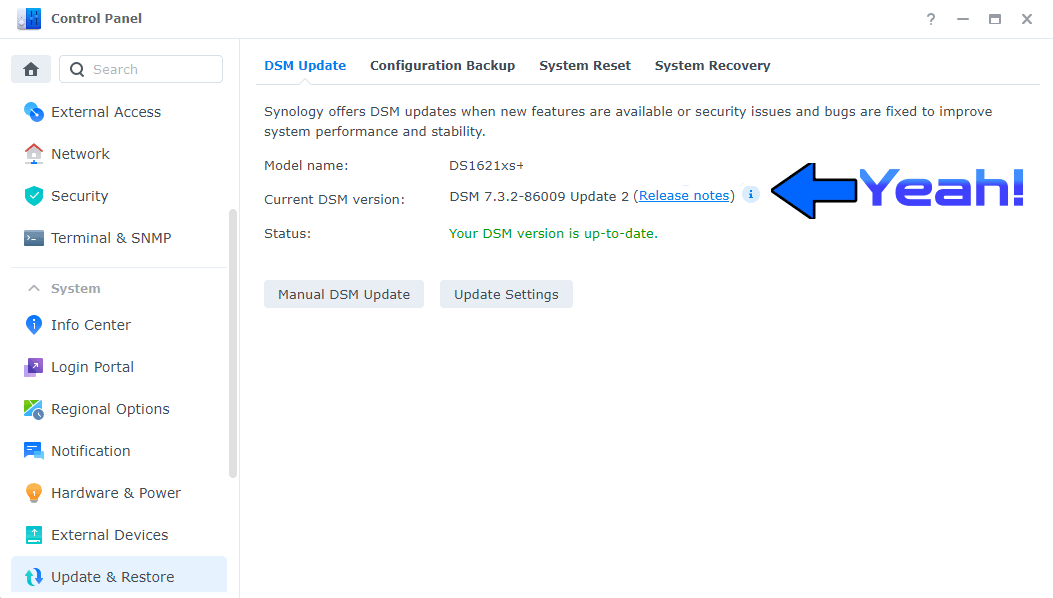
After approximately 5 minutes your new DSM 7.3.2-86009 Update 2 will be installed on your Synology NAS device.
This post was updated on Thursday / March 19th, 2026 at 10:05 AM