
Google Search Console is a web service by Google which allows webmasters to check indexing status and optimize visibility of their websites. You will need a Google account to verify and add your own domain name. So if you have a live WordPress website with a domain name hosted on your Synology NAS, you can follow the steps below to verify your domain name. After that, you can add your sitemap.xml in your Google search console and see Google reports. The sitemap.xml file is typically located in the root directory of your domain (ex: https://www.websitedomain.com/sitemap.xml).
STEP 1
Please Support My work by Making a Donation.
STEP 2
Log into your Google Account and go to Google Search Console.
STEP 3
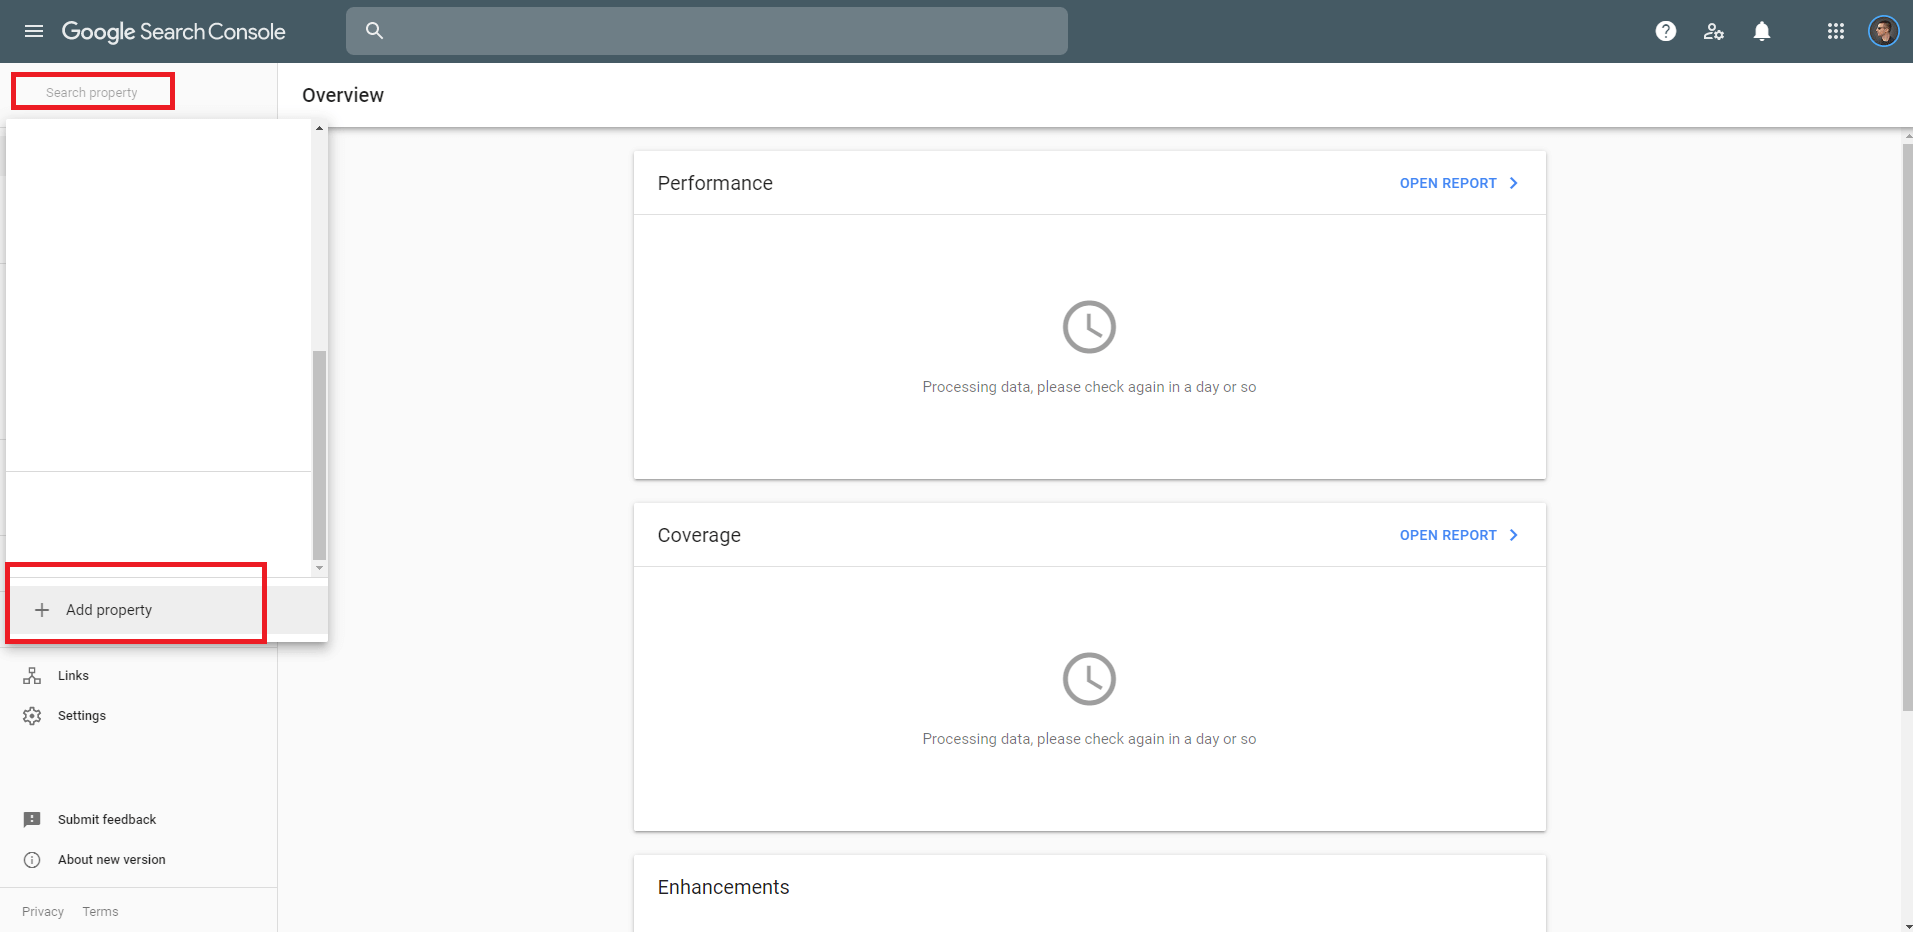
Once you are logged in, at the top left of the page click the + to Add Property. What is Property? It’s your own domain name which is actually where your “WordPress” website is located. Follow the instructions in the image below.
STEP 4
After you click the + Add Property, a new window will open. Select URL prefix then add your own domain name starting with https:// at the beginning if you are using an SSL certificate, or only http:// if you are not using an SSL certificate. Click CONTINUE. Follow the instructions in the image below.

STEP 5
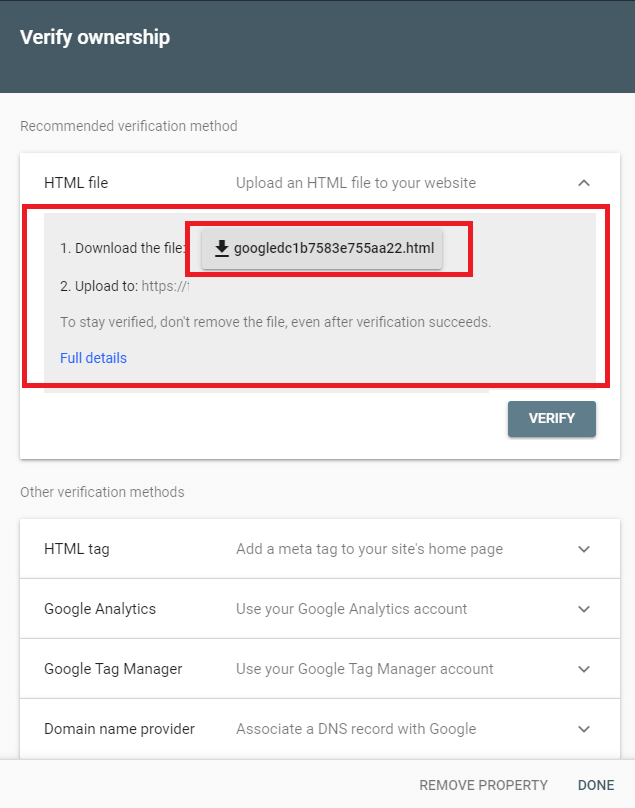
After you click CONTINUE, a new screen will open. Download the html file, then follow the next STEP. Follow the instructions in the image below.
STEP 6
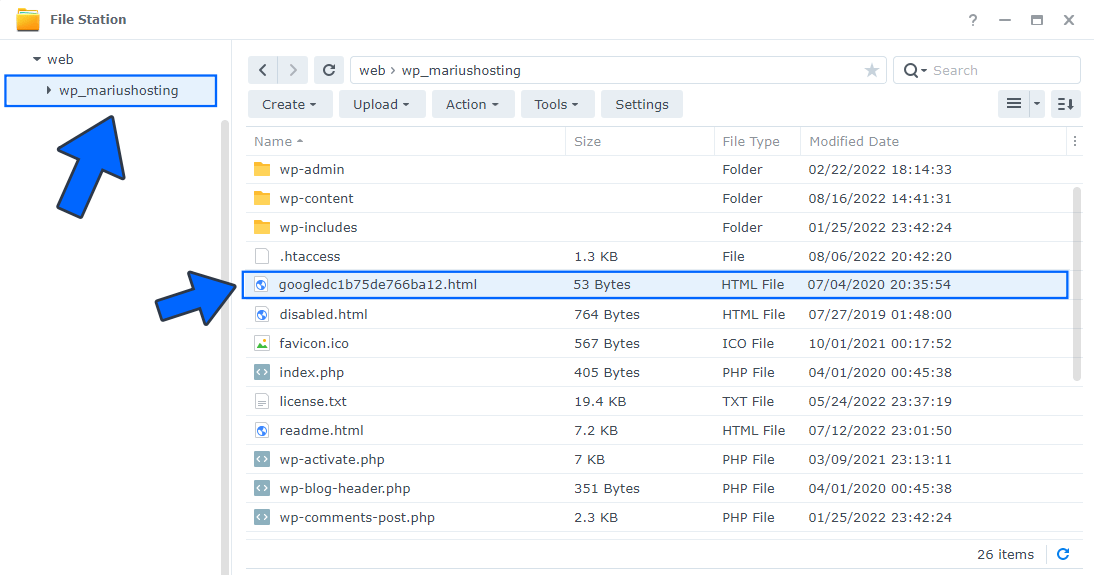
Once the file is downloaded, open File Station in your NAS and upload the file in the main WordPress folder. Follow the instructions in the image below.
STEP 7
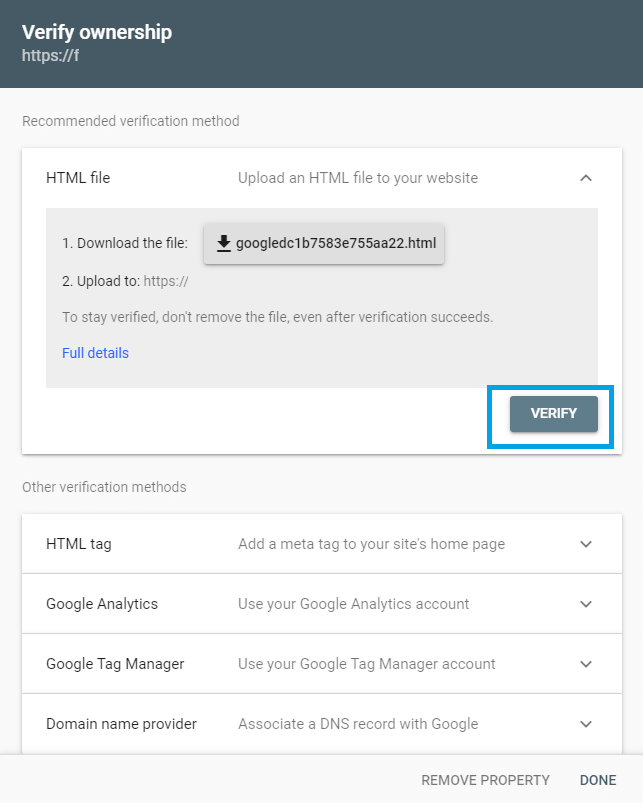
Go back to Google Search Console, then click Verify. Follow the instructions in the image below.
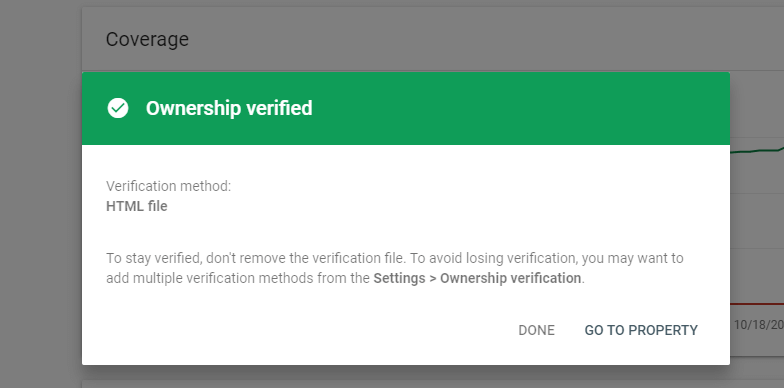
STEP 8
Done! After you click verify, your Ownership will be automatically verified in a few seconds. Follow the instructions in the image below.
Note: Now you can add the sitemap.xml file which is typically located in the root directory of your domain (ex: https://www.websitedomain.com/sitemap.xml).
Note: After the verification is done, you can delete the html file you have previously uploaded in your File Station at STEP 6.
This post was updated on Sunday / August 21st, 2022 at 2:48 PM