
If you are a QNAP user, whether you have a NAS, a router or a QNAP switch, then one of the best pieces of software you’ll use is the Qfinder Pro. What the Qfinder Pro does is help you automatically find the address of any QNAP device in your local area network. Once you install the Qfinder Pro, you will see the latest installed OS version, local IP address, MAC address as well as the name of your QNAP device all at a glance. Qfinder Pro is available for Windows, Mac and Ubuntu 32/64 bit. In today’s article I will show you how to use Qfinder Pro to find your QNAP NAS in your local network.
STEP 1
Download the latest Qfinder Pro software for your computer from the blue link below.
STEP 2
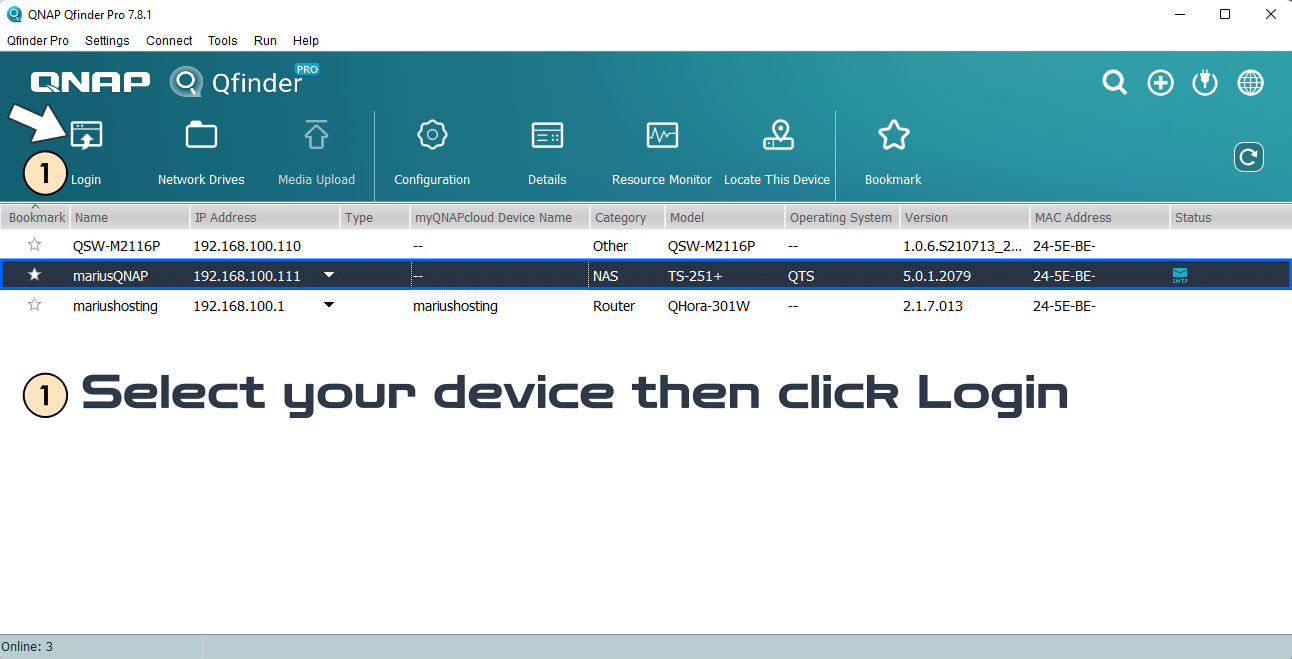
After the Qfinder Pro is installed on your computer, launch it. The Qfinder Pro will automatically scan and find all your QNAP devices on your local area network. For example, you can select your QNAP NAS device, then, at the top left of the page, click the Login icon.
STEP 3
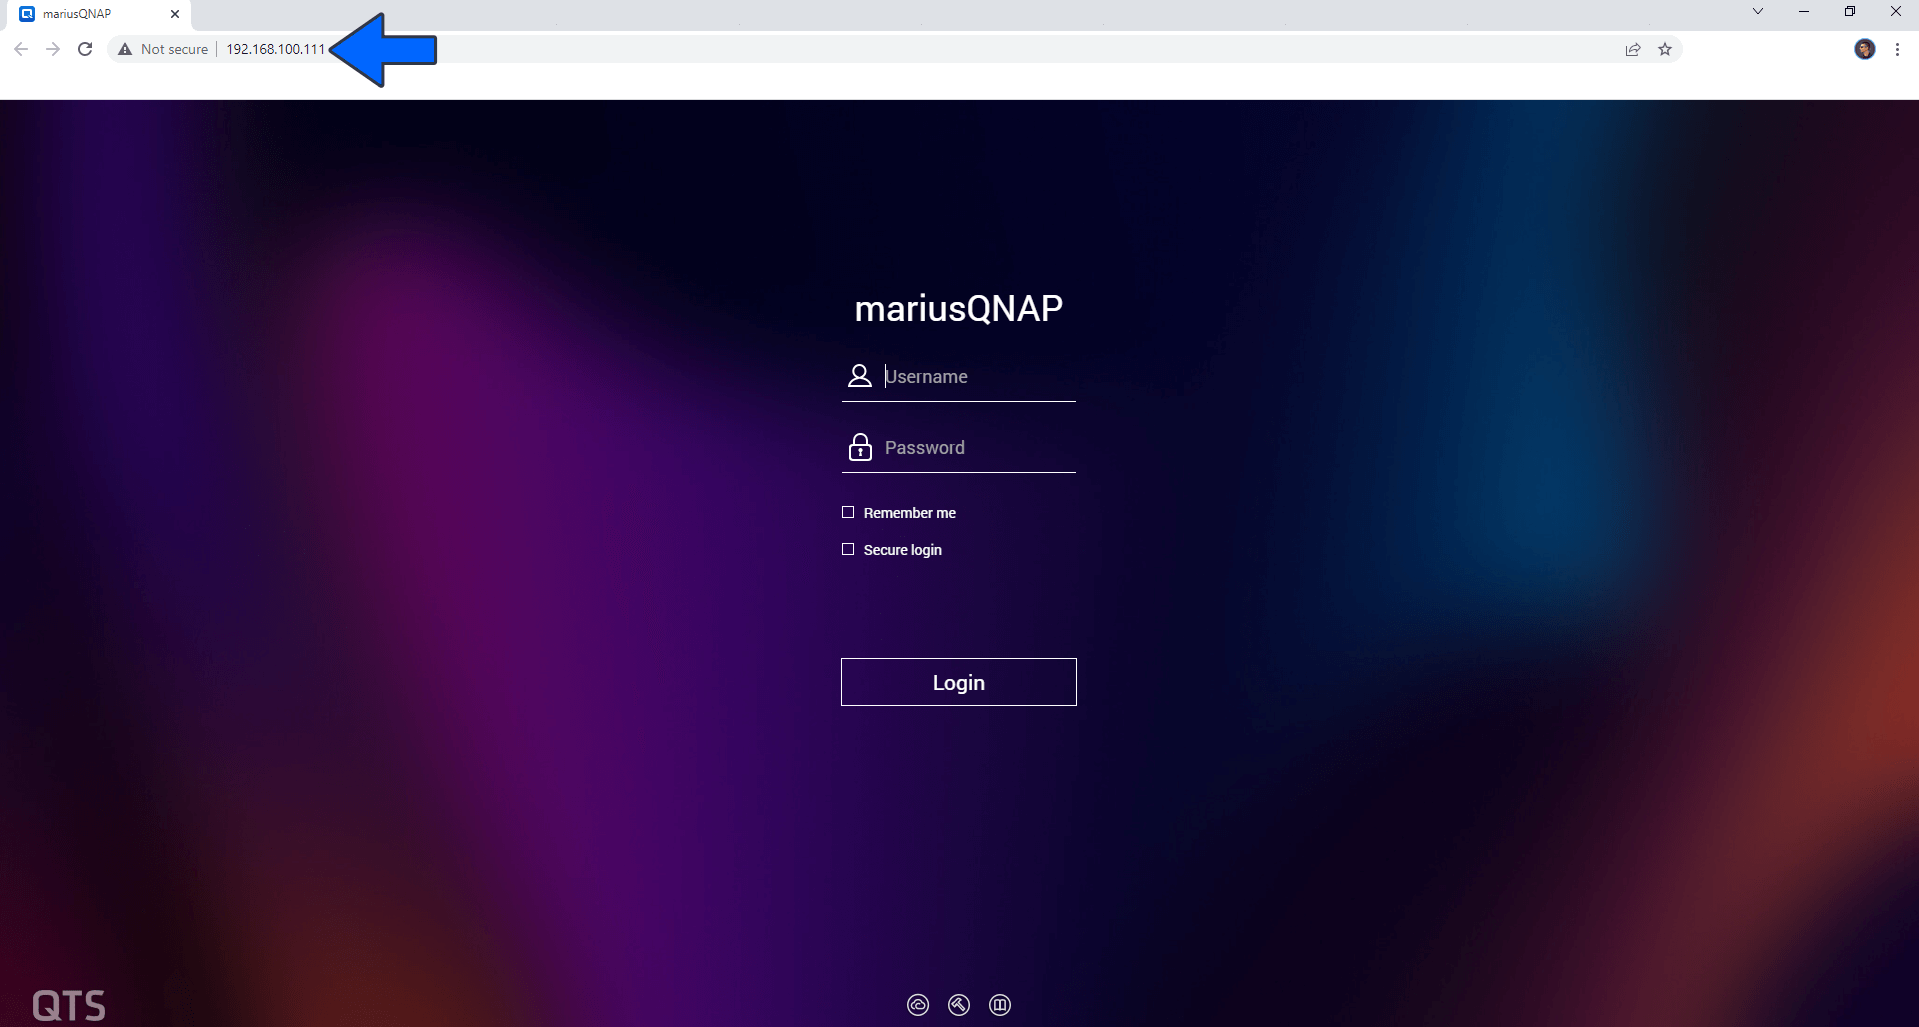
After you click the Login icon at STEP 2, your browser will automatically open the page with the link for the selected device. Follow the instructions in the image below.
Note: QNAP Qfinder Pro is a highly advanced program, even compared to Synology Assistant. Graphically, it is very intuitive, and scanning the local network is done instantly, without having to wait at all.
This post was updated on Wednesday / July 5th, 2023 at 1:36 AM