We all know that updates to Synology Packages become available at a later date, quite some time after the official updates to the software are released by developers. Recently phpMyAdmin has released some extremely important and indispensable security updates. Synology will update its own Package in a few months’ time which means that, until then, users will be left somewhat vulnerable with their outdated phpMyAdmin version.
However, Synology users, keep calm because, fortunately, there is a solution for all of us which is to do a manual update of phpMyAdmin bypassing Synology Package Center. In this short guide I will explain to you, step by step, how to manually upgrade your current version of phpMyAdmin on your Synology NAS to the latest available official version. You won’t have to wait for the automatic update in Package Center to update your phpMyAdmin package installed on your Synology NAS.
STEP 1
Please Support My work by Making a Donation.
STEP 2
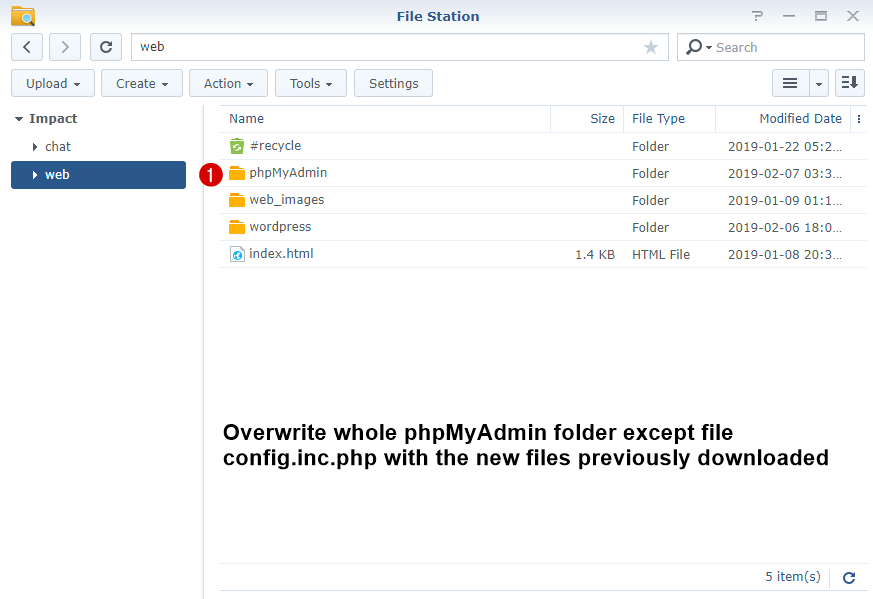
Download the latest version of phpMyAdmin from the official website. Overwrite the whole phpMyAdmin folder on your Synology NAS with the new file you’ve just downloaded, except for the config.inc.php file. Download the config.ini.php file in a safe place and re-embed it in the phpMyAdmin folder once you have overwritten the old folder files.
STEP 3
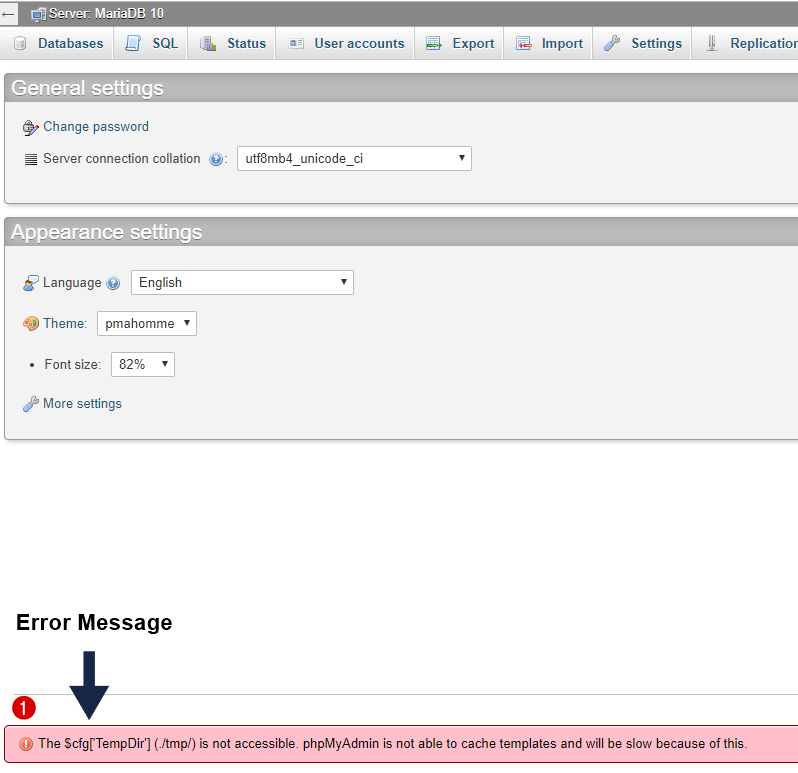
Once you have installed the latest version of phpMyAdmin, you will get an error message in the phpMyAdmin admin dashboard when you log in. The error message will say the following:
“The $cfg[‘TempDir’] (./tmp/) is not accessible. phpMyAdmin is not able to cache templates and will be slow because of this.”
STEP 4
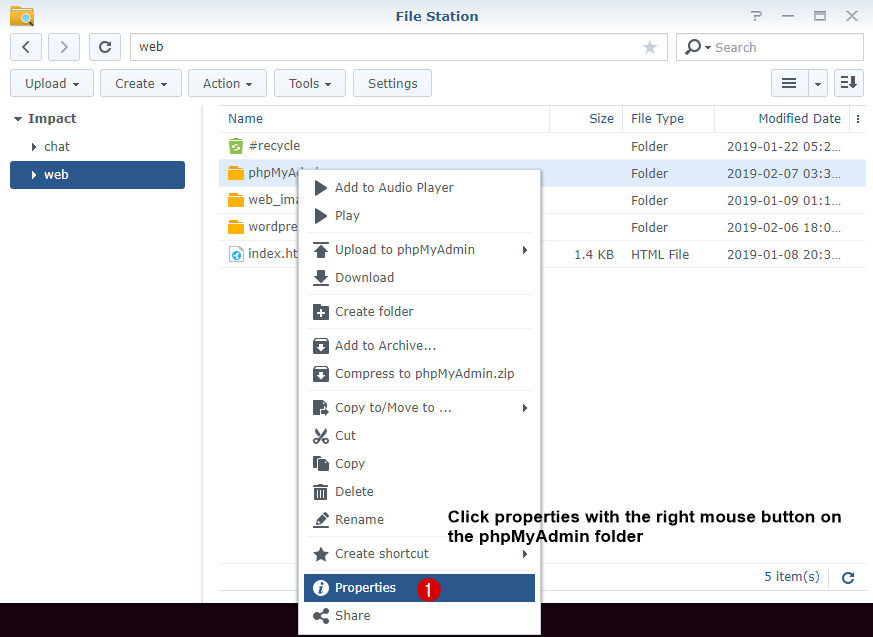
Do not worry because below you will find instructions on how to solve this error. First of all, right click on the phpMyAdmin folder, then click on Properties.
STEP 5
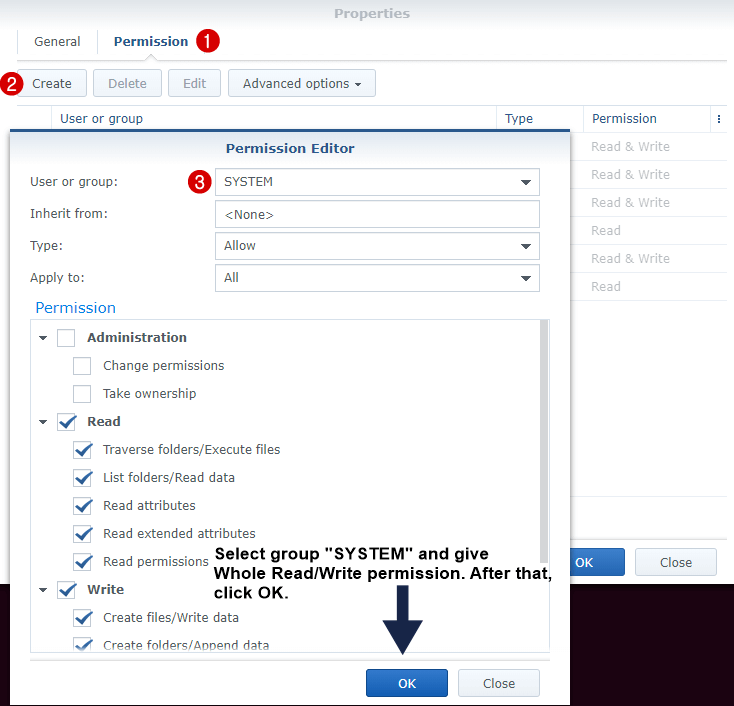
What happens once you have installed the new version of phpMyAdmin is it will lose permissions. All you have to do is give back the appropriate permissions to the “SYSTEM” (Read and Write) to make the error disappear forever. Remember that the error can occur again every time you manually update phpMyAdmin, but fortunately you now know the solution.
To make it clear, go to the phpMyAdmin folder that you will find in the web folder (web / phpMyAdmin) and right click on it, then click on Properties. Next, go to Permission / Create and type in “SYSTEM”; this way you are giving the SYSTEM permission to Read and Write. Save the settings. Follow the instructions in the image below.
STEP 6
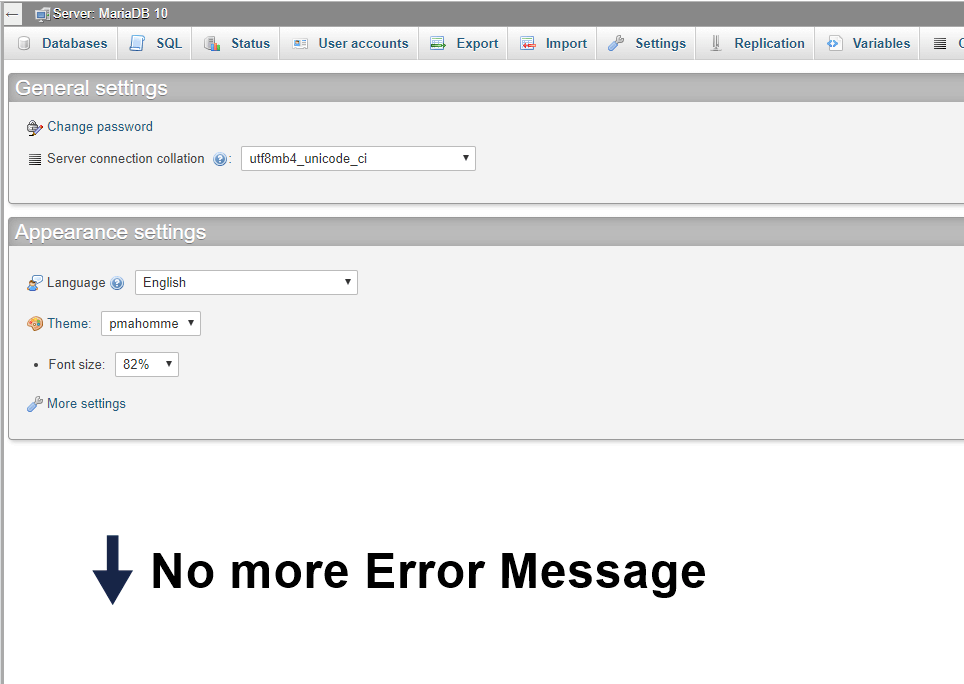
Now reload phpMyAdmin and the error message will have disappeared.
STEP 7
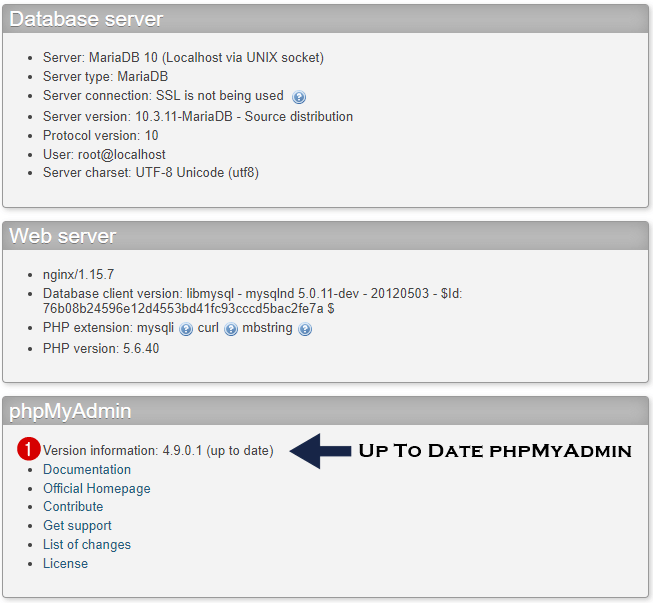
Remember that, although you may still see the older version of your phpMyAdmin package in Package Center, what you actually have is the latest version.
Every time you want to do a manual update of phpMyAdmin, do it by following this simple step by step guide.
This post was updated on Monday / August 23rd, 2021 at 12:40 AM