Secure Shell (SSH) is a cryptographic network protocol for operating network services securely over an unsecured network. Typical applications include remote command-line, login, and remote command execution, but any network service can be secured with SSH. SSH provides a secure channel over an unsecured network by using a client. Connecting an SSH client application with an SSH server. In our case, the Synology NAS is the server and Windows Command Prompt (CMD) or PuTTY or Windows PowerShell is the client. Or, if you are a Mac user, the client is Mac Terminal.
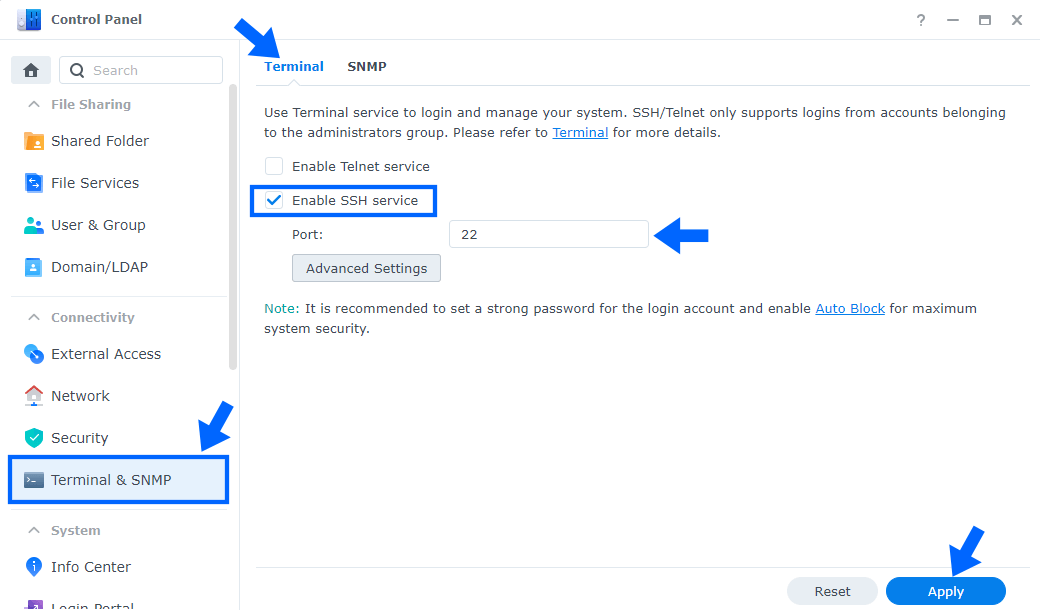
How to SSH into a Synology NAS? Login into your NAS using your admin user then go to Control Panel / Terminal & SNMP / Terminal tab – Check Enable SSH service and set port 22 then click Apply. Follow the instructions in the image below. Note: It is strongly recommended not to use port 22, but to change it to something else, between port 49152 and port 65535. Note: The account you use for logging in with SSH must belong to the admin group.
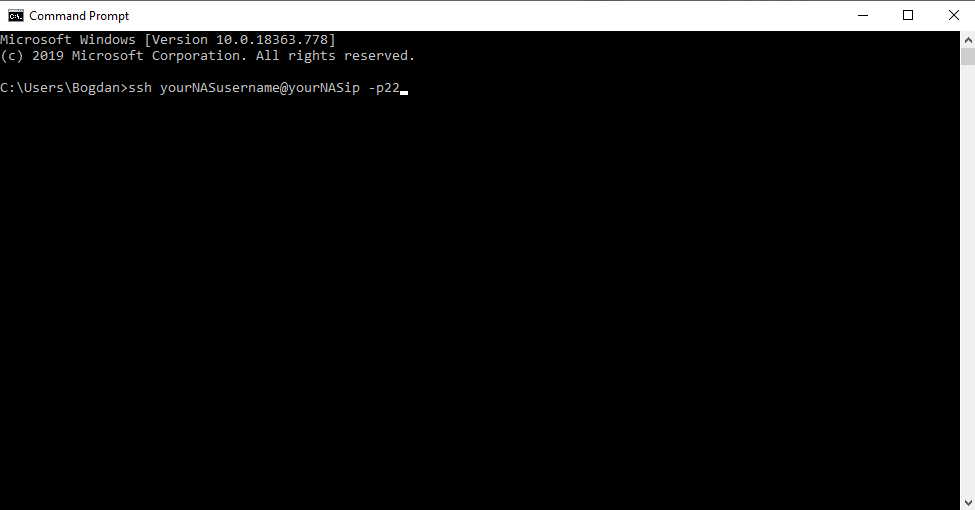
On Windows 10, open CMD (Command Prompt) or use PuTTY and type:
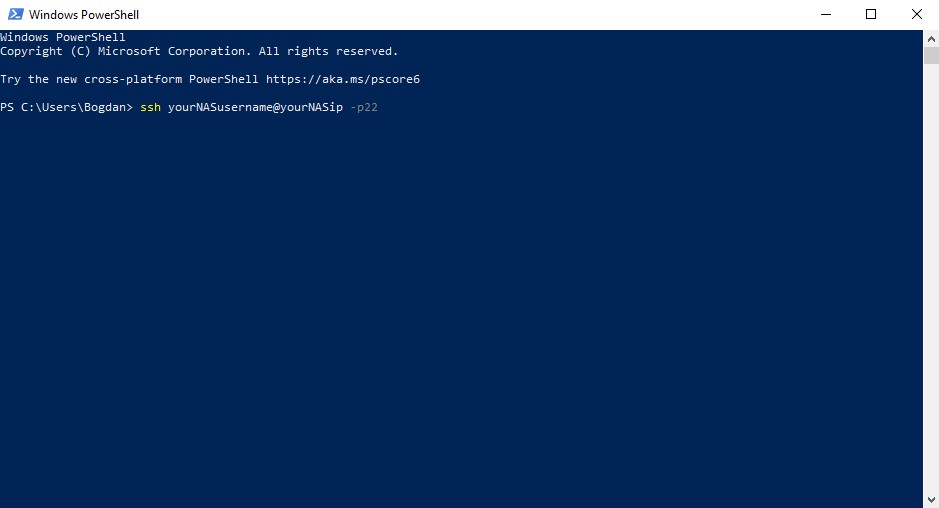
ssh yourNASusername@yourNASip -p22
Tap Enter. At this point you will be asked for the password you use to connect to your Synology NAS – type in the password and tap Enter.
Example: ssh marius@192.168.0.108 -p22
If you want to login as “root” after you login using the instructions above type in the client sudo -i then press enter. You will be prompted to type your password after that, press enter.
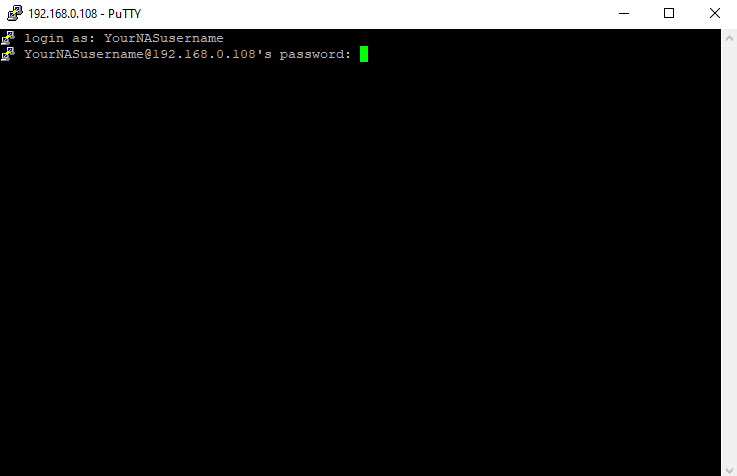
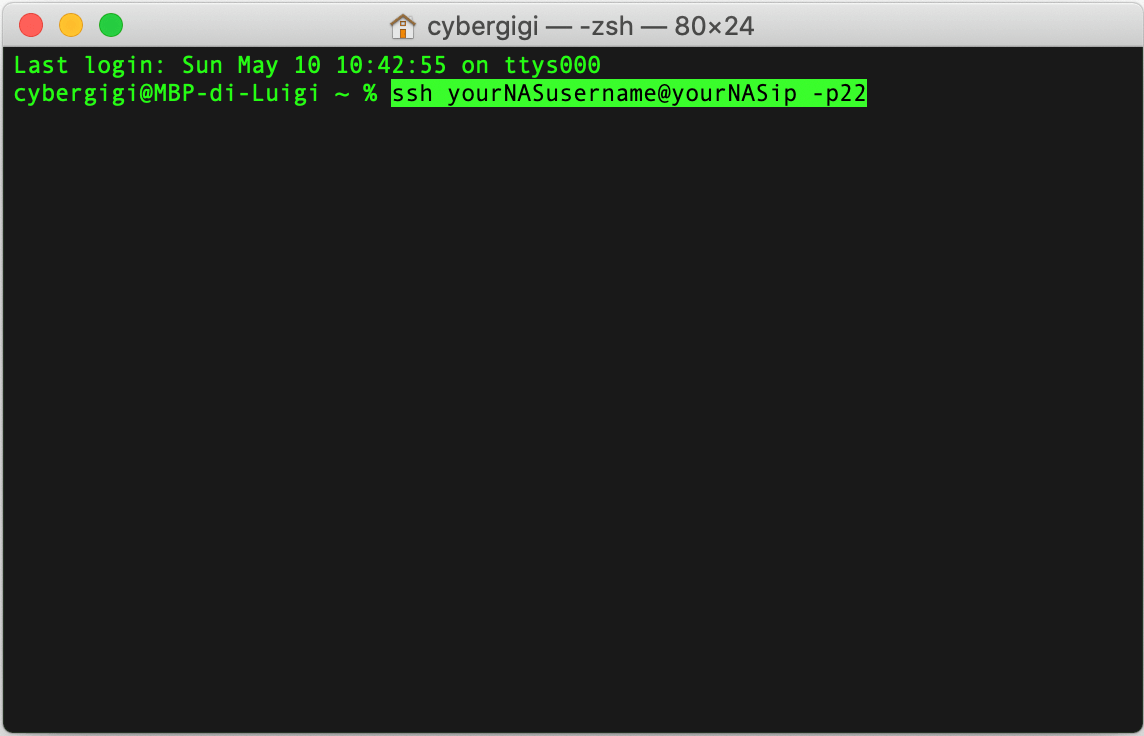
Follow the instructions in the images below:
Windows Command Prompt CMD Client
Windows PowerShell
PuTTY Client
Mac Z Shell (Client)
⚠️Warning: Remember to disable the SSH service when you have finished your work with SSH. Disable it in Control Panel / Terminal & SNMP / Terminal tab / Uncheck Enable SSH service / Apply.
Note: You can login with root privileges. Type in the client sudo -i then insert your password again.
Now you are in your NAS. You can type “cd” or”ls“.
Note: The cd command, also known as chdir (change directory), is a command-line shell command used to change the current working directory in various operating systems like Synology DSM.
Note: The ls command (short for list) will show a directory-listing. It is one of the most common ones used when interacting with a text interface to a Linux system like Synology DSM.
Note: Use SSH only if you are an advanced user.
Note: Mac Z Shell (Client) screenshot image is provided by Luigi Cigliano.
Note: Port-forwarding port 22 TCP/UDP on your router when you SSH on your Synology NAS if you use Reverse Proxy and DDNS.
This post was updated on Saturday / November 30th, 2024 at 6:20 PM
