Occasionally you will need or want to change your SQL database password. In this guide I will teach you, step by step, how to change your SQL database password for your WordPress website hosted on a Synology NAS. Fortunately, Synology provides us with all the tools we need for this. First of all you will need to open the phpMyAdmin application.
STEP 1
Please Support My work by Making a Donation.
STEP 2
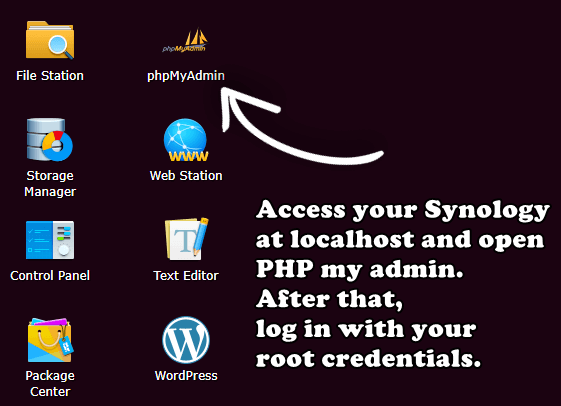
Access your Synology NAS at localhost and click on the phpMyAdmin app.
STEP 3
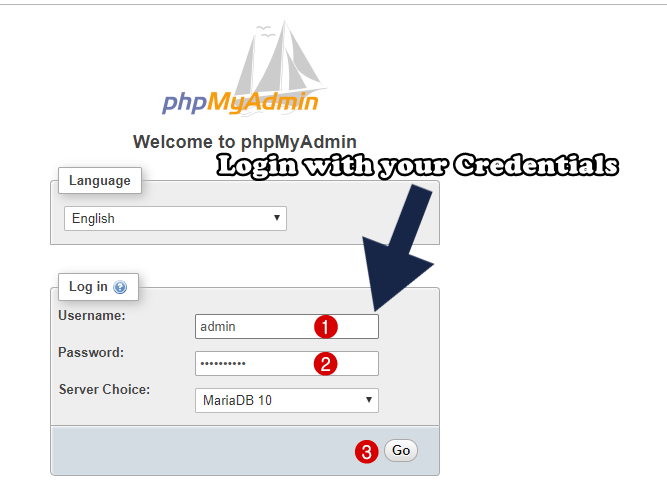
Now log in with your administrator credentials. Follow the instructions in the image below.
STEP 4
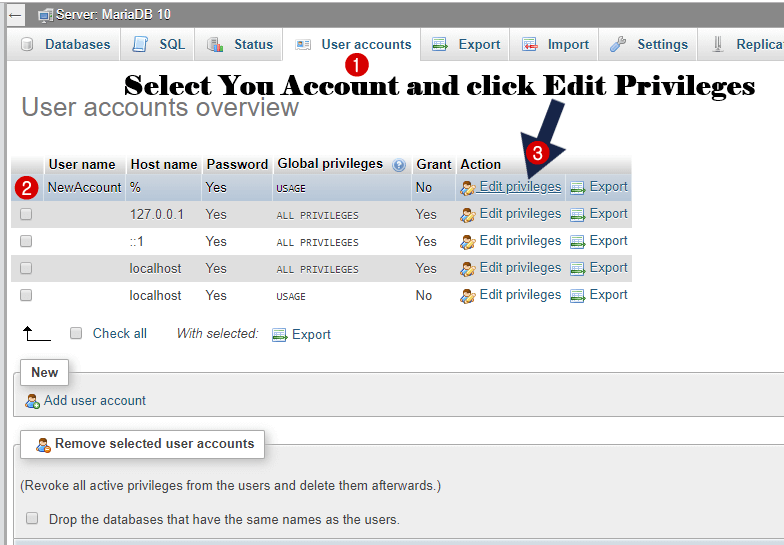
Select the user for which you want to change the password and click on Edit privileges. Follow the instructions in the image below.
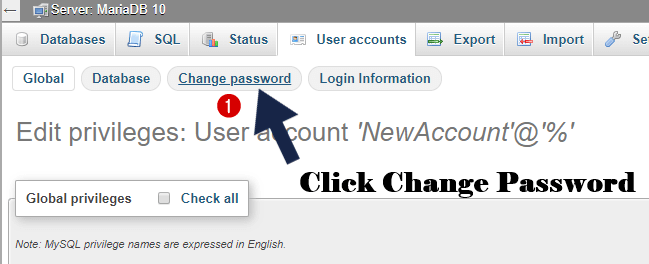
STEP 5
Now click on User accounts followed by Change password. Follow the instructions in the image below.
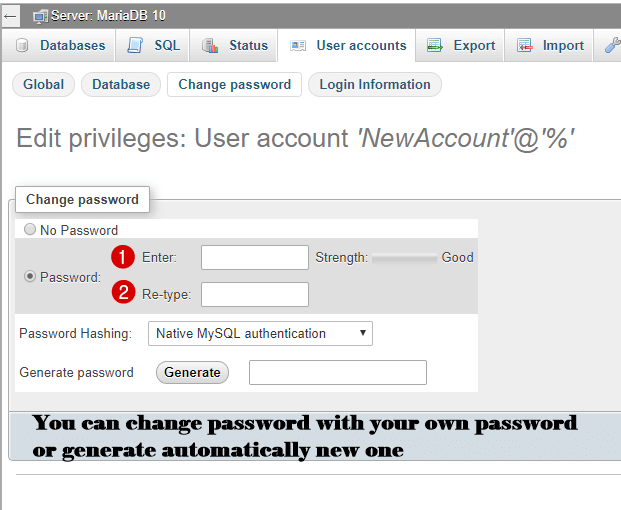
STEP 6
You can choose a new password or you can leave it to the system to choose one for you randomly. Do know that the password chosen randomly by the system will be a strong one. Follow the instructions in the image below.
STEP 7
Once you have changed the password for your SQL database, remember to also change it in the WordPress file called wp-config.php which you will find in the main WordPress folder. To change the password, open the wp-config.php file with Text Editor and enter the new password which you previously changed in phpMyAdmin directly in the file. Save and you’re done.
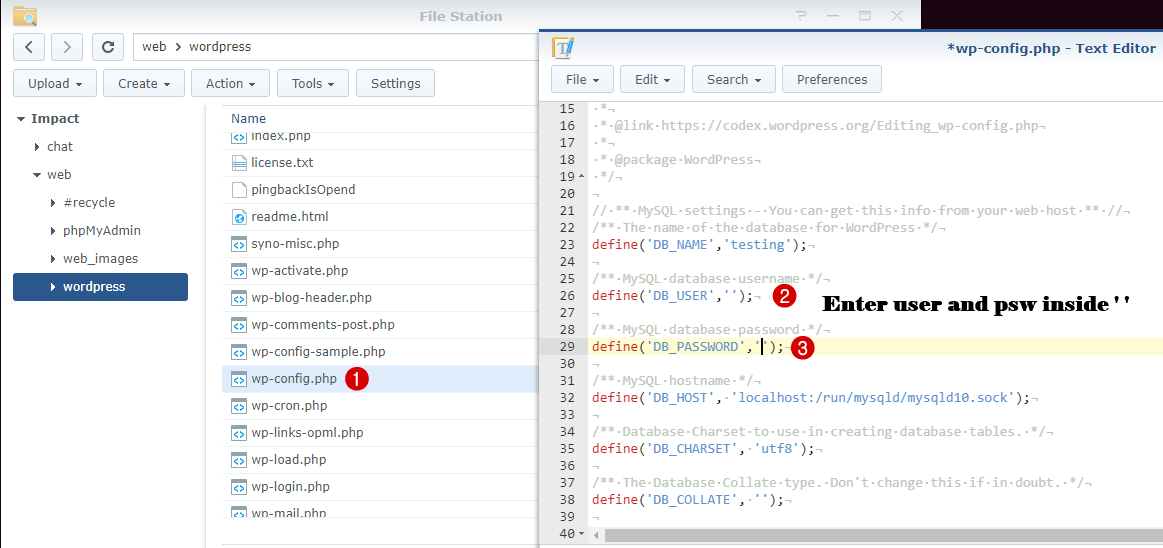
If you want to edit the file just like I did, download the Text Editor application directly from the Synology Package Center. Double click on wp-config.php and the file will automatically open in your DSM via the Text Editor application without having to download it and edit it on your computer.
This post was updated on Tuesday / August 17th, 2021 at 4:37 AM